Hiking Water Treatment
Water Treatment for Backpacking: Five Methods Compared
Filters, gravity systems, chemical drops, straw filters, and boiling, compared on weight, speed, taste, and maintenance for long-distance hiking.
Introduction
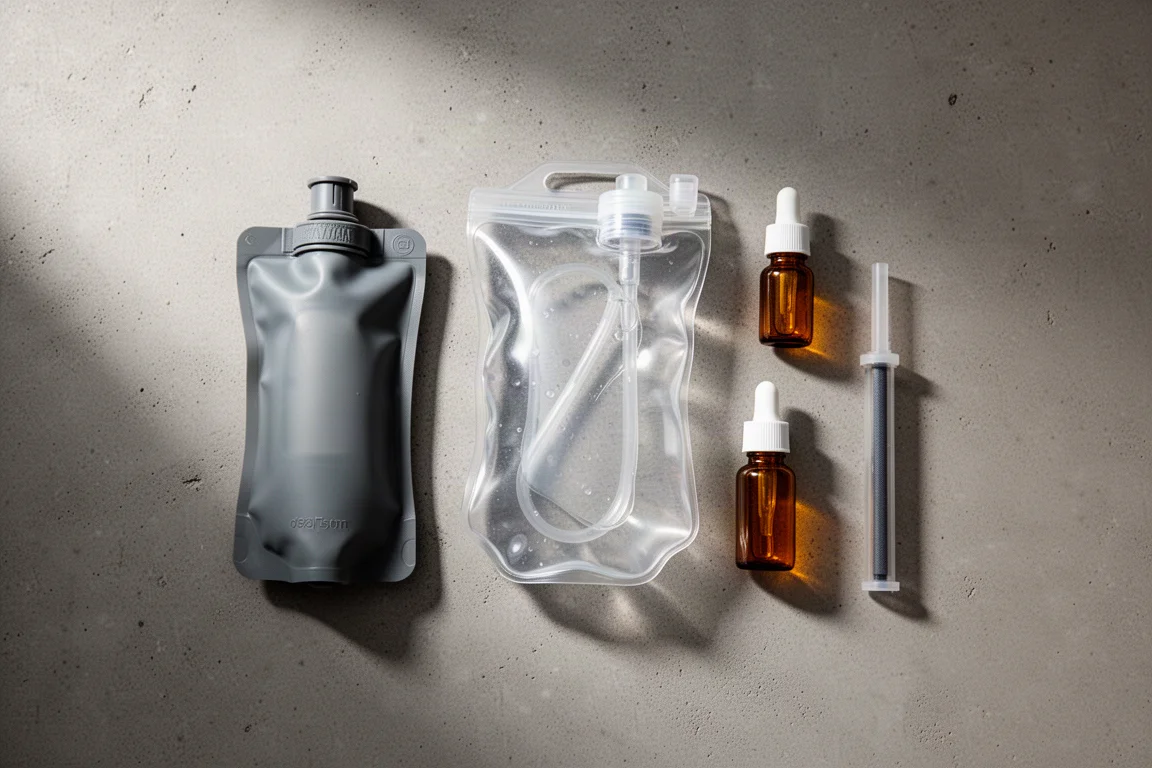
Water is one of the few things on a long-distance hike that you cannot negotiate with. On the Appalachian Trail, most hikers pass a water source roughly every five miles, and across long stretches you will not need to carry more than a liter or two at a time. There are exceptions. Some sections in New York can run dry, and one stretch in Pennsylvania called for a ten-mile carry past a source that did not look safe to drink from. One liter of water weighs about 2.2 pounds, or one kilogram, so every extra liter is weight on your back.
That is why the treatment method you choose matters as much as the water itself. Filters, chemical drops, UV wands, and boiling all work, but they trade weight, speed, taste, and effort in different ways. This guide covers the five options that come up most often, what each one does well, and where each one asks for a compromise.
How to Evaluate a Water Treatment Method
Four things decide whether a treatment method suits a trip: what it removes, how long it takes, how much it weighs, and how much maintenance it needs.
Filters push water through a fine porous material that captures bacteria and protozoa. They also strip out grit and dirt, leave no chemical aftertaste, and last a long time if you keep them from freezing. The trade-offs are maintenance and pace. Filters need backflushing so they do not clog, and squeeze-style filters can be slow if you filter into a separate clean bottle.
Chemical treatments kill bacteria, protozoa, and viruses in a compact package, but they leave grit in the water and usually need about 30 minutes to work. UV light also kills all three and is easy to use, though it works less well in cloudy water, needs batteries, treats one bottle at a time, and sits at the heavier and more expensive end. Boiling is the most reliable method of all and makes a strong backup, but it takes fuel and time, and the water has to cool before you can drink it.
Filters do not remove viruses. On the Appalachian Trail that is rarely a concern, and it becomes a bigger question on international trips.
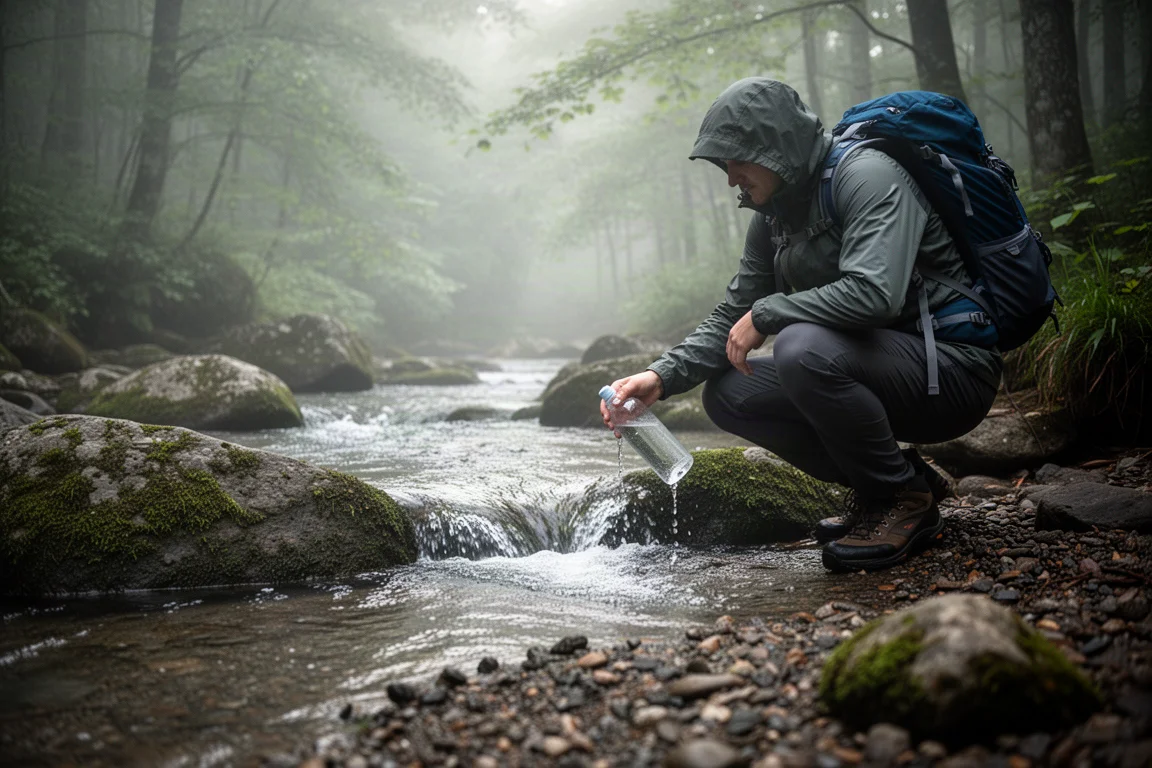
Whichever route you take, treat the water you plan to drink. Clear, flowing sources are a better bet than stagnant ones, and a source with a dead animal nearby is worth skipping. In an emergency, boiling is the fallback that covers everything.
Best Overall Squeeze Filter: Sawyer Squeeze
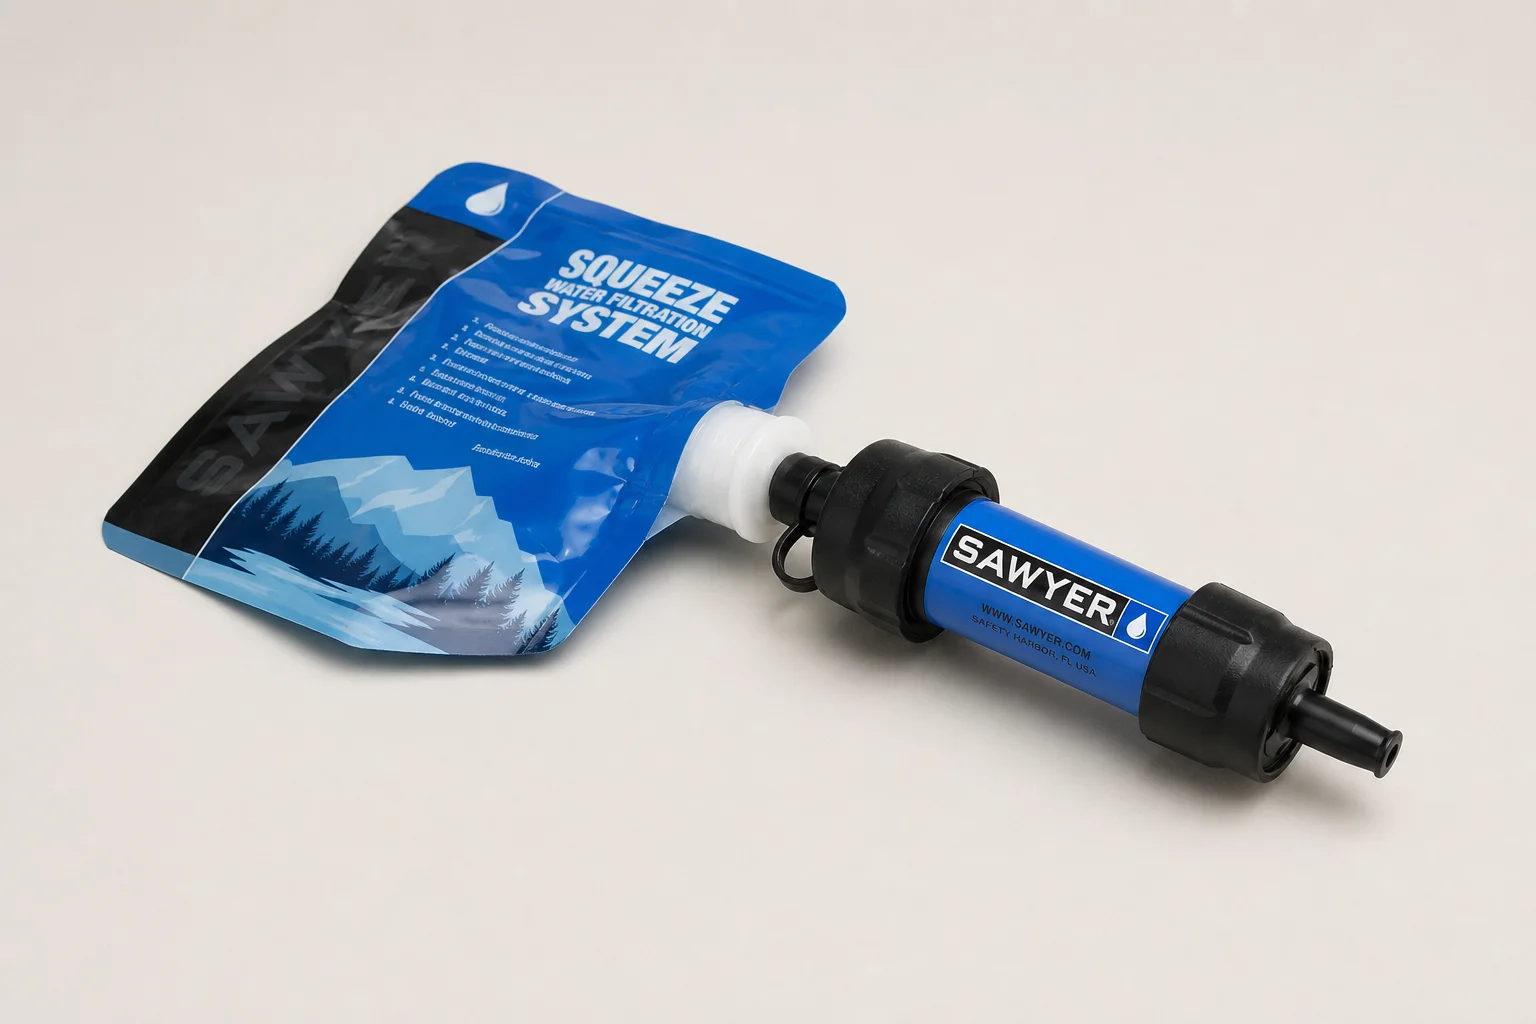
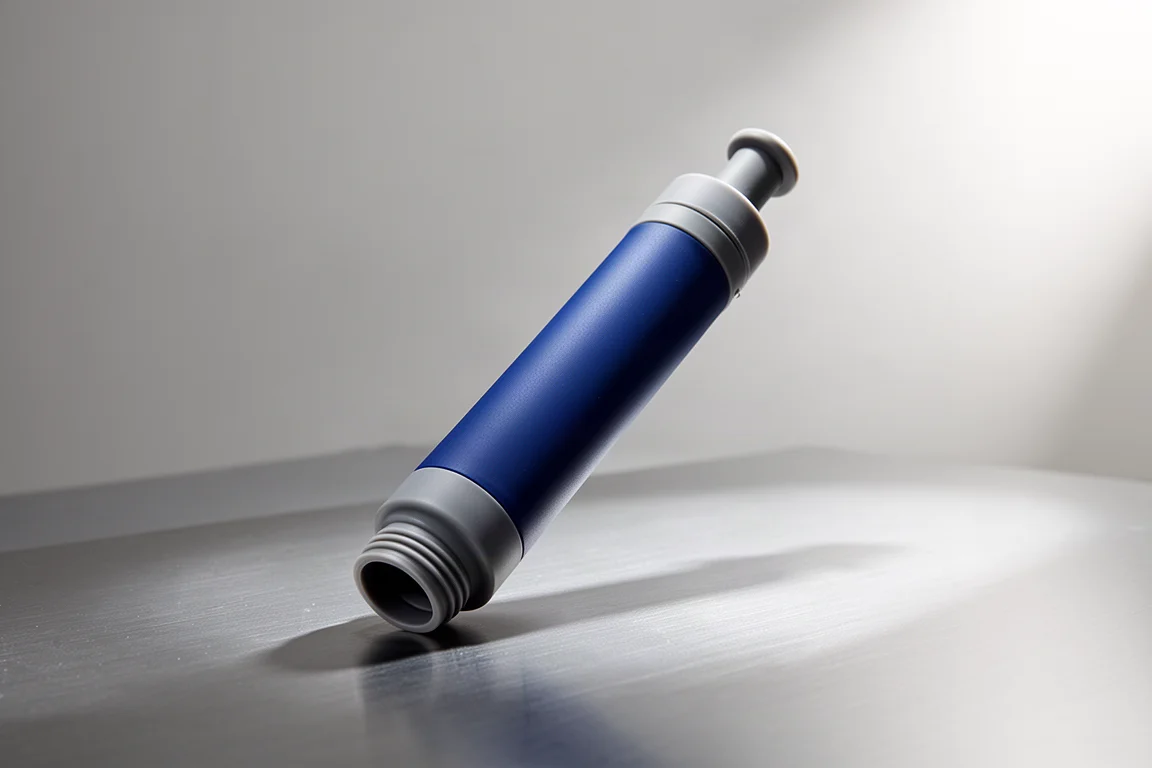
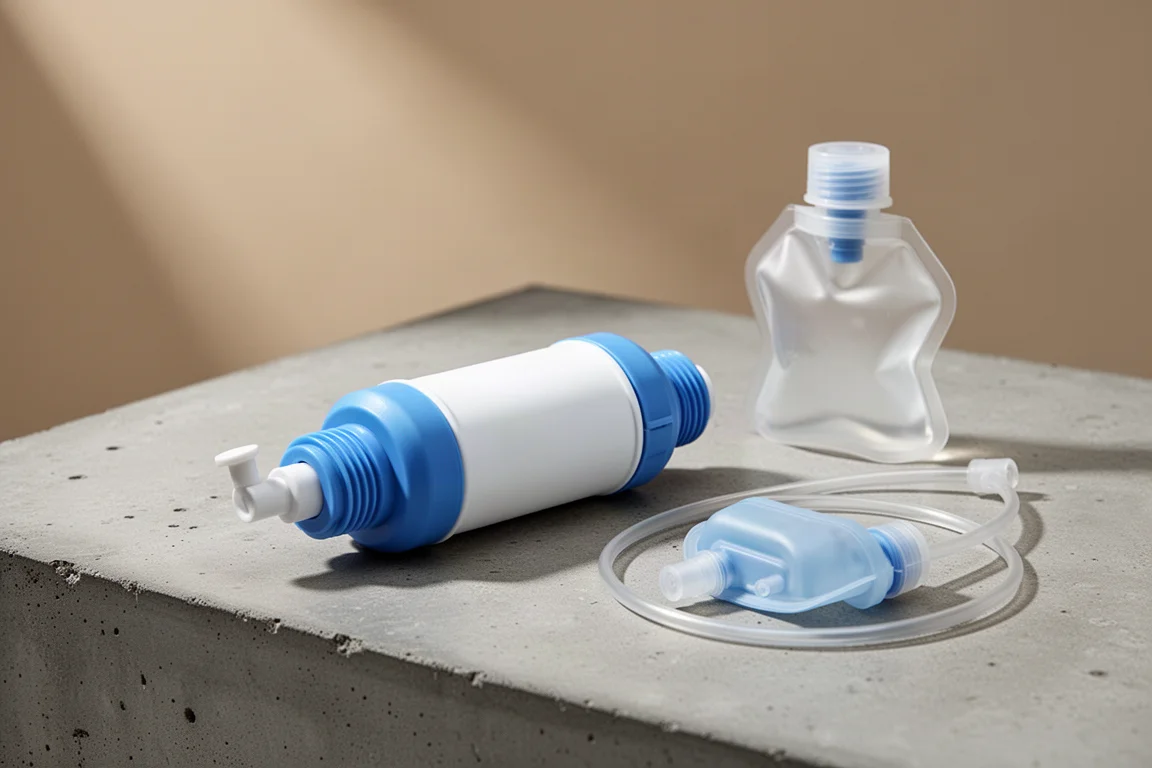
Filtration is the most common way to treat water on the Appalachian Trail, and the Sawyer Squeeze is one of the best-known filters in that category. It weighs only about three ounces, removes bacteria and protozoa, takes the grit out of the water, and leaves no chemical taste.
It ships with a dirty water bladder, and that bladder is the weak point of the kit. It can split with use, and the filter itself should not be over-tightened, because doing so can work the seal loose. Both the bladder and the seal can be replaced, so a failure does not mean replacing the whole filter.
Two habits make this filter much easier to live with. The first is drinking straight through it rather than squeezing water into a clean bottle, which turns a slow chore into a one-step process. The second is backflushing. The filter comes with a syringe, but a sports cap from a clean water bottle can be screwed onto the clean side and squeezed to push water back through and flush out the dirt.
Cold weather is the other thing to remember. If the filter freezes it can crack and stop working, so it belongs in your sleeping bag on cold nights.
Best for Groups and Camps: Platypus GravityWorks
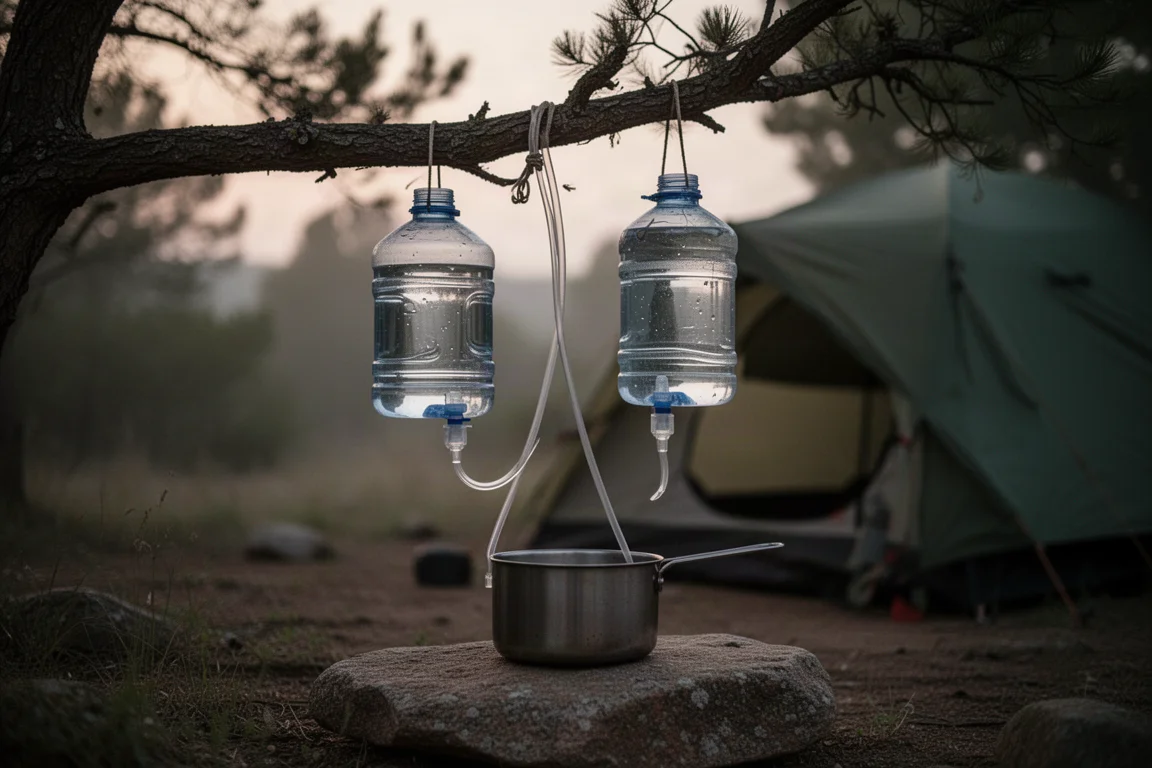
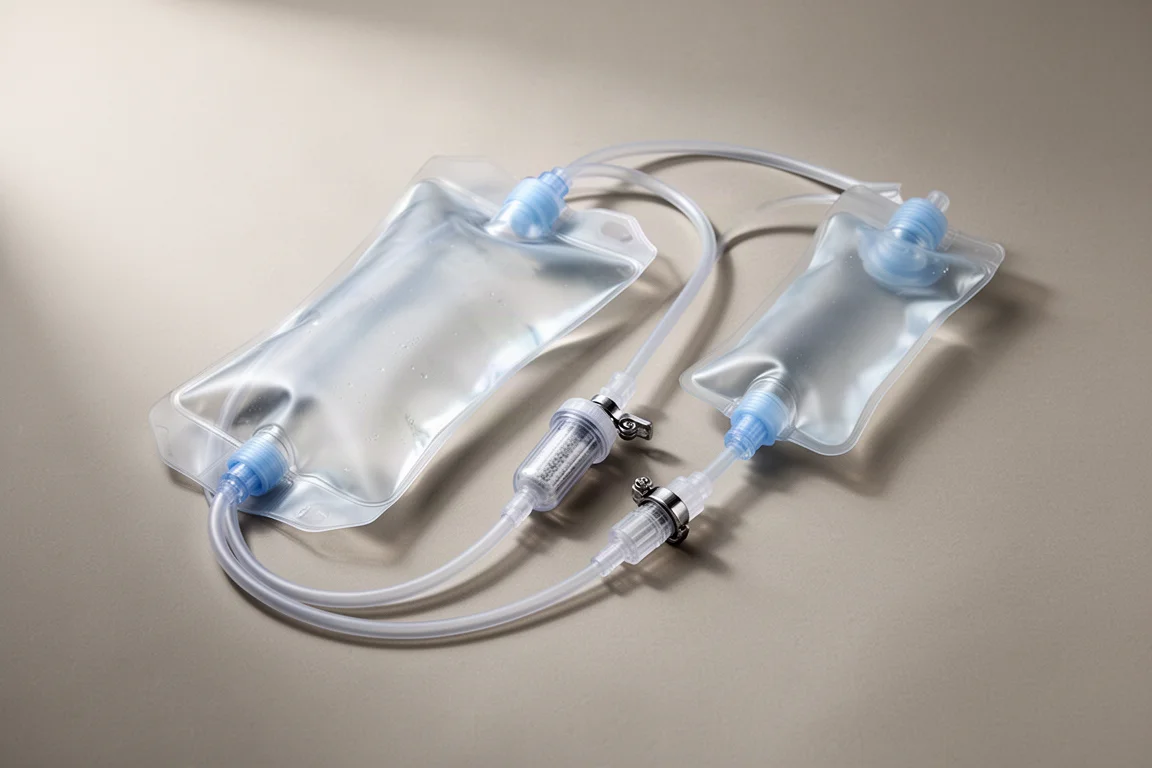
A gravity system does the work for you. You fill a dirty reservoir, hang it up, and let water pass through the filter into a clean reservoir below. The Platypus GravityWorks is the best-known version of this setup, and it is the option to consider when you are filtering for more than one person.
The advantages show up at camp and in groups. You can collect a large volume in one go and let gravity handle it, which is far more pleasant than squeezing bottle after bottle by hand, especially if you are filtering water for children. The trade-offs are weight, bulk, and cost. A gravity system is considerably heavier and more expensive than a squeeze filter, and the reservoirs take up more room in a pack.
It is worth knowing that a Sawyer Squeeze can be configured to work as a gravity filter, so a dedicated gravity system makes the most sense when you actually want the larger reservoirs and the group-friendly workflow.
For a solo hiker counting grams, the extra weight is hard to justify. For a pair or a family, it often pays for itself in convenience.
Best Chemical Treatment: Aquamira
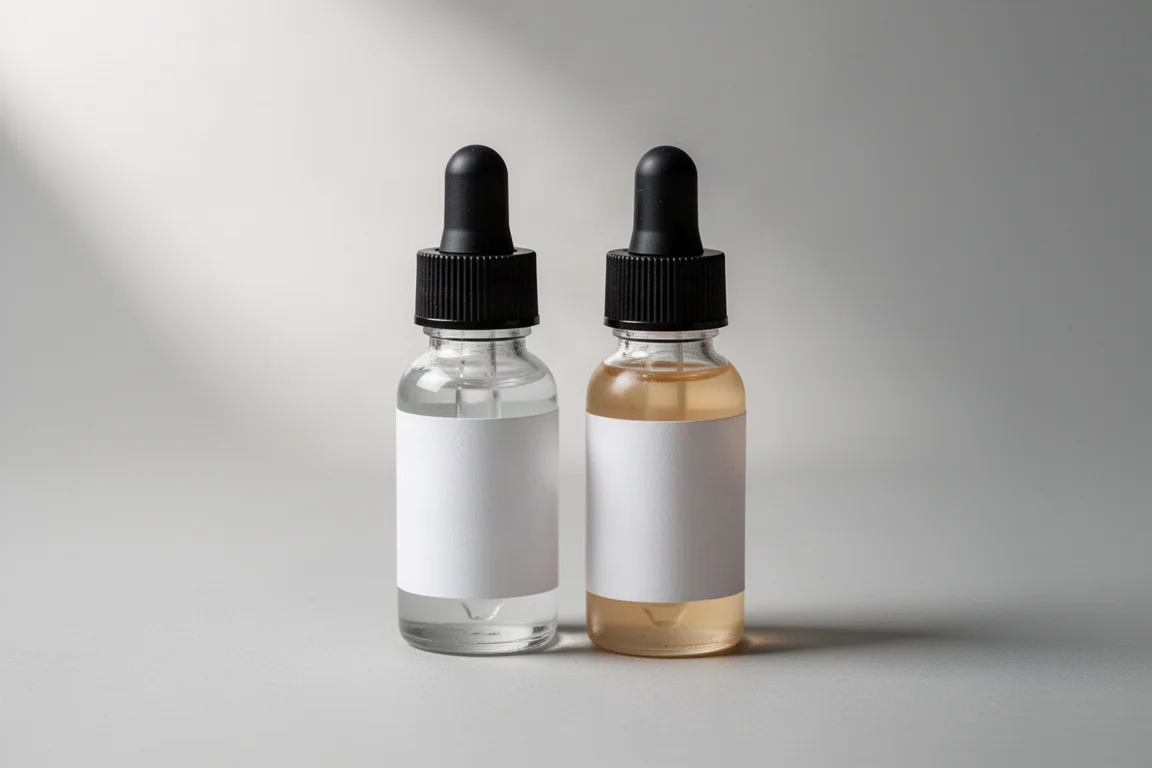
Chemical treatment is the second most common approach on long trails, and Aquamira drops are a familiar example. The kit is small, usually two little bottles that you mix together before adding to your water. Plain, unscented household bleach is the improvised version of the same idea, with a rule of thumb of about two drops per liter, increased a little when the water is very cold or unusually dirty. Buying a purpose-made product is simpler, because the instructions come with the bottle.
The appeal of drops is that they kill bacteria, protozoa, and viruses while taking up almost no space or weight. The drawbacks are real. Chemicals do not remove grit, so a shallow source you stir up while collecting will still carry that grit unless you pre-filter through a bandana. Many treatments leave an aftertaste, which some hikers never get used to. And you have to wait, typically at least 30 minutes, before the water is safe to drink.
That wait matters most when you reach a source already thirsty. Drops suit hikers who plan ahead and treat water before they need it, or who carry them as a lightweight backup to a filter.
Best Simple Daytime Filtration: LifeStraw
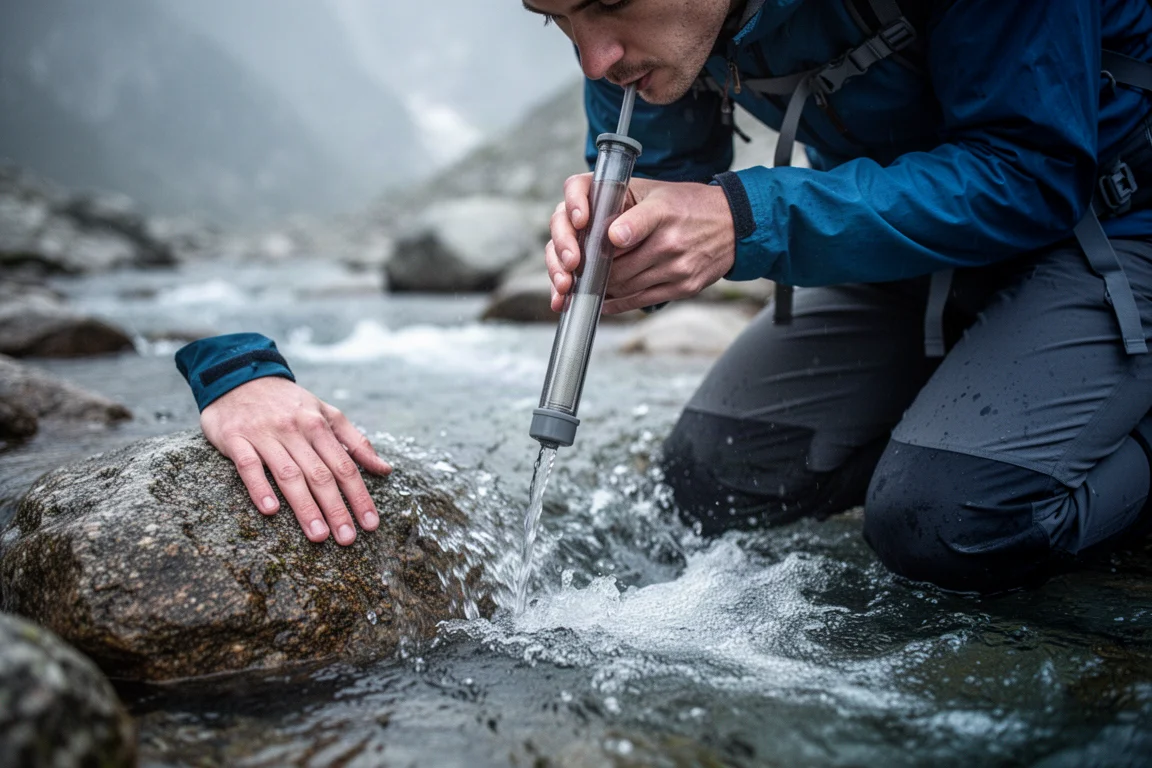
A straw filter is the simplest form of filtration. You drink directly from the source, and the water is filtered as it passes through, which makes it a convenient way to stay hydrated during the day without stopping to fill and treat a bottle.
The LifeStraw works on the same principle as other filters, removing bacteria and protozoa but not viruses. The limitation is that it treats water as you drink it at the source, so it does not replace a filter or drops for filling bottles and bladders you intend to carry. A practical pattern is to use the straw during the day and boil water at camp for cooking, which keeps the two jobs separate.
If your priority is a low-effort way to drink while you walk, a straw filter is a reasonable addition to a kit. If you want treated water sitting in your bottles, you still need a filter or a chemical treatment.
Best Inline Hydration Setup: Sawyer Squeeze Mini
Hikers who prefer drinking from a hydration tube sometimes cut the tube and splice a Sawyer Squeeze Mini into the line. The end that connects to the bladder goes on the dirty side of the filter, and the hose with the bite valve connects to the clean side. Water is then filtered as you sip.
It is a neat solution, and it removes the need to filter into a separate bottle before filling a bladder. The concern is the connection. If the tubing works loose inside your pack, the results are messy at best, so the setup depends on the fittings staying tight. The fittings press on firmly, which is why the arrangement does not generate many complaints.
If you already carry a bladder and dislike squeezing, this is worth setting up. If you would rather see exactly how much water you have and keep the whole process to one step, a bottle with a squeeze filter threaded on top is the simpler choice.
Overall Buying Advice
Start with what you will actually do on trail. If you want one method that handles everything and takes the grit out, a squeeze filter is the default for good reason: it is light, it works quickly when you drink through it, and it needs only occasional backflushing. If you filter for a group or like to stock up at camp, a gravity system is worth the extra weight and cost. If you want the smallest possible kit or a backup to your filter, drops are the answer, as long as you can live with the wait and the aftertaste. A straw filter covers drinking on the move, and boiling remains the fallback that always works.
Two practical rules apply to every method. Keep a separate clean bottle for drink mixes, because sugar is hard to clean out of a bladder and a bottle that has held untreated water should not be reused for drinking. And protect your filter from freezing, since a cracked filter is a filter that no longer protects you.
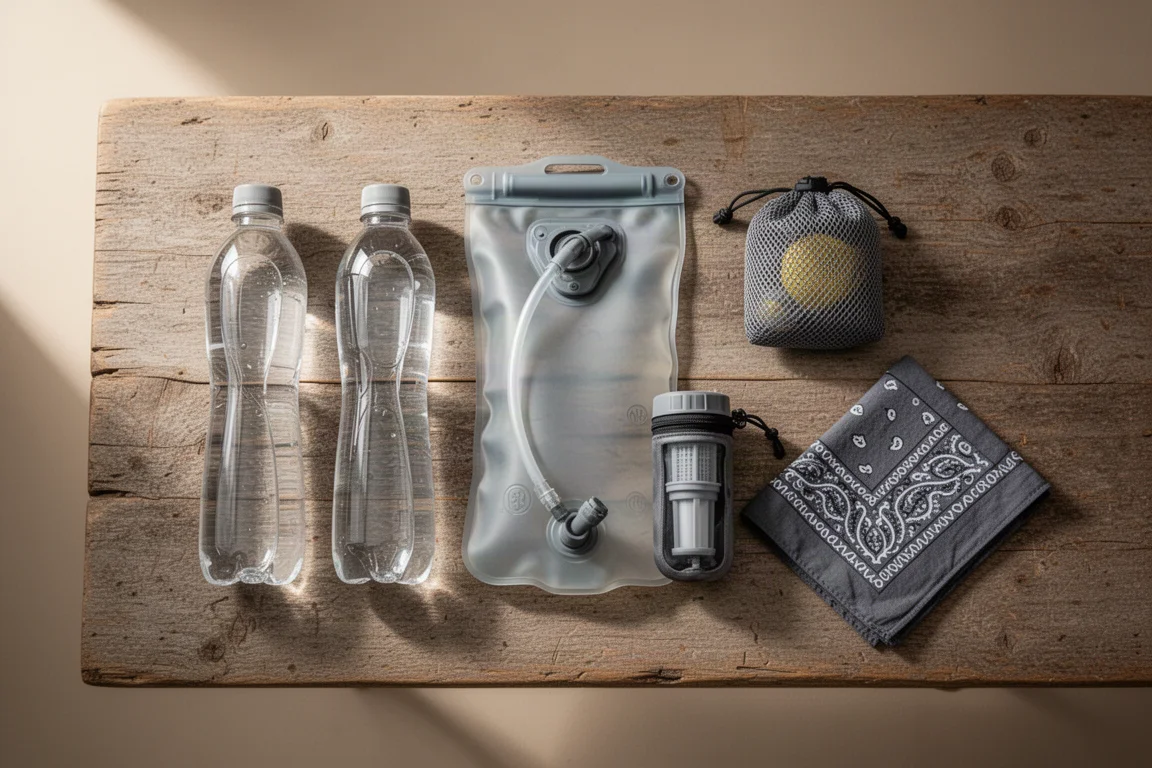
You will not need to haul a full day of drinking water at once. Most hikers top up at sources every few miles, drink while they rest, and carry a liter or two between them. Learn your own consumption, and the water question stops being a source of stress.
Conclusion
Water treatment is a small piece of gear with an outsized effect on a long hike. Filters are the most common choice because they remove grit and require no waiting, gravity systems make group filtering easy, chemical drops are the lightest and most compact option, straw filters handle drinking on the move, and boiling is the reliable backup. Pick the one that matches how you hike, treat your water consistently, and the rest of the trail gets simpler.
Further reading
Related Reviews

Backpacking Gear
Building a 10 lb Base Weight: An Ultralight Backpacking Gear List
A practical walkthrough of the ultralight pieces behind a 10 lb base weight, from a 765 g pack and a roomy one-person tent to a full camp chair and a dependable water filter.
Road Bikes
10 New Road Bikes Worth Watching: Aero, Titanium, Steel and Endurance Standouts
A practical roundup of 10 new road bikes, from aero flagships chasing single-watt gains to titanium, steel and endurance platforms built for real roads.
Bikepacking Gear
11 Bikepacking Essentials for Long-Distance Cycling
Eleven bikepacking essentials for long-distance cycling, from a steel gravel frame and a two-person tent to helmet lights, packable gloves, and a frame bag that puts weight in the right place.