Home Improvement
US vs UK Plastering Methods: A Practical Comparison for Your Next Ceiling Project
A hands-on look at how veneer plastering differs between the US and UK, including the two-mix method, setting times, and the tools that make a difference.
Introduction
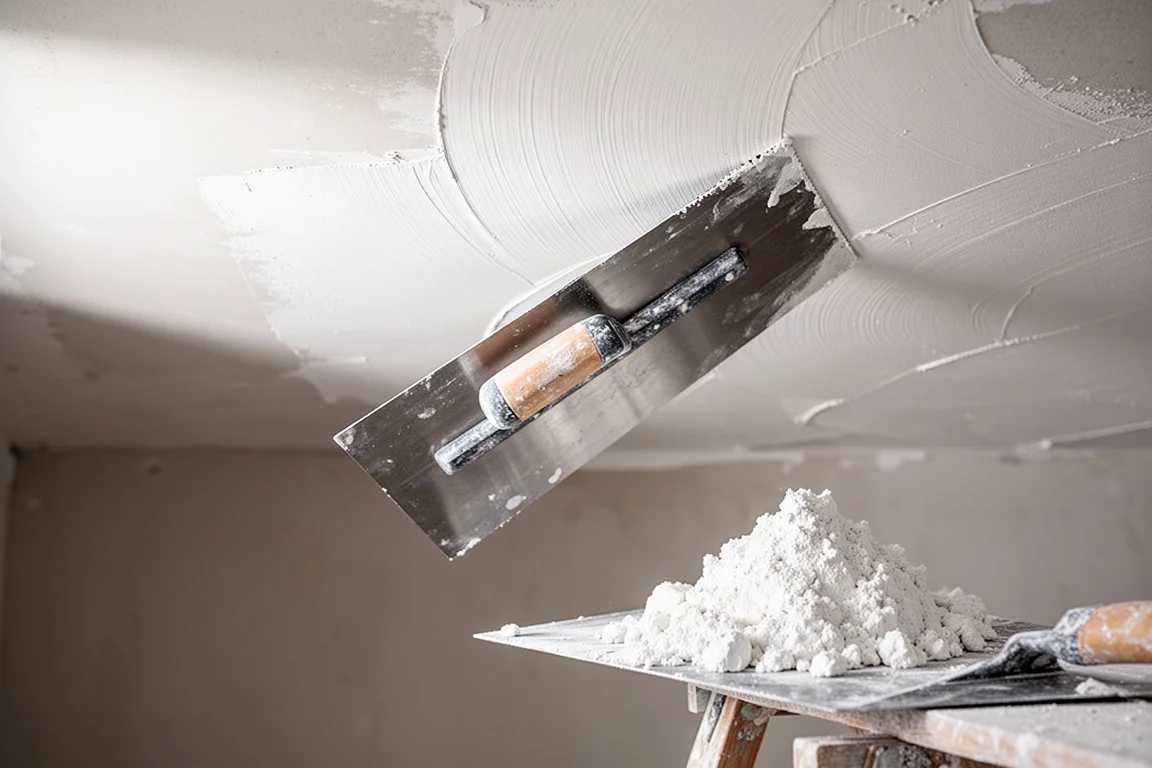
Plastering techniques vary significantly between North America and the UK, and understanding those differences can save you time, frustration, and money on your next ceiling or wall project. This comparison focuses on veneer plaster, a material that offers a hard, dent-resistant finish that joint compound simply cannot match.
The primary difference comes down to approach. In the US, the common method is two coats with a single mix: coat the surface once, wait for it to firm up, then double back with the same material. In the UK, the standard approach uses two separate batches. You mix one batch, coat the entire surface, complete a first flattening stage, then wash up and mix a fresh batch for a second coat over the whole area.
For textured ceilings, the two-mix method has a clear advantage. Building up a solid base coat over existing texture gives you something firm to work against, and the second coat delivers that nice flat, smooth finish. With a single mix doubled back, burying heavy texture enough to prevent it from showing through is much harder.
The Two-Mix Method Explained
The two-mix method is particularly useful when you are covering a textured ceiling. The first coat acts as a leveling layer, filling low spots and burying texture. Once that base coat firms up, the second coat goes on over the top to create the final smooth surface.
This approach gives you two chances to flatten the surface, which ultimately produces a flatter ceiling or wall. With a single mix and double-up method, you simply do not get as thick a coat, and you lose that second opportunity to correct imperfections.
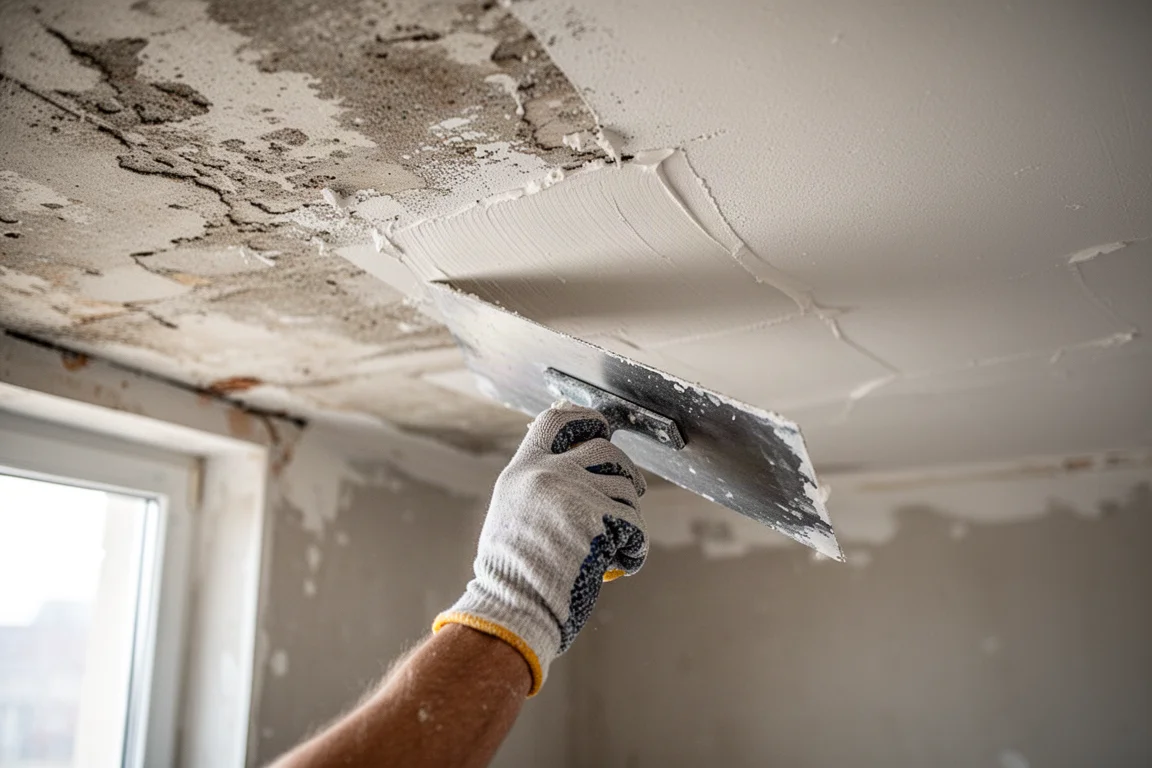
There is a trade-off, though. The two-mix method is more time-consuming because you have two batches to mix, apply, and clean up after. However, you can cover more surface area with each coat, so the time difference balances out to be fairly even overall.
Key Products for Veneer Plastering
Several products play important roles in a veneer plaster project. Understanding what each one does helps you choose the right material for your specific situation.
USG Diamond Veneer
USG Diamond Veneer is the finishing plaster used for the final smooth coat. It is a white, fast-setting plaster that gives you a hard, durable surface. Its setting time is typically around 60 to 90 minutes, which is dramatically shorter than UK plasters that often allow two to three hours of working time.
This shorter working window is one of the biggest adjustments for anyone coming from UK-style plastering. You have to move quickly and plan your approach carefully. The upside is that the material spreads beautifully. It feels slick and smooth, making it genuinely enjoyable to work with compared to joint compound.
USG Structo-Lite
USG Structo-Lite is a basecoat plaster that works well for building up thicker layers. For a project like covering a textured ceiling, Structo-Lite would be an excellent choice for the first coat because it can be applied thicker and helps level out uneven surfaces.
Using a dedicated basecoat plaster like Structo-Lite gives you a solid foundation for the finishing coat. It is designed to handle the build-up work, so your finishing plaster can focus on creating that smooth, paint-ready surface.
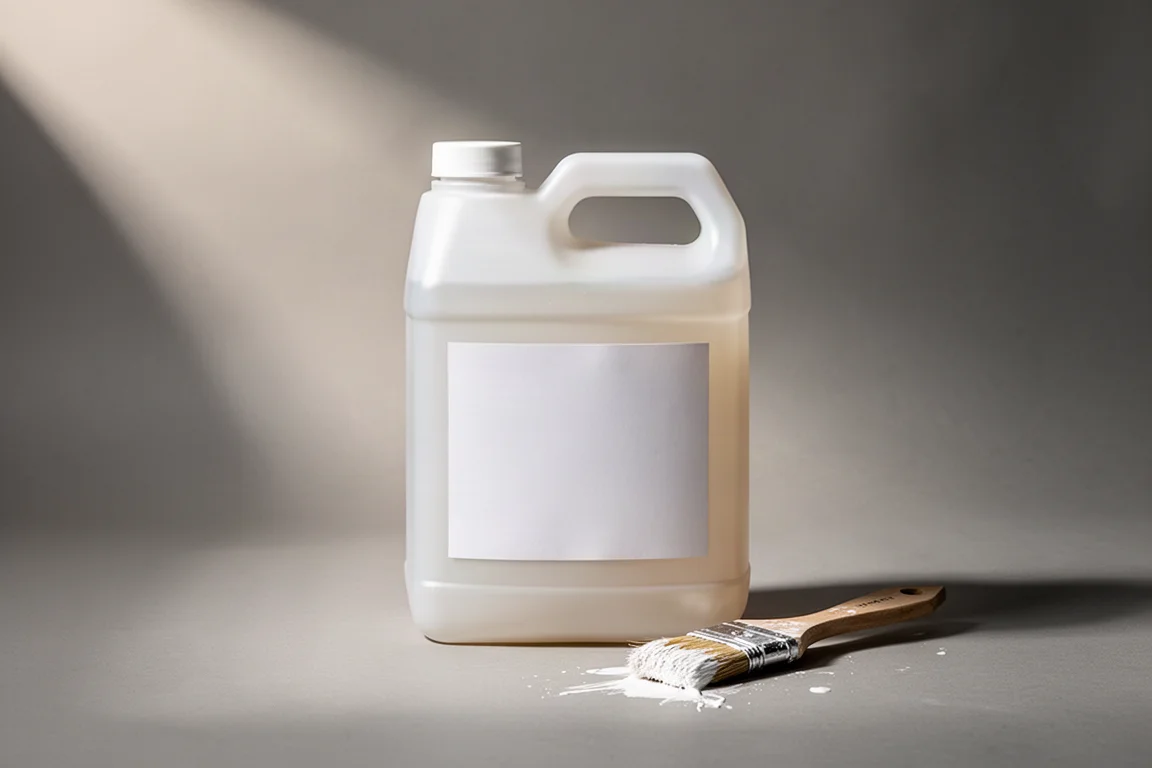
Plaster Weld
Plaster Weld is a bonding agent that prepares surfaces for plaster application. It is applied to the ceiling or wall before plastering to ensure the plaster adheres properly without the substrate absorbing moisture and causing the plaster to fall off.
One of the standout qualities of Plaster Weld is how far it stretches. A single can can cover roughly ten small walls, so a little goes a long way. It also dries very quickly, which makes it a practical choice when you want to keep the project moving.
Columbia Tomahawk
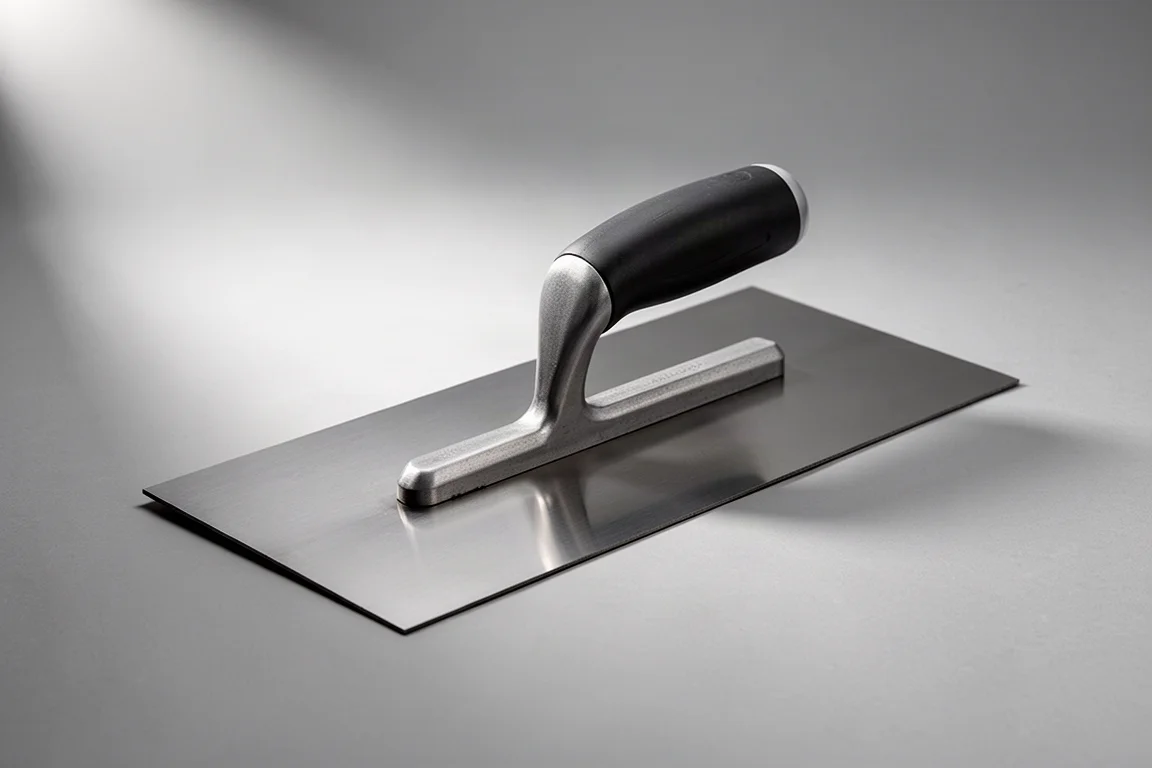
The Columbia Tomahawk is a speed skim tool used during the flattening stage. It is a brand name for a type of tool that helps smooth the plaster surface efficiently. Speed skims are popular in the UK, particularly among the new school of plasterers who favor the sponge float and speed skim combination.
Using a speed skim can speed up the flattening process significantly, though some traditional plasterers prefer a steel trowel because they feel it does a better job of truly flattening the surface rather than conforming to existing ripples.
Felt Brushes vs Sponge Floats
One of the most visible differences between US and UK plastering is the tool preference during the flattening stage. In the US, felt brushes are heavily relied upon. In the UK, sponge floats and speed skims are more common.
The reason for this difference comes down to setting times. US plasters set much faster, so plasterers need the felt brush to bring up the fat and lubricate the surface. Without it, they simply would not get the plaster flattened in time. The felt brush makes the surface slick instantly without removing much material, which is exactly what you need when the clock is ticking.
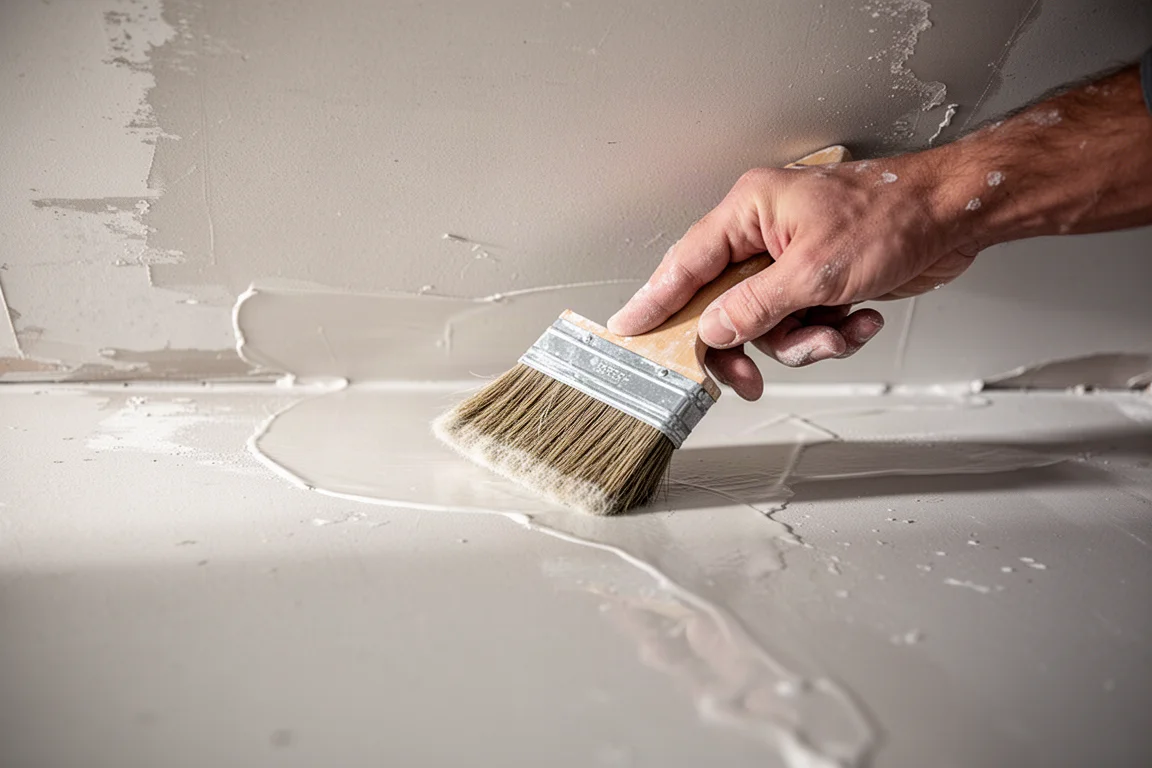
In the UK, the longer working time allows for the sponge float approach. However, there is a split between old school and new school plasterers there. The old school prefers a brush and trowel, arguing that the sponge float adds too much water and weakens the plaster. They also point out that a speed skim conforms to the ripples of a surface, while a steel trowel genuinely flattens things out.
Working Between Coats
If you find yourself with time between coats, it is worth using it to tidy up. Corners tend to collect excess plaster, and cleaning them with a paintbrush or corner brush while the material is still workable makes the final finish much easier.
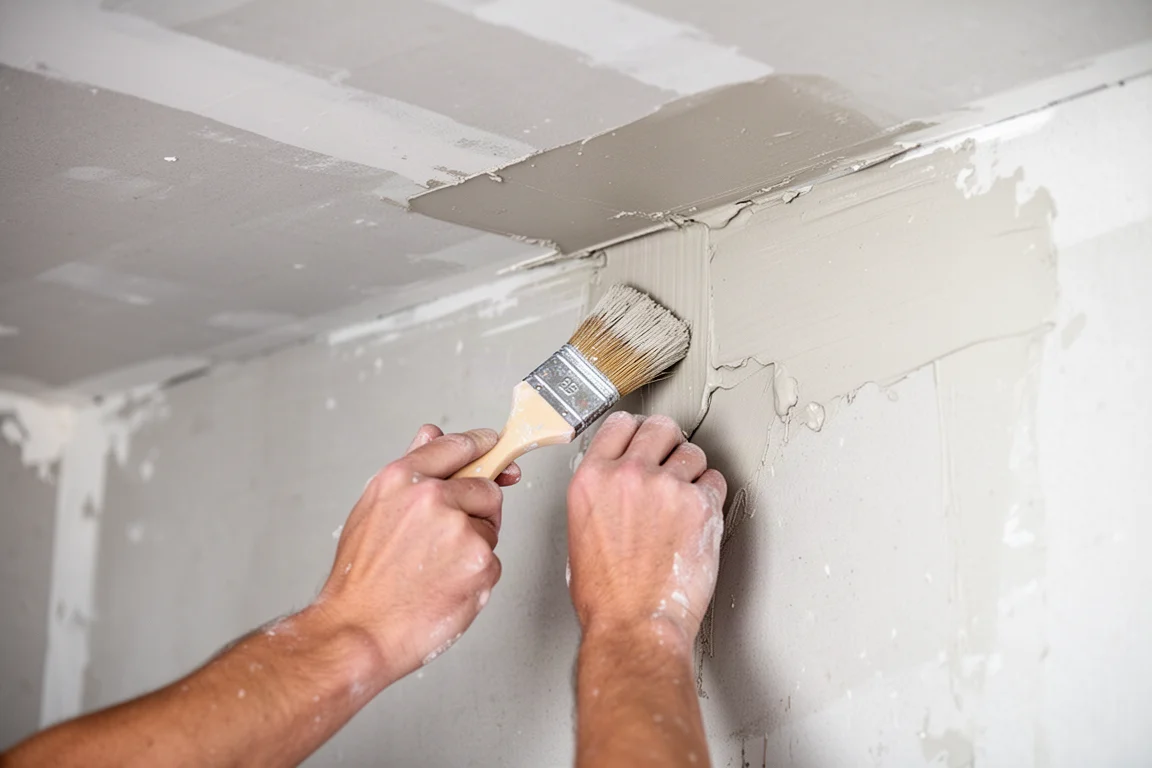
The timing between coats matters for adhesion. As long as the first coat is still wet, you will get decent adhesion even if it has started to set. Leaving it long enough that the surface is firm but still damp gives you a solid base to push the new plaster against. If the second coat goes on too wet over a soft surface, you end up creating waves and ripples instead of a flat finish.
It is also important that the second coat is not too thin. You will be taking at least a millimeter of material off during the flattening stage, so you need enough plaster on the wall to work with.
The Finished Result
A full day of labor can take a textured ceiling to a smooth, paint-ready level five surface with zero sanding. For someone experienced in drywall finishing but relatively new to plaster, this is an achievable result.
The finished surface is hard and dent-resistant, unlike joint compound which remains softer and more prone to damage. Plaster also shrinks far less, so you do not have to worry about texture reappearing the next day.
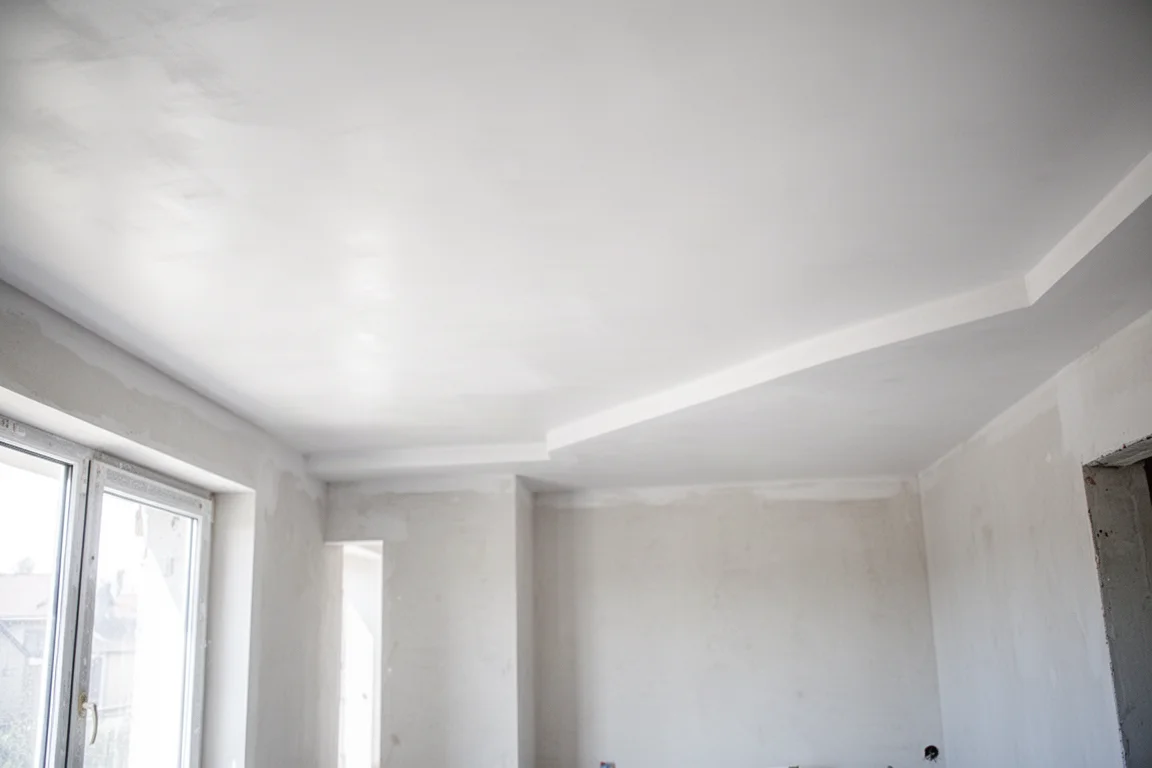
Compared to conventional drywall finishing, plaster can seem like too much effort and expense. But in many cases, it is actually a win. The job gets done in one day, it is dust-free, and the result is a superior surface. For a personal project, this approach is worth considering for every room.
Buying Advice
When choosing products for a veneer plaster project, consider the specific needs of your surface. For a textured ceiling that needs leveling, a basecoat plaster like USG Structo-Lite is a smart first choice. For the final smooth coat, USG Diamond Veneer delivers that hard, paint-ready finish.
Do not skip the bonding agent. Plaster Weld ensures your plaster adheres properly, especially over painted surfaces that might otherwise absorb moisture and cause adhesion failures. A single can goes a long way, making it a cost-effective step.
For the flattening stage, a felt brush is essential when working with fast-setting US plasters. If you prefer the speed skim approach, the Columbia Tomahawk is a solid option, though be aware of the debate between traditional trowel work and modern speed tools.
Conclusion
Understanding the differences between US and UK plastering methods helps you choose the right approach for your project. The two-mix method offers a flatter finish and is particularly effective over textured surfaces, while the single-mix double-up method is faster and simpler for new drywall.
The tools and products you choose matter. Fast-setting US plasters demand a felt brush for the flattening stage, and a bonding agent like Plaster Weld ensures proper adhesion. With the right materials and a clear understanding of the method, a professional-quality plaster finish is achievable in a single day, dust-free, and without sanding.
Further reading
Related Reviews
Home Improvement
Garage Door Upgrade Guide: Quieter Operation and Better Energy Efficiency
Two simple garage door upgrades that reduce noise, improve sealing, and make daily operation smoother.
Automotive Tools
ALAIAL 1/2" Digital Torque Adapter Review: Turn Any Ratchet Into a Precision Tool
A practical look at the ALAIAL 1/2" digital torque adapter, an affordable way to add torque measurement to your existing ratchet.
DIY Tools
Beginner's Guide to Taping Drywall with Rollers and Corner Tools
A practical walkthrough of drywall taping using rollers and affordable corner tools, designed for first-time DIYers.