Home Theater
Ultimate Family Room Home Theater: Motorized Screen and Triple Laser Projector
A practical look at building a recessed home theater with a motorized projector screen, a triple laser projector, and smart lighting upgrades.
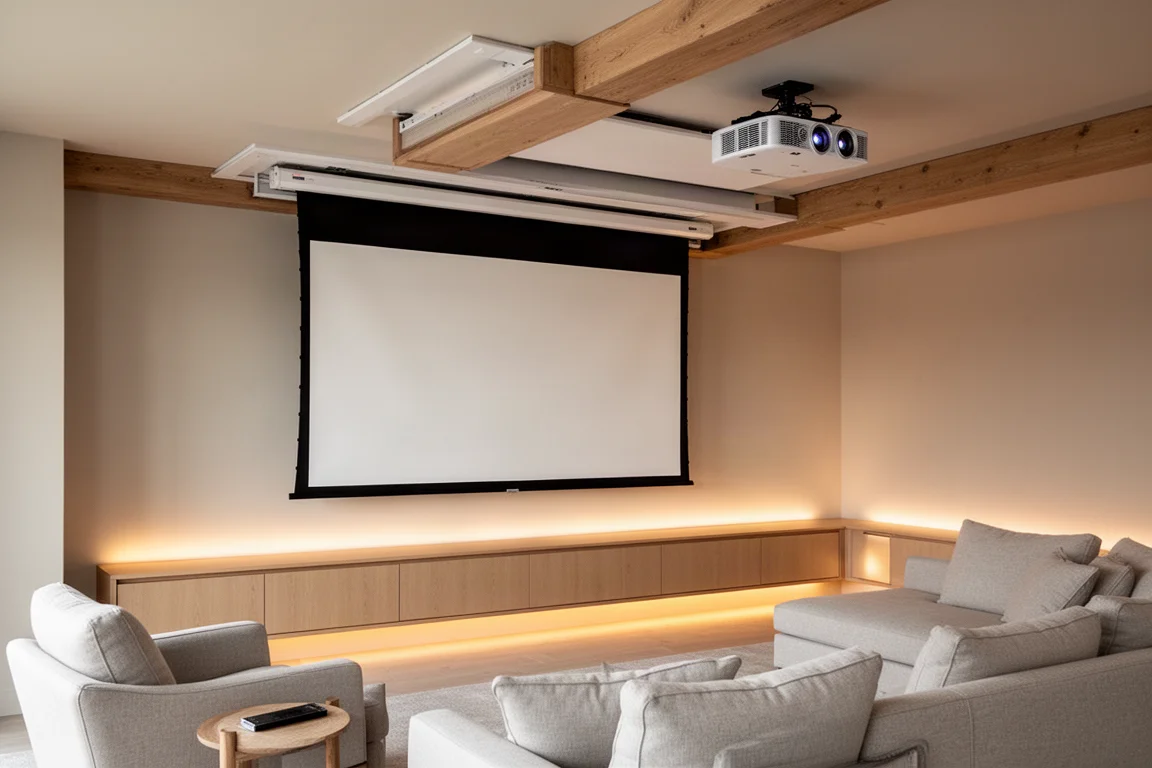
Introduction
Turning a half-finished family room into a dedicated home theater takes more than just picking a projector. The real work happens in the details: recessing a motorized screen into the ceiling, running long HDMI cables through walls, and controlling ambient light so the picture actually looks good during the day.
This project covered all of those steps, and two products carried most of the weight: the Elite Screens 100-inch motorized projector screen and the Valyrian Pro2 triple laser projector. Both were installed as part of a full room makeover that also included smart LED cabinet lighting and motorized blackout blinds.
The Project: A Complete Family Room Transformation
The starting point was a set of built-in cabinets that had sat unfinished for seven weeks. The first step was face framing the cabinets with primed one-by-twos to cover the raw plywood edges. Each horizontal trim piece was cut to a slightly unique size to account for uneven walls in a 60-year-old house, and one piece was notched around an existing fuse panel.
Cabinet doors were made from pre-painted MDF and hung using Euro-style hinges. A hinge jig made the pocket drilling line up perfectly on the first attempt. Drawer faces were mounted by positioning them precisely, then securing them with finish nails from the front and screws from the inside.
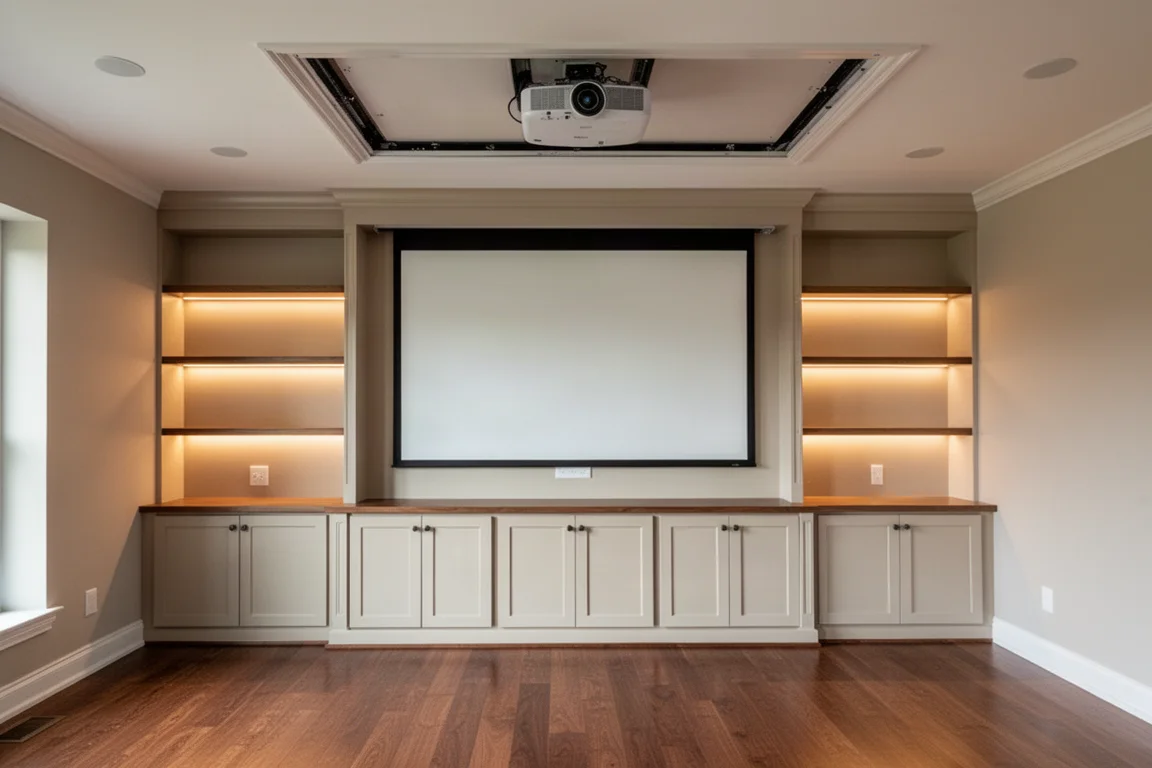
By the end of the first day, the cabinets were structurally complete. The remaining work focused on the electronics: LED lighting, the projector screen, the projector itself, and light control.
Smart LED Cabinet Lighting
For built-in cabinets, analog non-adjustable LEDs are often recommended because they tend to be brighter and have better color rendering. However, because a projector screen was being installed and the room owner already used an immersion lighting system, the goal was to have the cabinet lighting double as a screen extension.
The solution was WS2814 12V RGBW addressable strips. These are controllable in groups of three LEDs and include a dedicated 3000 Kelvin white LED with a color rendering index of 92.1. Mounting them on the back of the face frames pointing toward the wall produced a more even lighting effect and kept the strips completely hidden.
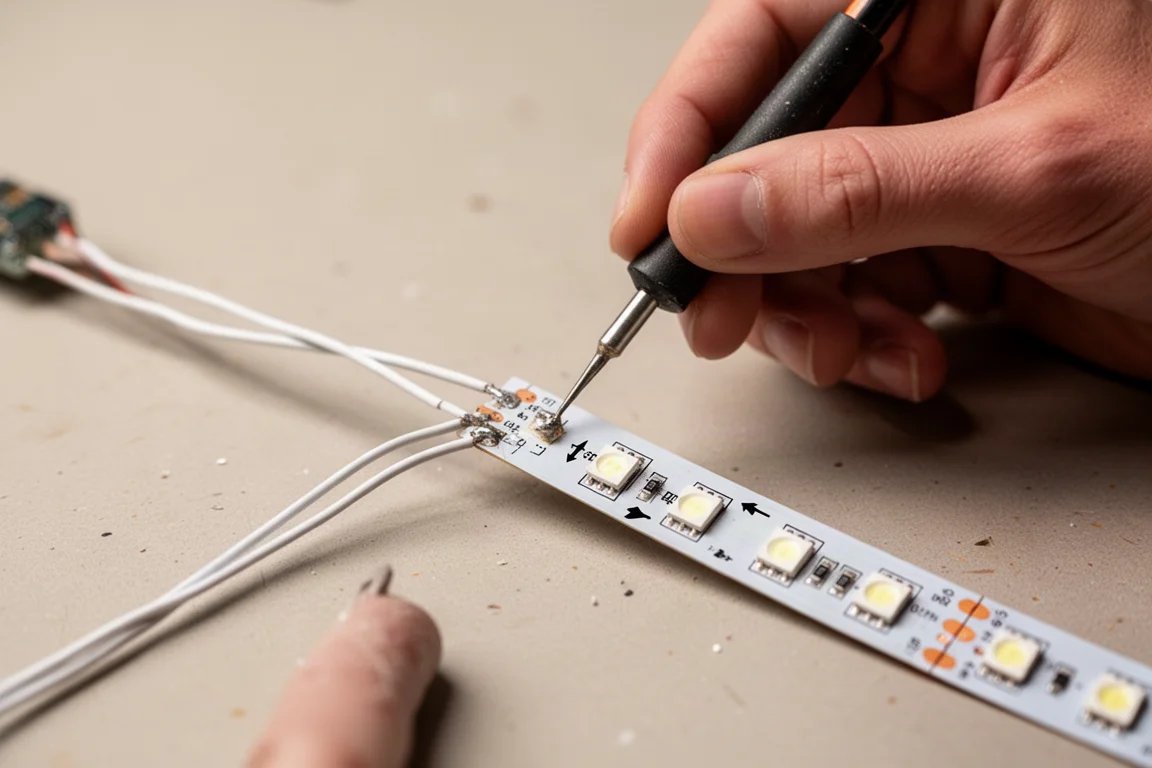
Wiring was run in three separate zones using 18-gauge three-core white wire, hot glued behind the face frames. Each LED strip segment was soldered with a full set of pads on both sides by sacrificing one section of LEDs between cuts. The data direction arrow on each strip was carefully oriented away from the solder point.
The system is controlled through WLED, which makes it straightforward to set up screen mirroring later using the E131 protocol. A Shelly Plus 2PM was installed behind the living room switch panel, allowing the original wall switch to toggle the LED master power by sending a URL to the LED controller.
Installing the Recessed Motorized Screen
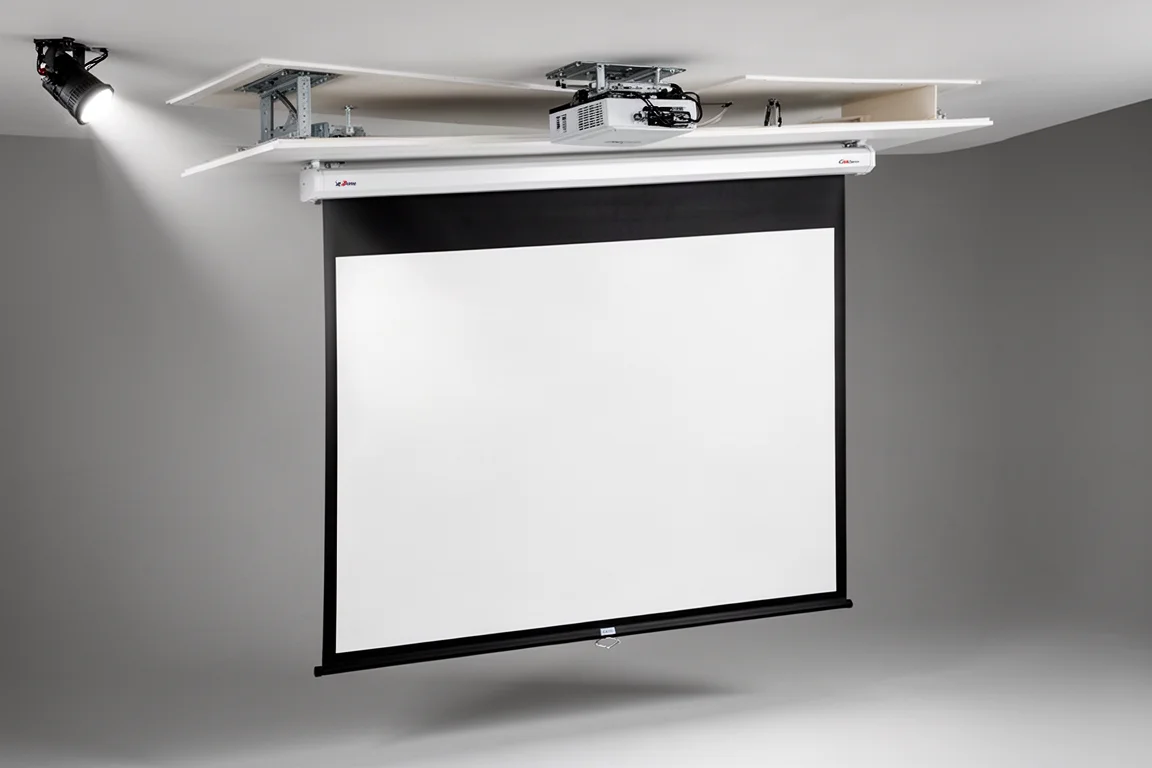
The Elite Screens 100-inch motorized projector screen was one of the most difficult parts of the build. The overhang on either side of the screen housing was less than an inch, leaving very little room for error when cutting the ceiling opening.
After measuring the room with a laser measuring tool, the center point was marked on the ceiling. An exploratory cut revealed horizontal bracing that was nonstructural but still required getting into the ceiling cavity. With no attic access to that part of the house, a person-sized hole was cut to work from above.
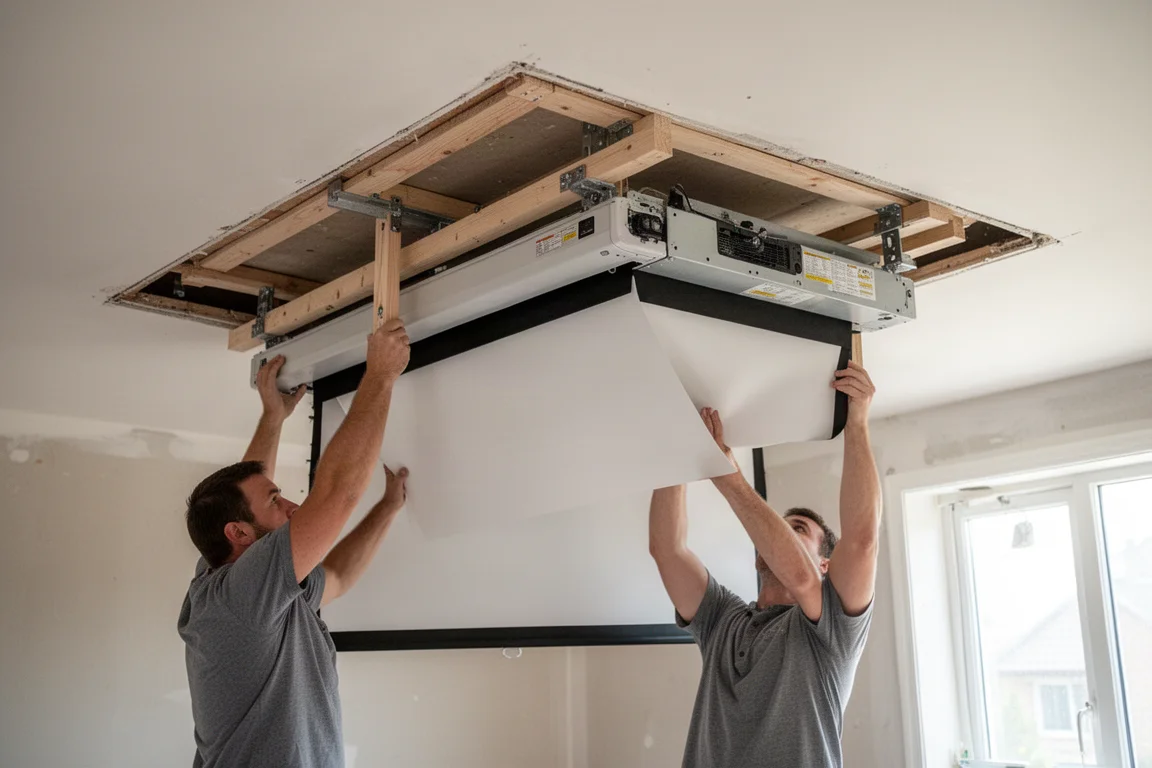
New 2x4 top plates were added to the existing blocking, and a conservative cutout was marked using a laser line. A reciprocating saw with a four-inch blade removed the old framing without cutting the new plates. Dry fitting the screen took several attempts with some shaving of drywall and framing before it fit flush.
The screen was mounted using all-thread rods hanging from a 2x4 placed over the rafters. This method allows the screen height to be adjusted after installation. Wiring was connected to an existing electrical circuit that previously controlled can lights, and an old glass break sensor hole was repurposed as an access panel for the junction box and the motor controller used to set the lower limit.
After lifting the screen into the ceiling, mounting plates were fastened over the new framing, and the included extension socket was used to snug the bolts so the screen sat flush with the drywall. Covers clipped on over the mounting areas, and caulk filled the remaining gap for a finished look.
Setting Up the Valyrian Pro2 Triple Laser Projector
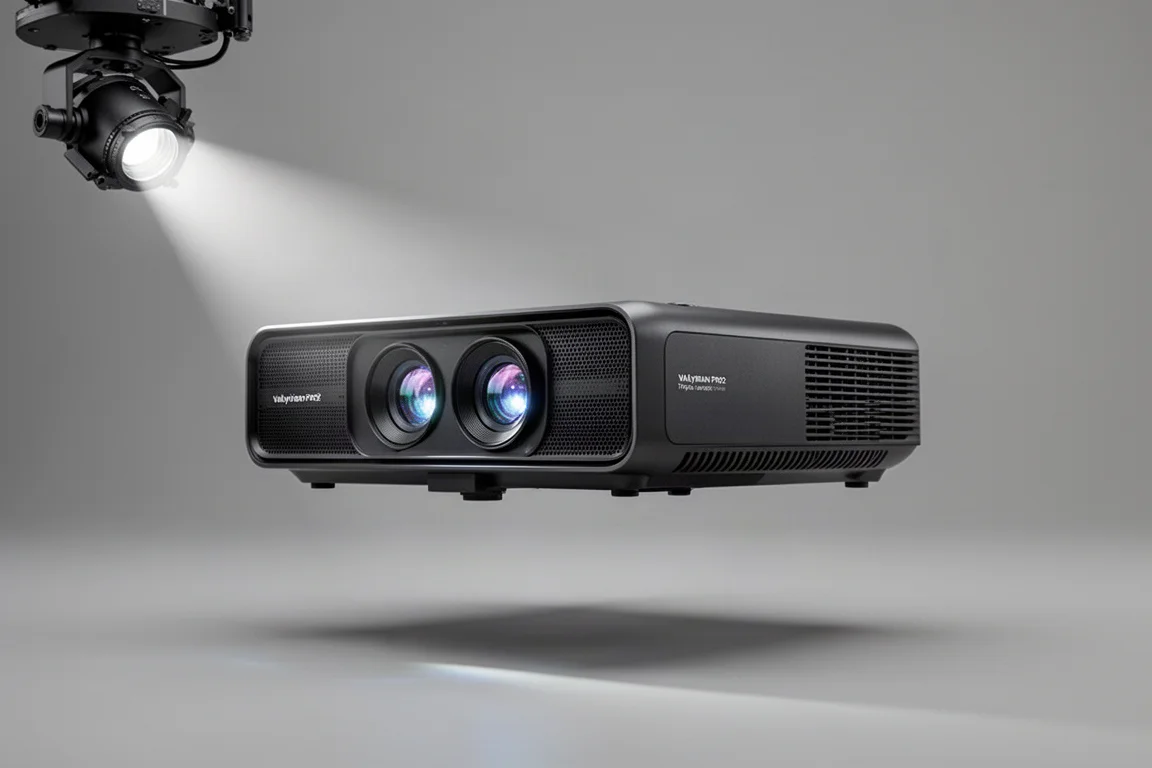
The Valyrian Pro2 triple laser projector was positioned 130 inches from the drop-down screen, which allowed it to use its maximum zoom level for the best contrast. Valyrian makes a ceiling mount, but since the projector was mounted to a beam rather than the ceiling, the Valyrian gimbal mount was used instead. Two holes were drilled in the mounting arm to secure it to the beam.
Power was sourced from existing wiring for two hanging lamps. An additional electrical box was added for a receptacle, and a Shelly One Plus PM was wired into the lamp circuit so the wall switch could control the lamps without ever cutting power to the projector. A second Shelly One Plus in the switch box acts as a virtual switch, remotely triggering the first Shelly through the Shelly API.
Running the HDMI cable required some improvisation. The original plan was to pull it up through an existing speaker wire path, but the cable refused to cooperate. Instead, a pull string was dropped down from the top, and all 50 feet of cable was run down through the wall cavity to the receiver in the built-ins.
Managing Ambient Light with Blackout Blinds
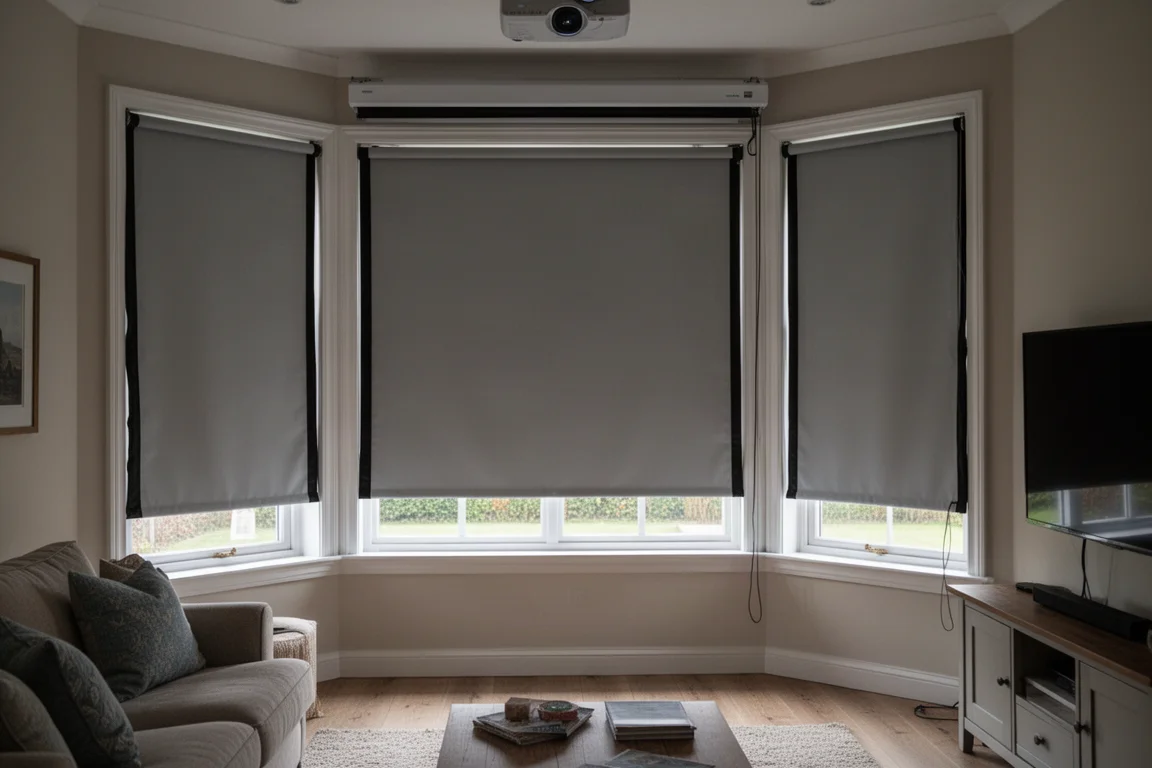
Because the room uses a white screen rather than an ALR screen, daylight from three bay windows would have ruined the picture. Even the TV had significant glare from those windows. The solution was a 95-inch motorized blackout blind from Smart Wings, which installed quickly with three quick-release clips.
The blind uses internal batteries, so no power wires needed to be hidden. Light-blocking blackout edging was added to minimize light creeping onto the screen. The entire installation took about 45 minutes but made one of the most dramatic differences in overall picture quality on both the TV and the projector.
For any room with ambient light issues, blackout blinds should be near the top of the priority list.
Buying Advice
The Elite Screens 100-inch motorized projector screen is a strong choice for anyone planning a recessed installation. The mounting system with all-thread rods allows height adjustment after installation, and the included extension socket makes it possible to snug the screen flush with the ceiling. The tight tolerance on the housing overhang means careful measuring is essential, but the end result looks fully integrated.
The Valyrian Pro2 triple laser projector delivers strong contrast when positioned at its maximum zoom distance. The gimbal mount is a useful option for beam mounting, and the projector pairs well with a motorized screen for a clean, hidden setup. It is best suited for rooms where ambient light can be controlled.
Conclusion
This family room makeover shows that a home theater is more than the sum of its components. The Elite Screens motorized screen disappears into the ceiling when not in use, the Valyrian Pro2 triple laser projector handles the image, and supporting upgrades like smart LED lighting and blackout blinds make the room usable in any lighting condition.
For anyone planning a similar build, the key takeaways are to measure carefully, plan the wiring before cutting, and control ambient light before judging the projector’s performance.
Further reading
Related Reviews
Home Theater
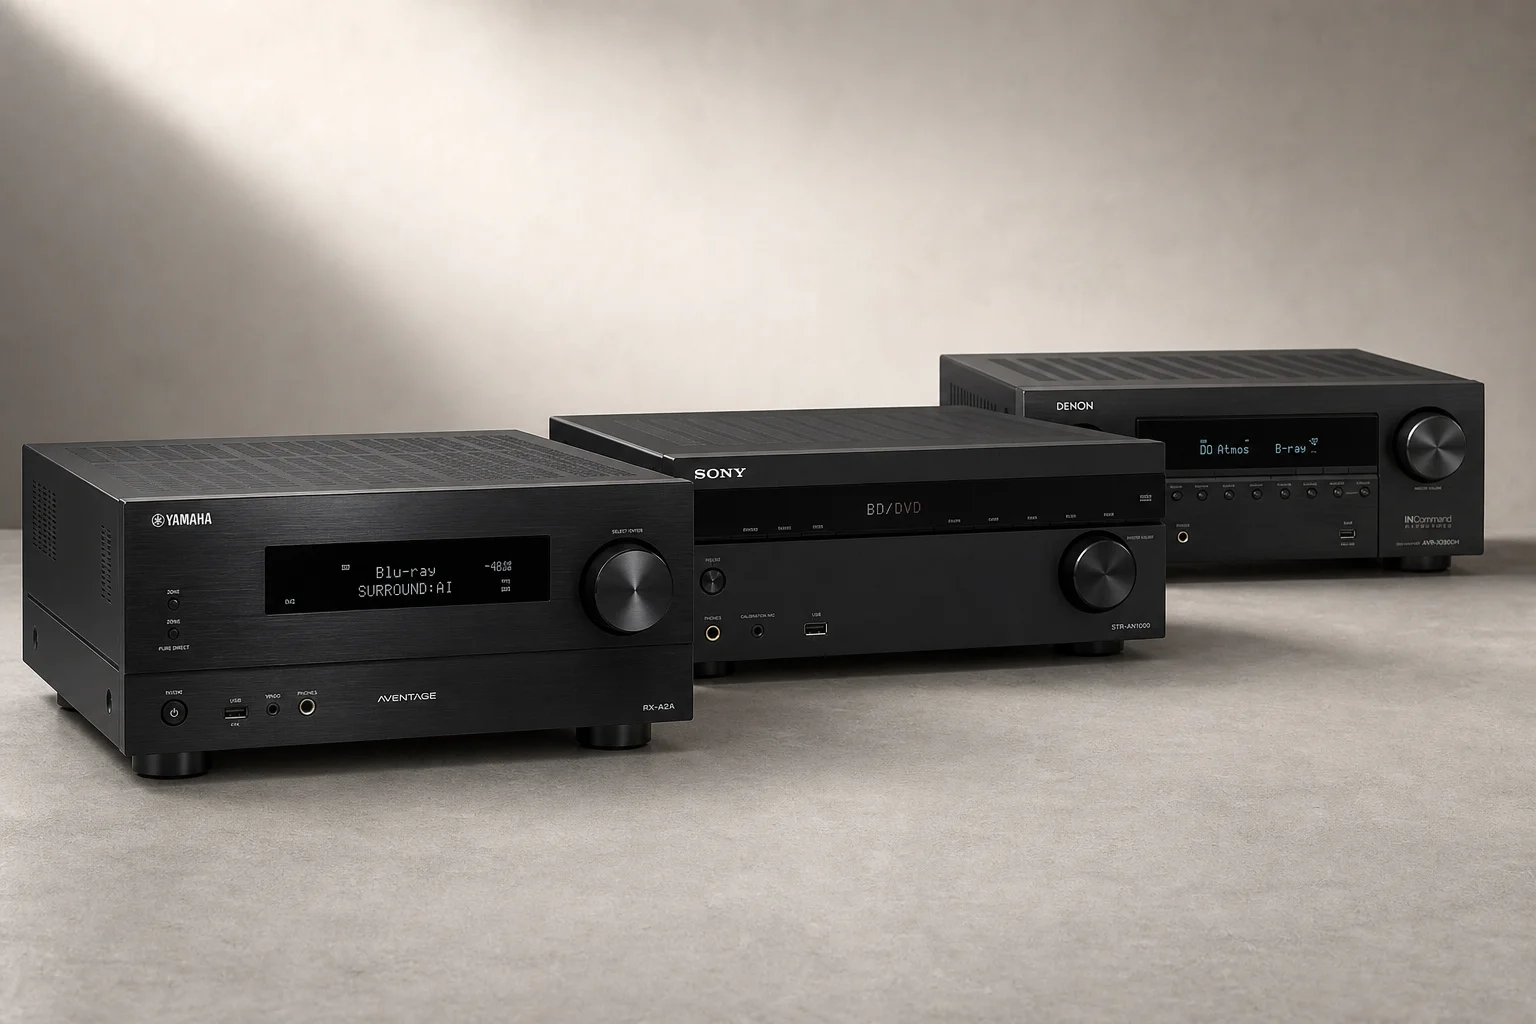
Best Home Theater Receivers 2026: Three Strong Contenders for Music and Movies
Three capable AV receivers that balance home theater performance with music listening, each with distinct strengths in power, connectivity, and room calibration.
Home Theater
Best Premium Soundbar Systems 2026: Eight Flagship Setups Compared
Eight premium soundbar systems from $1,000 to $4,000 tested for vocal clarity, sound stage, surround effects, height performance, and bass.
Home Theater
Best Wireless Surround Sound Systems 2026: Three Options Compared
We compare three wireless surround sound in a box systems from Highense, Valyrian, and Sony to see which offers the best home theater experience without the hassle of running speaker cables.