Backpacking Gear
Ultimate Backpacking Gear Checklist: 7 Essentials Worth Packing
A practical backpacking gear checklist covering sleep insulation, cooking, water treatment, and navigation, with notes on what each pick solves and what to weigh before buying.
Introduction
A backpacking trip goes better when the pack carries exactly what the trip asks for and nothing more. That sounds obvious, but it is one of the hardest habits to build. Without a clear picture of the conditions ahead, it is easy to pack for every imagined emergency and end up with a heavy, awkward load that drains the enjoyment out of the first mile.
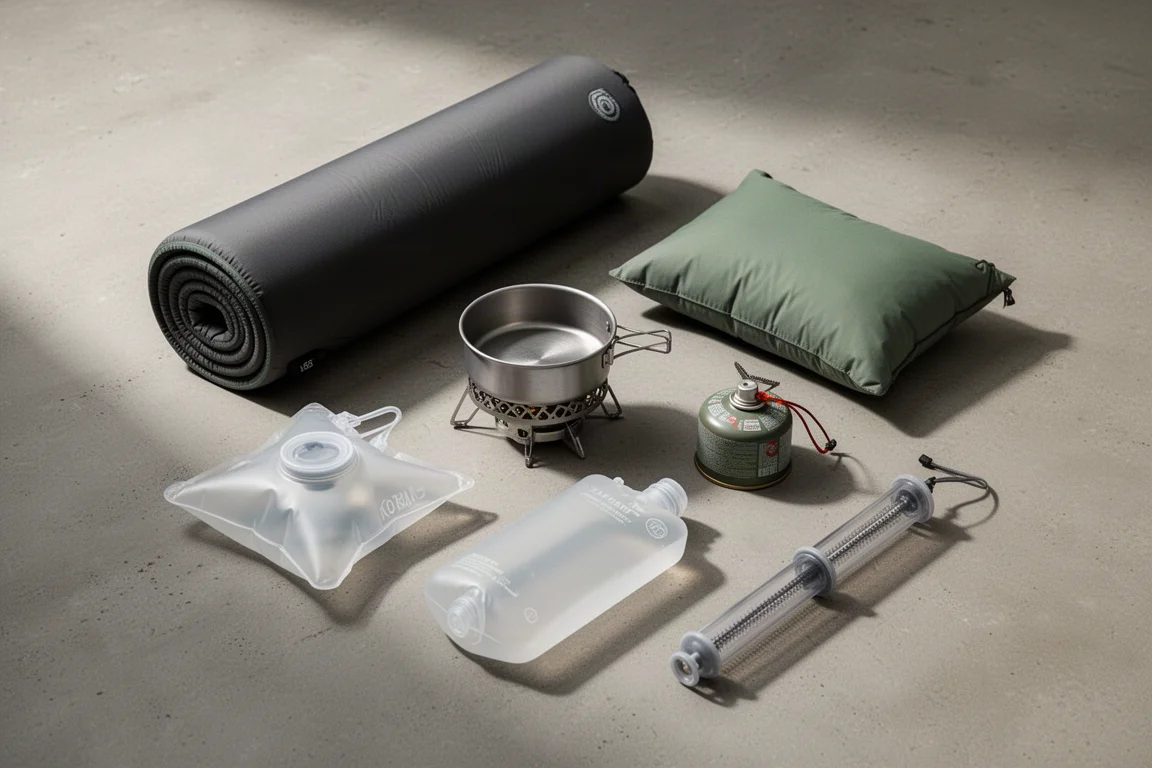
The gear below covers the items that consistently earn their place on a three-season backpacking trip: sleep insulation, a reliable cook setup, water treatment, and navigation. It also notes a few optional additions that add comfort without becoming dead weight. Every pick is here because it solves a specific problem on trail, not because it fills out a checklist.
How to Choose the Right Gear
Gear selection only makes sense after trip planning. Before comparing sleeping bags or stoves, settle the basics: where the route goes, how many nights it runs, which season it falls in, and what weather and conditions are likely. Those answers decide how much insulation, fuel, and water capacity the trip actually requires.
Once the plan is clear, start with the big four: the backpack, the tent, and the sleep system, which covers a sleeping bag or quilt, an insulated sleeping pad, and a pillow. For a first backpack, 50 to 70 liters is a sensible capacity range, and it is worth buying the pack last so every other item is already on hand and can be test-fitted inside it. Fit matters more than features: torso length and hip belt sizing should be measured properly, because the pack has to carry the gear, food, and water comfortably.
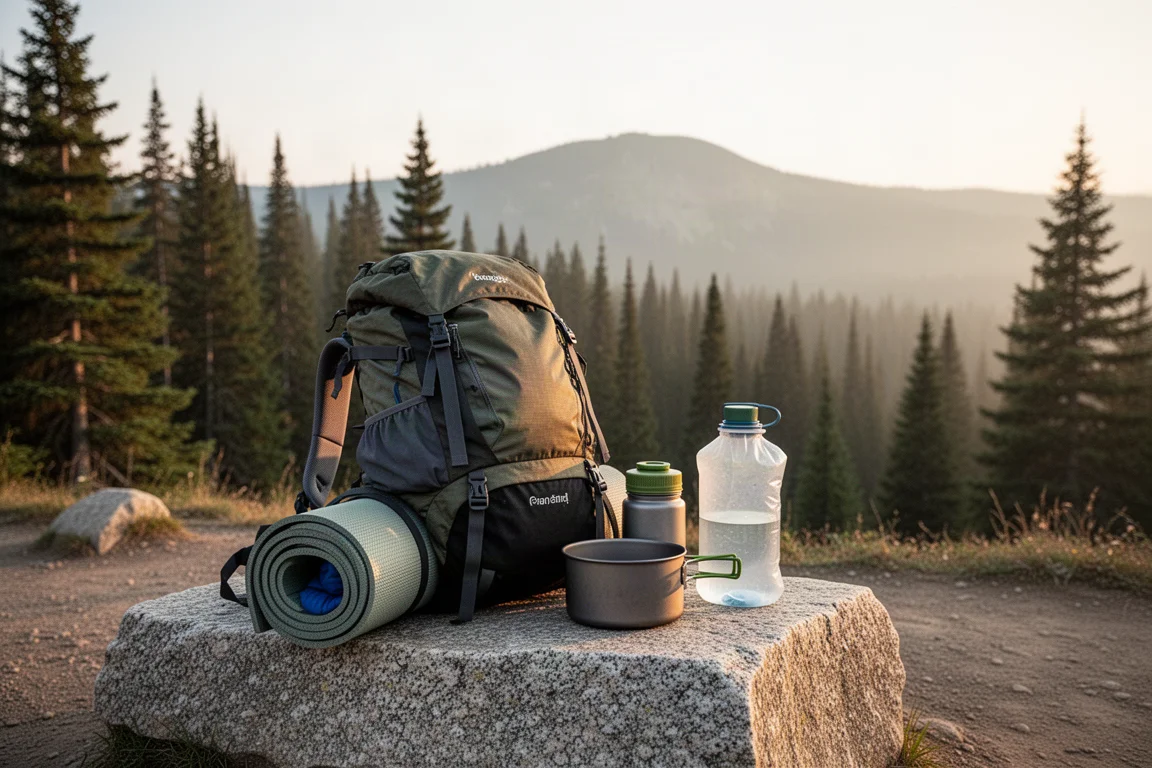
Tent choice comes down to conditions and interior space rather than brand. A fully free-standing tent uses a full pole structure that reaches all four corners, so it stands on its own without stakes. Stakes still matter for holding it down in wind and rain, but the freestanding design usually offers more usable living space and less steeply sloped walls, which makes it a forgiving first backpacking tent. A trekking pole tent is lighter but needs trekking poles and several stakes to pitch, and it can be frustrating for someone who has never set up a tent before.
For the sleep system, insulation is the number that matters. Sleeping pads carry an R-value that describes how much they block cold rising from the ground, and a pad rated R-value 4 or higher is the practical target for three-season trips. A sleeping bag or quilt rated around 20 degrees hits a useful middle ground: warm enough for late spring through early fall without excessive bulk.
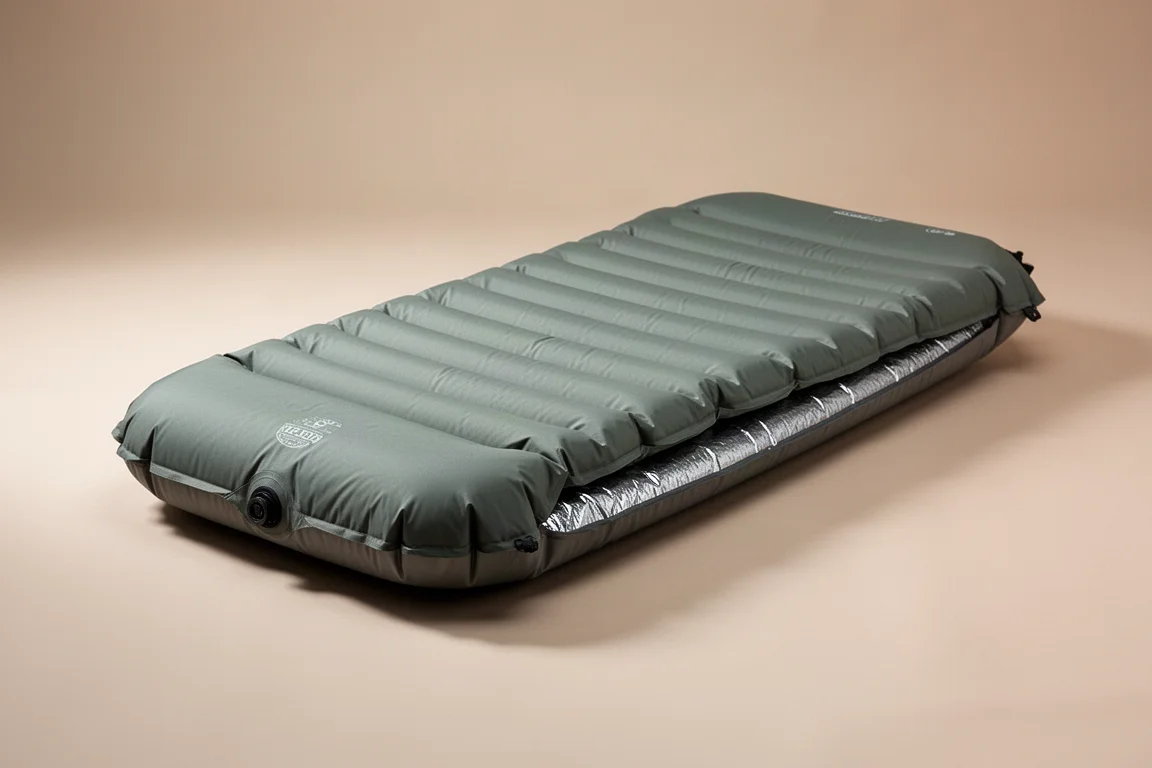
Sleep System: Therm-a-Rest NeoAir Loft
The Therm-a-Rest NeoAir Loft is a thick, cushioned sleeping pad that prioritizes comfort. That thickness is what makes it feel closer to a bed than a thin foam mat, and it pairs well with the R-value guidance above on trips where cold ground is the main threat to a good night of sleep.
It is not the cheapest route to insulation, and it is not the only option available. The larger point is that the pad, not the sleeping bag alone, does most of the work in keeping a sleeper warm.
Pillow Comfort: Zenbivy Soft Top Pillow
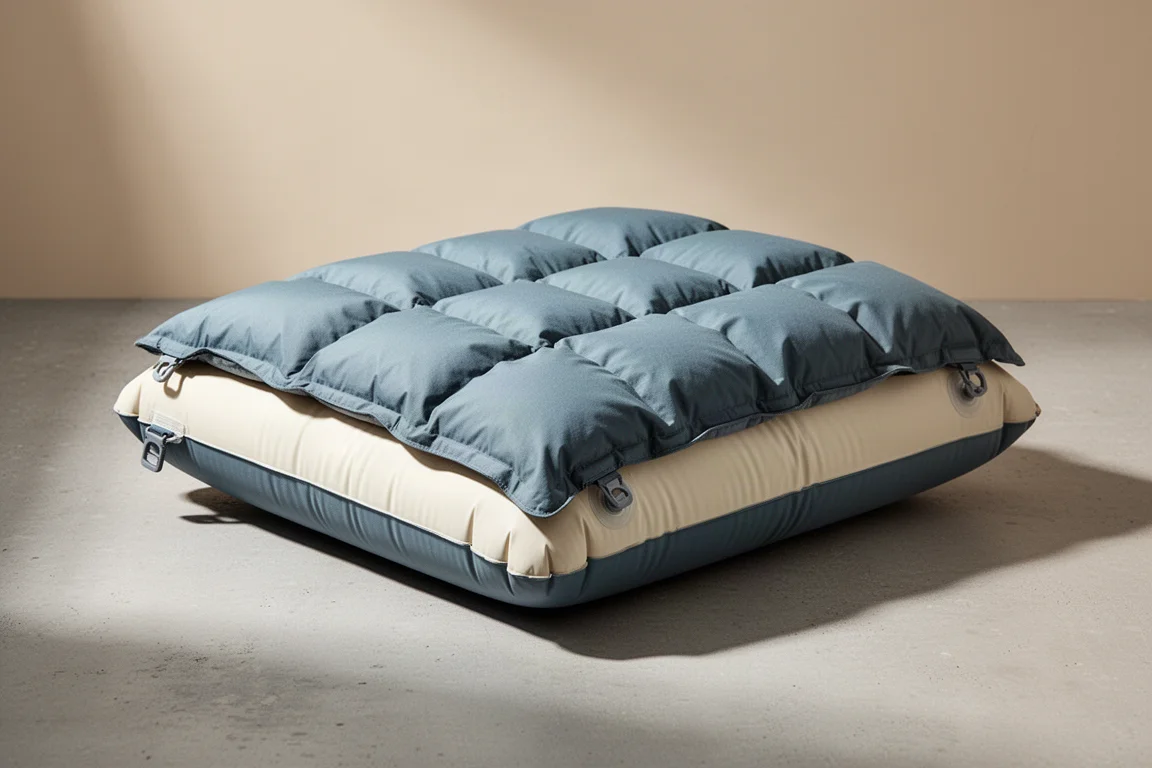
A pillow used to be treated as a luxury. It is better understood as sleep equipment. Anyone who sleeps on a pillow at home will sleep better with one in a tent, and better sleep translates directly into better days on trail.
The Zenbivy Soft Top Pillow adds warmth as well as comfort, which makes it a reasonable inclusion for backpackers who want to protect their rest rather than endure the night.
Cook Kit: Fire-Maple FMS-G3 Pot
Simple cooking covers most backpacking meals: boil water, add it to a freeze-dried meal, eat. For that routine, pot capacity matters far more than material or extra features. A pot between 600 milliliters and 1 liter gives enough volume for the meals a typical trip involves.
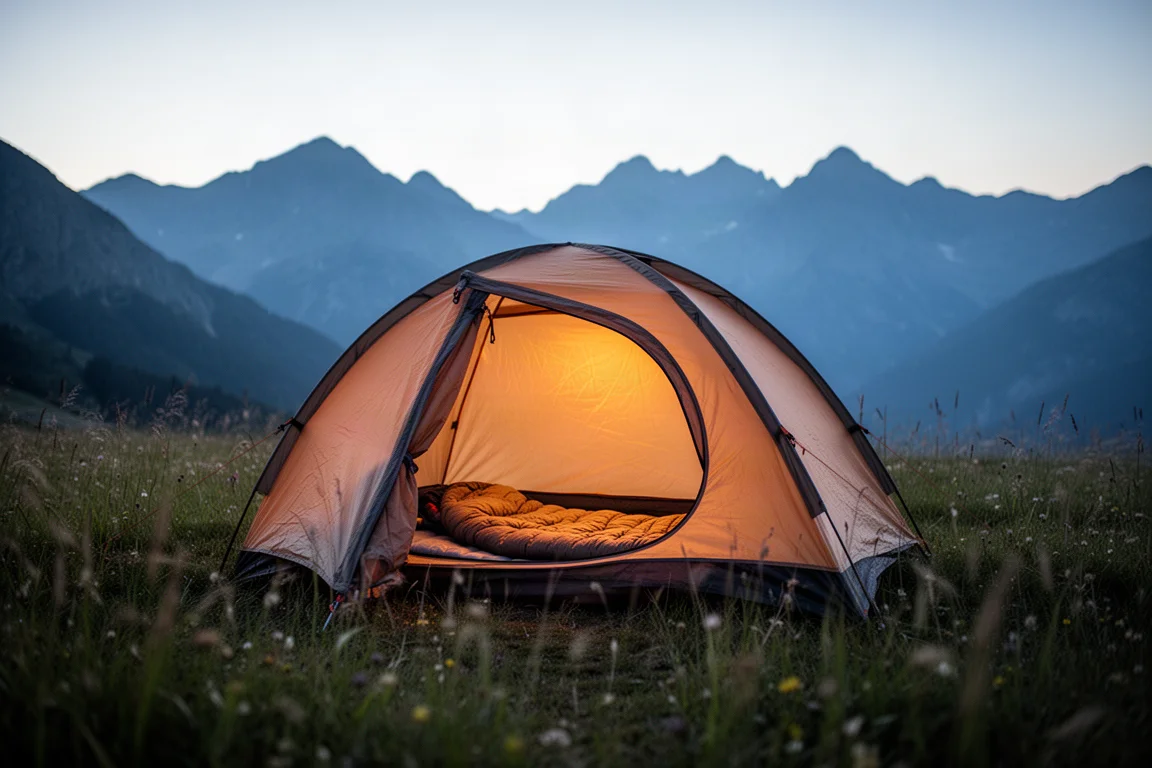
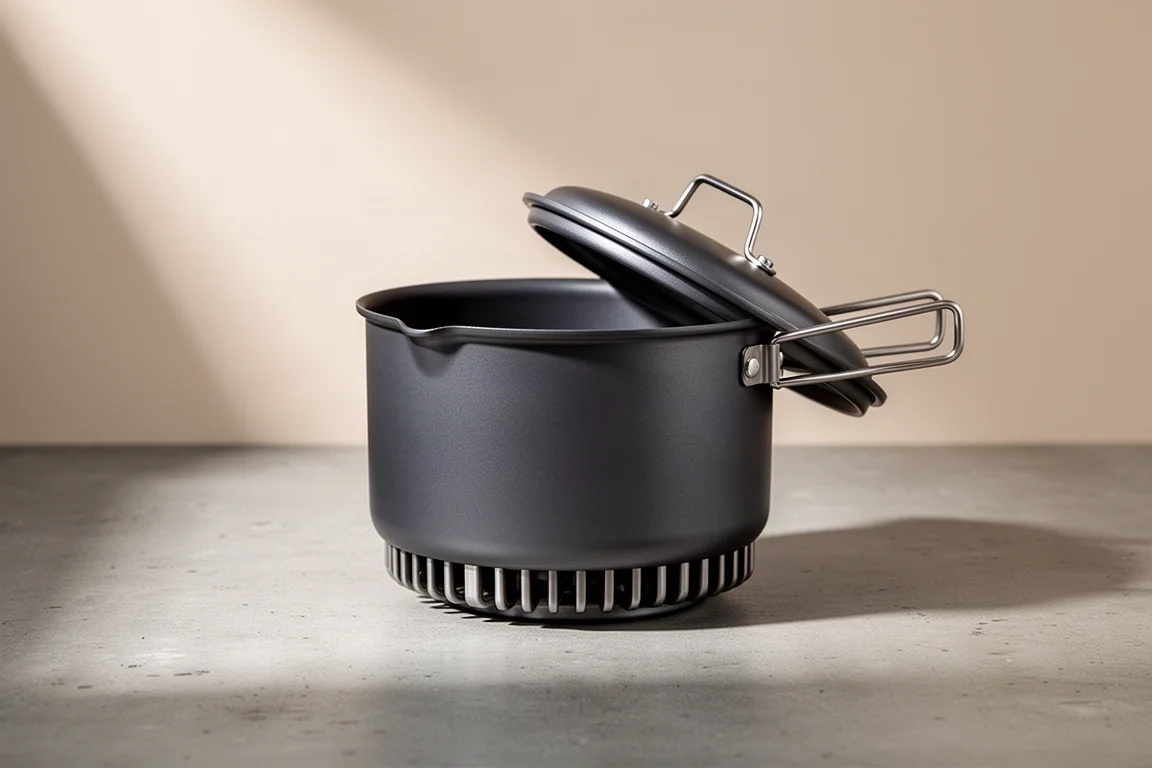
The Fire-Maple FMS-G3 is a 600 milliliter pot with a heat exchanger on the base, which speeds up boiling. A long-handled titanium spoon makes eating straight from a tall freeze-dried bag easier, and a durable roll-top food bag protects supplies from animals. A small garbage bag belongs in the cook kit as well, so trash and other smellables can be sealed away.
Canister Stove: Fire Maple Green Peak Stove
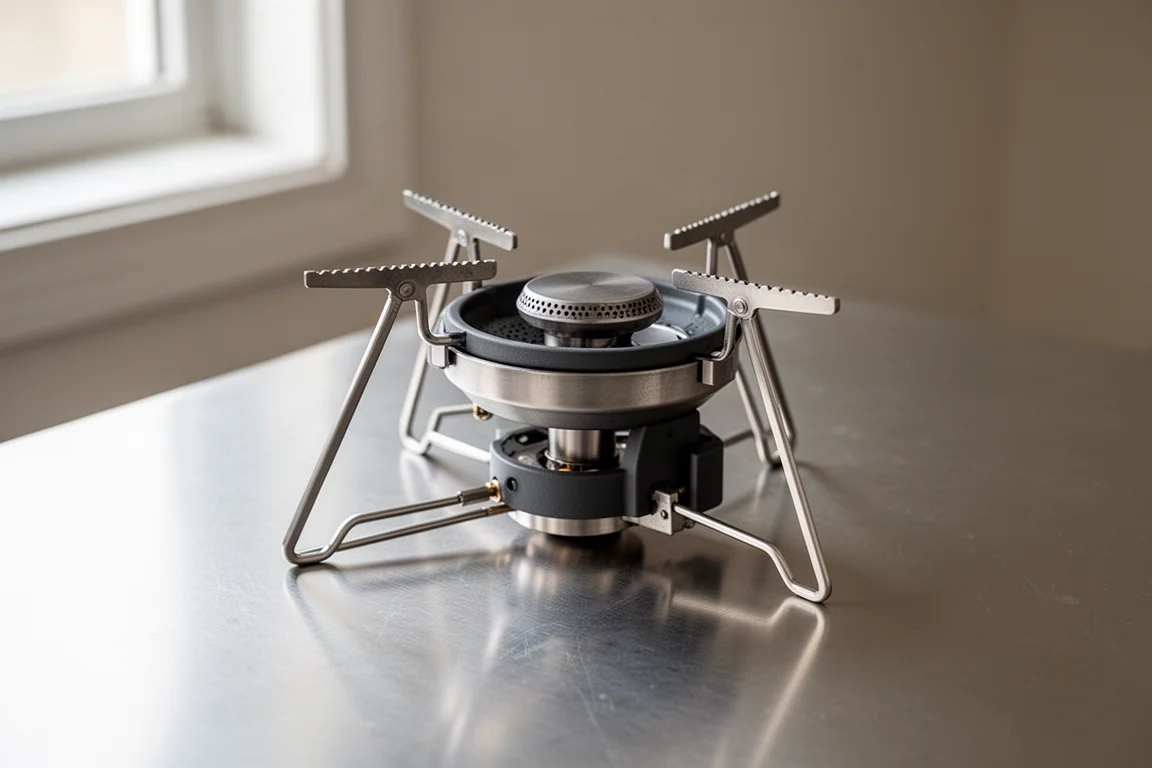
A canister stove keeps the cooking system simple. The Fire Maple Green Peak is low cost, easy to operate, and threads onto a standard isobutane canister. A 100 gram canister is usually enough fuel for a typical trip, with larger sizes available for longer outings or more ambitious cooking.
Even with a piezo igniter on the stove, a lighter is worth carrying as a backup. It costs almost nothing and removes a common failure point from the evening routine.
Water Collection: Katadyn Vecto
Clean drinking water deserves two separate containers: bottles for water that is already safe, and a bag for water that has not been treated yet. Two 1 liter bottles give 2 liters of clean capacity, a comfortable amount to have at camp even on trips where water sources are frequent enough to carry less during the day.
The Katadyn Vecto is a 2 liter collection bag with a wide opening that makes scooping from a stream or pool straightforward. Its outlet connects to a hollow fiber filter, which turns collection and treatment into one continuous step.
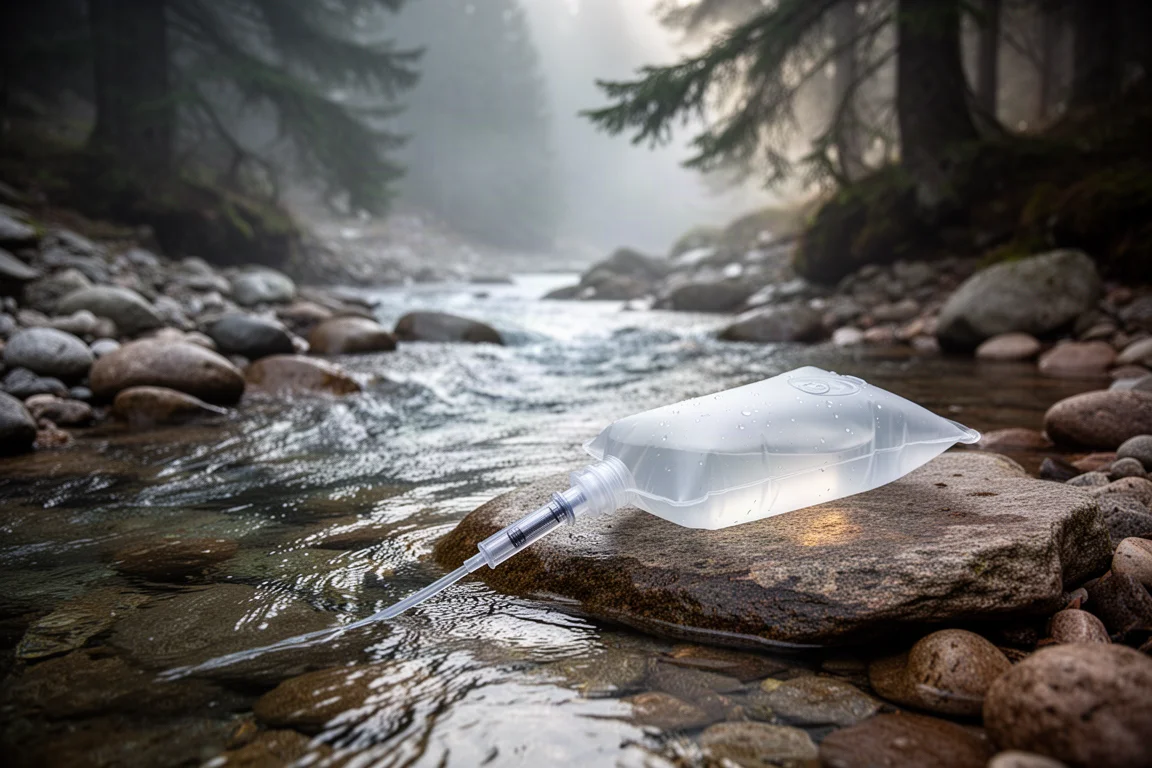
Filtering is not optional. Assuming a mountain stream is clean is a risk with real consequences, and a collection bag that is easy to fill is what makes consistent filtering realistic.

Water Filtration: Sawyer Squeeze
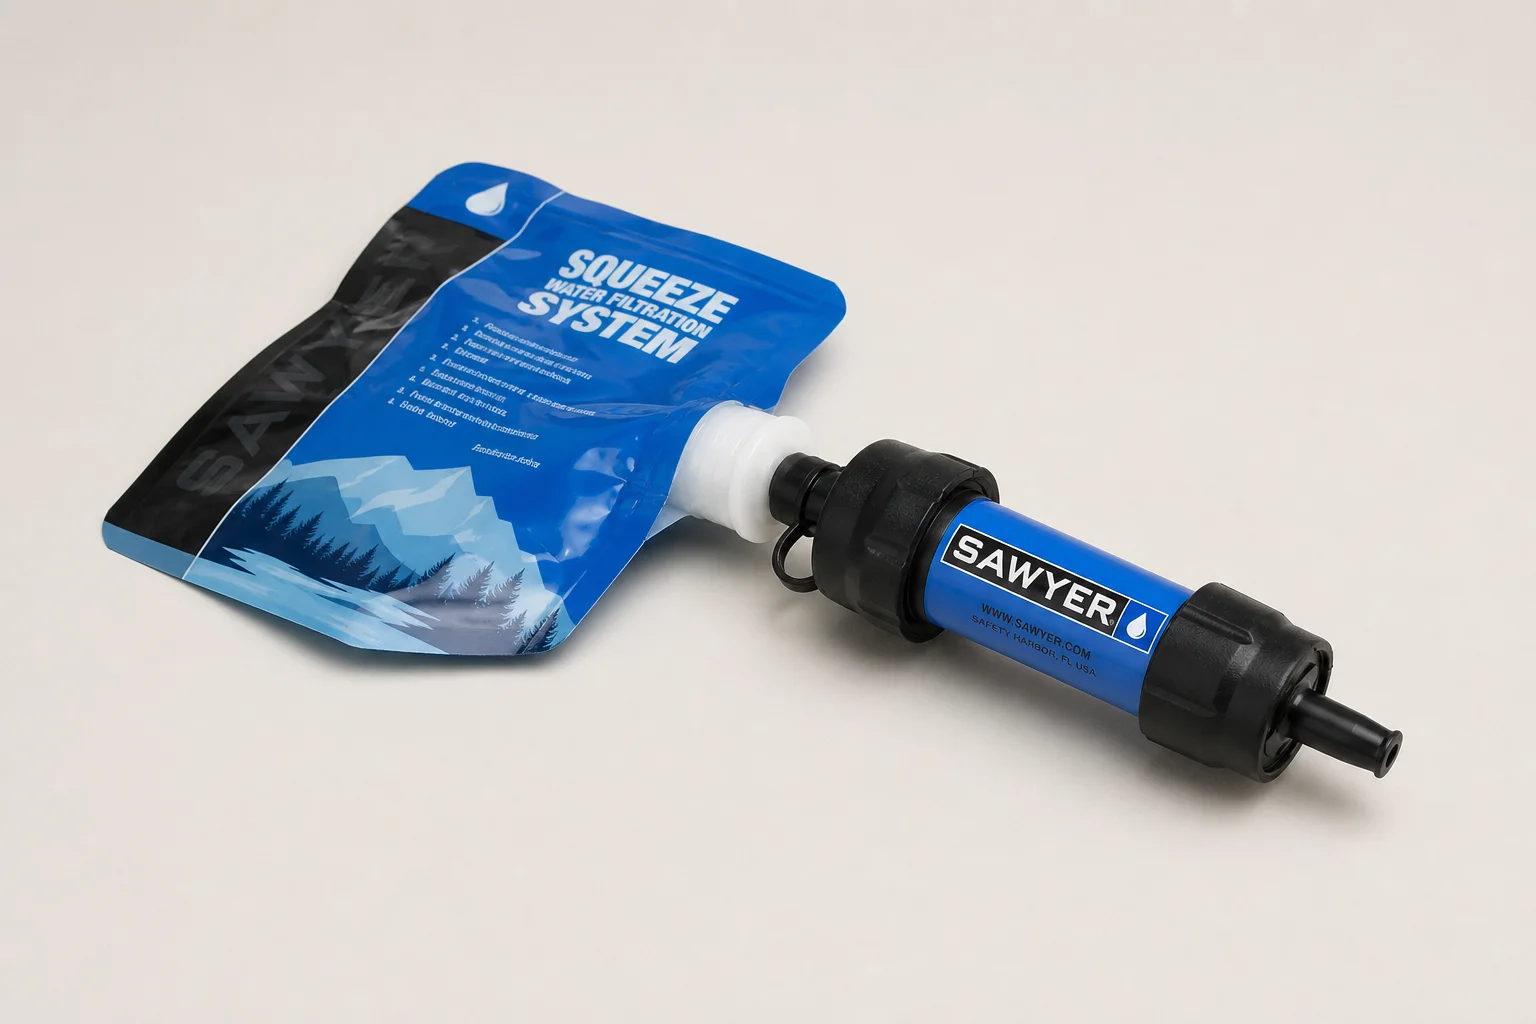
The Sawyer Squeeze is a hollow fiber filter that screws onto the collection bag and pushes clean water into a bottle. It is a no-fuss system: fill, squeeze, drink. Pump filters and UV treatment are also available and some backpackers prefer them, but the squeeze format keeps the process quick enough to do without thinking about it.
A backup treatment method is worth considering for longer or more remote trips. Boiling works, and chemical treatment tablets offer a lightweight second option if a filter fails. Traveling with a group, carrying multiple filters spreads the risk further.
Navigation and Trip Planning: onX Backcountry
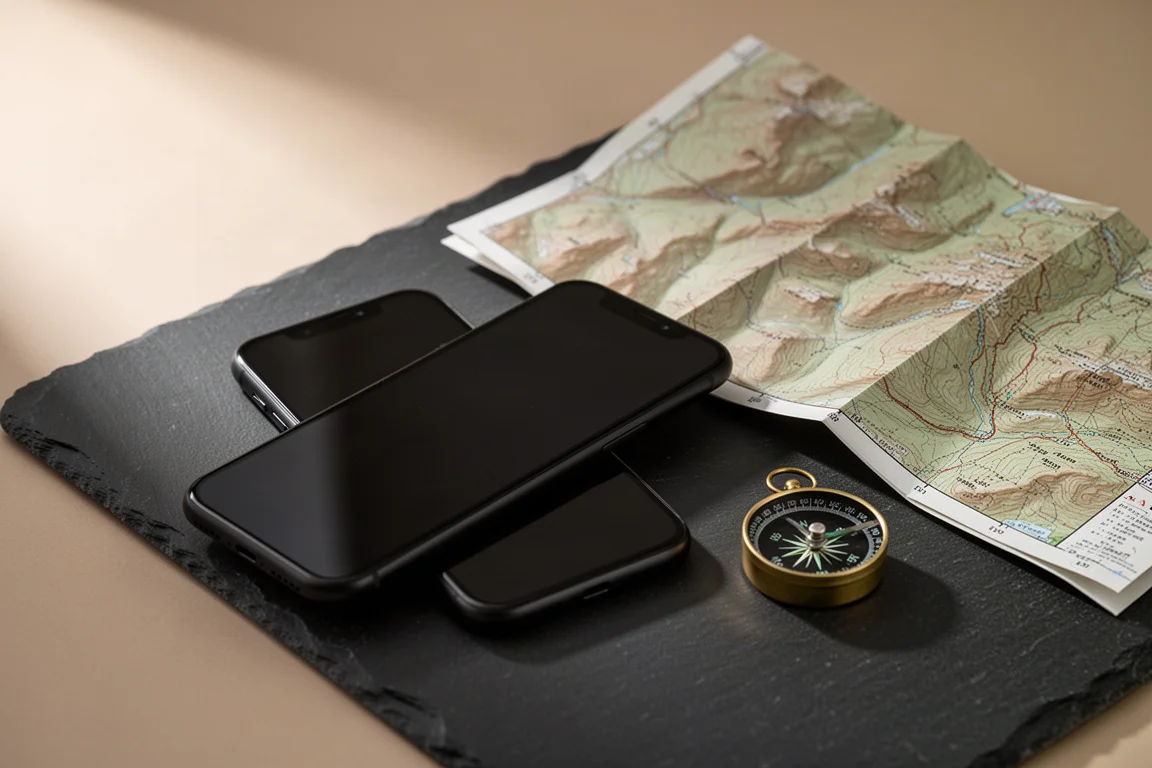
Since a phone is already along for the trip, offline maps are the practical navigation solution. onX Backcountry lets maps be downloaded before leaving, so route and terrain data stay available without a signal.
The rest of the miscellaneous kit is small but necessary: a headlamp for cooking and tent time after dark, a repair kit for tears in insulation layers, a tent or a sleeping pad, a first aid kit, and a hygiene and waste kit that includes hand sanitizer, a trowel for digging a cathole six to eight inches deep, and toilet paper or wipes. Some areas require waste to be packed out in a wag bag.
A satellite communication device is not strictly required, but it allows check-ins with family and a way to call for help. It is one of those items that many backpackers end up carrying on every trip once they own one.
Overall Buying Advice
Spend first on sleep insulation and water treatment. Those two systems decide whether a trip is comfortable and safe, and they are the hardest to improvise once on trail. Weather protection comes next: a waterproof, windproof shell plus a layering system built from a quick-drying base layer, a lightweight grid fleece mid-layer, and a down or synthetic insulation layer.
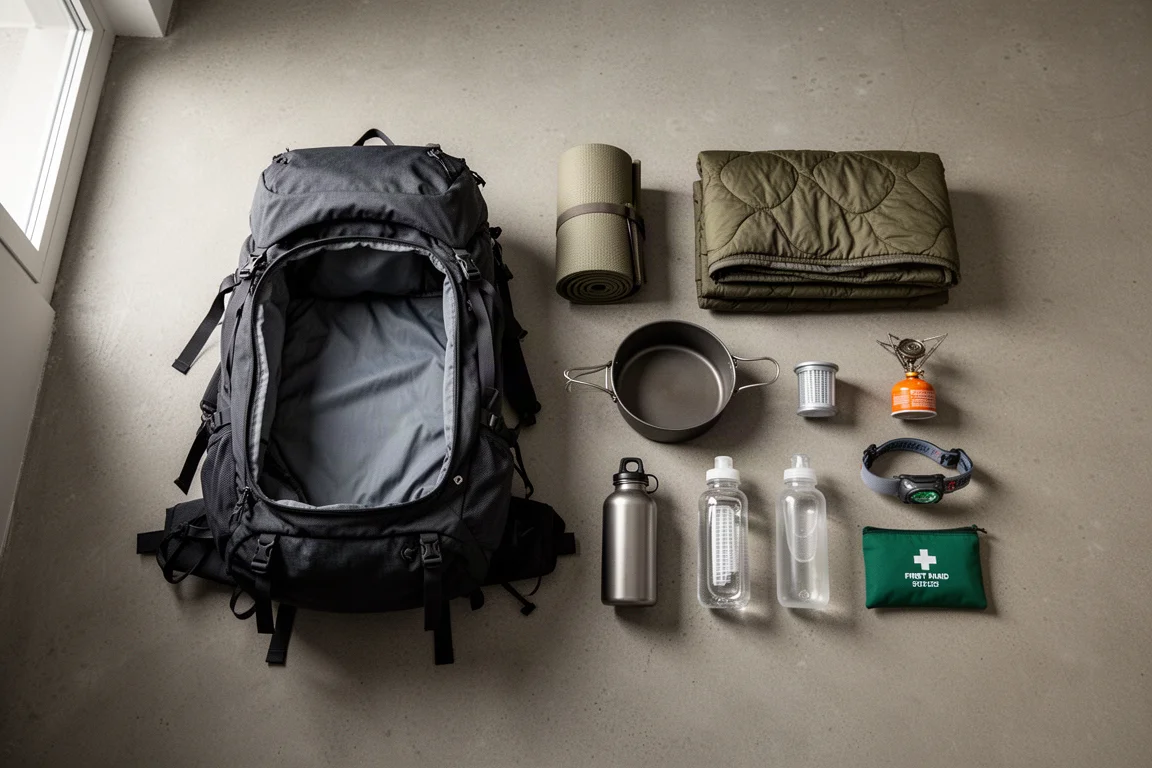
Buy the backpack last, after the rest of the gear is chosen, so the pack is sized to what it actually has to carry. Optional items can wait. Trekking poles help with balance and take pressure off the knees on descents, a battery bank of at least 5,000 mAh covers a weekend of charging, a bear rope helps where food must be hung, and a camp chair adds comfort for 1 to 2 pounds. None of them are required, and none of them should come before the core systems.
Conclusion
A good backpacking kit is not the longest list of gear. It is the shortest list that still covers insulation, cooking, water, navigation, and weather protection for the trip at hand. Start with the plan, build the big four around it, and add comfort items only when they earn their weight. Packed that way, the load stays manageable and the trip stays enjoyable.
Further reading
Related Reviews

Backpacking Gear
Building a 10 lb Base Weight: An Ultralight Backpacking Gear List
A practical walkthrough of the ultralight pieces behind a 10 lb base weight, from a 765 g pack and a roomy one-person tent to a full camp chair and a dependable water filter.
Backpacking Gear
A 15-Pound Lightweight Backpacking Gear List for Solo Trips
A beginner-friendly 15-pound backpacking setup built from easy-to-find gear, with notes on what each piece does, how it packs, and where to spend your attention.
Backpacking Gear
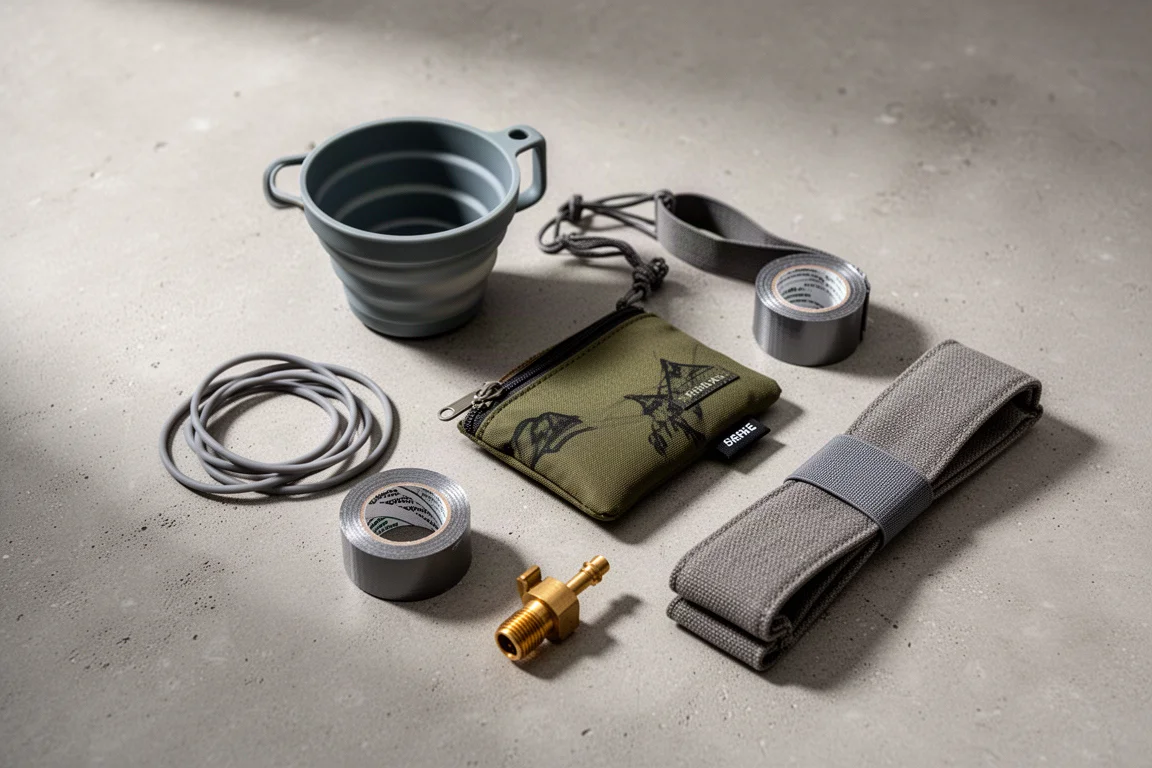
8 Ultralight Backpacking Gear Upgrades Worth Carrying
Eight small, affordable backpacking upgrades that solve real trail annoyances, from a pillow that stays put to a fuel valve that rescues leftover canister gas.