Backpacking Gear
A 15-Pound Lightweight Backpacking Gear List for Solo Trips
A beginner-friendly 15-pound backpacking setup built from easy-to-find gear, with notes on what each piece does, how it packs, and where to spend your attention.
Introduction
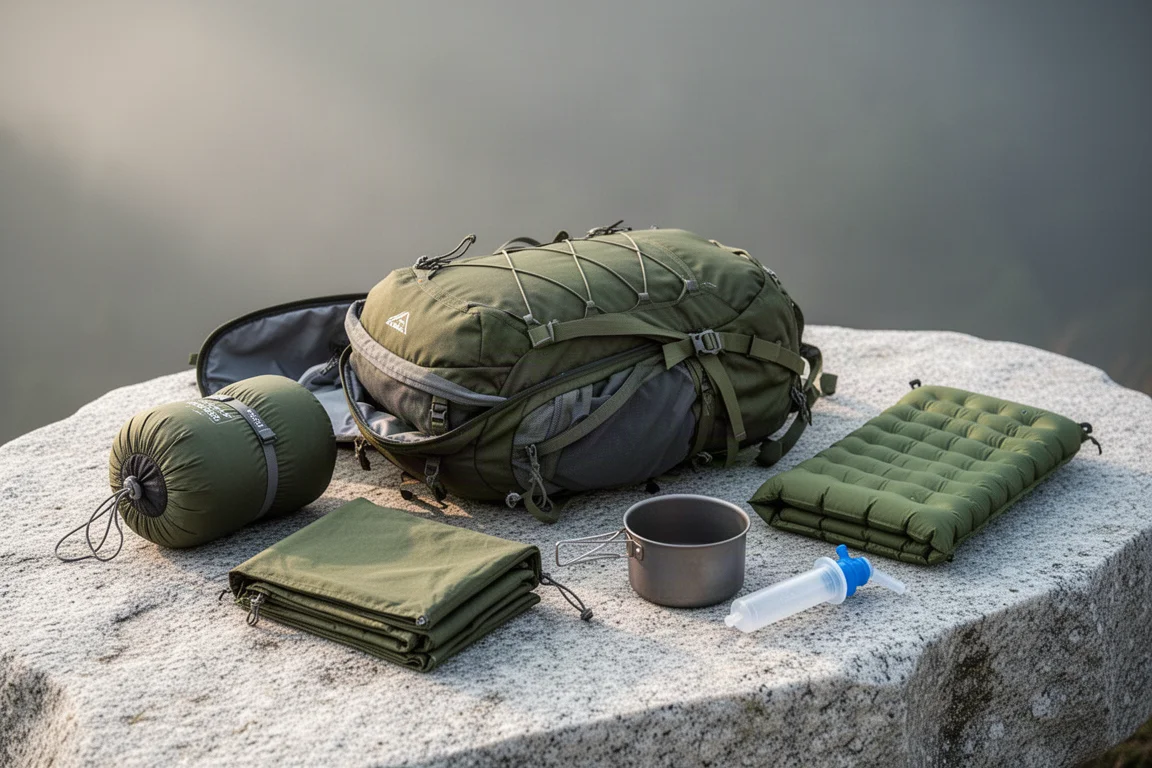
A 15-pound pack is a realistic target for a first solo backpacking setup, and it does not require exotic gear. The list below is deliberately ordinary: a 34-liter pack, a sleeping bag, a one-person tent, a pad, a pillow, an all-in-one stove, a water filter, a satellite device, and a handful of small items that quietly do a lot of work. Put together, the whole kit weighs 15 pounds dry.
Dry is the important word here. What you can carry in food decides how long the setup lasts, so the rest of the list is arranged to leave as much interior space free as possible.
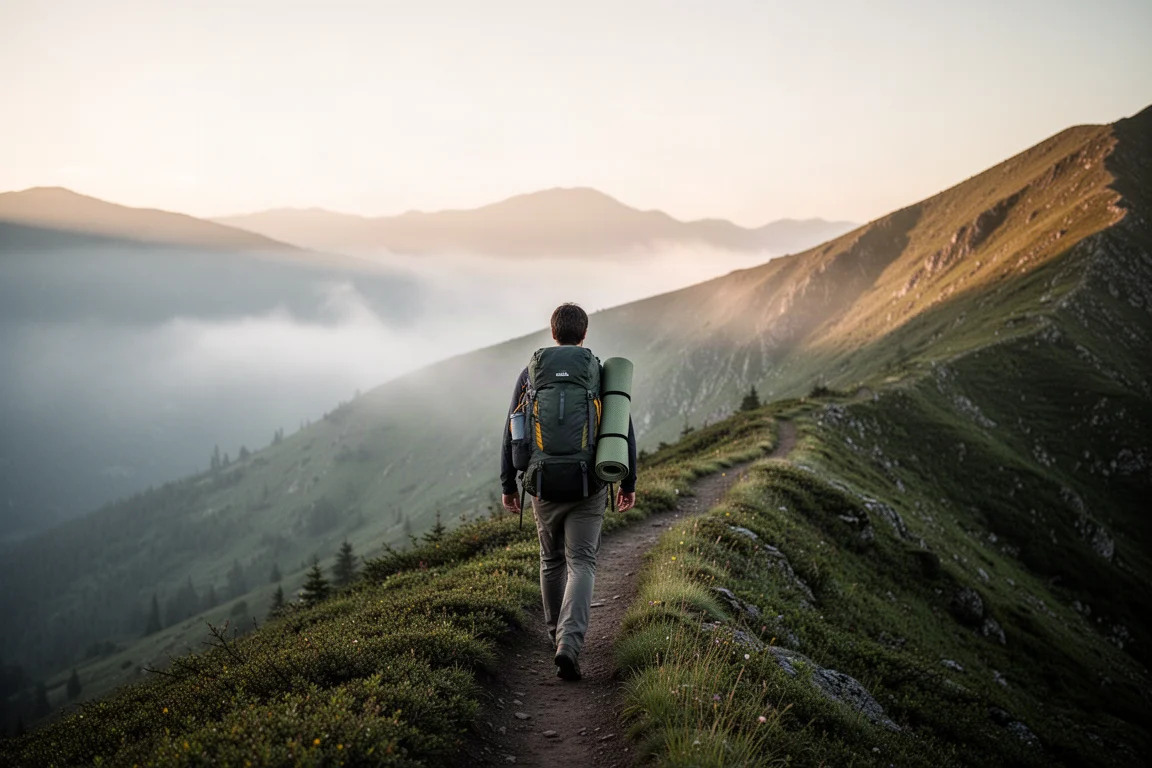
It is also worth saying that gear is personal. A taller, heavier side sleeper will want a different sleep system than a smaller back sleeper, and pack volume, clothing, and cooking choices shift with the person carrying them. Treat this as a starting point that can be adapted piece by piece rather than a fixed prescription.
The Backpack: Osprey Stratos 34
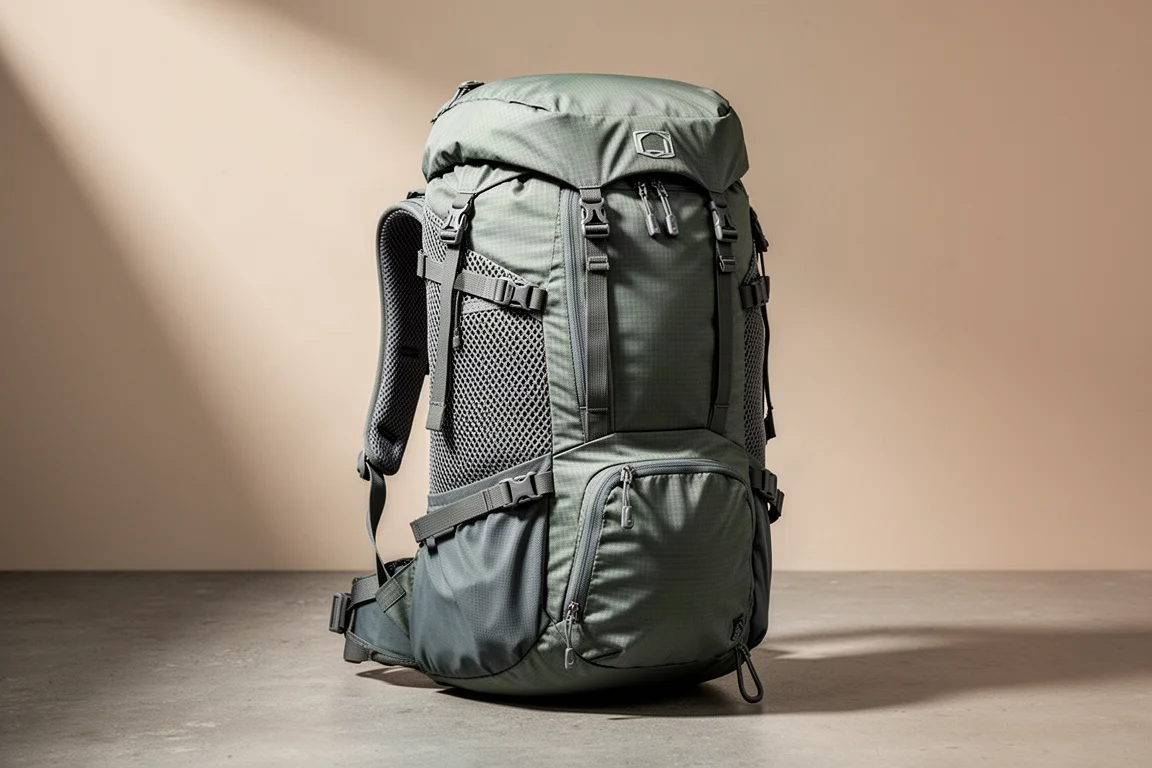
The Osprey Stratos 34 is the frame that everything else hangs on. The name comes from its 34-liter capacity, which is enough for an overnighter and still workable for trips of several days if the food load stays sensible. It has plenty of pockets and straps, which makes it easy to organize and easy to lash bulky items such as tent poles to the outside. It is also compatible with a 3-liter hydration reservoir, although this setup uses bottles instead.
Choosing the pack first makes sense because it sets the limit for everything else. If the interior fills up, the trip gets shorter.
The Sleeping Bag: Nemo Disco 15
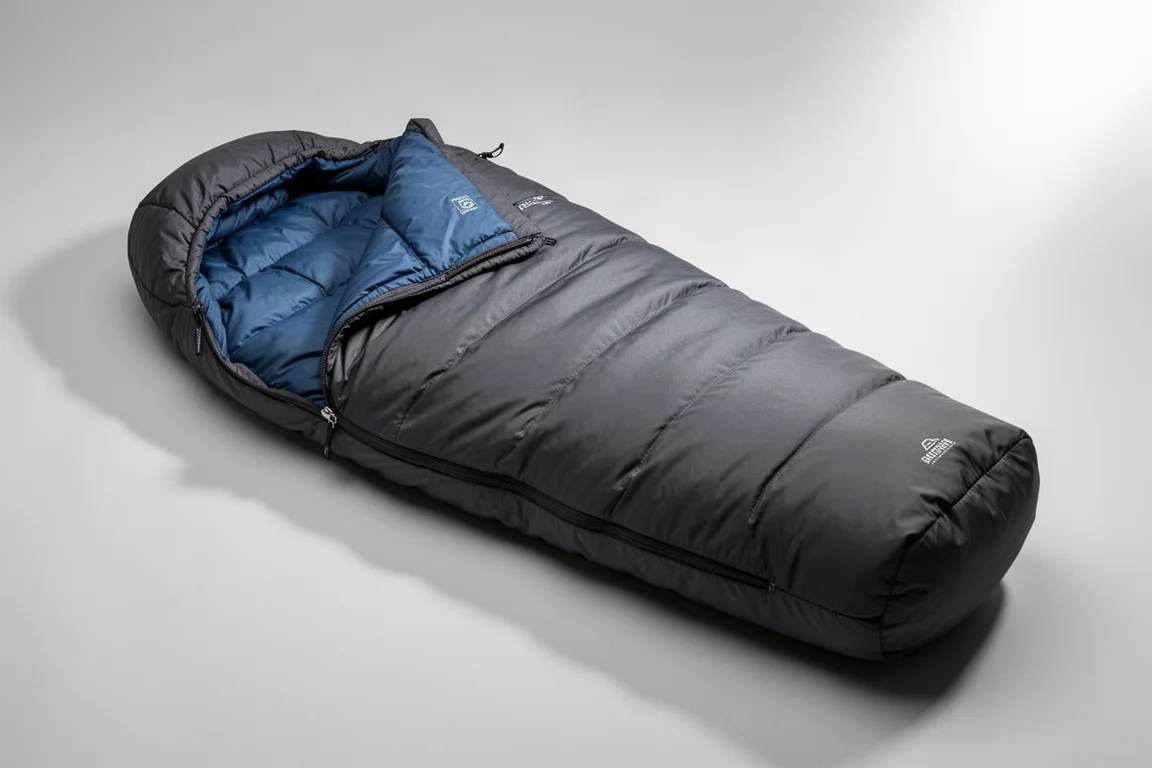
Quilts and blankets have plenty of fans, and a sleeping bag can look like the heavier option. Most people already own one, though, and it remains the simplest way to start. The Nemo Disco 15 is the bag used here, and it pairs with the pad and pillow described below to make up the sleep system.
A sleeping bag is also the easiest piece of the kit to swap out. If you already own something similar, there is no need to replace it before your first trip.
The Tent: Nemo Hornet 1-Person Ultralight Tent
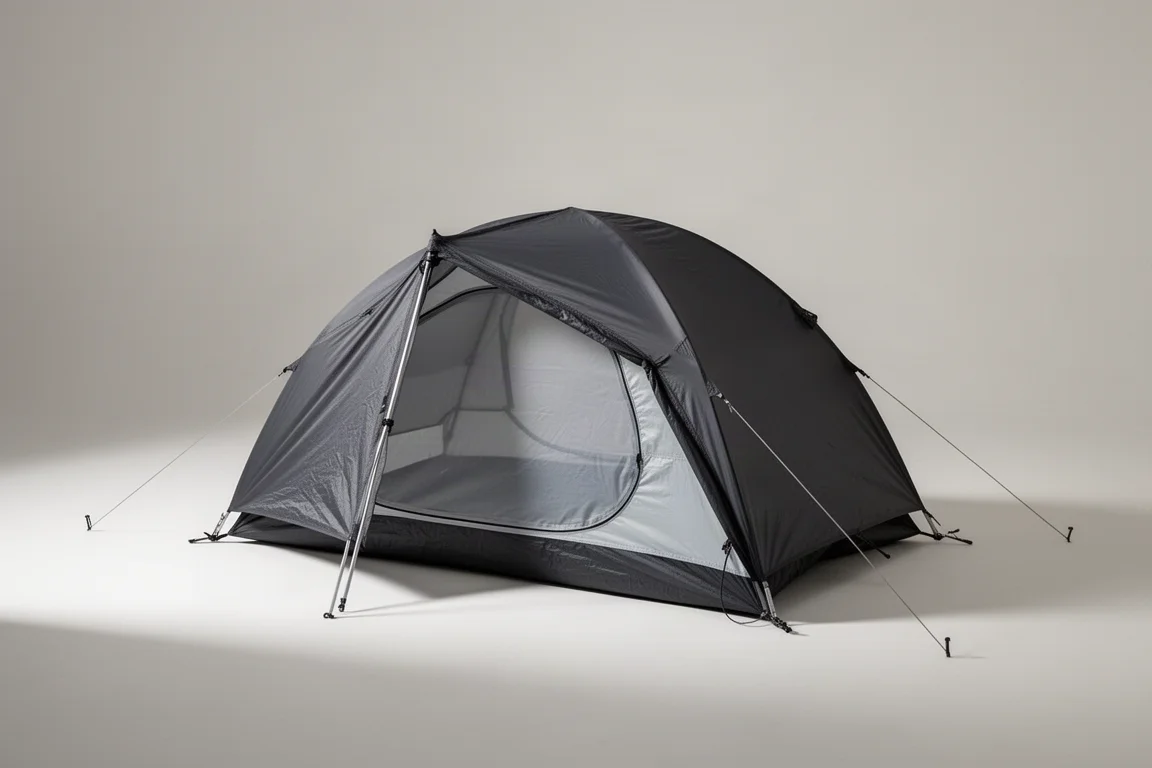
Hammocks and bivy sacks are valid alternatives, but a tent is the most forgiving choice for a beginner. The Nemo Hornet 1-person ultralight tent is light enough to carry comfortably, quick to pitch, and easy to place on a patch of flat ground. It also has a vestibule, which is where a pack and other gear stay protected from rain overnight.
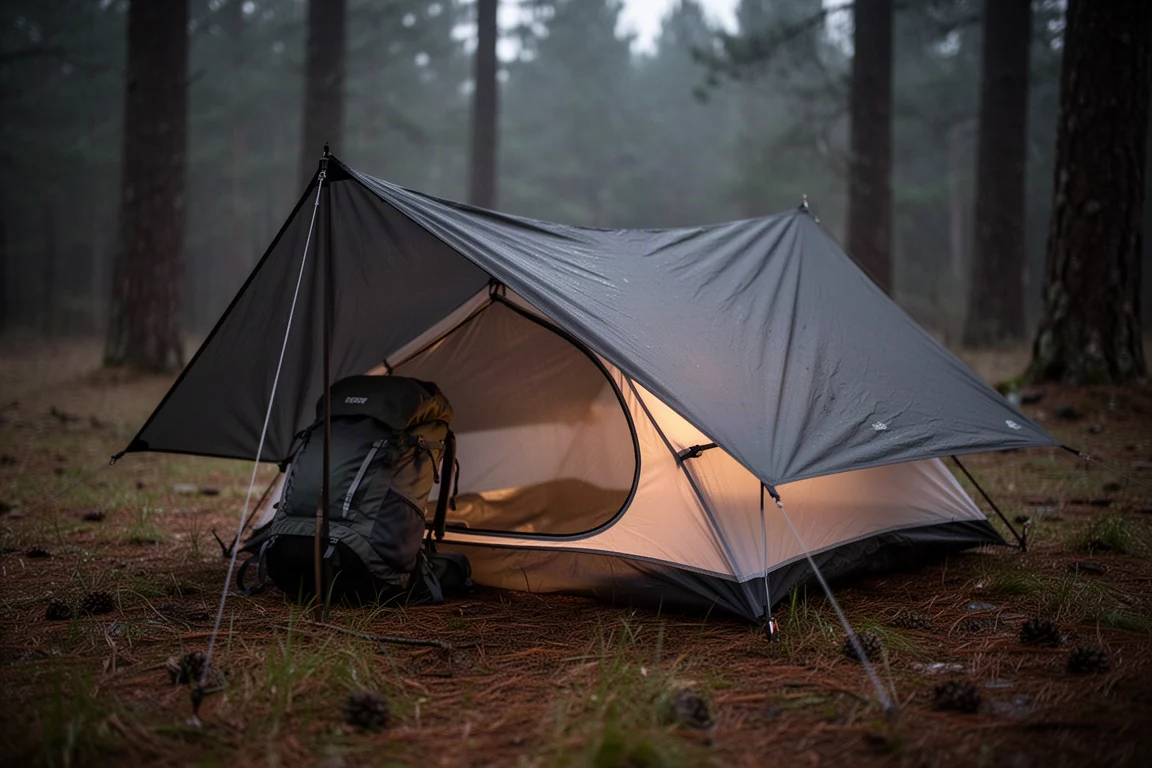
One packing habit is worth copying: separate the poles from the canopy and strap them to the outside of the pack. The interior then stays free for food, and food volume is what decides how many days the setup can support.
The Sleeping Pad: Nemo Tensor Insulated Long Wide
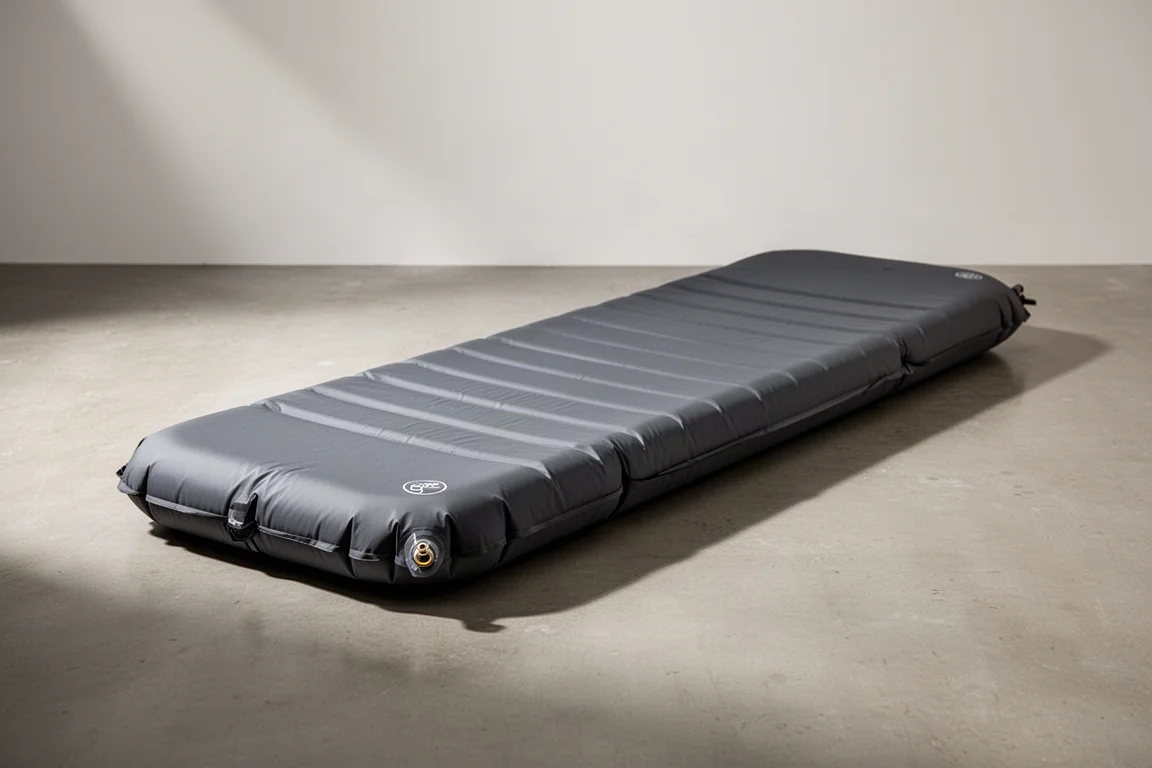
The pad is the Nemo Tensor insulated in the long wide size. Length and width matter more than most beginners expect. A smaller sleeper will get noticeably more usable room out of the same 34-liter pack, while a larger one will appreciate the extra surface area at night.
Insulation is part of the name here, and that is what keeps the pad from pulling warmth out of a sleeping bag on cold ground.
The Pillow: Sea to Summit Down Pillow
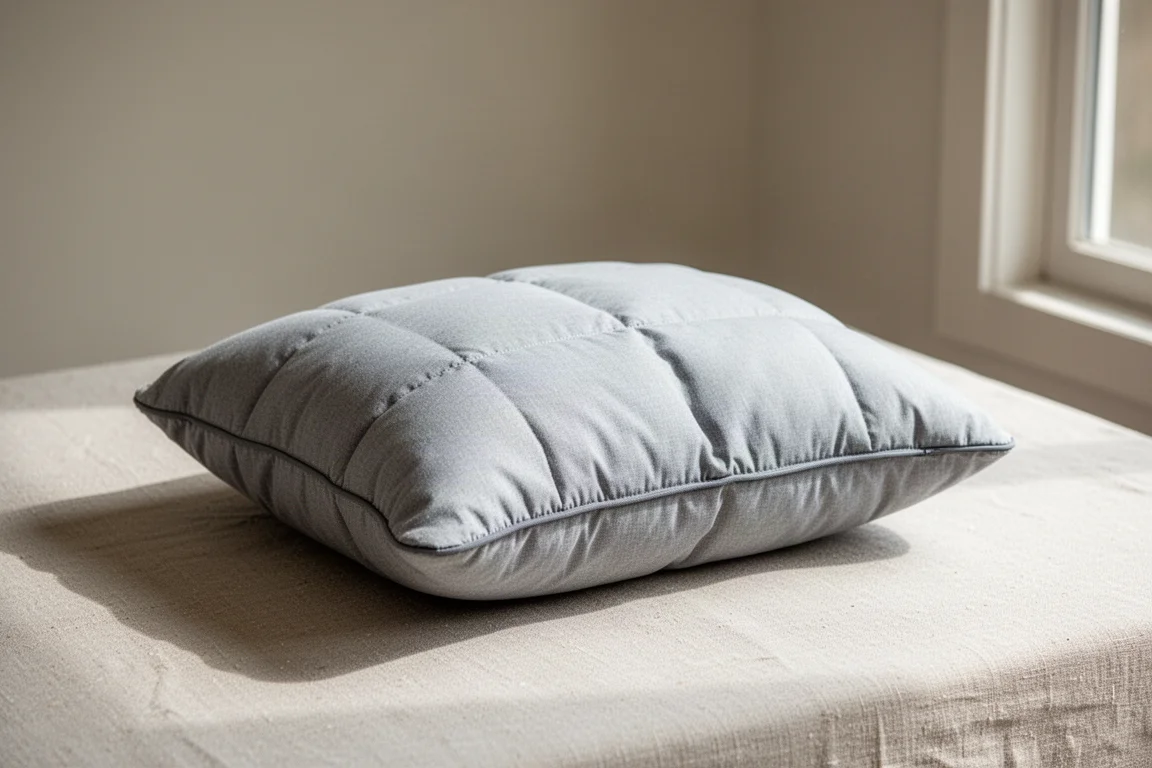
A pillow is one of those items that looks optional until the second night. The Sea to Summit down pillow uses down fill, which adds a little insulation under the head and packs down small enough to push into the top of the bag.
It is a small comfort rather than a critical piece, and it is the first thing to leave behind if space gets tight.
The Stove: Jetboil Mini
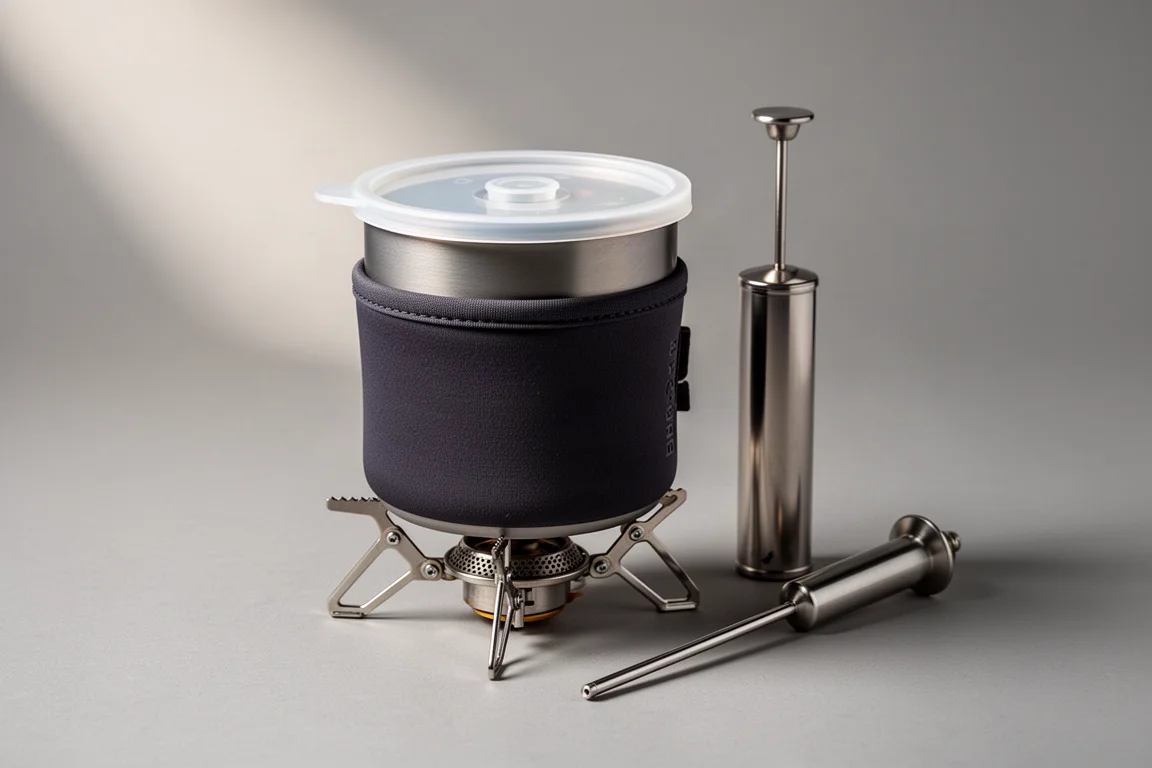
The Jetboil Mini handles cooking and coffee. Minimalist backpackers might argue for a bare burner and a separate pot to save weight and space, and they would have a point. What the Jetboil offers instead is a plug-and-play system that is easy to use even on a first trip: set it up, boil water, and get on with the day.
Fuel is not part of the stove, so remember to add a canister before you leave.
The Exped Widget: Pump, Light, and Power
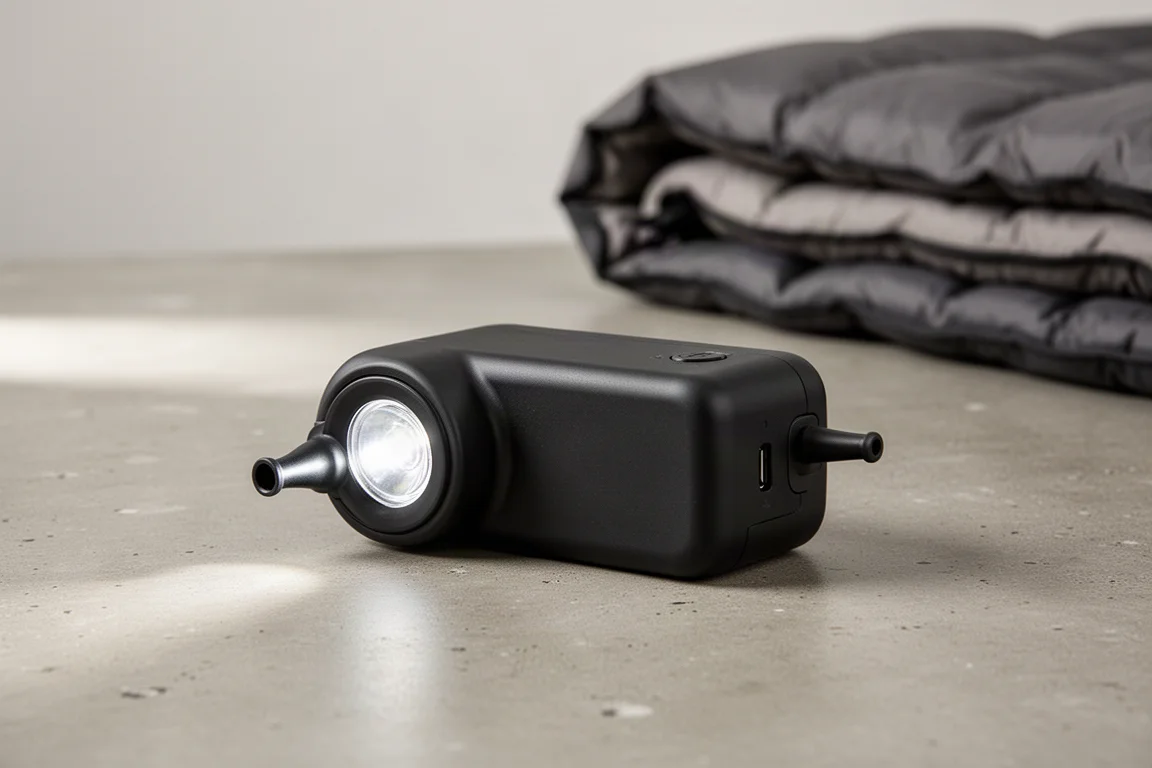
The Exped Widget is a small multi-purpose gadget that inflates the sleeping pad and the pillow, doubles as a light, and works as a charging station for the small electronics in the pack.
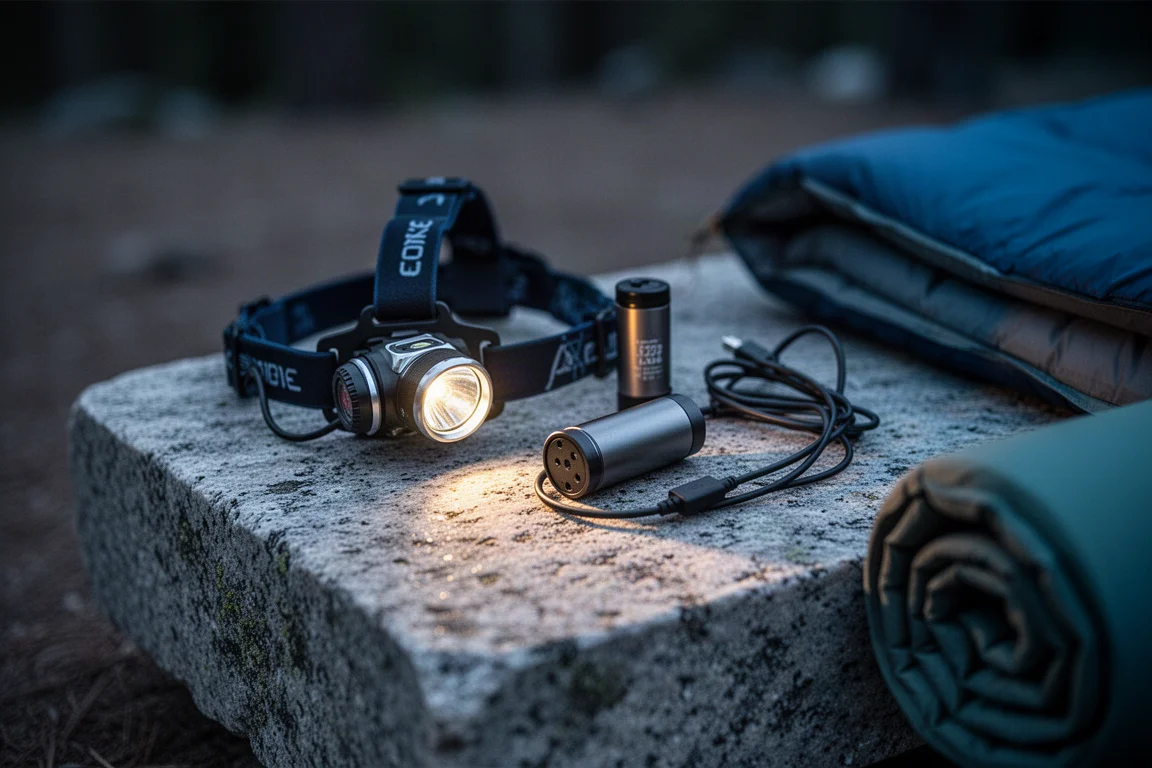
That combination removes a few separate items from the list, which is exactly the kind of trade that keeps a beginner setup simple. It also means the pad and pillow are inflated without effort at the end of a long day.
The Sawyer Water Filter
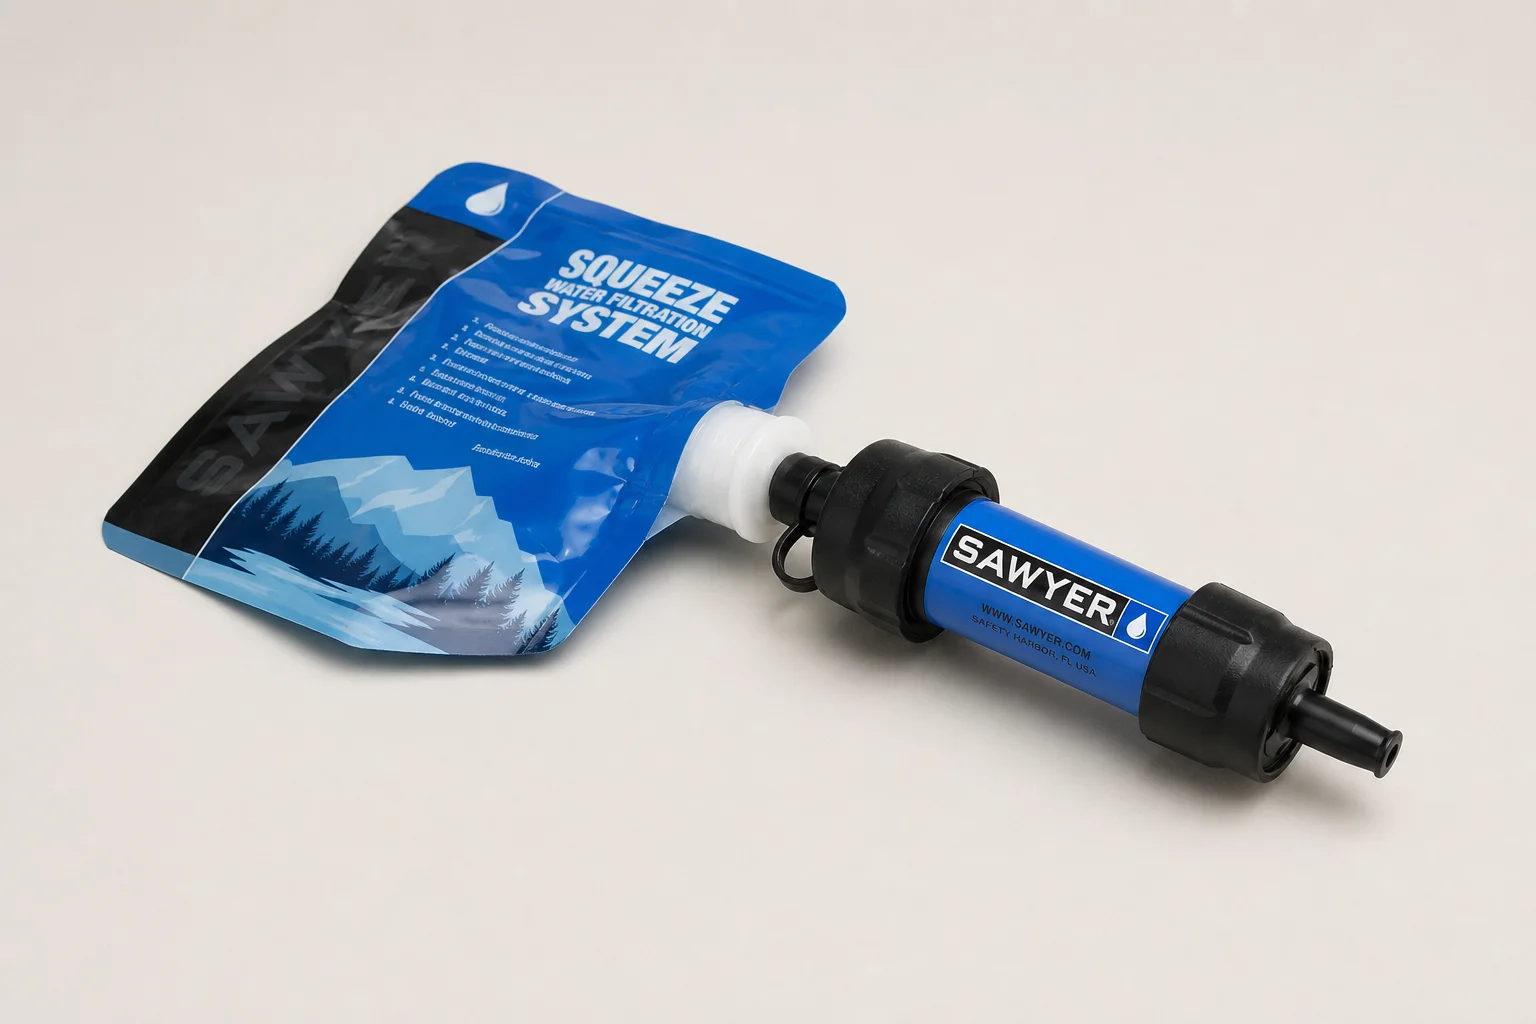
This setup assumes reliable water along the route, such as streams and lakes, rather than long dry stretches where every liter has to be carried. Start the day with a 34 to 40 ounce plastic bottle, then refill it from a creek when it runs low and filter with a Sawyer.
The standard Sawyer is the better choice. The smaller Mini version saves a little weight and space but does not perform as well. Most of the time the filter can be screwed straight onto the bottle and used while walking, drinking through it as you go. The squeeze bag that comes with the filter makes filling easier, and it can be rolled to push filtered water back into the bottle.
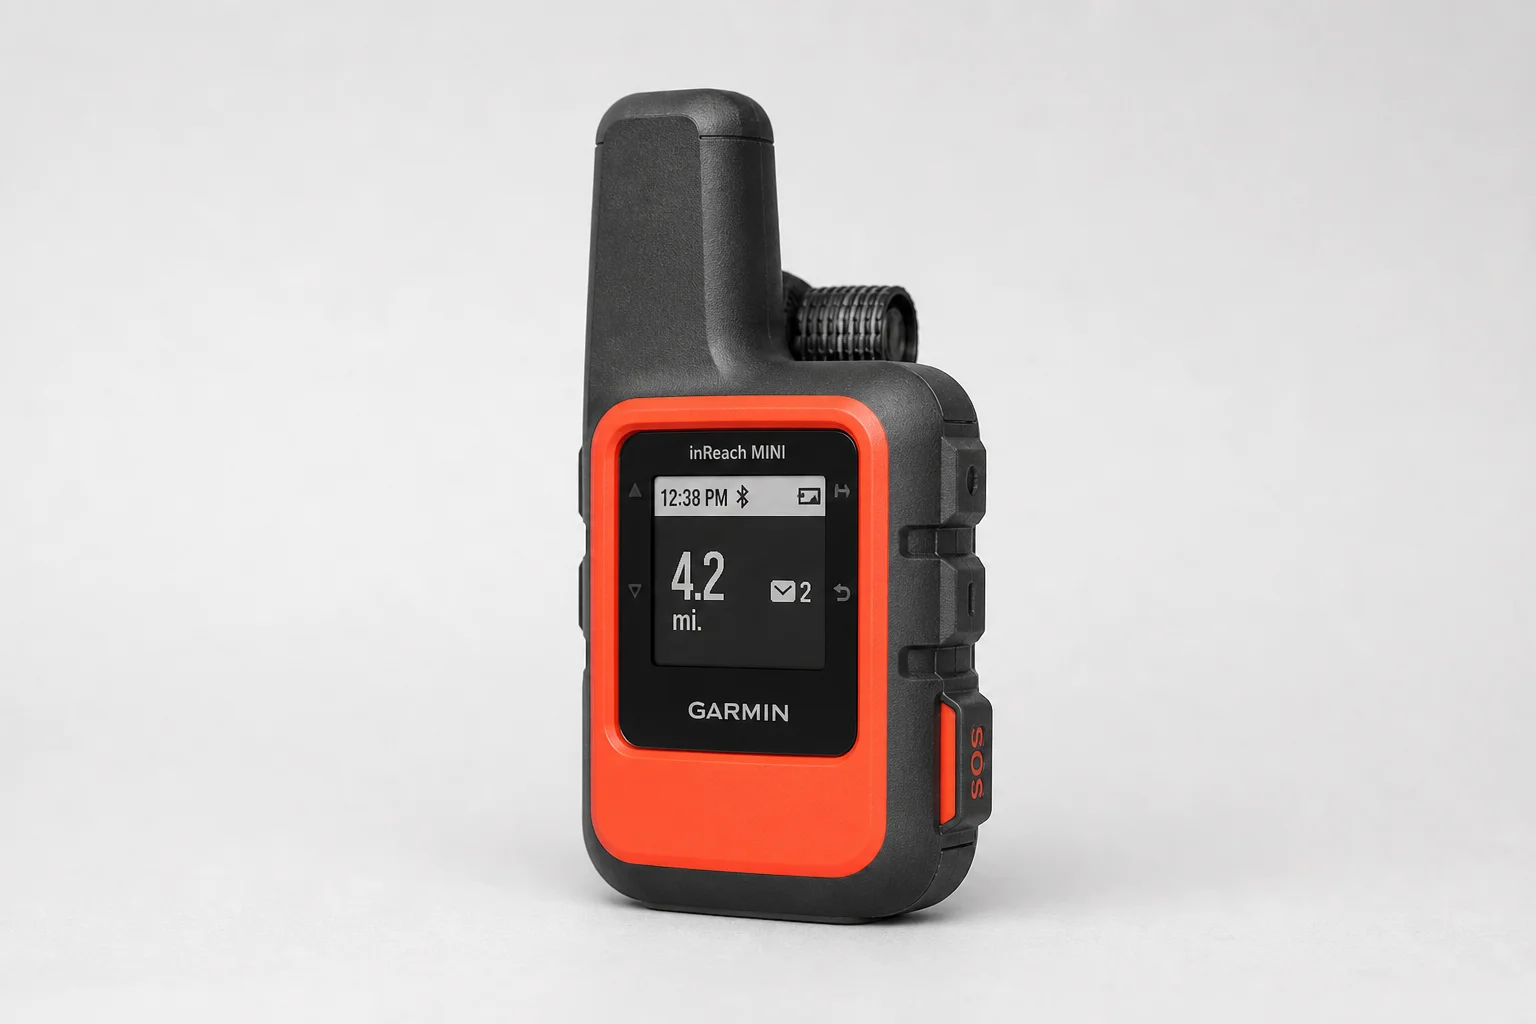
The Garmin inReach Mini
Navigation is handled by a Garmin inReach Mini clipped to the front of the pack. Beyond navigation, it is a useful rescue tool when you are hiking alone, which is the main reason it earns its place in a solo setup.
It should not be the only navigation you carry. Print a paper map of the area and pack a small compass as a backup, even if the compass is a basic one.
The Culo Cleaner
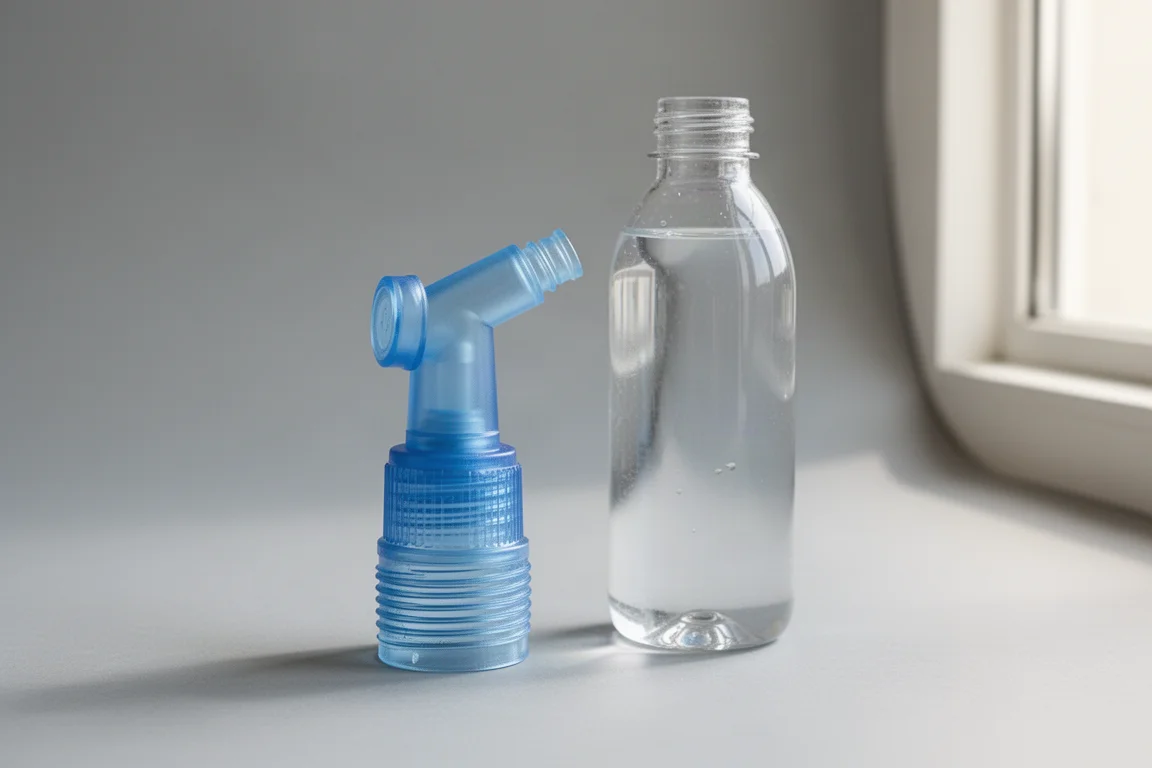
Staying clean outdoors is harder than most people expect, and toilet paper is not always easy to find or easy to carry in quantity. The Culo Cleaner is a small portable bidet that attaches to the top of a water bottle: turn the bottle upside down and it sprays, which cuts down how much paper the trip requires.
It works alongside, not instead of, the rest of your hygiene kit. Keep a trowel and some toilet paper in the pack as well.
Small Essentials and Food Storage
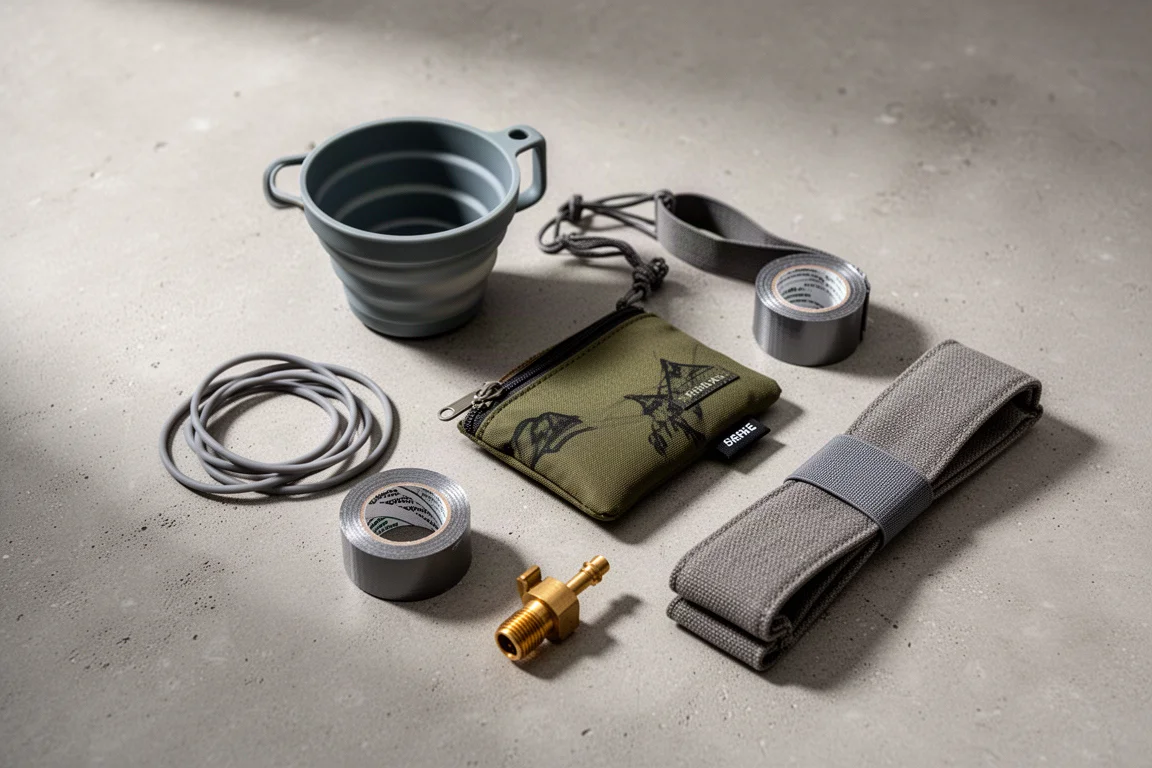
The last few items are small, inexpensive, and easy to forget. A headlamp with spare batteries, a trowel, a fire starter, a lighter, matches, cutlery, charging cords, dental floss, sunscreen, lip balm, a cut-down toothbrush, toothpaste, aspirin, a tent pole repair sleeve, and an ultralight medical kit with blister care. A knife and the medical kit belong on the outside of the pack where they are easy to reach. Extra socks, a beanie, a thin base layer, and an insulating jacket cover the clothing side, since this is a mild-weather setup rather than a winter one.
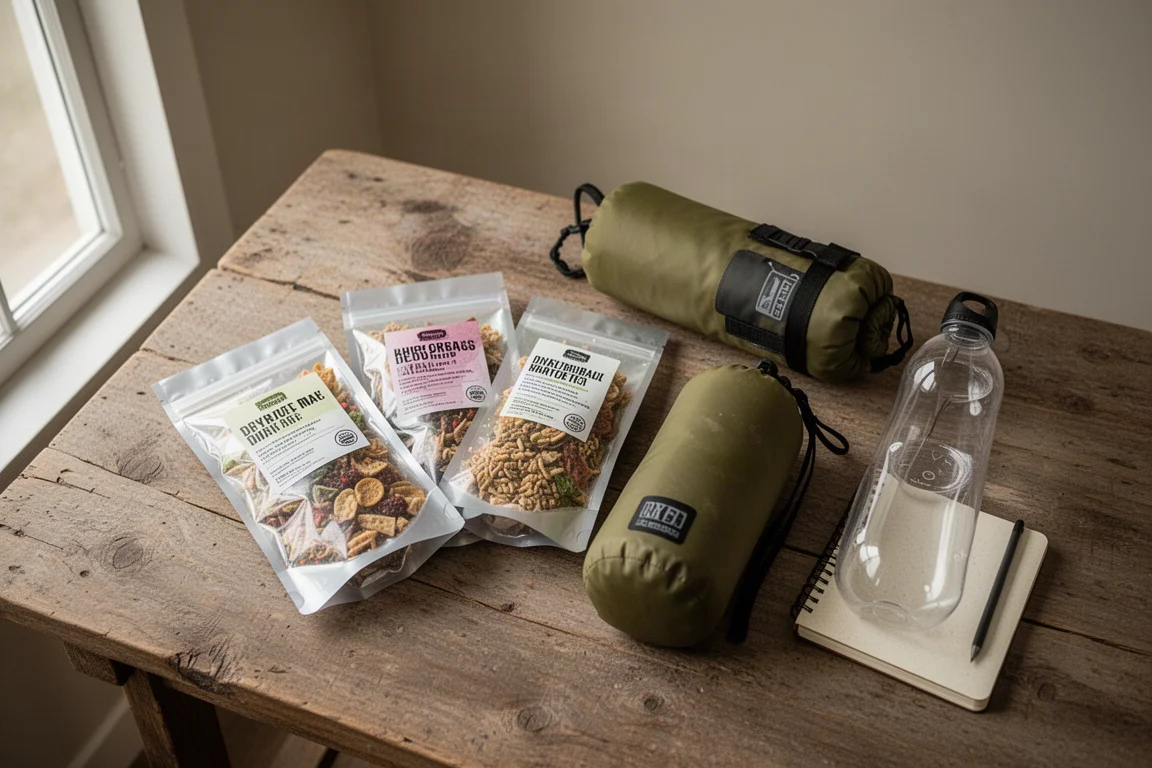
Food is the other half of the plan. Dehydrating your own meals is the most space-efficient and weight-efficient route, and the meals travel in a thin dry bag that can be hung at night to keep them away from animals and rain. Some areas require a bear canister instead, so check the rules for wherever you are heading. Whatever space is left inside the pack once the gear is in place is where the meals go, and that leftover volume is what decides the length of the trip.
Buying Advice and Trip Length
The honest answer to how many days this setup can cover is: as many as your food fits. Everything else in the list is fixed, but meals scale with the trip, and the pack is arranged so that bulky gear lives on the outside. Save space on the inside, and you buy yourself days.
Two things make this setup approachable. First, none of it is specialist equipment, so a single shopping list covers the whole kit. Second, most of it is interchangeable. If you already own a sleeping bag, a pad, or a stove, use it, and upgrade only the pieces that actually bother you. Start with a mild-weather weekend, learn how the pack loads, and adjust from there.
Conclusion
A 15-pound dry pack is a comfortable target for a first solo backpacking setup, and it does not take exotic gear to get there. A 34-liter pack, a proven sleep system, a simple tent, an easy stove, a reliable filter, and a satellite device cover the essentials, with a short list of small items filling the gaps. Pack the food last, see how much space is left, and let that number tell you how far you can go.
Further reading
Related Reviews

Backpacking Gear
Building a 10 lb Base Weight: An Ultralight Backpacking Gear List
A practical walkthrough of the ultralight pieces behind a 10 lb base weight, from a 765 g pack and a roomy one-person tent to a full camp chair and a dependable water filter.
Backpacking Gear
8 Ultralight Backpacking Gear Upgrades Worth Carrying
Eight small, affordable backpacking upgrades that solve real trail annoyances, from a pillow that stays put to a fuel valve that rescues leftover canister gas.
Backpacking Gear
9 Backpacking Essentials Under $30: Small Gear, Big Impact
Nine affordable backpacking accessories that solve real trail problems, from water measurement to gear repair.