Astrophotography
Three Ways to Photograph the Elephant's Trunk Nebula: Full-Frame DSLR, Dedicated Astro Camera, and Smart Telescope Compared
We imaged the Elephant's Trunk Nebula with three very different setups for 2.5 hours each. Here is how the hardware, workflow, and results differ.
Introduction
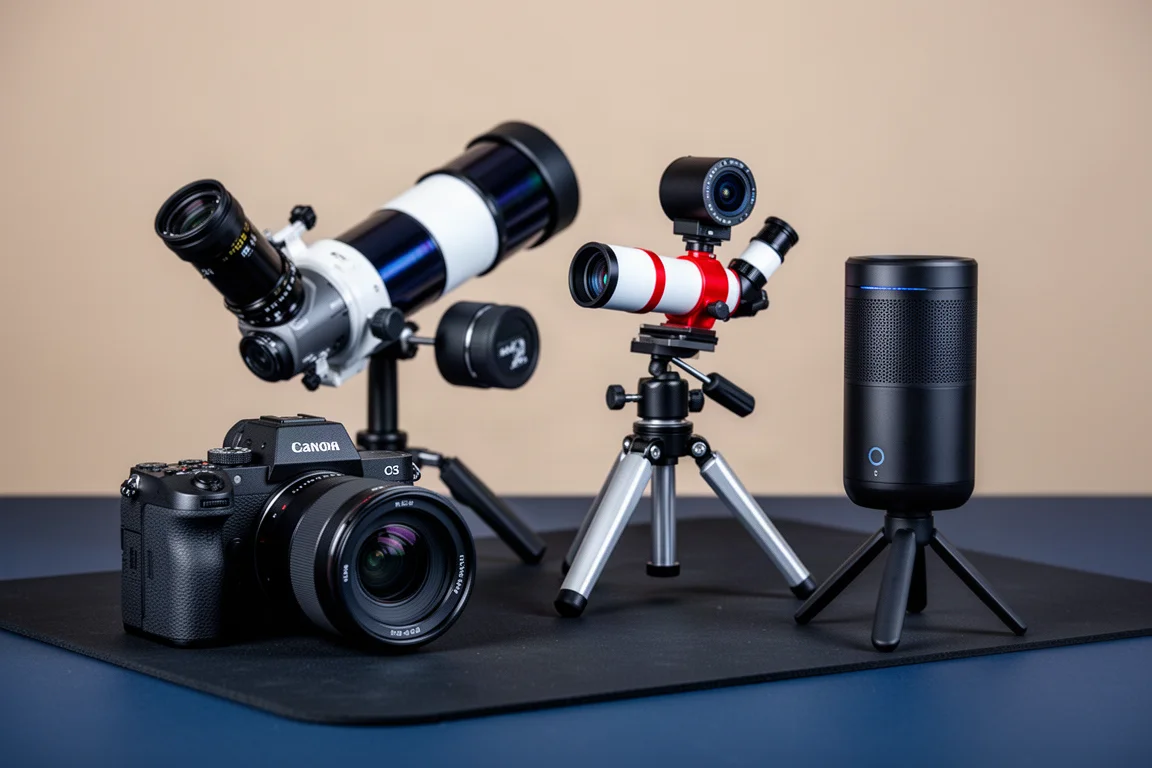
Deep sky astrophotography has never offered more ways in. To see how different the experience can be, we imaged the same target, the Elephant’s Trunk Nebula in Cepheus, with three very different camera systems on the same night: a lightweight full-frame DSLR-style rig, a dedicated astronomy camera setup with auto guiding, and a self-contained smart telescope. Each system collected about 2.5 hours of total exposure time, with the same type of dual narrowband filter in the optical path. Same target, same night, three very different paths to the image.
The Test: Same Target, Same Night, 2.5 Hours Each
The Elephant’s Trunk Nebula is a great stress test for any rig. It is a long, dark, twisting structure of gas and dust set against a glowing hydrogen background, and it sits within the much larger emission nebula region IC 1396. It contains faint nebulosity, dark dust lanes, and bright emission, which means it can be framed and interpreted very differently depending on your camera and telescope combination.
Each setup captured roughly 2.5 hours of data. That is not a perfect comparison, but it is a fair one, and it highlights what each system actually delivers in a single night.
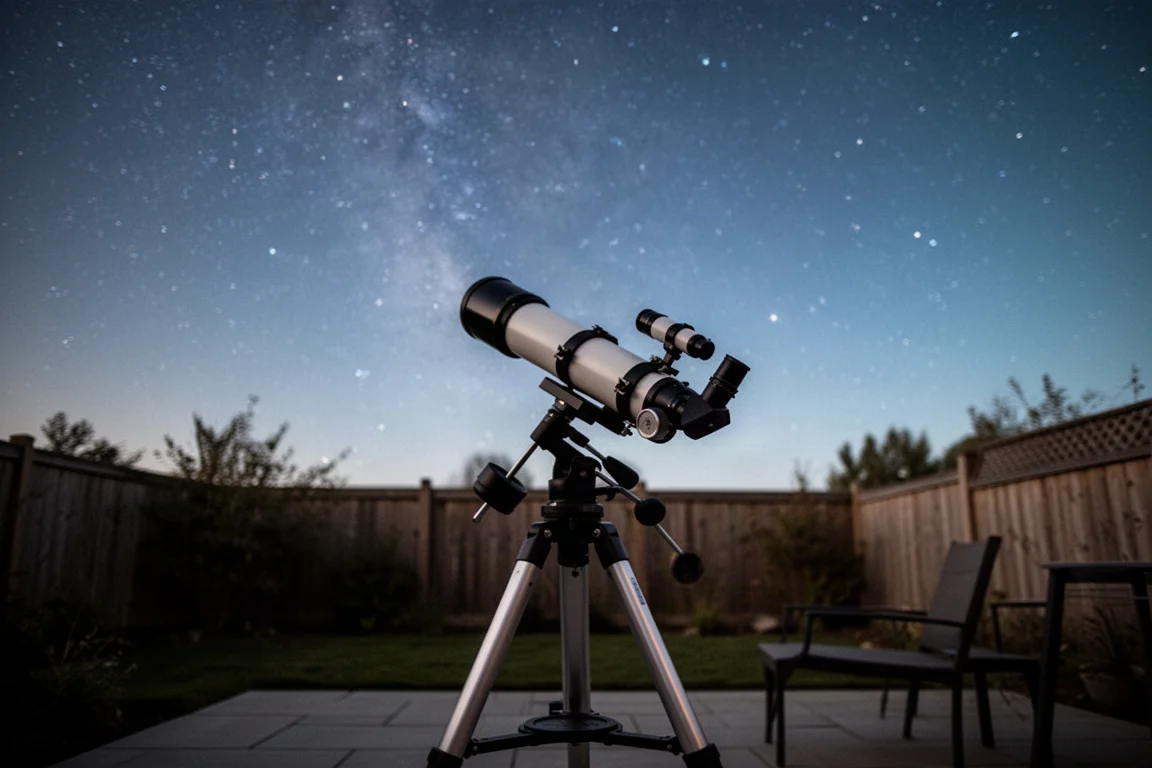
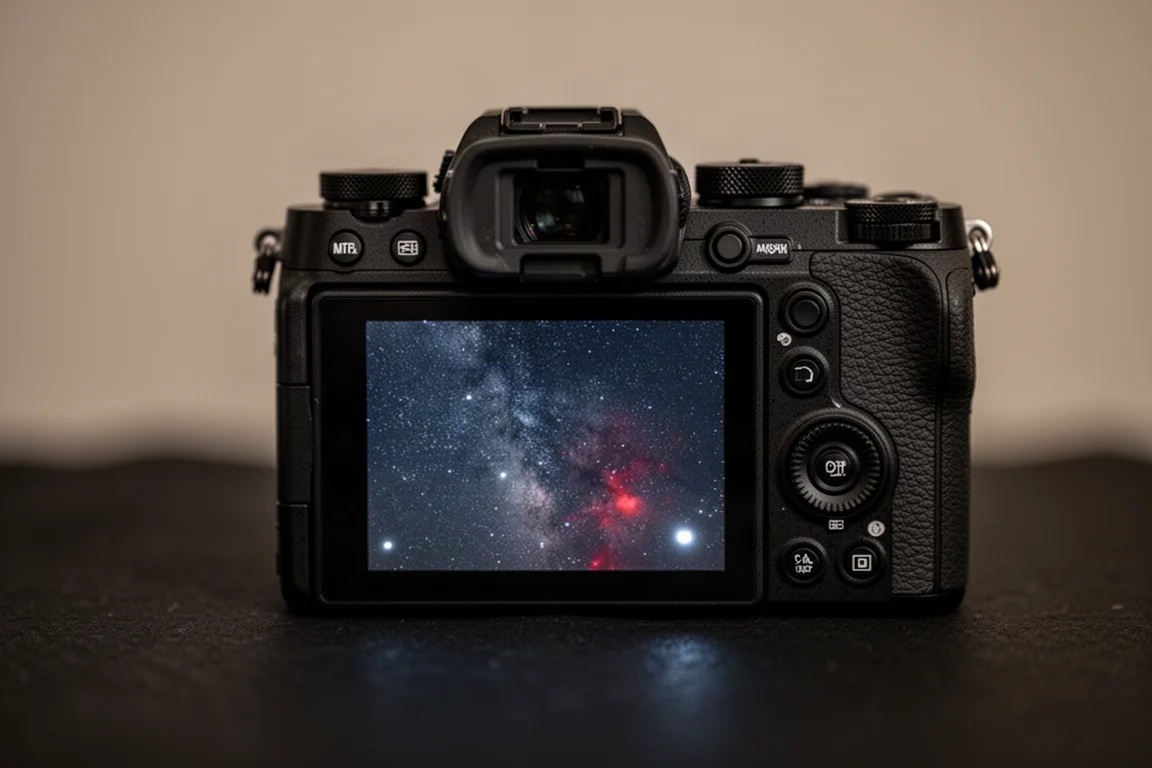
The Full-Frame DSLR-Style Rig: Canon EOS Ra, Askar SQA 55, and Star Adventurer 2i
This is the setup that still feels closest to traditional astrophotography: a camera, a small telescope, a star tracker, and a lot of patience. No computer controlling the mount, no auto guiding, just hands-on imaging.
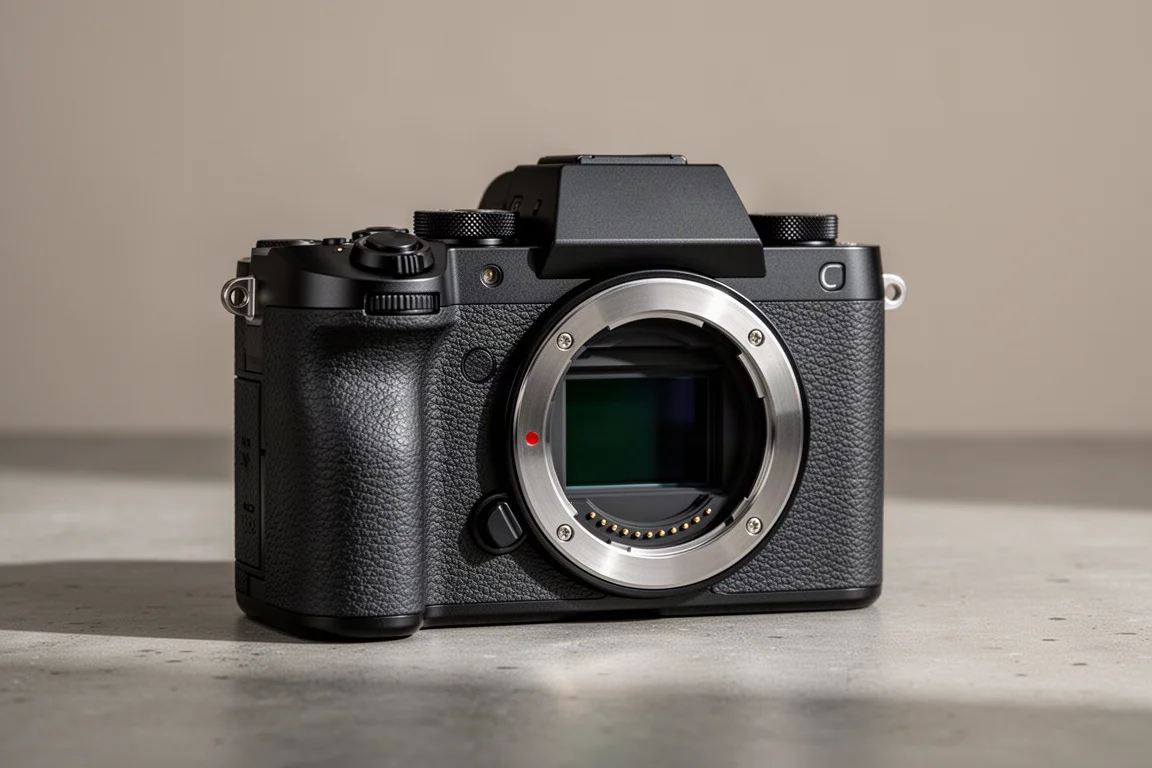
Canon EOS Ra
The defining advantage of this rig is the full-frame sensor. It is much larger than the sensors in the other two systems, which means a much wider field of view. Instead of a tight close-up of the Elephant’s Trunk itself, you capture the surrounding nebula, the star field, and the wider environment of IC 1396. For large nebula regions, that composition is a genuine advantage, and it is easy to overlook when people focus only on resolution, noise, and sensitivity. Sensor size dramatically changes the character of the final image.
Askar SQA 55
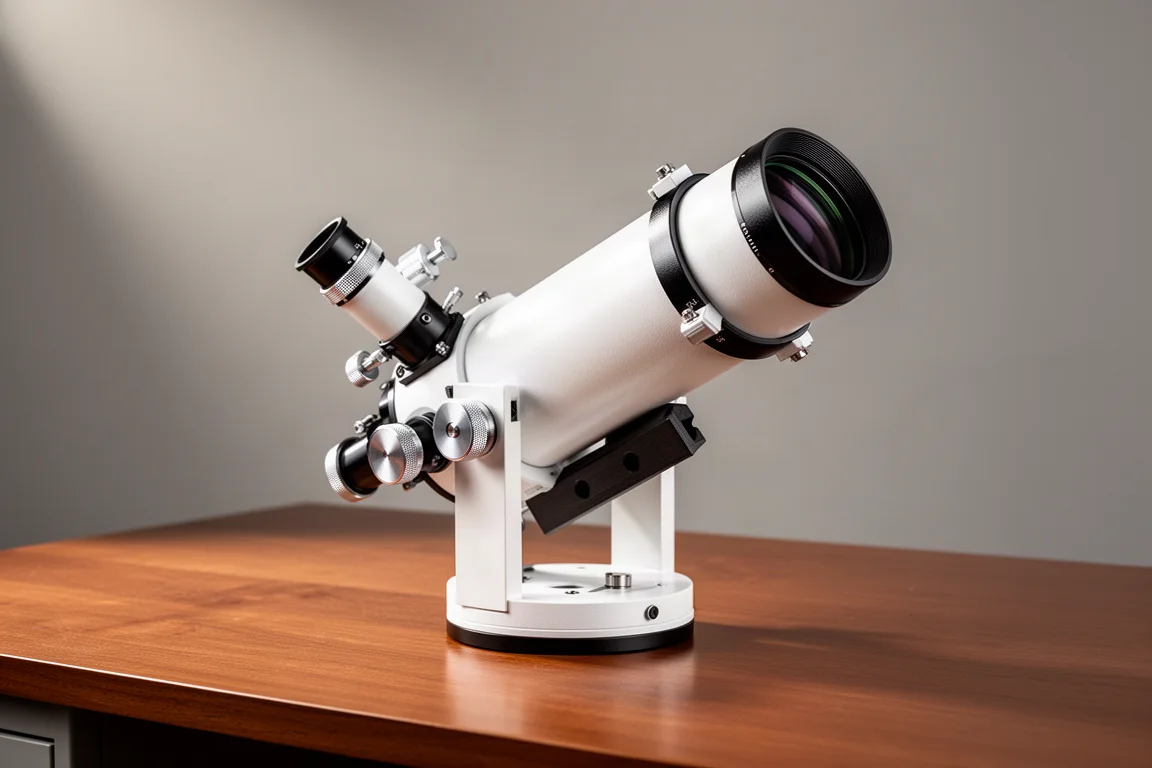
The Askar SQA 55 refractor serves as the imaging telescope on this rig, pairing a compact, quality optic with the wide full-frame sensor. Together they produce that wide-field portrait feel that tighter systems cannot replicate.
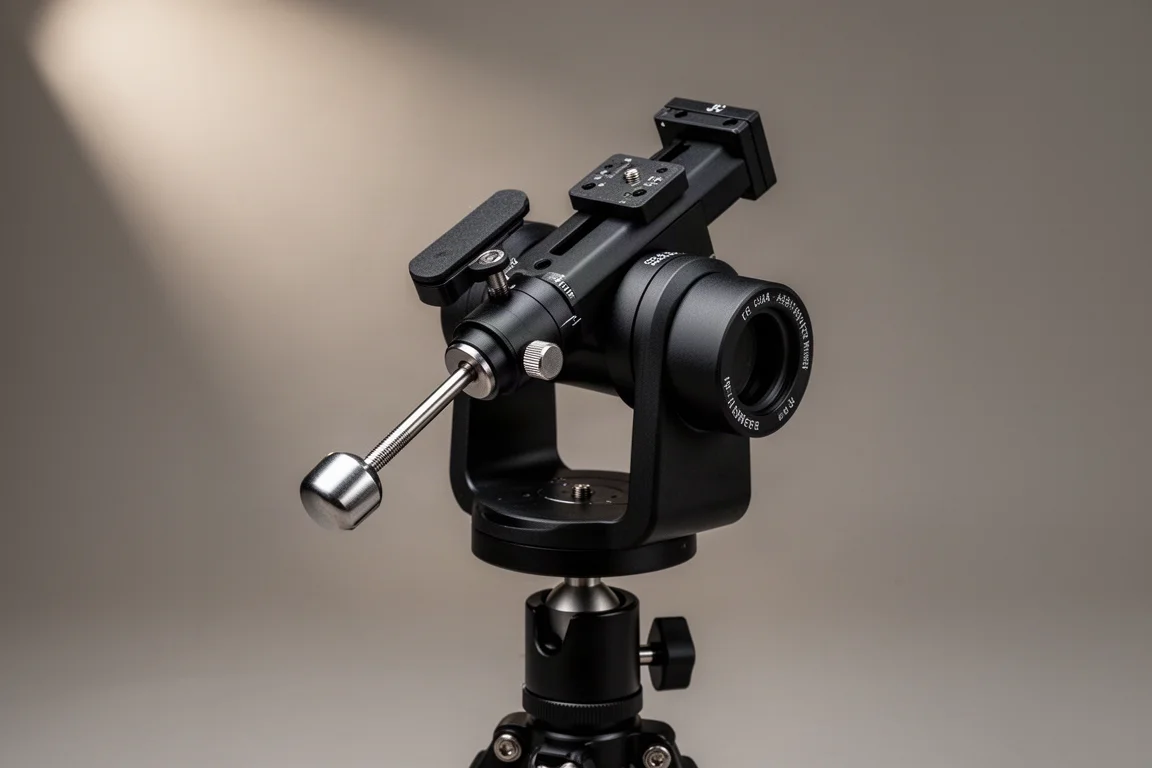
Sky-Watcher Star Adventurer 2i
The Star Adventurer 2i is a capable little star tracker, but without auto guiding the system relies entirely on polar alignment, balance, and the mount’s tracking accuracy. That means more conservative exposure lengths and a close eye on the stars, because any drift shows up quickly. In practice, exposures were set at 90 seconds, ISO 3200, in bulb mode, with a simple intervalometer queuing up 120 frames. It is lightweight, simple, and very portable, but it asks more from the person using it. Finding the target meant manually star hopping, taking test exposures, reviewing the camera’s rear screen, and adjusting framing by hand, and the target never exactly jumped off that small screen.
Optolong L-Enhance
The filter on this rig was the Optolong L-Enhance, a dual narrowband filter that helps pull emission nebula contrast out of the sky. It was the same general filter type used across the comparison, which kept the test fair.
The Dedicated Astro Camera Rig: ZWO ASI 585MC Air, RedCat 51, and ZWO AM3
This is the automated, precision-oriented setup of the three, and the experience was completely different from the first minute.
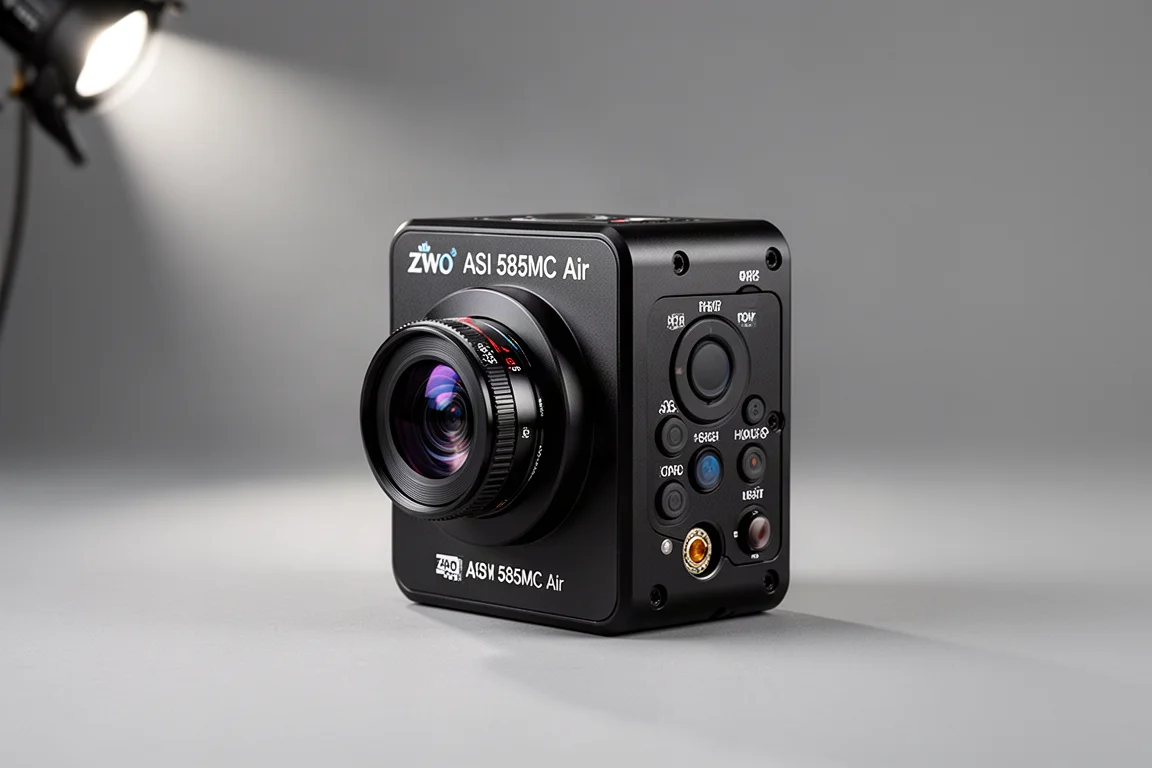
ZWO ASI 585MC Air
The ASI 585MC Air is a dedicated astronomy camera, not a daytime camera adapted for the night sky. It is built as part of an imaging ecosystem around deep sky work, and it is a cooled camera, which allowed 180-second sub-exposures without worrying about noise from a warm sensor. Its sensor is much smaller than the full-frame chip in the Canon, so the field of view is much tighter and the framing is a more zoomed-in look at the nebula. Neither approach is automatically better; they are different tools for different styles of image.
William Optics RedCat 51
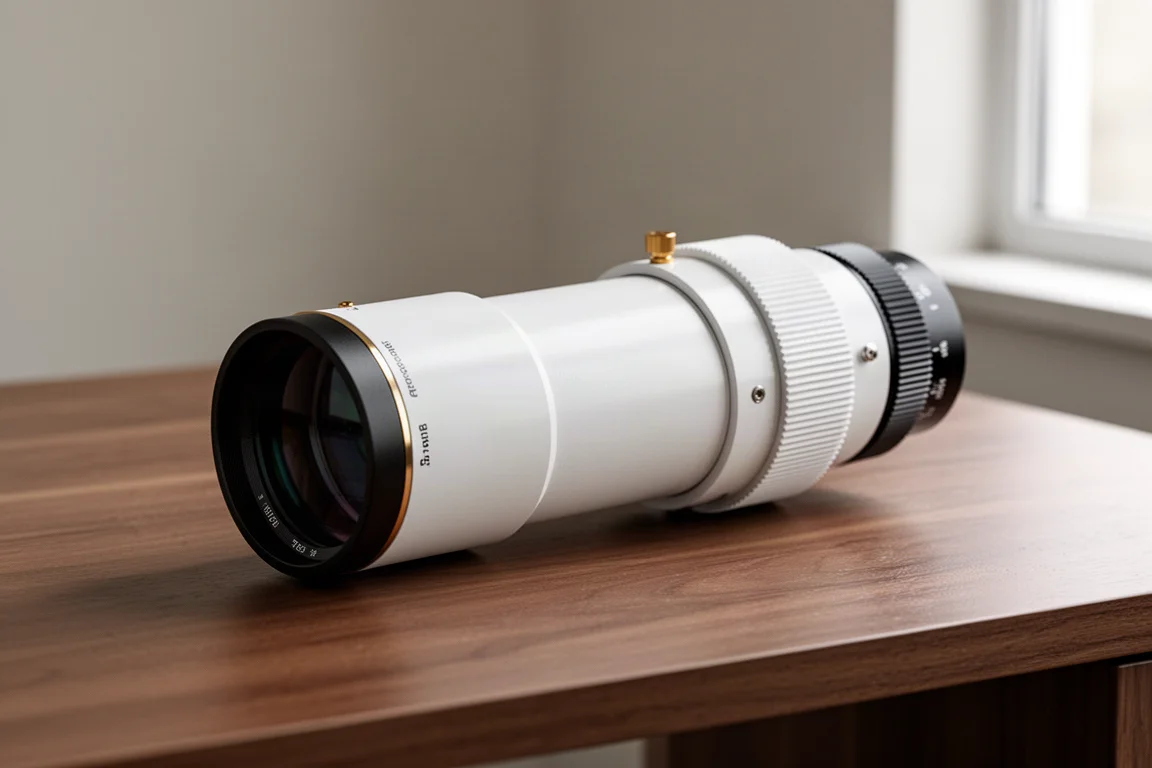
The RedCat 51 refractor carries the optical duty on this rig, a compact instrument well matched to the tighter field of the dedicated camera. The result felt much more locked in than the wide full-frame view.
ZWO AM3
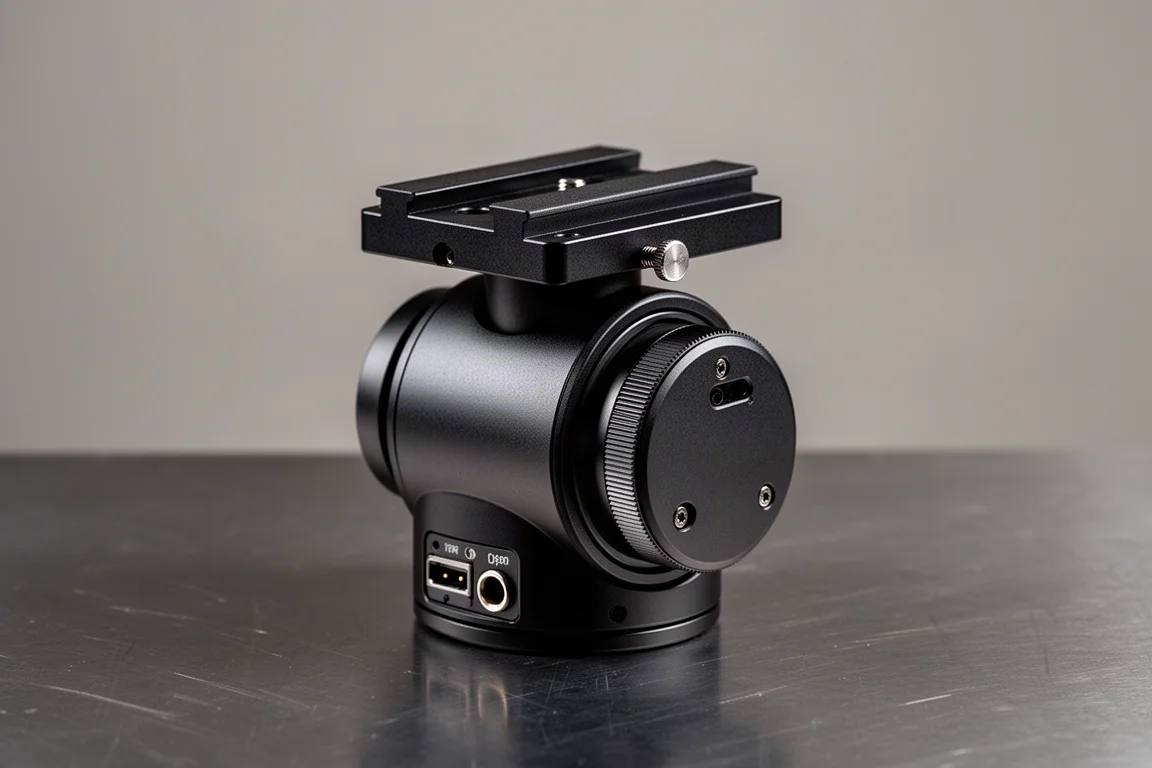
The AM3 mount, paired with ASI Air control and plate solving, transformed the session. Instead of hunting for the target, the mount slewed to the Elephant’s Trunk, the ASI Air captured a frame, and it solved the star field. Plate solving removes the guesswork: you know you are on target, so you spend less time searching and more time collecting data. Auto guiding added another layer of confidence, constantly watching a guide star and making small corrections to keep stars round over longer exposures. Of the three systems, this was the most confidence-inspiring once it was running.
Optolong L-eXtreme
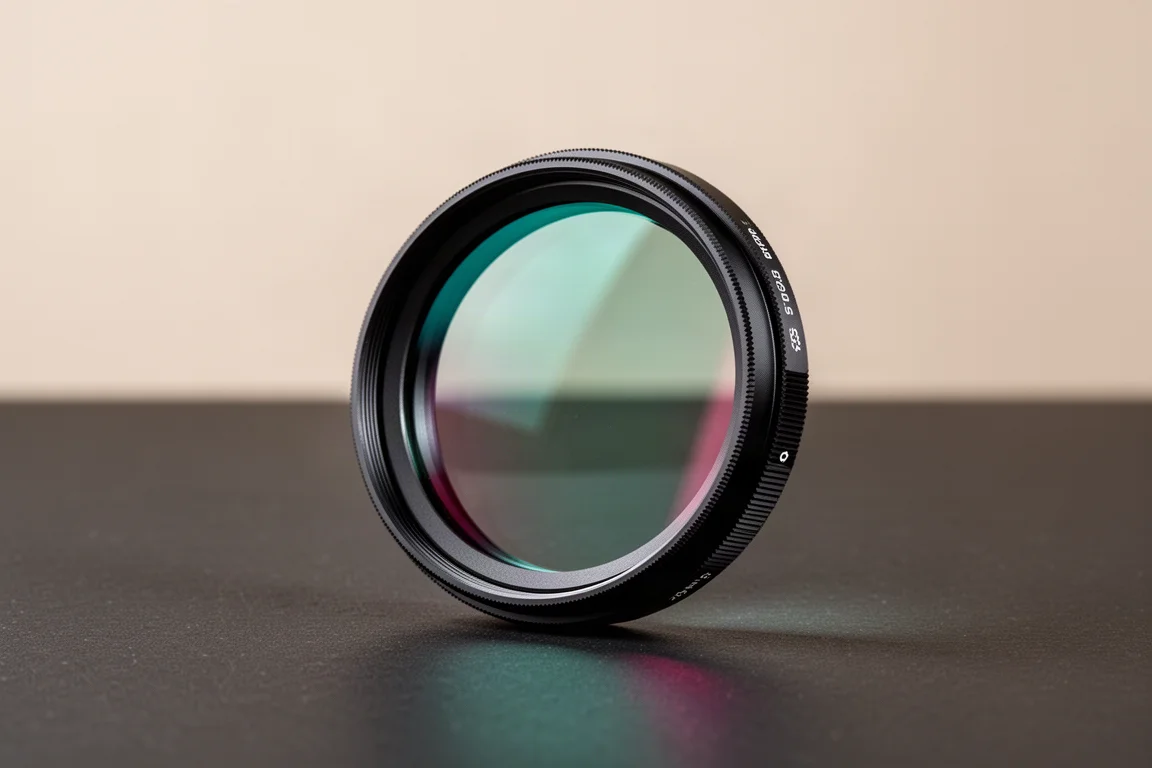
The dedicated camera rig used the Optolong L-eXtreme, a dual narrowband filter isolating hydrogen alpha and oxygen three emission lines. That makes it extremely useful under light-polluted skies and helps pull out contrast in emission nebulae like the Elephant’s Trunk.
The trade-off is real: more components, more cables, more software, and more things that need to work together. The DSLR rig feels simple and organic; this rig feels technical and precise.
The Smart Telescope: ZWO Seestar S50
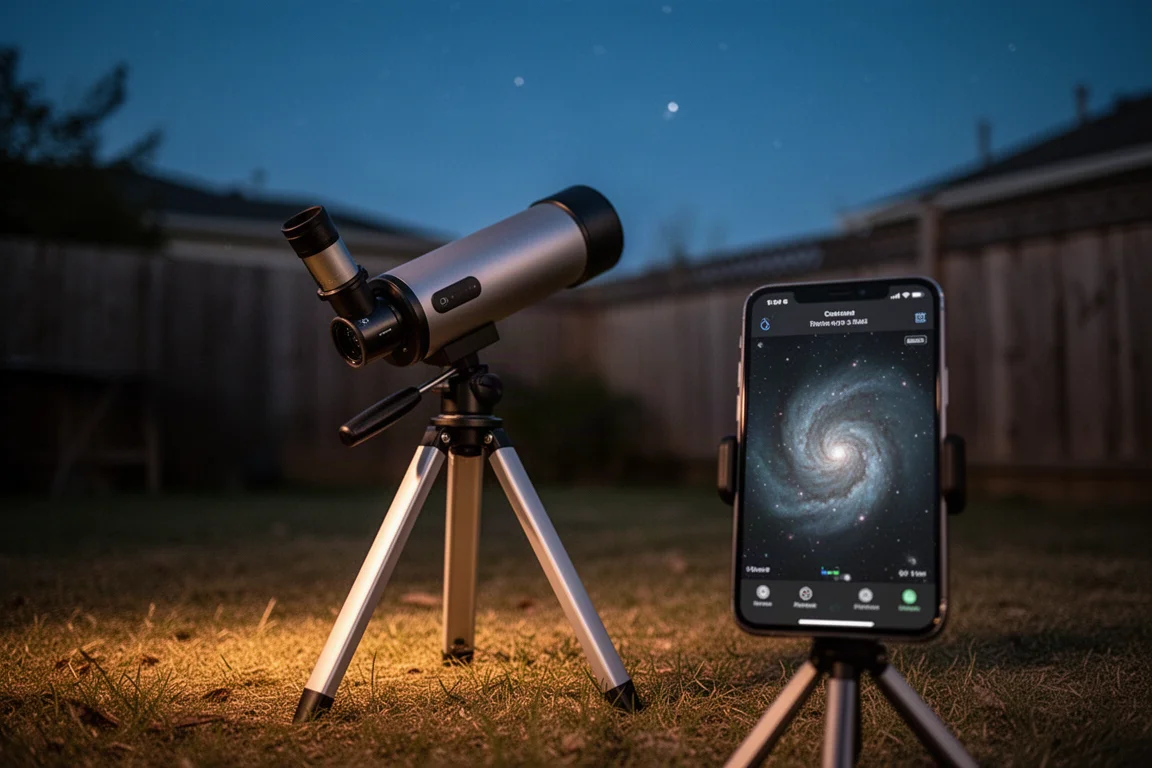
The Seestar S50 ran in EQ mode, which suits longer deep sky sessions by tracking the sky in a way better matched to extended imaging. It is by far the most compact and automated system here: telescope, camera, mount, computer, and software in one small package. No assembly, no balancing, no separate camera, filter drawer, guide scope, or control box. You set it up, choose the object, and let it start collecting light, shooting 30-second exposures with live stacking so the object builds on screen in real time.
It is not trying to be a full-frame astrograph. It is an easy, portable, self-contained imaging system, and it gives up some control in exchange for removing nearly all of the technical setup. On convenience alone, it was the most impressive system of the night.
View more details for ZWO Seestar S50
Which System Fits Which Astronomer
Each system has its own personality. The Seestar S50 is unquestionably the easiest to use and the most beginner-friendly, removing most of the technical barriers and letting you watch the nebula appear live. The dedicated astro camera rig was the most capable and controlled, a serious deep sky imaging platform once plate solving, guiding, and ASI Air control were working together. The DSLR-style rig was the most hands-on and, in some ways, the most satisfying: manually finding the target, framing it yourself, and collecting data without a computer in charge carries a real sense of involvement, at the cost of patience and a greater chance of mistakes.
The biggest takeaway? Astrophotography has never had more entry points. Start with a smart telescope and capture nebulae almost immediately, build a lightweight DSLR rig and learn the sky hands-on, or run a dedicated camera platform with full control over the session. All three paths are valid, and all three produce meaningful results. The question is not which one is the real astrophotography setup. They all are. The better question is which experience you want.
Conclusion
Three systems, one nebula, one night, and 2.5 hours of exposure each produced three genuinely different images and three genuinely different experiences. Pick the smart telescope for effortless results, the dedicated camera rig for precision and repeatability, or the full-frame DSLR setup for a wide-field, hands-on connection to the sky. There is no wrong answer, only the style of imaging that fits you.
Further reading
Related Reviews
Astrophotography
ASKAR FRA400C Review: A Versatile 400mm Refractor for Astrophotography and More
The ASKAR FRA400C is a compact 72mm refractor that balances reach, versatility, and portability for astrophotographers and visual observers.
Astrophotography
Askar SQA106 Review: A Premium 106mm Astrograph With Exceptional Optics
The Askar SQA106 is a premium 106mm quintuplet astrograph with impressive sharpness across full-frame sensors, though its price and weight demand careful consideration.
Astrophotography
Astro Imaging Gear 2026: Eight New Products Worth Watching
A look at the most interesting new astrophotography and astronomy products announced this year, from fast telescopes to smart cameras and wireless accessories.