Home Improvement
Squeak No More Kit Review: Fix Floor Squeaks From the Top Down
A simple screw-based kit that silences squeaky carpet, hardwood, softwood, and linoleum floors without pulling anything up.
Introduction
Squeaky floors are one of those household annoyances that seem small until you hear them every single night. Traditionally, fixing them meant pulling up flooring or working from underneath, which most of us would rather avoid.
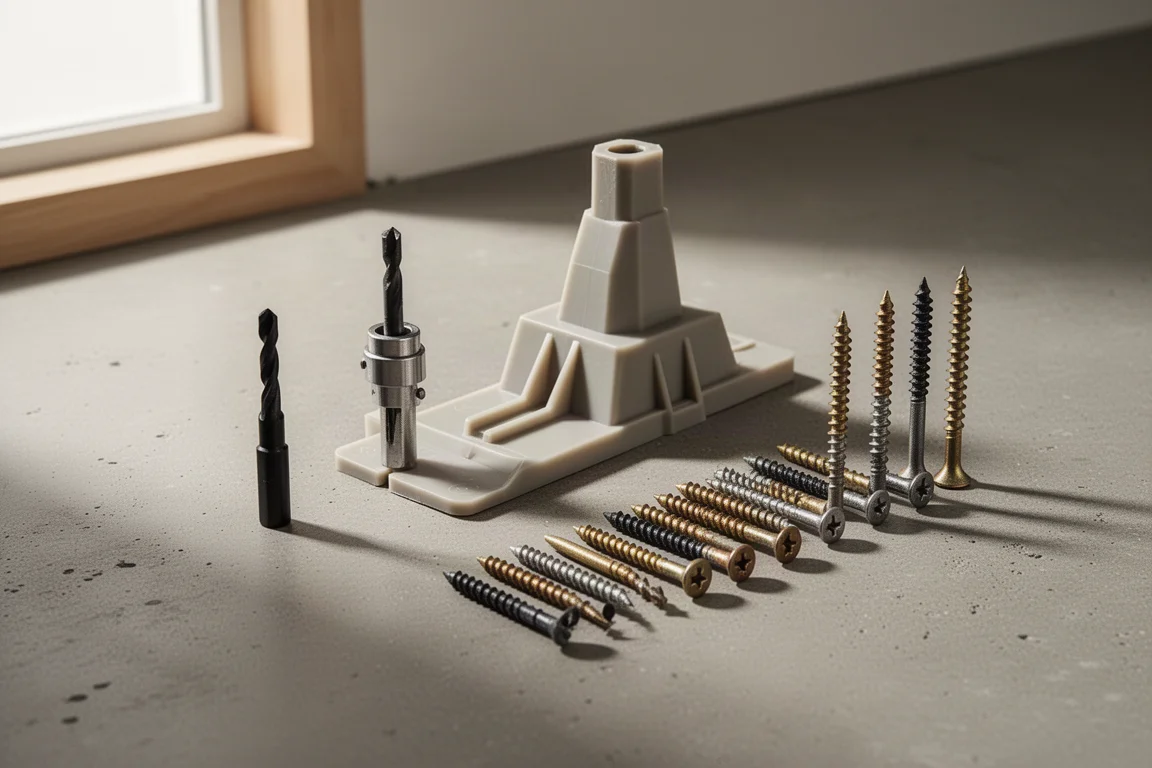
The Squeak No More Kit promises the opposite: it fixes squeaks from the top down, in carpet, hardwood, softwood, and linoleum, and leaves virtually no trace behind. It comes with a carpet and linoleum tool, the specialized drill bit you need, a hardwood and softwood tool, and 50 scored screws designed to snap off cleanly below the surface. After working through it on carpet, softwood, and hardwood, the results are genuinely impressive for a DIY kit at this price point.
Who This Product Is For
This kit is aimed squarely at DIY homeowners and renters’ handymen who want a quick, low-skill fix for annoying floor squeaks. If you have a cabin or older home with squeaky carpet, or hardwood floors that have developed movement between boards, this covers the common cases without any demolition.
It is also worth a look if you do occasional handyman work for others. A metal tool holder version is available for professionals; it lasts longer and costs a bit more, but it can pay for itself once you realize you can use it in multiple places.
Step One: Finding the Joist
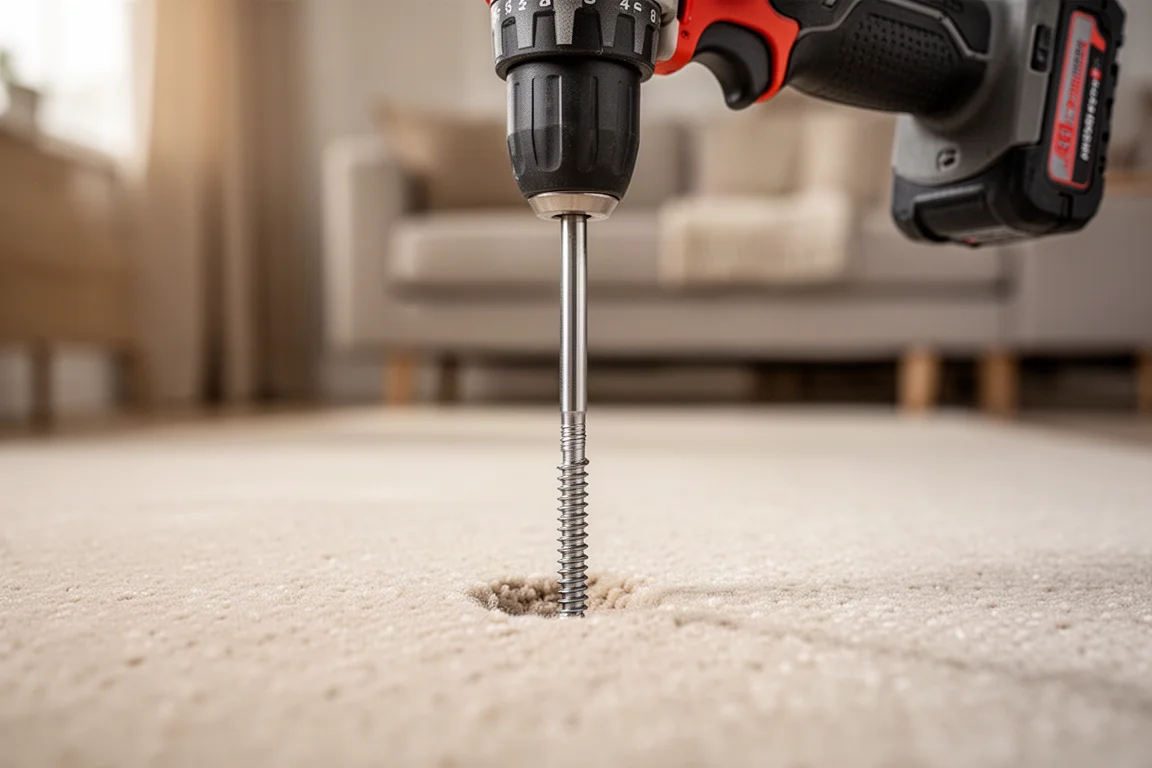
A squeak can come from the joist, from a loose fastener, from two floorboards moving against each other, or from linoleum sitting on top and shifting around. Whatever the cause, you first need to find the joist, and the kit includes a dedicated tool for this: essentially a long screw that is only threaded at the bottom.
Chuck it into your drill, ideally seated toward the end so it centers itself, and make sure it is not wobbling or sitting at a weird angle before you turn it on. The threads pull the tool down through the board and, critically, straight through carpet without issue. If you hit a joist, you will hear it in the drill, and the tool will back right out in reverse. Measuring with a tape measure to guess joist locations did not work here, but this tool did, and the hole it leaves is underneath and effectively invisible.
How the Screws Work
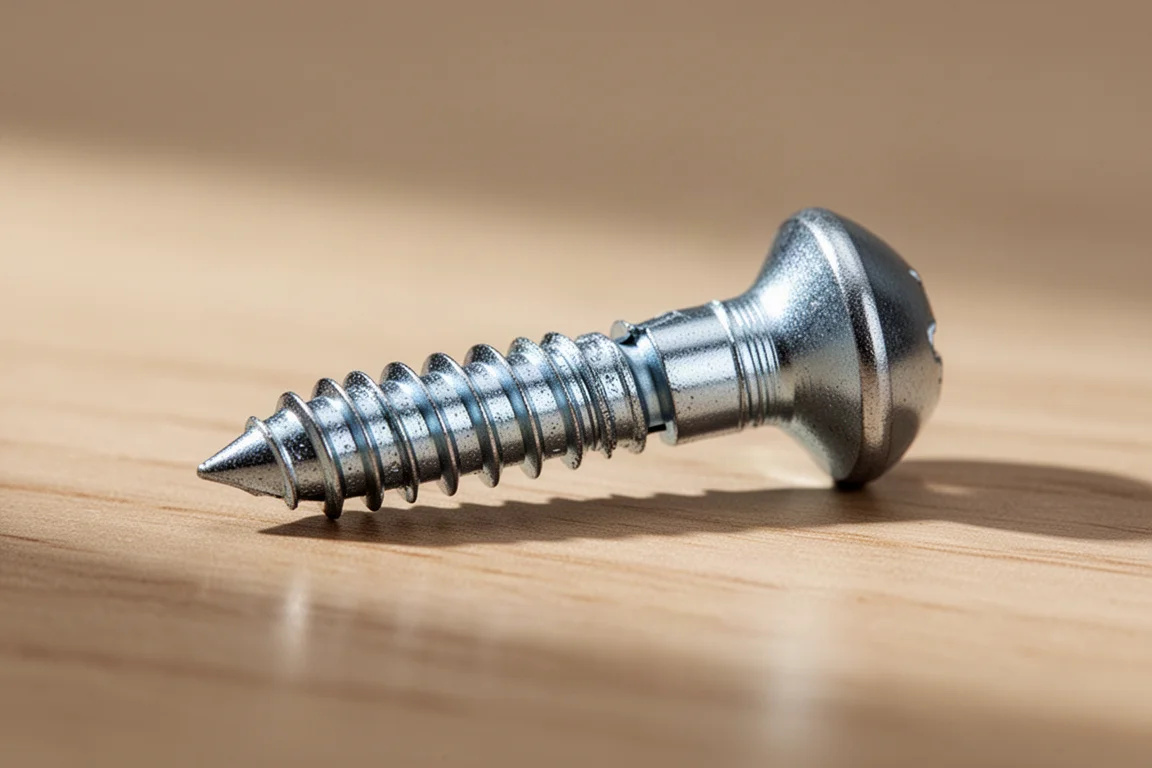
The included bit is important because it has a collar that stops you from driving the screws too deep. The screws themselves are the clever part: the bottom threads are finer and pull the screw down faster than the threads on top, which sandwiches the floor down tight without needing a screw head. Each screw is also scored at a set point, so when you snap the top off it sits just below the wood surface. That means you never see it, never step on it, and it still holds everything down.
For carpet and linoleum, the kit’s tool has pointed feet that push through the carpet so the screw ends up at the right level. In testing on linoleum, one screw did not grab because it sat below the floating floor layer, which is worth noting: if you need to pull a linoleum-covered floor down, you have to avoid going quite as deep. That takes a little finesse and some testing as you go, watching the score line. Depending on how bad the squeak is, two or three screws may be needed, and sometimes one on each side of a floorboard to hold both edges down. Four screws fixed the carpeted area here completely, and it has been silent since.
Fixing Softwood and Hardwood Floors
Softwood floors like pine need a different approach. You should pre-drill, and a small drill bit (an eighth-inch bit works) can be used to find the joist if needed, sometimes alongside a stud finder. You do not want to pepper these floors with test holes, so it pays to measure carefully. Once you have your pilot hole, switch to the hardwood floor section of the tool, start a screw in the hole, drive it down until it stops, then rock the tool to snap the screw off below the surface. A little putty over the hole afterward and it is effectively invisible.
Hardwood uses the middle section of the tool. Pre-drill again, start the screw with the same included bit, and keep driving until the screw snaps at the score point under torque. One screw held an oak board down so tightly that when tested, the screw stayed in the oak and pulled out of the softer wood instead, which says a lot about the holding power created by the two different thread sections.
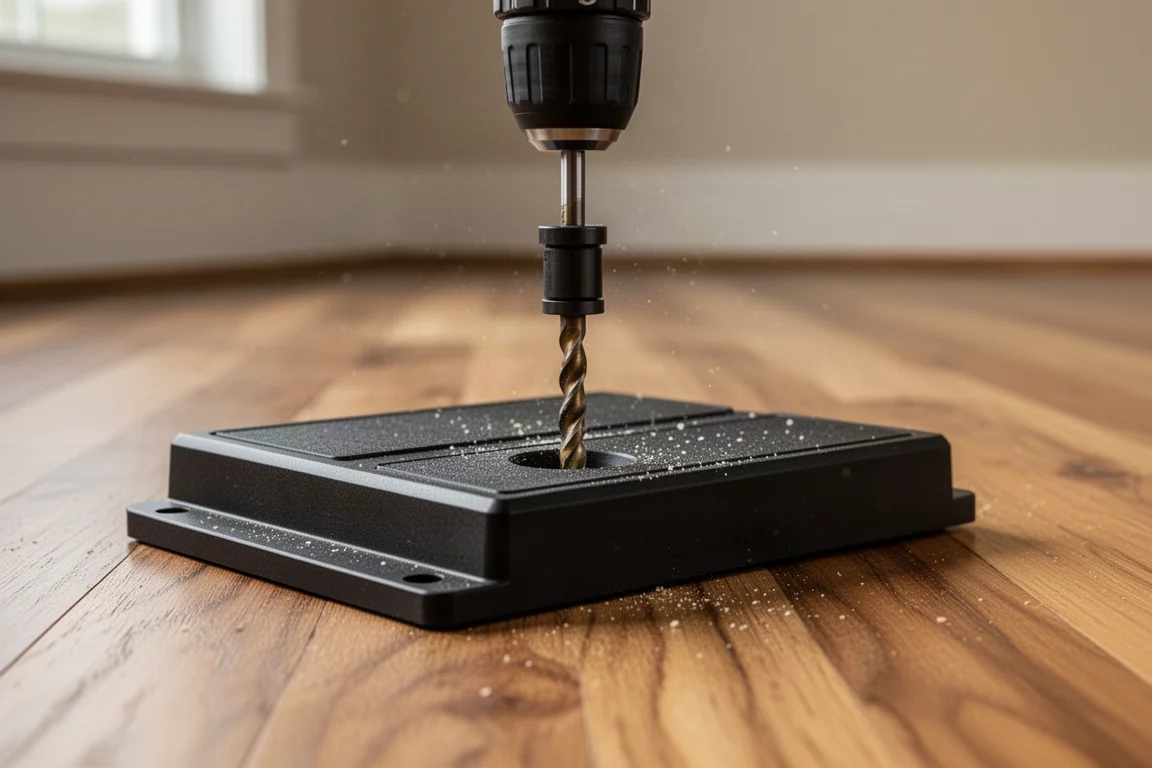
The tool also includes a spot that grabs the screw head so you can rock the top portion free. Be careful with the pulling action on carpet, because there is a small ledge that can catch the carpet fibers if you are careless.
Tips, Warnings, and Real-World Results
Occasionally a scored screw can snap prematurely if it hits a knot or something hard before it gets deep enough. It is rare, but the fix is simple: clamp a pair of vice grips on the exposed edge and unscrew the piece out. Pliers can work too, though vice grips grip the edge more securely.
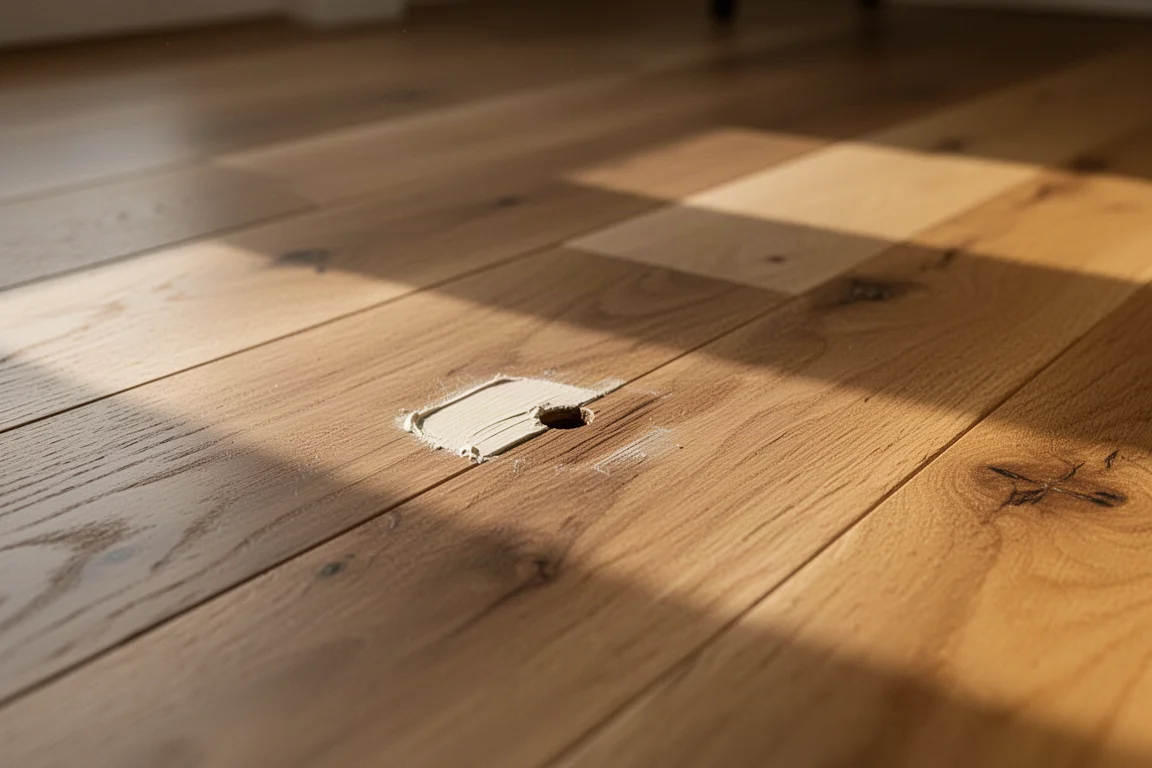
The one serious caution: do not drill down too far, because electric lines, water lines, and plumbing can run underneath the floor. Be especially careful in bathrooms, where water lines may cross the area. If you pushed hard enough, this could puncture copper pipe, so slow down and think about what is under your feet, particularly if you are new to DIY. Most people will still fly through this job quickly and easily.
On carpet, screws go deeper and you will never feel them. On hardwood, one screw plus a touch of putty blends right in. It has been used extensively on a carpeted cabin floor and the squeaks have stayed gone.
Buying Advice
If your squeaks are in carpet or linoleum, this kit is about as easy as floor repair gets, and the included locating tool makes finding joists far more reliable than guessing with a tape measure. For softwood and hardwood, expect a little more prep work with pre-drilling, but the results hold up well. The 50 included screws mean you can tackle a whole floor, several rooms, or a season of small jobs without running out.
Conclusion
The Squeak No More Kit does exactly what it claims: it fixes floor squeaks from above, across carpet, hardwood, softwood, and linoleum, and leaves the repair essentially invisible. With a little care around depth and utilities, it turns a frustrating problem into a quick afternoon job.
Product link
View more details for Squeak No More Kit
This product is mentioned in the review. Check the specifications, options, and compatibility before buying.
View more details for Squeak No More KitFurther reading
Related Reviews
Home Improvement
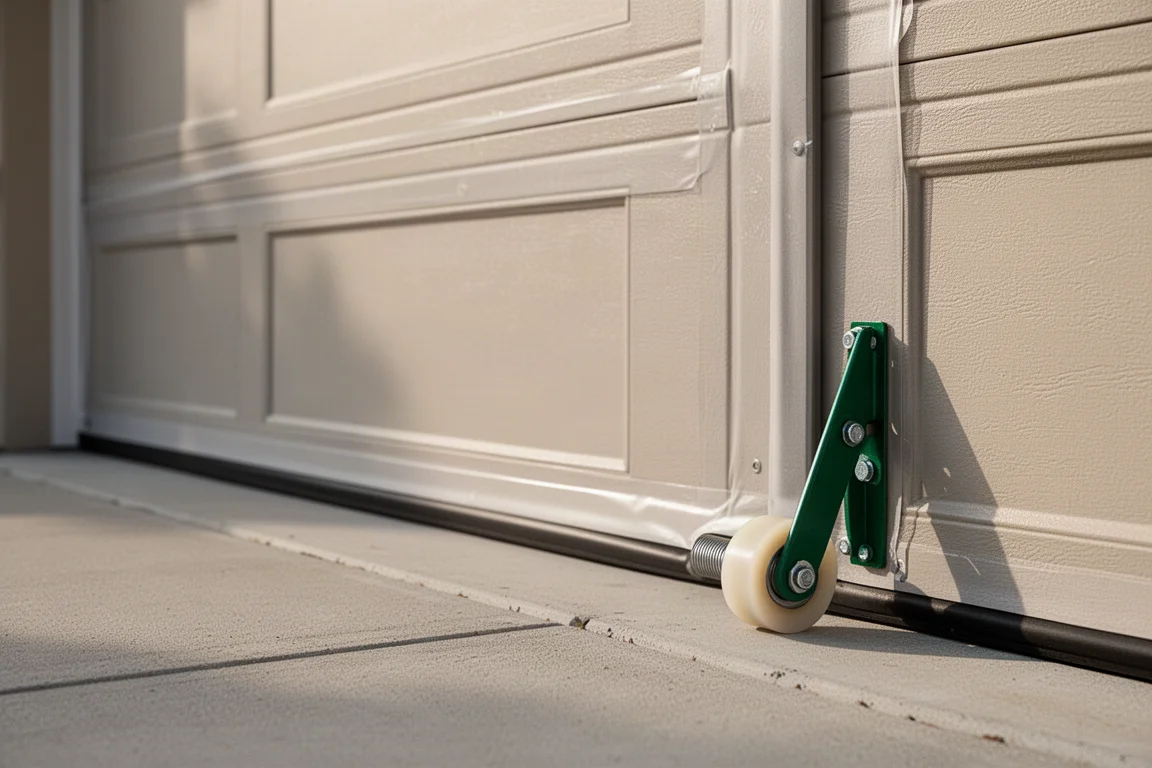
Garage Door Upgrade Guide: Quieter Operation and Better Energy Efficiency
Two simple garage door upgrades that reduce noise, improve sealing, and make daily operation smoother.
Home Improvement
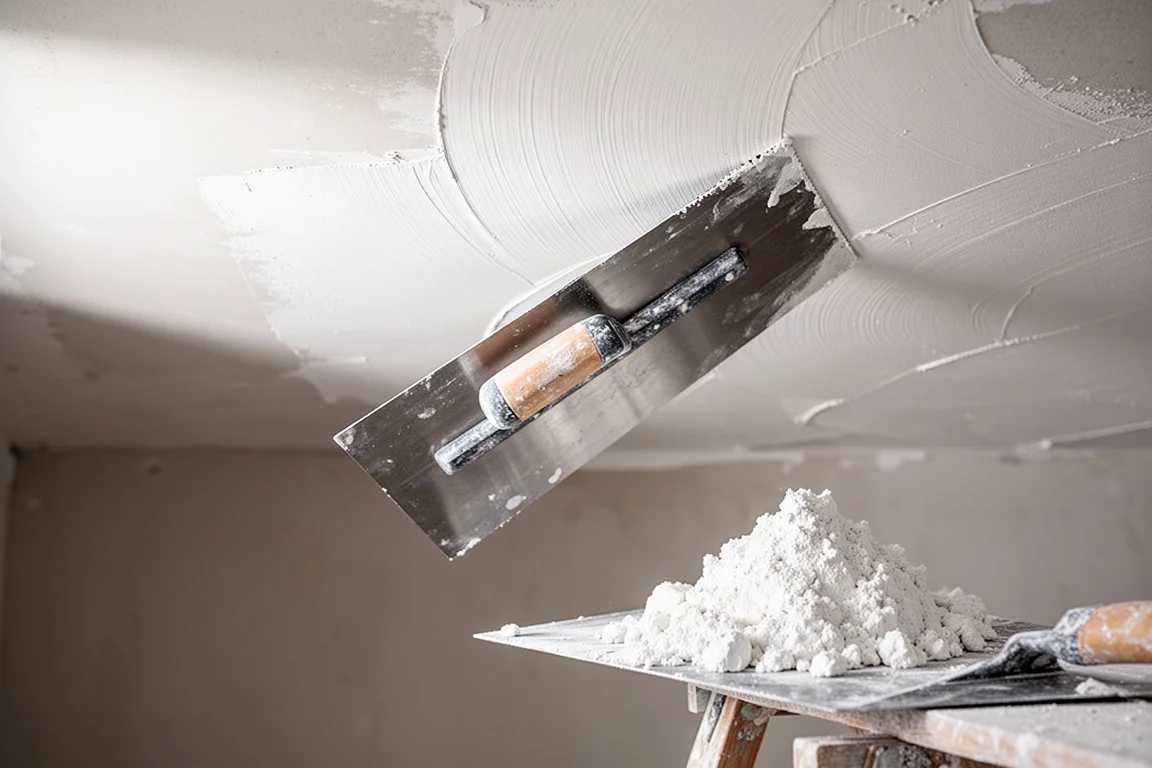
US vs UK Plastering Methods: A Practical Comparison for Your Next Ceiling Project
A hands-on look at how veneer plastering differs between the US and UK, including the two-mix method, setting times, and the tools that make a difference.
Home Improvement
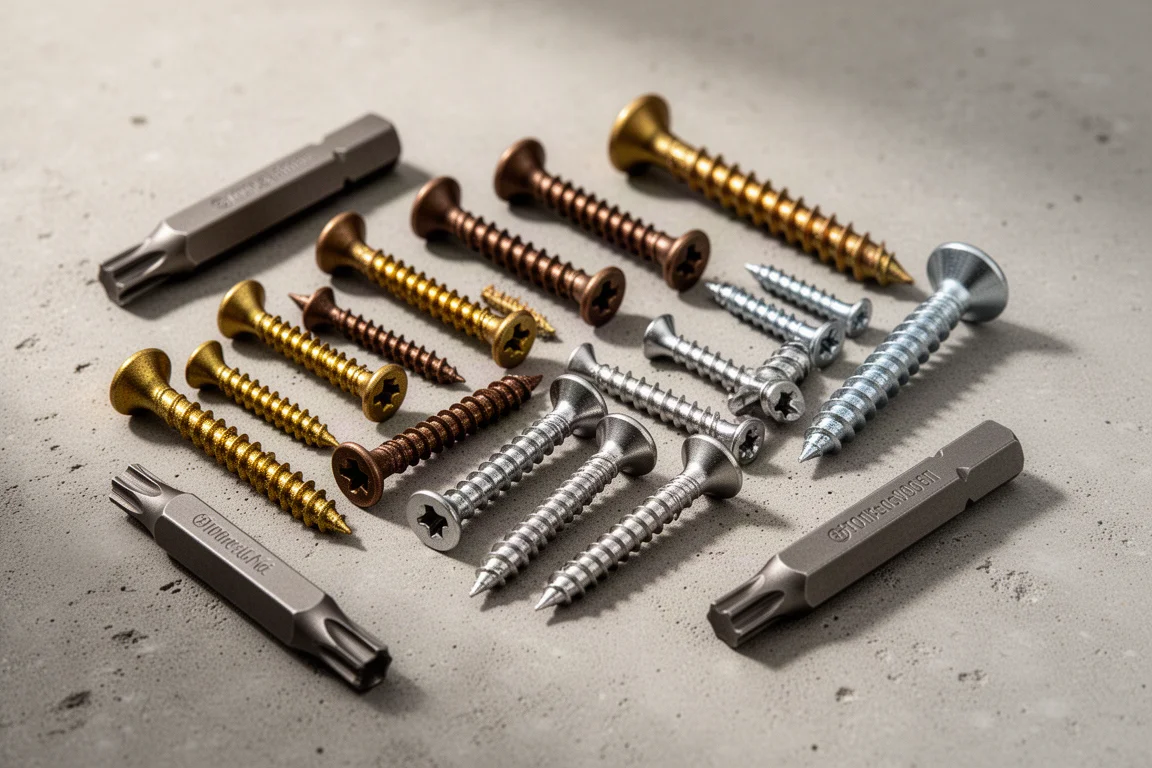
Best Deck Screws Tested: 11 Brands Compared for Strength, Speed, and Corrosion
Eleven deck screw brands put through drive torque, shear strength, holding power, and corrosion testing to find which ones are actually worth buying.