Indoor Gardening
Spider Farmer 3x3 Grow Tent Review: A Solid First Indoor Grow Setup
A hands-on look at the Spider Farmer 3x3 grow tent, covering build quality, assembly, and the one setup step you should not skip.
Introduction
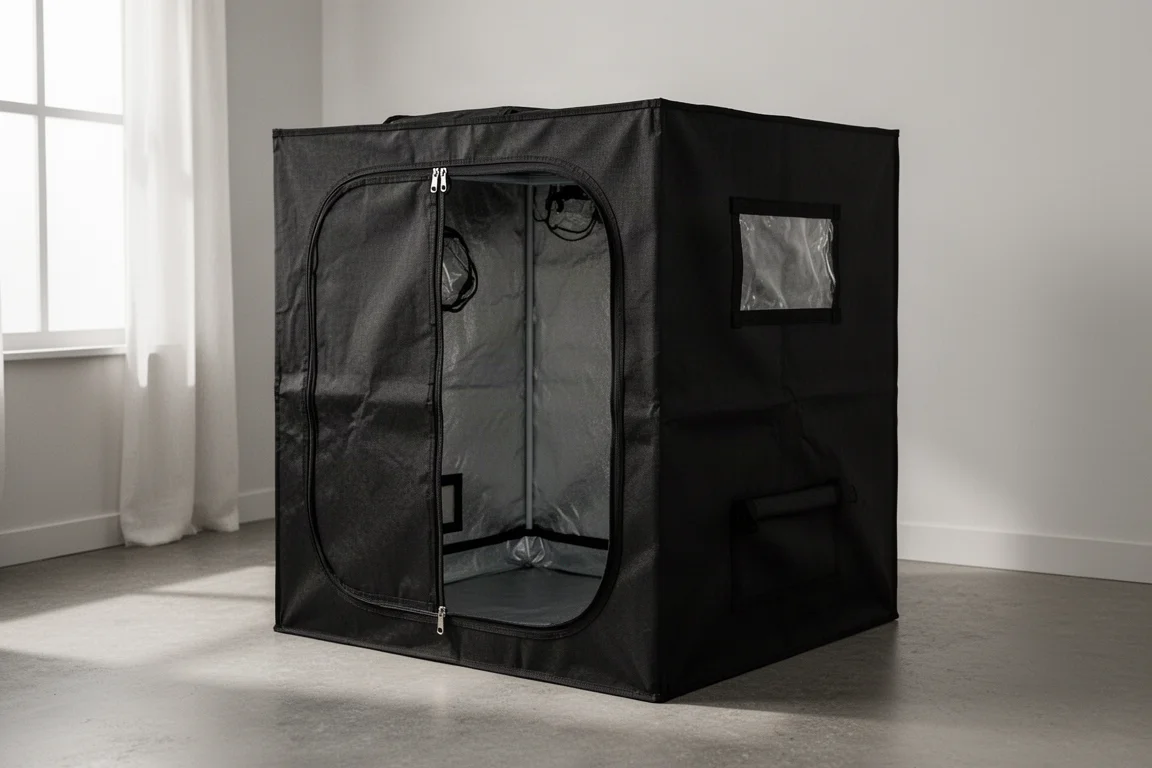
If you are in the market for a grow tent, the Spider Farmer 3x3 is worth a close look. This is a first-impressions review based on a full unboxing and setup, covering everything from the frame and fabric to the assembly process and the one step that can trip up first-time builders.
The plan for this tent is simple: grow peppers and tomatoes indoors all winter long, starting seeds on a heat mat and getting more out of the cold months. That makes it a good real-world test for anyone considering their first tent.
First Impressions and Build Quality
Out of the box, the kit includes the tent shell, lots of corner pieces, lots of straight pieces for the steel frame, a zipper door, a watch window, and suggested matches for lighting. The shell itself feels tough, the zipper looks and feels good quality, and the reflective interior material feels durable rather than flimsy.
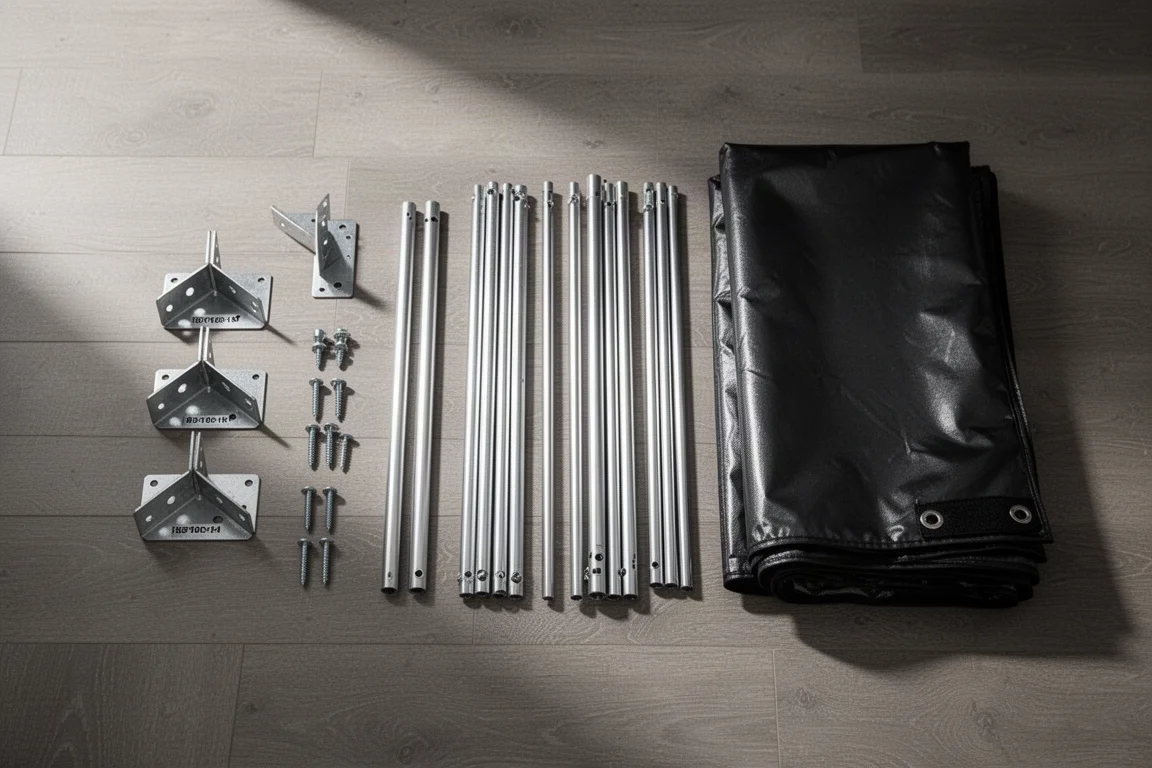
One small but thoughtful detail: the frame poles have little stoppers on the ends, so nothing is sharp or likely to rub against the fabric. The base panel, pull tabs, and branded touches also give the impression of a product designed with some care.
Assembly: What Went Smoothly and What Did Not
The frame goes together first, using an alphabetical labeling system. The D pieces are the corners, the E pieces are the short bars along the top, the F pieces go at the bottom, and the G pieces go at the top. Grouping all the same-letter pieces together before starting makes grabbing the right part much easier. Up to that point, assembly goes really easily, with only a little fiddliness clicking the top pieces into place.
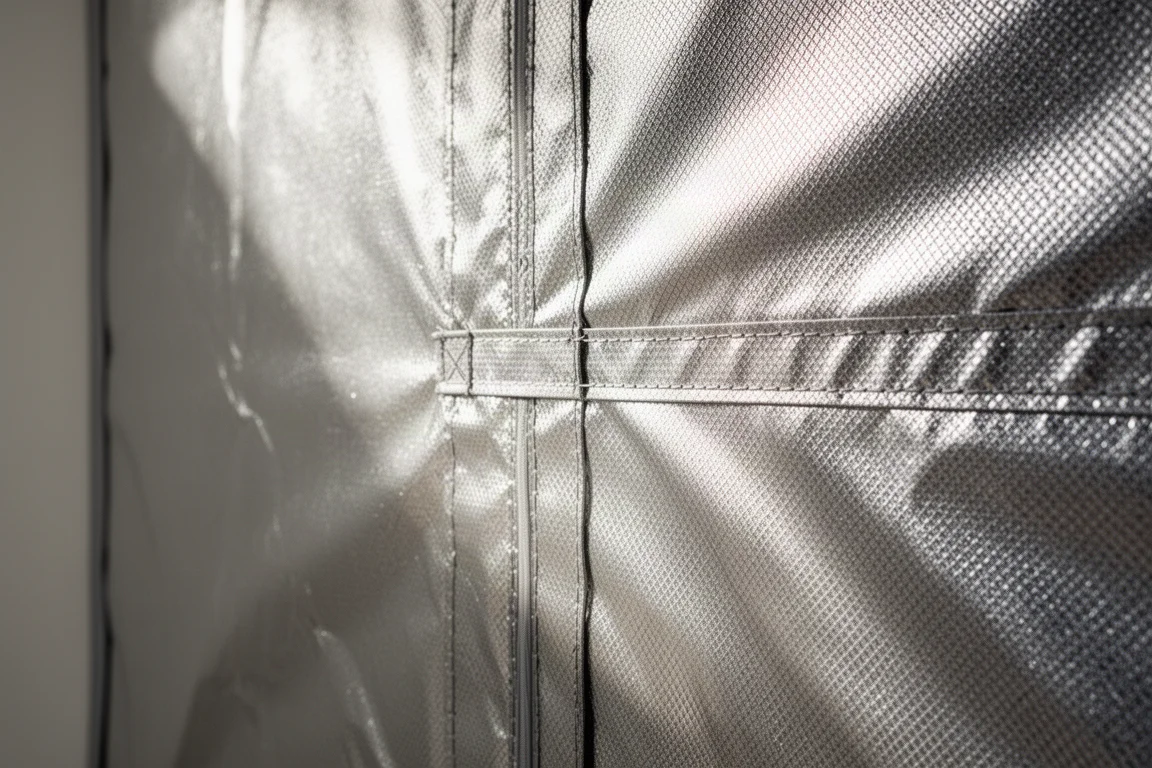
Then comes the step to know about before you start: getting the frame into the outer shell. It is a bit like trying to stuff a wet noodle. The key tip is in the instructions, and it is easy to miss: unzip the bottom of the shell first. That makes sliding the frame in dramatically easier, and it is the single mistake most likely to cost you a frustrating 10 to 15 minutes.
Inside the Tent: Space and Features
Once the frame is seated in the shell, the interior reveals plenty of useful details. There are vents and ports throughout, and the openings at the top are especially helpful when snugging everything in and running tubing up high. Two hanging bars mount under the top crossbars for suspending a grow light, and a removable floor tray fits in the bottom, secured with velcro wrapped around the corners.
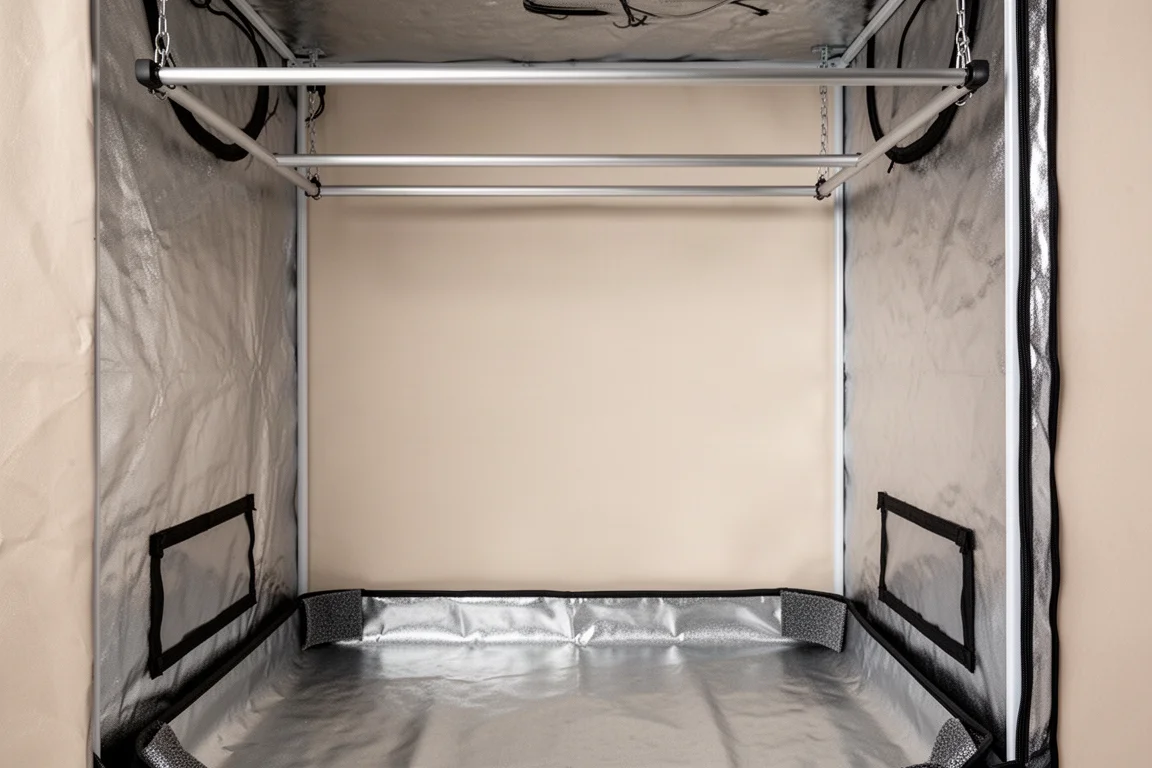
The front window is a nice touch for peeking in on plants without opening the door and disturbing the environment. Space is generous for a 3x3 footprint; the plan here is two peppers and two tomatoes in five-gallon pots, and there is comfortable room for that arrangement.
Things to Consider Before Buying
Assembly is manageable solo but not entirely friction-free. The frame-to-shell step demands patience, and handling a large tent shell around a room can be awkward, as any knocked-over equipment during setup will attest. None of this is a dealbreaker, but first-time builders should set aside a relaxed session, ideally on a rainy day, and read the instructions fully before starting.
Buying Advice
For anyone starting their first indoor grow, this tent checks the important boxes: sturdy-feeling fabric, a well-made zipper, a reflective interior, thoughtful hardware details, and a layout that accommodates a light, ventilation, and a removable tray.
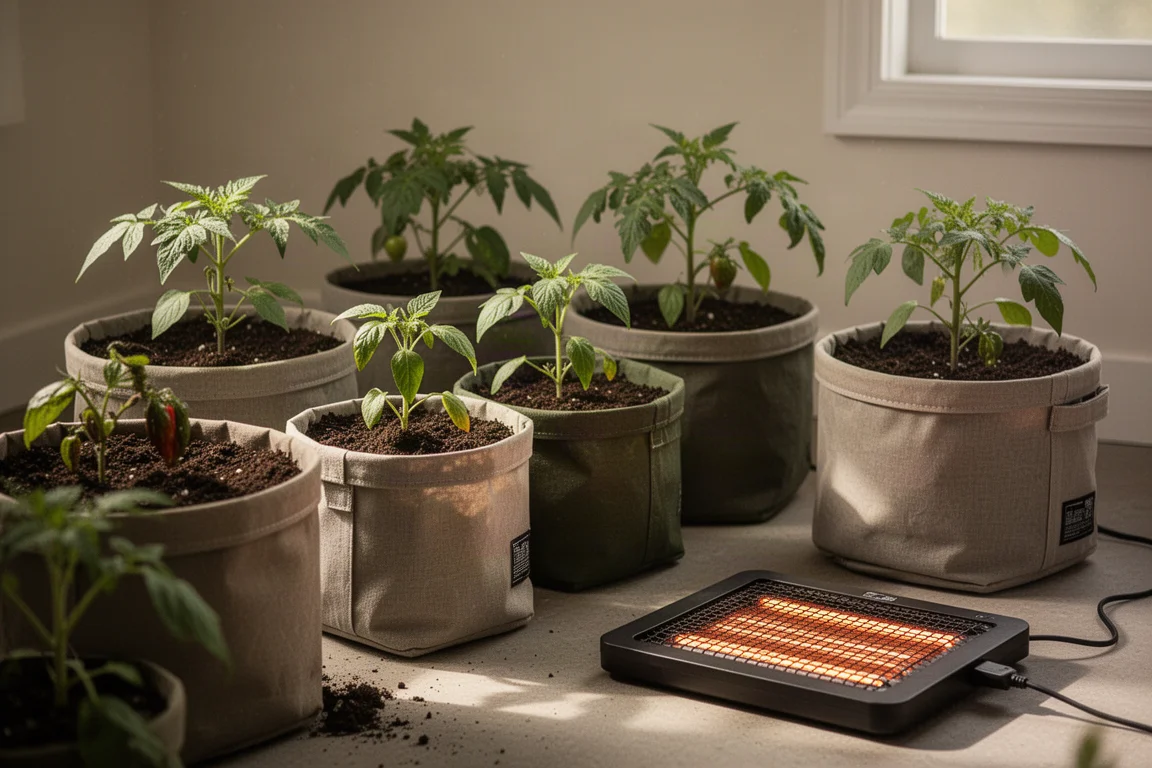
It pairs naturally with a seedling heat mat and a compatible grow light if you are planning a winter vegetable setup like this one. If you want a 3x3 tent that feels burly without complicating setup, this one deserves a spot on your shortlist.
Conclusion
The Spider Farmer 3x3 grow tent makes a strong first impression: quality materials, a sensible labeling system for the frame, generous interior space, and clever touches like the observation window and hanging bars. Just remember the one tip that saves the most frustration: unzip the bottom before sliding the frame into the shell. With that done, the rest of the setup is straightforward, and the tent is ready for a full winter of growing.
Product link
View more details for Spider Farmer 3x3 Grow Tent
This product is mentioned in the review. Check the specifications, options, and compatibility before buying.
View more details for Spider Farmer 3x3 Grow TentFurther reading
Related Reviews
Indoor Gardening
AeroGarden Eight-Pod System Review: A Budget Hydroponic Garden That Works
After a few months of growing dill, a shishito pepper, and micro tomatoes, here is what this eight-pod hydroponic system gets right and what to watch for before buying.
Indoor Gardening
AeroGarden Buying Guide: How to Choose the Right Model for What You Want to Grow
From the 3-pod Sprout to the 24-hole Farm Plus, here is what actually matters when picking your first AeroGarden, plus the growing tips nobody tells beginners.
Indoor Gardening
AeroGarden Farm After 8 Years: What I Wish I Knew Before Buying
A long-term look at the AeroGarden Farm, the 12XL alternative, and why a Rise Garden won out on space efficiency.