Smart Telescopes
Smart Telescopes for the Total Solar Eclipse: DWARF II vs Seestar S50 vs Vaonis Hestia
Three smart telescopes tested for eclipse photography, with practical tips on filters, tracking, exposure, and what each does best on April 8, 2024.
Introduction
Smart telescopes have quietly become one of the most approachable ways to photograph the sun, and the April 8, 2024 total solar eclipse is the first time the current generation of them can be put to the test together in that context. Three models stand out for this job: the DWARF II from Dwarf Labs, the ZWO Seestar S50, and the Vaonis Hestia. Each takes a very different approach to finding, filtering, and shooting the sun, and each demands slightly different preparation. This guide walks through what works, what does not, and how to plan around the quirks of each one so you spend totality looking up rather than staring at your phone.
One planning tool worth settling early: the Solar Eclipse Timer app, a $2 purchase with the 2024 eclipse data. The developer advises not running anything else alongside it, so the practical move is to dedicate one device to the timer and a separate device to your telescope app. An old phone or tablet from a drawer works fine for the timer since it only needs built-in GPS, not cell service.
DWARF II: Dual Cameras and a Magnetic Solar Filter
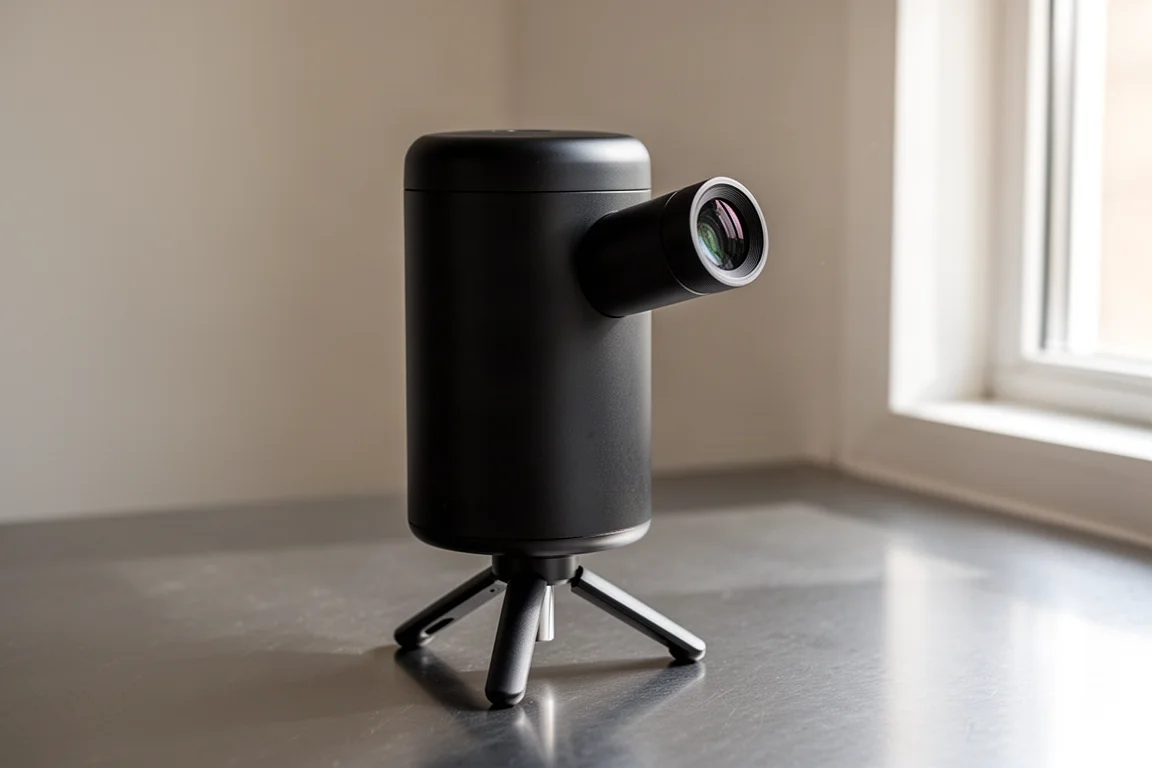
The DWARF II has one of the cleverest finder setups of the three. Its wide-field camera runs simultaneously with the telephoto camera, both with their own solar filters, and the wide view appears as a picture-in-picture in the app. That makes centering the sun in the telephoto view genuinely easy, which matters more than you might think under eclipse-day pressure.
Tracking works well for keeping the sun roughly centered, and the magnetic solar filter mechanism is a standout: it removes in a second when totality arrives, with no fumbling. For exposure, use the manual controls over gain and shutter speed to find a combination that renders a properly exposed sun with the filter on. A correctly exposed disc is slightly brighter in the middle and darker at the limb, and sunspots should show good contrast. Focus manually on those sunspots rather than trusting autofocus, which does not perform especially well here.
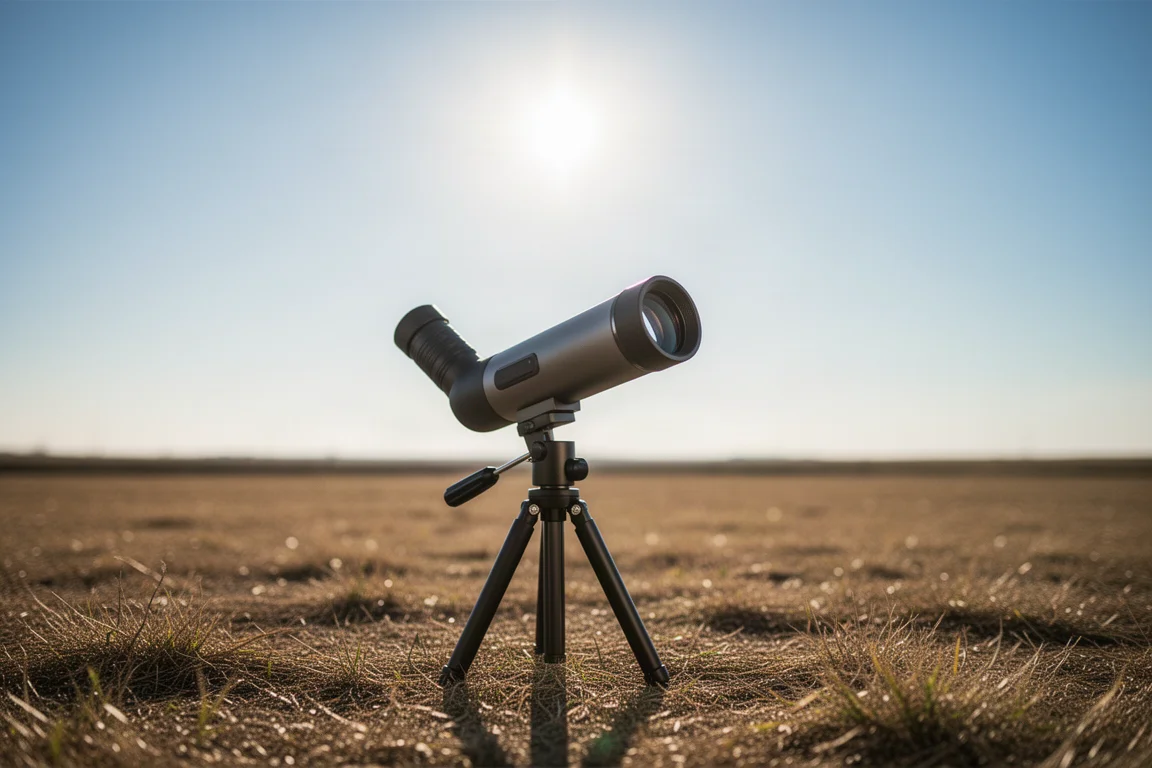
For totality, use your filtered partial-phase exposure as the starting point for inner corona shots, then double the exposure time step by step to bracket the middle and outer corona. A sensible rhythm: when totality begins, shoot a stop brighter, then another, and after about five photos or a minute or two, put the phone down and watch the rest with your eyes.
ZWO Seestar S50: Automatic Sun Finding and Simple Controls
The Seestar S50 is the most automated of the three when it comes to acquisition. It performs a methodical search for the sun, and when properly leveled with a calibrated compass it finds the sun on its own a fair portion of the time. For the cases where it fails, tape a small solar finder onto the body, locate the sun manually, line it up with the onscreen controls, and tap the button to tell the Seestar the sun is centered. It will then start tracking.
Manual control in solar mode is limited compared with the DWARF II, so during totality your best tool is the simple plus/minus exposure control to capture a few different looks. Framing on the sun is tight, so very long exposures may clip the corona at the edges of the frame anyway.
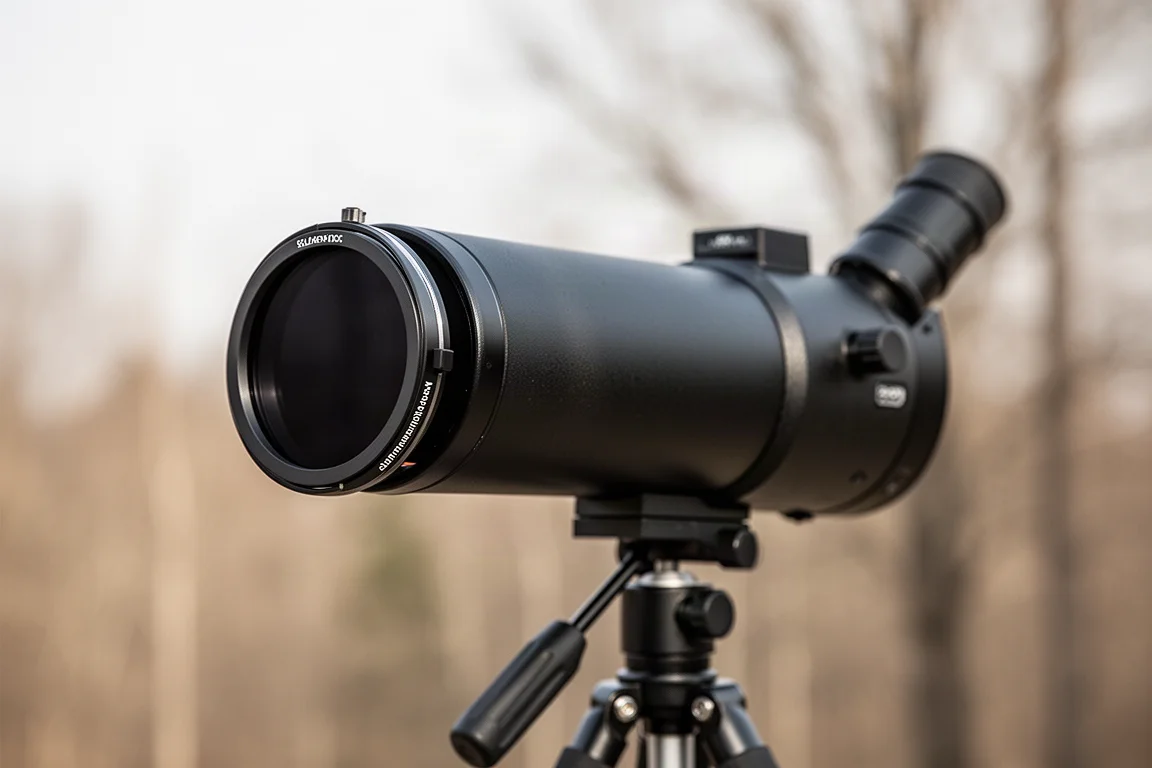
The one thing to rehearse ahead of time, with the scope pointed at plain blue sky and never at the sun, is removing and replacing the solar filter. The push-in filter fits very tightly, and some owners may find a custom DIY full-aperture filter easier to work with under time pressure. There is no interval timer for stills in solar mode, so plan to tap the shutter manually for each frame. Battery life is rated at six hours, which covers most eclipse days, though an external power source is still a reasonable safeguard, especially since the black body heats up in direct sun. The narrow field of view is the trade-off to understand: you will capture details like Bailey’s beads and the diamond ring nicely, but see less of the corona than with wider options.
Vaonis Hestia: Manual Tracking and Smartphone Imaging
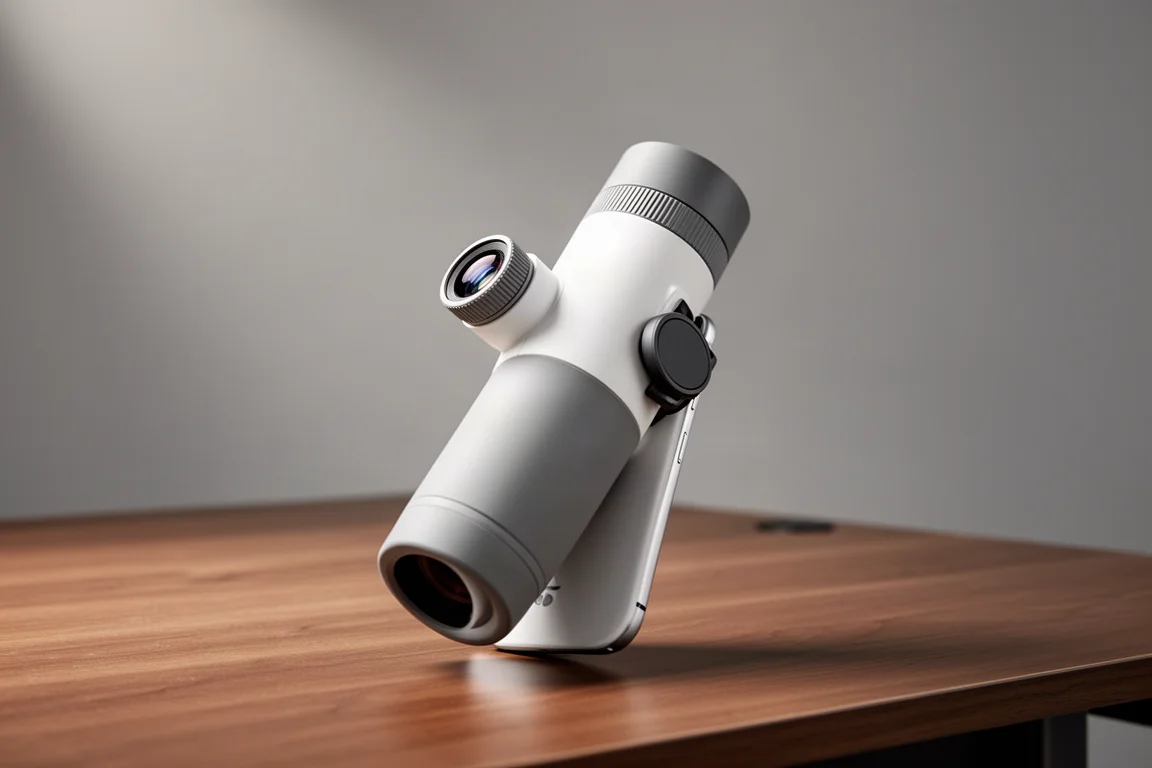
The Hestia takes the simplest approach to hardware and the most hands-on approach to operation. It has no motorized tracking, and it uses your smartphone’s camera to take the pictures, with the phone resting on the instrument. That also makes it roughly half the cost of the other two, which is a meaningful part of its appeal.
Setup works like this: with the filter off, aim at the blue sky to align the phone’s camera with the optics, focus on something far away, then install the solar filter to be roughly in focus. The focus system has two parts, the manual ring on the telescope and the phone’s own lens focus, and the app helpfully shoots a burst at slightly different focal positions so you can pick the sharpest and lock it in. From there you can set shutter speed and ISO manually. Note that the auto exposure in sun mode blew out the image badly in testing, so do not rely on it.
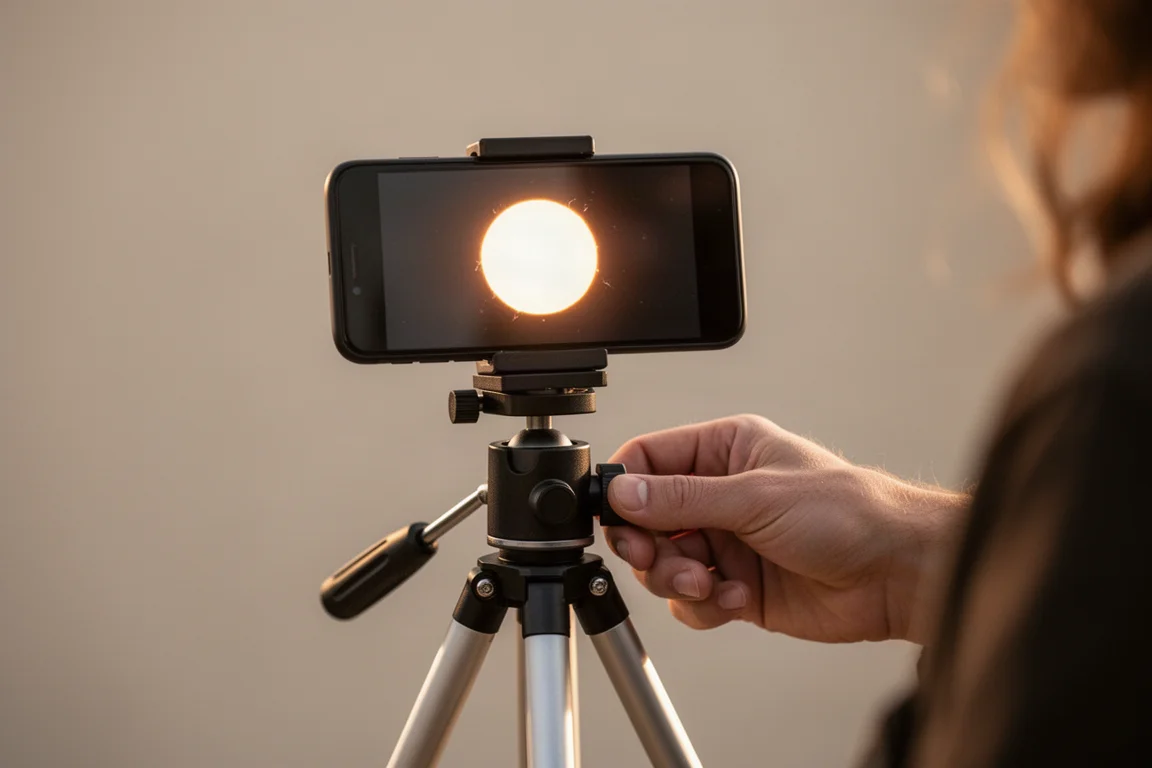
Two practical headaches to plan around. First, the screw-in solar filter attaches in the same place as the manual focus ring, so unscrewing it can shift focus; hold the focus ring steady with one hand while removing the filter with the other, or consider a custom DIY full-aperture filter, which is arguably even easier to make for this design. Second, the included tripod has spindly legs and shakes in any wind. Since you need to stand and pan to track the sun manually, sitting it low to the ground is awkward; bringing a sturdier tripod is worth considering, and secondhand heavy-duty tripods can often be found cheaply. The snap-on solar finder is genuinely effective, though, and makes finding or re-finding the sun simple. The magnetic phone mount can also be fiddly if you have limited dexterity, and your image quality ultimately depends on your phone’s camera.
Eclipse-Day Habits That Apply to All Three
Whichever telescope you bring, keep the Solar Eclipse Timer app on a separate device so you know exactly when to remove and replace the filter and when key events happen. And treat the Max Eclipse announcement as your cue to stop: it means you are halfway through totality, and if you are still buried in your phone at that point, put the telescope down and watch the rest visually. Missing the event itself while chasing pictures is the most common and most regrettable mistake.
It is also worth noting that all three companies are actively updating their apps and firmware, and the capabilities of these devices have improved steadily over time. Whichever model you choose, install every update well before eclipse day and rehearse the full workflow, especially filter removal, at home in daylight.
Which One Should You Bring to the Eclipse?
If you want the widest view of the corona, the DWARF II is the strongest pick, with the magnetic filter and true manual exposure control making totality far less stressful. Its swappable batteries also help when external power is not an option, though running a time-lapse means stopping the session to swap the rear battery. If you would rather have close-up detail of Bailey’s beads and the diamond ring, the Seestar S50’s tighter field of view is the better fit, at the cost of some corona. If budget is the priority and you accept manual tracking, the Hestia delivers real eclipse images at roughly half the cost, provided you solve the filter and tripod issues ahead of time.
Whatever you choose, bring external power if you can, practice the filter workflow repeatedly, and decide in advance how many frames you actually need before totality belongs to your eyes alone.
Conclusion
All three of these smart telescopes can produce worthwhile eclipse images, but they succeed in different ways: the DWARF II through dual-camera framing and flexible manual control, the Seestar S50 through automation and reach, and the Hestia through affordability and phone-powered simplicity. Match the telescope to what you most want to remember from totality, rehearse the awkward parts in advance, and keep a firm boundary between photographing the eclipse and experiencing it.
Further reading
Related Reviews
Smart Telescopes
Vaonis Vespera 3 Review: A Premium Smart Telescope With Excellent Optics
A detailed look at the Vaonis Vespera 3 smart telescope, covering its standout hardware, impressive multi-night observations, and the software trade-offs to weigh before buying.
Smart Telescopes
Best Smart Telescopes Compared: Seestar S50 Pro, S50, S30 Pro, S30, and Dwarf Mini
Five of the most popular smart telescopes tested side by side in the desert: what they share, how they differ, and which one suits your budget and targets.
Smart Telescopes
Best Smart Telescopes: Four Scopes That Make Astrophotography Easy
Four smart telescopes that put detailed, color-rich night sky photos within reach of complete beginners, from ultra-portable to full home observatory.