Smart Telescopes
Unistellar Odyssey Pro vs Seestar: Which Smart Telescope Makes Sense for You?
A hands-on comparison of the Unistellar Odyssey Pro, Seestar S50, and Seestar S30, covering aperture, image quality, ease of use, and who each telescope is really for.
Introduction
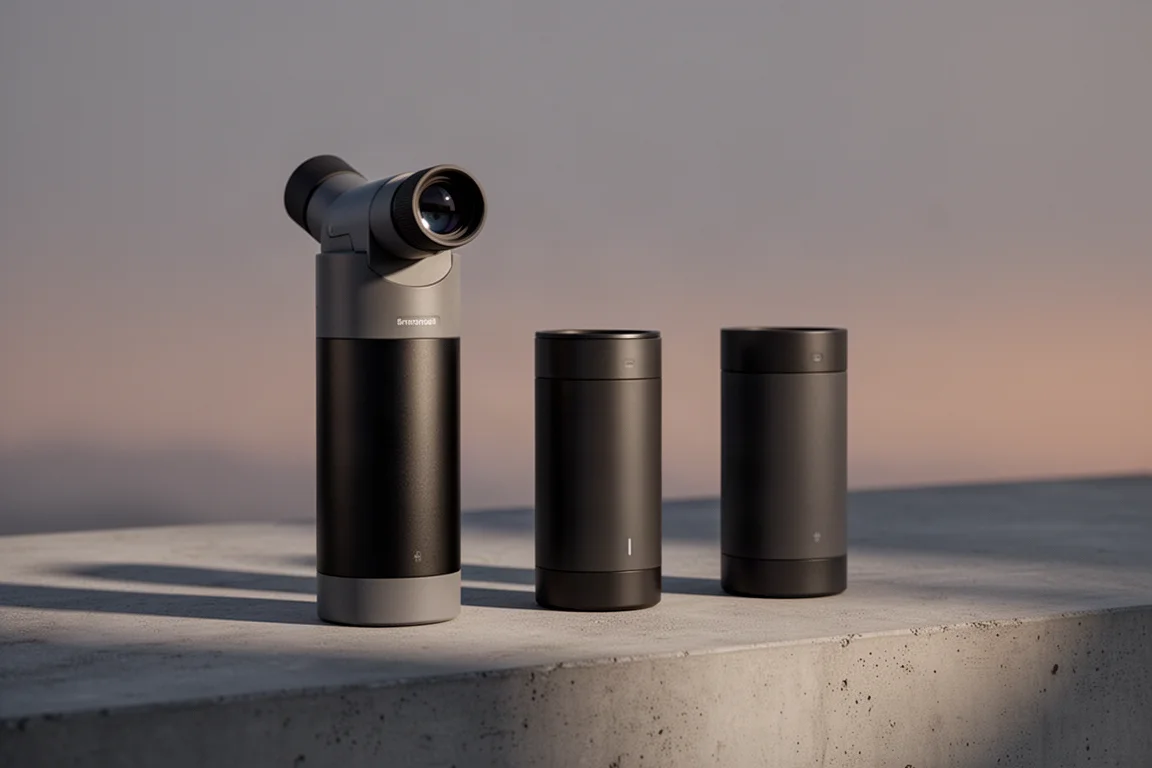
Smart telescopes have changed what beginner-friendly stargazing looks like: set the scope down, connect an app, and let the hardware find, focus, and stack images of nebulae and galaxies on its own. Right now, three names dominate the conversation: the Unistellar Odyssey Pro, the Seestar S50, and the newer Seestar S30.
The Odyssey Pro is not a budget telescope. Even at a discount, it costs about as much as a very basic deep sky astrophotography rig, including a mount, a small apochromatic telescope, a cooled camera, and an autoguiding system. By contrast, if your budget tops out around $500, the Seestar S50 and the new Seestar S30 are essentially your only real entry points into deep sky imaging alongside the Dwarf series.
So which one is worth your money? Here is how they compare in real use.
Aperture and Light Gathering
Aperture, the diameter of the primary mirror or lens, is the most important spec on any telescope. The Odyssey Pro uses an 85 mm aperture, while the Seestar S50 uses 50 mm. That difference sounds modest on paper, but light collecting area grows with the square of the aperture. Divide 85 squared by 50 squared and you get roughly 2.9: the Odyssey Pro collects almost three times as much light as the S50.
That extra light translates into two practical advantages. First, the Odyssey Pro should reveal finer details in less exposure time. Second, resolution matters more as focal targets get demanding, particularly for planets. The Seestar is not known for planetary imaging; the Odyssey Pro is, and in use its Jupiter views improved noticeably once the telescope reached ambient temperature.
First Impressions and Setup
Unboxing the Odyssey Pro feels premium, down to printed instructions on how to open the box itself. Inside you get the telescope with an eyepiece-style observation experience, a tripod, a power adapter with interchangeable international plugs, a small toolkit for tightening tripod hardware, and a USB-C connection for charging.
Setup follows the usual smart telescope routine: unfold and level the tripod, mount the scope, power it on, and connect through the Unistellar app. Weight is a real consideration for portability. The Seestar claims about 6 pounds, while the Odyssey Pro comes in around 8.8 pounds according to Unistellar’s own figures, likely excluding the tripod. A padded backpack is available to make transporting the Odyssey Pro easier.
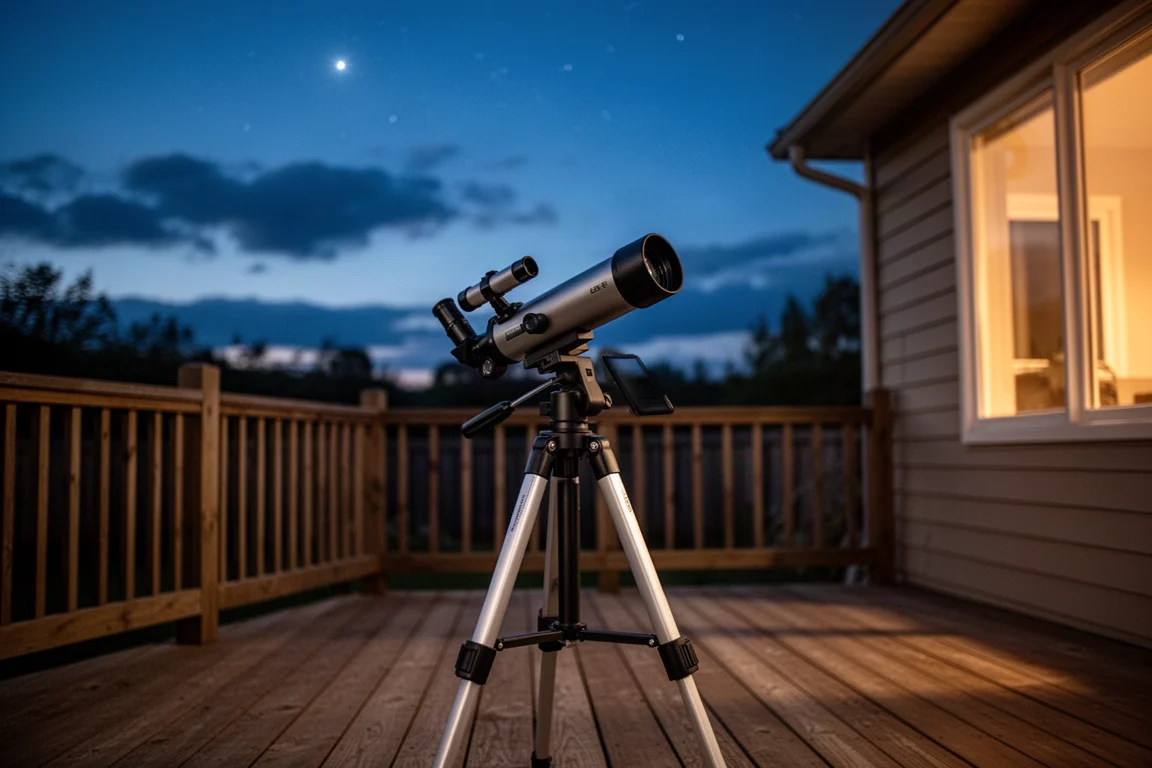
Two practical lessons came out of first light. The telescope needs time to adjust to ambient temperature before image quality is representative, and setup surface matters. A deck near a heat pump introduced enough vibration to shake the image, and both telescopes produced noticeably better results once moved to solid ground.
Solar and Planetary Observation
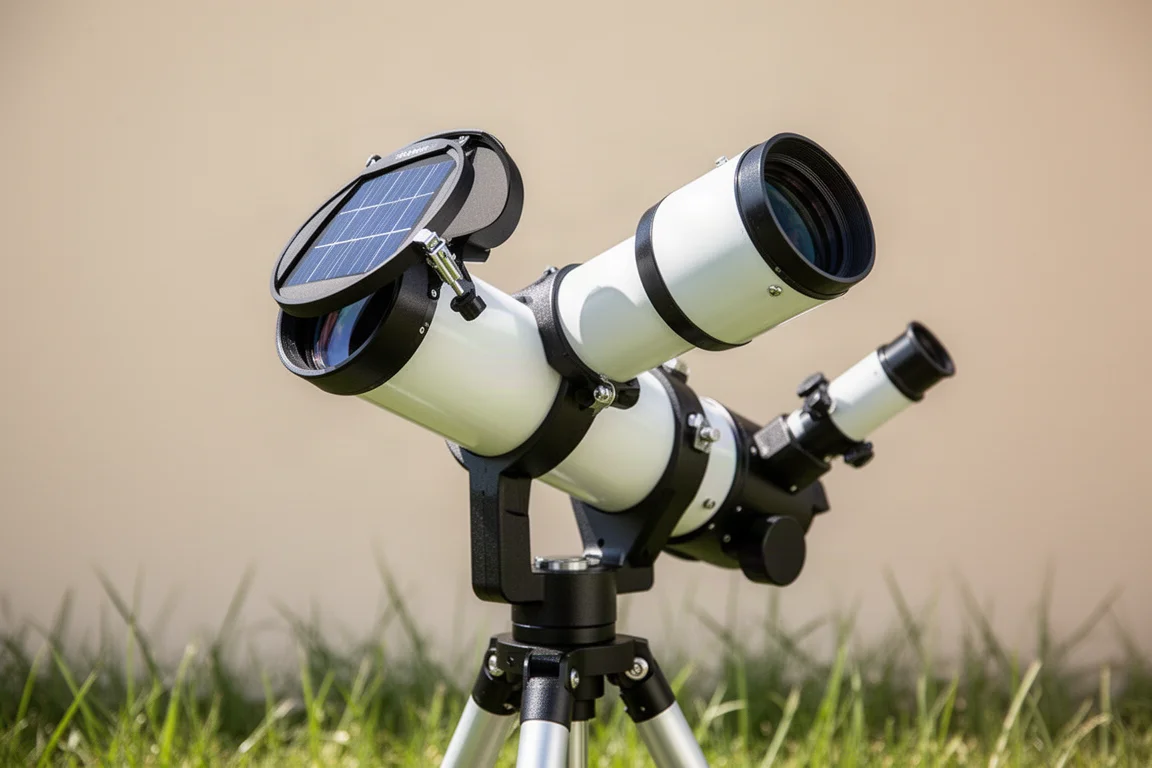
Unistellar also offers a smart solar filter that snaps onto the telescope. Solar observation is straightforward: tilt the scope toward the sun, select the sun in the app, and the telescope aligns, focuses, and tracks automatically while adjusting light levels. Sunspots were clearly visible, and pinching and zooming on the app screen made viewing them easy.
Jupiter was the real test of planetary capability. After the telescope fully adjusted to the outdoor temperature, the improvement was striking: sharper detail, and the moon beside Jupiter clearly resolved. This is an area where the larger aperture and resolution advantage of the Odyssey Pro genuinely shows, and where the Seestar line is simply not the tool of choice.
Deep Sky Imaging Performance
Under dark skies, both telescopes were pointed at the same targets to compare output directly. On the Orion Nebula (M42), the Odyssey Pro showed visible detail after only a few seconds of exposure, and its Vivid Vision feature, which automates the image processing steps a seasoned astrophotographer would normally do manually, produced a polished view on the spot.
The Crab Nebula (M1), the Rosette Nebula, and the Triangulum Galaxy (M33) followed. On M33, the initial view approximated what you would see through a regular telescope, but as the Odyssey Pro kept collecting data, more detail emerged in the spiral arms. The Seestar kept pace impressively for its price, though a failed stack and the inability to frame shots with a live star map made the workflow slightly less fluid.
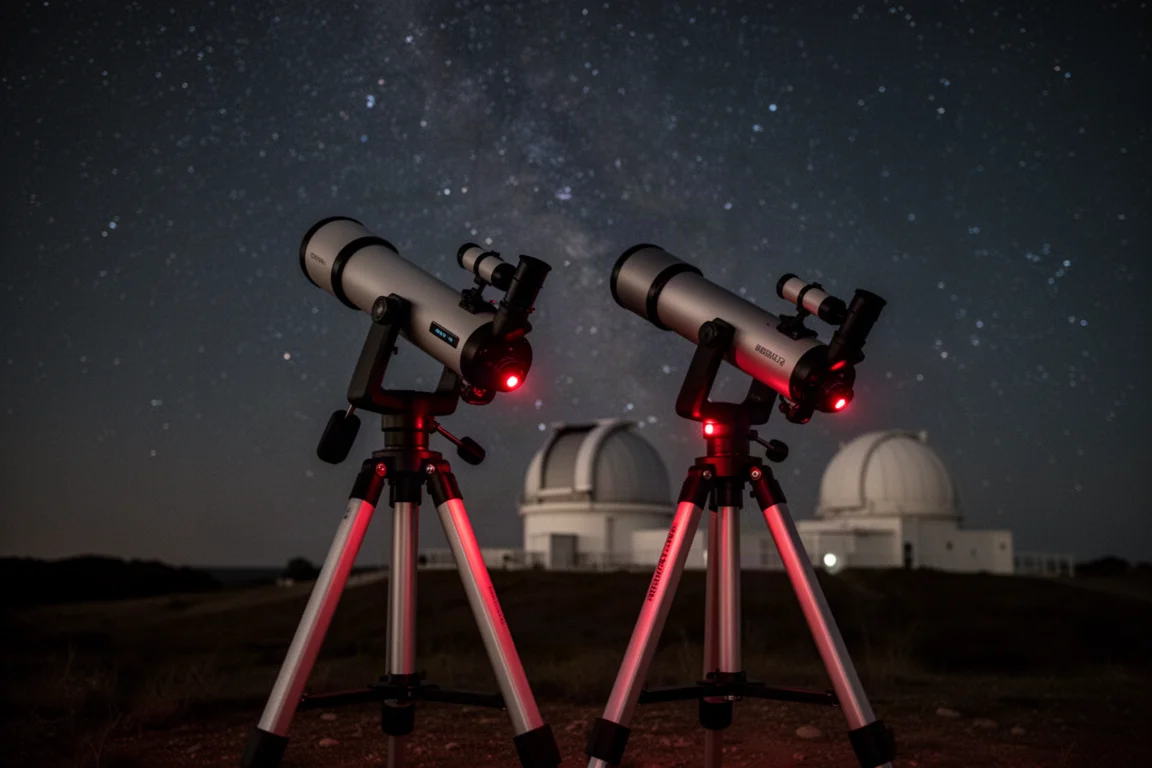
One recurring note: both telescopes are sensitive to stray light during their calibration and stacking process, and a bright filming light aimed at the lens introduced gradients that had to work their way out of the stacked image. Keep light sources away from the front aperture if you want clean results.
The Seestar Line: Budget Astrophotography That Works
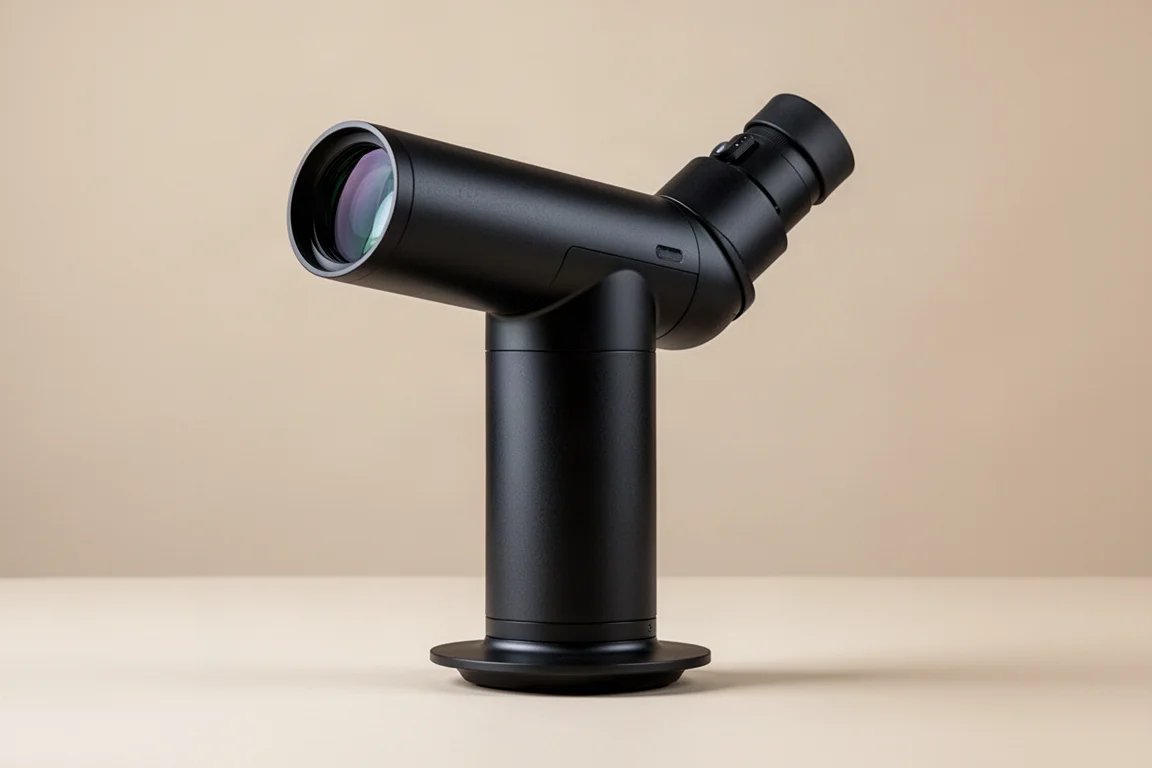
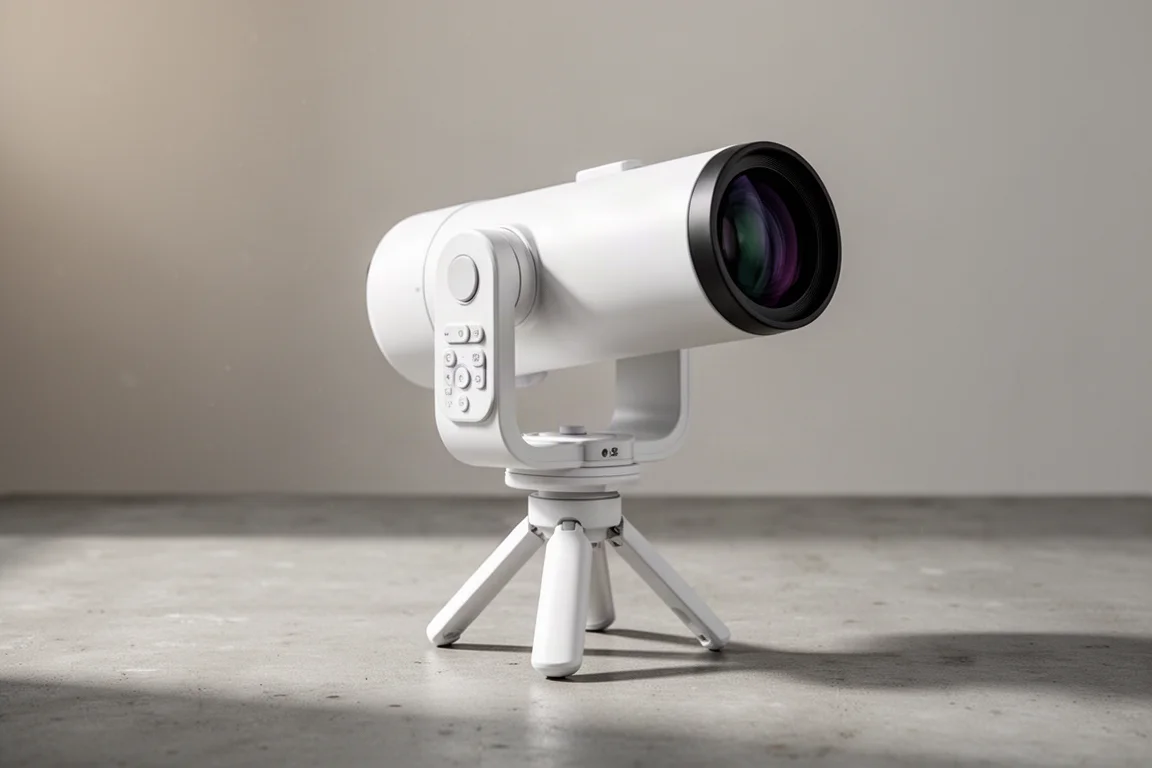
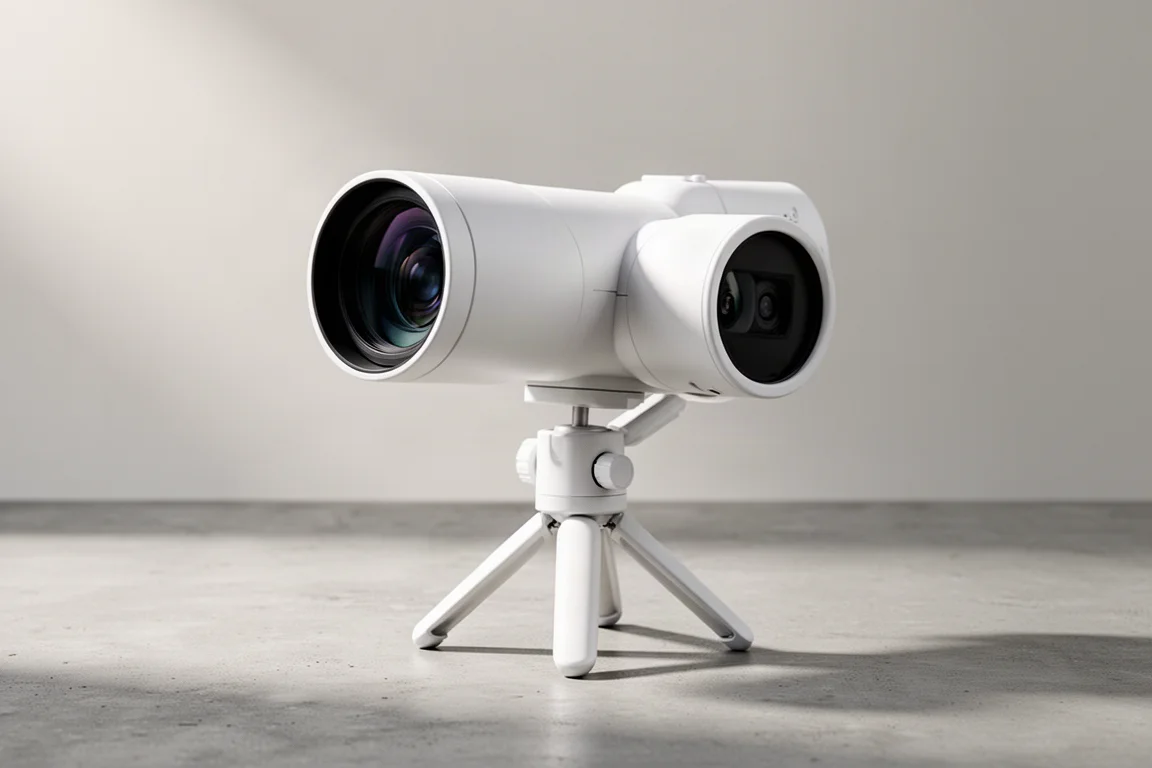
The Seestar S50 remains the go-to recommendation for anyone who wants deep sky astrophotography on a budget. For a few hundred dollars, it finds, focuses, and stacks galaxies and nebulae, and it does so with a level of polish that is genuinely enjoyable. The S30 extends that value proposition further down the price ladder with a smaller aperture and lighter form factor, making it an even easier first step into the hobby.
In side-by-side use, the S50 delivered respectable images of Orion, the Crab Nebula, and M33, and its sky map for picking targets is a feature worth appreciating. What you give up is light gathering: with a 50 mm aperture collecting roughly a third of the light of the Odyssey Pro, fainter detail takes longer to build, and planetary imaging is not its strength.
The Eyepiece Experience
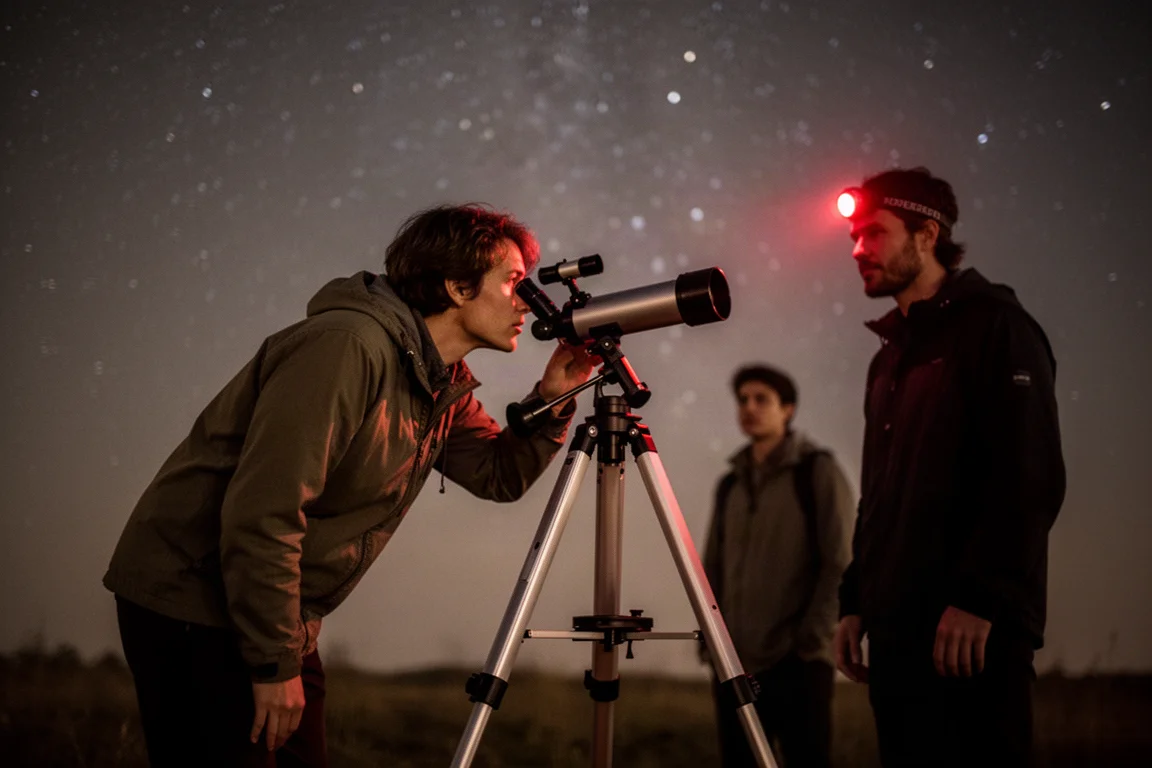
Stargazing carries an idealized image: a sky full of stars, the Milky Way overhead, and friends and family taking turns looking through a telescope. The Odyssey Pro, with its eyepiece-style observation experience, gets closer to that ideal than anything else in this comparison. The tripod raises the scope to eye level, so using it feels natural, like a traditional telescope, and looking into the eyepiece, even knowing it is a screen, is simply fun.
That live, in-the-moment experience is the Odyssey Pro’s real differentiator. It is built for star parties and sharing your passion with others, and when the session ends, you walk away with a collection of photos of everything you observed. The Seestar, by contrast, is a screen-first experience: excellent as a budget astrophotography machine, but without that traditional feel.
Which Should You Buy?
If your priority is the lowest possible cost of entry into deep sky imaging, the Seestar S50 and S30 are the clear answers, and for budgets up to about $500 they are effectively the market. If you want the strongest light gathering, better resolution, genuine planetary capability, and a telescope designed for sharing live views with others, the Odyssey Pro justifies its premium, as long as you understand you are paying astrophotography-rig money for a smarter, simpler experience.
Conclusion
The Odyssey Pro and the Seestar line serve different purposes rather than competing head to head. The Seestar S50 and S30 make deep sky astrophotography accessible at a price almost anyone can manage. The Odyssey Pro delivers the kind of observing experience people imagine when they picture looking through a telescope, backed by nearly three times the light collection. Decide which experience matters more to you, and both paths lead to the same place: more time under the night sky.
Further reading
Related Reviews
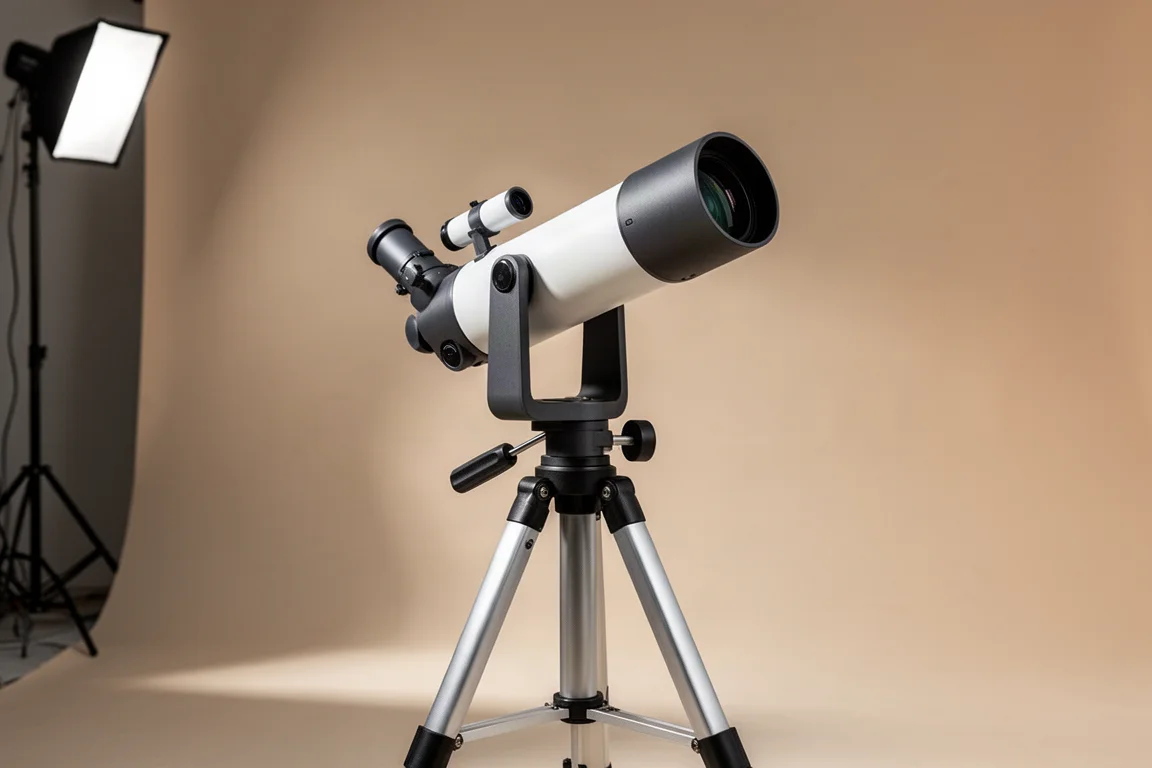
Smart Telescopes
Vaonis Vespera 3 Review: A Premium Smart Telescope With Excellent Optics
A detailed look at the Vaonis Vespera 3 smart telescope, covering its standout hardware, impressive multi-night observations, and the software trade-offs to weigh before buying.
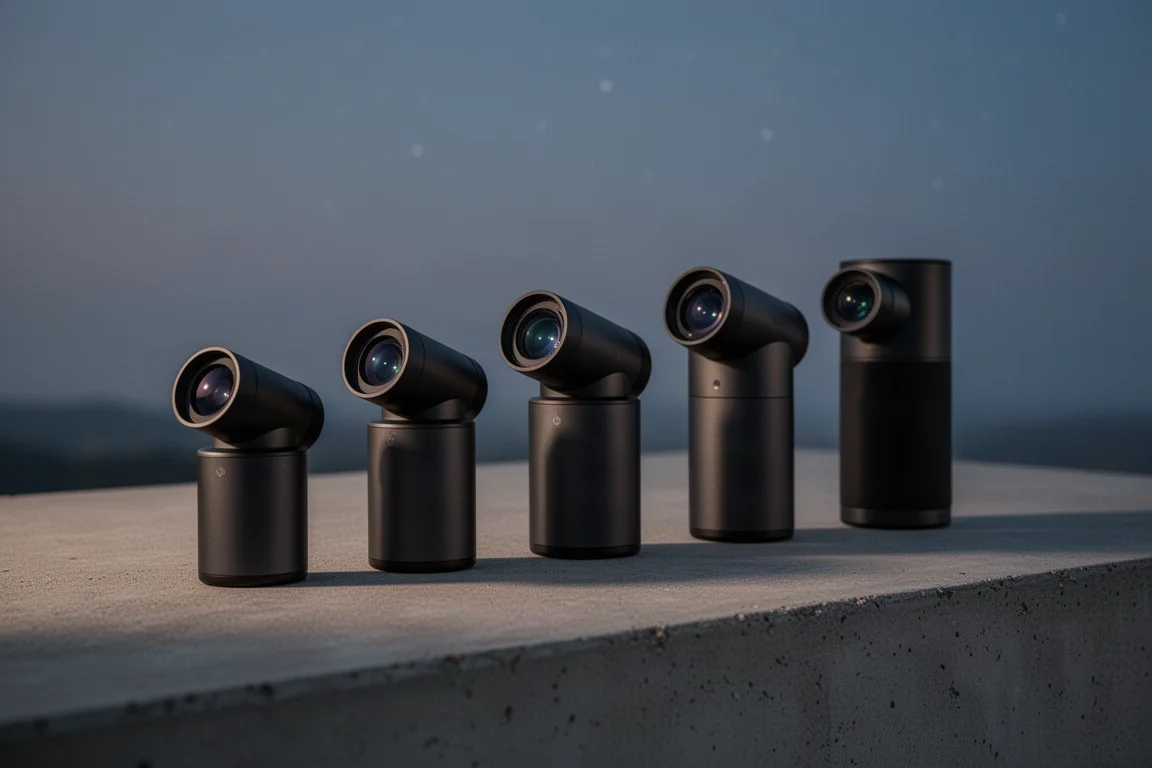
Smart Telescopes
Best Smart Telescopes Compared: Seestar S50 Pro, S50, S30 Pro, S30, and Dwarf Mini
Five of the most popular smart telescopes tested side by side in the desert: what they share, how they differ, and which one suits your budget and targets.
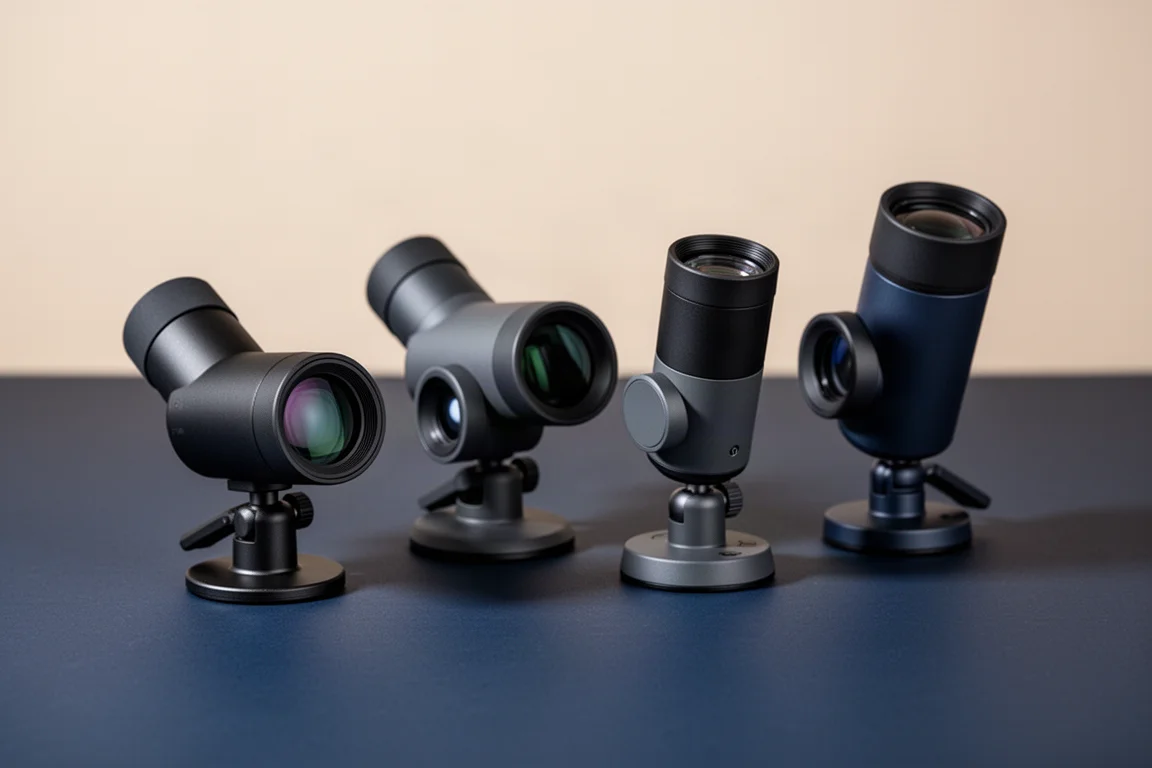
Smart Telescopes
Best Smart Telescopes: Four Scopes That Make Astrophotography Easy
Four smart telescopes that put detailed, color-rich night sky photos within reach of complete beginners, from ultra-portable to full home observatory.