Astrophotography
Sky-Watcher Star Adventurer GTi Review: A Portable Go-To Mount for Astrophotography
A compact equatorial mount with full go-to capability, tested with two refractors to see how long its guided and unguided exposures really hold up.
Introduction
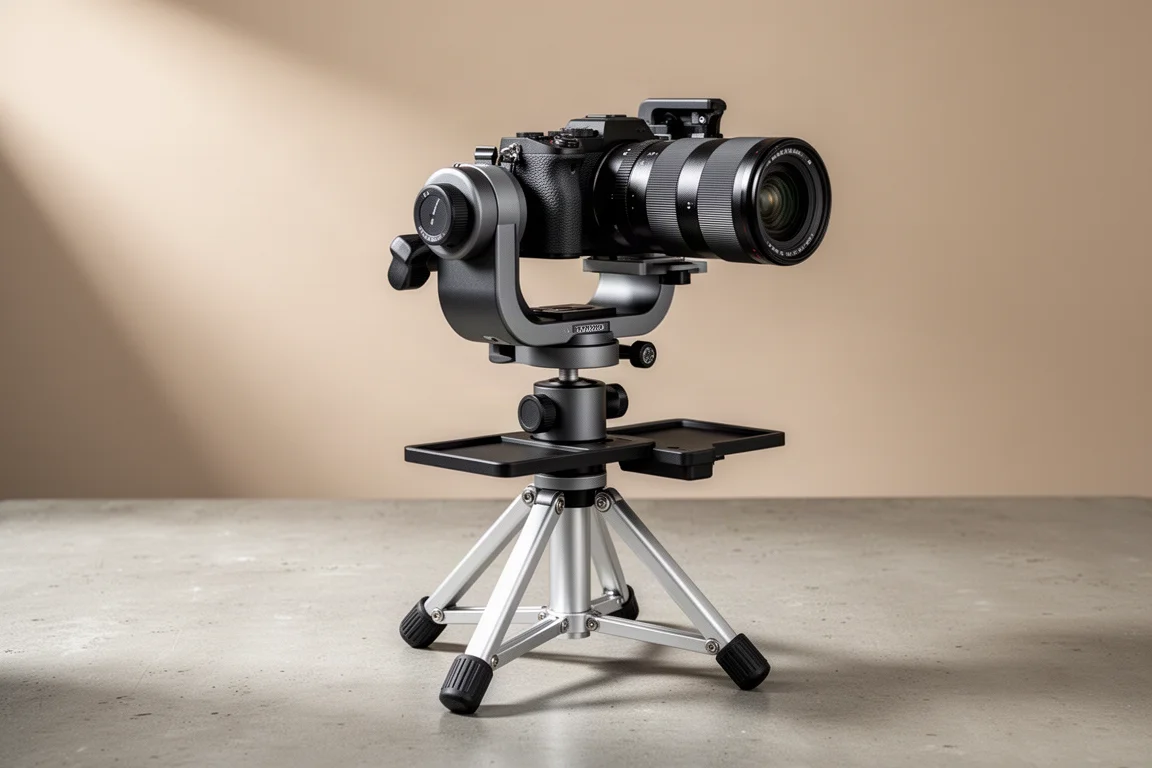
The Sky-Watcher Star Adventurer GTi is a compact equatorial mount built from the ground up as a miniature go-to system, and the biggest difference from its predecessor, the Star Adventurer 2i, is full go-to capability. That single change removes one of the most common beginner struggles in astrophotography: manually finding and framing your target. Instead of searching the sky, you click and go, which shortens setup time and gets you imaging sooner.
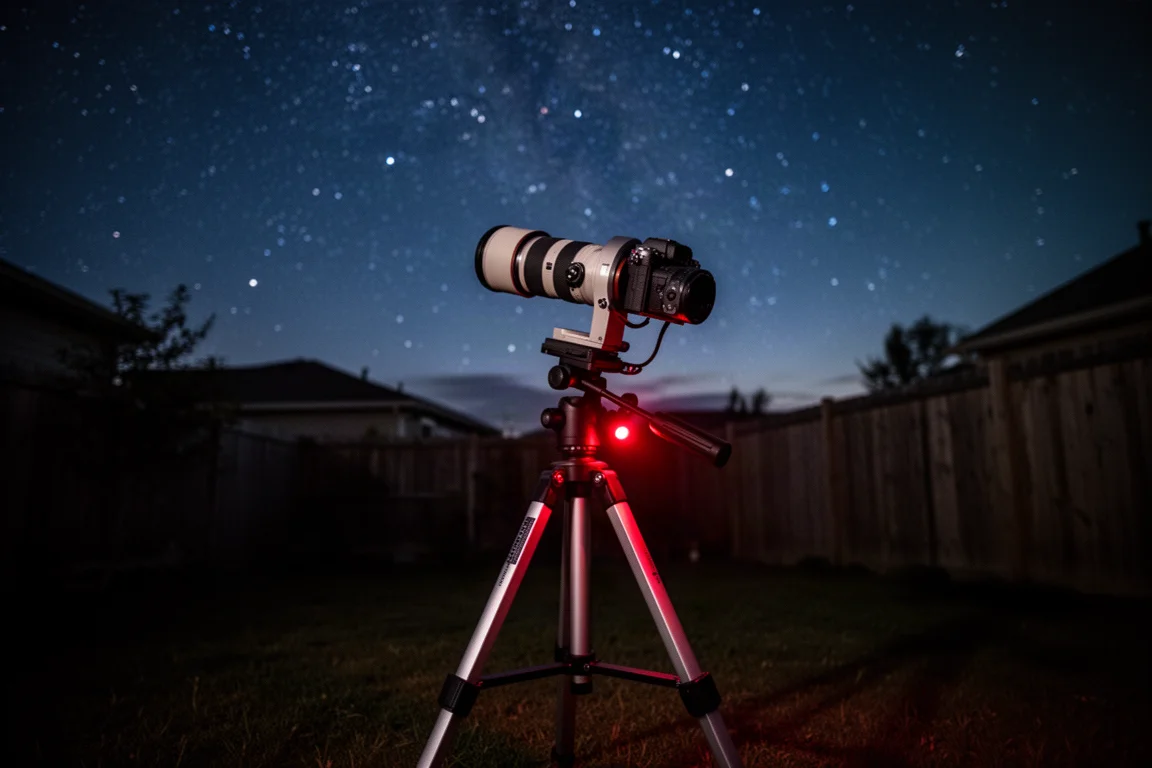
To see how it actually performs, the mount was put through a full testing process with two different scopes, including guided and unguided exposure tests. Here is how it all came together.
What’s in the Box and Setup
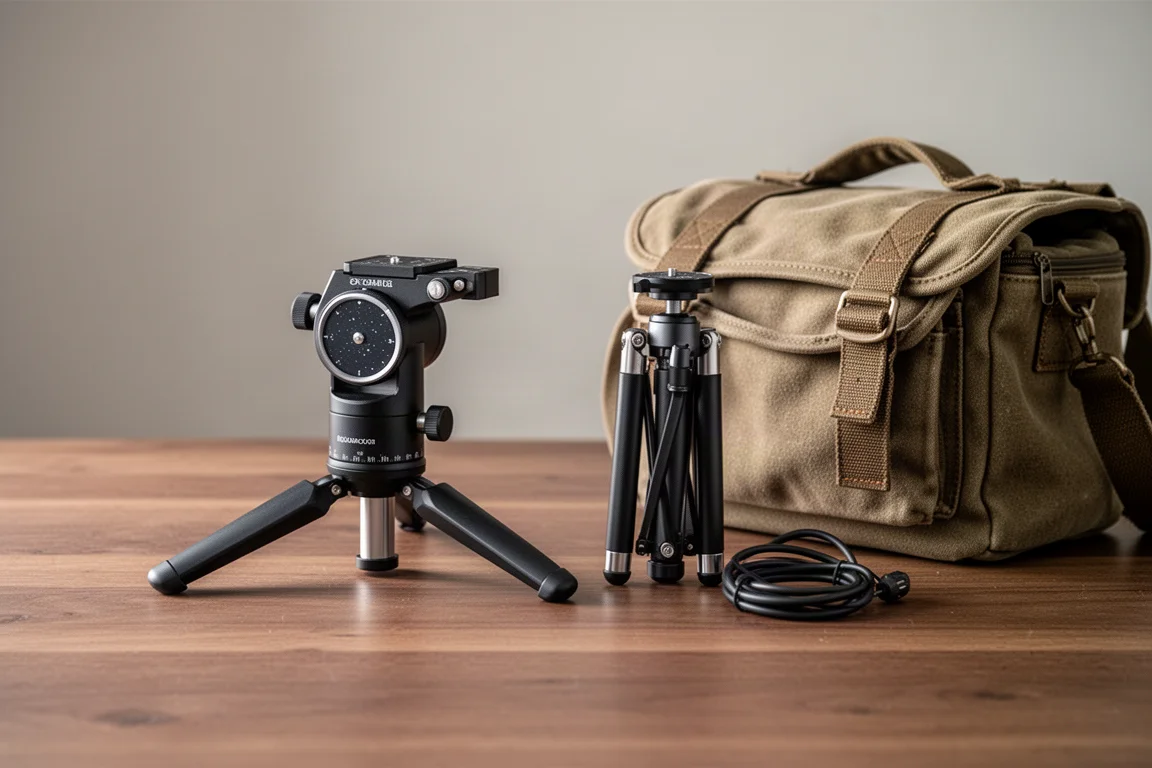
The package includes a tripod, the mount head itself, a pier extension, a counterweight bar, a 5 lb counterweight, and a USB cable for computer control. Setup follows the same pattern as any other equatorial mount: open the tripod on level ground, attach the spreader bar, screw the pier head to the tripod, extend the pier, and attach the mount head. From there you adjust the latitude knob to your imaging location, attach the counterweight bar, set the mount to home position, and slide on the counterweight.
Balancing deserves extra attention. You may want to go back and forth between the declination and right ascension axes to fine-tune the balance, because if you are imaging with a longer focal length or a heavier scope, this step is critical.
Key Features of the GTi
The GTi integrates several thoughtful features. An onboard USB port allows full computer control of all accessories and equipment through a laptop, and a hand controller port serves those who prefer manual slewing or visual work. Integrated Wi-Fi lets you control the mount from your smartphone.
The mount head has room for eight AA batteries, which means you can potentially operate the entire unit without a single cable at remote locations. A 3/8-16 adapter in the bottom of both the pier extension and the mount head makes it compatible with photographic tripods, so you can buy the mount head on its own if you already own one.
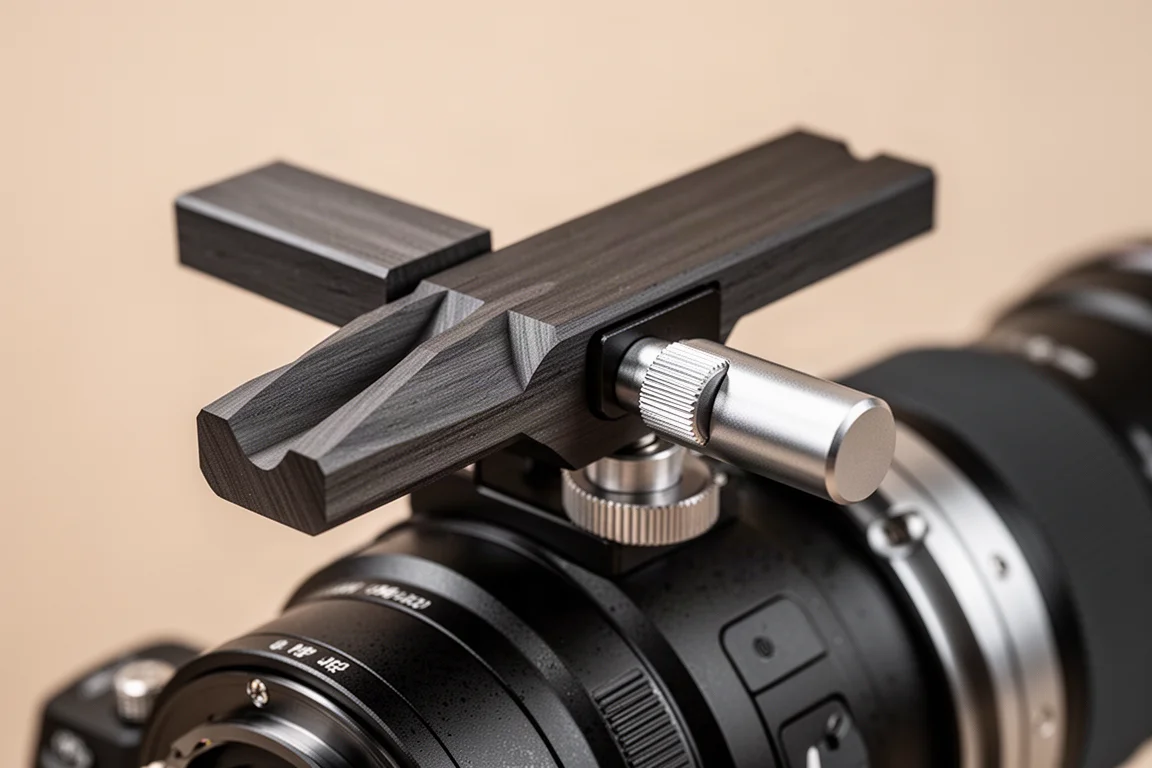
There are also two positions for the counterweight shaft on the front of the mount head. Riders at lower latitudes can use the upper position, and it also helps when a heavy imaging train pushes the counterweight to the very top of the shaft, where it might otherwise collide with the latitude adjustment knob. An ST4 autoguide port and a standard 2.1 x 5.5 mm AC adapter port round out the connections, the latter being useful with a power tank or extension cable for constant power.
Connecting the Mount to Your Laptop
Connecting through the Sky-Watcher SynScan app over the USB port enables full automation: your focuser, camera, filter wheel, and any other accessory in your imaging system can be controlled from the laptop. You will need the ASCOM driver along with the Windows SynScan app program, both available from the Sky-Watcher support downloads page.
Once connected, the SynScan app offers multiple star alignment types, a deep sky tour under Tonight’s Best, target identification, PPEC, camera control, and diagnostics. It is a well thought out app, and in testing it was used to establish the mount connection before handing control to Sequence Generator Pro for the imaging sessions. The connection type needs to be set to serial in the app’s settings before connecting.
Testing With the RedCat 51
The first performance test used the RedCat 51 at 250 mm focal length with an imaging train consisting of a 294 monochrome camera, a ZWO filter wheel, Astrodon hydrogen alpha and luminance filters, an off-axis guider, and a QHY5L guide camera. Balancing the light RedCat was easy, though the short scope caused the filter wheel to run into the mount when framing; a set of dovetail risers would solve that.
After a polar alignment rated excellent in SharpCap Pro, unguided tracking tests ran at 30 seconds, one minute, two minutes, three minutes, and five minutes on Messier 13. The results were pleasant: round stars in every one of those unguided exposure lengths. With a shorter lens such as an 85 mm or 100 mm prime, you could push those sub-exposure times even higher if your skies allow.
Guided, the RedCat 51 produced a total RMS error of 0.89 arcminutes over 400 pulses, and the mount delivered consistently round stars in 15-minute guided sub-exposures, which is genuinely impressive for a mount this size.
Testing With the Apertura 72EDR
The Apertura 72EDR at 430 mm focal length balanced easily in declination, but balancing in right ascension required an additional 5 lb counterweight that was not on hand. The single counterweight was slid to the bottom of the shaft and the night proceeded slightly out of balance.
Unguided, only consistent 30-second exposures were achievable, likely due to the longer focal length and the unbalanced RA axis. Still, 30 minutes of stacked 30-second data produced impressive results, proving that collecting more short exposures can still raise signal and reduce noise.
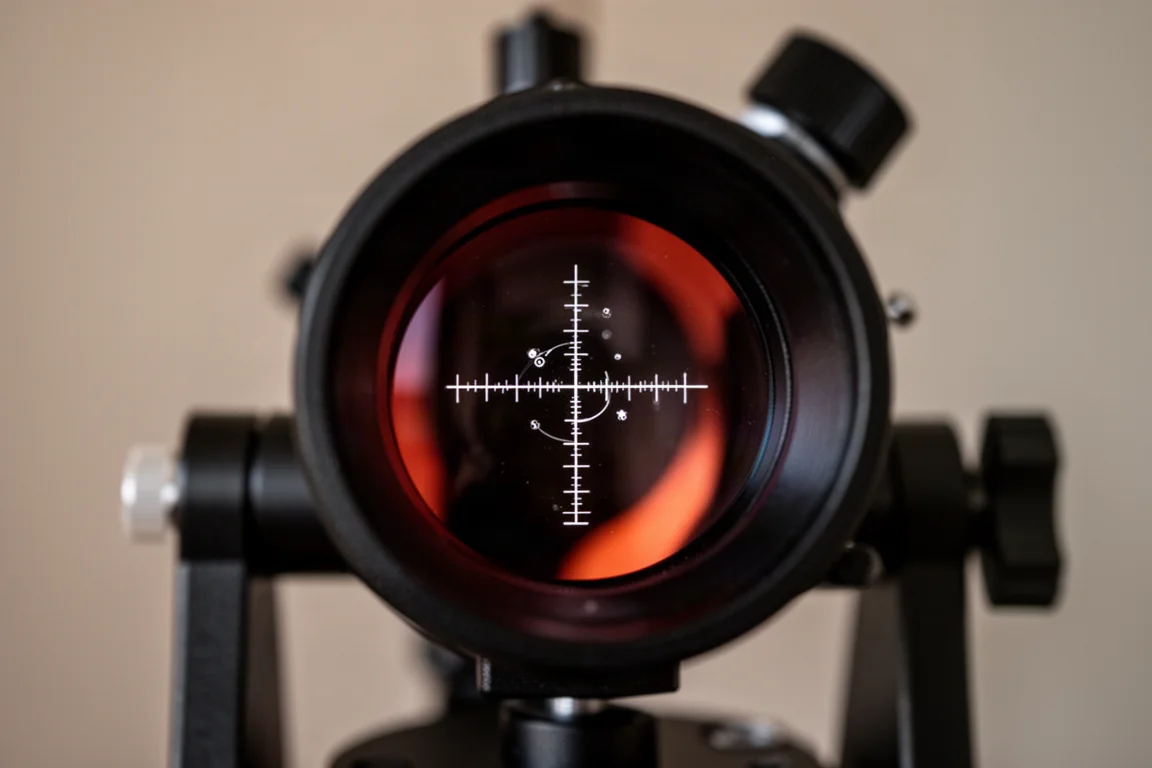
Guided, the 72EDR achieved 15-minute sub-exposures consistently, with a total RMS error of 0.67 arcminutes over 400 pulses. That was actually better than the RedCat result, most likely because the polar alignment had been refined after some troubleshooting that required returning the mount to home position several times.
What the Results Mean for Your Setup
If you pair the GTi with a short focal length doublet or triplet refractor, or a lens anywhere up to about 450 mm, results of this kind are realistic, keeping in mind that mounts, polar alignment, and conditions vary from setup to setup. For owners of scopes in the short focal length range such as William Optics ZenithStar doublets, this is a strong candidate for portable astrophotography.
Two practical lessons emerged. First, before any star alignment, go-to, slewing, or plate solving, the mount must be in the home position with the counterweight down and the telescope facing Polaris, otherwise your initial slew will be off. Second, the only real issue encountered involved plate solving between targets: the initial go-to from home worked nearly every time, but when slewing from one target to another, the mount would sometimes land off target without correcting. This happened over a few nights and may be fixable with a firmware update, or it may have been user error.
Buying Advice
Other than the plate solving quirk, the experience was quite flawless. Setup was simple, connecting everything to a laptop was extremely easy and quick, and the go-to functionality is the central feature that separates the GTi from the Star Adventurer 2i. It is arguably the most portable equatorial mount on the market, and the click-and-go framing saves a remarkable amount of time if you are not used to that kind of automation.
If you are new to the hobby and want to upgrade from a photographic tripod to a fully go-to system without giving up portability, this mount is very hard to beat. It performs, and it delivers excellent results.
Conclusion
The Sky-Watcher Star Adventurer GTi combines go-to automation, Wi-Fi and USB control, battery-powered operation, and genuine portability with tracking performance that held up in 15-minute guided sub-exposures across two different refractors. The plate solving hiccup between targets is worth watching, but it does little to diminish an otherwise excellent package for the astrophotographer on the go.
Product link
View more details for Sky-Watcher Star Adventurer GTi
This product is mentioned in the review. Check the specifications, options, and compatibility before buying.
View more details for Sky-Watcher Star Adventurer GTiFurther reading
Related Reviews
Astrophotography
ASKAR FRA400C Review: A Versatile 400mm Refractor for Astrophotography and More
The ASKAR FRA400C is a compact 72mm refractor that balances reach, versatility, and portability for astrophotographers and visual observers.
Astrophotography
Askar SQA106 Review: A Premium 106mm Astrograph With Exceptional Optics
The Askar SQA106 is a premium 106mm quintuplet astrograph with impressive sharpness across full-frame sensors, though its price and weight demand careful consideration.
Astrophotography
Astro Imaging Gear 2026: Eight New Products Worth Watching
A look at the most interesting new astrophotography and astronomy products announced this year, from fast telescopes to smart cameras and wireless accessories.