Video Gear
Ski Video Gear: The Practical Kit Behind Clean Ski Footage
A five-piece filming kit for ski content, from an on-snow 360 action camera to a free editing suite, with the trade-offs worth knowing before you buy.
Introduction
Filming ski content does not require a big production setup. It requires two things: a camera that reliably captures how a ski behaves underfoot, so a viewer can get close to how it sounds and looks in different snow conditions, and audio that stays clear enough to follow. Everything else is optional.
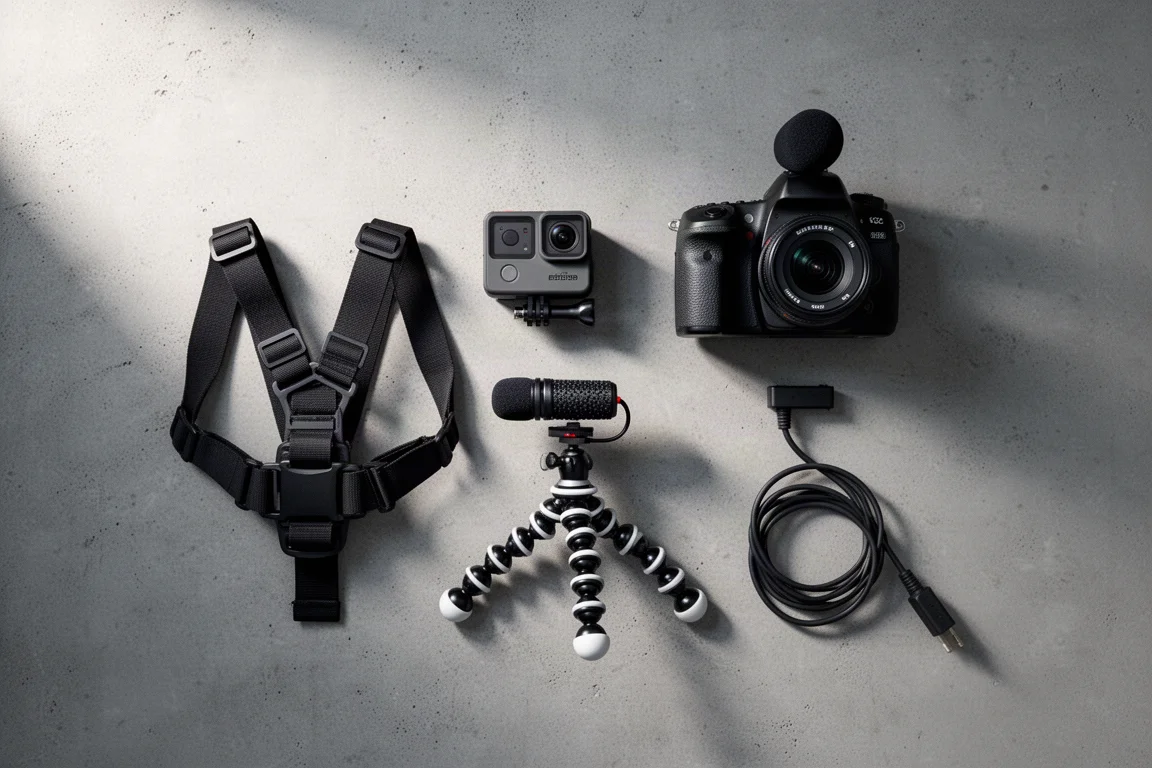
That is the logic behind the five pieces covered here. One action camera handles on-snow footage. One older DSLR handles seated talking segments. A flexible mini tripod unlocks awkward angles. A compact shotgun microphone keeps wind out of the mix. A free editing application turns all of it into a finished video.
None of it is exotic, and none of it is expensive relative to the results it produces. The point is a workflow fast enough that filming never gets in the way of skiing.
What a Practical Ski Filming Kit Actually Needs
The first priority is a usable frame of the skis in motion. The second is intelligible audio. A kit that delivers both quickly and without fuss beats a more capable one that takes twenty minutes to assemble in a parking lot.
That rules out a lot of gear. A large camera on a stabiliser sounds appealing until it has to be balanced, carried and operated in the cold. A setup that is discreet, starts instantly and produces files that are easy to work with tends to win.
Portability matters for the same reason. Anything that has to be assembled on a chairlift or forced into a jacket pocket adds friction, and friction is what stops footage from being filmed at all. The five tools below lean toward quick deployment and reasonable tolerance for cold, wet conditions.
GoPro Max: The Core On-Snow Camera
Stabilisation is the headline feature. Footage shot one-handed on a mountain bike, with the camera visibly pitching up and down, came out smooth. The same holds on skis: tree runs full of chatter end up looking far calmer than they felt at the time.
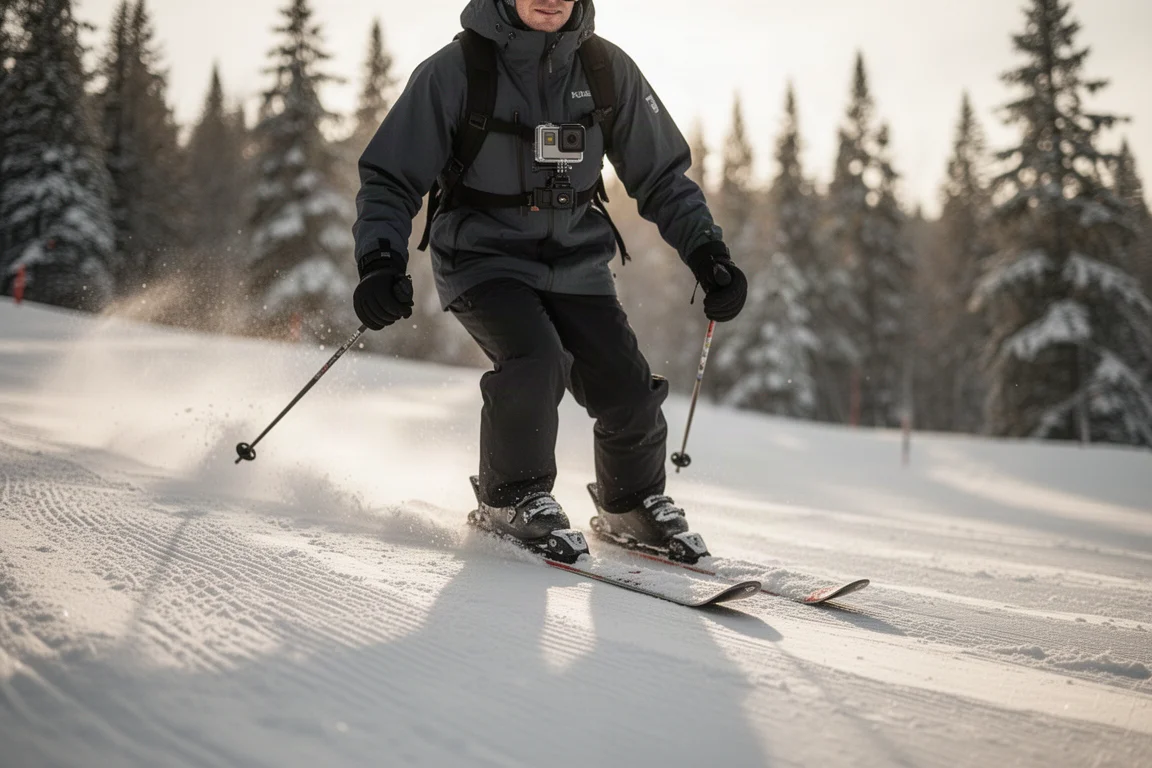
The chest mount is the default setup. It clips over a jacket, sits discreetly and produces a point-of-view angle that suits a solo operator. When chest mounted, the camera should be angled slightly down to capture the skis. A selfie stick with magnetic legs that open into a small tripod is a nice extra, useful for time-lapses shot through a car sunroof, but it is closer to a novelty than a core tool.
Battery life is the main practical limitation. The standard battery lasts roughly an hour of use on a cold day, which makes the higher-capacity Enduro battery close to essential for winter work. It also manages its own temperature, running slightly warm so it does not have to reheat before operating, and the camera drops into a sleep mode after recording stops to conserve power.
Waterproofing is solid. The ports seal, and a red indicator confirms the battery door is closed, which is reassuring on powder days. The two lenses are identical and replaceable, and because either lens can be selected in the menu, a scuffed or wet lens does not end the day.
Time-lapse mode is a good fit for approaches and chairlift rides, where a long real-time clip would be tedious to watch. Audio from the built-in microphone is better than expected for a camera this size, particularly chest mounted, though it struggles in wind. USB-C transfers keep the editing workflow moving.
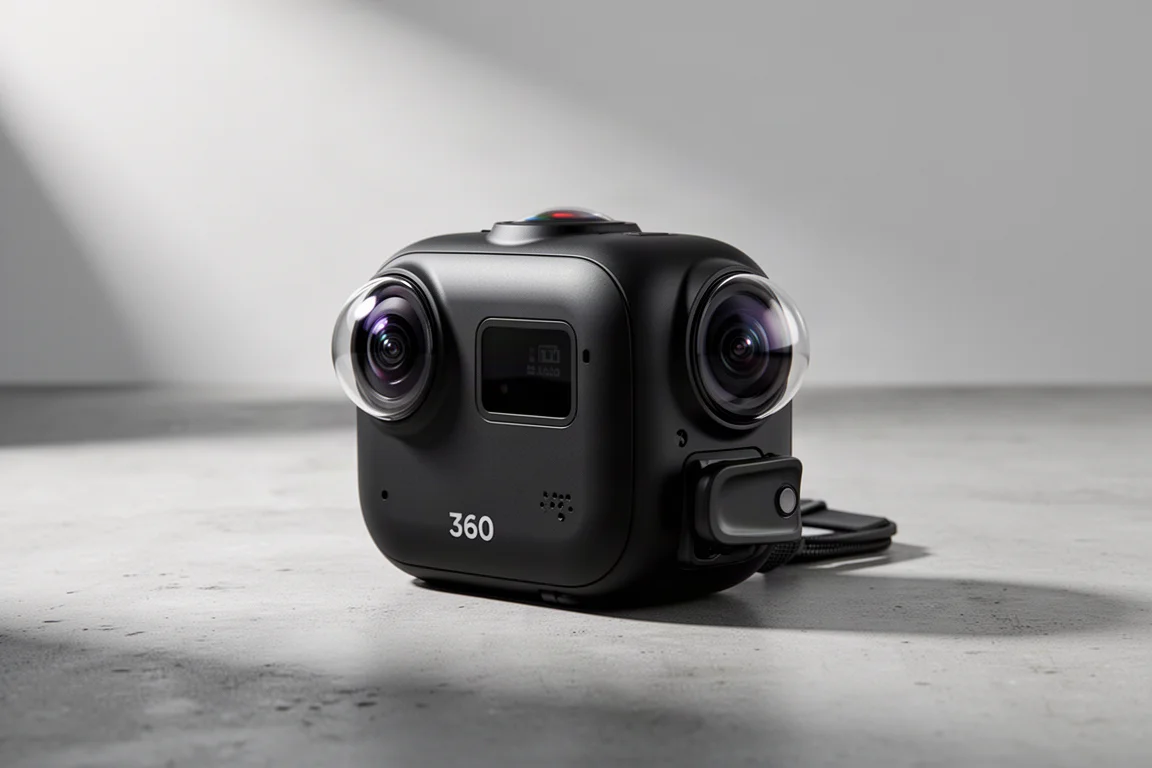
The 360 capture is where things get complicated. Files are large, fill cards quickly and consume drive space. Working with them requires a plugin that converts spherical footage into a flat image before any angle change can be made, and every change of viewpoint means another cut. On a fast turnaround that overhead rarely pays off, and the standard shooting mode already provides a very wide field of view.
A few smaller frustrations add up. The power-on and power-off tones are nearly identical, so it is easy to record an entire chairlift ride by accident with a helmet on. The Max uses a different battery from the standard GoPro line, so owning both means maintaining two battery ecosystems and two chargers. The lens surface picks up water and snow easily, and smeared footage is unusable. The side panel that provides access to an external microphone also exposes the battery, so the camera is no longer waterproof while an accessory mic is attached.
At full retail around $500 the value is not strong, and street prices sit between roughly $400 and $500. Below $400 it is easy to recommend; at $500 it is harder.
It also helps to be realistic about what any action camera can show. Steep terrain and large airs do not translate to screen at their true scale, so clips land best when cut short and paired with other angles rather than carried on their own.
Canon EOS Rebel: The Talking-Head Workhorse
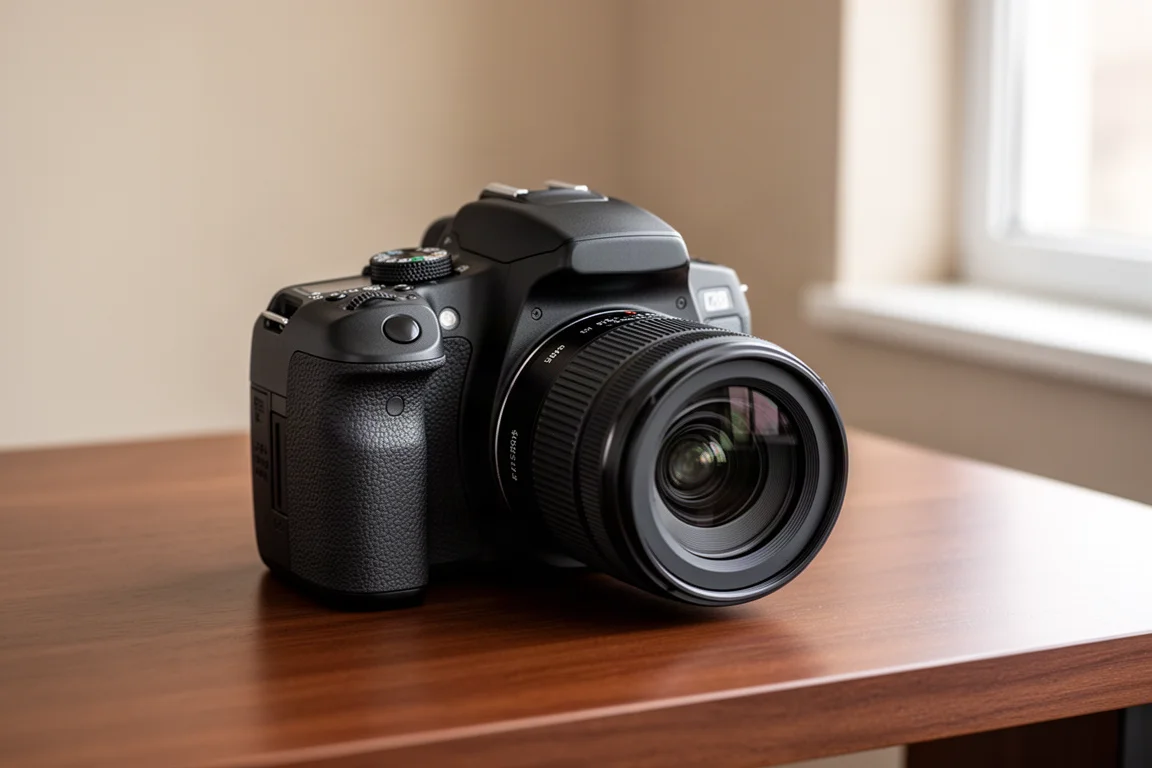
This is an older entry-level DSLR, bought years ago as a basic camera for family photos. It now handles the seated segments, and it does so without complaint. It was not expensive, it paid for itself on the first use, and it still does everything asked of it.
Its strengths are simplicity and predictability. Files transfer easily to a computer and drop straight into editing software, and the bundle it arrived with included several lenses, though only one is practical for this kind of shooting.
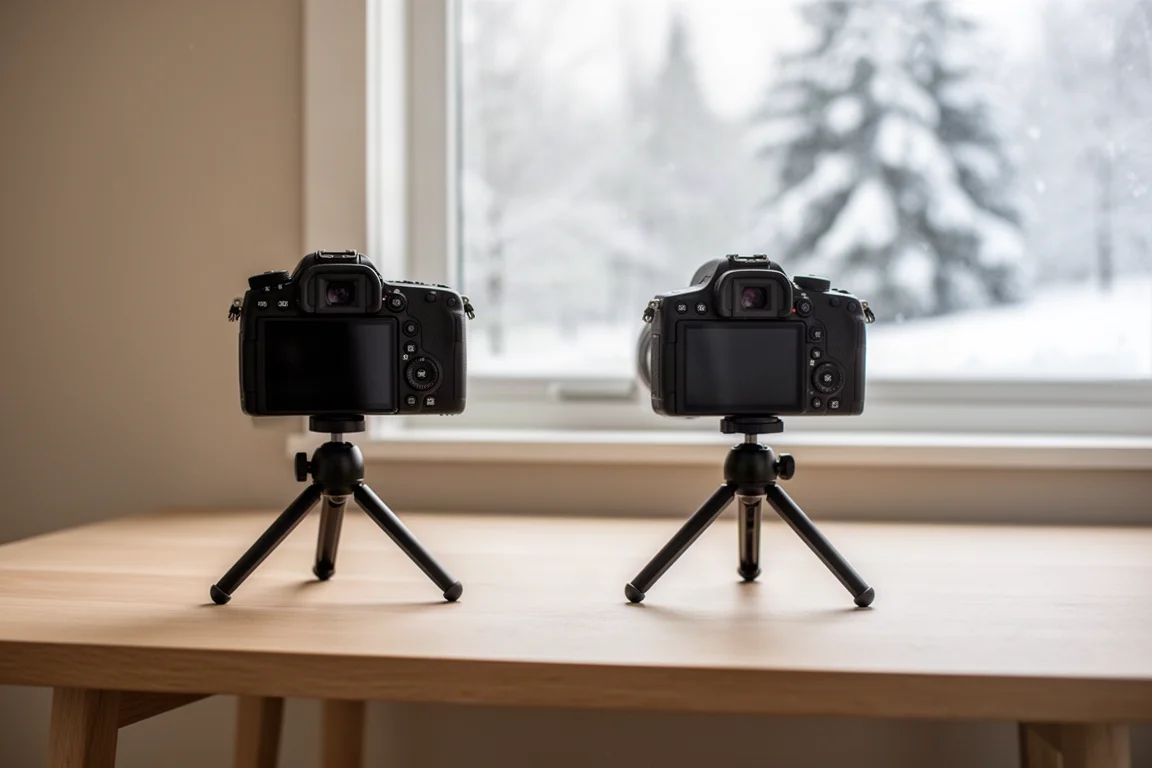
There is one limitation worth knowing. A single clip longer than about nine minutes does not transfer correctly over a wired connection, so longer recordings have to be moved via Bluetooth to a phone and then to a computer. Keeping takes under that limit avoids the problem entirely. A larger memory card is also worth adding, since running out of space mid-project and deleting the wrong file is a real risk.
Joby GorillaPod: The Flexible Mini Tripod
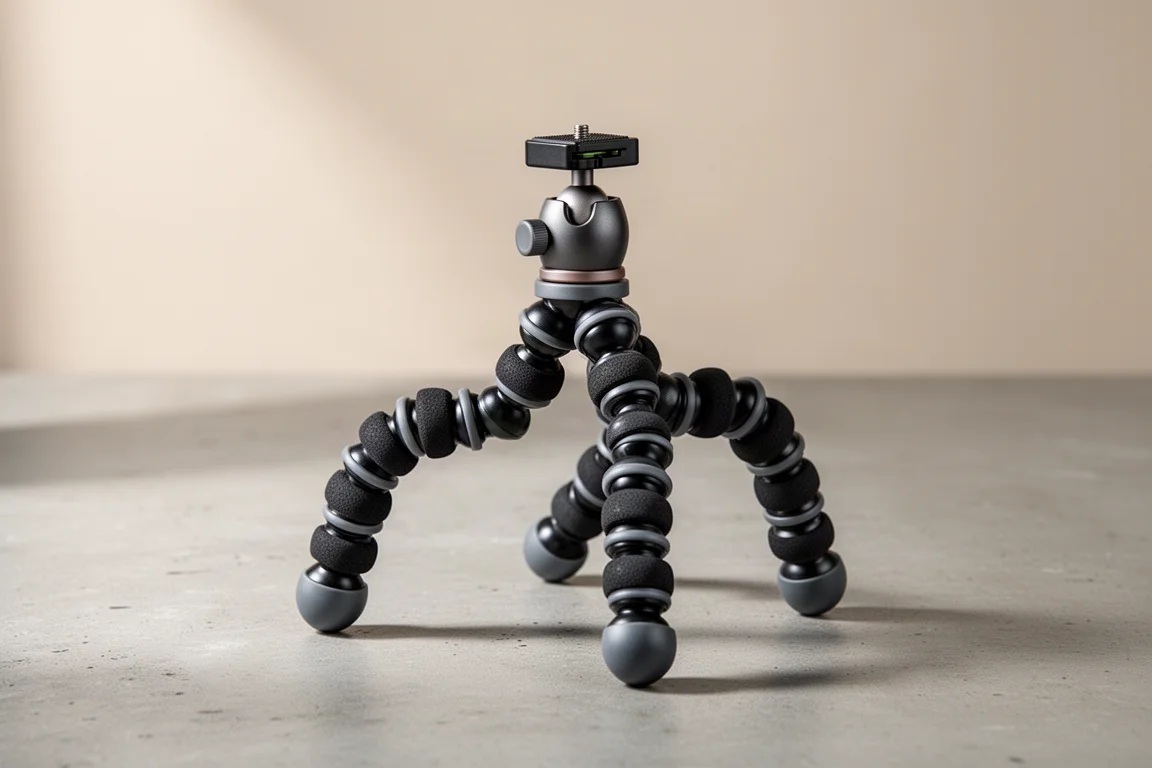
The GorillaPod is a small tripod with bendable legs that grip uneven surfaces, and the nine-inch version is the useful size. It has been wedged into trees for top-down shots, wrapped around bars to hang a camera upside down for later flipping in editing, and folded into a selfie-stick shape for talking directly into the lens.
Its value comes from angles that would otherwise need a second person. It is the most versatile mini tripod in the kit, and it takes up almost no space in a pack.
The caveat is durability. Bending the legs repeatedly wears down their resistance, and a leg that no longer holds position will let the camera fall. Adjusting it only when necessary extends its life considerably.
Rode VideoMicro: Affordable Wind Protection
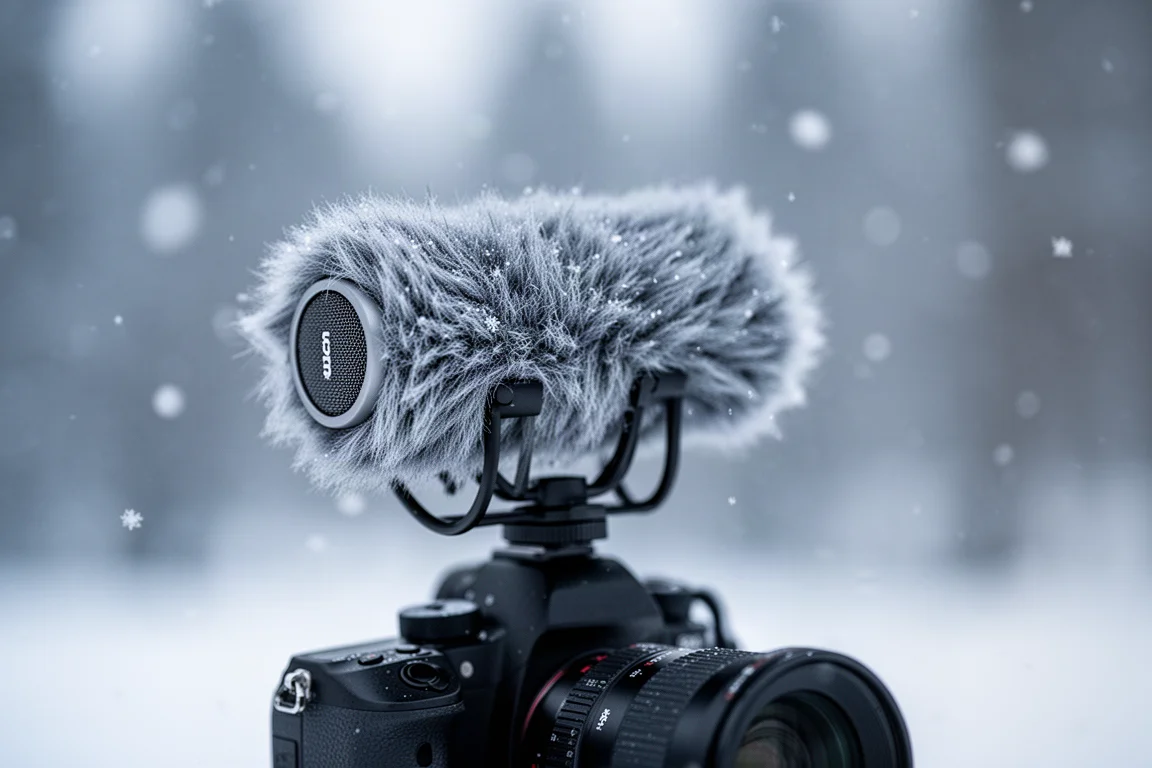
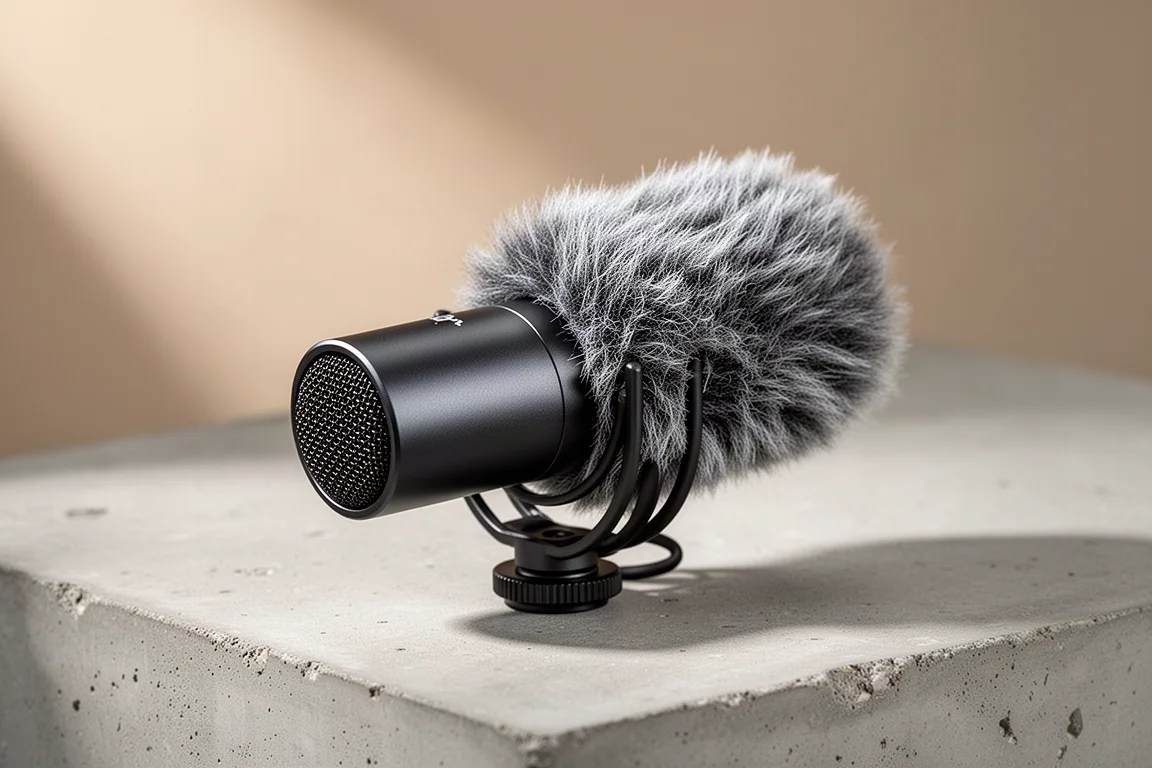
Wind is the enemy of outdoor audio. Early ski footage had to be cut heavily because gusts overwhelmed the camera’s built-in microphone, which is exactly why this compact shotgun microphone was added. It is a basic model, priced under $50, with a furry wind cover over the capsule.
The jump from the built-in microphone to this one was immediate and significant. It is not a high-end microphone and it is not the right tool for every situation, but it removes enough wind noise that speech stays intelligible, especially when standing close to the camera.
For the money, this is one of the better value purchases in the kit. A lavalier microphone would offer more flexibility in some situations, but it is not required to get clear speech.
DaVinci Resolve: Free Editing That Scales With You
Editing software gets the least attention of anything in a filming kit and matters just as much. DaVinci Resolve is the free option used here, and it holds up against paid alternatives.
It does have a learning curve. The interface offers several views, and it is easy to end up in the wrong one when starting out. What makes it manageable is the volume of tutorials and community resources, along with a plugin ecosystem that fills gaps the official tools leave open. When a plugin for spherical footage was not working, community-built solutions for the same file type filled the gap.
The feature set is comparable to what established professional editors offer, and the price removes the barrier to entry entirely. For anyone getting started with video, it is a sensible place to begin.

Buying Advice: Building a Kit Around Your Riding
If the goal is simply to film your own skiing, the action camera is the piece that changes what is possible. Nothing else here captures on-snow footage as easily for a solo rider, and the chest mount makes the process nearly hands-free. Buying below full retail makes a meaningful difference to the value equation.

The supporting pieces matter in proportion to how much you plan to produce. A microphone becomes essential as soon as wind ruins a take. A flexible tripod unlocks angles a handheld camera cannot reach. A capable editing suite determines how quickly any of it becomes a finished video. Start with the camera and add the rest as specific problems appear.
It is also worth noting that the accessory bundles for the action camera do not map cleanly onto winter sports. There is no package built around a chest mount and cold-weather batteries, which is what a skier actually needs, so buying the pieces individually is often the more sensible route.
Conclusion
This kit is deliberately unglamorous. It prioritises a reliable on-snow camera, clear enough audio and an editing workflow that does not fight back. The action camera does the heavy lifting and earns its price when bought below full retail. The DSLR, the mini tripod and the shotgun microphone are inexpensive supporting pieces that each solve a specific problem. The editing software costs nothing and scales as skills grow.
For riders who want to document their own skiing, that combination is enough to produce footage worth watching without turning a ski day into a production shoot.
Further reading
Related Reviews

Backpacking Gear
Building a 10 lb Base Weight: An Ultralight Backpacking Gear List
A practical walkthrough of the ultralight pieces behind a 10 lb base weight, from a 765 g pack and a roomy one-person tent to a full camp chair and a dependable water filter.
Road Bikes
10 New Road Bikes Worth Watching: Aero, Titanium, Steel and Endurance Standouts
A practical roundup of 10 new road bikes, from aero flagships chasing single-watt gains to titanium, steel and endurance platforms built for real roads.
Bikepacking Gear
11 Bikepacking Essentials for Long-Distance Cycling
Eleven bikepacking essentials for long-distance cycling, from a steel gravel frame and a two-person tent to helmet lights, packable gloves, and a frame bag that puts weight in the right place.