Aquarium Setup
Setting Up a CO2 System for Your Aquarium: A Complete Guide
Step-by-step instructions for installing and configuring a dual-stage CO2 regulator, from tank connection through diffusion setup and pressure tuning.
Introduction
Setting up a CO2 system transforms a planted aquarium by delivering carbon dioxide directly to your plants, promoting faster growth and healthier foliage. While the process involves several components and steps, each one serves a clear purpose in safely and effectively injecting CO2 into your water column. This guide walks you through the complete installation and tuning process, from connecting your regulator to your tank through to dialing in the correct working pressure.
What You Need to Build a CO2 System
Before assembly begins, gather all the necessary components. A CO2 tank (typically 5 pounds for a 28-gallon aquarium, which lasts nearly a year) serves as your gas source. A dual-stage regulator reduces the tank’s high pressure to a usable working pressure. CO2-specific tubing, rated for the pressure involved, prevents leaks that cheaper airline tubing cannot handle. A check valve near your diffusion method acts as insurance against water backflow into the regulator, which can cause permanent damage. Finally, your diffusion method—whether a ceramic diffuser or inline atomizer—delivers CO2 into the water.
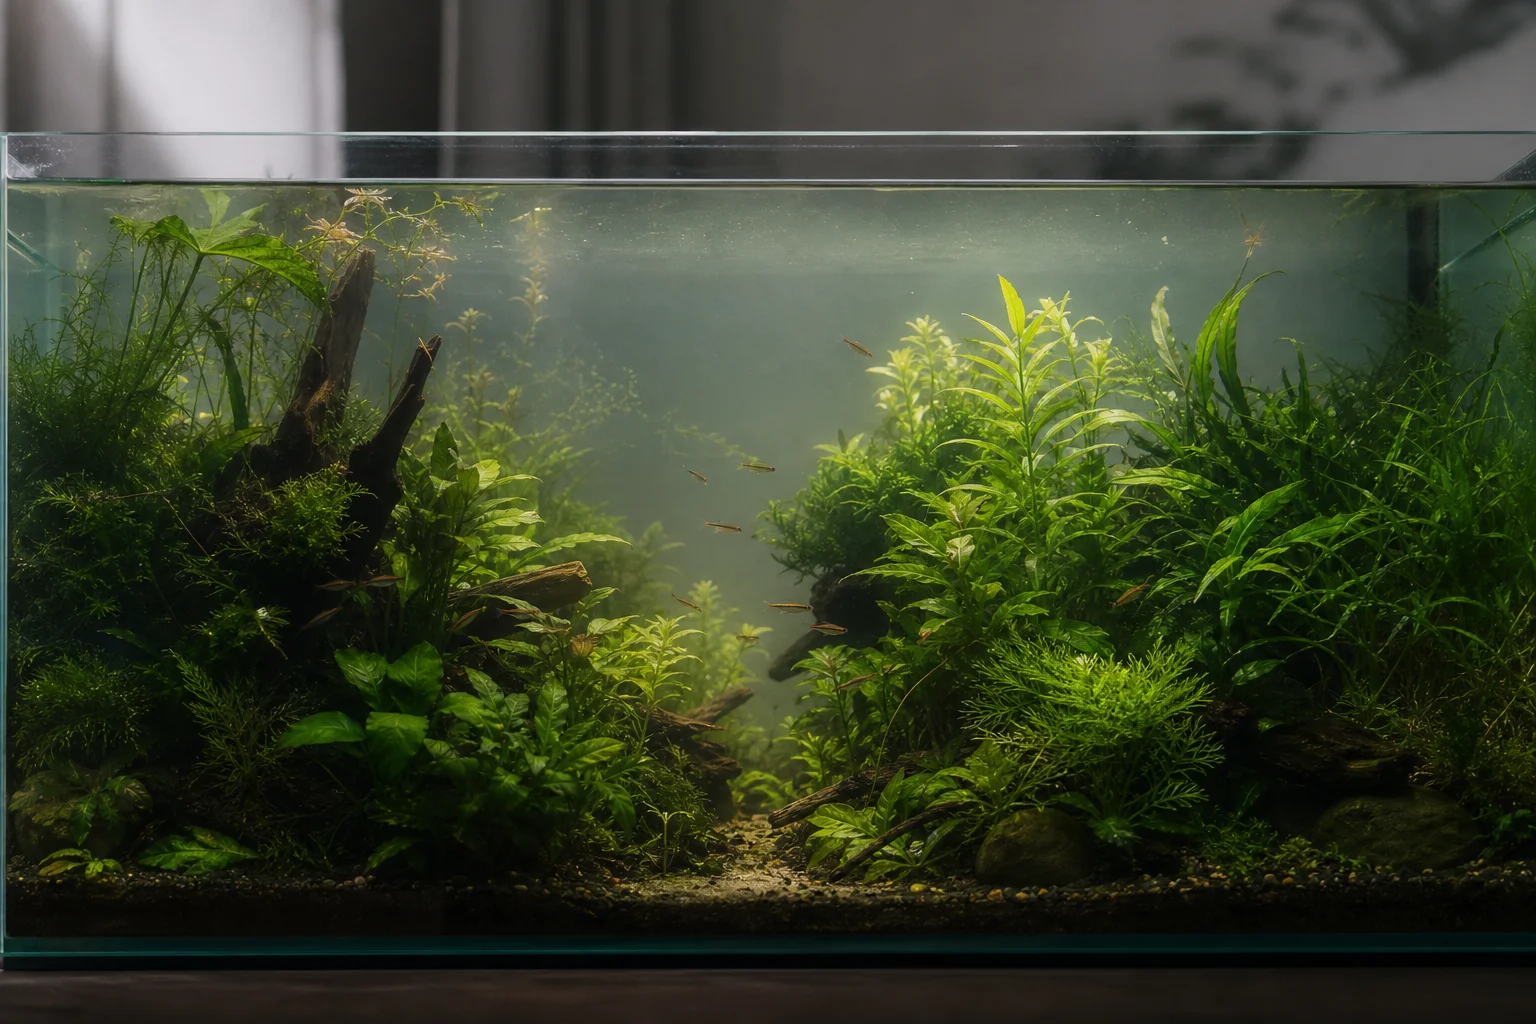
The choice of diffusion method affects both aesthetics and performance. Inline atomizers integrate with your filter outlet and produce a fine mist rather than visible bubbles, keeping your tank cleaner visually. Ceramic diffusers sit inside the tank but create larger bubbles. For this setup, an inline atomizer was chosen to avoid clutter in the display.
Unboxing and Inspecting the Regulator
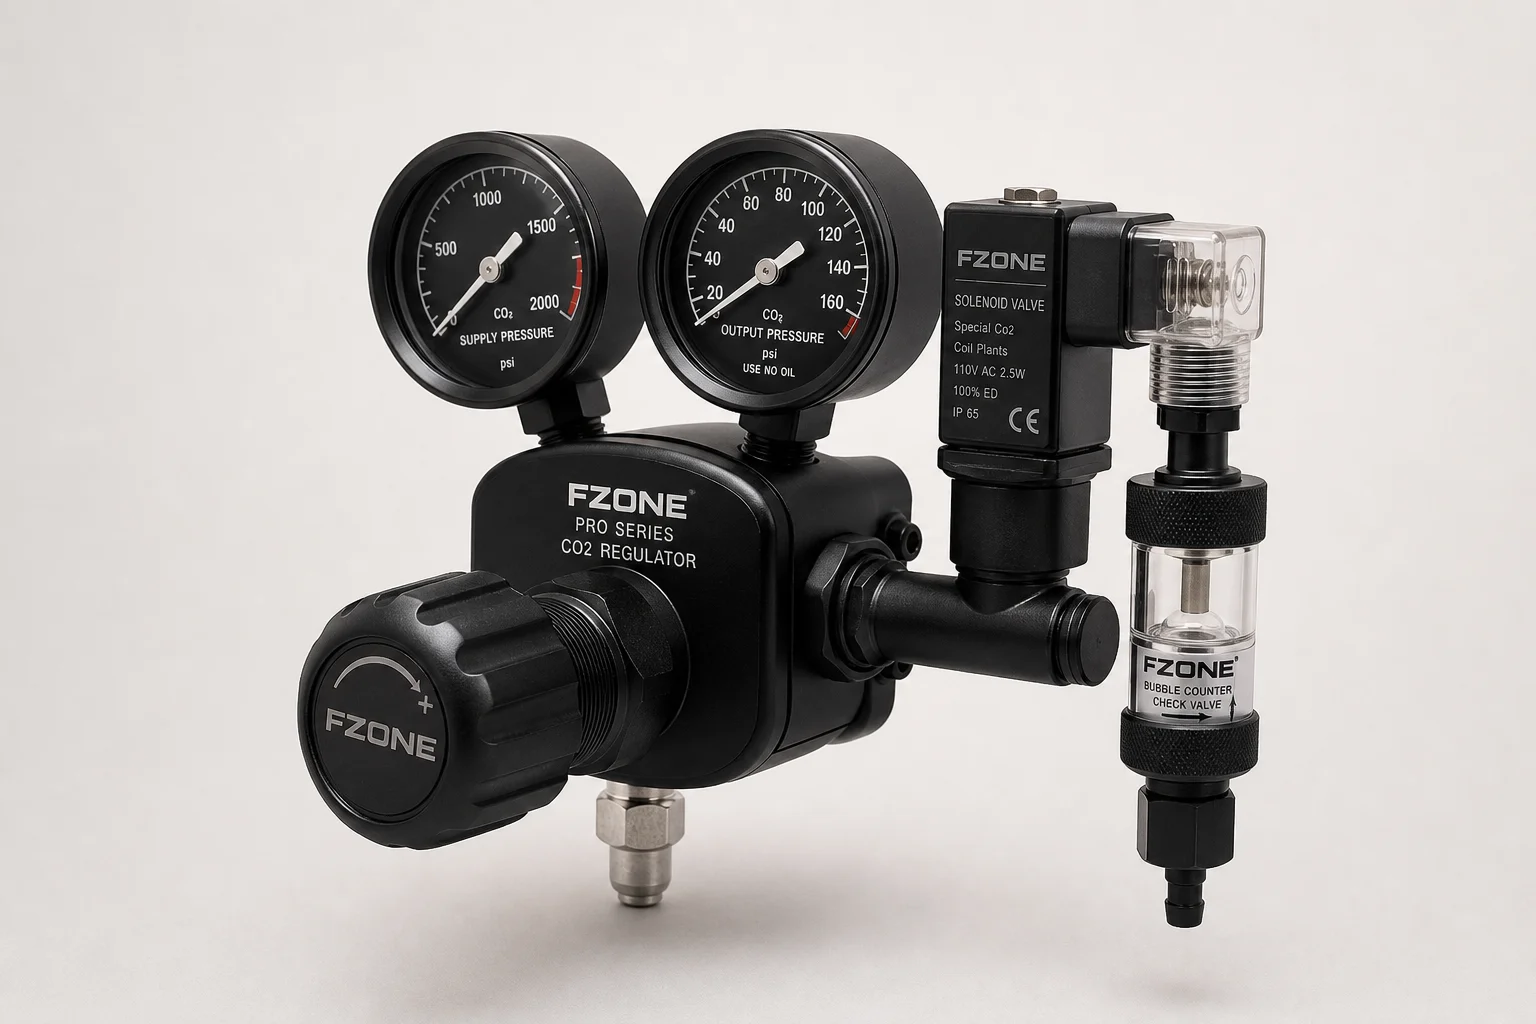
The Fzone Pro Series dual-stage CO2 regulator arrives well-protected in foam packaging. Inside the box you’ll find the regulator itself, a power adapter with US standard plug, extra O-rings for future maintenance, and a small Allen wrench for manifold adjustments. The regulator’s solid construction and substantial weight immediately convey build quality—this is a precision instrument designed to last.
The regulator features a standard CGA 320 connection for 5-pound CO2 tanks, two pressure gauges (one showing tank pressure, the other showing working pressure), an electronic solenoid valve, needle valves for flow control, and bubble counters with built-in check valves. The dual-stage design means the regulator performs two separate pressure reductions, resulting in more stable output pressure even as your tank empties.
Connecting the Regulator to Your CO2 Tank
Screw the regulator onto your CO2 tank using the standard CGA 320 connection. The tank’s knob controls whether CO2 flows into the regulator. The regulator’s adjustment knob sets the working pressure—the pressure that will push CO2 through your tubing to the diffuser. The small knobs under the bubble counter control flow to your diffusion method.
Before opening the tank, ensure the working pressure knob is closed by turning it counterclockwise. Then open the CO2 tank by turning its knob. You should see the right gauge (tank pressure gauge) move, indicating pressure is present. Do not proceed until you confirm tank pressure is showing on the gauge.
Building Your CO2 Line
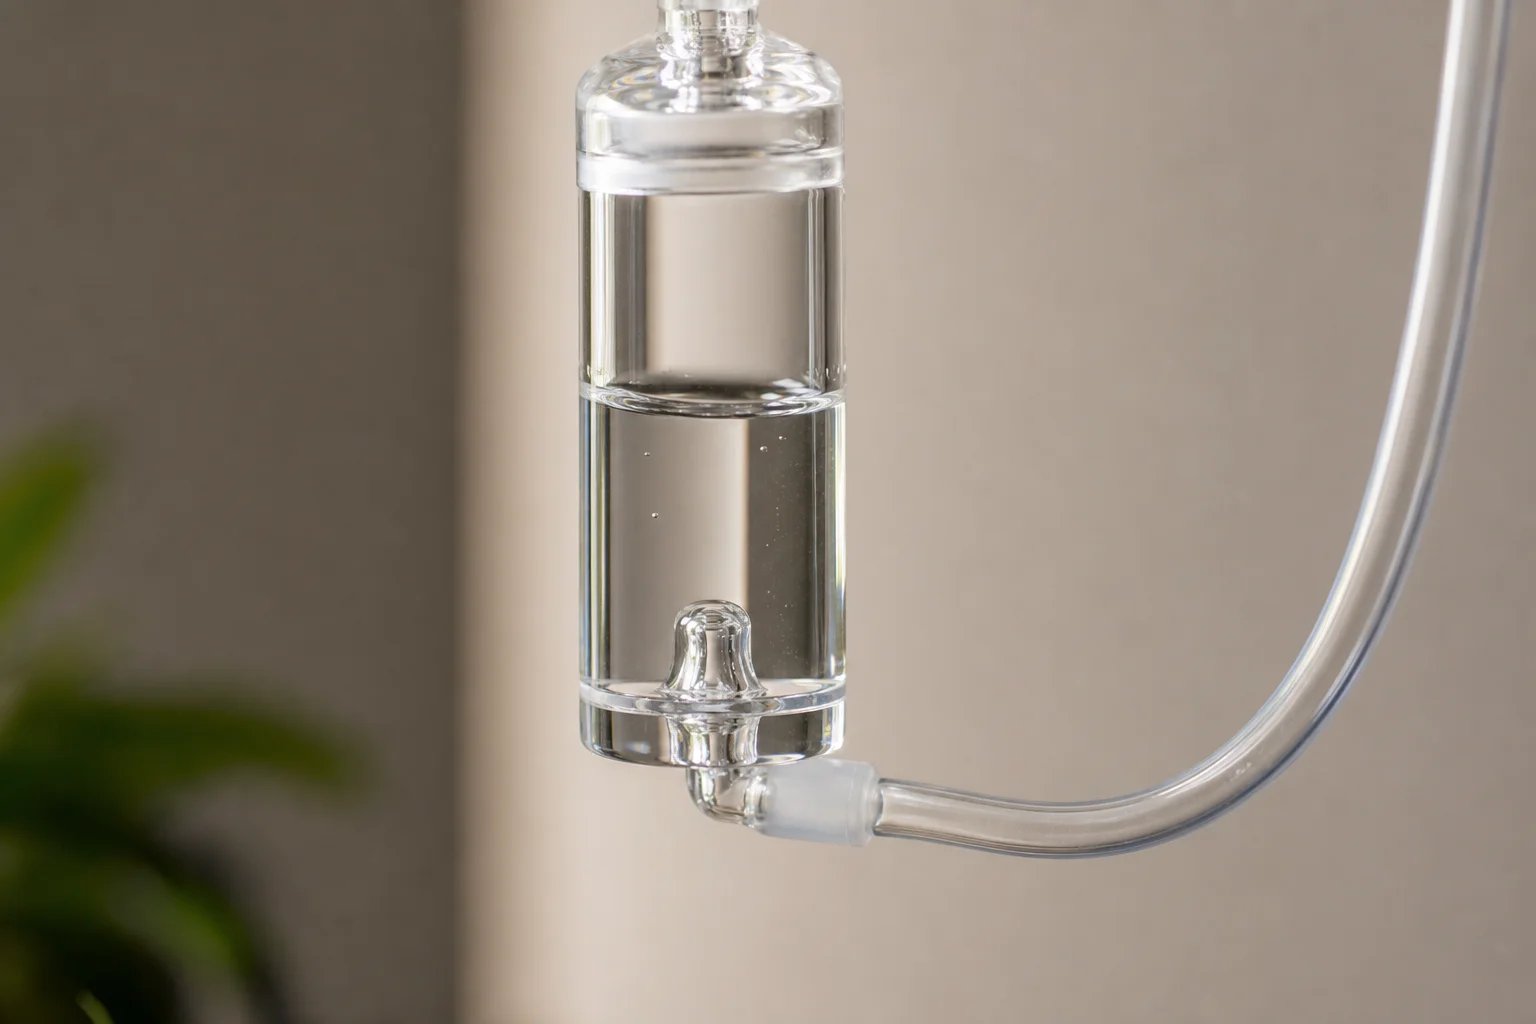
Unscrew the bubble counter from the regulator and fill it with water. Water will evaporate over time, but if you use the pH drop method to monitor CO2 levels (as recommended in dedicated CO2 dosing guides), you won’t need to watch bubbles continuously. Alternatively, plant-based glycerin won’t evaporate and has no harmful effects if it enters the tank, though it must be pure and free of dyes or fragrances.
Screw the top cap back onto the bubble counter, then push CO2 tubing onto the bubble counter’s nipple and tighten the cap. Make the connection snug but not over-tight—this joint is a common leak point. Run CO2 tubing from the bubble counter to your diffusion method, cutting it to the exact length needed. Excess tubing delays pressure buildup and slows CO2 injection.
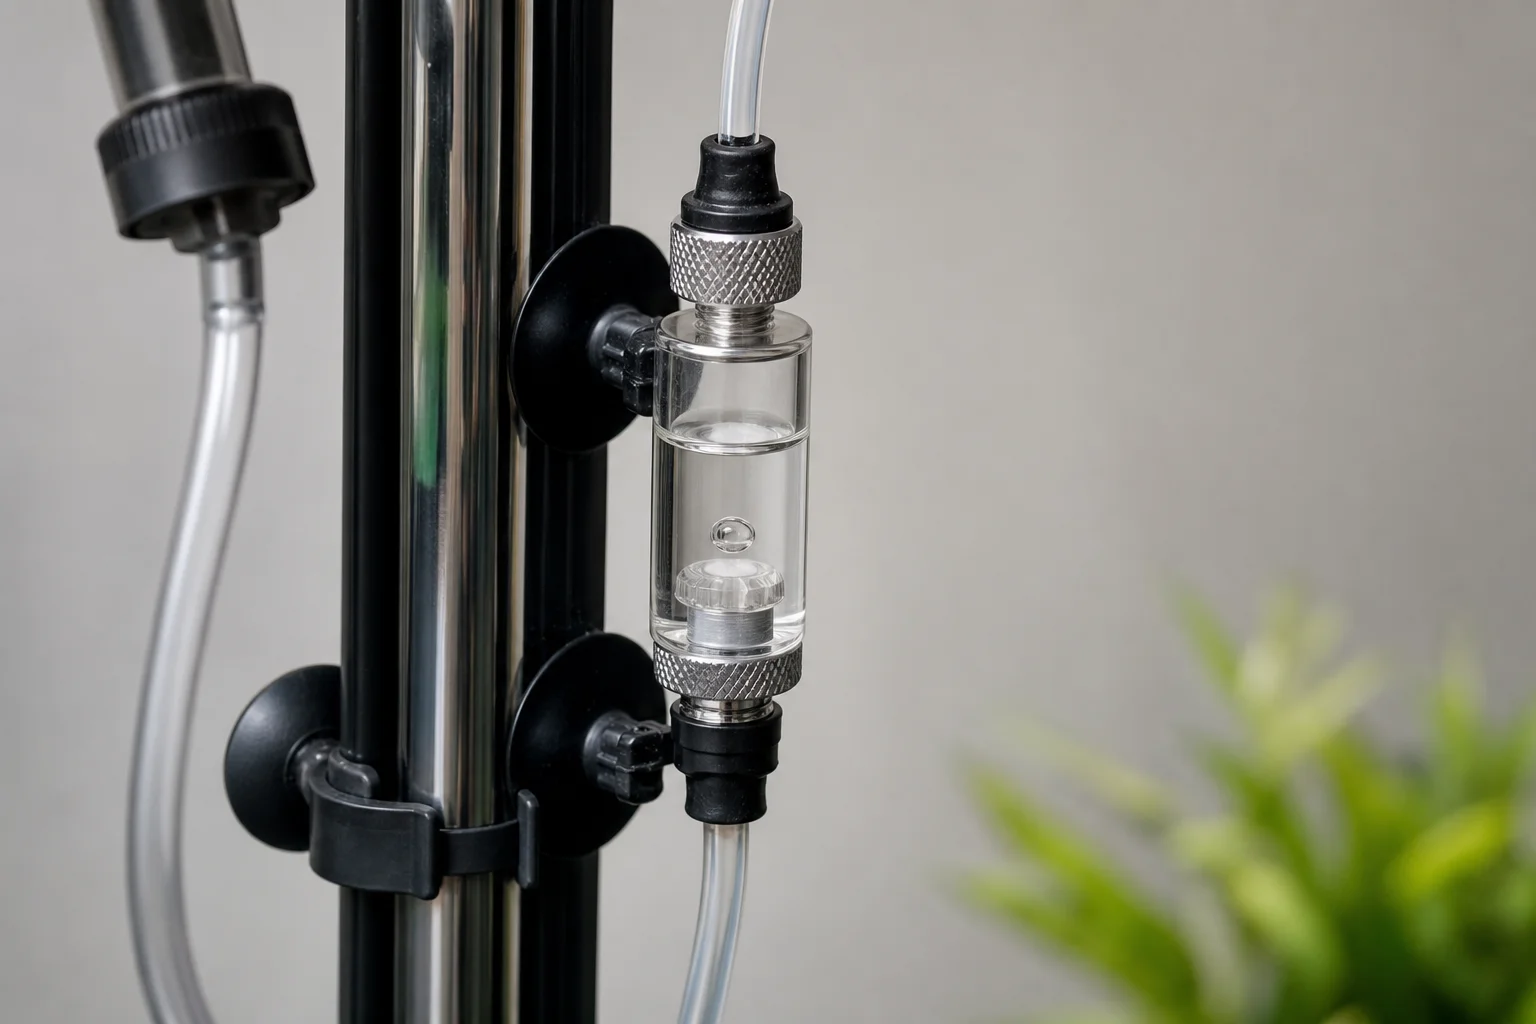
Make a second cut near the diffuser to install a check valve. While not absolutely necessary, this redundancy protects your regulator from water backflow. The check valve is cheap insurance against a $135+ regulator failure.
Installing the Inline Atomizer
If using an inline atomizer, you must cut your filter’s outlet tubing and install the atomizer between the cut ends. Never cut the inlet side—injecting CO2 into your filter disrupts beneficial bacteria. Add rubber adapters to the cut hose ends and slide them onto the atomizer, then tighten. For a Fluval 306 filter with 16-22mm tubing, use a CO2 Art atomizer sized to match. Ensure all connections are tight to prevent leaks.
Connect your CO2 tubing to the atomizer’s CO2 nipple using the same method as the bubble counter: unscrew the cap, move it onto the tubing, push the tubing onto the nipple, and tighten the cap.
Turning On and Adjusting Your System
Plug in the regulator. You may hear a click or ping as the electronic solenoid opens. Without power, no CO2 flows, which is why running the regulator on a timer or smart plug prevents CO2 waste during hours when your lights are off.
Open the CO2 tank. The right gauge will show tank pressure—it will read full for about 90 percent of the tank’s lifespan, then slowly drop over a week or so as CO2 depletes. Check this gauge occasionally during water changes so you don’t run out unexpectedly.
Slowly turn the working pressure knob clockwise. The left gauge will move, showing the regulator’s working pressure. The regulator’s job is to reduce the tank’s 1,000 PSI down to a usable 30-45 PSI. CO2 Art’s inline atomizer recommends a minimum of 30 PSI, but 40-45 PSI ensures enough pressure for a fine mist.
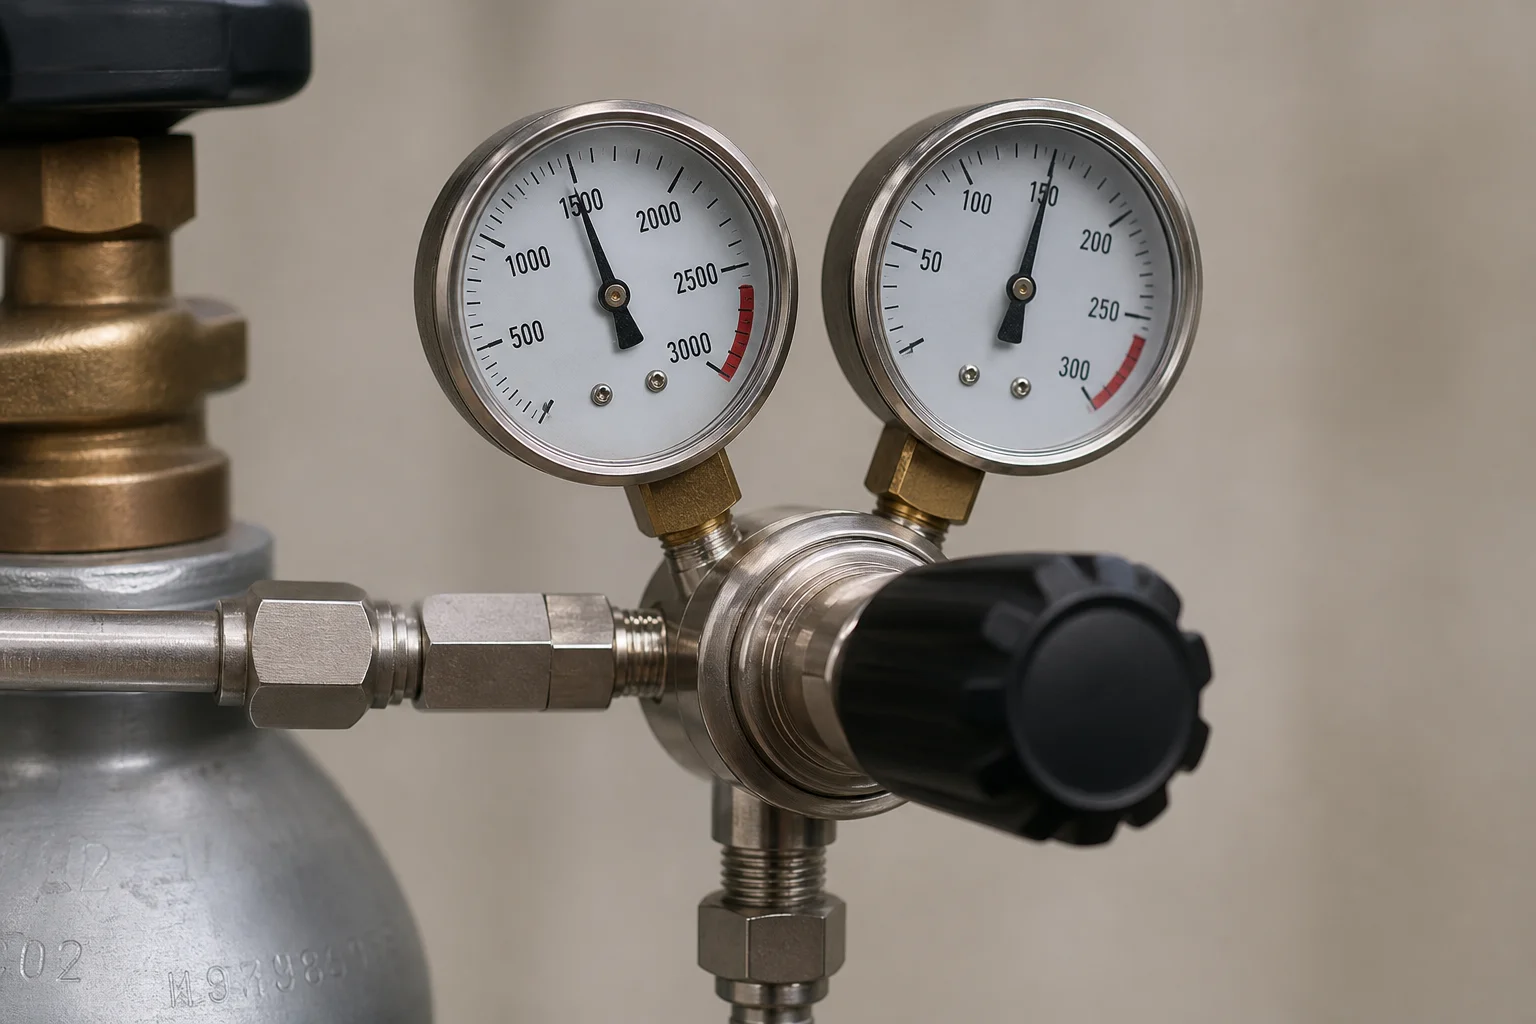
Once the working pressure is set, open the needle valve under the bubble counter. Start conservatively: aim for one bubble per second in a 10-gallon tank, two bubbles per second in a 20-gallon, three to four in a 50-gallon, and six to seven in tanks larger than 100 gallons. This low-and-slow approach prevents CO2 overdose, which can harm fish and shrimp.
After everything is connected and flowing, check all joints for leaks. Mix warm water with dish soap and drip the solution over each connection. Bubbles indicate a leak that needs tightening. No bubbles mean the connection is secure.
Conclusion
A properly installed CO2 system delivers consistent carbon dioxide to your planted aquarium, supporting vigorous plant growth without the guesswork. The Fzone Pro Series dual-stage regulator’s precision components and solid construction make it a reliable choice for this critical role. Once your system is running, monitor your tank’s pH and adjust the needle valve as needed to dial in the exact CO2 level your plants and livestock require. With patience and attention to detail during setup, your aquarium will reward you with lush, healthy growth.
Product link
View more details for Fzone Pro Series Dual Stage CO2 Regulator
This product is mentioned in the review. Check the specifications, options, and compatibility before buying.
View more details for Fzone Pro Series Dual Stage CO2 RegulatorFurther reading
Related Reviews
Aquarium Setup
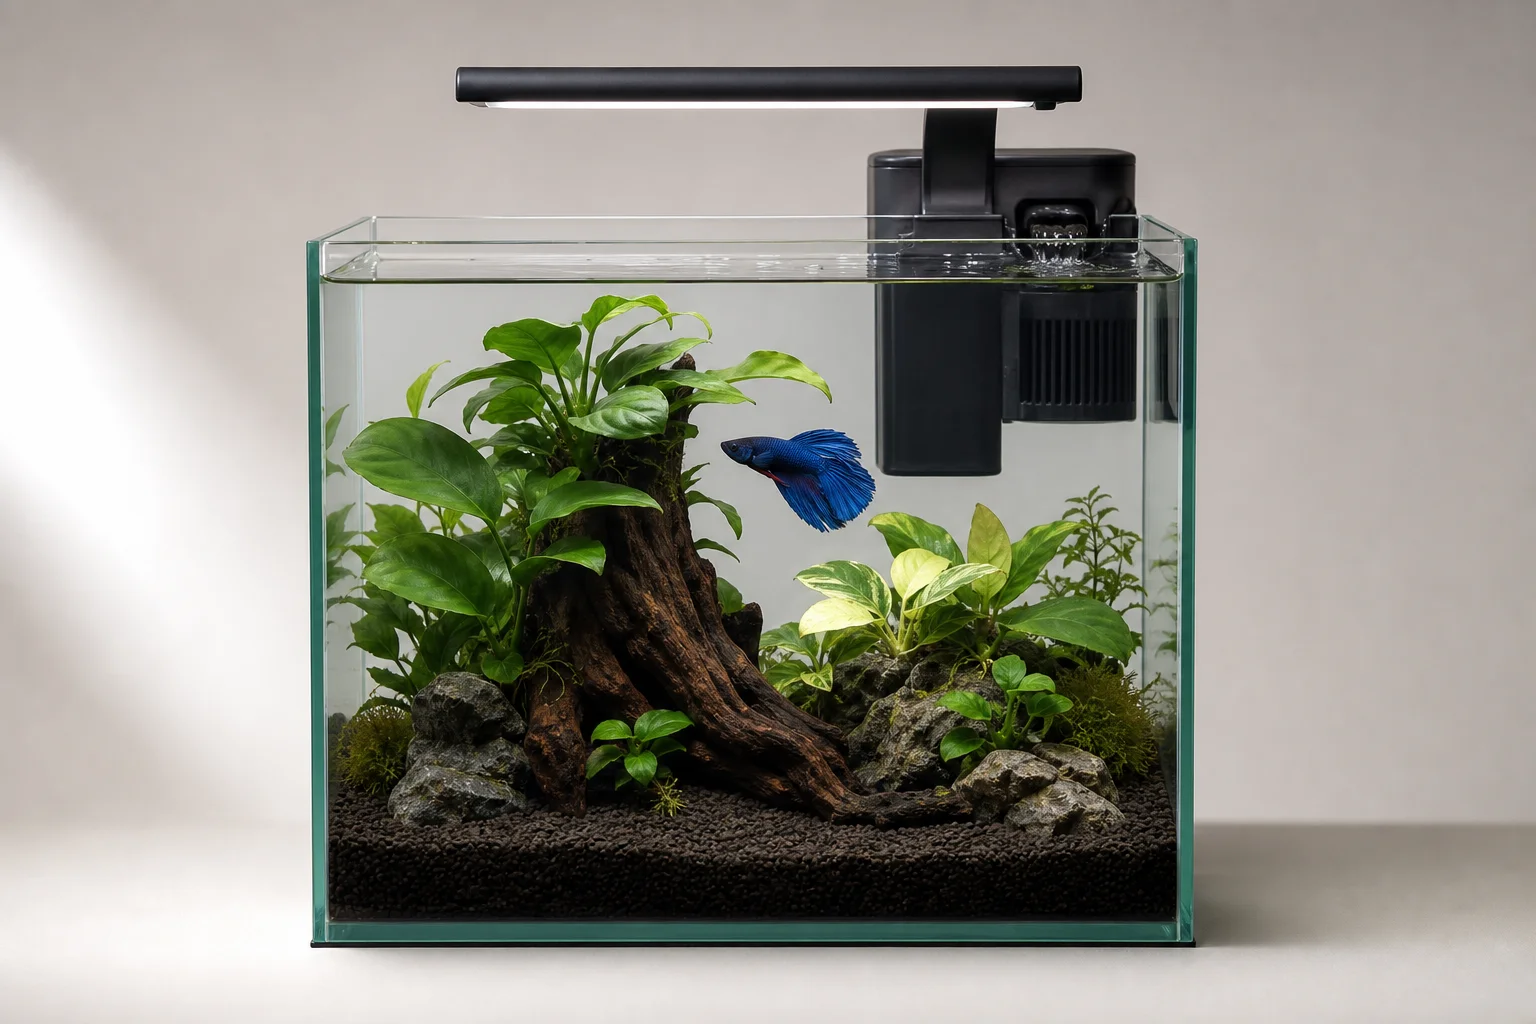
How to Set Up Your First Betta Tank: A Complete Beginner's Guide
A practical walkthrough for setting up a healthy betta aquarium, from choosing the right kit to acclimating your fish and maintaining water quality.
Aquarium Setup
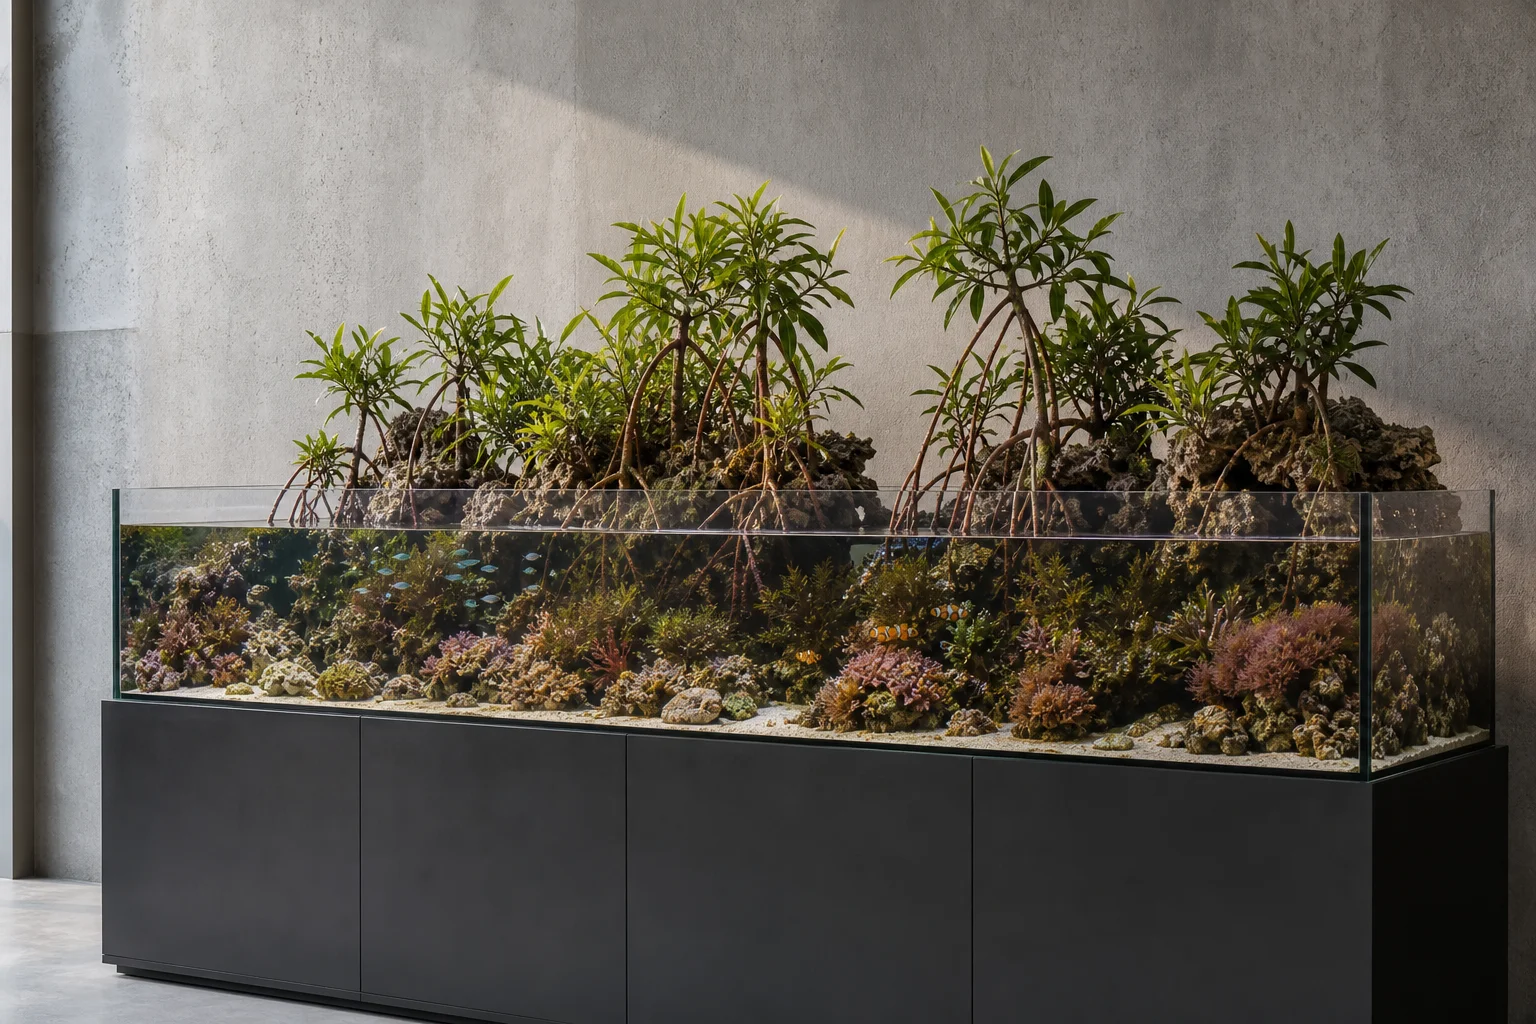
Saltwater Paludarium One Year Review: Lessons from a Hybrid Aquarium Setup
After 12 months maintaining a saltwater paludarium, key lessons on lighting, flow management, plant care, and the unexpected challenges of mixing marine and terrestrial ecosystems.
Aquascaping
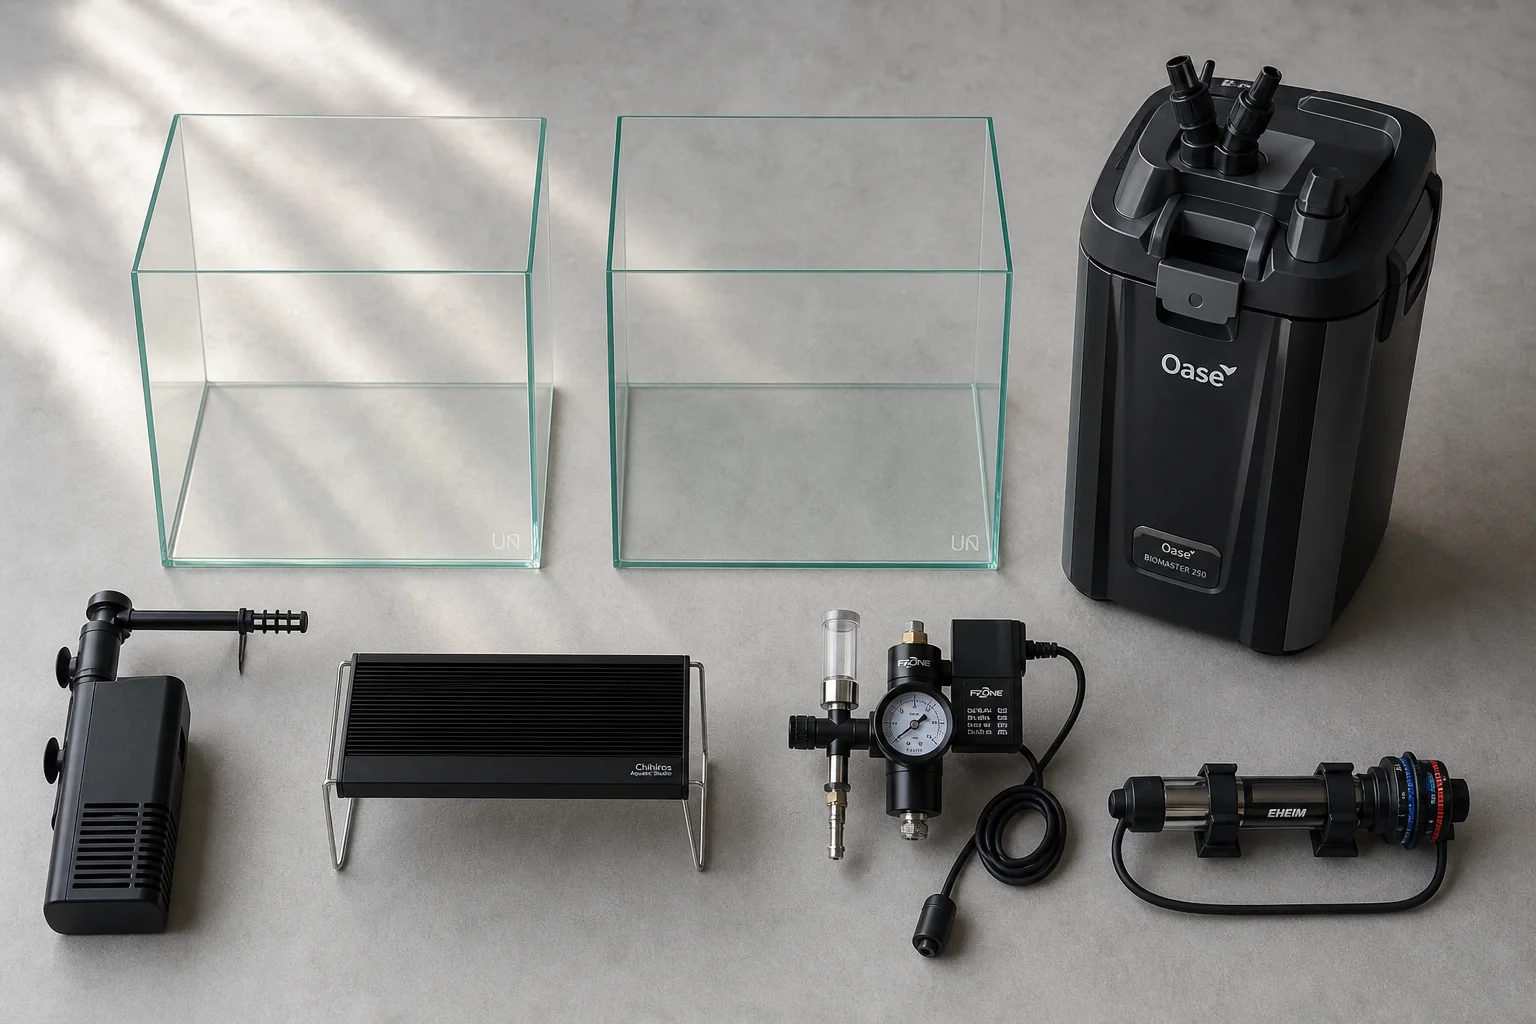
Aquascaping Beginners Guide: Essential Equipment and Shopping Tips
A practical walkthrough of the tanks, filters, lights, heaters, and CO2 systems you need to start aquascaping, with budget-friendly and high-tech options for every setup.