Aquarium Testing
Salifert Calcium Test Kit Review: Affordable, Accurate Reef Calcium Testing
A practical look at the Salifert Calcium Test Kit, from what comes in the box to how the titration works, the per-test cost, and who it suits best.
Introduction
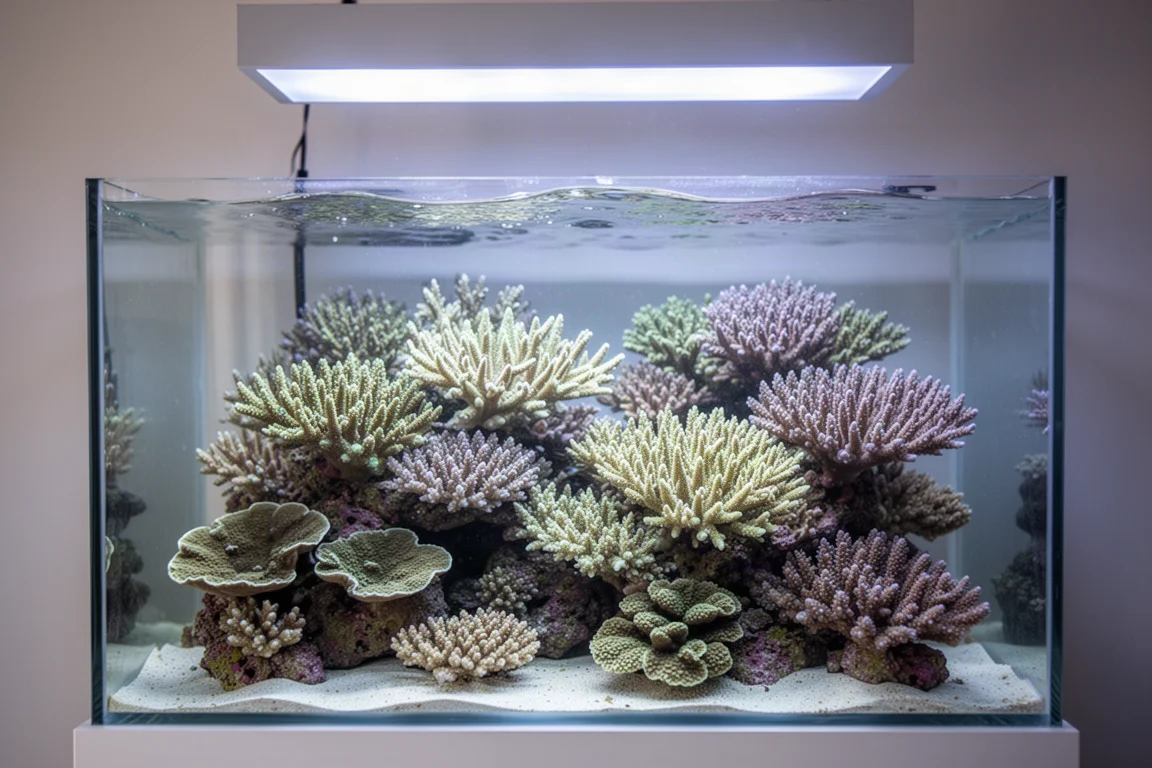
Testing calcium is one of the simplest habits that separates a stable reef tank from one that quietly drifts. Corals that build calcium carbonate skeletons need a steady supply of calcium available to them at all times, and they consume it as they grow. That consumption steadily lowers the calcium level in the water.
Dosing calcium back into the aquarium without knowing what is already there creates two very different problems. Add too little and the level keeps falling. Add too much and calcium climbs above where it should be, which brings its own set of issues. The only way to know whether calcium in a reef tank sits inside the optimal range is to measure it.
The Salifert Calcium Test Kit is a titration-based kit that has been used by successful reef keepers for decades. It is inexpensive to buy and simple to perform, and it reads calcium in small 10 PPM increments. Because the test continues until the solution reaches its end colour, there is no ceiling on the result, so the same kit works for low, ideal, or unusually high calcium levels.
Who This Kit Is For
This kit is aimed at reef keepers who keep corals with calcium carbonate skeletons and want a dependable way to track calcium over time. That includes anyone who doses calcium and needs to know how much the tank is actually consuming between doses.
It also suits aquarists who test frequently. The kit delivers up to 50 standard tests, or up to 100 tests when the smaller sample volume is used, which works out to roughly 37 cents down to 19 cents per test. For an average reefer testing weekly or twice per week, that supply is enough for just over a year.
If your routine is already built around regular water parameter checks, this kit slots into it without adding much cost or complexity. The trade-off is that it is a manual titration test rather than a digital meter, so the result depends on careful drop counting and a steady hand.
What Comes in the Box
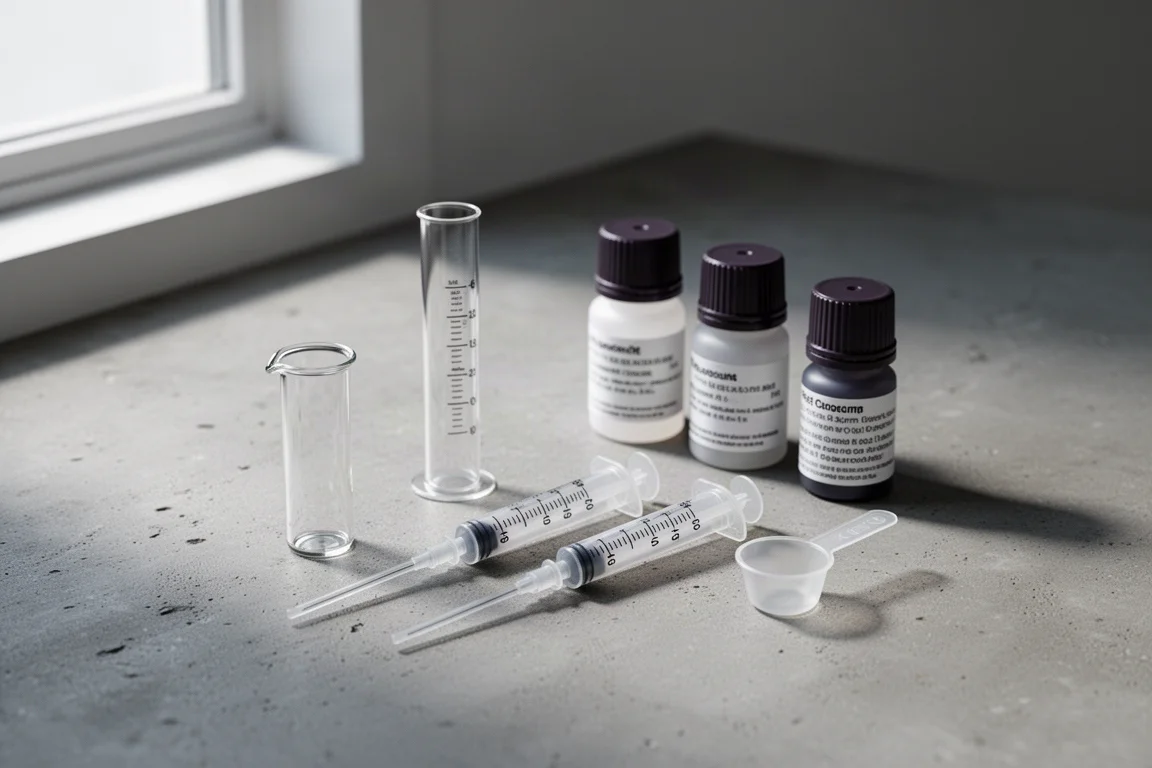
The kit arrives with everything needed to run the test. You get Reagent 1, Reagent 2 and Reagent 3, a one millilitre syringe fitted with a pink collection tip, a two millilitre syringe, a measuring scoop, the test vial, and printed instructions with a quick reference guide that shows the pink start colour and the blue end colour.
Nothing else is required beyond sample water from the aquarium, which keeps the workflow simple and the running costs low.
How the Titration Test Works
Start by drawing two millilitres of aquarium water with the two millilitre syringe and adding it to the test vial. Then add one level scoop of Reagent CA1, followed by 10 drops of Reagent CA2. Swirl the vial gently for about 10 seconds to mix everything together.
Next, use the one millilitre syringe with the pink collection tip to draw up one millilitre of Reagent CA3. The end of the black plunger should sit right on the one millilitre marking. A small pocket of air below the plunger is normal, does not need to be removed, and will not affect accuracy, because the extra volume of the pink tip ensures exactly one millilitre of solution has been drawn.
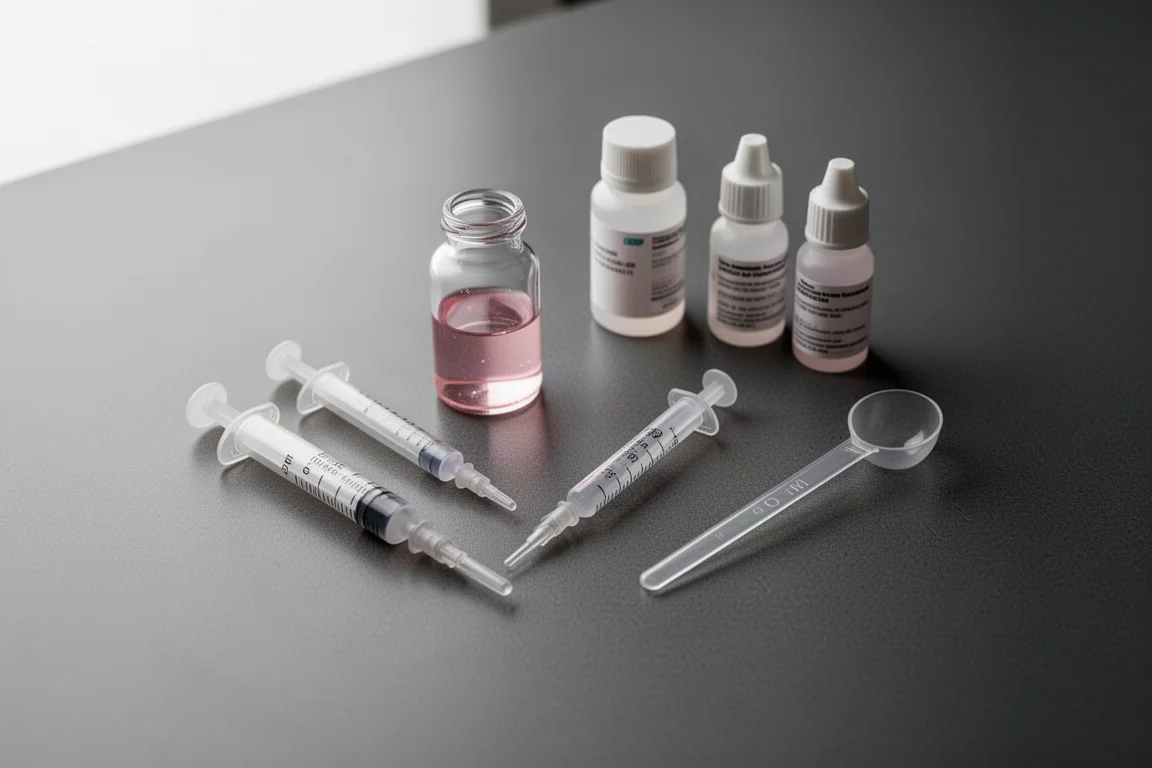
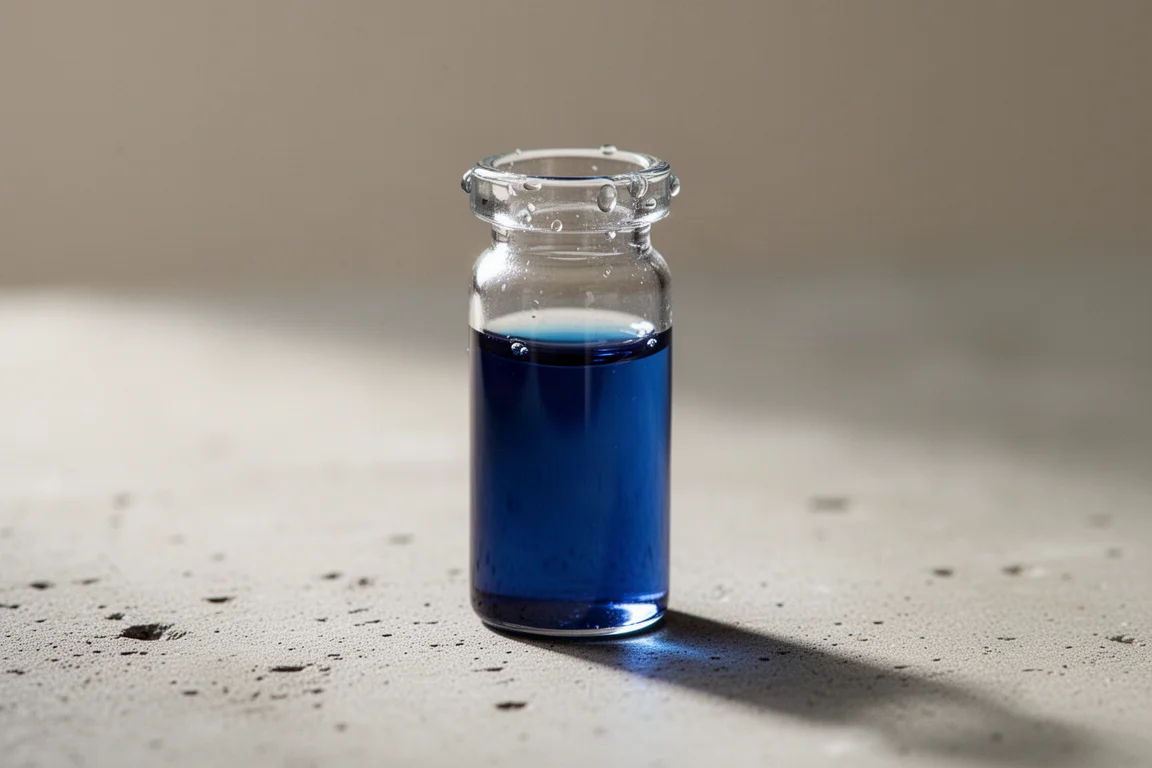
With the syringe loaded, add a single drop of Reagent CA3 to the vial and swirl gently for one to two seconds. Repeat that drop and swirl cycle until the liquid shifts from the pink start colour to the blue end colour shown on the quick reference guide.
Reading the Results
Once the vial has fully changed to blue, note how much liquid remains in the syringe and compare that figure to the chart in the instructions. For example, roughly 0.12 millilitres left in the syringe corresponds to 440 PPM of calcium.
If your sample never reaches the end colour, the process does not stop there. Draw up another one millilitre of Reagent CA3 and continue titrating until the colour changes. When that happens, take the value from the chart and add 500 PPM to it. As an example, if the second syringe has 0.8 millilitres remaining, the corresponding chart value of 100 PPM plus 500 PPM gives a reading of 600 PPM.
Main Strengths
The most useful quality of this kit is its resolution. Reading in 10 PPM increments is fine enough to spot a slow downward trend before it becomes a problem. Combined with the open-ended titration, that means the kit stays useful whether your calcium is low, sitting where it should be, or extremely high.
Cost per test is the second clear strength. Fifty standard tests, or a hundred with the smaller sample, keeps the expense of frequent testing very low. For reef keepers who want to monitor calcium weekly or even twice a week, that economics matter more than any single feature.
Ease of use rounds out the picture. The steps are short, the colour change is easy to recognise against the quick reference guide, and the included syringes remove any guesswork about volumes. A newcomer can follow the sequence on the first attempt.
Things to Consider Before Buying
This is a titration test, which means accuracy depends on your technique. Each drop needs to be counted and swirled in properly, and the reading only becomes reliable once the colour change is complete rather than nearly complete.
The kit can be stretched further with the smaller one millilitre sample, but that route is less forgiving. The larger two millilitre sample is easier to read accurately, so beginners should expect to use more reagent per test and therefore get fewer tests from the kit.
Buying Advice
The straightforward recommendation is to start with the two millilitre sample size if you are new to titration testing. The larger volume makes it noticeably easier to reach an accurate result, and the kit still lasts a long time at that rate.
If you are an experienced reefer who can run the one millilitre test consistently, that smaller sample will take the kit much further and lower the cost per test even more.
One optional extra worth knowing about: a small magnetic stirrer, such as the AutoAqua Smart Stir, makes titration tests like this faster and more consistent to perform, and it costs around 30 dollars. It is not required, but it removes the swirling step from the process.
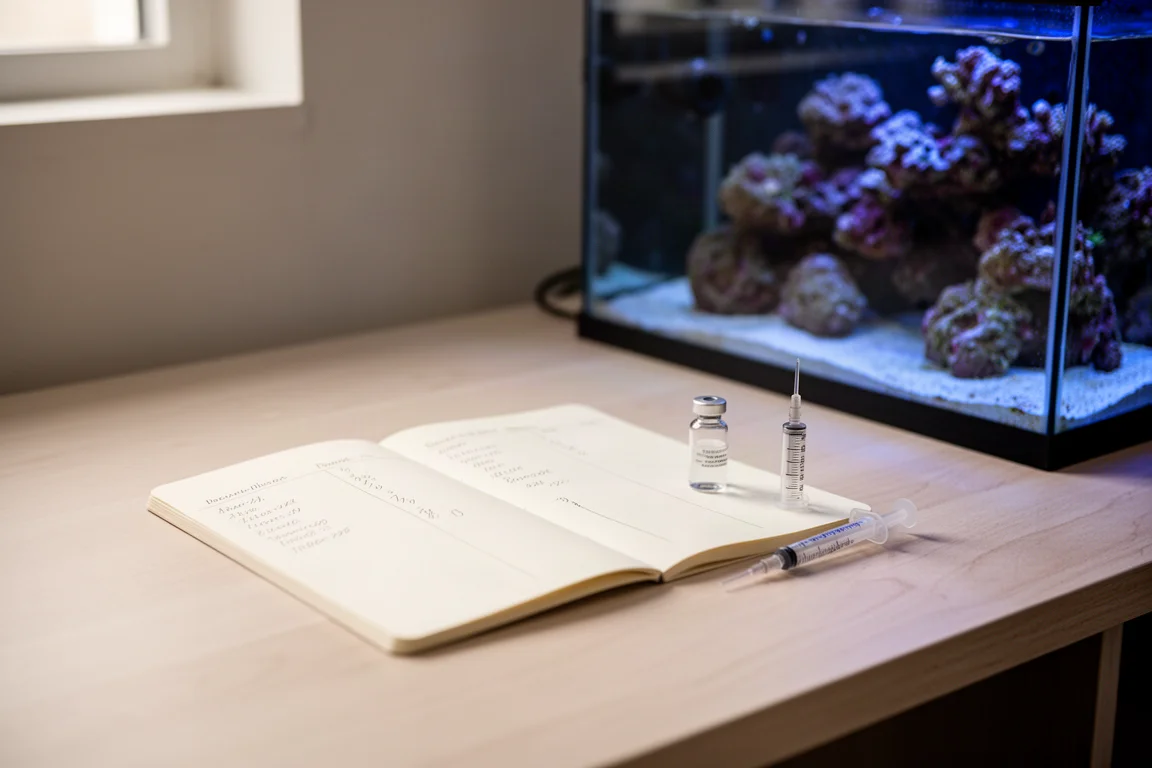
Whichever sample size you choose, the deciding factor is whether the kit fits how often you already test. Frequent testers will get the most value from it, while occasional testers may find a single kit lasts considerably longer than a year.
Conclusion
The Salifert Calcium Test Kit is a low-cost, well-established option for reef keepers who want reliable calcium readings without a large upfront spend. Its 10 PPM resolution and open-ended titration make it adaptable to almost any tank, and the per-test cost stays low enough to support a serious testing routine.
The main thing to weigh is the manual nature of the test. If you are comfortable counting drops carefully and following the instructions, this kit delivers a lot of testing for very little money.
Product link
View more details for Salifert Calcium Test Kit
This product is mentioned in the review. Check the specifications, options, and compatibility before buying.
View more details for Salifert Calcium Test KitFurther reading
Related Reviews

Backpacking Gear
Building a 10 lb Base Weight: An Ultralight Backpacking Gear List
A practical walkthrough of the ultralight pieces behind a 10 lb base weight, from a 765 g pack and a roomy one-person tent to a full camp chair and a dependable water filter.

Road Bikes
10 New Road Bikes Worth Watching: Aero, Titanium, Steel and Endurance Standouts
A practical roundup of 10 new road bikes, from aero flagships chasing single-watt gains to titanium, steel and endurance platforms built for real roads.

Bikepacking Gear
11 Bikepacking Essentials for Long-Distance Cycling
Eleven bikepacking essentials for long-distance cycling, from a steel gravel frame and a two-person tent to helmet lights, packable gloves, and a frame bag that puts weight in the right place.