Backpacking Gear
New Gear for a Remote Alaska Traverse: 8 Lightweight Upgrades Worth Knowing
Eight lightweight gear additions chosen for a 400-mile off-trail traverse, from bear-resistant food storage and satellite messaging to a USB-C headlamp and a packable fishing rod.
Introduction
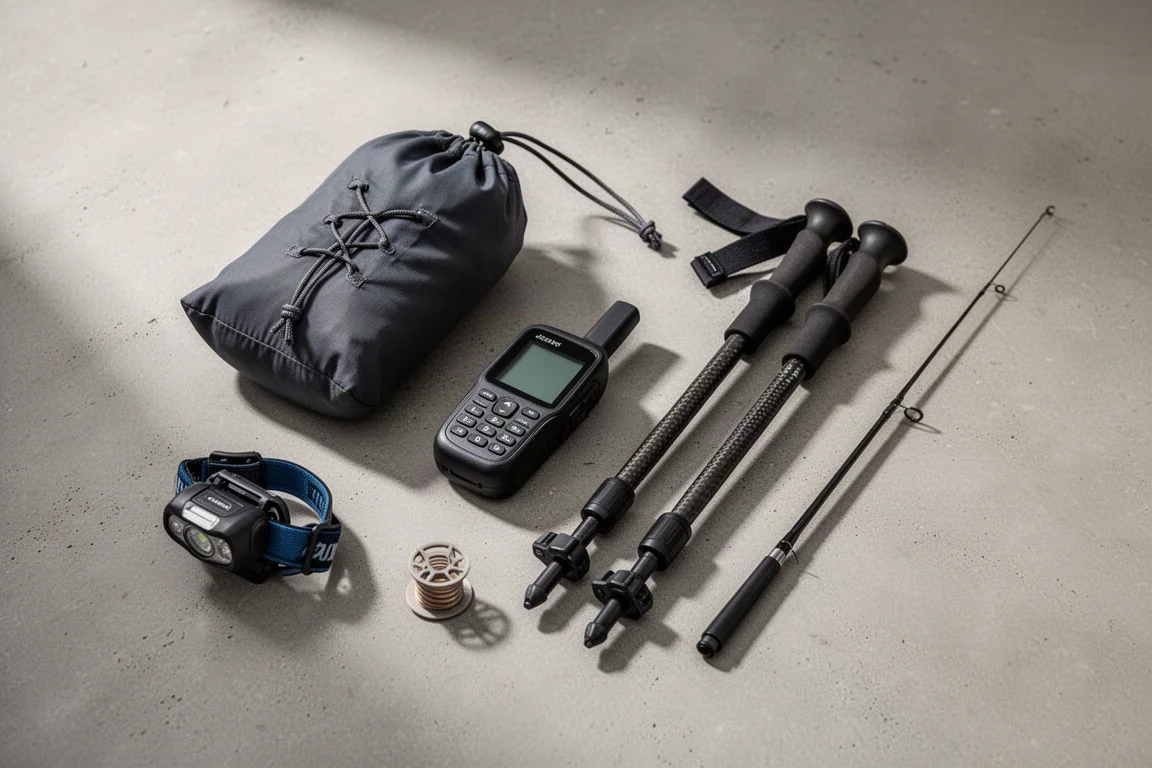
Some trips ask for a different kit. A 400-mile off-trail traverse through the Brooks Range in Alaska is one of them: no roads, no trails, no towns, and six to eight days between bush-plane resupplies. That changes the math on food storage, fuel, communication, and how much weight is worth carrying.
This guide covers eight gear additions chosen for that kind of route. A few are genuinely new categories for a long-distance hiker. Others are small refinements that make the daily routine easier. All of them were selected to balance weight against comfort, safety, and the fact that a hard trip should still be enjoyable.
What Matters Most on a 400-Mile Off-Trail Route
Three constraints shape every decision here. Weight comes first: adding a packraft, paddle, and PFD to a normal backpacking load means every gram saved elsewhere pays for itself. Resupply comes second: with food and fuel arriving by bush plane every six to eight days, containers and refills need to be simple and low-waste. Self-reliance comes third: there are no towns to walk into, so repair supplies and a way to reach the outside world earn their place.
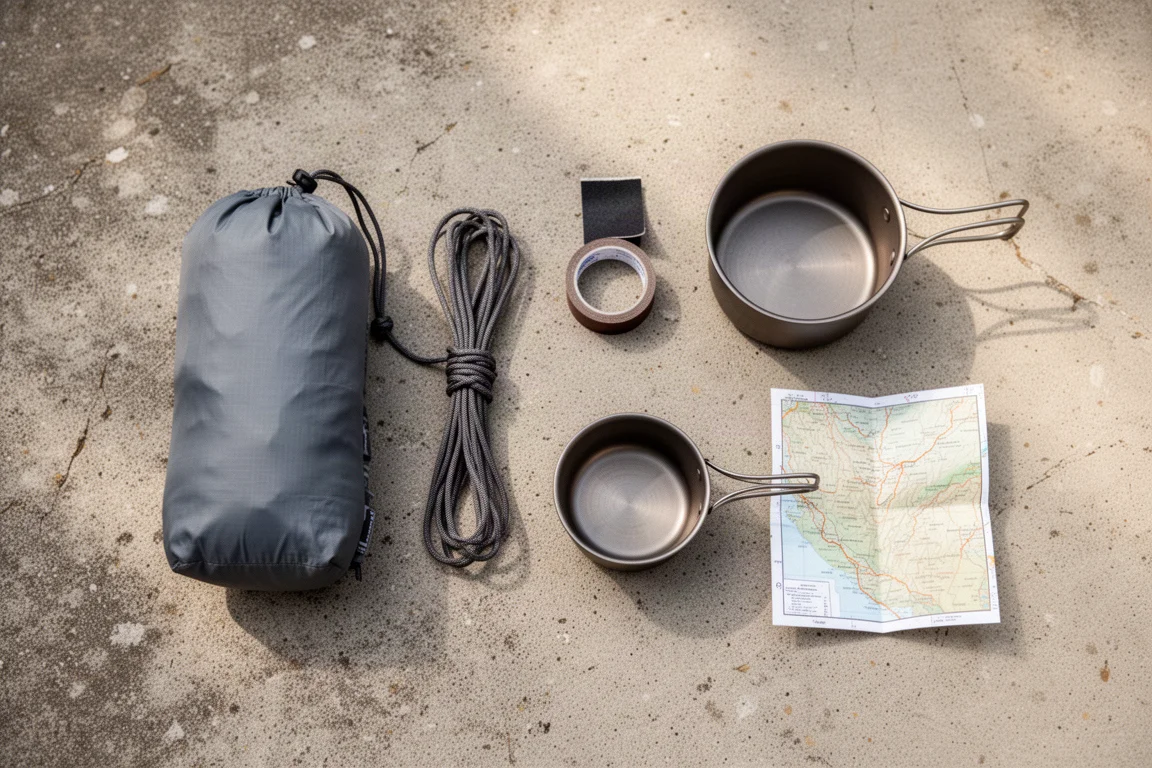
A fourth, softer constraint is enjoyment. On a route this remote, a better headlamp or a fishing rod is not frivolous. It is part of what makes a long, hard trip sustainable.
Adotec Bear Locker: Lightweight Food Storage for Bear Country
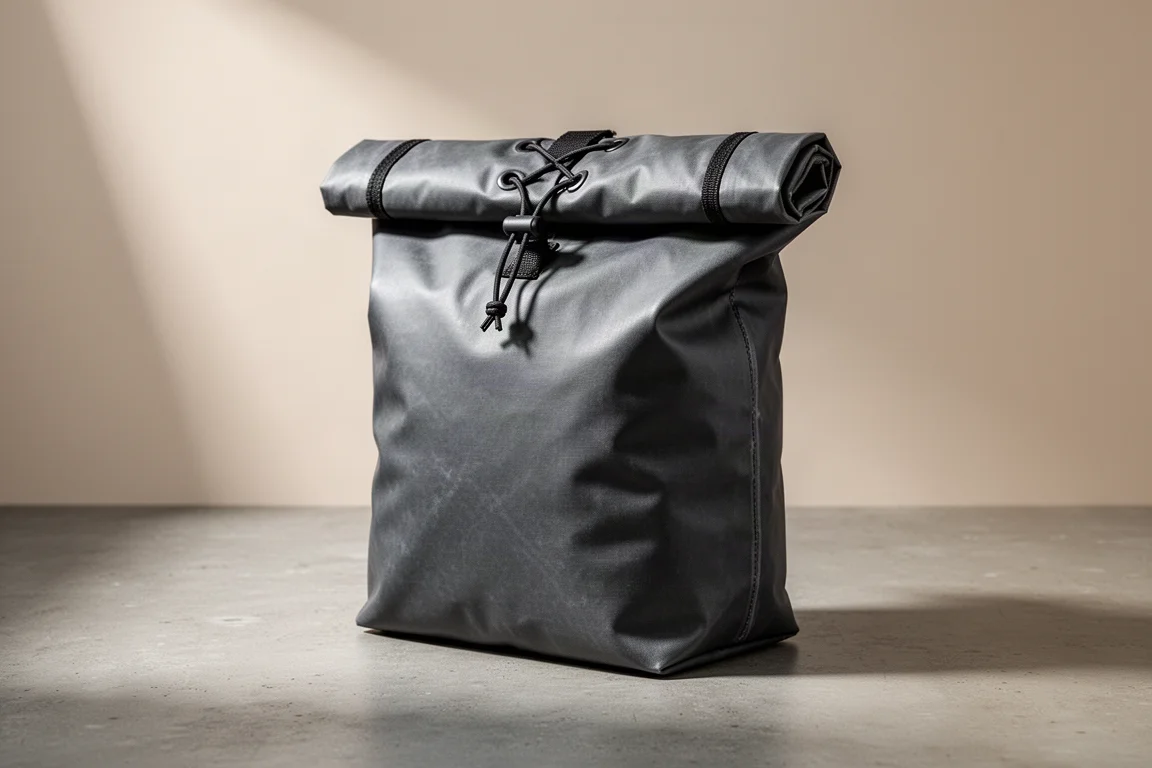
Grizzly country raises the food storage question immediately. A rigid canister works, but it is bulky and heavy, and on a route where a packraft already occupies much of the pack, internal space is precious. Bear-resistant fabric bags solve the bulk problem, and the Adotec Bear Locker takes that approach with a thick, heavy-duty fabric body rather than the Kevlar-style material used by older bags.
The closure is a lacing system at the top, so the bag cinches down like a stuff sack when it is not full. The 14-liter version holds roughly six days of food, which lines up neatly with the resupply window on this route, and other sizes are available. It is not an inexpensive piece of gear, but it keeps food protection inside the pack instead of strapped to the outside.
Garmin inReach Mini 2: Satellite Messaging for Real Wilderness
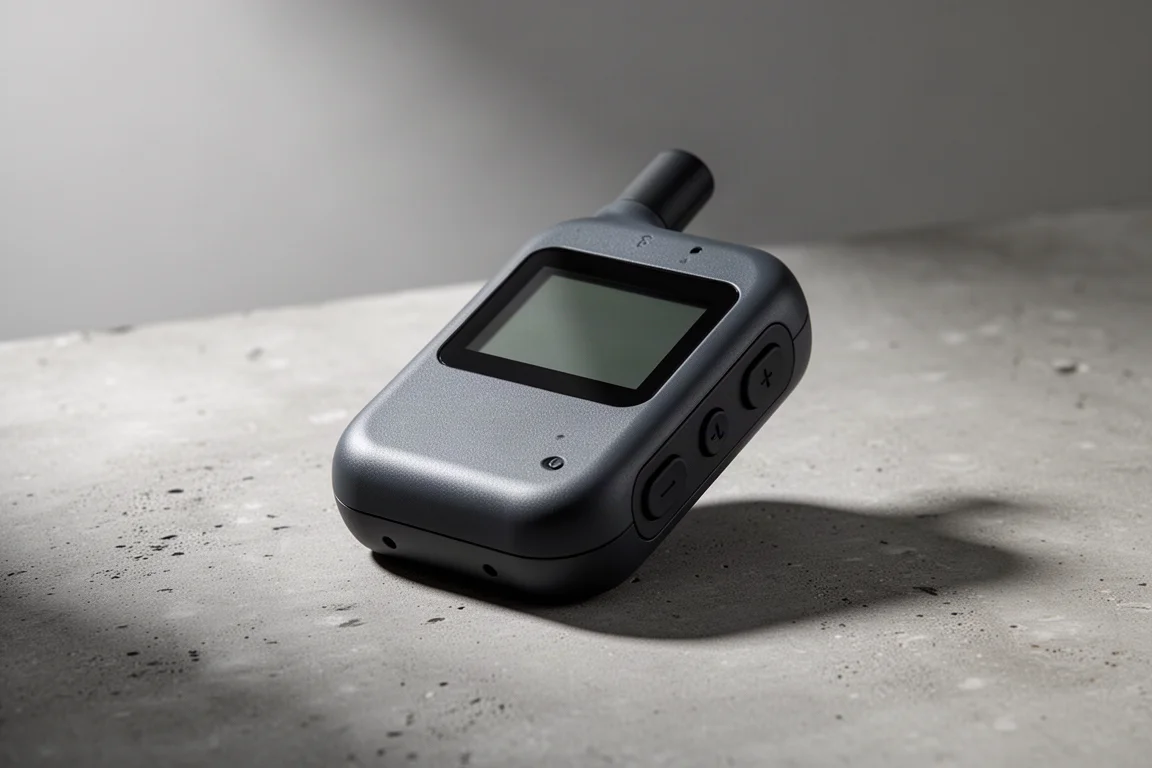
A satellite communicator is the one item here that had been left behind for years. On a route with no roads, trails, or towns, the trade-off changes, and the Garmin inReach Mini 2 covers two specific jobs: two-way messaging and an emergency SOS request.
The Mini 2 was chosen over the earlier Mini 1 mainly for its upgraded features and improved signal. On this route it handles nightly check-ins and coordination with bush pilots at food drops. It is not the navigation tool: route finding stays on a phone app, and the communicator is reserved for messages and emergencies.

That division of labour is worth copying. A communicator is most useful when it is treated as a safety and messaging device with a charged battery, rather than as a second navigation screen competing for power.
onX Backcountry: Planning and Following a Custom Route
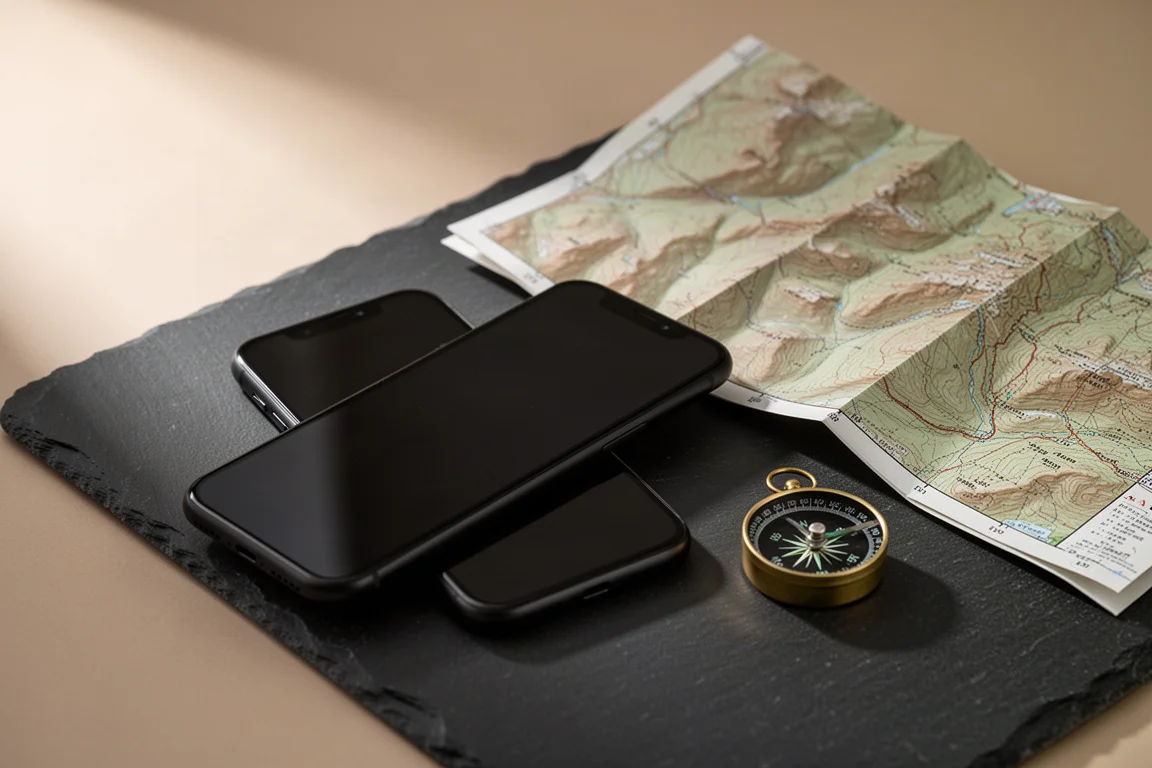
Building the route was a project in itself, roughly a week of mapping, cross-referencing information, and pinning down a line that works. onX Backcountry is the app that handled it, pulling together waypoints, food drop points, elevation profiles, campsite options, and weather information, then saving all of it to a phone for use on the ground.
On this trip the app does the navigating, which is why the satellite communicator can stay focused on messaging. For anyone planning a route without trails, the appeal is having planning layers and field navigation in the same place, and a free trial makes it easy to see whether the tools match how you plan.
Durston Iceline Trekking Poles: Sturdy, Adjustable, and Packable
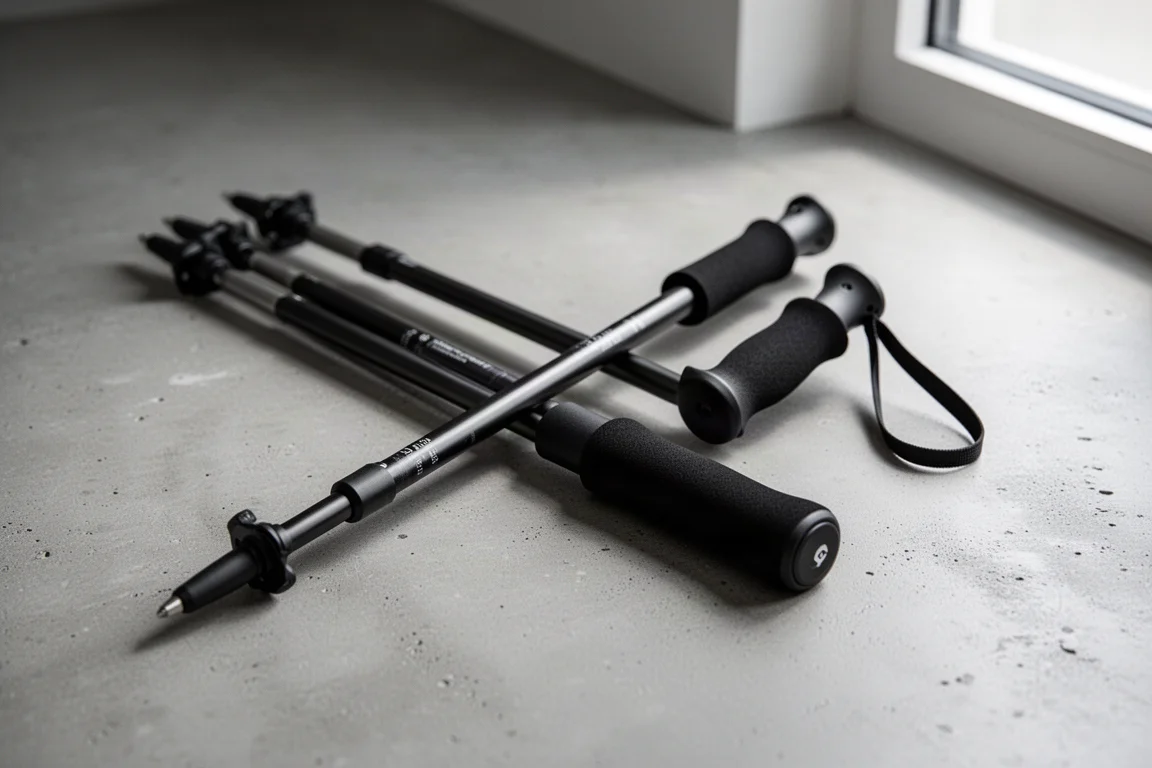
Trekking pole choice came down to three requirements: low weight, a small packed size, and enough height to pitch a trekking-pole shelter. The Durston Iceline poles are a two-piece design, which means they break down shorter than a typical three-section pole while remaining highly adjustable.
They are also remarkably stiff, among the sturdiest poles of this type, and very light. The compromise is the EVA grip. Hikers who have used cork for years will notice the difference and may need a little time to adjust.
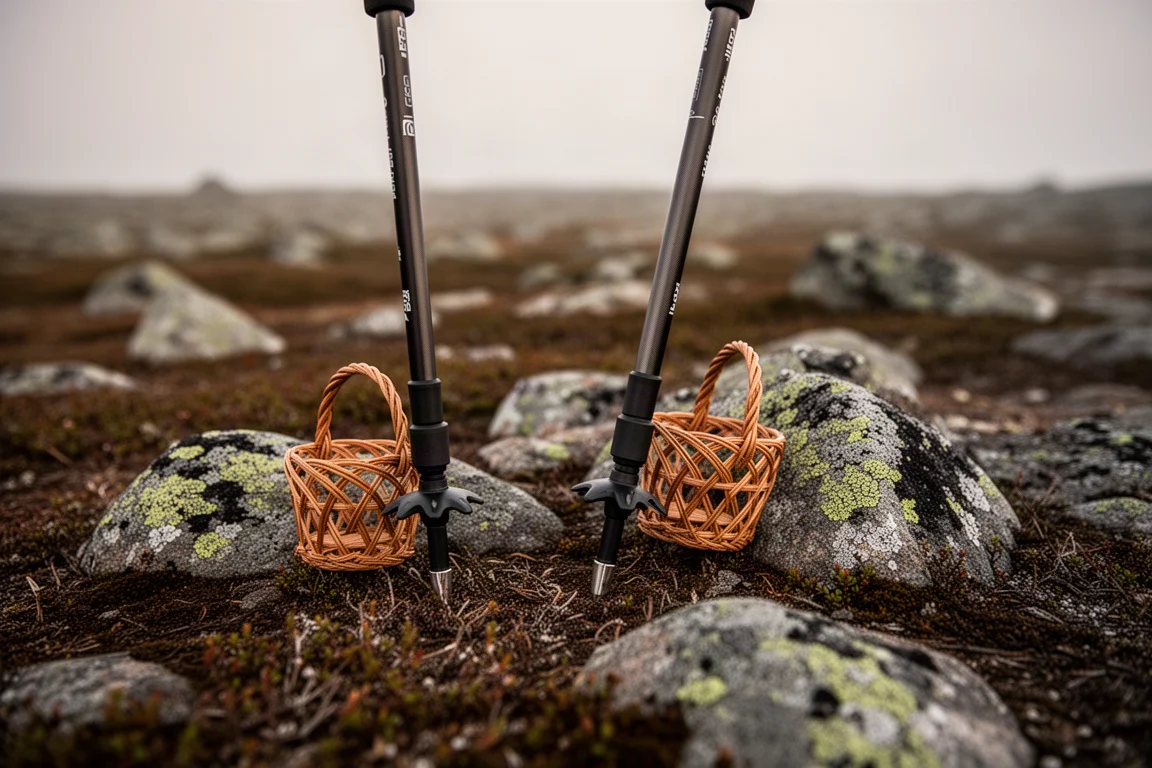
One practical detail matters more than the specifications: even fully extended, these poles are not quite tall enough on their own for a trekking-pole shelter. That is a solvable problem, and it is where the next item comes in.
Zpacks Pole Jacks: Making Short Poles Tall Enough
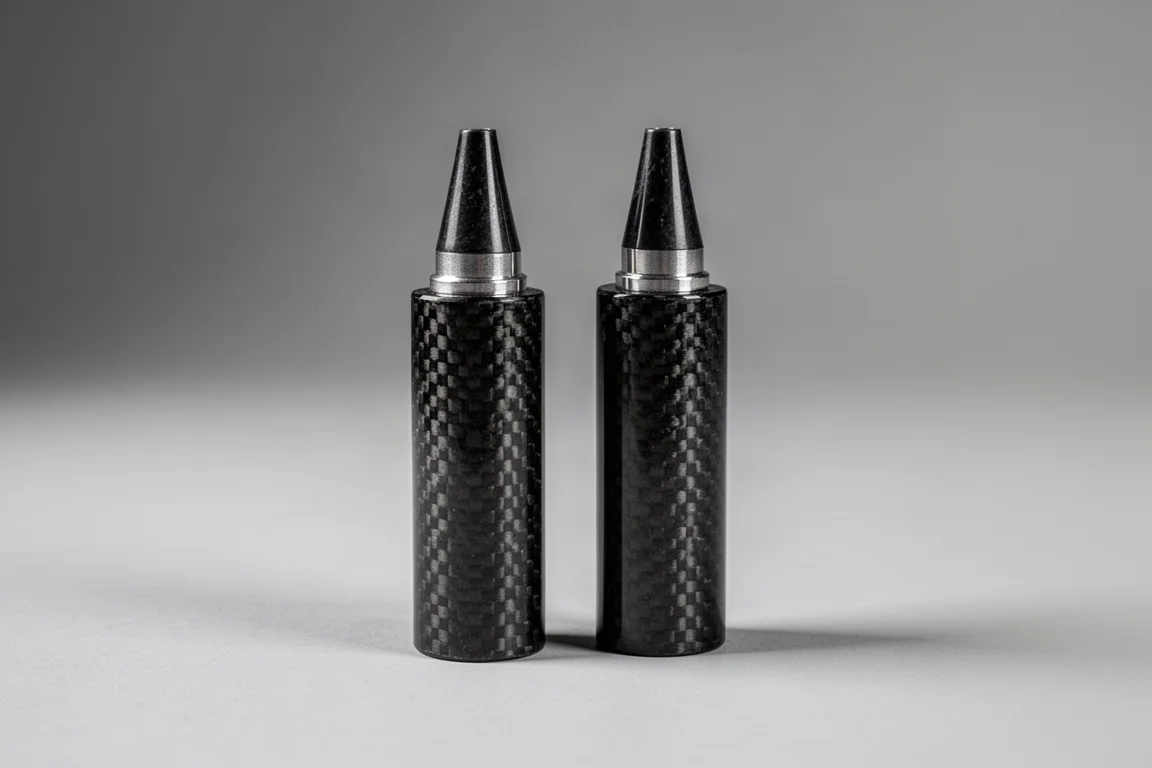
Zpacks Pole Jacks are small carbon extenders that attach to the end of a trekking pole to add height. With them in place, a compact two-piece pole reaches the length a trekking-pole shelter needs.
The value here is that the whole system still packs smaller and lighter than a conventional long three-section pole, even with the extenders added. They weigh very little, which is why the combination stayed ahead on both weight and volume.
Tenkara Rod Co. Bare Tooth: A Packable Rod for Downtime
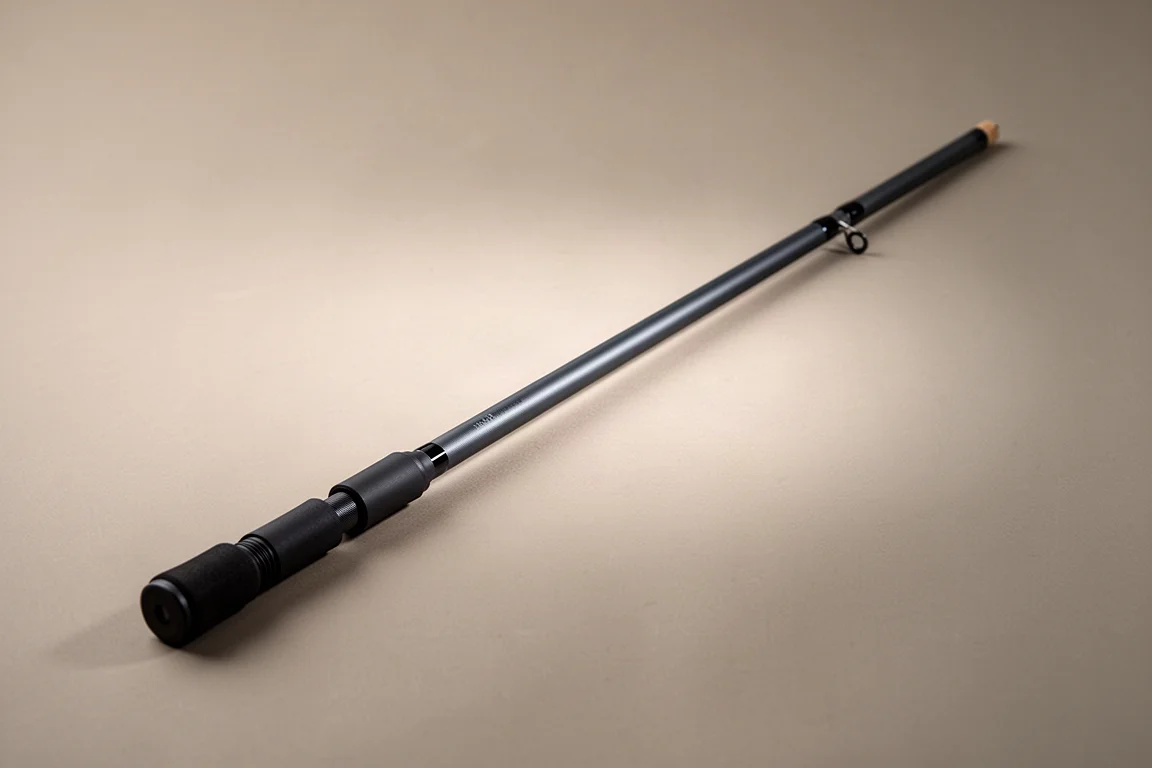
This one is about the character of the trip as much as the gear. A tenkara rod is a fixed-line fly rod, and the Bare Tooth from Tenkara Rod Co. is telescopic, extending to roughly 10 feet and collapsing small enough to ride in an outside pack pocket. It weighs almost nothing.
Paired with a small custom tackle pouch worn around the neck, holding line, flies, and a slightly larger knife for cleaning and portioning fish, it turns an evening in camp into a possible dinner. A lightweight frying pan in the shared kit means anything caught can actually be cooked.
Nitecore NU20 Classic: A USB-C Headlamp Upgrade
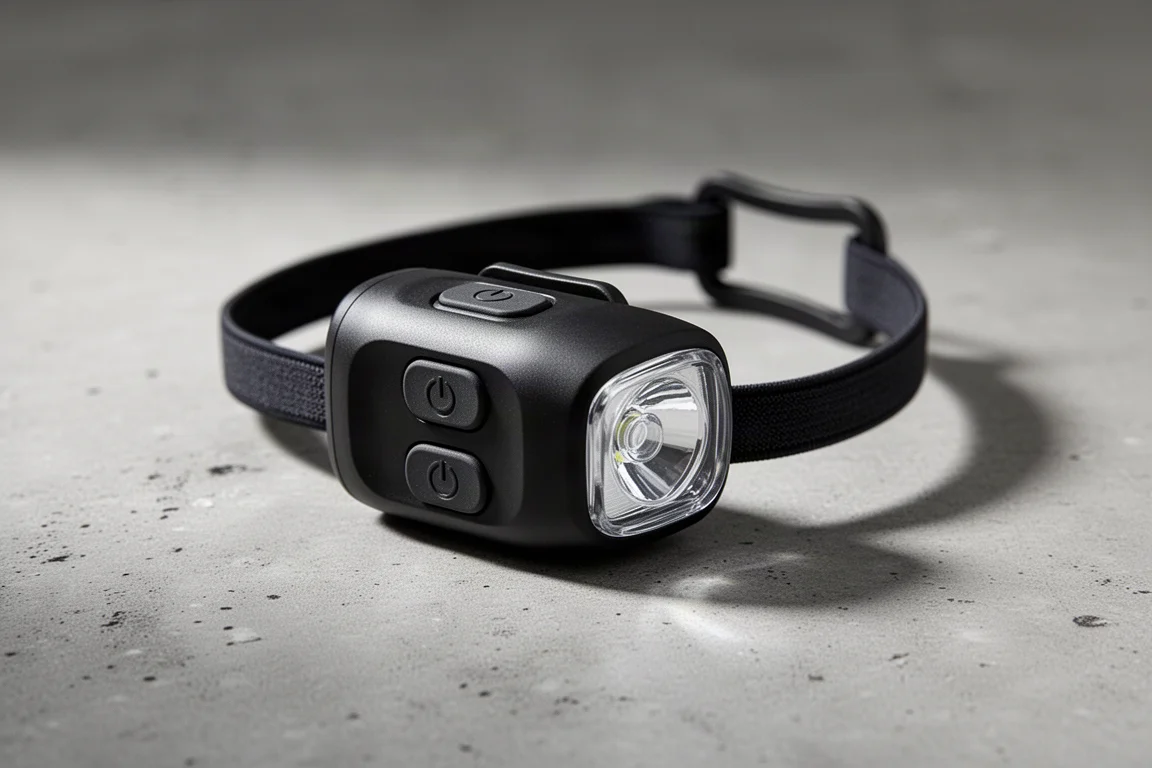
The headlamp upgrade is about charging rather than weight. The Nitecore NU20 Classic keeps the compact, rechargeable form factor of the long-serving NU25 but swaps the older micro-USB port for USB-C, so one cable covers the entire kit.
In side-by-side use it also appears brighter than the older model despite being no larger, and it takes the same shock-cord modification that keeps the band secure on the head. Weight is essentially unchanged, so the case for it rests on convenience and a single charging standard.
Igneous Gear Ultralight Repair Spool: A Tiny Fix-It Kit
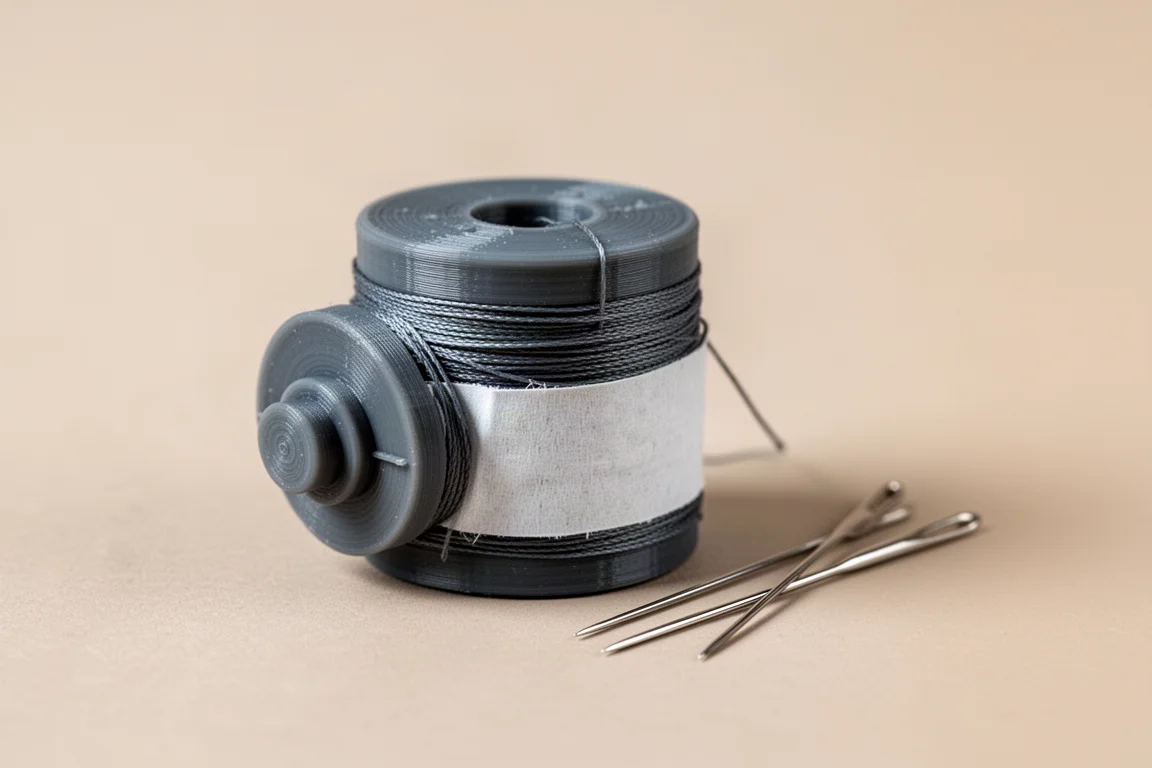
The repair spool is a small 3D-printed plastic spool that consolidates a field repair kit into one object. Tape wraps around the outside, thread winds around the top, a small rubber plug keeps it in place, and needles store inside the body.
It replaces a loose bag of thread, needles, tape, and improvised parts with something that weighs about the same. The supplied tape and thread can be swapped to suit personal preference, such as Leukotape in place of the stock tape and a cotton thread that works better for blister care. It is not essential gear, but the needles stay contained and the whole kit stays tidy.
Buying Advice: Matching Gear to Trip Conditions
The pattern across these eight items is straightforward: gear earns its place when it solves a problem the route actually creates. Bear-resistant storage matters where food hangs are unreliable. A satellite communicator matters where nothing else reaches the outside world. USB-C charging matters when every cable counts. A packable fishing rod matters when a trip is long enough to have evenings.
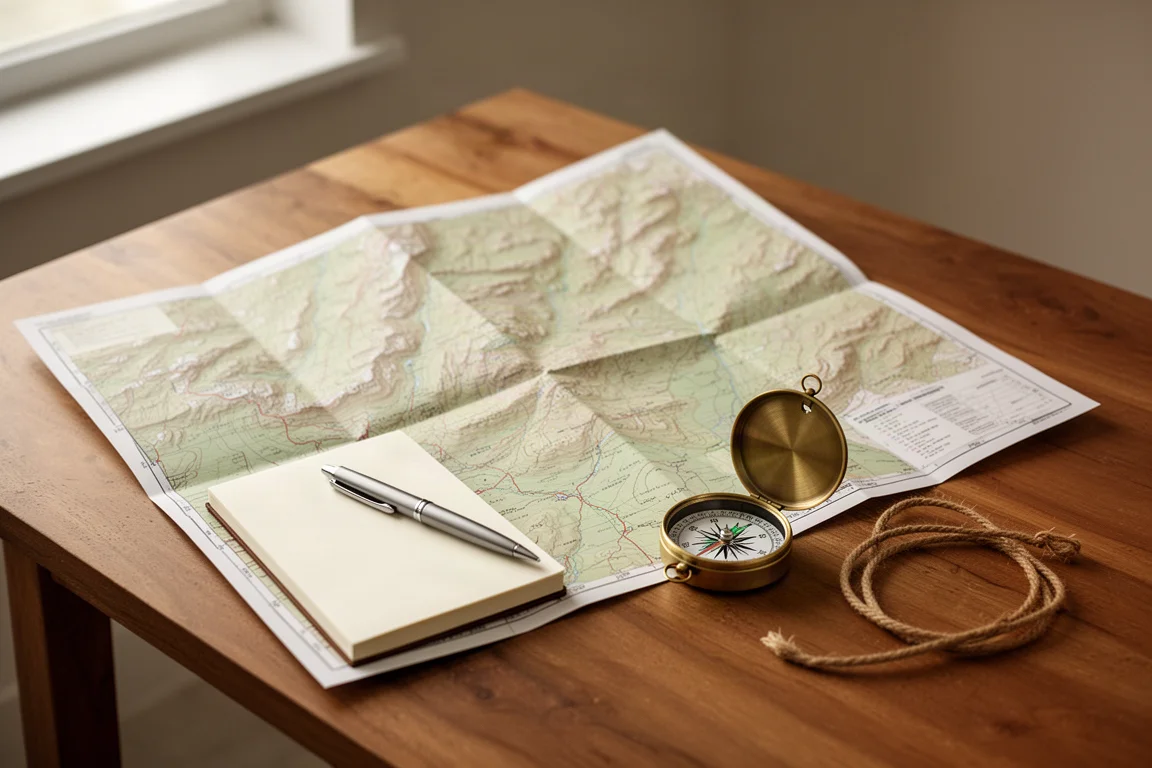
Start with the conditions, then buy to match them. Ask how long the resupply intervals are, whether bears are a genuine concern, how fuel will be refilled, and which charging standard the rest of the kit already uses. Weight savings are worth paying for only when the lighter item still does the job the heavier one did.
Conclusion
None of these items is mandatory for every backpacker. Together they sketch a sensible approach for genuinely remote trips: keep the pack light, keep food secure, keep a way to call for help, and leave a little room for fun.
If you are building a kit for a long off-trail route, let the route set the requirements first. The gear list follows from there.
Further reading
Related Reviews

Backpacking Gear
Building a 10 lb Base Weight: An Ultralight Backpacking Gear List
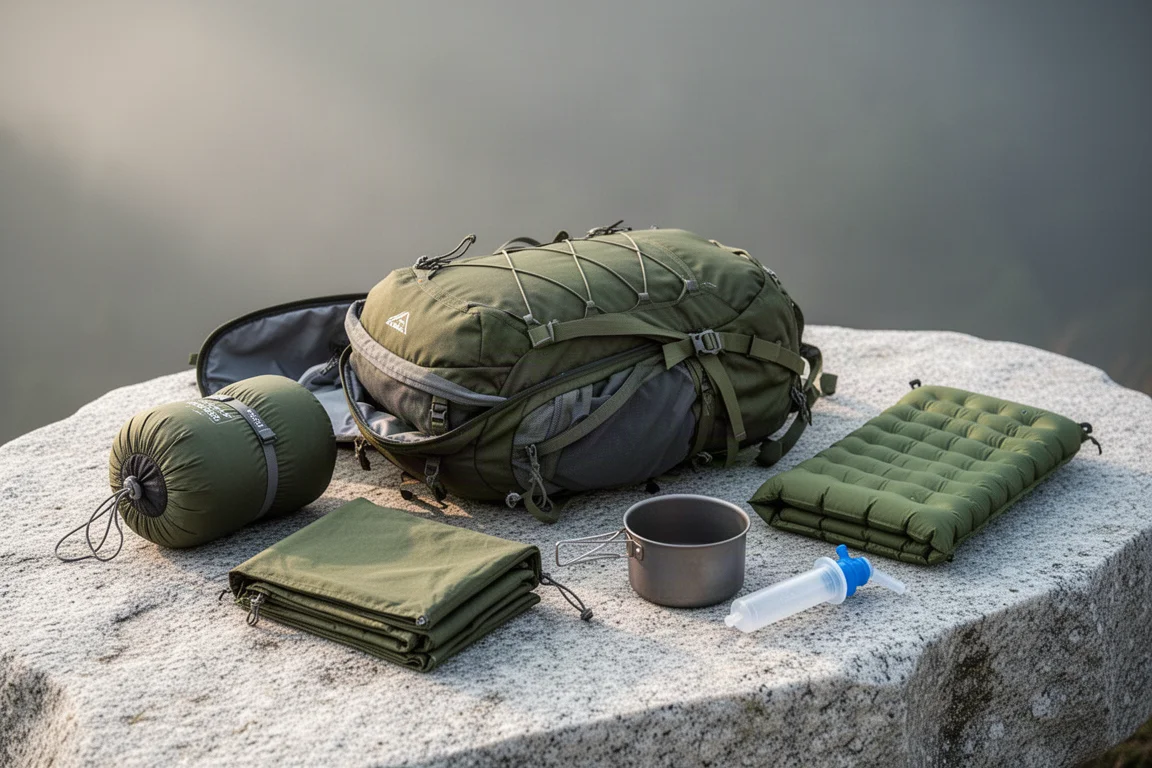
A practical walkthrough of the ultralight pieces behind a 10 lb base weight, from a 765 g pack and a roomy one-person tent to a full camp chair and a dependable water filter.
Backpacking Gear
A 15-Pound Lightweight Backpacking Gear List for Solo Trips
A beginner-friendly 15-pound backpacking setup built from easy-to-find gear, with notes on what each piece does, how it packs, and where to spend your attention.
Backpacking Gear
8 Ultralight Backpacking Gear Upgrades Worth Carrying
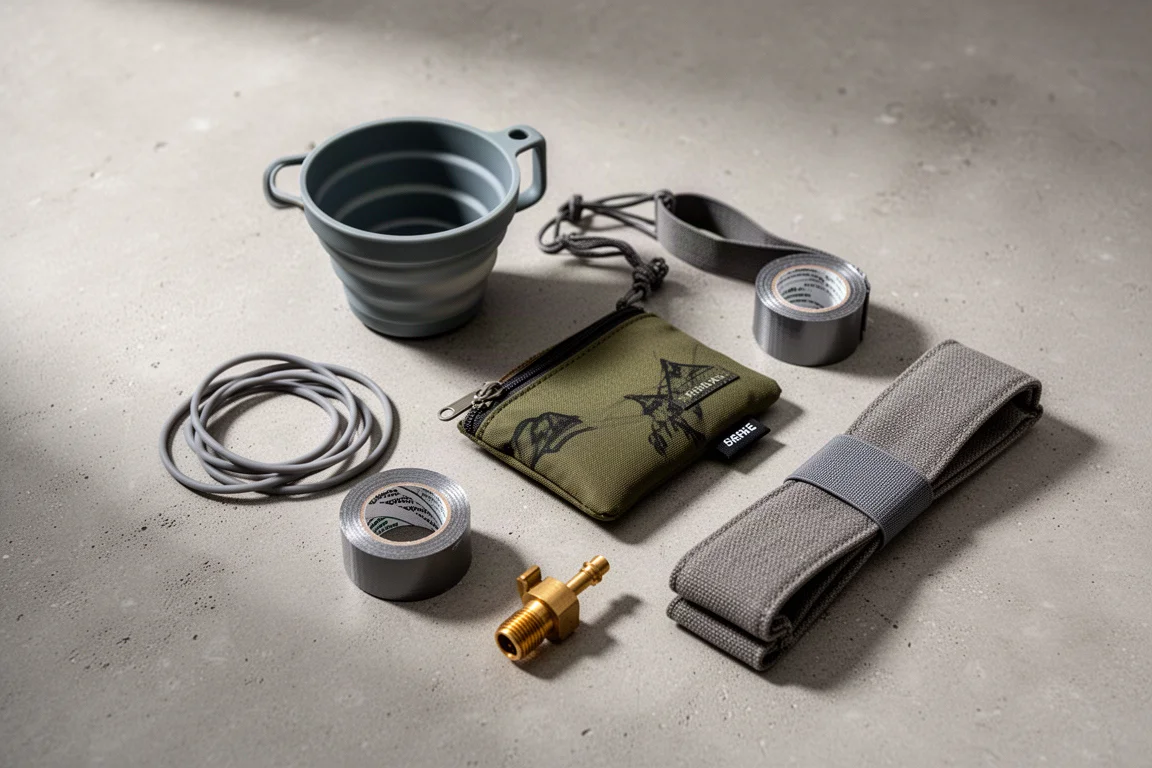
Eight small, affordable backpacking upgrades that solve real trail annoyances, from a pillow that stays put to a fuel valve that rescues leftover canister gas.