Automotive Repair
Permatex Spray Sealant Review: A Budget Fix for Minor Oil Pan Seeps
We tested Permatex Spray Sealant on a slow, low-pressure oil pan seep to see whether it can hold off a costly shop repair.
Introduction
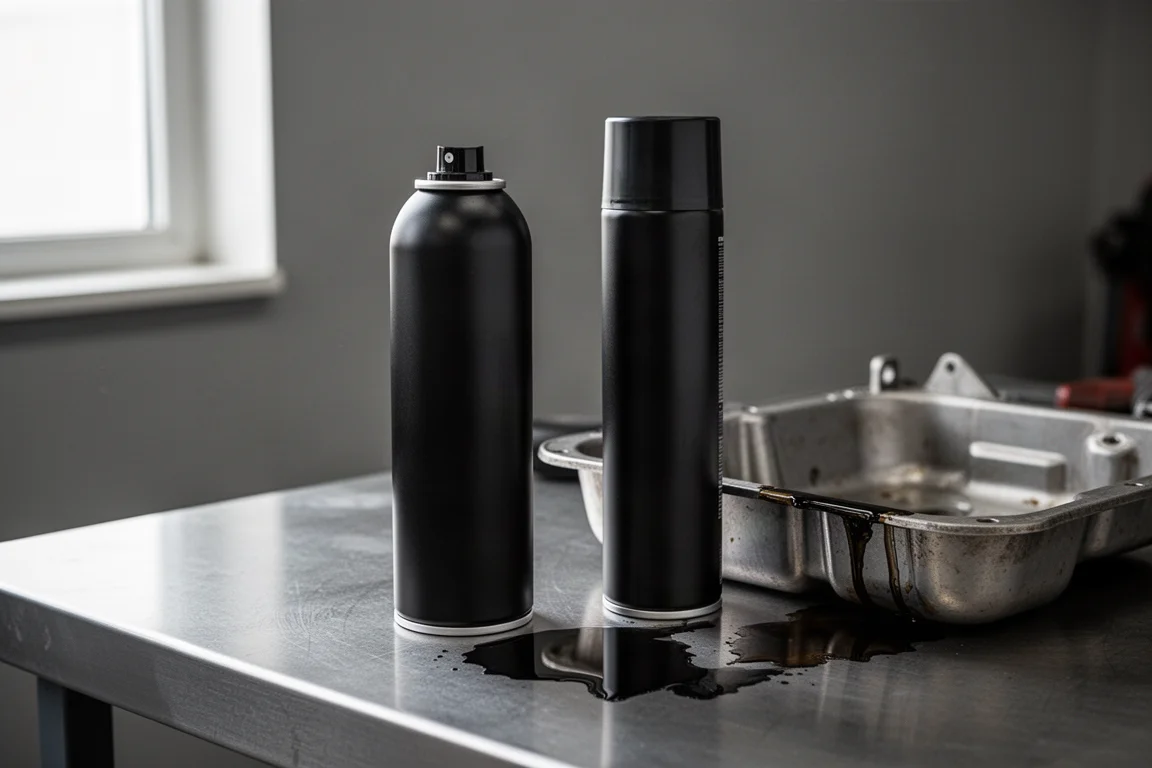
A diagnosed oil leak with a $600 shop repair quote is exactly the kind of problem that makes you look for an alternative. That is the situation behind this test of Permatex Spray Sealant, a spray-on product marketed as a way to seal minor oil leaks without disassembly.
The specific case here involves a 2022 GMC with the 6.6L gas engine, a slow seep from the rear of the oil pan near a rear bolt. The question is simple: can a spray sealant handle a low-pressure oil pan seep well enough to postpone a proper repair? Here is what the process looked like and what to expect.
The Problem: A Very Slow Oil Pan Seep
This is about as minor as oil leaks get. The seep was professionally diagnosed using UV dye, and it was traced to the rear part of the oil pan near a rear bolt. The leak is so slow that no visible oil appears for a week or two of driving, and it only ever shows up as a light film rather than actual drips. In cooler weather the seepage nearly stops, while in 100-plus degree summer heat a little more oil makes it through.
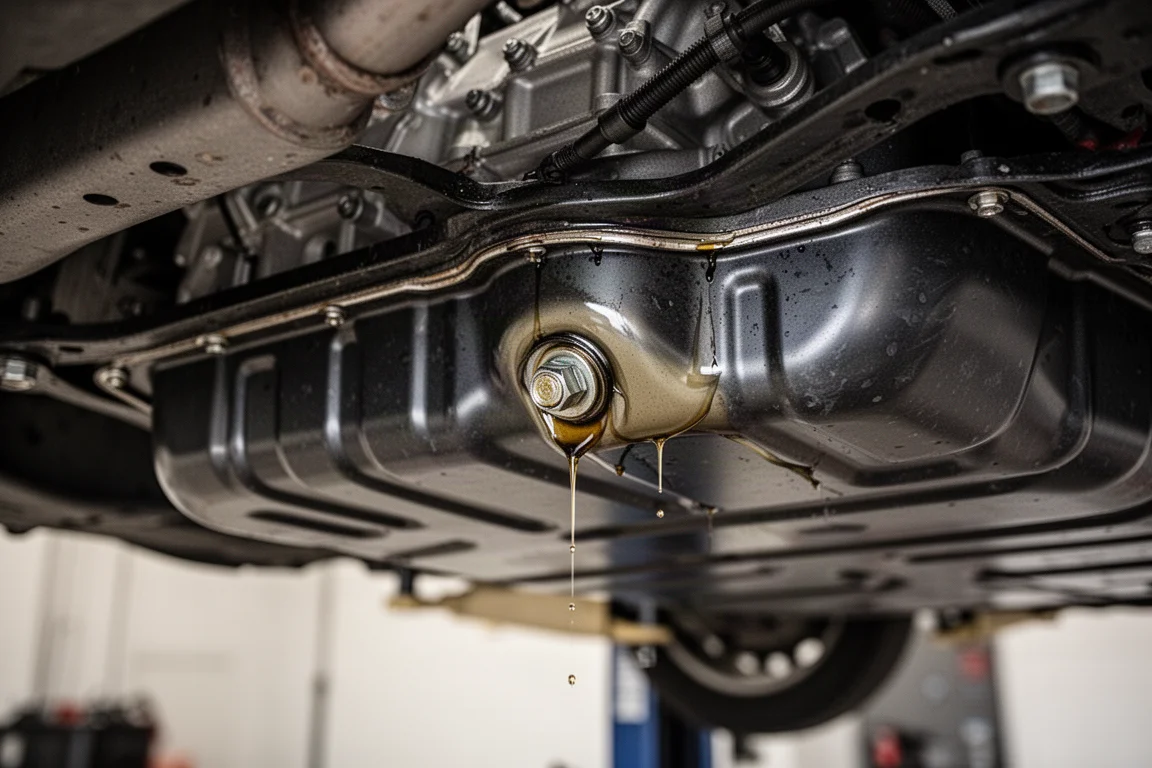
Before trying any sealant, the obvious suspects were already ruled out with a fresh oil change, a new filter, and a new drain plug. With those eliminated, the remaining question was whether the issue is the pan gasket itself or just the bolt hole. The repair plan covers both.
Why Not Just Pay for the Repair?
A $600 repair for a leak this small is not outrageous, but it is hard to justify for something that produces no drips at all. This is a low-pressure leak on the oil pan, not a high-pressure line, and it only seeps noticeably when the oil is very hot. That makes it a reasonable candidate for a sealant trial, with the understanding that a mechanical repair remains the proper long-term fix if the seep returns.
Prep Work Matters More Than Anything
The manufacturer calls for a warm engine before application, but that step was deliberately skipped. Warming the engine restarts the seepage and puts a fresh oil film exactly on the gasket surface the sealant needs to bond to, after hours of cleaning work. Skipping it is a judgment call worth considering for anyone dealing with a similarly slow leak.
Preparation took a couple of hours. The area was sprayed repeatedly with diluted Dawn dish soap in a spray bottle, scrubbed with a small brush, wiped down, and hosed off multiple times. Because the leak sits in a tight spot near the bell housing, cleaning access is genuinely difficult, but the surface needs to be as oil-free as possible for the sealant to adhere.
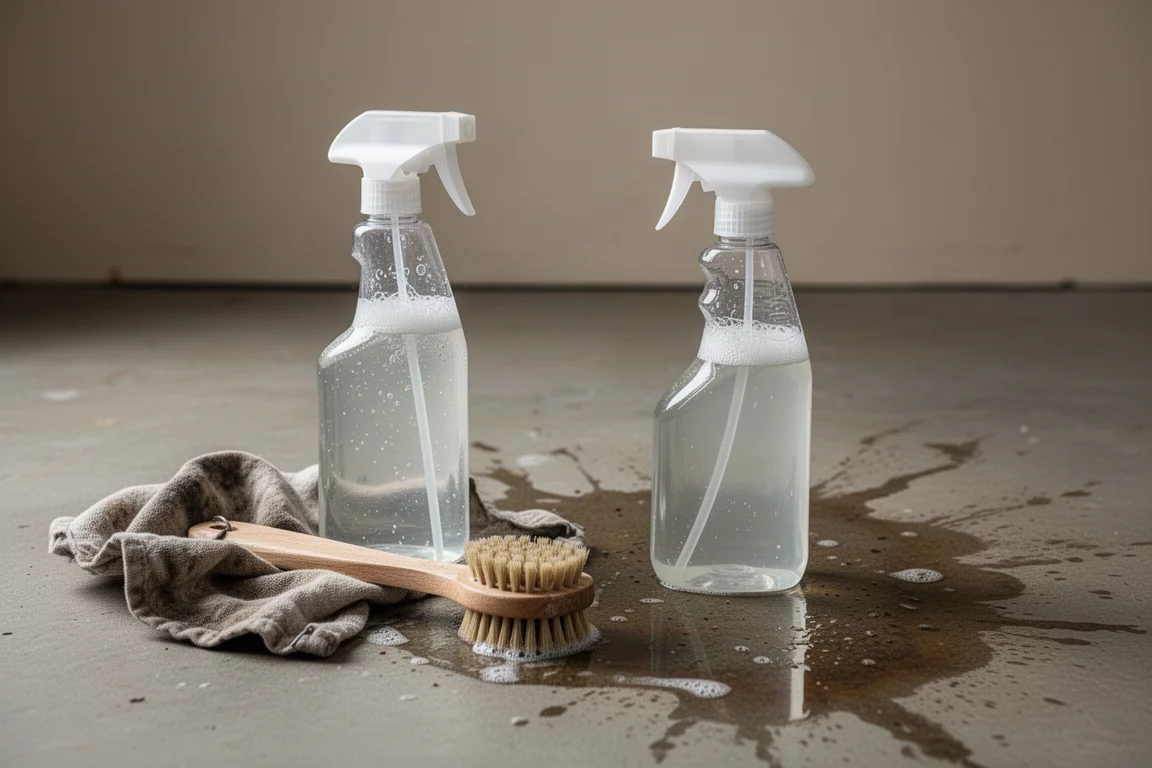
After the final rinse, the area was left to dry for several hours before any sealant went on.
Safety and Application Notes
Two warnings stand out from this experience. First, treat the product with the same caution as a heavy-duty sealant: gloves, an N95 mask, and eye protection are warranted when spraying underneath a vehicle, and you do not want the overspray near your eyes, mouth, or nose. Second, the fumes are much stronger than expected. This is an outdoor job, not a garage job.

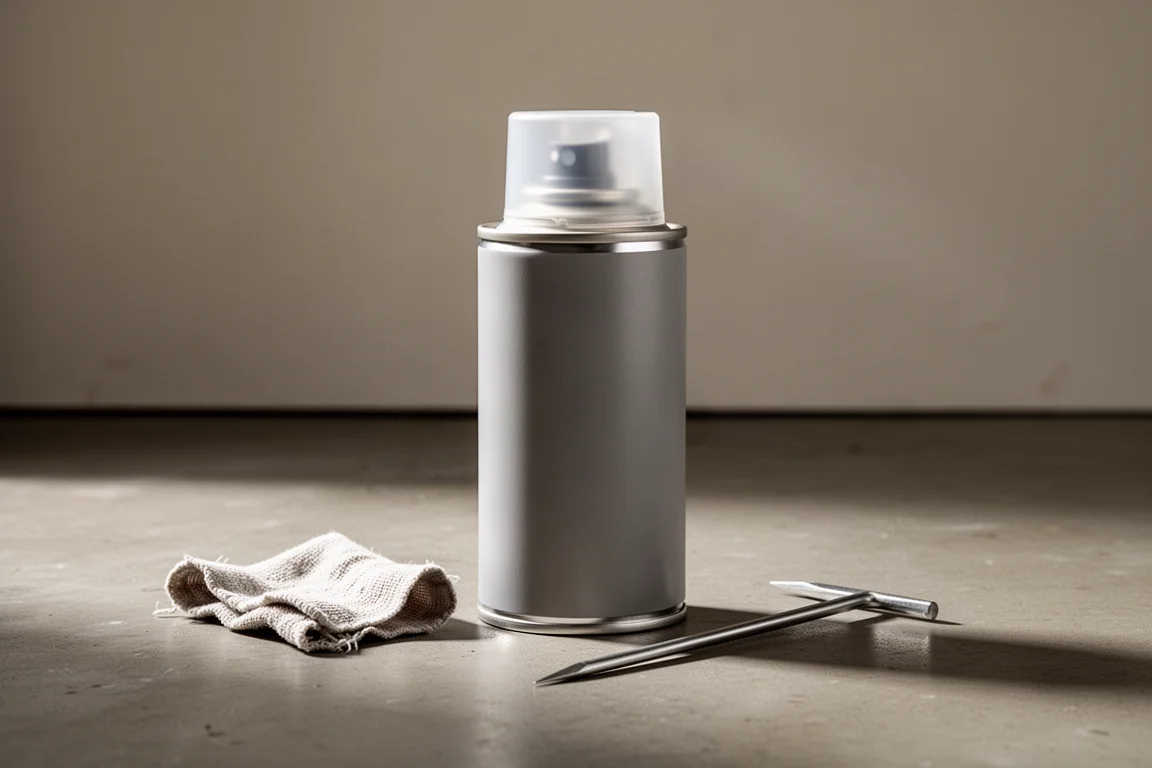
Application itself is straightforward. The can contains a mixing ball and should be shaken before use. The instructions call for wiping off excess sealant with a cloth, roughly one minute of dry time, at least three coats, and about a minute between coats. The label says to leave 40 minutes before returning the engine to service, but for a vehicle that is not needed immediately, waiting considerably longer to let everything cure is the safer route.
One practical difficulty: the leak location is so tight that it is nearly impossible to see while spraying. Spraying from the side worked, and four coats were applied rather than the minimum three, targeting both the gasket edge and the bolt hole.
First Results After Application
The finished coating has a silicone-like appearance and visibly covers the problem area. The real test is long-term: even untreated, this seep takes weeks to produce any visible oil, so a useful check will come after several weeks of driving, especially through hot weather when the seepage was worst.
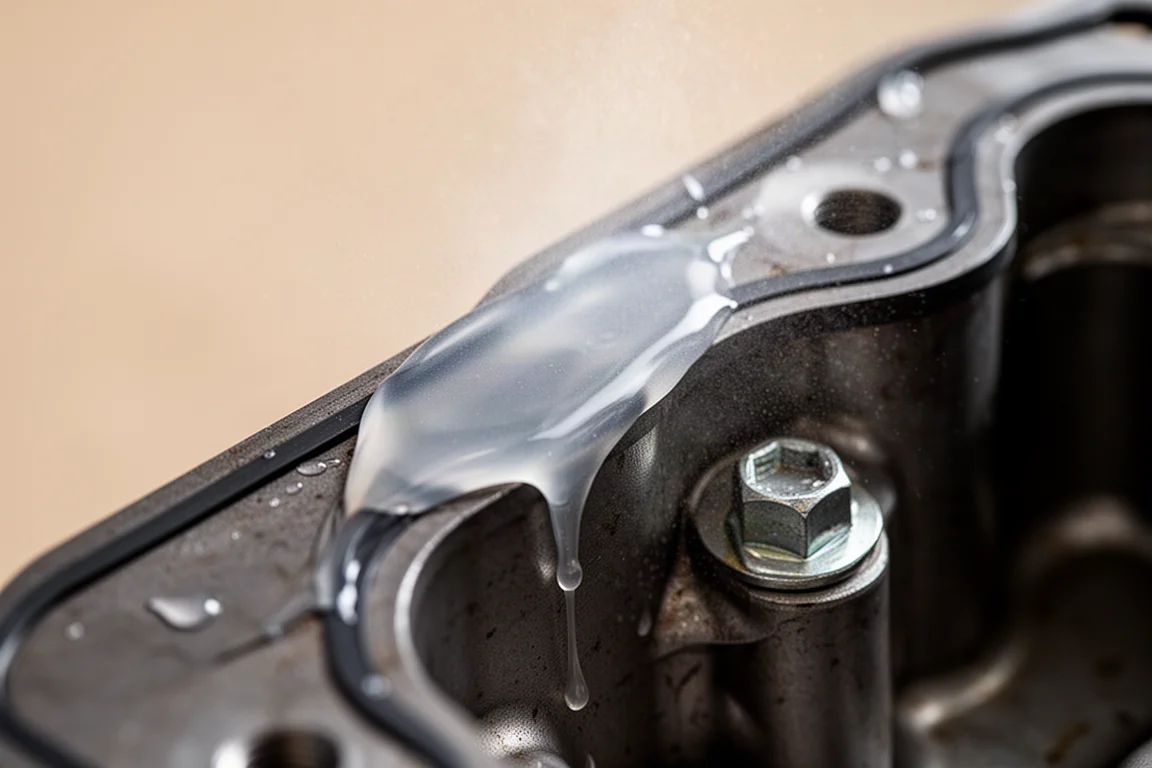
Given the extreme slowness of the leak, a follow-up check over time is essential before drawing firm conclusions. The early signs are encouraging, and the low cost of the product against a $600 repair makes the experiment easy to justify.
Buying Advice
Permatex Spray Sealant makes sense for a narrow use case: minor, low-pressure seeps on the oil pan or similar areas, where a full mechanical repair is disproportionate to the problem. It is not a substitute for fixing genuinely active leaks, and proper prep is non-negotiable. Budget several hours for cleaning, apply at least three coats, allow generous curing time, and always work outdoors with proper protection. If your leak is fast, high-pressure, or dripping regularly, skip the sealant and take it to a shop.
Conclusion
For a barely-there oil pan seep with a $600 repair estimate, Permatex Spray Sealant offers a low-effort, low-cost middle path. The application was easy in principle and awkward in practice only because of the tight access, the fumes demand outdoor use, and the long-term durability remains to be proven over weeks of driving. As a stopgap for minor seeps, it is worth a try before committing to the full repair.
Product link
View more details for Permatex Spray Sealant
This product is mentioned in the review. Check the specifications, options, and compatibility before buying.
View more details for Permatex Spray SealantFurther reading
Related Reviews
Automotive Repair
Permatex Spray Sealant for Oil Pan Leaks: A Hands-On Fix That Saved $600
A real-world test of Permatex spray sealant on a leaking oil pan, including the prep mistakes that matter and the technique that finally stopped the drip.

Hi-Fi Speakers
Acoustic Energy AE1 40th Anniversary Review: A Modern Take on a British Classic
A compact standmount that revives a 1980s favorite with all-new parts, a warm mid-centric balance, and a price of £1,499 per pair.

Studio Monitors
ADAM Audio A8H Review: A Three-Way Studio Monitor That Also Knows How to Have Fun
A three-way active studio monitor with an 8-inch woofer, a handmade AMT tweeter, and two distinct tunings, the ADAM Audio A8H aims to satisfy both critical work and everyday listening.