Automotive Repair
Permatex Spray Sealant for Oil Pan Leaks: A Hands-On Fix That Saved $600
A real-world test of Permatex spray sealant on a leaking oil pan, including the prep mistakes that matter and the technique that finally stopped the drip.
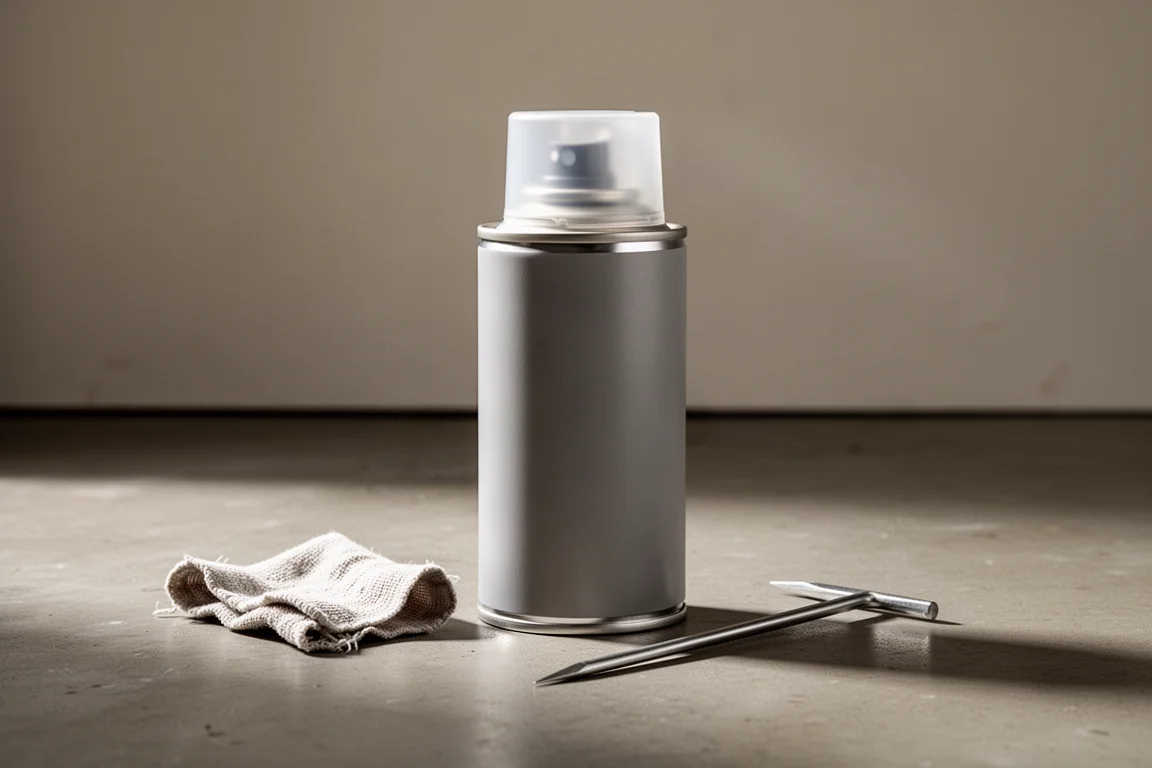
Introduction
An oil pan leak usually means one of two things: a professional reseal that can run into serious money, or a DIY attempt with the right product and a bit of patience. In this case, the shop route was quoted at roughly $600, so a spray-on sealant became the hail mary. The product in question is Permatex spray sealant, applied directly over a weeping oil pan seam, and the outcome was surprising: even with imperfect technique, it stopped fresh oil from leaking for three solid weeks.
The Results: One Side Held, One Side Taught Me a Lesson
The driver’s side of the oil pan was treated first, using light coats with full drying time between each. The result after reinspection was excellent: completely dry, with no fresh oil anywhere, just a little tacky residue and trapped oil in one bolt hole that never contacted the seal.
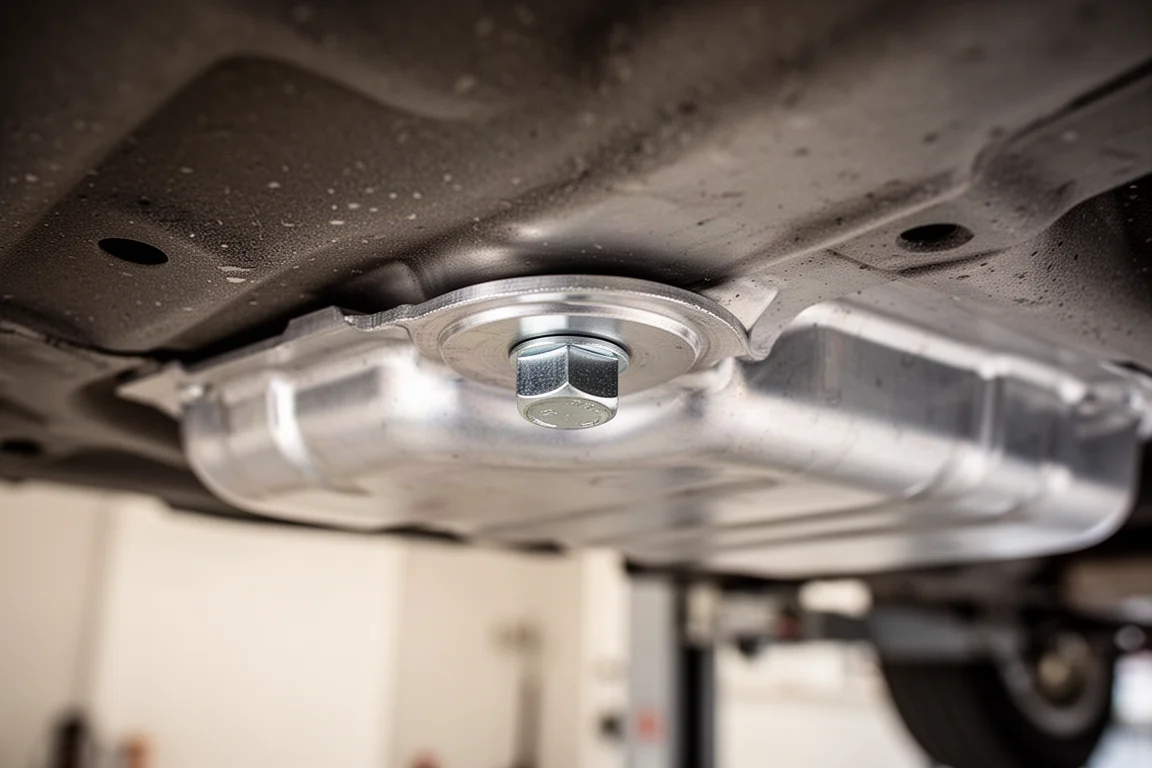
The passenger side was a different story. That side was treated with three thick coats applied about 30 seconds apart, and while the sealant held the oil in for weeks, a small amount of oil slowly worked its way behind the sealant membrane near the rear bolt. The fix turned out to be straightforward: remove the old sealant, clean and re-prep the surface, and respray properly. Peeling off the old layer took about 20 minutes, which says something positive about how well the sealant bonds when applied.
Where I Went Wrong: Three Prep Mistakes
Mistake one: surface prep. The actual leak point was a hidden lip just above the bolt head, out of direct view, with a thin film of oil on it. That spot never got cleaned before spraying. The lesson is blunt: Permatex will not adhere to oily, dirty, or wet surfaces, and if you can’t see the hidden crevice where oil is pooling, you have to hunt for it. This time the area was scraped with a pick, wiped with a rag and fingertip four times, and dried thoroughly.
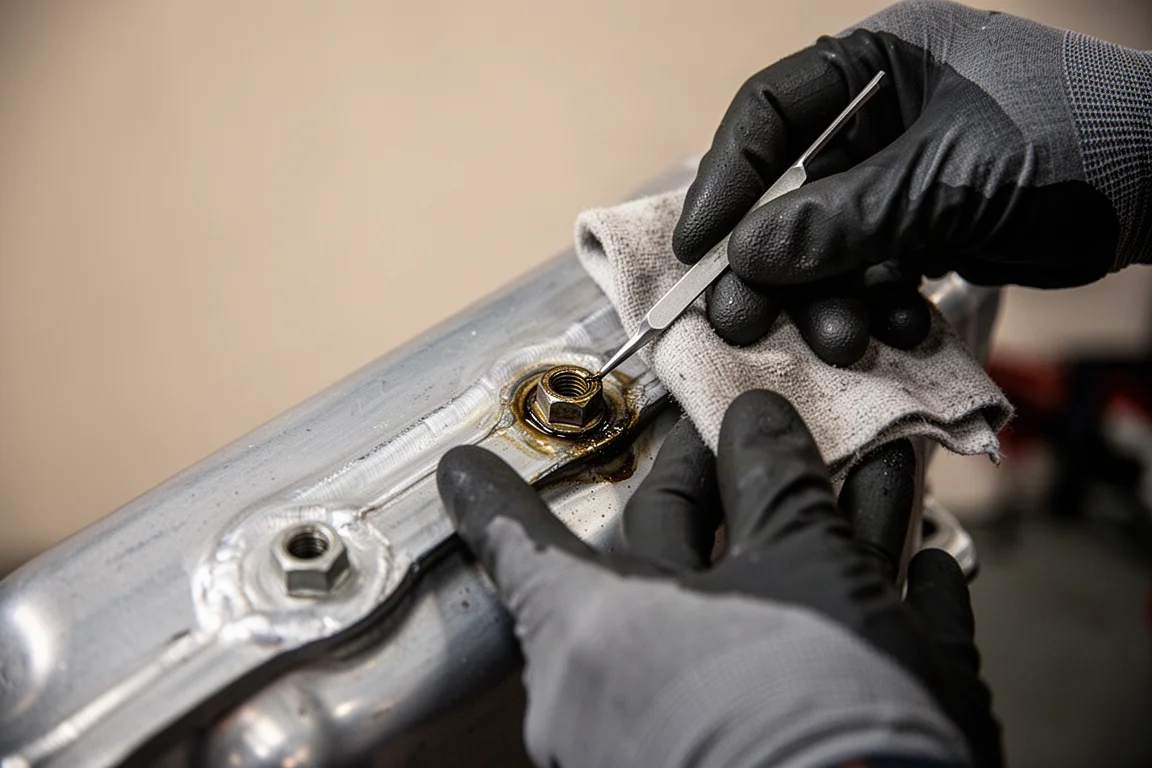
Mistake two: spray angle. Spraying only from the bottom up left nothing above that hidden lip. On the redo, the can was angled sideways and nearly straight down onto the bolt lip so the sealant could reach the exact point the oil was escaping through.
Mistake three: coat count and timing. Three thick coats applied half a minute apart is not the recipe. The method that consistently works for others, and the one used on the successful driver’s side, is a light coat, wait about two minutes, repeat, and build up six to ten light coats total.
The Redo: Technique That Actually Works
With the surface properly prepped and dried, the respray on the passenger side took about 23 minutes of spraying plus the prep work before it, roughly an hour and 20 minutes for the whole job. The technique was simple: eight light coats, then a small rag used to press the sealant firmly into the crevice around the bolt, followed by nine more coats on top to build a dense membrane.
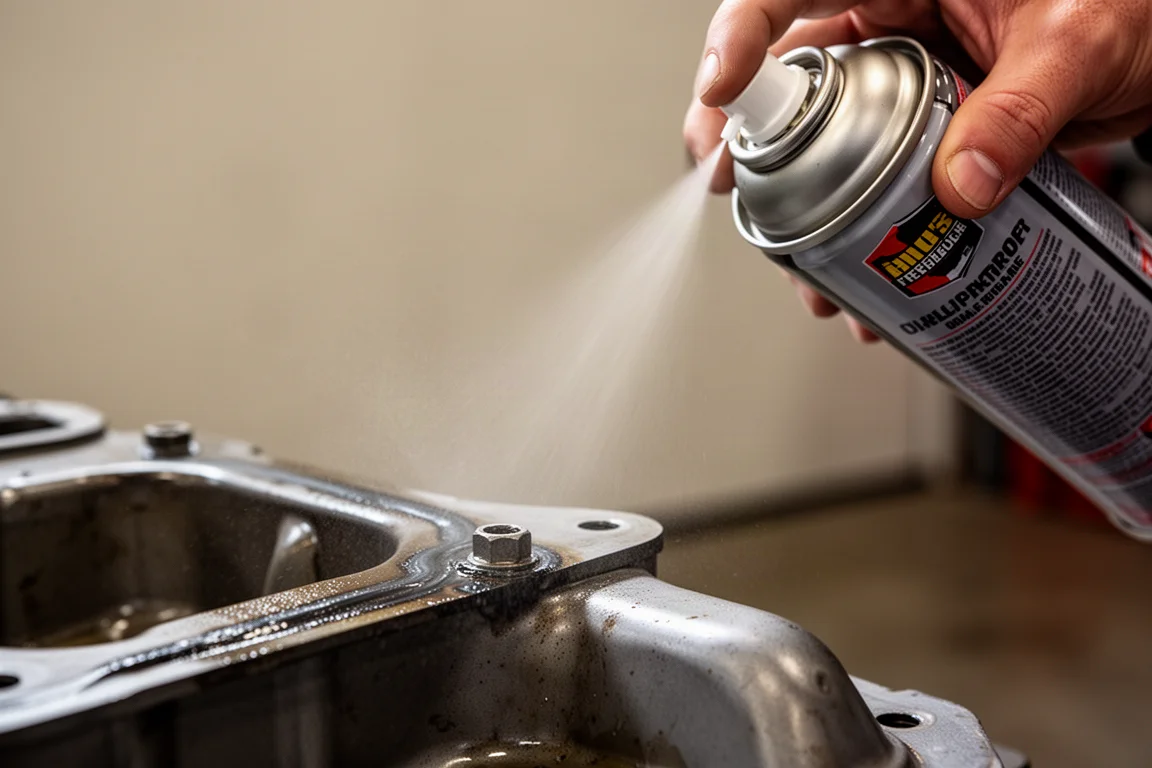
One rule was kept throughout: the bolt itself was never touched. Loosening or retorquing an oil pan bolt can break the factory RTV seal and create a far worse leak, so the sealant approach intentionally avoids removing hardware.
Who This Fix Is Right For
This approach makes the most sense when the leak spot is accessible. The successful driver’s side patch was easy to reach and easy to spray, and it has performed flawlessly. A leak in a tight, hard-to-reach corner is a different story: if you cannot prep the surface thoroughly or angle the spray to reach the crevice, a full reseal is likely the better path.
The amount of product used is tiny. The working area here was roughly an inch and a half square, so a single can covers a job like this many times over.
Final Results and Verdict
The verdict so far is positive. After an hour-long drive, the engine was left to cool for two hours in 88-degree Florida heat, with the hope that cooling would draw the sealant slightly deeper into the seam. No fresh oil appeared during that window.

The honest assessment: even a botched first application held the oil in for three weeks and produced no drips on the driveway. A properly prepped, properly layered application has every chance of being a permanent fix, and at the cost of one can, it saved the $600 repair bill entirely. For anyone facing a similar accessible oil pan seam leak, this is an easy recommendation.
Conclusion
Permatex spray sealant works, but only as well as the prep behind it. Clean the surface relentlessly, hunt down hidden oil films behind bolt heads and under lips, spray light coats with a minute or two of wait time between each, build at least six to ten coats, and never disturb the pan bolts. Done right, this is a cheap, credible alternative to a full oil pan reseal.
Product link
View more details for Permatex Spray Sealant
This product is mentioned in the review. Check the specifications, options, and compatibility before buying.
View more details for Permatex Spray SealantFurther reading
Related Reviews
Automotive Repair
Permatex Spray Sealant Review: A Budget Fix for Minor Oil Pan Seeps
We tested Permatex Spray Sealant on a slow, low-pressure oil pan seep to see whether it can hold off a costly shop repair.
Automotive Tools
ALAIAL 1/2" Digital Torque Adapter Review: Turn Any Ratchet Into a Precision Tool
A practical look at the ALAIAL 1/2" digital torque adapter, an affordable way to add torque measurement to your existing ratchet.
DIY Tools
Beginner's Guide to Taping Drywall with Rollers and Corner Tools
A practical walkthrough of drywall taping using rollers and affordable corner tools, designed for first-time DIYers.