Camping Tents
OneTigris Cosmeto Tent Review: Setup, Strengths, and Buying Advice
A practical look at the OneTigris Cosmeto tent, covering the full setup process, build impressions, and what to weigh before you buy.
Introduction
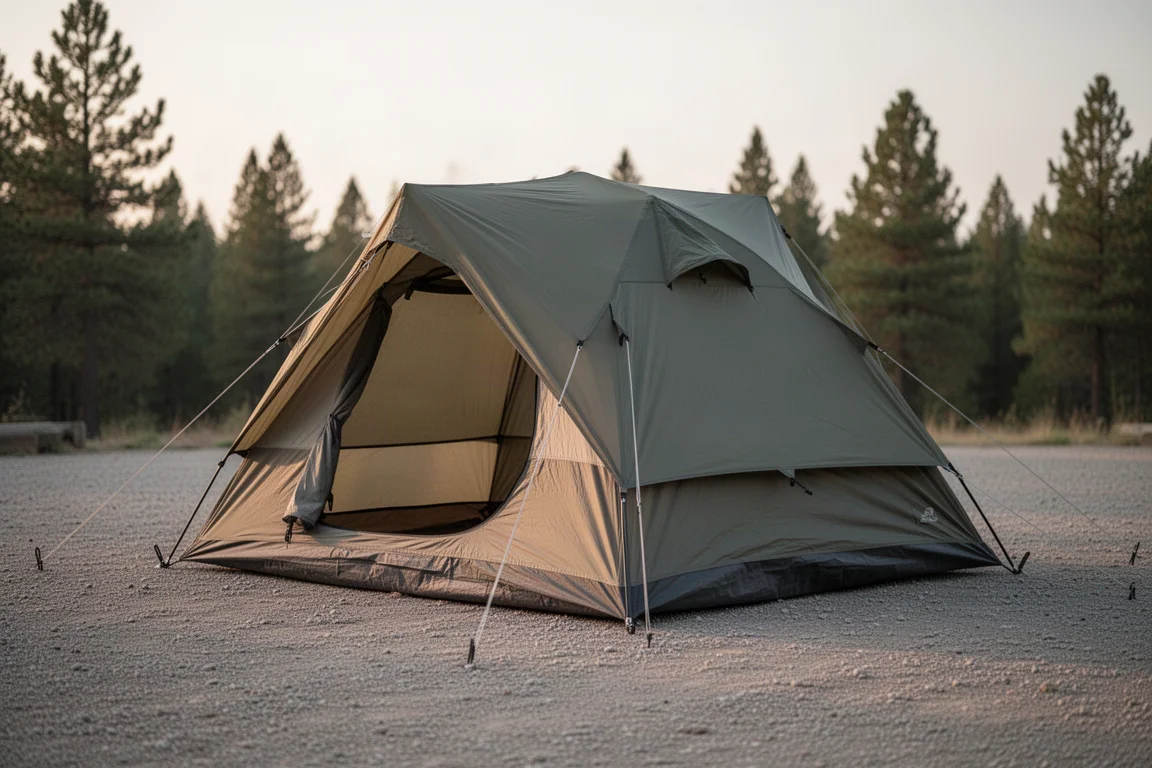
Choosing a tent often comes down to a question that spec sheets never answer: how much work is it to put up? The OneTigris Cosmeto answers that question well. Its frame uses three poles, two long and one short, and the tent body clips onto them in a sequence that is easy to follow the first time and easy to repeat after that.
With practice, the full pitch runs about 10 to 12 minutes. On a one-to-ten ease scale, where ten is the simplest possible pitch, this tent lands around a seven or eight. It is marked down only for the number of steps involved, not because any single step is difficult.
That distinction matters on the trail. A tent with many steps but a logical order is far less frustrating than one with a couple of steps that never quite make sense. Nothing here is designed to trip you up, and the process rewards a calm, methodical pitch rather than force.
Who This Tent Is For
This tent suits campers who want a predictable setup they can learn once and repeat in poor light or bad weather. If you pitch in the same order every time, the sequence becomes muscle memory.
It also suits campers who care about fabric tension and a clean pitch. The design gives you adjustable stake-out points and a fly that can be pulled taut, which is the kind of detail that pays off when the wind picks up.
It is less suited to anyone who wants the absolute minimum number of steps. There are quite a few stages here, and if you would rather throw a shelter down and be done, a simpler design will feel quicker.
Main Strengths
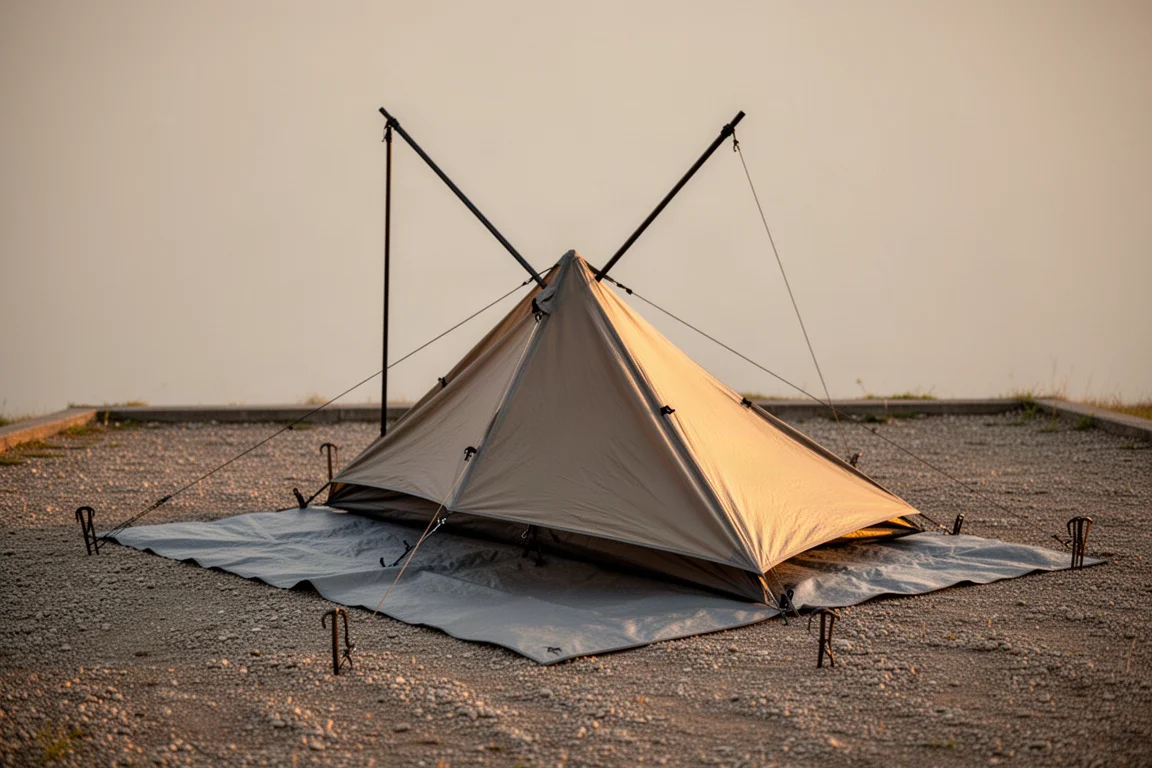
The frame is the strongest part of the story. The two long poles crisscross over the body and clip into the corners, and a hook at the centre of the tent goes over the highest crossing point to lock the structure together. The short pole then slides into sleeves on either side and lays across the top, adding rigidity and a tidier shape.
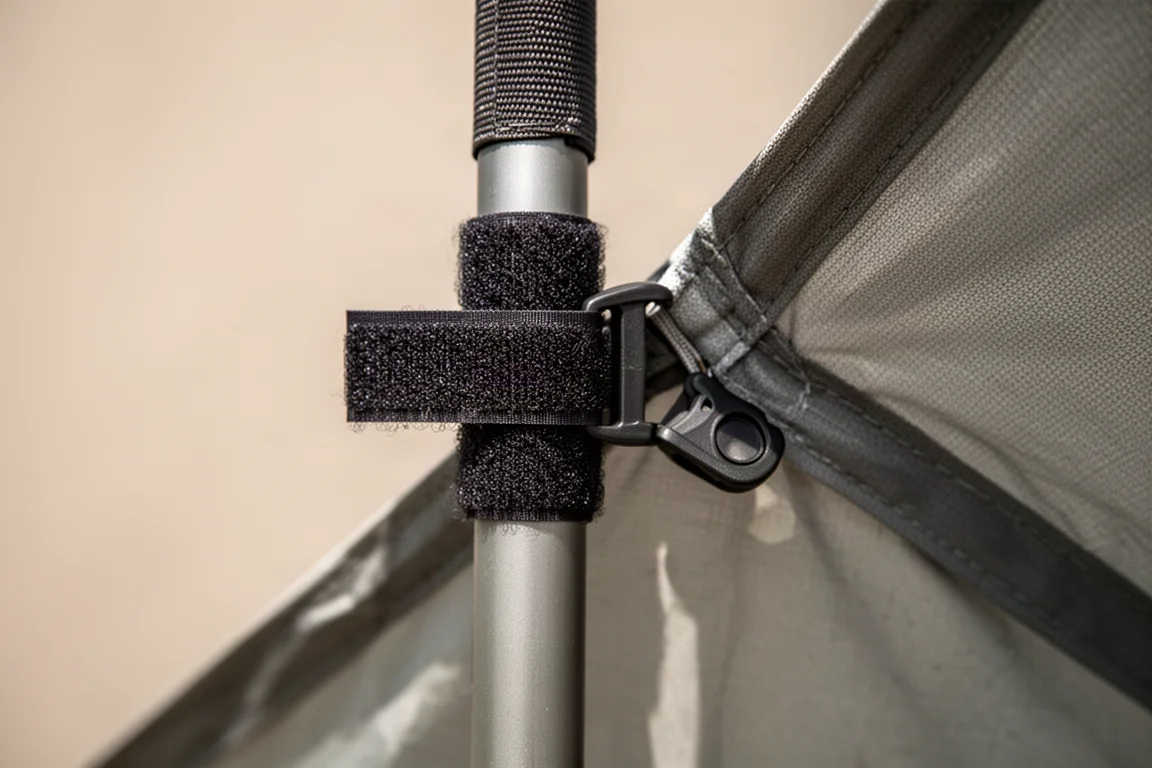
The fly attaches with velcro and buckles rather than guesswork. There are velcro points at the top on each side of the short pole, and on the body you can position the straps precisely, going below the second pole clip and above the first. Once the velcro is set, the fly buckles to the body at each corner.
One detail stands out for anyone who has fought with a flapping door. Each door has two stake-out points, but only one is meant to be used: the fully adjustable one that can be tightened or loosened. The other point will not give you a good pitch, so it is worth ignoring it entirely.
Build impressions so far are positive. The materials and construction feel considered, and everything about this tent points to a quality piece of gear.
How the Setup Process Works
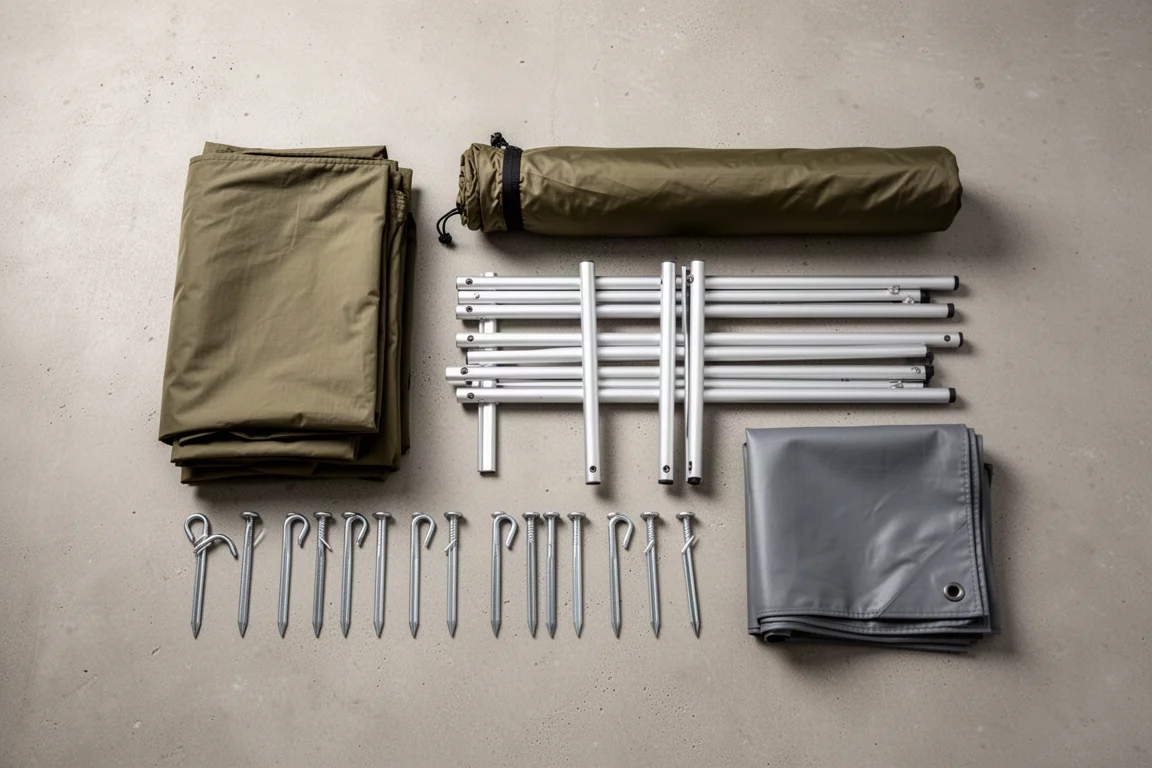
Start with the ground. A ground sheet is optional but useful, and its job is simple: it protects the bottom of the tent and keeps it clean. It does not keep the tent dry, which is a common misconception worth clearing up before you rely on it.
Separate the components: stakes, poles, fly, and body. Unfold the body, orient it the way you want it, and stake out the four corners loosely. Final adjustments come later, so there is no need to tension anything yet.
Assemble the two long poles, crisscross them over the body, and clip them into the corners. Walk around the tent clipping the body to the poles, then take the centre hook and place it over the highest crisscross point.
The short pole was set aside earlier for a reason. It goes over the top of the tent and connects into the small sleeves on the sides. Slide it into one sleeve, lay it across the top, then repeat on the other side.
With the body fully clipped, this is the moment to re-adjust the stake-out points, pulling the body out to open it up and make everything taut. Then throw the fly over the body, velcro it into place, buckle it in at the corners, and stake out the doors using the adjustable point.
Finish by walking the perimeter. Tighten the fly, stake out the front and back, and open the vents.
Weather Protection and Storm Readiness
Weather protection is the open question with this tent. The pitch is taut and the fly can be pulled tight, which is a good starting point, but how it handles sustained rain has not yet been put to the test in serious storms.
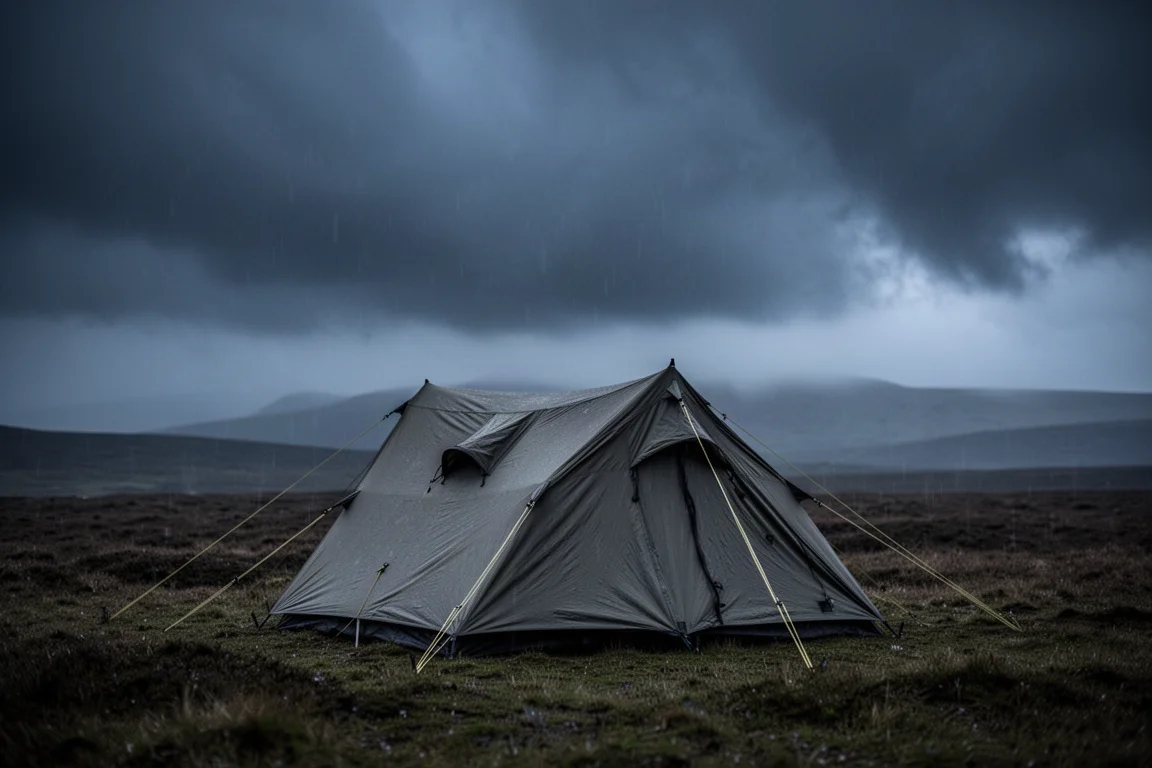
It is worth setting expectations honestly. Experience with this brand has been good overall but not flawless, particularly around waterproofing, and leaky tents have shown up more often than fully dry ones in past testing. That does not mean this model will leak, but it does mean a storm test is the fair way to judge it.
The encouraging part is that the tent is built to be pitched tightly. A taut fly with the vents open is how you give any tent its best chance in wet and windy conditions, and this design supports that approach well.
Things to Consider Before Buying
Count the steps before you commit. The setup is easy to follow, but it is not short: poles, body, clipping, centre hook, short pole, re-tensioning, fly, velcro, buckles, doors, and a final perimeter walk. That is a lot of stages to complete in the rain.
Waterproofing remains unverified. Until this tent has been through real storms, treat rain performance as an unknown rather than a given.
A ground sheet will keep the floor clean and protected, but it will not keep you dry. If staying dry is the priority, that job belongs to the fly and the tent body, not to the sheet underneath.
Finally, plan to practice. Ten to twelve minutes is a realistic pitch time once the sequence is familiar, and it is worth running through the order once on a dry day before you depend on it.
Buying Advice
Buy this tent if you want a logical, repeatable pitch and you are willing to learn a sequence. The design rewards patience: stake loosely, clip everything, tension at the end, then set the fly and buckle it down.
Buy it with realistic expectations about weather. The build quality and the taut pitch are encouraging, and the storm performance is the last piece of the picture. If you camp in exposed, wet conditions, it is reasonable to wait for that verdict before committing.
If your priority is the fewest possible steps, look at simpler shelters. If your priority is a tent that behaves predictably every time you pitch it, this one deserves a closer look.
Conclusion
The OneTigris Cosmeto is an easy tent to pitch and an easy tent to understand. There are plenty of steps, but none of them are confusing, and a practiced pitch takes roughly 10 to 12 minutes. Build impressions are strong, the adjustable door stake-out point makes for a cleaner pitch, and the only genuine unknown is how it performs in sustained rain.
Product link
View more details for OneTigris Cosmeto Tent
This product is mentioned in the review. Check the specifications, options, and compatibility before buying.
View more details for OneTigris Cosmeto TentFurther reading
Related Reviews
Camping Tents
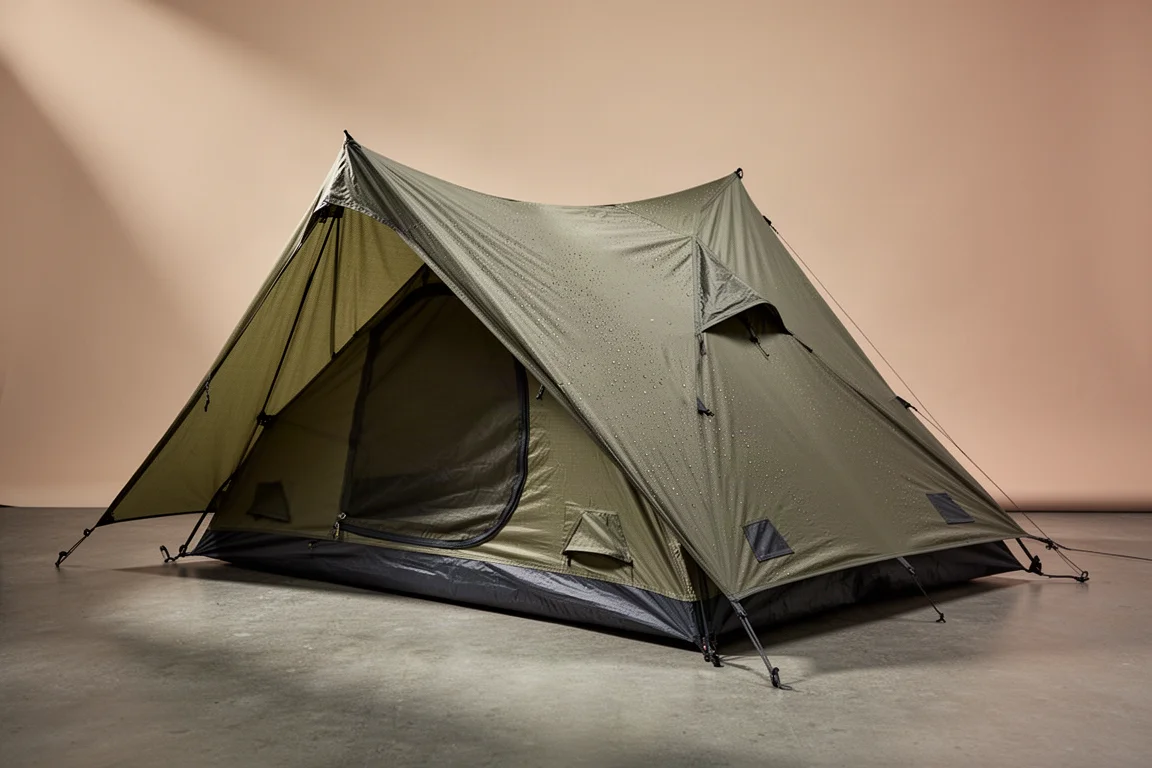
3F UL Gear Taiji Two-Person Tent Review: Field Waterproofing Results and Buying Advice
The Taiji pairs an attached fly with a removable inner, but sustained rain exposed untaped vent seams that need sealing before this shelter can be trusted.
Camping Tents
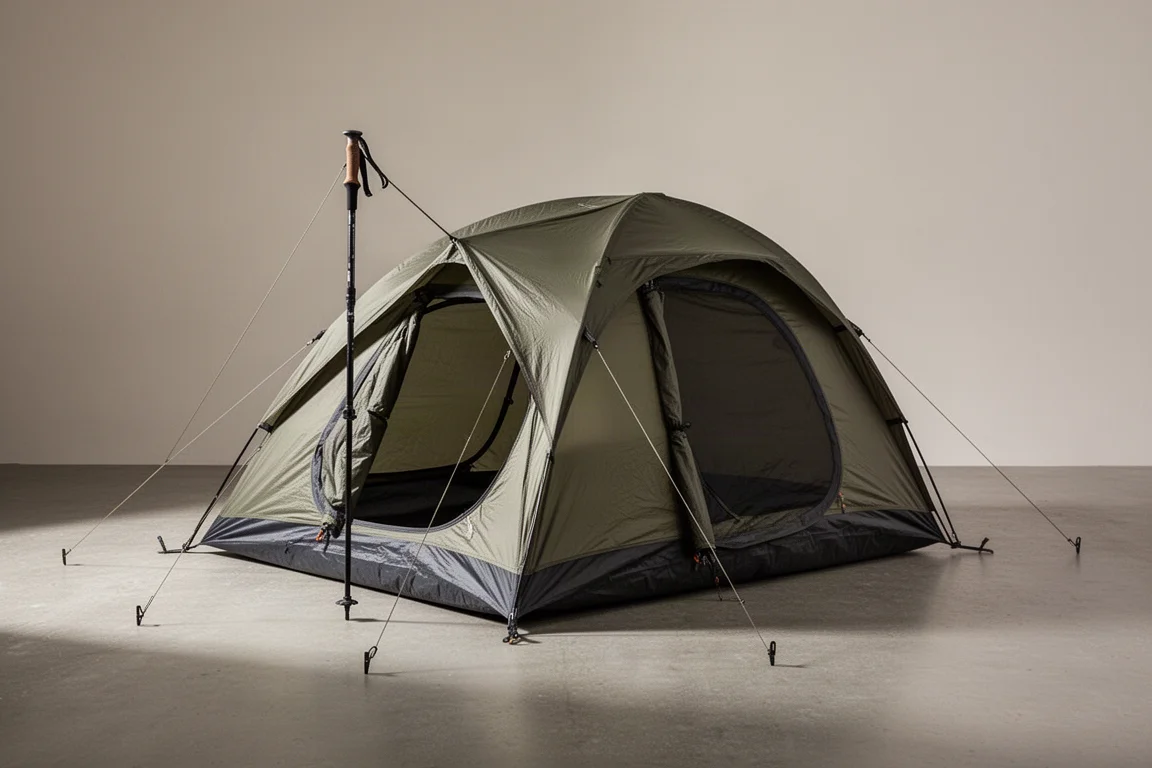
3FUL Gear Lanshan 2 Pro 4-Season Review: A Sub-$200 Single-Wall Trekking Pole Tent
An early look at the 3FUL Gear Lanshan 2 Pro 4-Season, covering its straightforward pitch, generous interior space, and the condensation and seam-sealing questions that come with any single-wall shelter.
Camping Tents
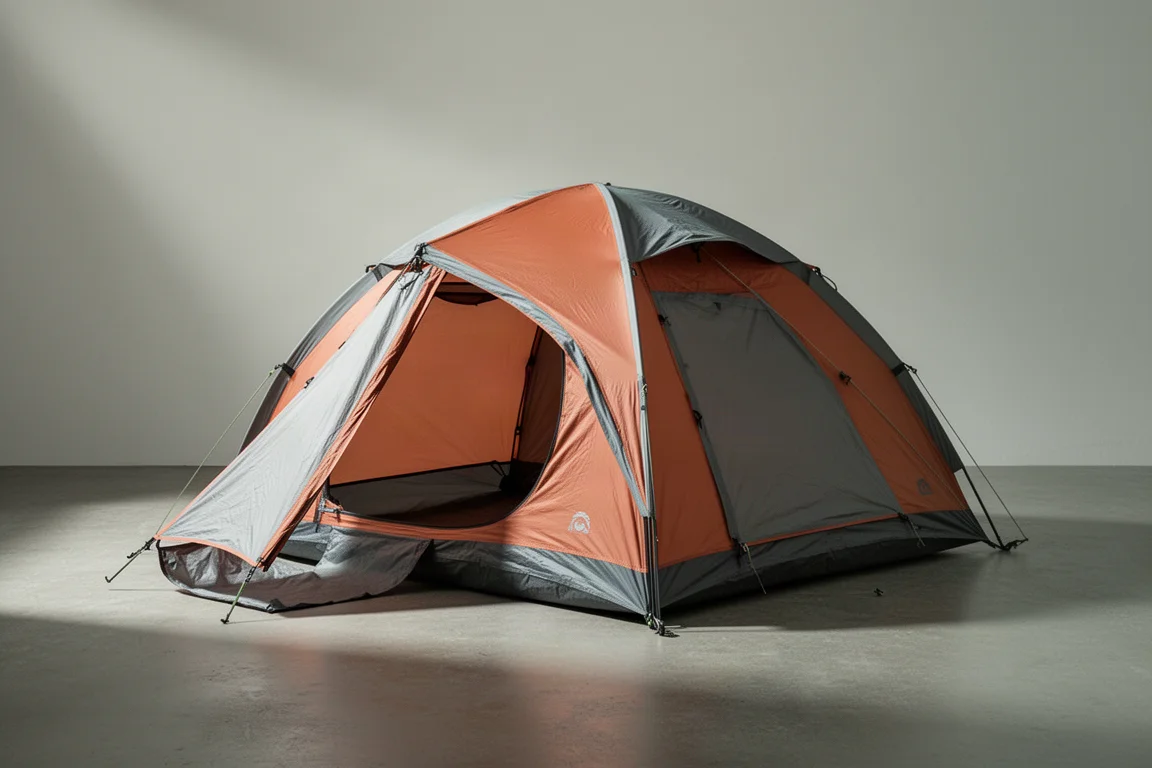
Alps Mountaineering Lynx 1-Person Tent Review: Big Value in a Small Budget Tent
A close look at the Alps Mountaineering Lynx 1-Person Tent, covering real interior dimensions, materials, setup time, ventilation limits, and who should buy it.