Astrophotography
Modified DSLR vs Dedicated Astronomy Camera: Building a Beginner Deep Sky Kit
We compare a modified Canon EOS SL2 against the Ogma ap26cc on the same budget deep sky kit to see where the real differences show up.
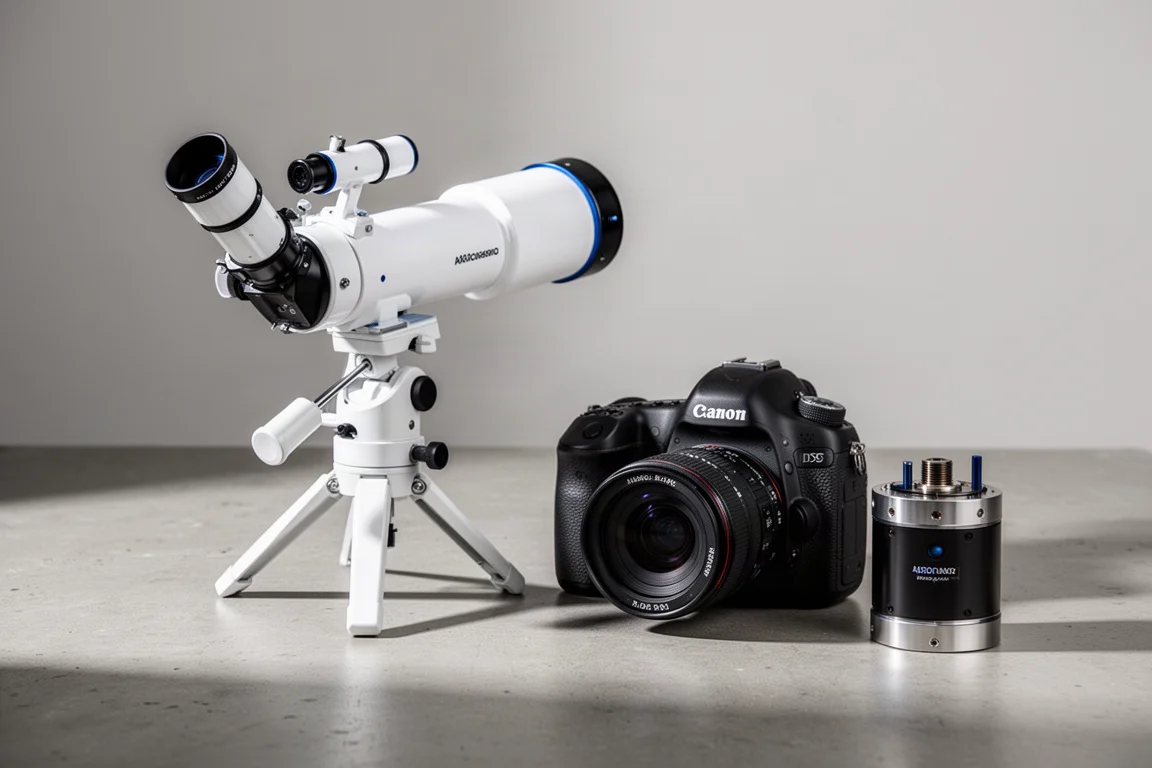
Introduction
Few debates in beginner deep sky astrophotography get as heated as this one: is it better to start with a modified DSLR or a dedicated astronomy camera? The honest answer is that it depends on your goals, your budget, and your past photography experience. To make the comparison concrete, both camera types were tested on the same beginner-friendly kit in a single night, capturing the Crescent Nebula, so the workflow and final results could be compared directly.
The Budget Deep Sky Kit First
The idea behind this kit is simple: pair the cheapest workable go-to mount, the cheapest dual band filter for emission nebulae, and the cheapest apochromatic telescope, then see how results differ when attaching each camera. This kind of kit suits someone who has already tried astrophotography with a smartphone or a DSLR on a fixed tripod and is now ready to get serious about nebulae, star clusters, and galaxies.
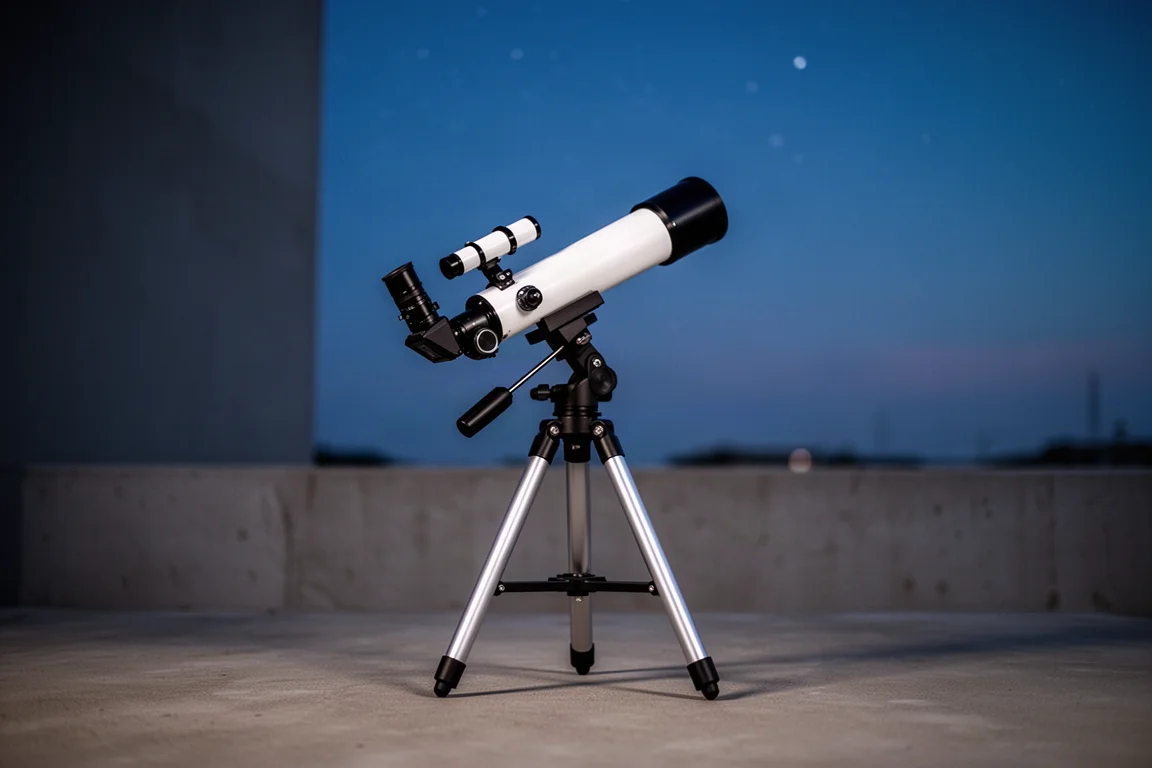
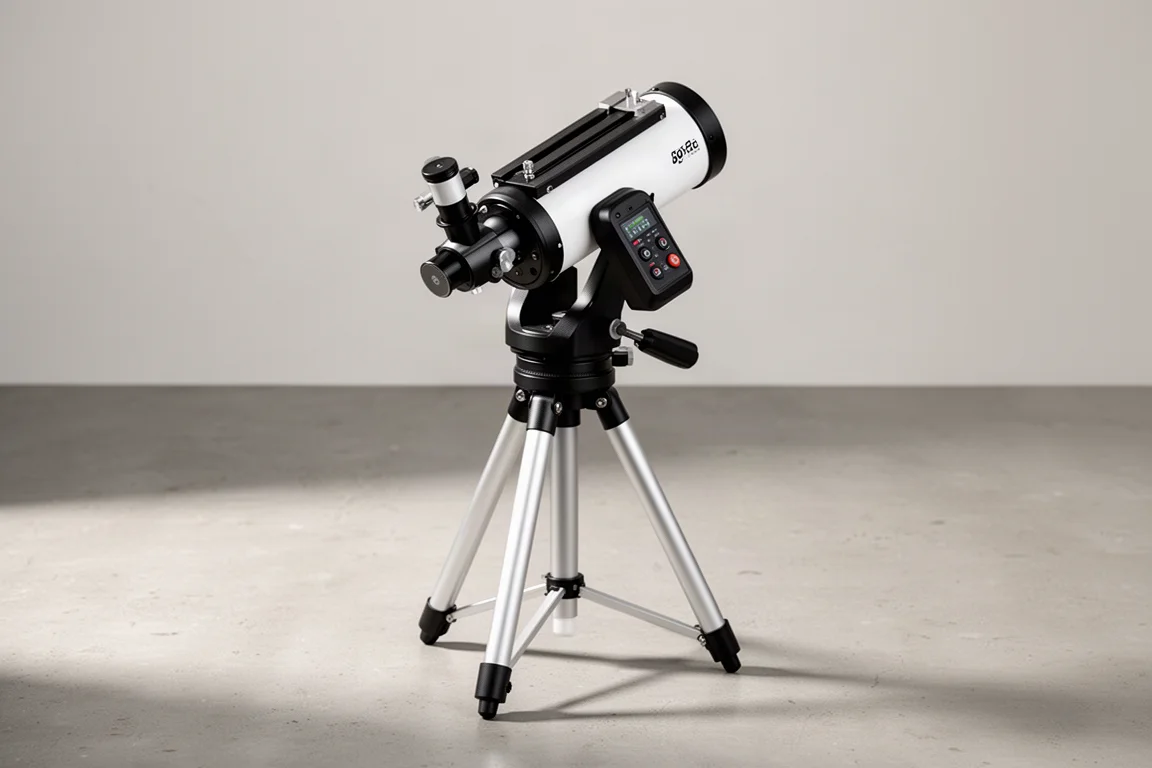
The mount is the Sky-Watcher Star Adventurer GTi. Under heavy light pollution, star hopping becomes difficult because the stars themselves can be hard to see, so a go-to mount that points the telescope for you after a proper alignment is a genuine quality-of-life upgrade.
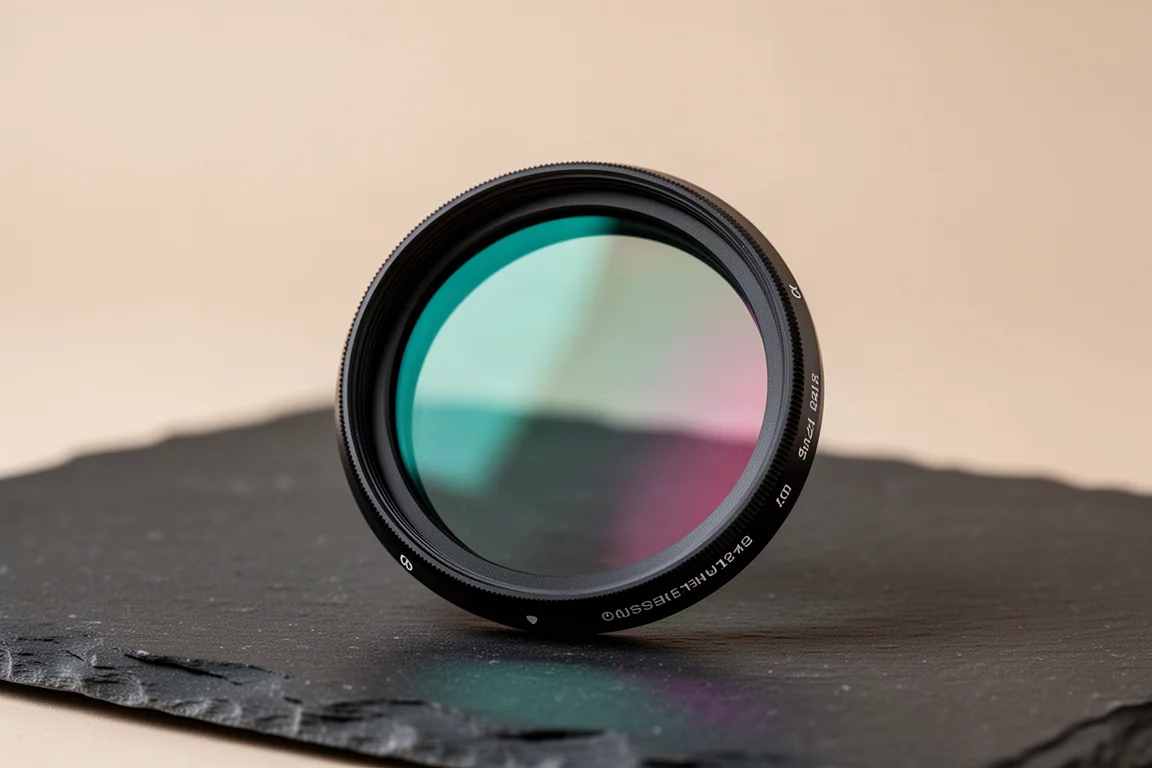
For filtration, the SVBony SV220 is a dual narrowband filter designed for emission nebulae. This is the best kind of filter for blocking heavy light pollution, though it is worth being clear that it excels only at emission nebulae, both within the Milky Way and in large nearby galaxies such as Messier 31 and Messier 33.
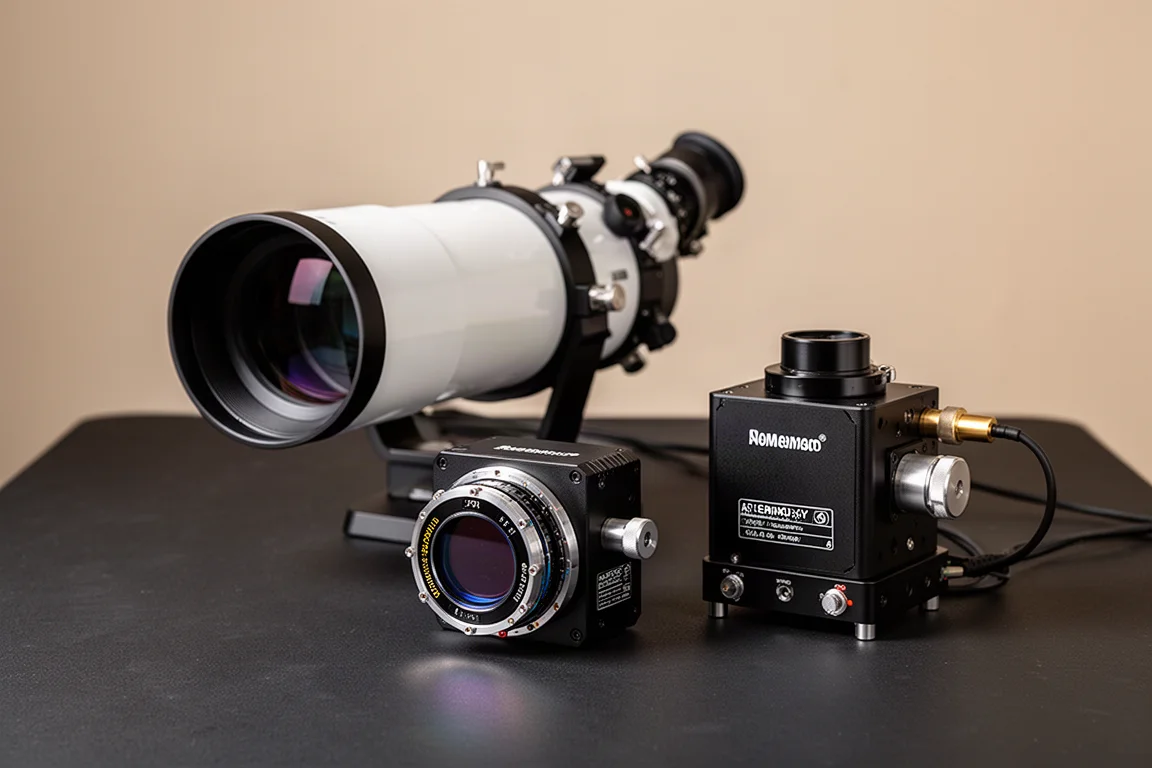
The telescope is the Askar FMA 180 Pro, a compact instrument with a short 180mm focal length that offers good correction and features for the price. A small guide scope and guide camera are optional additions that correct tracking errors and enable dithering, but at this focal length they are not strictly required. Excluding the camera, the full kit with accessories like a bahtinov mask, dew heater bands, and power comes to roughly 1,500 US dollars.
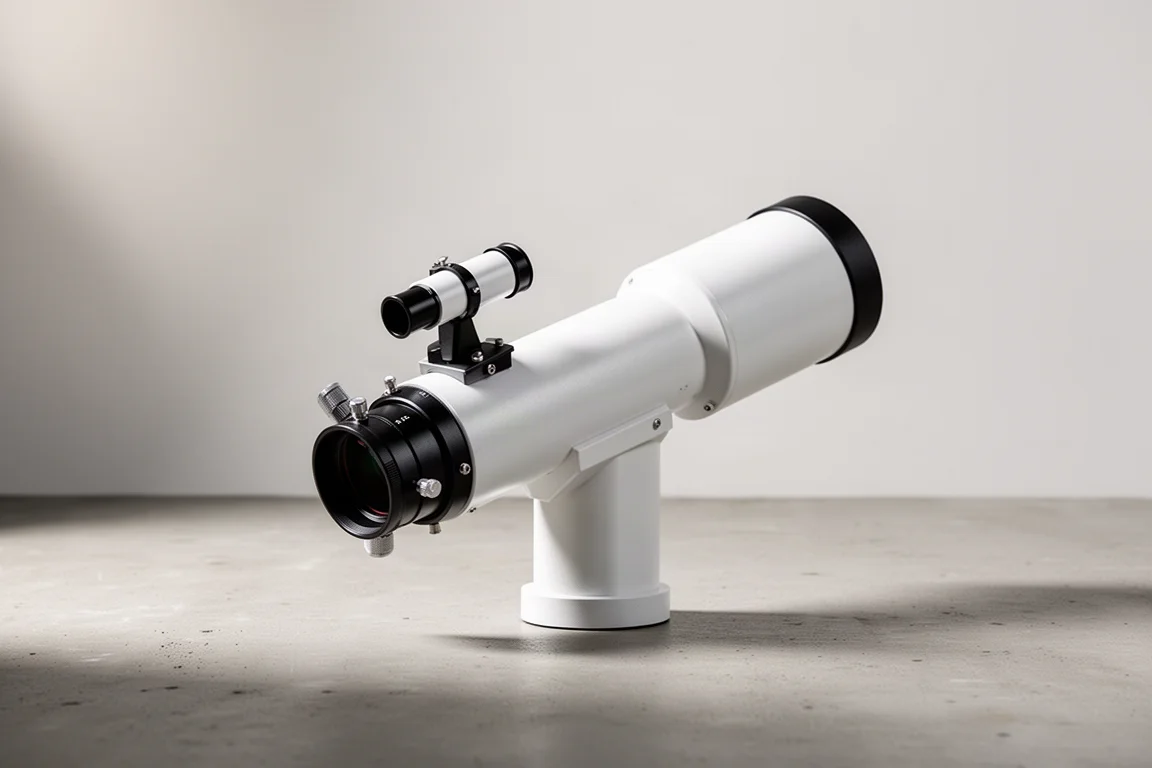
Modified DSLR: Self-Contained and Simple
The modified Canon EOS SL2 is an entry-level DSLR where the internal IR cut filter has been swapped for one that passes more hydrogen alpha light. Pre-modified examples sell for around 500 US dollars, bringing the total kit to roughly 2,000 dollars.
Its biggest practical advantage is independence. Because the DSLR is a self-contained unit with its own screen, controls, and battery power, the whole kit can run without a computer at all if the guiding system is dropped. An inexpensive intervalometer is enough to trigger a sequence of exposures. It can also be controlled through the popular ASIAir or via computer software over USB if you want more automation later.
Setup is straightforward: switch to manual mode, set the shutter to bulb, use ISO 1600, shoot in raw (CR2), and switch off image review and auto rotation to avoid calibration issues. Attaching it to the telescope requires only a 48mm T-ring, which provides the standard 55mm of back focus for most telescope systems, including the Askar FMA 180 Pro.
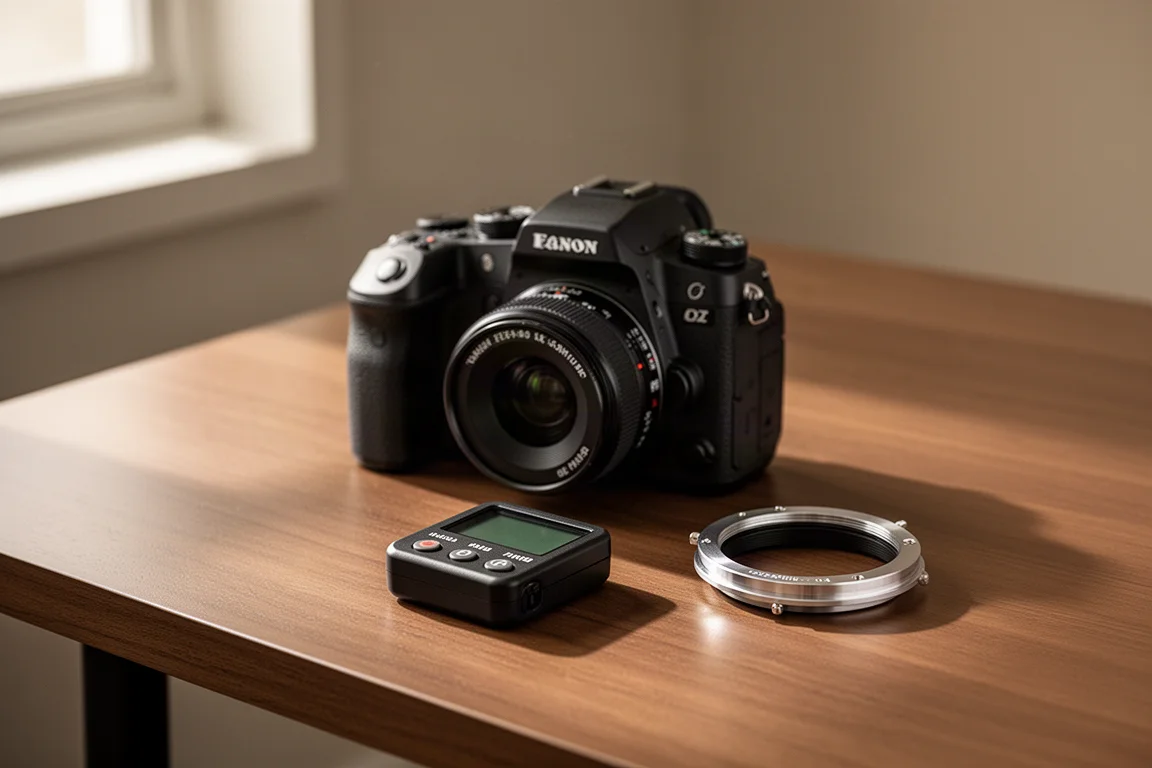
The main technical compromises are higher read noise (around 2.37 electrons at unity ISO), no sensor cooling, and no way to precisely match dark frames to light frames. Warm nights, like the roughly 24 degree Celsius July night used for the test, hurt uncooled sensors more.
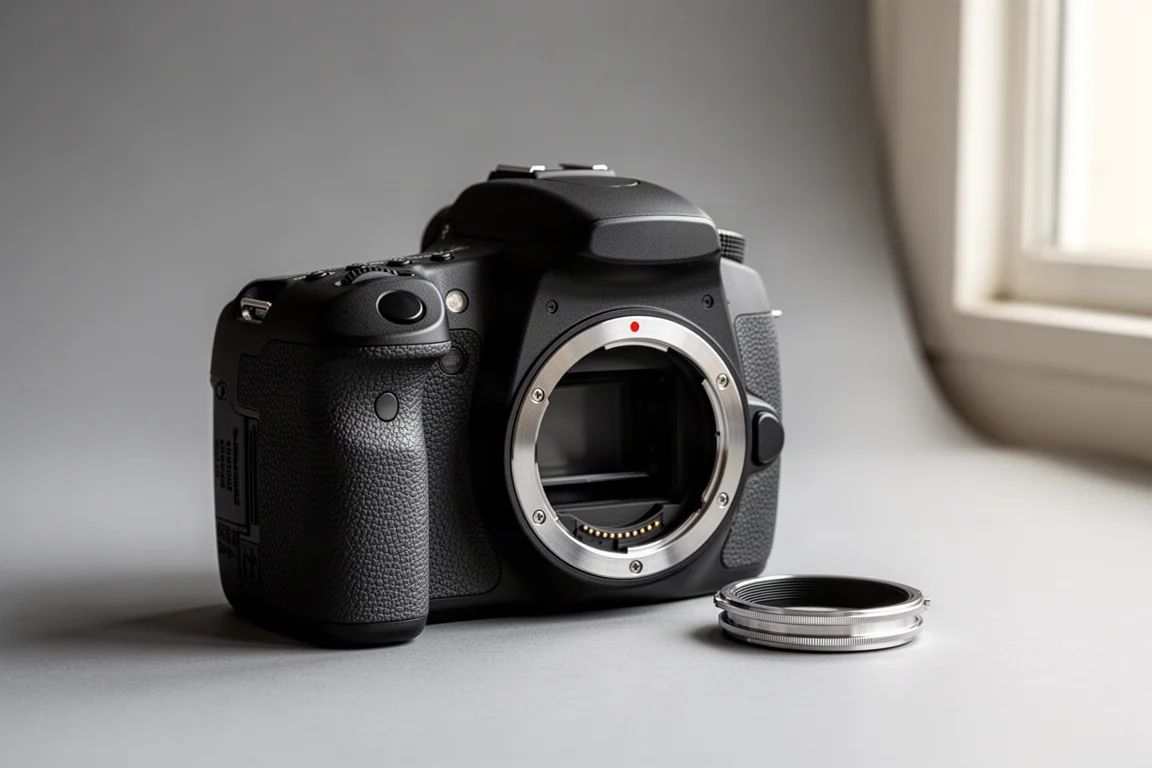
Dedicated Astronomy Camera: The Ogma ap26cc
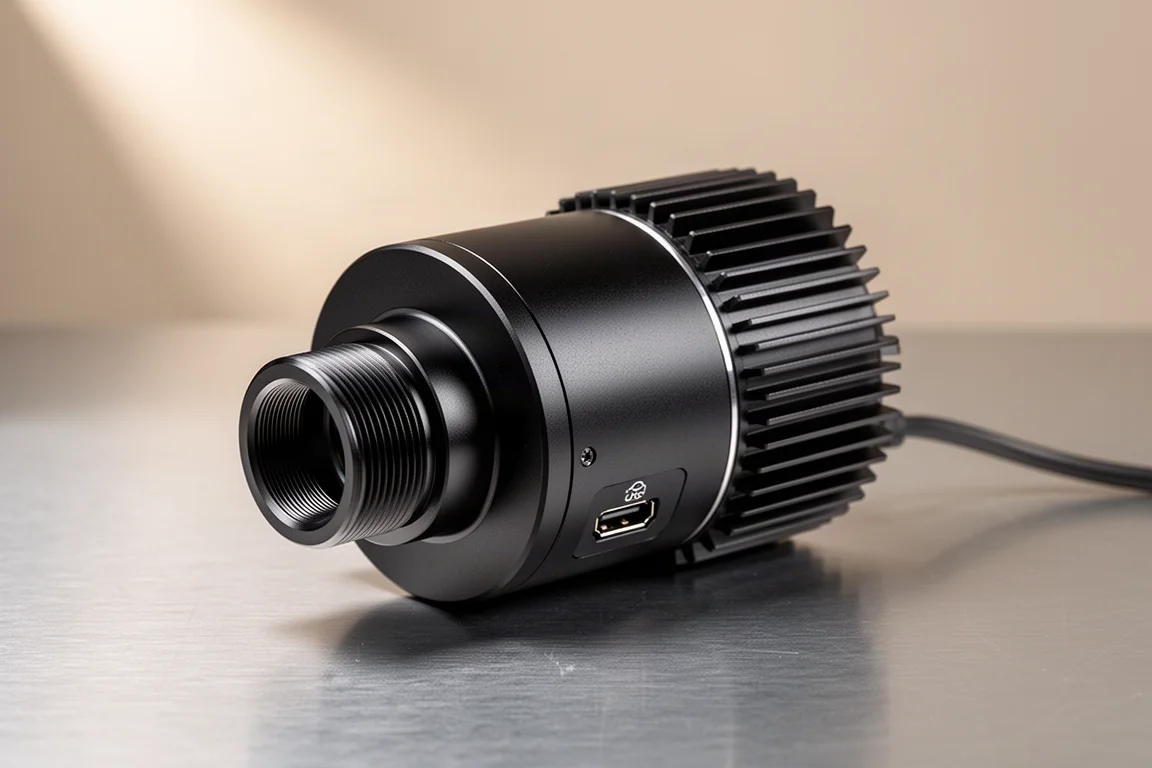
The Ogma ap26cc is a dedicated astronomy camera from a newer company based in North Carolina that aims to price astronomy cameras hundreds of dollars below the competition while offering US-based support and repair. It sells for a little over 1,500 dollars, bringing the total kit to around 3,000 dollars.
The headline difference is the sensor. The ap26cc uses a Sony IMX 571 chip with roughly half the read noise of the Canon at its best gain, which matters a great deal when stacking deep sky data. It also has regulated cooling that can reach 40 degrees Celsius below ambient, which makes matching dark frames to light frames far easier and reduces hot pixels.
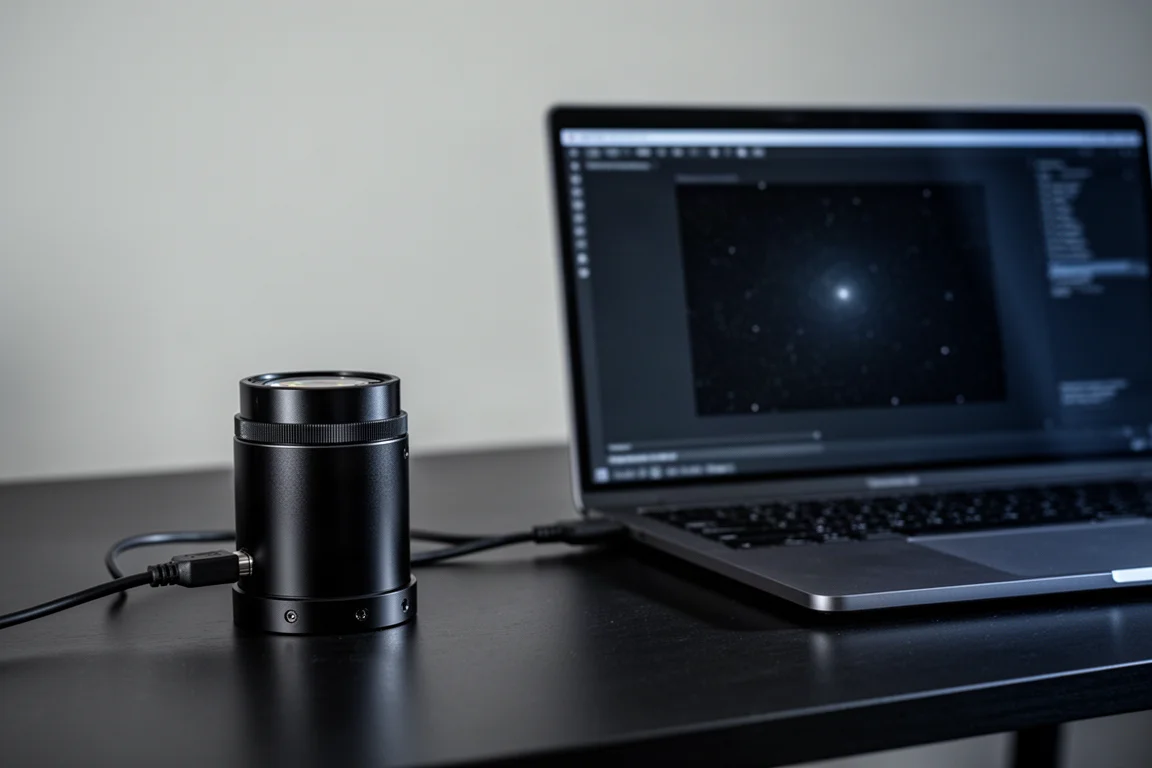
The trade-off is that a computer is mandatory. The camera has no screen or internal memory, so images must be controlled and saved through a laptop, mini PC, or Raspberry Pi running control software such as NINA, Astrophotography Tool, or Sequence Generator Pro, along with the appropriate ASCOM drivers on Windows. That learning curve can feel like a hurdle, but mastering control software often accelerates your imaging overall. Power is 12 volt, supplied either from a battery or the included AC adapter, and the camera attaches via M42 threads, with a supplied filter holder and UV/IR cut filter leaving 16.5mm of spacing to reach the 55mm back focus target.
What One Hour of Data Showed
The test captured twelve 5-minute exposures with each camera near the zenith under a new moon from a dark rural sky, using the same filter, telescope, and mount. When the raw stacks were registered and compared side by side, the dedicated camera’s result was noticeably brighter, with better signal to noise ratio thanks to lower read noise and better quantum efficiency, which is especially valuable in narrowband work where signal is scarce.
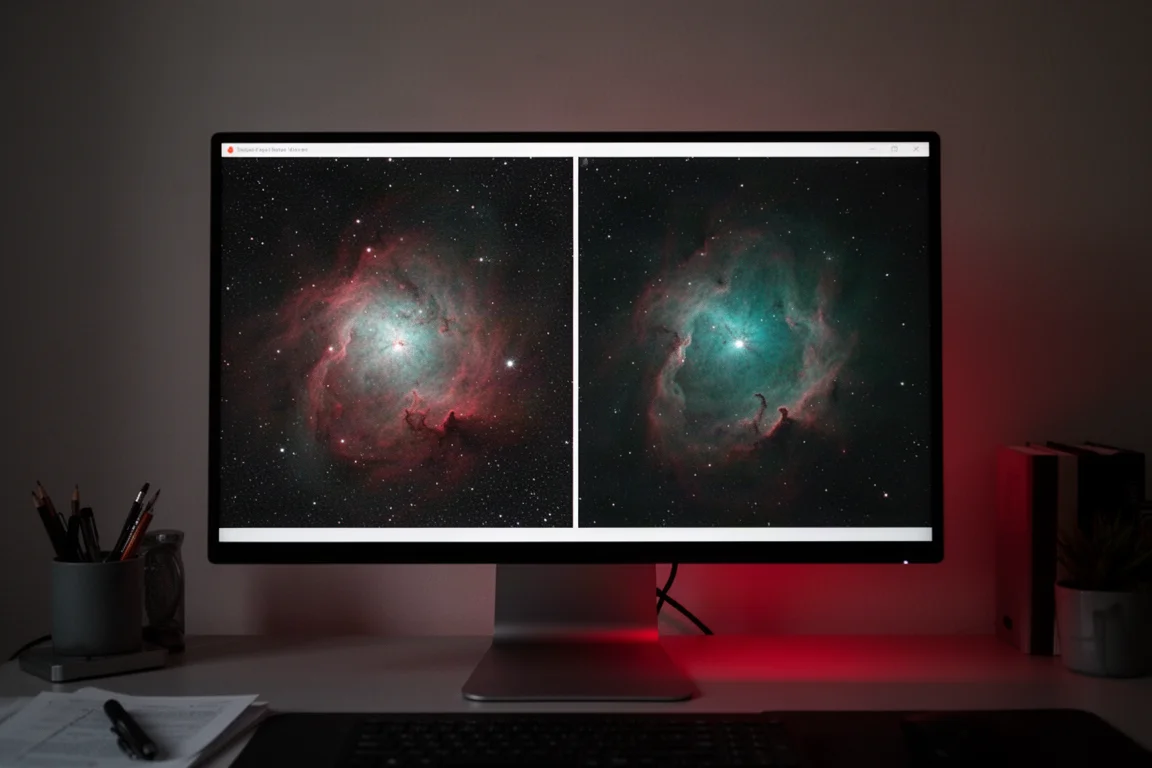
The clearest illustration was the Soap Bubble nebula, an extremely faint feature near the Crescent Nebula. In the dedicated camera’s data there was the faintest hint of it after just one hour, while in the DSLR data it was almost entirely lost in the noise. In practice that translates into time: a faint target might emerge in 10 hours with the cooled astro camera but take 20 hours or more with the DSLR.
After identical processing in Photoshop, stretching and colorizing the hydrogen alpha and OIII channels, the two results looked much more similar. On a small screen or social media, the difference is modest, with the astro camera version looking somewhat brighter and slightly sharper and the noise levels appearing broadly comparable. For brighter, larger structures, both cameras serve you well; the gap really opens up on the faintest targets.
Buying Advice
If budget is the main concern, or if you want the simplest possible workflow without a computer, the modified DSLR is the sensible entry point, especially since the same control software can still be used with it later. If you are all in on deep sky imaging and want better signal to noise, easier calibration, and faster progress on faint targets, the dedicated astronomy camera justifies its higher price and mandatory computer. If you already own a camera, starting with it is usually the smartest move of all.
Conclusion
Both approaches produce genuinely good images from the same affordable kit. The modified DSLR wins on simplicity, price, and flexibility; the dedicated astronomy camera wins on noise, cooling, and efficiency on faint emission nebulae. Match the choice to your budget, your patience for software, and the targets you want to chase, and either path will get you shooting nebulae.
Further reading
Related Reviews
Astrophotography
ASKAR FRA400C Review: A Versatile 400mm Refractor for Astrophotography and More
The ASKAR FRA400C is a compact 72mm refractor that balances reach, versatility, and portability for astrophotographers and visual observers.
Astrophotography
Askar SQA106 Review: A Premium 106mm Astrograph With Exceptional Optics
The Askar SQA106 is a premium 106mm quintuplet astrograph with impressive sharpness across full-frame sensors, though its price and weight demand careful consideration.
Astrophotography
Astro Imaging Gear 2026: Eight New Products Worth Watching
A look at the most interesting new astrophotography and astronomy products announced this year, from fast telescopes to smart cameras and wireless accessories.