Backpacking Gear
Long-Distance Backpacking Gear: 10 Thru-Hike Picks Worth Carrying
Ten pieces of backpacking gear that held up over a full Appalachian Trail thru-hike, with the upgrades worth making today and the trade-offs to weigh first.
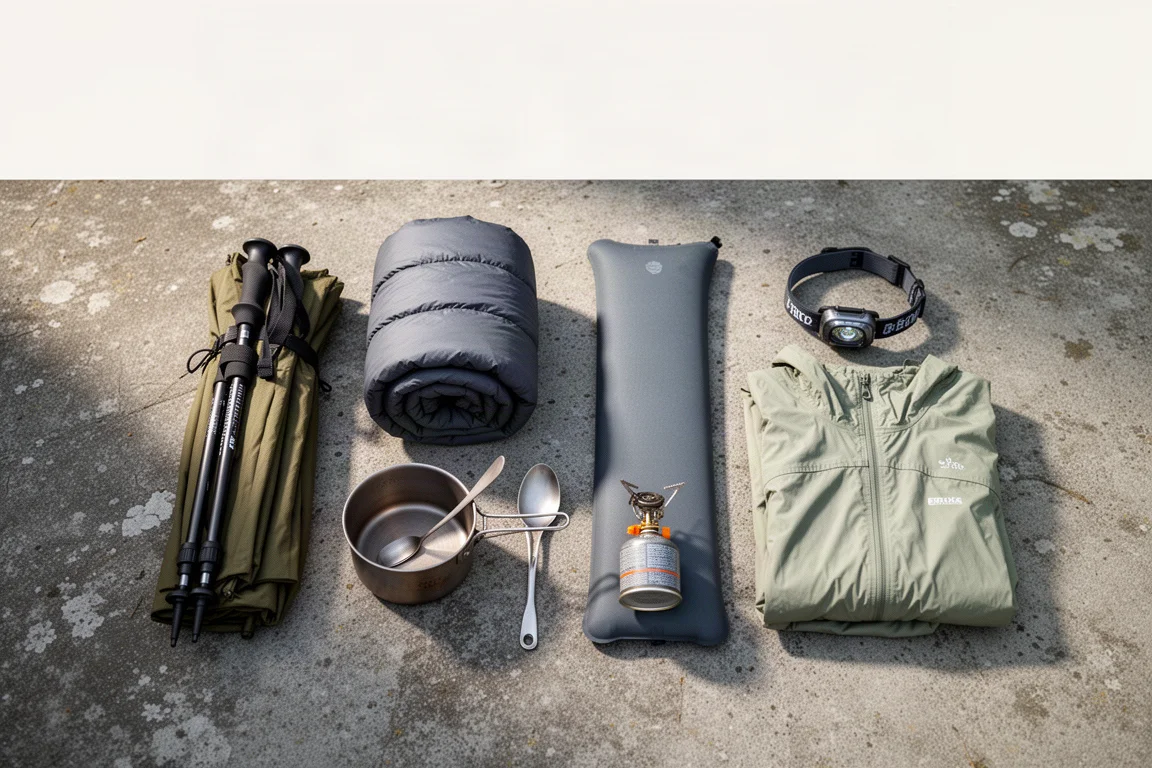
Introduction
Most gear lists are written before a long hike. This one is built from what survived one: a full Appalachian Trail thru-hike, followed by several more seasons of backpacking on other long trails. The items below either proved themselves over that distance or earned a place as a replacement for something that did not work.
The budget context matters here. This list sits in the mid-range, where most first thru-hikers end up. That means not the cheapest option on the shelf, and not unlimited fantasy gear either. Where a recommendation replaces an older item, the alternative stays close to the original price point and the reasoning is spelled out.
A few of these picks are upgrades made after the hike ended. Others were used from start to finish and would be packed again without hesitation.
What Mattered Most After Finishing the Trail
A long hike changes how gear is judged. Packed weight and packed volume still matter, but the items that cause the most trouble are the ones that fail slowly: a shelter that is awkward to enter when you are exhausted, a sleeping system that leaves you cold at three in the morning, a water setup that turns every refill into a chore.
Weather matters more than most pre-hike spreadsheets suggest. On the east coast, everything stays damp for days at a time. Synthetic insulation keeps working when it gets wet, down loses loft, and a tent that ventilates poorly becomes a condensation trap.
Durability and warranty support count as well. A piece that can be repaired or replaced partway through a hike is worth more than a slightly lighter one that cannot. Comfort is not a luxury either. If you cannot sleep, you cannot hike well the next day.
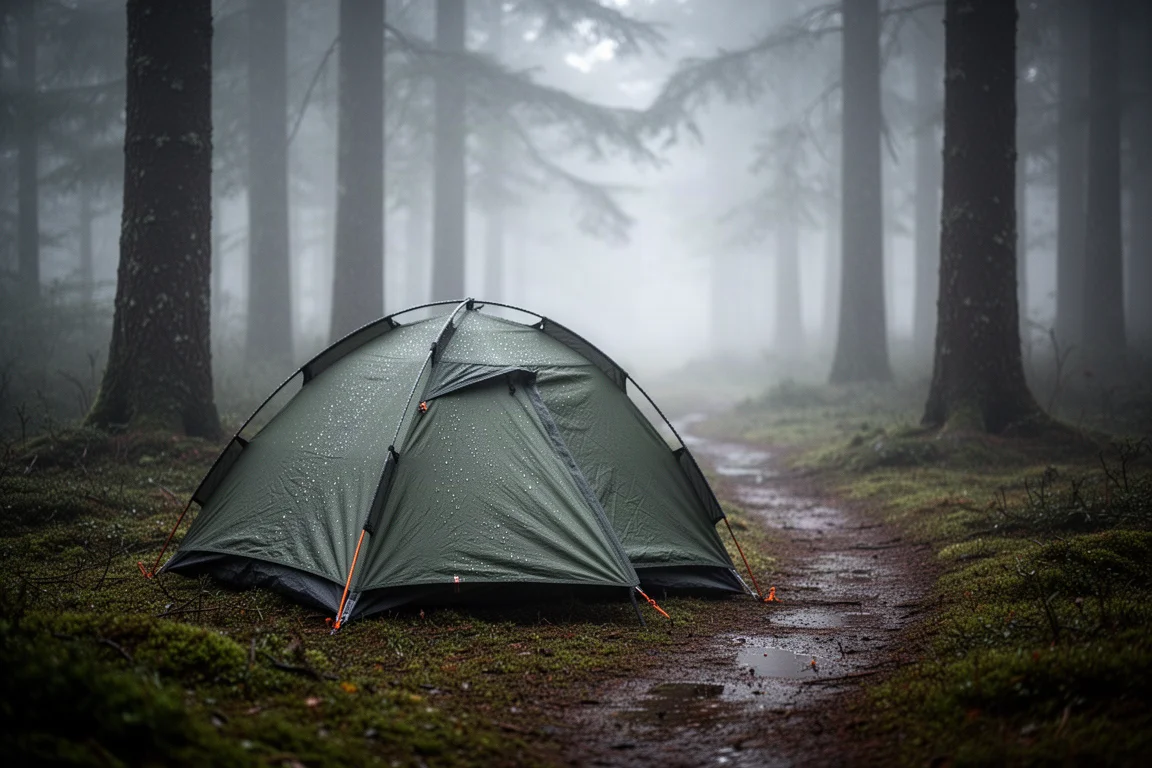
Taken together, the criteria come down to four things: weight, weather resistance, ease of use when tired, and whether the item still makes sense at its price. Everything below is judged against those four.
Shelter: Gossamer Gear The Two
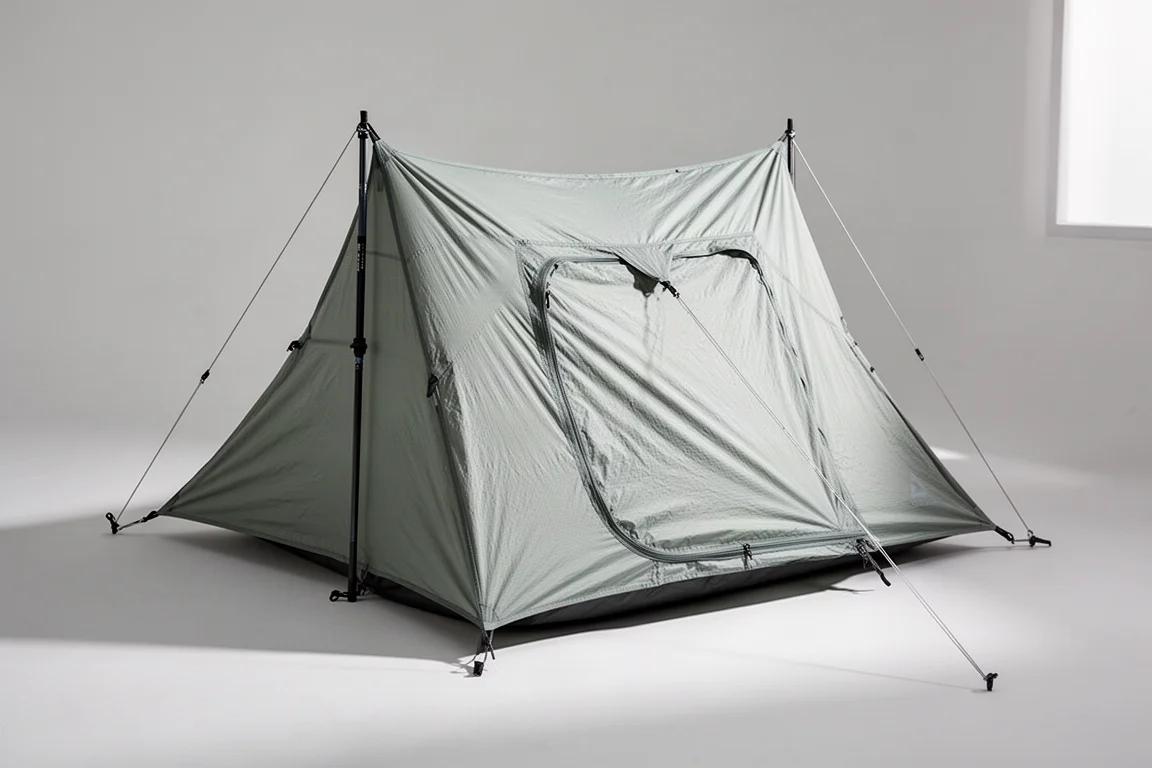
The shelter that carried most of the hike was a two-wall, semi-freestanding two-person tent weighing 2 lb 5 oz. It was a quality tent and it did the job, but the entry sat on one of the narrower ends, which meant crawling in and turning around inside. That is a small annoyance that repeats every single night.
The upgrade worth making today is the Gossamer Gear The Two. It is also a two-person shelter, but it pitches with trekking poles rather than a freestanding frame. That takes a little more skill than a semi-freestanding design, so it is worth practicing the pitch a few times at home before relying on it. It weighs 23.5 oz and costs $375, roughly $25 more than the tent it replaces.
Neither shelter includes a footprint. A polycryo ground sheet, sold for about $11 and weighing 3.65 oz, can be cut to fit under almost any tent and comes in lighter than a Tyvek sheet.
Backpack: ULA Ohm 2.0
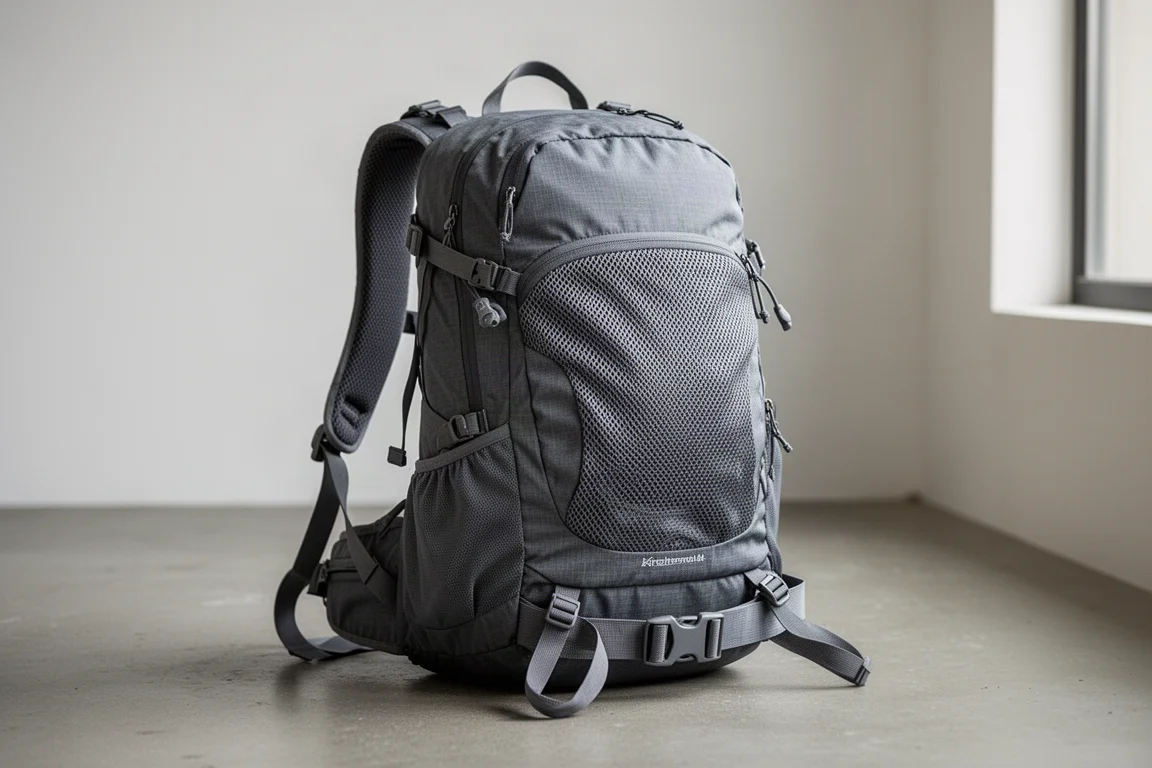
The pack used on the hike was a 50-liter women’s model weighing 4 lb 3 oz, and it remains a solid choice for a first long trail. The appeal is practical: it can be tried on in a store with your own gear loaded into it, and it comes with a return window of up to a year if it does not work out. Capacity is worth limiting. Anything from 50 to 65 liters is workable, and going larger mostly invites extra gear.
Today’s pick is the ULA Ohm 2.0. Its 63 liters include all of the exterior pockets, so the main body is smaller than the number suggests, and it weighs 33.1 oz, just over two pounds. The manufacturer recommends keeping total load at or under 30 lb. Loads above that still carried comfortably in practice, which matters for anyone hauling camera gear. It costs $260. A dedicated pack liner is the other small upgrade worth making: a lightweight liner costs about $5 for a two-pack, weighs less than a contractor bag, and sits better inside the pack. One liner typically lasts a long while, and a spare can be mailed ahead.
Sleeping Quilt: Enlightened Equipment Enigma Apex Quilt
The sleeping bag used on the hike was a 700 fill power down bag rated to 23 degrees, weighing about 2 lb and costing around $200. That rating was the problem. Some listings described it as a comfort rating and others as a survival rating, and there is a large difference between being alive at 23 degrees and being comfortable there. Nights in the Smokies and a late-season finish in Maine both ran cold.
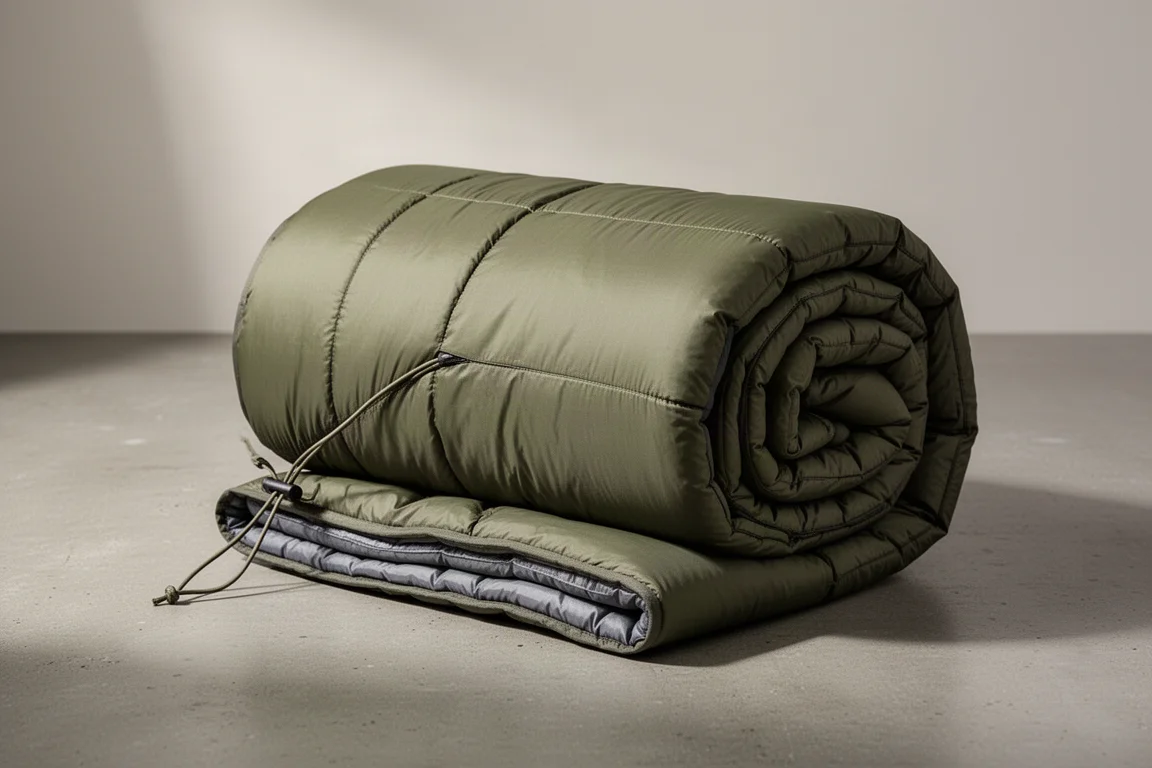
The replacement is the Enlightened Equipment Enigma Apex, a 20-degree synthetic quilt that weighs 26.8 oz in the size used and costs $230. It is lighter than the bag it replaces at a similar price. Synthetic insulation is a real advantage on a damp trail, because it keeps insulating when it gets wet, where down loses loft. A quilt takes some adjustment for anyone used to a bag with a hood and a zipper, but the transition is not difficult.
For anyone who would rather have down, the Katabatic Gear Alsek 22 remains the favorite down quilt, though it costs roughly twice as much.
Sleeping Pad: Therm-a-Rest NeoAir XLite
The first pad on the hike was a closed-cell foam pad that cost about $10. Foam pads are close to indestructible, they can be trimmed to length to save weight, and they double as a sit pad during breaks. They are also unforgiving. By the time the hike reached New Jersey, sleep had become the limiting factor.
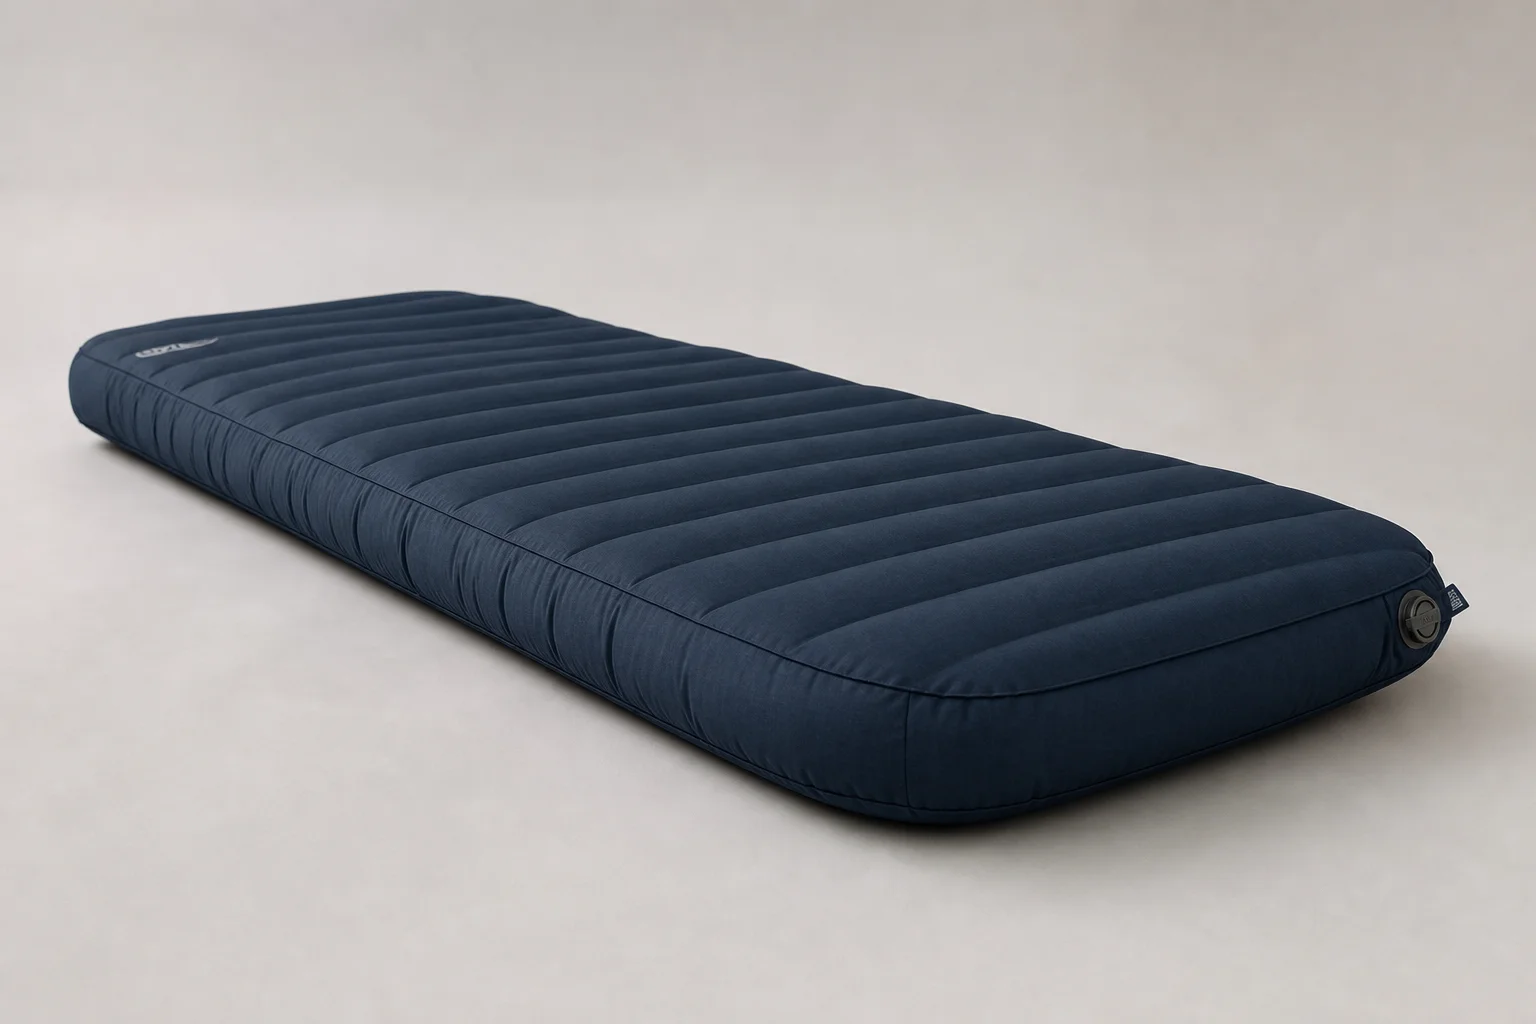
The fix was an inflatable pad, and the Therm-a-Rest NeoAir XLite has stayed in the pack ever since. It weighs 8 oz in the short length and up to 16 oz in the longer versions, with prices running from $150 to $230 depending on which one you choose. The short version runs from head to knees, with a pack placed under the legs to make up the difference.
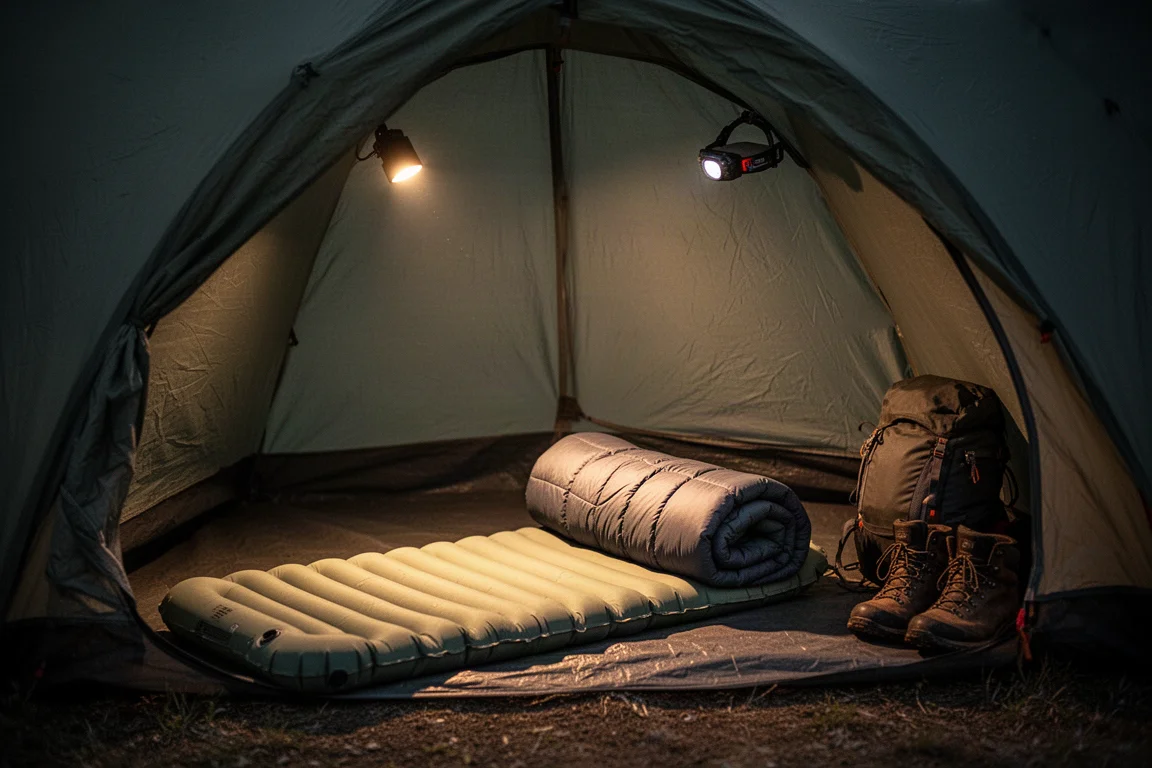
Length is the main weight lever here, and the short version saves real ounces. Width and length both affect the price, so it is worth deciding how you sleep before ordering. For anyone who does not sleep comfortably on their back, this is one of the few places where spending more is easy to justify, and buying from a retailer with a long return window makes the decision less risky.
Water Treatment: Sawyer Squeeze and Smartwater Bottles
The gravity filter setup used early on cost over $100 and weighed around 8 oz, plus a bladder and a hydration tube. It worked, but it was heavy, expensive, and slow to deploy. Every refill meant taking the pack off, unpacking the bladders, and waiting.
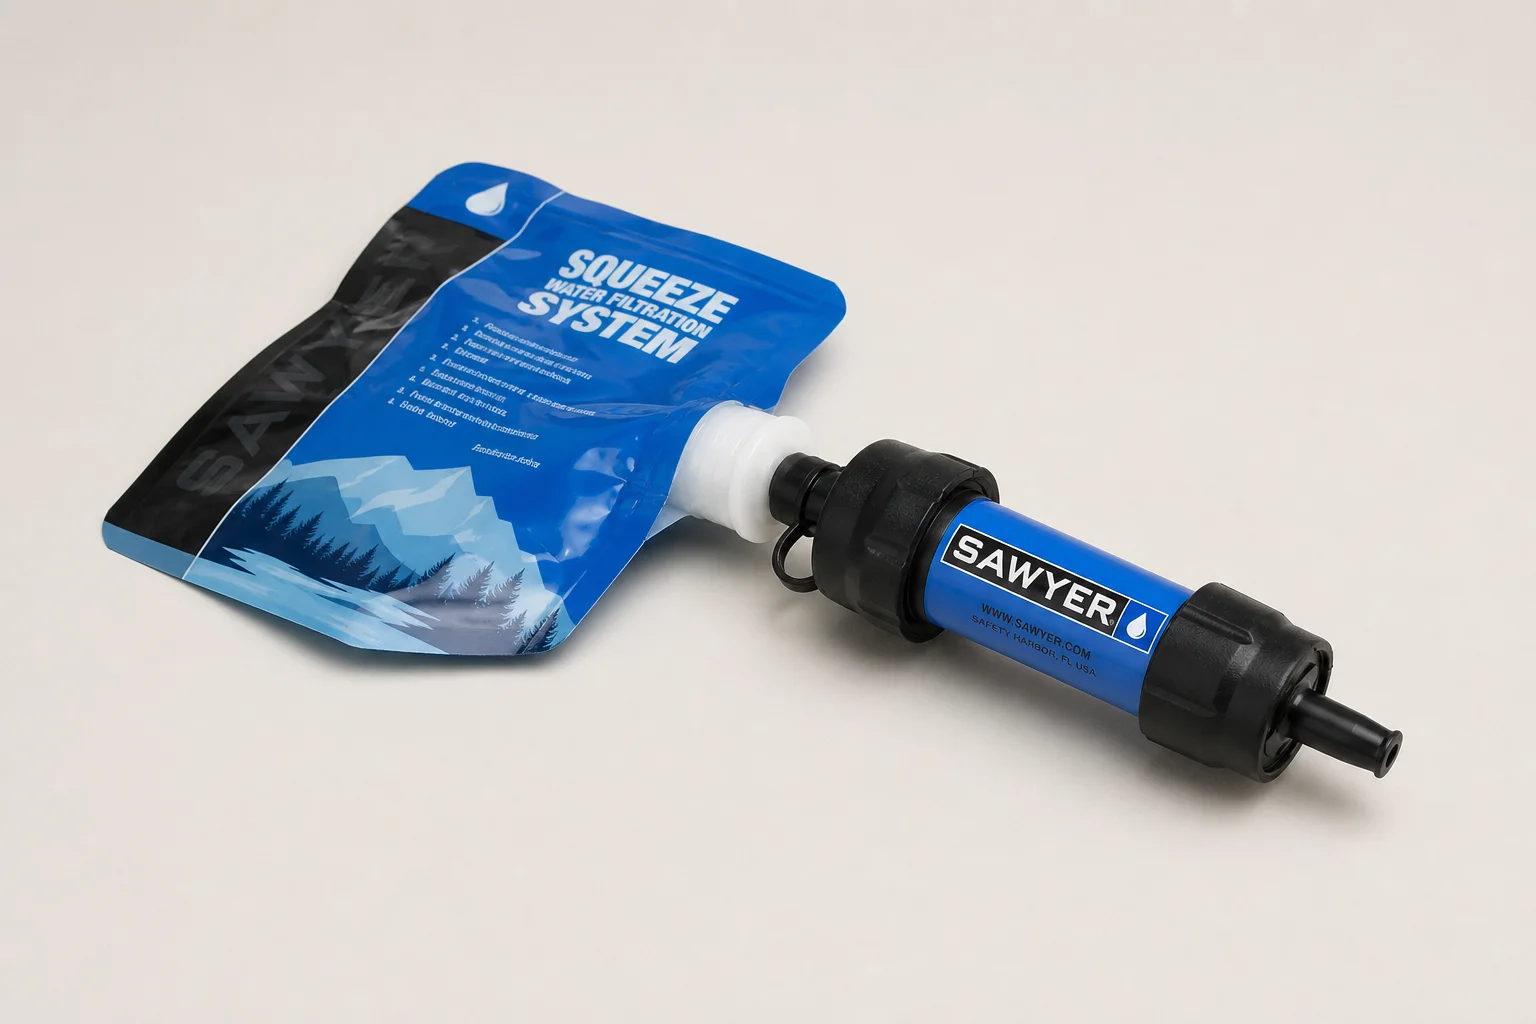
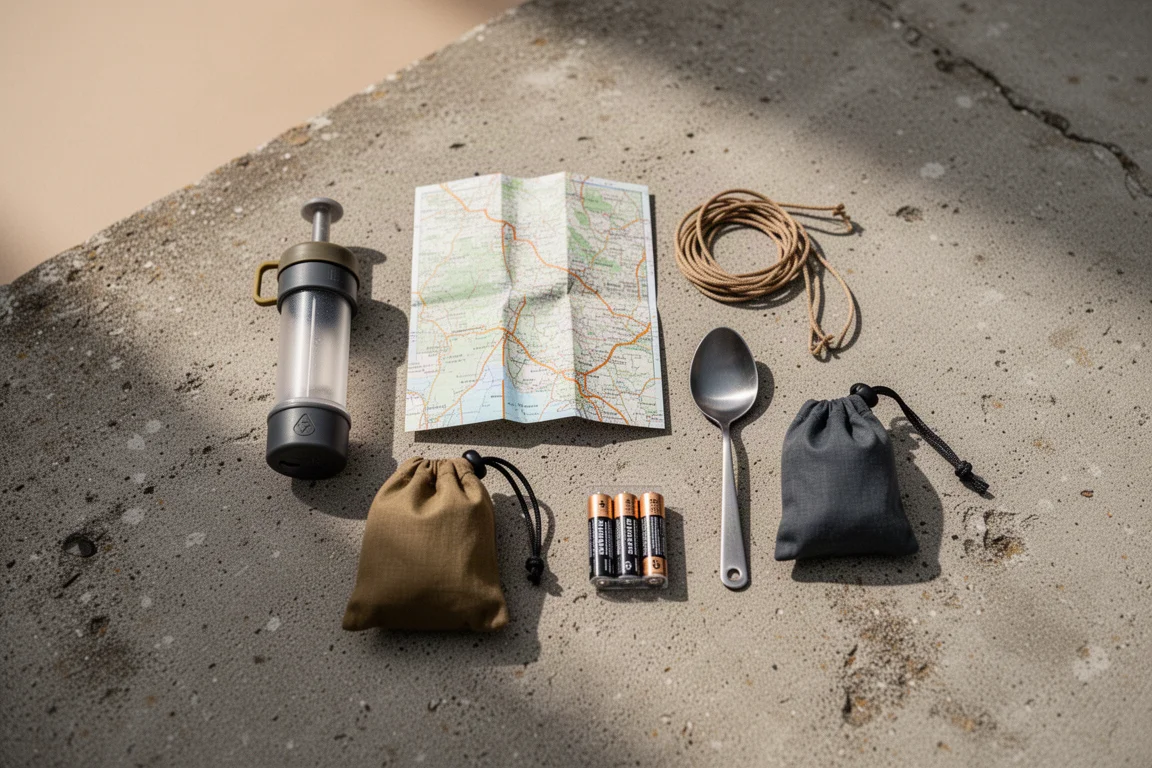
The simpler system is a Sawyer Squeeze paired with a couple of wide-mouth bottles. The filter costs $40 and weighs 3 oz. It screws onto standard bottle threads, so water can be collected by scooping with the bottle while the pack stays on, and drinking happens straight through the filter. Bottles weigh roughly 1.4 to 1.5 oz each.
The two-bottle version adds flexibility: one bottle holds untreated water for cooking and refills, and a second clean bottle handles drinking and drink mixes. Being able to see how much water is left in the side pockets is a small detail that turns out to matter on a hot climb.
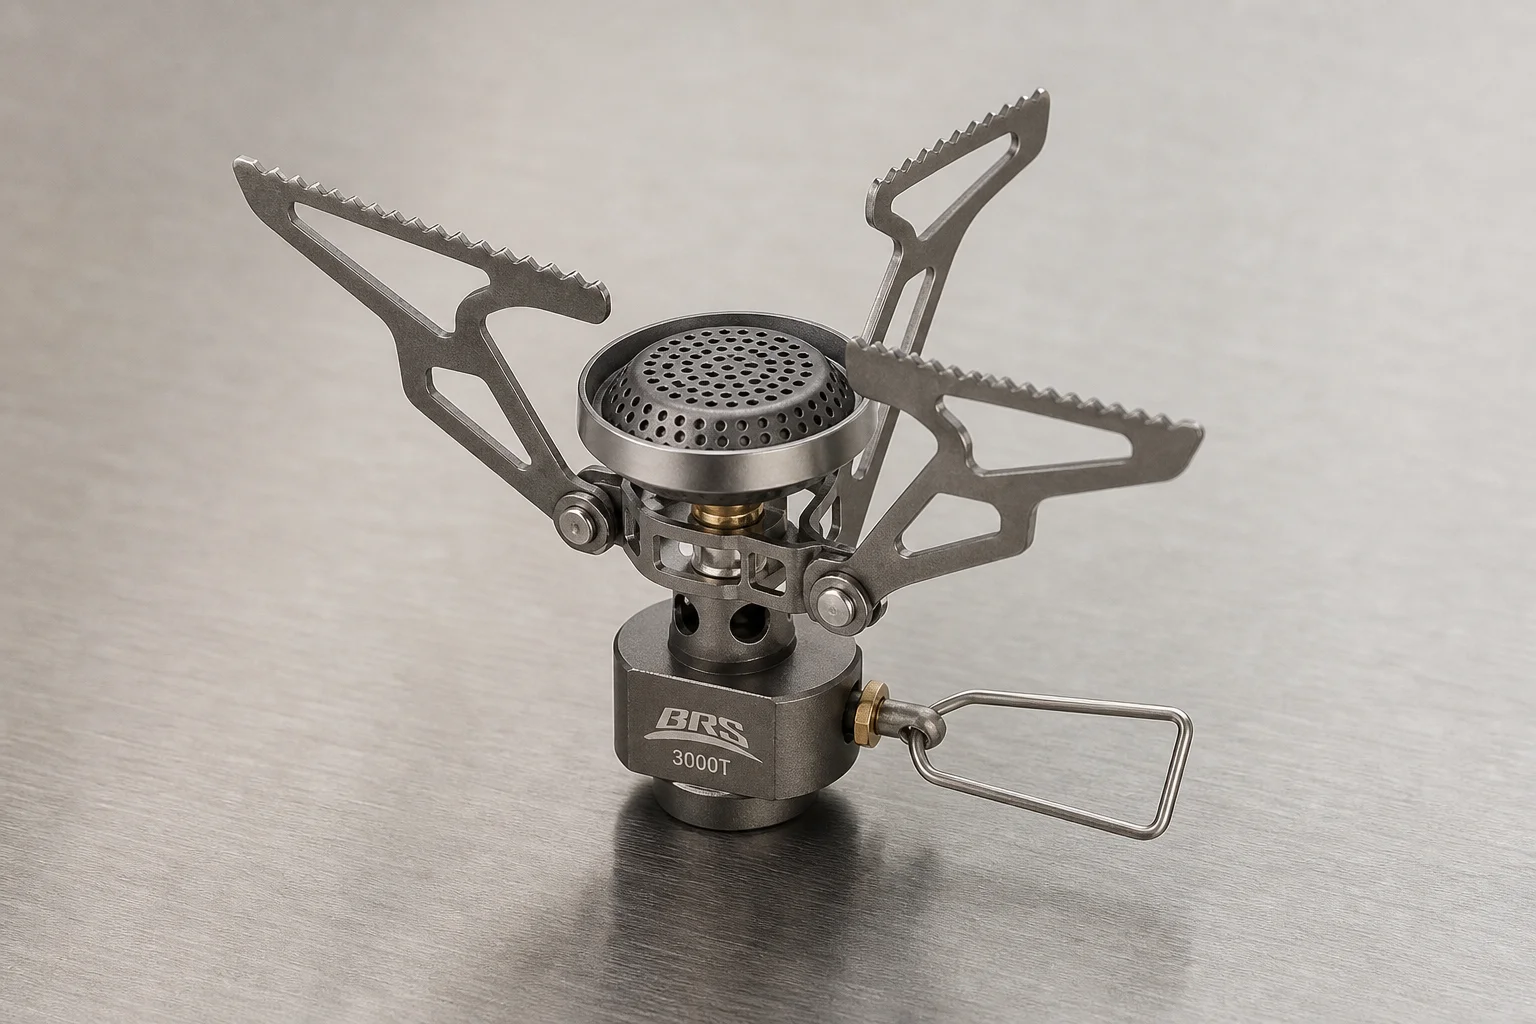
Stove: MSR PocketRocket 2
The stove that started the hike was an earlier canister model, bulkier and heavier than the current version, though the price has stayed around $45. The MSR PocketRocket 2 now weighs 2.6 oz, and it offers a more stable pot support and better fuel efficiency than the tiny stoves that have become popular. Lighter and cheaper options do exist, with sub-ounce titanium stoves selling for around $15, though the pot sits on a smaller surface. Either way, the rest of the kitchen does not need much: a long-handled titanium spoon costs between $7 and $15 and weighs 0.55 oz, and it will outlast any number of plastic spoons. A collapsible measuring cup at $14 and 1.4 oz is a pure luxury, but a useful one if you like coffee while breakfast cooks.
Headlamp: Nitecore NU25
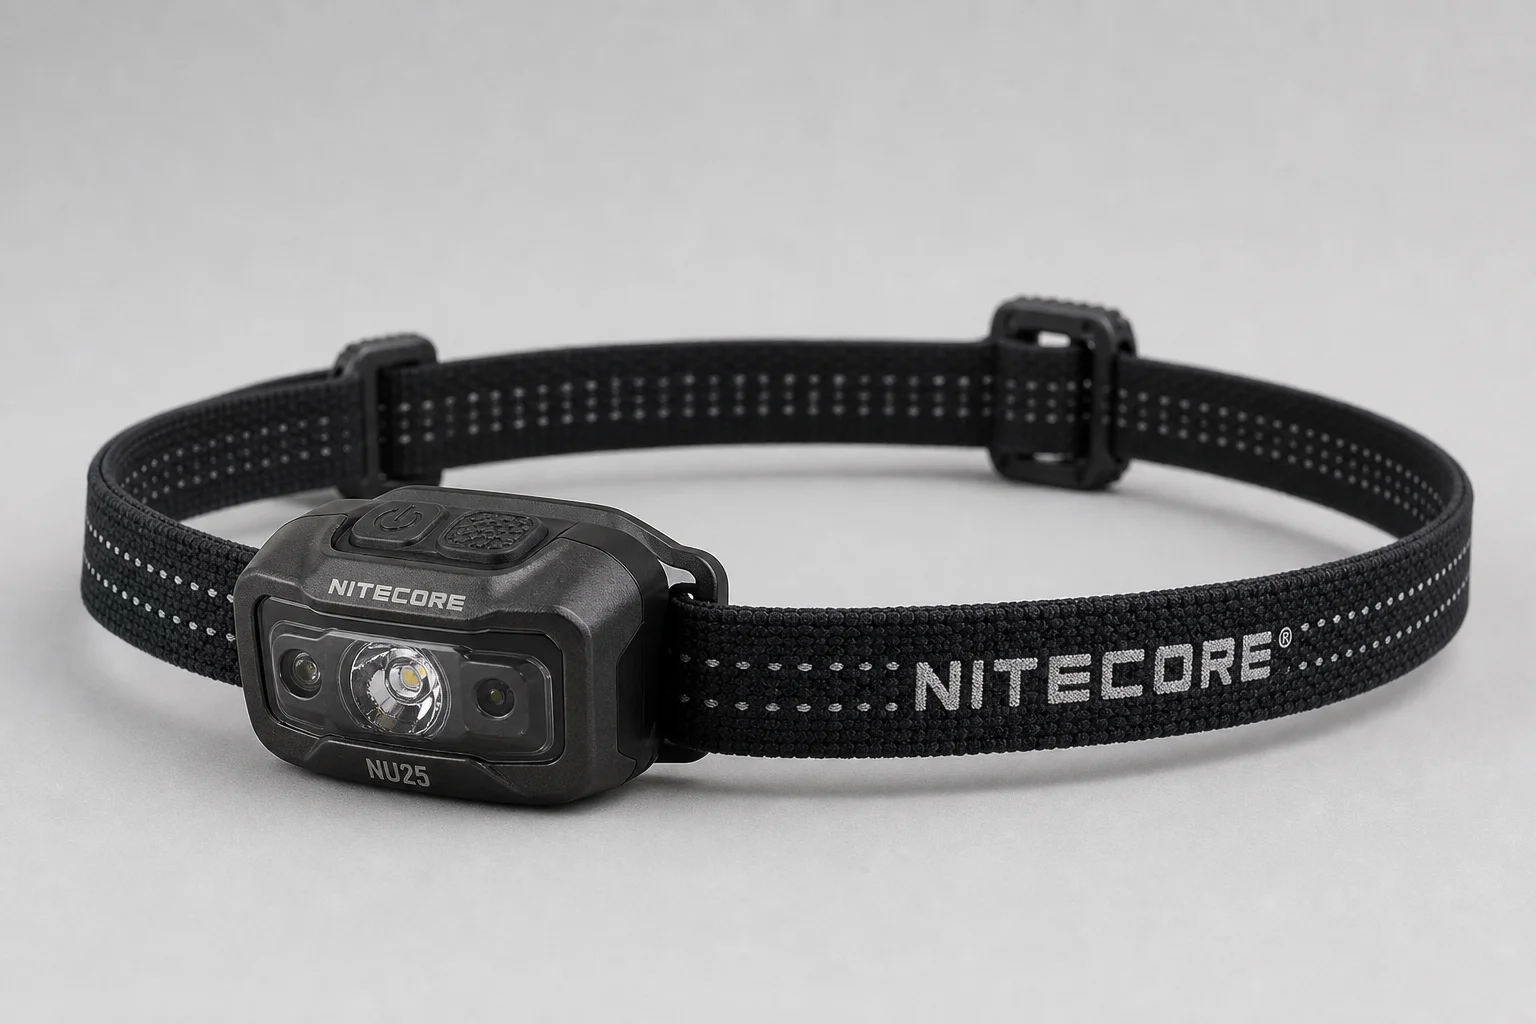
Headlamps are one of the few categories where cheap gear is genuinely frustrating. A $10 light from a general retailer was barely usable, a mid-tier headlamp was better, and a roughly $40 name-brand model worked well but was heavy and needed spare batteries carried for it.
The Nitecore NU25 solves all three problems at once. It costs $37, weighs 2 oz, and recharges over USB. The angle is adjustable, so the beam can point down at your feet while you look ahead, and a red mode keeps you from blinding anyone else in camp. Charging habits matter as much as the light itself: a 10,000 mAh power bank is plenty for a phone and a headlamp, only camera-heavy kits need more, and a single wall charger with several USB ports saves outlets in town.
Insulation: Enlightened Equipment Women’s Torrid Apex Jacket
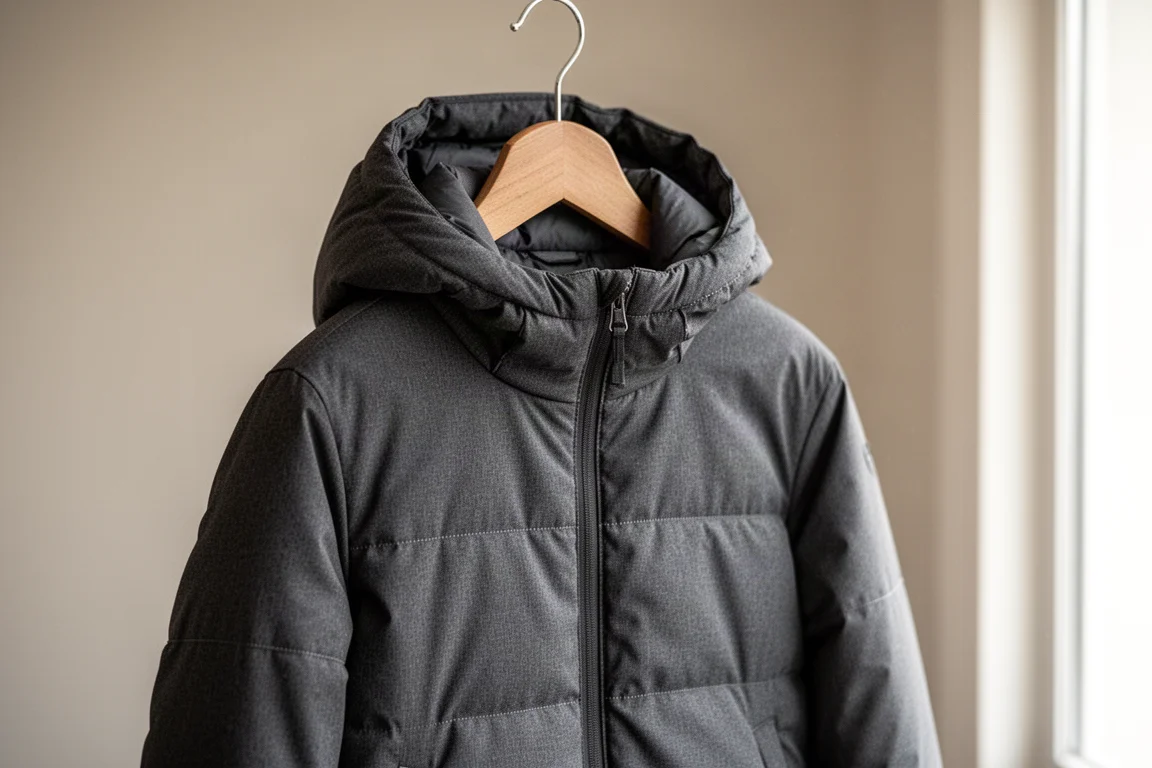
The insulated jacket used on the hike was a synthetic puffy bought on sale for somewhere between $60 and $75. It worked, and it is a useful reminder that a puffy does not have to cost several hundred dollars to keep you warm. What matters more is layering and having the right features.
The feature that matters most is a hood. A beanie leaves drafts on the neck, while a hood lets you bundle up completely without adding another item. The Enlightened Equipment Women’s Torrid Apex Jacket has one, weighs 8 oz, and costs $175. Synthetic insulation is the safer choice for a wet, humid trail because it stays warm if it gets damp.
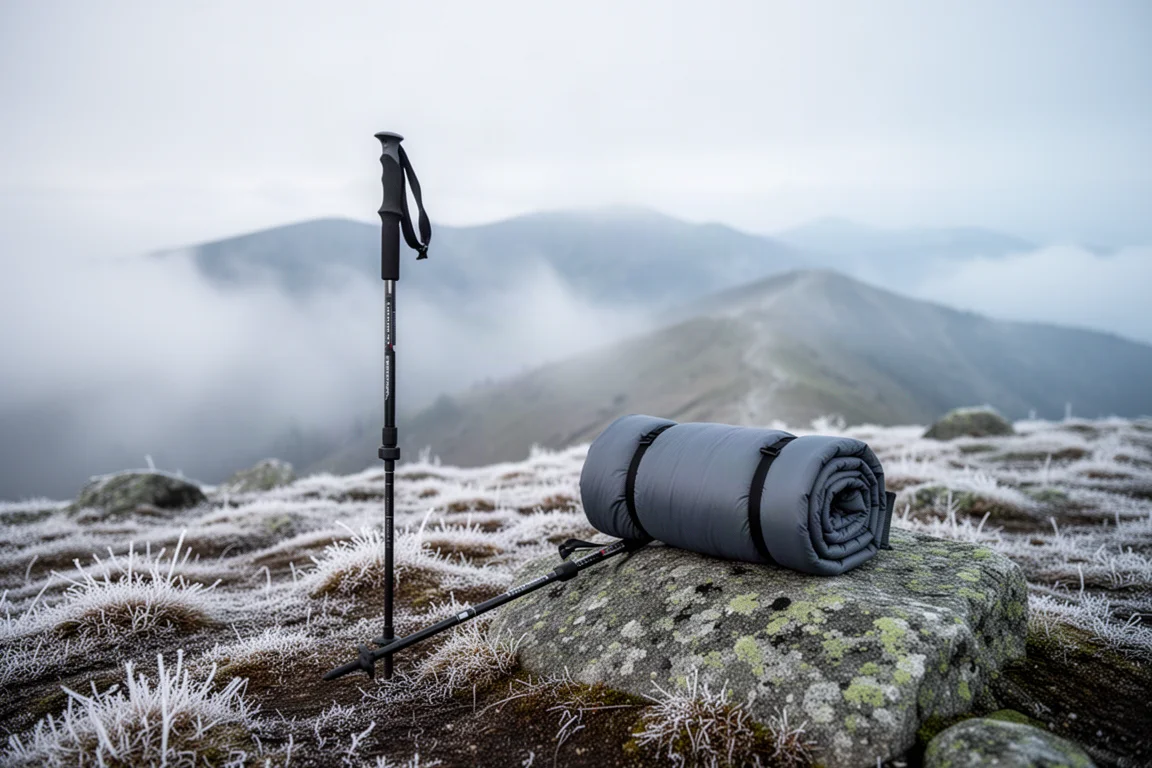
Layering is what makes the system work. On a cold, rainy day, keeping the sleeping layer dry matters, so it is worth carrying a thin synthetic base layer to hike in under rain gear rather than hiking in the clothes you sleep in. A thin fleece pullover can be added in genuinely cold, snowy conditions, which keeps the puffy dry and available for camp.
Footwear: Topo Athletic Terraventure 3
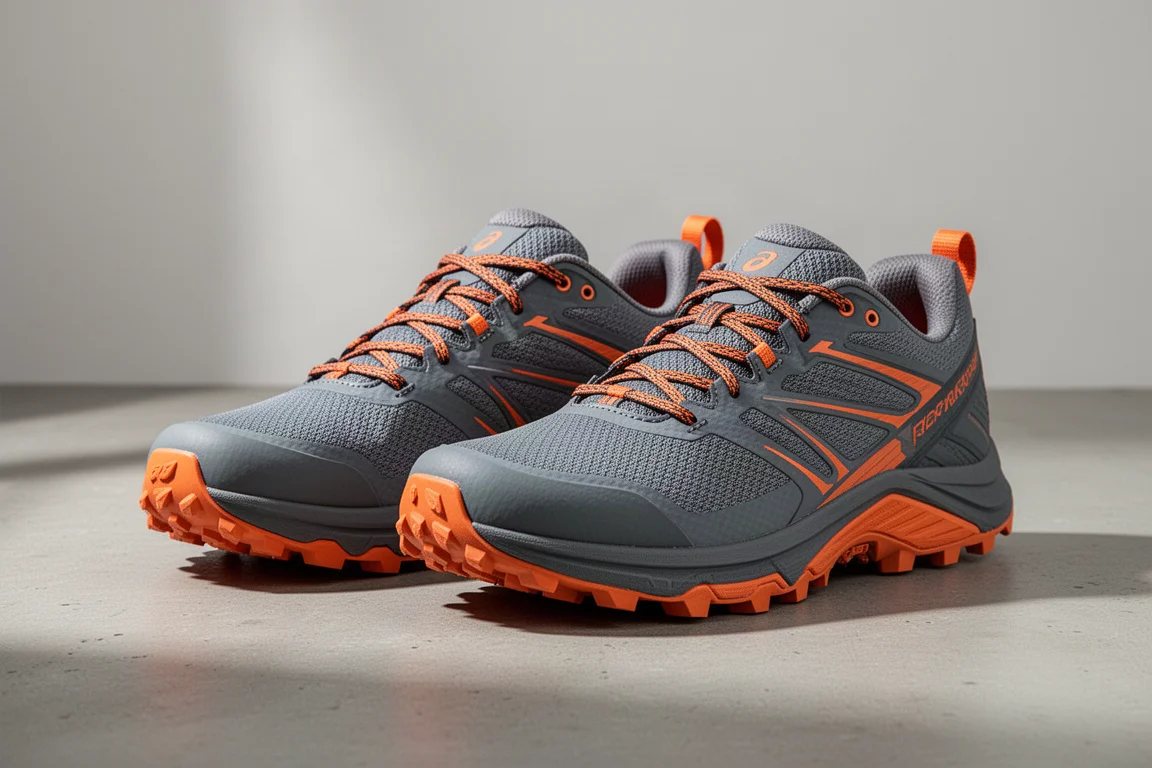
Footwear is where the biggest mistake happened. The hike started in a pair of low-cut boots, and they did not work at all. The rest of the trail was hiked in trail runners, and after trying a couple of other brands, the Topo Athletic Terraventure 3 became the shoe of choice. The wide toe box gives the toes room to spread, and the sole is sturdy enough to carry a loaded pack. Insoles made a difference too: after trying two other brands, a $20 plantar fasciitis insole from a drugstore brand turned out to be the cheapest and most effective of the three. Socks deserve the same attention. A brand with a lifetime warranty has held up better than anything else, with one thicker pair kept dry for sleeping and thinner pairs rotated for hiking. On wet trails, three pairs is comfortable; on dry ones, two is usually enough.
Rain Gear: Frogg Toggs
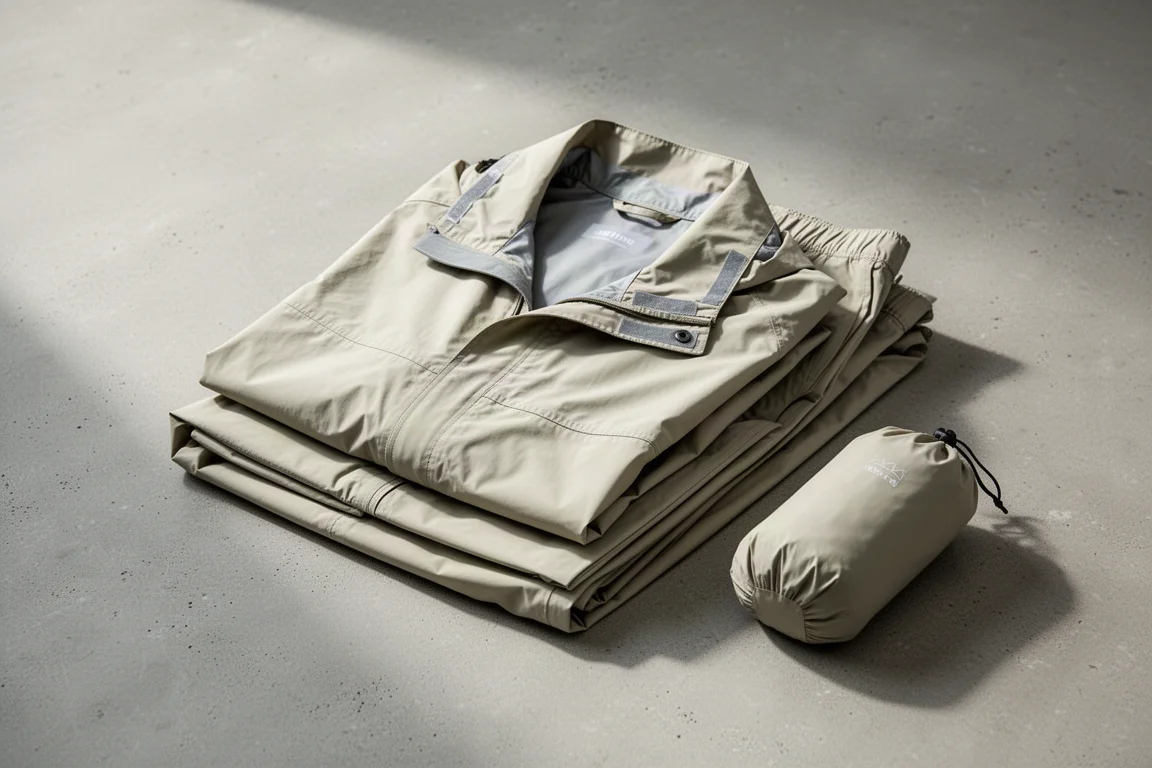
Rain gear does not have to be expensive. A budget jacket and pants set costs around $20 and is a suitable option for a wet, humid trail. It is not stylish, and durability is the trade-off: one set had to be replaced a little more than halfway through the hike, which still worked out cheaper than most lightweight alternatives.
Two additions are worth considering. A lightweight umbrella, around $10 and 8 oz, keeps rain off your face and legs and helps hold body heat when rain gear alone is overwhelmed. Waterproof work gloves worn over a thin insulating liner preserve dexterity in cold rain, where bulky mittens make it hard to grip a trekking pole or open a food bag. Thin insulating gloves themselves cost around $25 and weigh 1.3 oz, and they are not waterproof, which is exactly why the shell layer goes over them.
Overall Buying Advice
Spend where comfort and safety are decided, and save everywhere else. The sleep system, footwear, and shelter do the most to determine whether a long hike is enjoyable, and they are the three places where a cheap option tends to get replaced mid-trip anyway. Cookware, water storage, rain gear, and small accessories are all areas where budget options work well.
Pack fit is the other decision worth taking slowly. Trying a pack on in a store with your own gear loaded into it, and buying from a retailer with a generous return window, removes most of the risk. Capacity between 50 and 65 liters is enough for a three-season thru-hike, and staying at the smaller end keeps the load honest.
The temptation to buy everything twice is real, so it helps to start with the best gear your budget allows and upgrade only where the trail actually tells you to.
None of this needs to be perfect before the first mile. Gear can be swapped in town, mailed ahead, or replaced as it wears out, and plenty of hikers finish with a very different kit than they started with. Grandma Gatewood completed the Appalachian Trail three times with far less gear than most hikers carry today, which is a useful reminder that a thru-hike does not depend on having the perfect list.
Conclusion
The gear that works is the gear that matches how you actually hike. A trekking-pole shelter, a light quilt, a simple squeeze filter, and a pair of shoes with room in the toe box will not suit everyone, but each of them solved a specific problem on a long trail.
Start with the best options your budget allows, test the pieces that take practice before you leave, and stay willing to change your mind on the trail. The list above is a starting point, not a checklist.
Further reading
Related Reviews

Backpacking Gear
Building a 10 lb Base Weight: An Ultralight Backpacking Gear List
A practical walkthrough of the ultralight pieces behind a 10 lb base weight, from a 765 g pack and a roomy one-person tent to a full camp chair and a dependable water filter.
Backpacking Gear
A 15-Pound Lightweight Backpacking Gear List for Solo Trips
A beginner-friendly 15-pound backpacking setup built from easy-to-find gear, with notes on what each piece does, how it packs, and where to spend your attention.
Backpacking Gear
8 Ultralight Backpacking Gear Upgrades Worth Carrying
Eight small, affordable backpacking upgrades that solve real trail annoyances, from a pillow that stays put to a fuel valve that rescues leftover canister gas.