Hydroponics
Testing Hydroponic pH: Three Easy Ways to Check Your Nutrient Solution
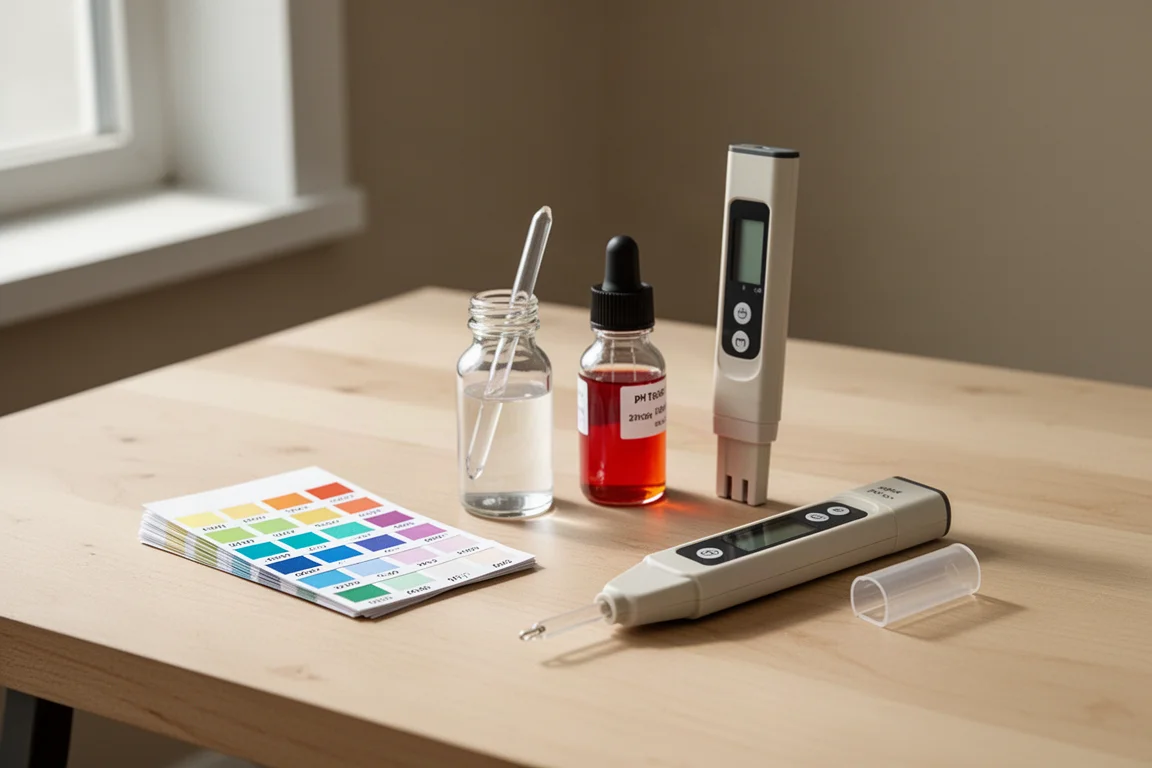
pH strips, a liquid test kit, and a digital pen compared side by side on a real hydroponic sprout, with a simple target range to aim for.
Introduction
If your plants are growing poorly, or you keep fighting pests and diseases without a clear cause, untested pH could be part of the problem. The good news is that testing is not complicated, and there are three easy ways to do it, ranging from a few cents per strip to a proper digital meter.
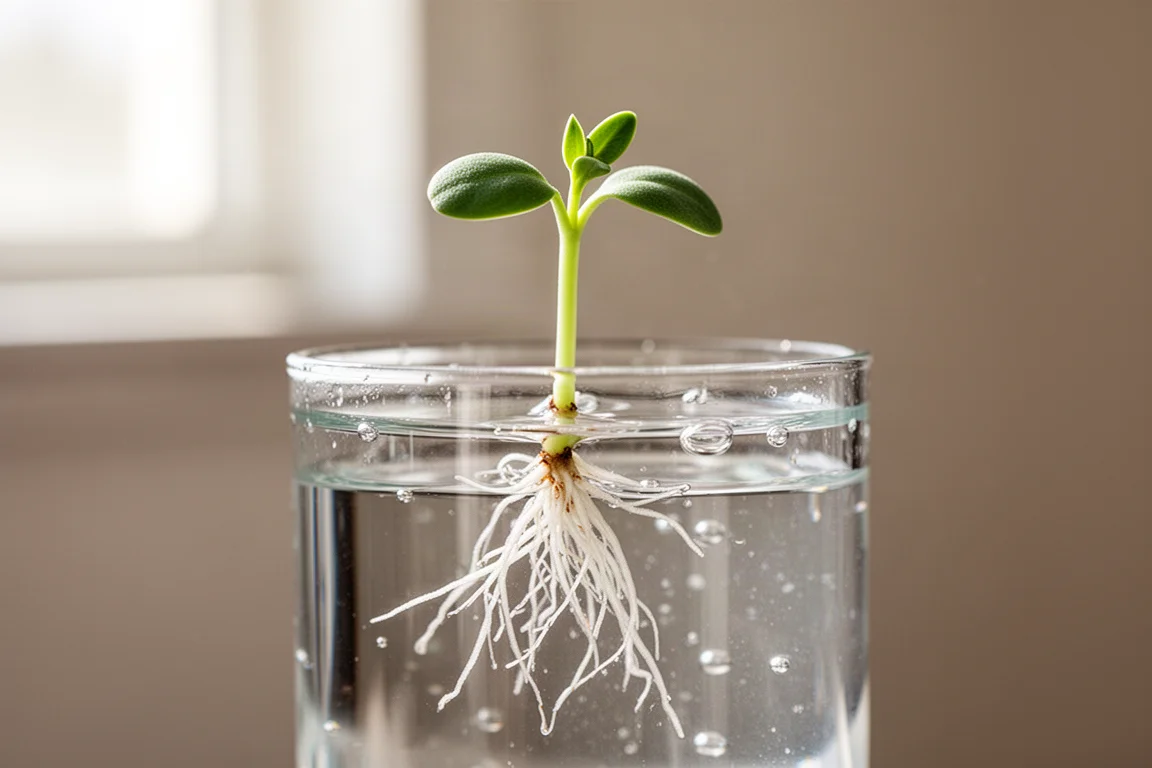
This guide walks through all three methods using a real hydroponic sprout, shows what each one revealed, and explains a simple target range that works for almost any setup.
Why pH Matters in Hydroponics
Even if your nutrients are marketed as pH buffered, the reading will not stay put. You add water, you add nutrients, the temperature changes, and the pH drifts over time. When the pH moves into the wrong range, nutrients that are physically present in the solution become locked out, so the plant simply cannot absorb them. Everything you feed it stops helping.
That is the whole reason to test. You do not need to chase perfection. Checking once a week, or every few days, is enough to spot when the value drifts out of range so you can bring it back. Some people test daily, but a weekly habit is far more sustainable than a routine that burns you out.
The Target Range to Aim For
For a mixed hydroponic garden, aim for a pH between 5.5 and 6.5. That range keeps most plants happy. If you grow one crop in a dedicated unit, such as peppers, tomatoes, herbs, or lettuce, you can dial in a more specific target, but beginners are better served by simply staying inside the general range and building the habit first.
pH Test Strips: The Easy Starting Point
Strips are the cheapest and easiest option, and the least accurate. Each strip carries four color patches. You dip it into the solution, swish it briefly, then match the resulting colors against the chart on the packaging.
The weakness is resolution. Between the 5 and 6 markers on the chart, the colors are close enough that reading the exact value becomes guesswork. The strips will tell you when your solution is completely out of whack, but they make fine adjustments frustrating, especially if color matching is not your strong suit. In the demo test, the strip read somewhere closer to 6 than 5.
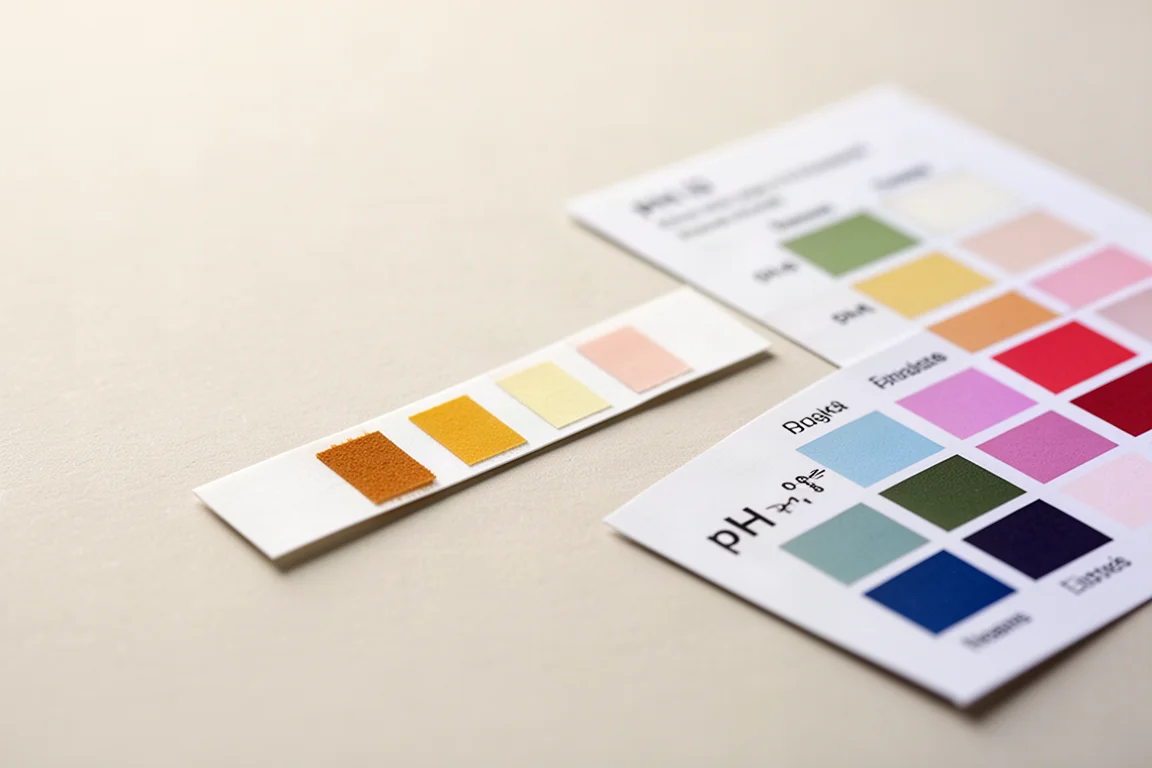
Use strips as a first awareness tool, not as your final word. If they show a value near the edge of the target range, confirm with a more precise method.
Liquid Test Kit: Better Accuracy for Less
A liquid test kit sits in the middle. You fill the included vial about halfway with your solution, add three or four drops of the reagent, shake, and watch the liquid change color. You then match the color against the reference bottle. In testing, this method reads more accurately than strips, and the color shift is visible and satisfying rather than a subtle patch comparison.
During the demo, the liquid test showed a reading closer to 5, right at the edge of the danger zone, while the strip had suggested something nearer 6. That difference matters: red means too low, deep green means too high, and you want to sit in between.
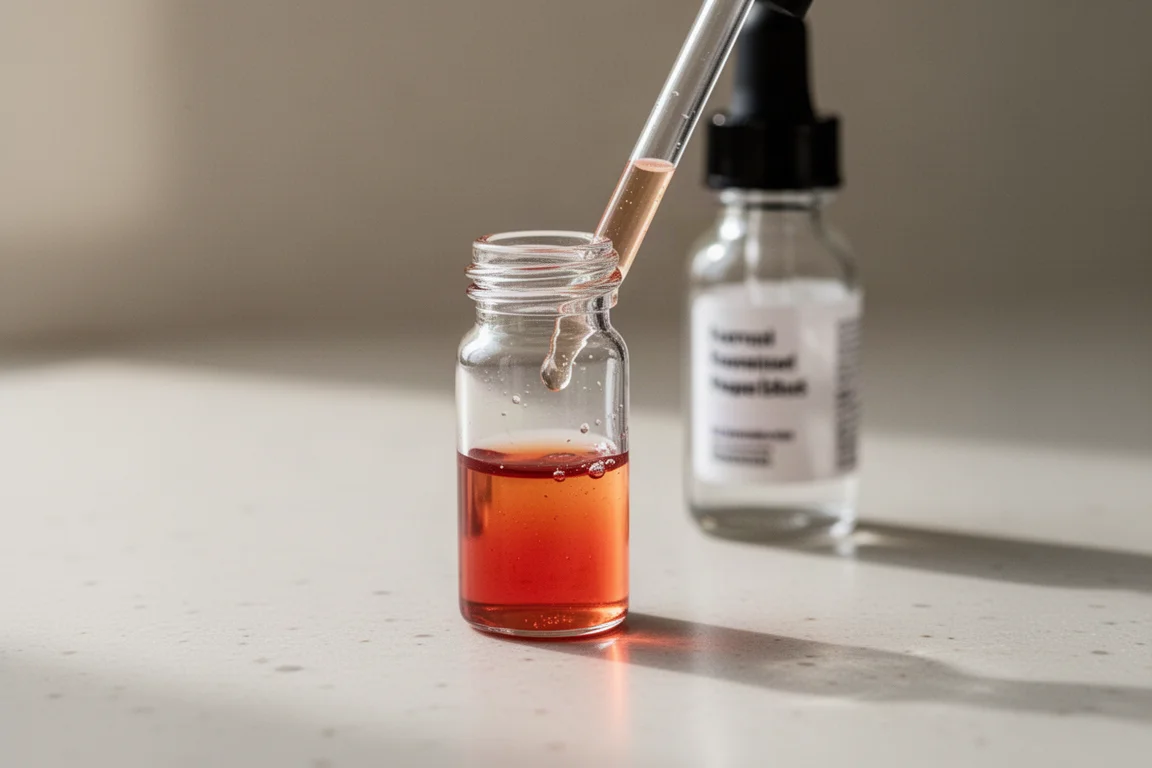
If you are choosing a single budget method, this is the one. It is more cost effective than a meter, easier to read than strips, and the color change gives you a clear, immediate signal.
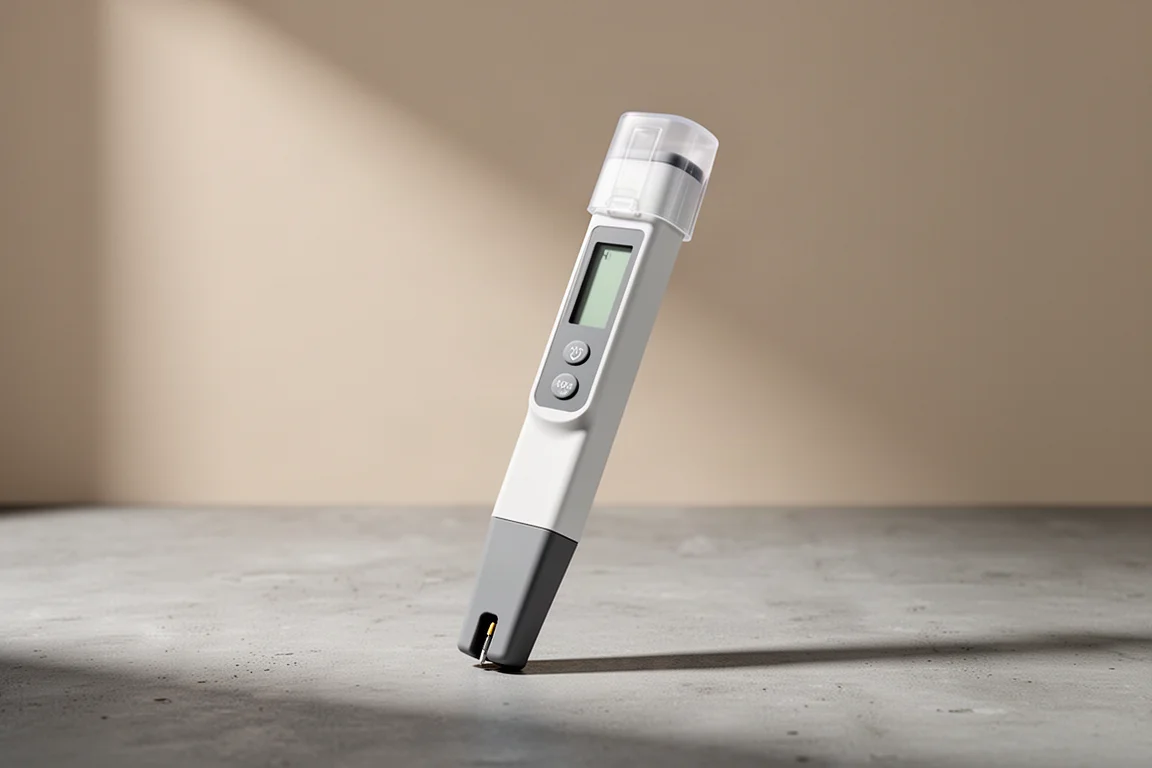
Bluelab pH Pen: The Most Accurate Option
The Bluelab pH pen is the premium choice. It costs significantly more than strips or a liquid kit, and it demands care: the glass bulb probe is delicate, the pen needs calibration and regular upkeep, and it should be rinsed under tap water after each use and stored with its cap on.
In return, you get a precise digital reading. In the demo, the pen measured 6.4 in a solution the other two methods could only approximate. When the value was later pushed down too far, the pen showed exactly where things stood through each correction step, which is something neither strips nor a liquid kit can do.
The trade-off is real, but so is the payoff. If pH testing becomes a regular part of your routine and you want numbers you can act on without squinting at color charts, this is the tool.
Adjusting pH Without Overcorrecting
Testing is the easy part. Adjusting is where most people get into trouble. To lower a high reading, use pH down; to raise a low one, use pH up. These solutions are extremely powerful, so add them far more slowly than feels necessary, literally a drop or two at a time, then swirl and wait for the pumps to mix everything before retesting.
Adding too much creates the classic yo-yo: too low, so you add pH up, which overshoots, so you add pH down again. A tiny correction moved the demo sprout from 6.4 to well below 4 almost immediately, which then took several careful micro-adjustments to bring back to a final reading of 5.7, comfortably inside the sweet spot. Slow really is better with this stuff.
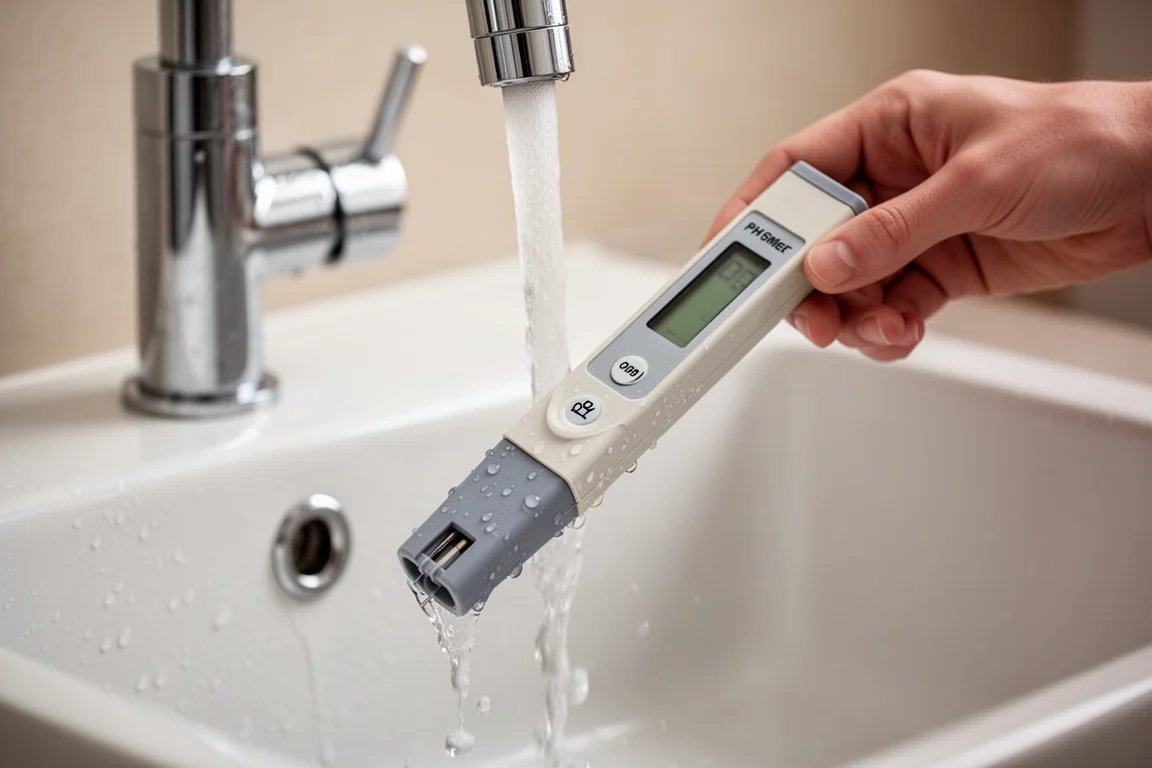
Whatever method you use, start testing before you start adjusting. Simply knowing where your pH sits each week puts you ahead of most growers who never check at all.
Conclusion
pH testing does not need to be intimidating. Strips are the cheapest way to build awareness, a liquid test kit offers better accuracy for a modest price, and a digital pen like the Bluelab delivers the precision worth paying for once testing becomes routine. Whatever you pick, set a weekly check as your baseline habit and keep your solution in the 5.5 to 6.5 range. Your plants will thank you for it.
Further reading
Related Reviews
Hydroponics
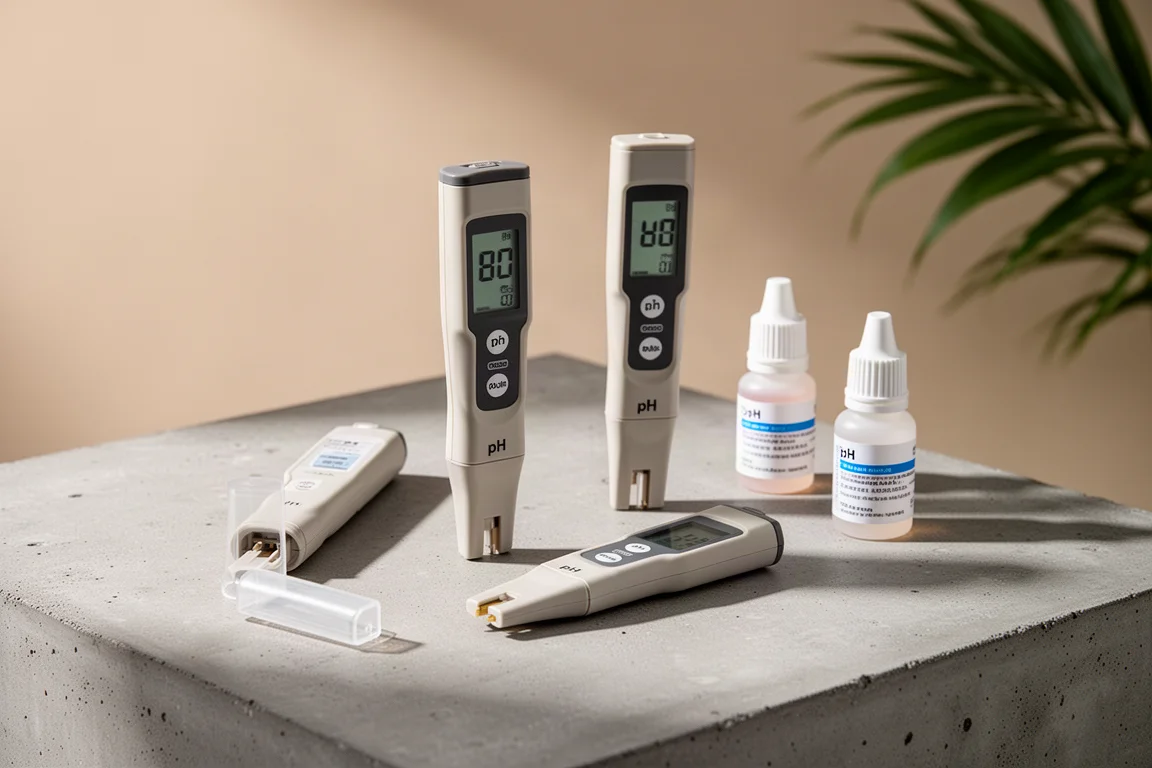
Best pH Testing Options for Hydroponics: From Premium Pens to Budget Strips
Four ways to test pH in your hydroponic setup, from the premium Bluelab pH Pen to affordable liquid kits, with the trade-offs of each approach.
Hydroponics
General Hydroponics Flora Trio: A Practical Feeding Guide for Soil Growers
How the three-part Flora Micro, Flora Grow, and Flora Bloom system works, how to sequence each bottle, and how to run a simple feed-and-flush cycle.
Hydroponics
LetPot Max Review: Unboxing and First Impressions of a Feature-Packed Hydroponic System
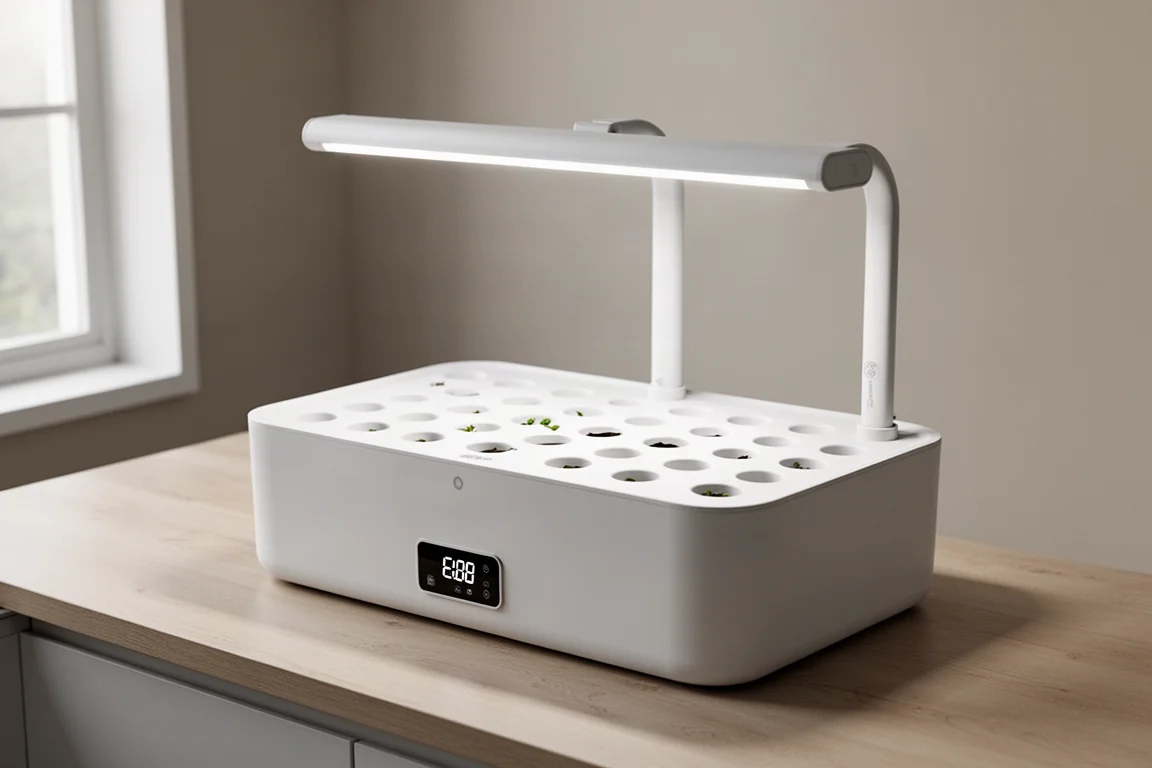
A hands-on first look at the LetPot Max hydroponic garden: what's in the box, how setup works, and early impressions of its big reservoir, bright grow light, and app control.