Bike Lights
How to Choose Bike Lights: Three Front Lights for Commuting, Road, and Gravel
A practical guide to picking bike lights, covering beam shape, brightness, mounts, and battery life, with three front lights that suit different kinds of riding.
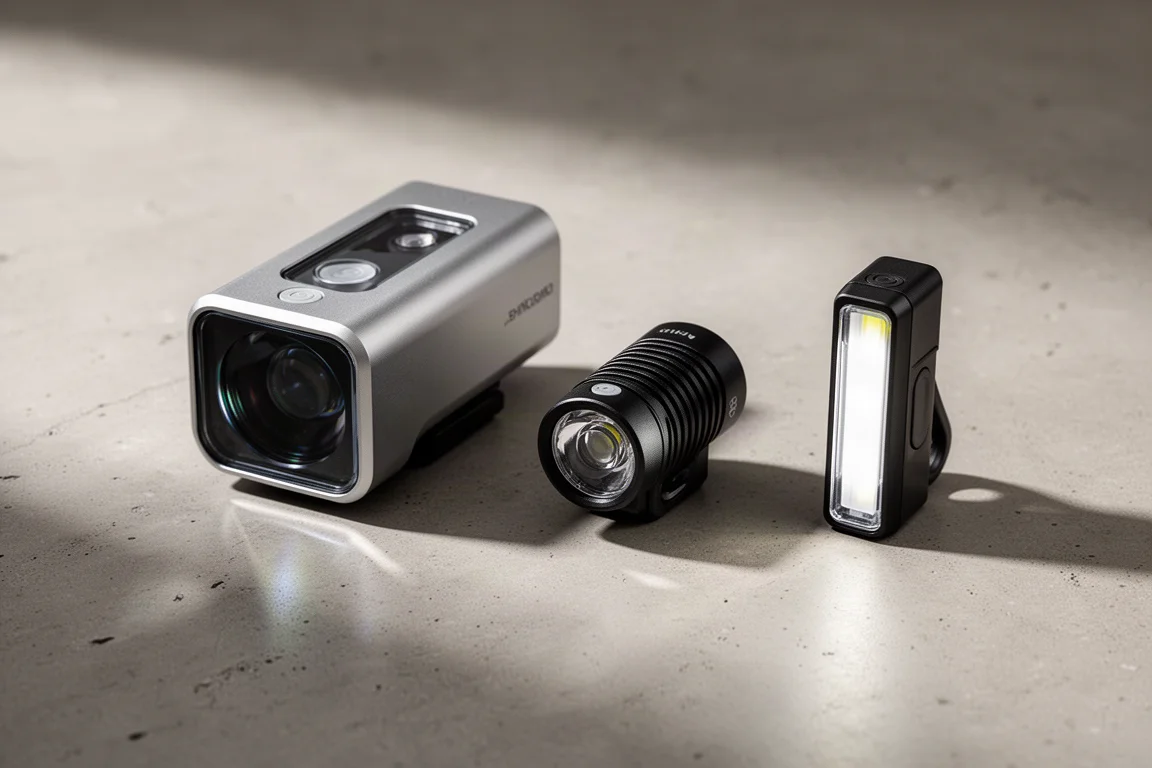
Introduction
Bike lights are one of the few pieces of cycling kit that every rider needs, and also one of the easiest things to buy badly. Some riders reach for the cheapest option they can find and end up with something that barely makes them visible. Others go the other way, spending a fortune on an enormous output that drains its battery in an hour.
Brightness alone rarely settles the question. Beam shape, mounting position, and the modes you actually use matter just as much as raw power. This guide covers what to look for, then looks at three front lights that suit different kinds of riding, from a simple urban commute to evening training on unlit lanes.
What Actually Matters When Choosing Bike Lights
Start with the job the light has to do. A front light can either help you see where you are going or help other road users see you, and not every light is built for both. Compact units that exist purely to attract attention rarely put out enough focused light to illuminate the path ahead, which is fine if your riding stays on well-lit streets. They also tend to be lighter and cheaper, because they do not need the lenses, more powerful LEDs, larger batteries, and electronics that a see-by light requires.
Power is usually quoted in lumens, which measures the total light emitted. Higher numbers mean more brightness, but also usually a higher price and faster battery drain. For urban riding with street lighting, a minimum of around 200 lumens is enough, and roughly 500 lumens will see you through careful road riding in the dark. If you want to ride at speed on the road, look higher again, in the region of 1,000 lumens and above. For gravel, where surfaces are less predictable, a little more punch is useful. Outputs of around 2,500 to 3,000 lumens are very high for road and gravel use and will flood the road ahead like a car on high beam.
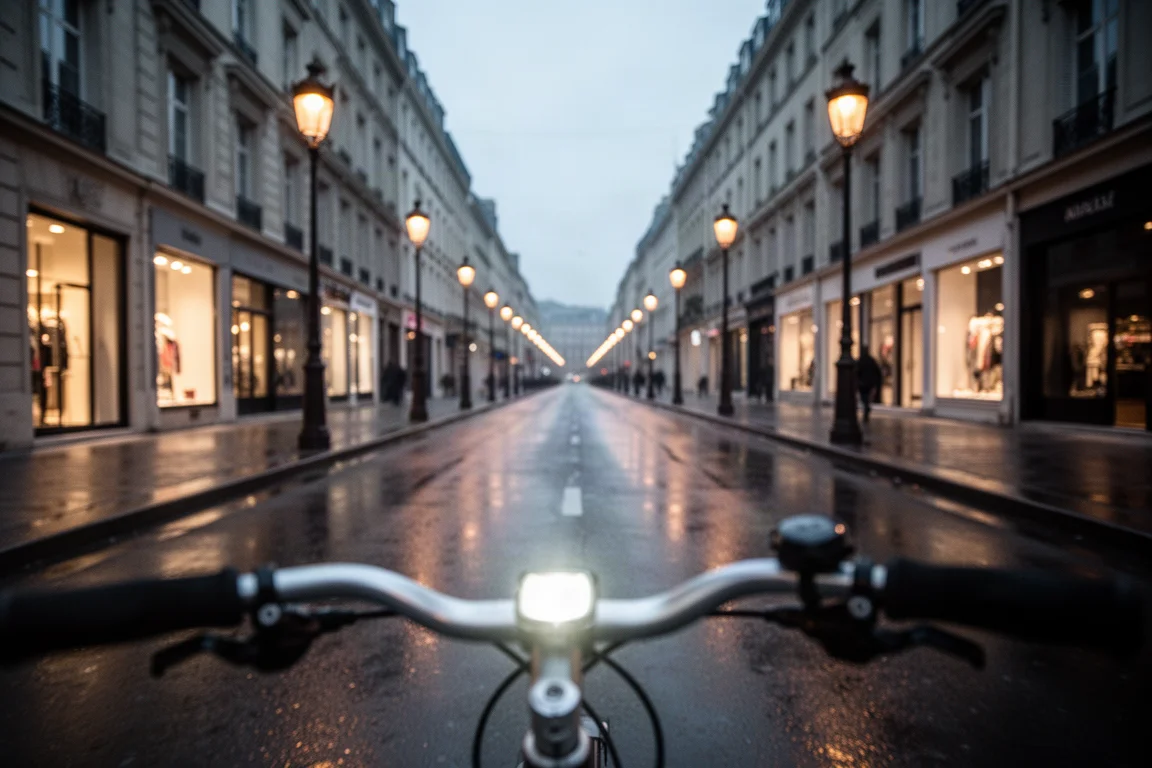
Modes deserve as much attention as peak output. A light that tops out at 1,000 lumens might offer settings of 100, 400, 600, and 1,000 lumens, and the medium settings are often all you need. Choosing a light with a larger battery means fewer charges and longer run times, with the top setting kept in reserve. It is worth checking run times in the modes you will use most, because a headline figure is meaningless if the light cannot last your ride.
Daytime flash modes are another feature to look for. Their strobe pattern is designed to cut through ambient light and bright daylight, which makes them useful for being seen all year round. They should not be used at night, where they can distract and disorient other road users. A well-rounded light usually includes one.
Beam Shape: Diffuse, Focused, and Cut-Off
There are three basic beam types, and the right one depends on how you ride. Diffuse beams spread light widely, sometimes beyond 270 degrees, which is ideal for being seen. Every rear light works this way. Diffuse beams do not focus output in a particular direction, so they will not put a usable beam on the road.
Focused beams use internal lenses to concentrate the output, producing a central circle of light that bleeds off into the surrounding area. This is what you need to see where you are going when there is little ambient light. Lenses and LEDs have improved considerably in recent years, and many lights now use two sets of lenses and LEDs to serve different purposes.
The third option is a cut-off beam, which creates a shaft of light with a defined boundary. It reduces glare for other road users while still giving you the light you need to see by, and some versions include a high beam setting so you can flick between the two as you would in a car. Preference between a standard focused beam and a cut-off beam is largely personal, unless you ride in Germany, where front and rear lights are governed by STVZO regulations. Those rules require strictly regulated cut-off beams and no flashing modes.
Magicshine Evo 1700: Power for Seeing the Road
The Magicshine Evo 1700 is built around the see-by job. It is a front light with a focused beam and a larger body than the compact be-seen units, which is what allows the extra hardware inside: bigger LEDs, deeper optics, a larger battery, and the electronics to manage them.
That makes it the kind of light that suits riders who want a single unit to cover everything, from lit streets through to dark lanes and longer evening rides. The trade-offs are the familiar ones. Higher output generally means a higher price, and it also means a heavier light on the bar. If your budget is tight, it is worth being honest about how much brightness you actually need rather than defaulting to the biggest number.
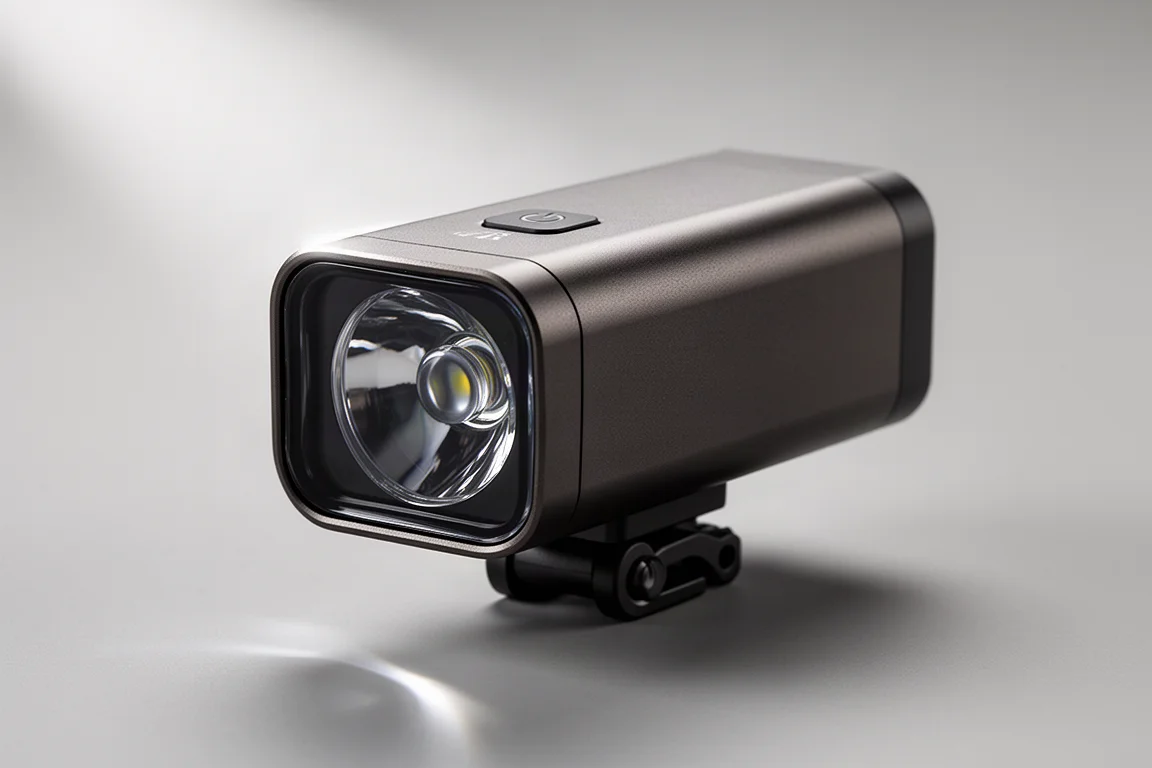
Horry 900: Two Sets of Optics for Mixed Riding
The Horry 900 takes a more layered approach to beam shape. It uses two sets of lenses and LEDs for different purposes, which lets it combine a usable pool of light on the road with a broader spread around it. The result is a beam with a bright central area that fades into the surrounding scene, rather than a hard-edged spot.
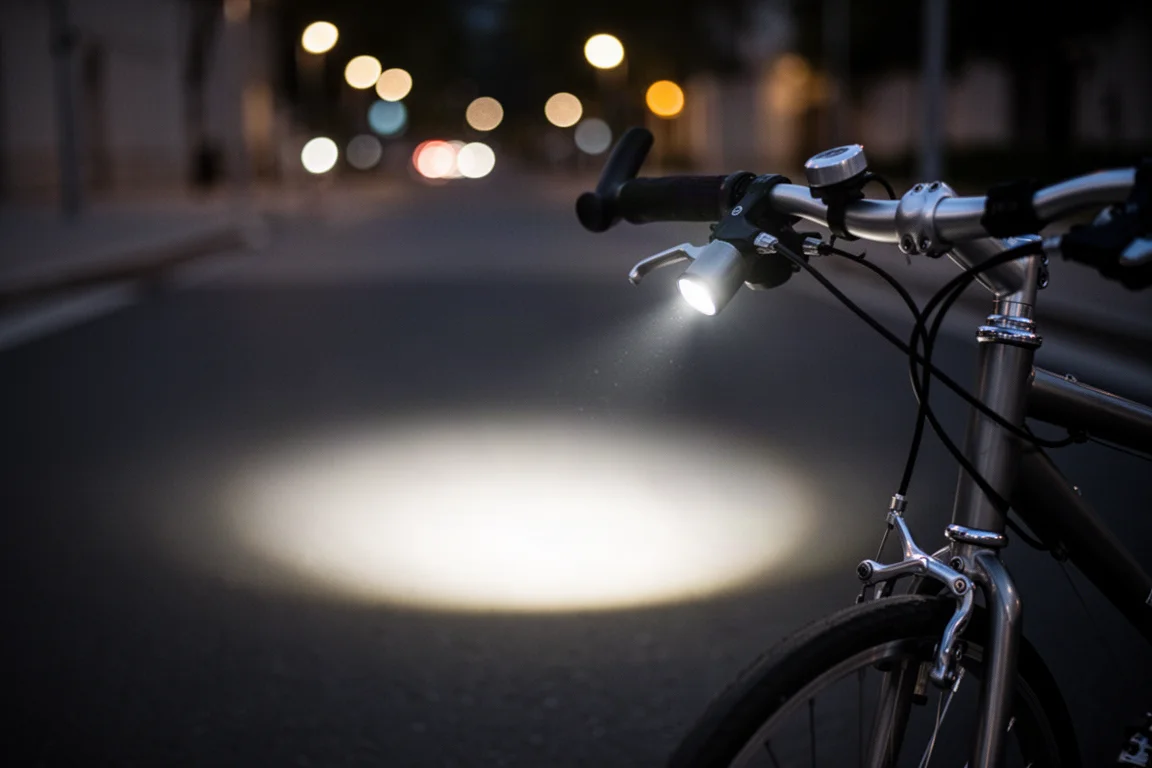
That balance makes it a sensible middle ground for riders whose week includes both lit commutes and darker stretches of road or towpath. It is not as large or as powerful as a dedicated see-by light at the top of the range, and it does not offer the cut-off boundary of a glare-limiting beam, but it covers a wide range of riding without demanding the highest budget.
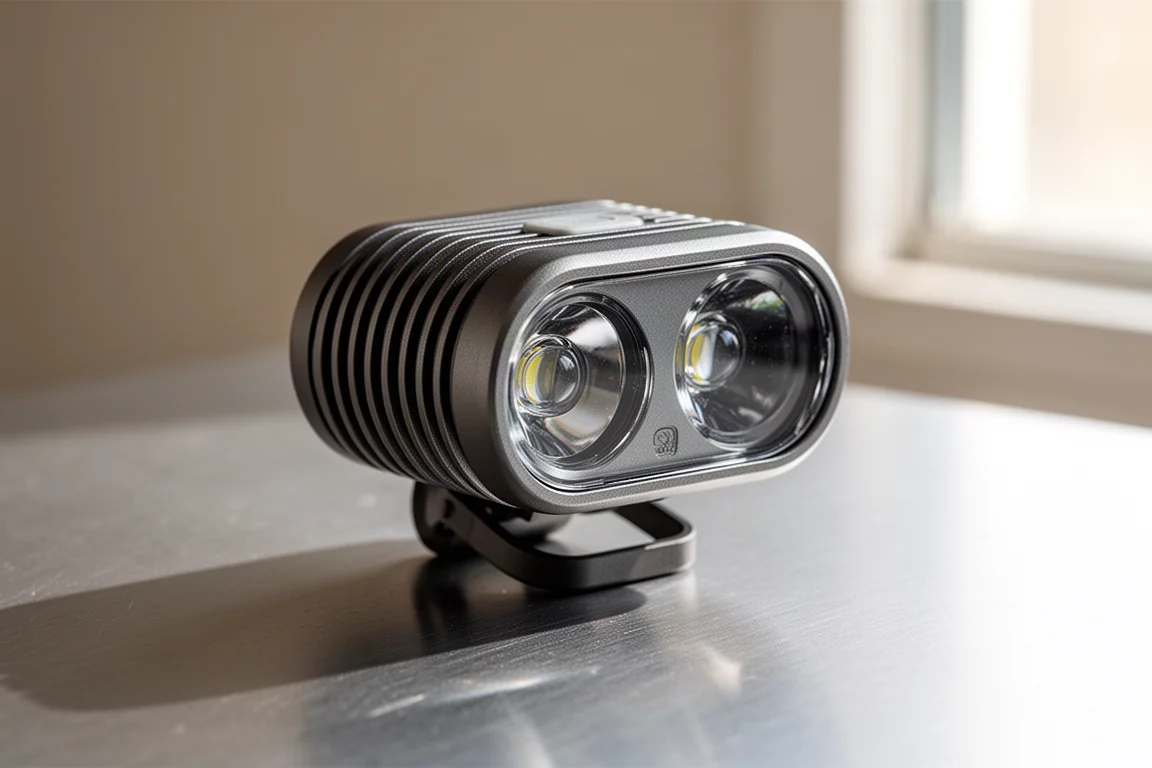
Horry 1300S: A Cut-Off Beam With Smart Extras
The Horry 1300S is a cut-off beam light. Its output forms a shaft of light with a defined upper boundary, so more of the beam lands on the road and less of it reaches the eyes of oncoming traffic. For riders who share busy roads after dark, that is a meaningful difference, and it is the reason cut-off designs are the norm in markets with strict lighting regulations.
It also carries some of the convenience features that have appeared on newer lights. Lights in the same set can sync so they switch on and off together, and the light can turn itself off if you forget after a ride, which avoids draining the battery by accident. These features are genuinely useful, though they can draw power more quickly and make burn times less predictable. As with any purchase, it is worth asking whether you will use them before paying for them.
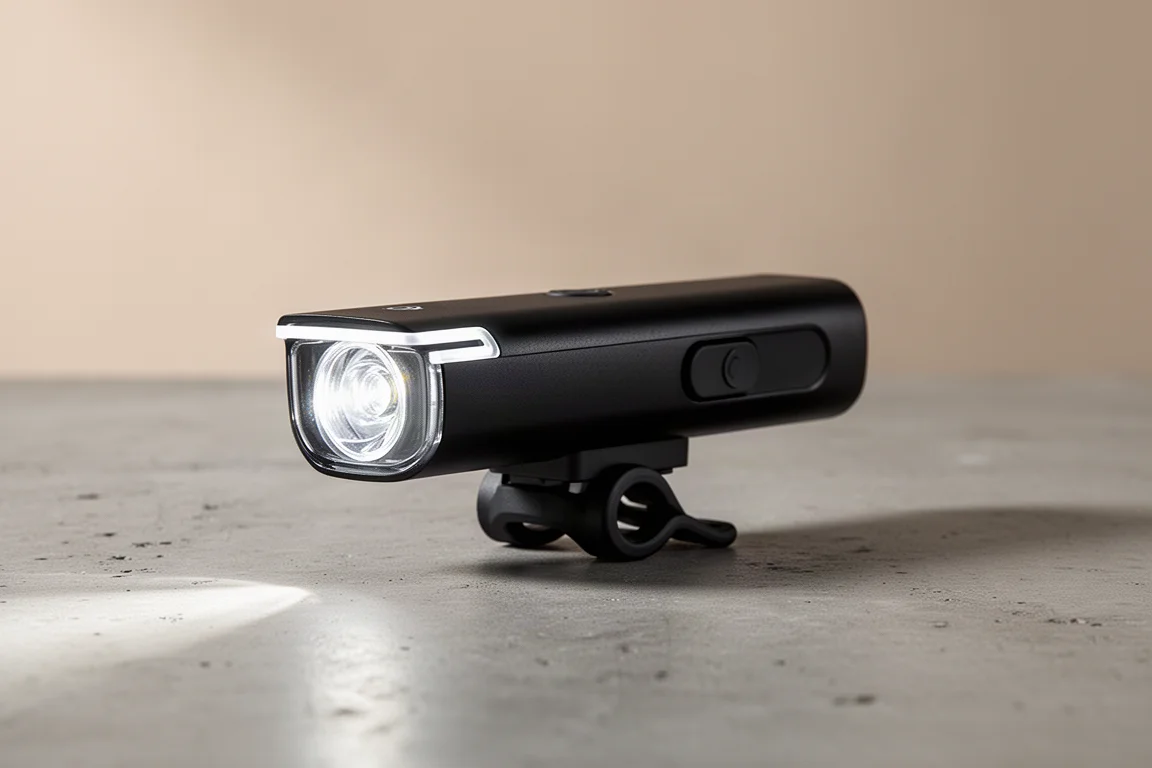
Mounting, Modes, and Battery Practicalities
Mounting is the part of the decision riders most often overlook. The most common arrangement is a bar top mount, either a clamped bracket with a quarter-turn interface that the light locks into, or a bracket built into the light that straps on with a band. Band mounts usually only work with standard round handlebars, although some come with inserts to help secure the fit.
An increasingly popular option, particularly among road and gravel riders, is to run the light under an out-front computer mount. This usually needs a GoPro-style adapter screwed into the underside of the mount plus an adapter for the light itself, so the computer sits on top and the light below. Some brands include the adapters; others sell them separately. It is worth noting that bar top mounts generally will not work with one-piece cockpits that have flattened tops, which can push you towards an out-front setup.
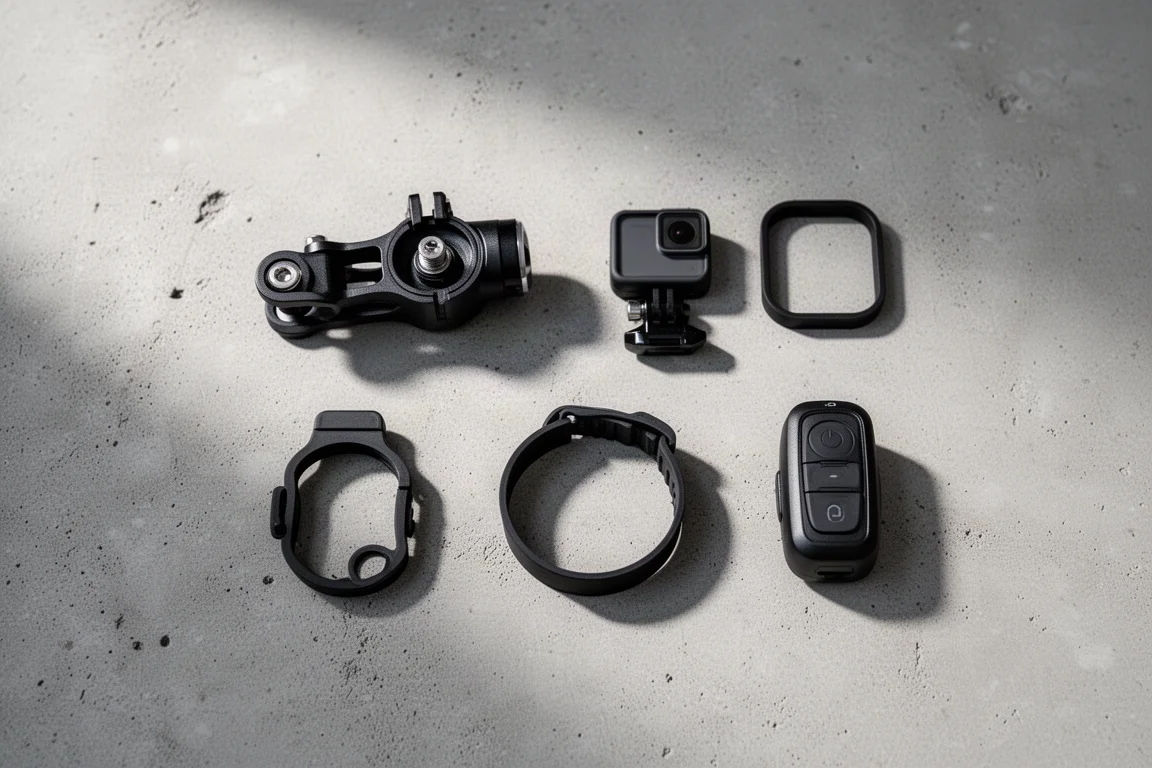
Out-front mounting makes the light and its buttons harder to reach on the move, which is where a handlebar remote helps. Remotes are sometimes supplied and sometimes an optional extra, and while not everyone wants one, they are worth considering. If you plan to run this setup, factor adapters and a possible remote into your budget. Off-road riders may also want a secondary helmet-mounted light, which points wherever you look and adds visibility around corners.
Rear Lights and the Features Worth Paying For
Rear lights have one job: to draw attention to you, day or night, rain or shine. They do not need a focused beam, so they work like diffuse front lights with a wide viewing angle. Output ranges from around 50 to 300 lumens, with some models reaching 500. That is far less than a front light, which is intentional: you do not want to blind the people behind you. For most riders in most conditions, 150 to 300 lumens is punchy enough.
Look for both static and flashing modes, including a higher-powered daytime flash if the light has one. Daytime flash settings are best avoided at night, though they can be useful in fog. Rear lights mount on the seat post or seat stay, and some can be fitted under the saddle with a saddle rail bracket. Angling the light slightly downwards is generally considered good manners, and it pays to avoid the most powerful settings after dark. Many models include a moulded insert or spare strap to fit aero seat posts.
Running two rear lights is a common approach: one under the saddle and one on the seat post, so you have a spare on the road and can run one static and one flashing. Flashing lights arguably attract more attention, while static lights give a consistent reference point that helps other road users judge closing speed. Some units blend static and pulsing light to combine both.
Beyond the basics, newer lights add features such as ambient light and radar sensors that change mode automatically, rear radar lights that pair with a computer to show traffic behind you, and modes that change when you slow down. Some are designed for group rides, sensing other riders and reducing output, or linking up to flash in unison with matching lights. Most of these can be switched off if you do not need them, and the sensible move is to decide whether you will use a feature before paying for it.
Buying Advice: Match the Light to Your Riding
Five questions settle most light purchases. First, what do you actually need the light for? That decides the type of light and the number of lumens. Second, does the battery last long enough in the modes you will use most often? Third, do the mounts fit your bike, and if not, what will the adapters cost? Fourth, do you want a daytime flash mode so you can be seen year round? Fifth, which smart features will you genuinely use?
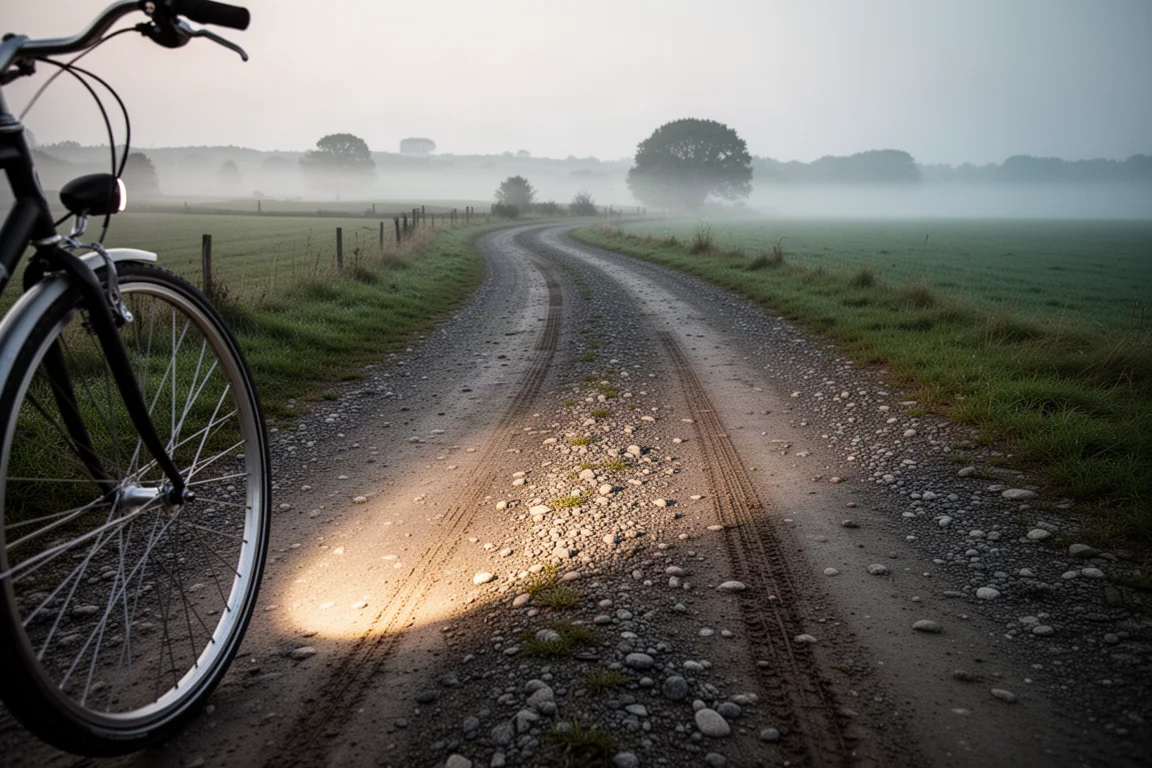
It also helps to think about how many lights you need. A single well-chosen front light and one good rear light cover the vast majority of riding, and a spare rear light adds useful redundancy in winter. Buy the light that fits your riding rather than the cheapest one you can find or the biggest and brightest one on the shelf.
Conclusion
The right bike light is the one that matches your riding: enough output for the roads you use, a beam shape that puts light where you need it, mounts that fit your bike, and battery life that covers your longest ride. The Magicshine Evo 1700 suits riders who want a single powerful see-by light, the Horry 900 splits the difference with dual optics for mixed conditions, and the Horry 1300S adds a glare-limiting cut-off beam with convenience features. Choose on fit and function, and the light will earn its place on the bar.
Further reading
Related Reviews
Bike Lights
Best Front Bike Lights 2026: Four 1,000 Lumen Lights Compared
A practical comparison of four front bike lights rated at 1,000 lumens or more, covering beam quality, mounting, battery life, modes and price.
Bike Lights
Best Front Bike Lights for Road and Gravel: Six Models Compared
Six front bike lights for road and gravel riding, from a £70 high-output option to a £355 flagship, compared on beam pattern, run time, mounting and features.
Bike Lights
The Ultimate Bike Light Setup: Five Magic Shine Lights Worth Considering
A practical guide to building a winter bike light setup, with five Magic Shine models covering front, rear and helmet-mounted duties.