Music Production Gear
Home Music Studio Setup: The Core Gear Worth Buying First
A practical guide to the core pieces of a home music studio, covering audio interfaces, microphones, studio monitors, cables, and acoustic treatment.
Introduction
Building a home studio does not require a room full of expensive gear. What it requires is a signal chain that works: a computer running music production software, a way to get audio in and out, a microphone or two, and a reliable way to hear what you are recording. Everything else can be added as your needs become clearer.
This guide walks through the core pieces worth considering first, with notes on what each one does, who it suits, and how it connects to the rest of the setup. The advice stays deliberately practical: start with the essentials, learn how they behave in your room, and upgrade only when a specific limitation shows up.
What to Look for in Home Studio Gear
The computer is the centrepiece. A laptop or a desktop, Windows or Mac, will work. As a starting point, aim for at least 8 GB of RAM, at least 500 GB of storage, and the fastest processor your budget allows. A machine with more memory, a quicker processor, and a solid state drive will keep sessions running more smoothly, but the computer you already own will usually handle the early stages without complaint.
The software running on it is a digital audio workstation, or DAW. Most popular options offer a free or entry-level tier with the basic features needed to begin. Each DAW has a slightly different workflow, but the skills carry over well, so switching to another one later does not mean starting your learning process over.
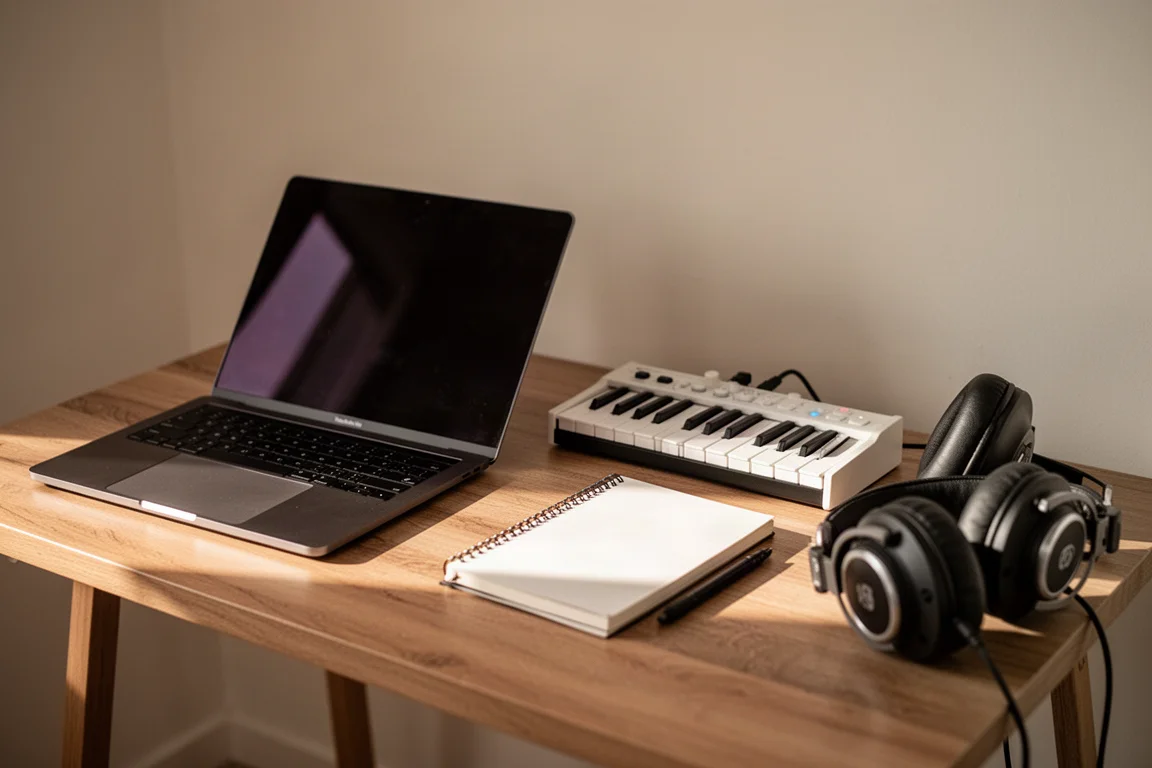
Two more pieces shape how efficiently you can work. A MIDI controller lets you play the virtual instruments built into most DAWs, such as pianos, organs, and drum kits, instead of drawing notes in by hand. Controllers range from small desktop units to full-size keyboards with weighted keys, and most connect directly to the computer over USB. Studio headphones are the other priority, and it is worth choosing a pair designed for music production rather than casual listening. Accurate headphones tend to lead to better mixes, and a capable pair generally starts somewhere around $100 to $200.
Audio Interface: Focusrite Scarlett 2i2
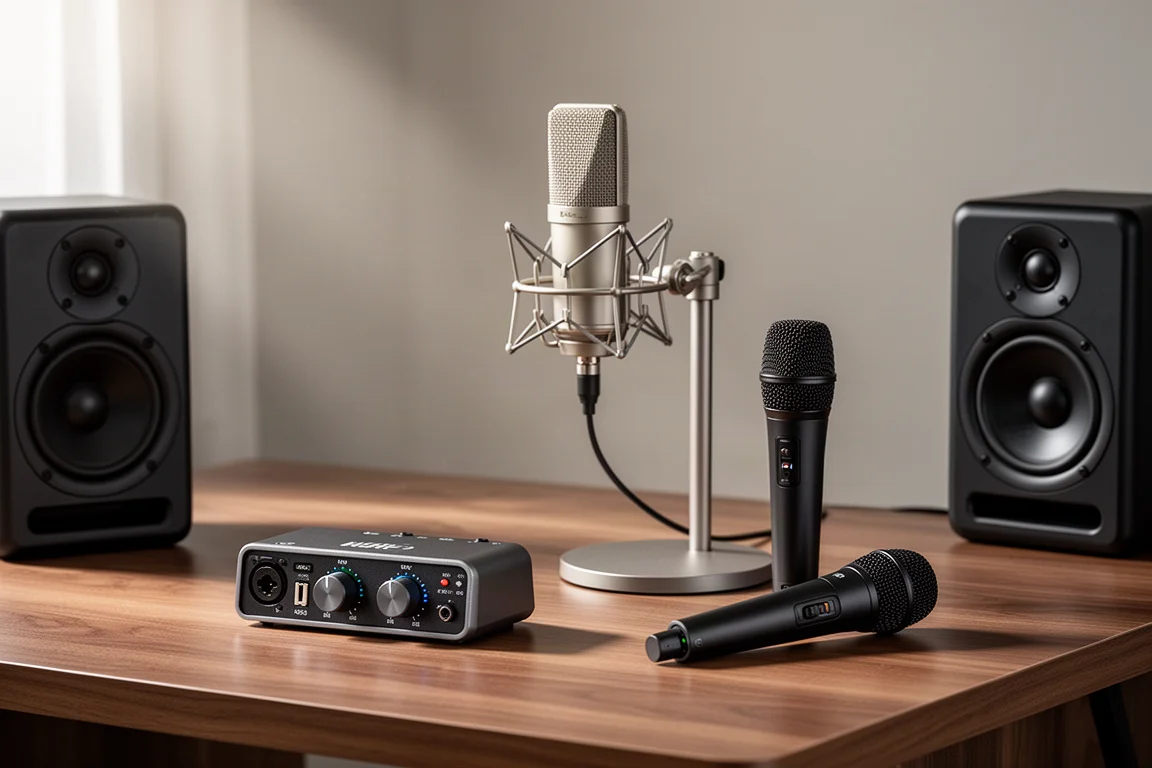
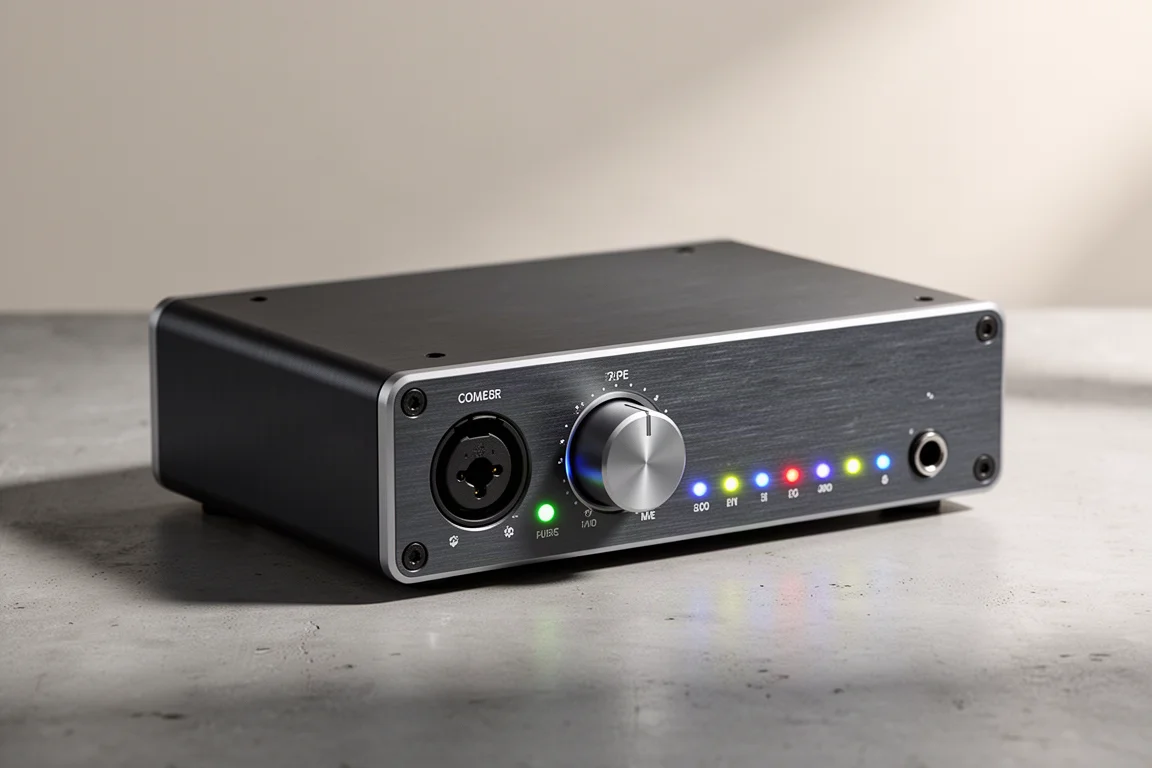
An audio interface is what moves audio in and out of the computer for recording and playback. A USB interface is the simplest place to begin, and the Focusrite Scarlett 2i2 is a sensible first choice for anyone recording one or two microphones or instruments at a time.
Interfaces in this class typically offer one or two inputs for microphones and instruments, a headphone output, and outputs for powered studio monitors. Setup is straightforward: connect the interface to the computer with the included USB cable, download the drivers, then select the interface in the device settings inside the DAW. From there, the preamp gain knob sets a healthy recording level and the headphone output handles monitoring.
Recording a Full Band: Focusrite Scarlett 18i20
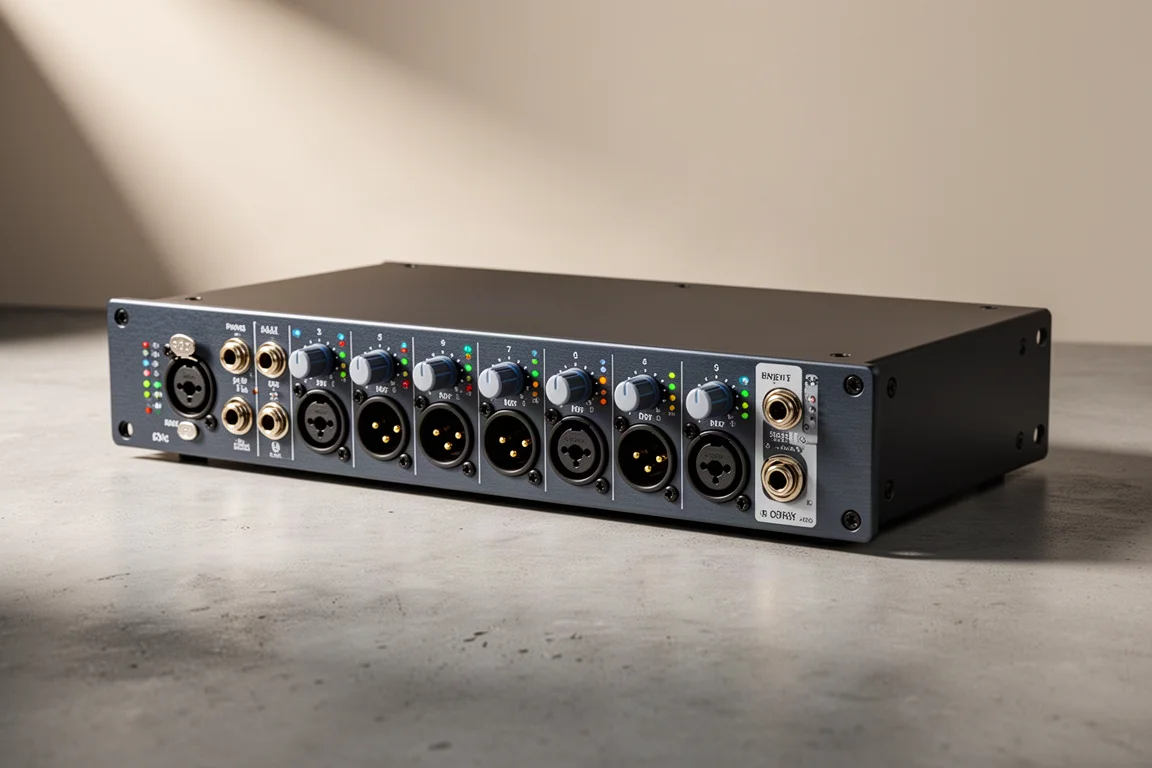
If the goal is to capture several performers at once, a two-input interface will run out of room quickly. A larger interface such as the Focusrite Scarlett 18i20 provides the additional inputs needed to record a full band simultaneously, while keeping the same USB connection and driver setup as its smaller sibling.
Condenser Microphone: Rode NT1-A
With an interface in place, microphones become the next step. Most studios end up with a collection over time, but two types cover the widest range of situations: a large diaphragm condenser and a dynamic microphone. The Rode NT1-A is a large diaphragm condenser, the type that tends to flatter vocals and detailed acoustic sources.
Connecting it is simple. An XLR cable runs from the microphone to the XLR input on the interface, the 48 volt phantom power button is engaged because the design requires it, and the preamp knob is raised until the level sits where it should.
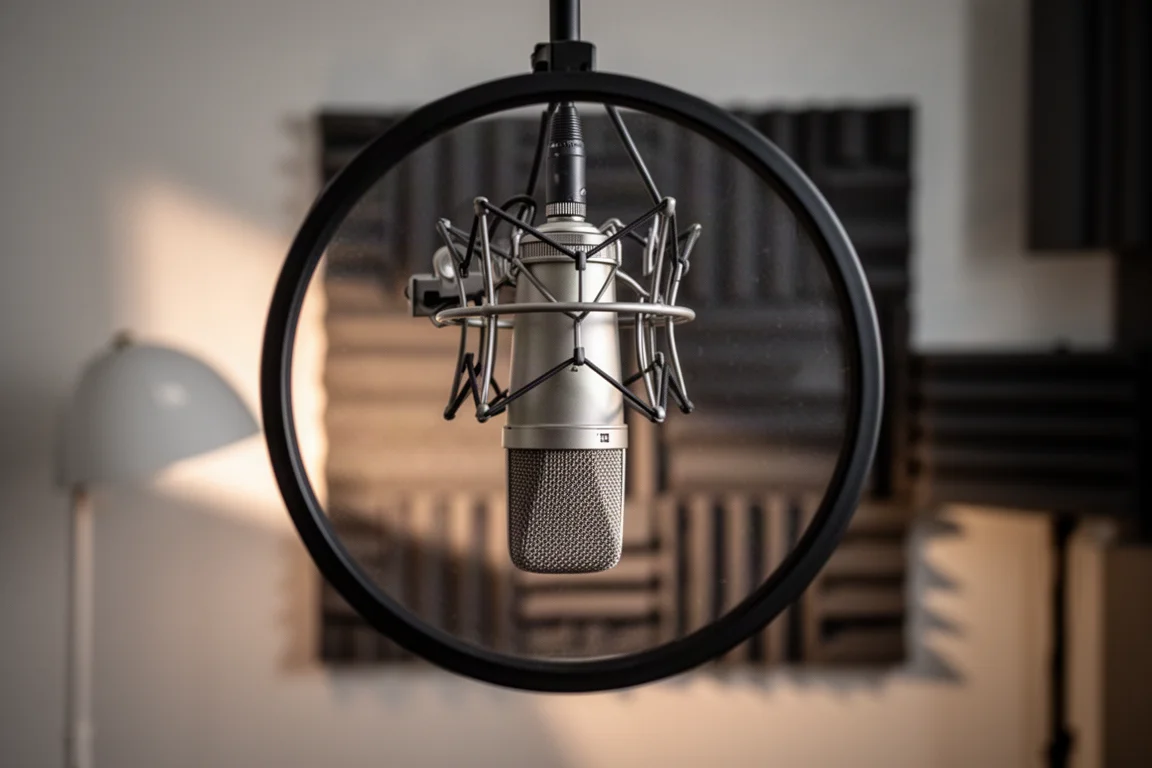
That same procedure applies to any condenser microphone, which makes it a useful first purchase: once you understand phantom power and gain staging, adding a second condenser later takes minutes rather than an afternoon.
Dynamic Microphones for Everyday Recording
A dynamic microphone covers the situations where a condenser is not the right tool. The Shure SM58 and the Shure SM57 are two of the most widely used dynamic options, and having both a condenser and a dynamic on hand makes it easier to experiment and find the right sound in each situation. If the budget only stretches to one of them, you really cannot go wrong with either choice.
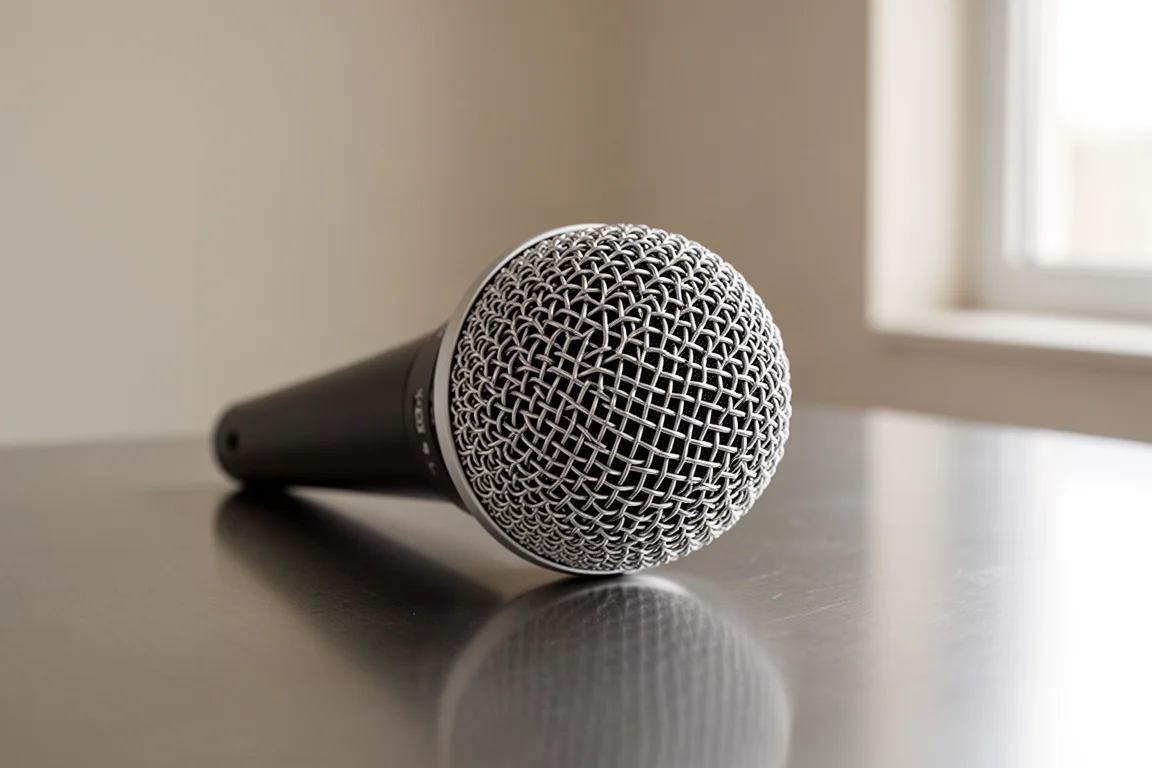
Shure SM58
The Shure SM58 is a handheld dynamic microphone and one of the two dynamic flavours worth starting with, giving you a second character alongside a condenser.
Shure SM57
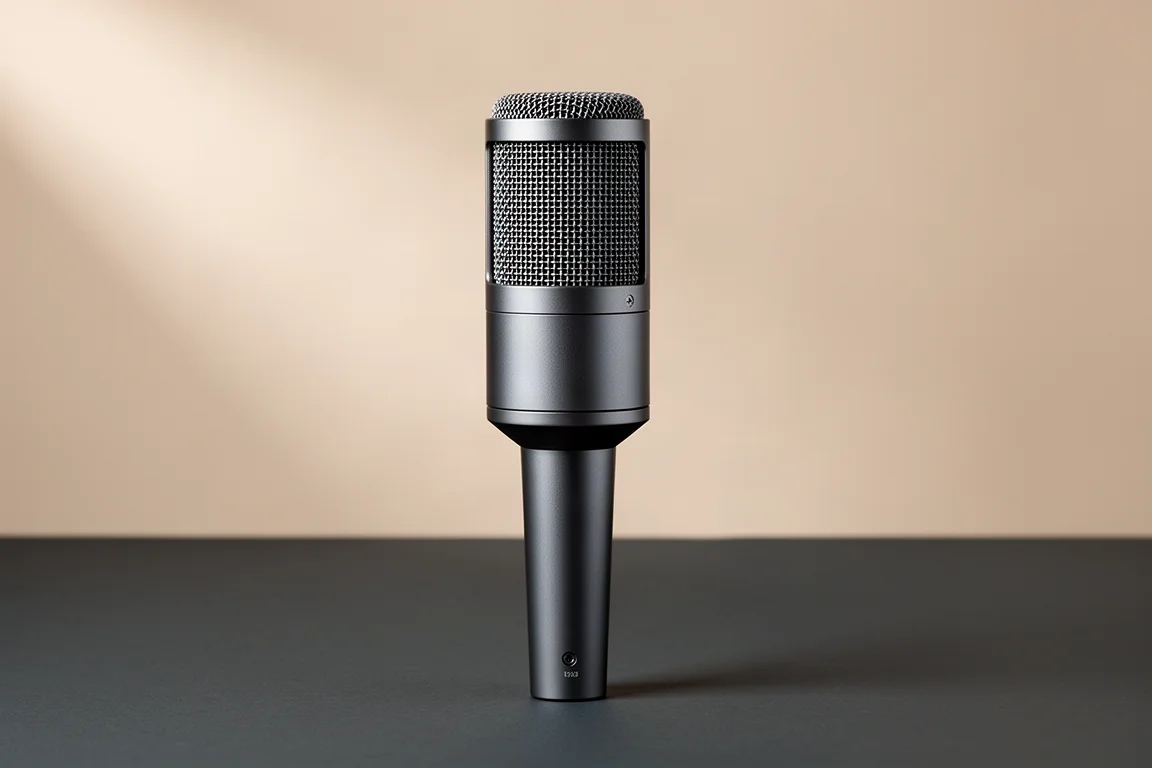
The Shure SM57 is the alternative dynamic microphone to consider. Either one covers the dynamic side of a starting collection, and the decision between them comes down to personal preference rather than a clear winner.
Studio Monitors: Adam T7V
Headphones come before monitors for two practical reasons. First, monitoring through speakers while recording a microphone sends that sound back into the mic and leaves an echo in the take. Second, the acoustics of the room colour what you hear from speakers, so even excellent monitors only perform as well as the space allows. Headphones sound the same regardless of the room.
Monitors still earn their place. They reveal information headphones cannot provide, including the punch and low-end rumble you feel physically, and music simply behaves differently when played through speakers. Checking a mix on monitors helps confirm that it will hold up on other playback systems.
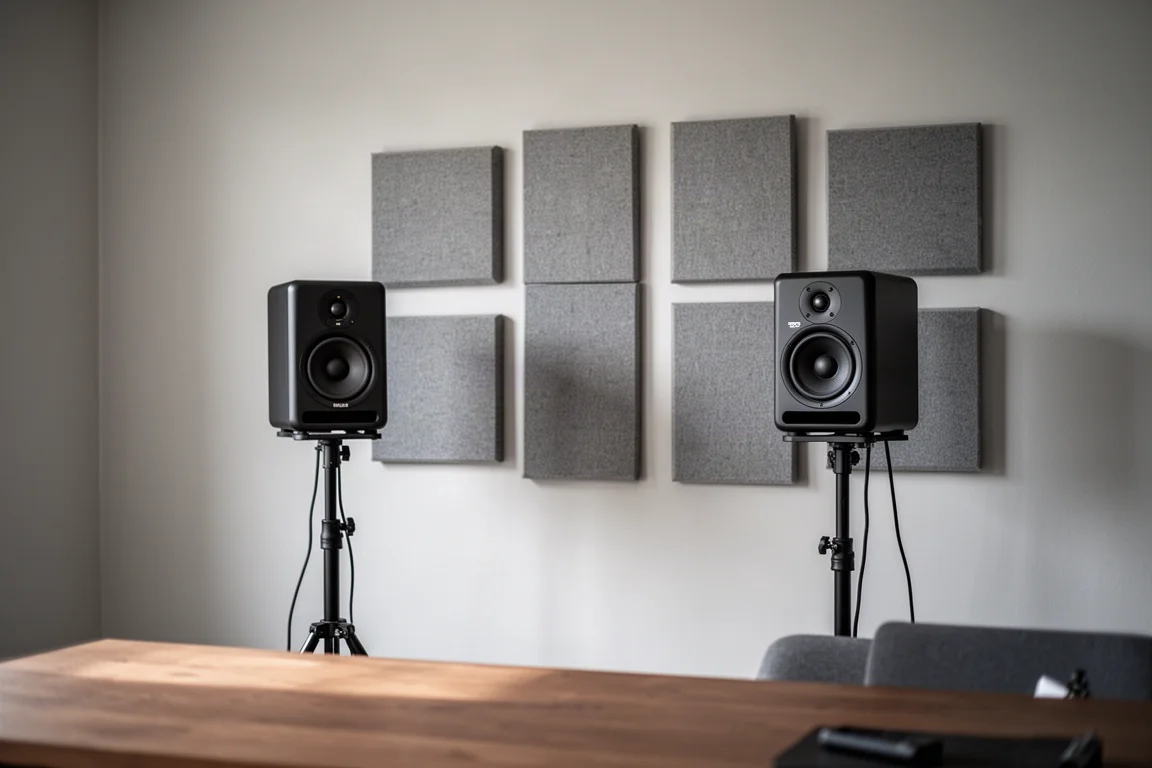
Connecting them is a short job. Most interfaces have two quarter-inch TRS outputs on the back, and a pair of TRS cables or TRS to XLR cables carries the signal to the monitor inputs. After that, the monitors plug into power, switch on, and are controlled by the volume knob on the interface. The Adam T7V is a strong choice for a first pair of studio monitors.
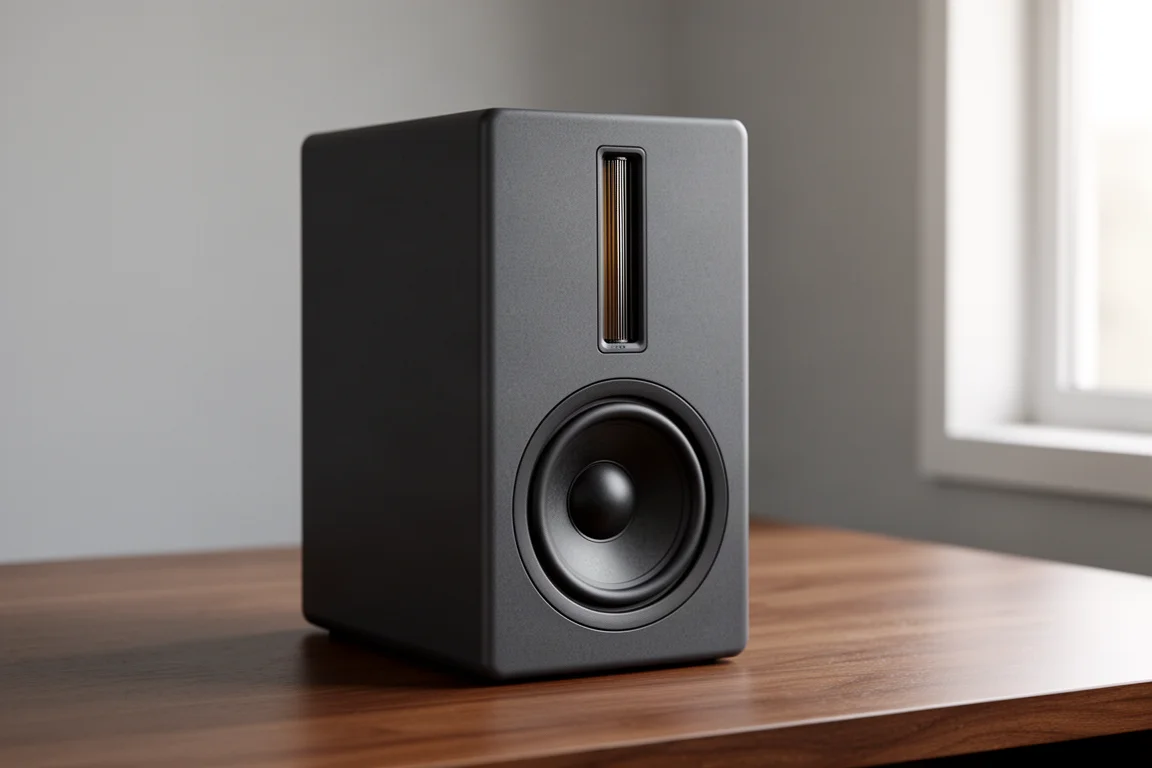
Higher-End Monitoring: Adam A7V
Anyone who wants to spend a little more for higher-quality monitoring can move up to a model such as the Adam A7V. It suits a studio where mixing decisions carry more weight and where a step up in monitoring accuracy is worth the extra outlay.
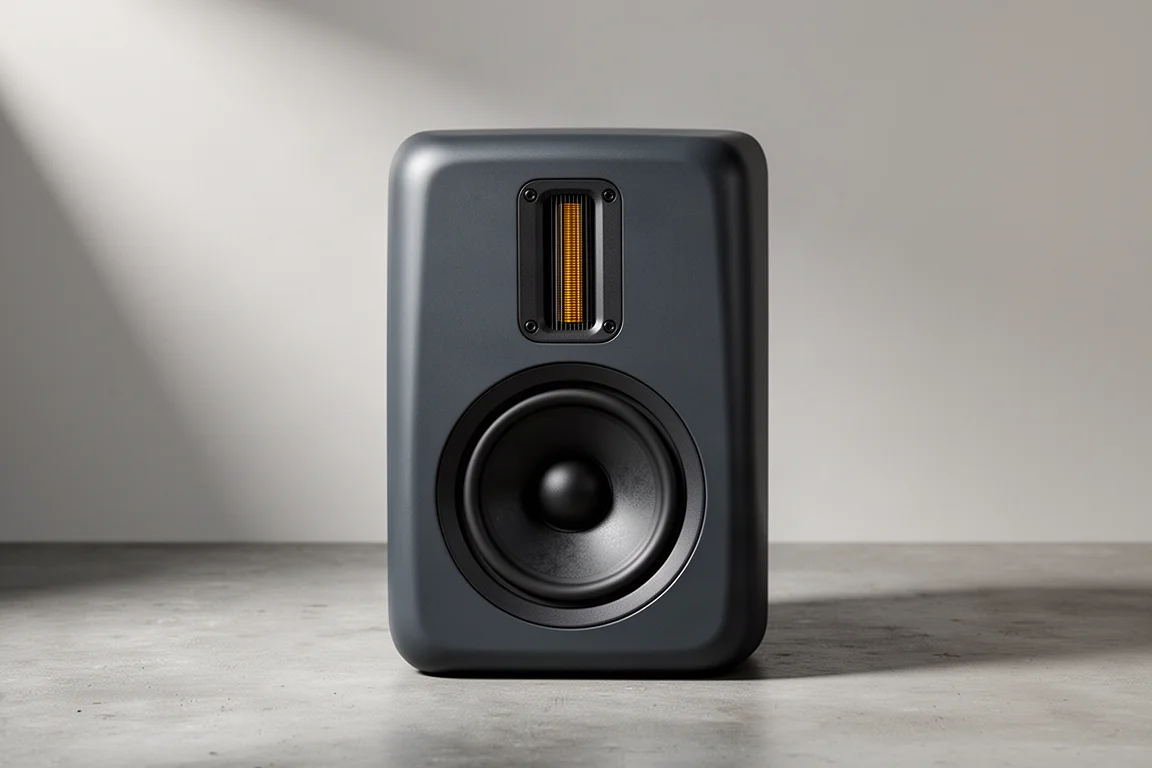
Cables, Stands, and Acoustic Treatment
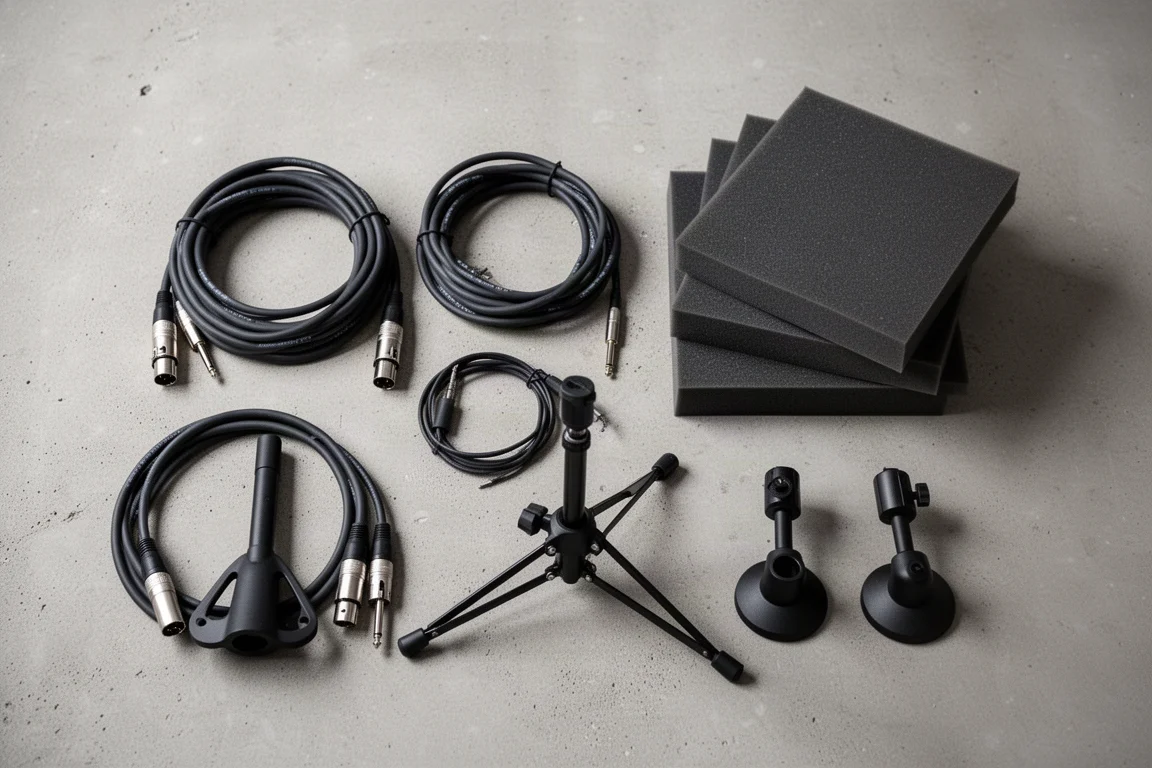
Three cable types cover most home studio connections. XLR cables link microphones to the interface. Quarter-inch TS instrument cables connect a guitar or electric bass directly to the interface. Quarter-inch TRS cables, or TRS to XLR cables, carry the interface outputs to the studio monitors. USB cables for the interface and any MIDI controller usually arrive with those devices.
Each microphone needs a stand, and the cheapest options tend to wear out and cause frustration. On-Stage and K&M are brands worth looking for. Studio monitors need a pair of stands as well, positioned so the monitors sit at ear height, whether the stands rest on the floor or clamp to a desk.
Acoustic treatment is the step beginners most often skip, and it matters more than many people expect. A bare rectangular room lets sound bounce off the walls, which affects both the quality of your recordings and the accuracy of what you hear through the speakers. Acoustic panels, thick curtains, or thick blankets along the walls absorb reflections and clean up the result.
Buying Advice
Build in stages. Start with the computer and DAW you already have, add a USB interface with the number of inputs you actually need, and choose a microphone type that matches the sources you record most often. The Focusrite Scarlett 2i2 covers one or two microphones at a time, while the Scarlett 18i20 makes sense the moment several performers need to be captured together. On the microphone side, the Rode NT1-A and a dynamic such as the Shure SM58 or SM57 complement each other well.
From there, monitoring and the room decide how far your mixes travel. A first pair of monitors such as the Adam T7V, or the Adam A7V if the budget allows a step up, performs at its best once some acoustic treatment is in place. Headphones remain essential throughout, both for recording and for checking detail, and a set of stands and cables turns a pile of gear into a studio you can actually work in.
Conclusion
A home studio does not need to be complete on day one. A computer, a DAW, a USB audio interface, one or two microphones, and a reliable pair of headphones are enough to start writing and recording. Studio monitors, stands, cables, and acoustic treatment can follow as the room and the workflow grow, and each addition solves a specific problem rather than simply adding to the pile.
Further reading
Related Reviews

Backpacking Gear
Building a 10 lb Base Weight: An Ultralight Backpacking Gear List
A practical walkthrough of the ultralight pieces behind a 10 lb base weight, from a 765 g pack and a roomy one-person tent to a full camp chair and a dependable water filter.
Road Bikes
10 New Road Bikes Worth Watching: Aero, Titanium, Steel and Endurance Standouts
A practical roundup of 10 new road bikes, from aero flagships chasing single-watt gains to titanium, steel and endurance platforms built for real roads.
Bikepacking Gear
11 Bikepacking Essentials for Long-Distance Cycling
Eleven bikepacking essentials for long-distance cycling, from a steel gravel frame and a two-person tent to helmet lights, packable gloves, and a frame bag that puts weight in the right place.