Backpacking Gear
Winter Backpacking Gear That Held Up in the Grand Canyon: 8 Items Worth Trusting
A field-tested look at eight pieces of winter backpacking gear used on a deep-snow Grand Canyon traverse, with honest strengths, trade-offs, and buying notes.
Introduction
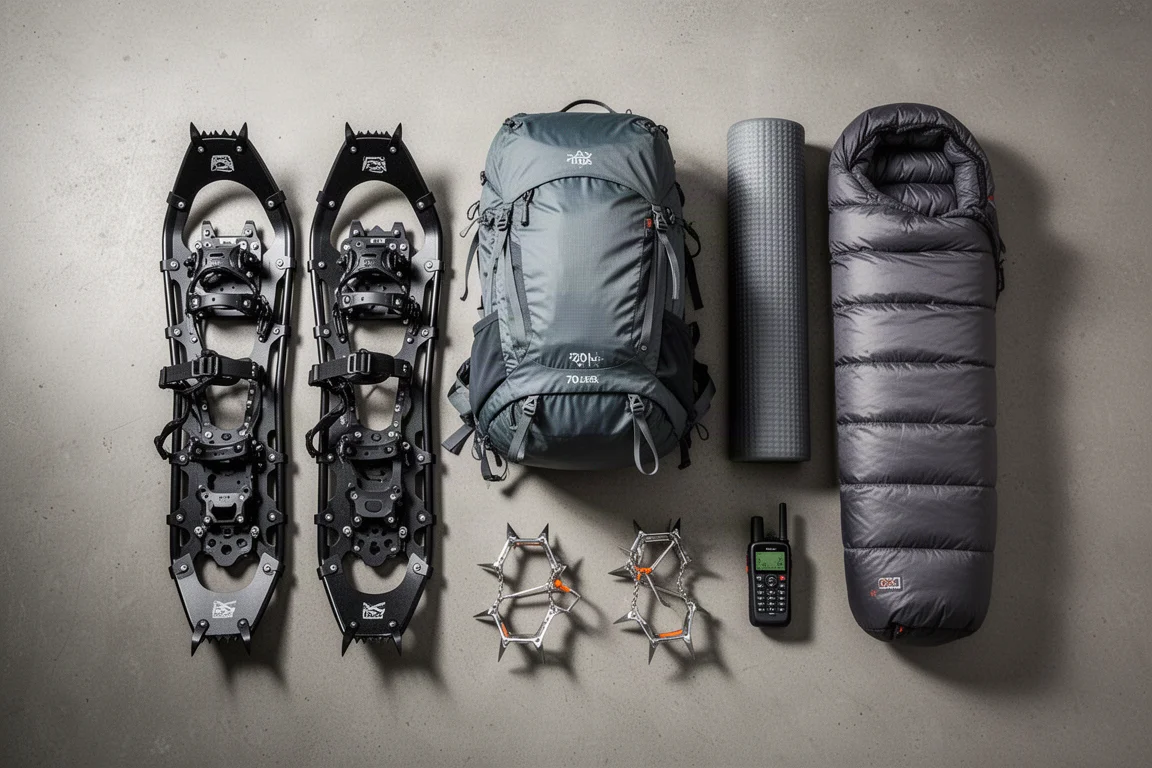
A winter rim-to-rim-to-rim traverse of the Grand Canyon in nine feet of snow is the kind of trip that turns a gear list into a safety system. Deep powder on the rims, ice on the switchbacks, and a canyon floor that can run tens of degrees warmer than the trailhead all demand equipment that works across several climates in the same day.
The eight items below are the ones that stood out most from that trip. This is not a complete pack list. It is a focused look at the pieces that consistently performed, the ones that were worth carrying, and the ones worth understanding before you spend money on something similar.
What Mattered Most on This Trip
Four things separated useful gear from dead weight on this route. The first was weight, because long climbs with a heavy pack are where trips fall apart. The second was warmth per ounce, since a winter kit has to keep you safe without adding bulk you have to haul. The third was traction, because deep snow and ice decide whether you can move at all. The fourth was versatility, since the same trip can shift from sub-freezing rim conditions to noticeably warmer canyon floor temperatures in a single day.
Gear that failed any one of those tests became a problem quickly. Gear that passed all four became something worth trusting again.
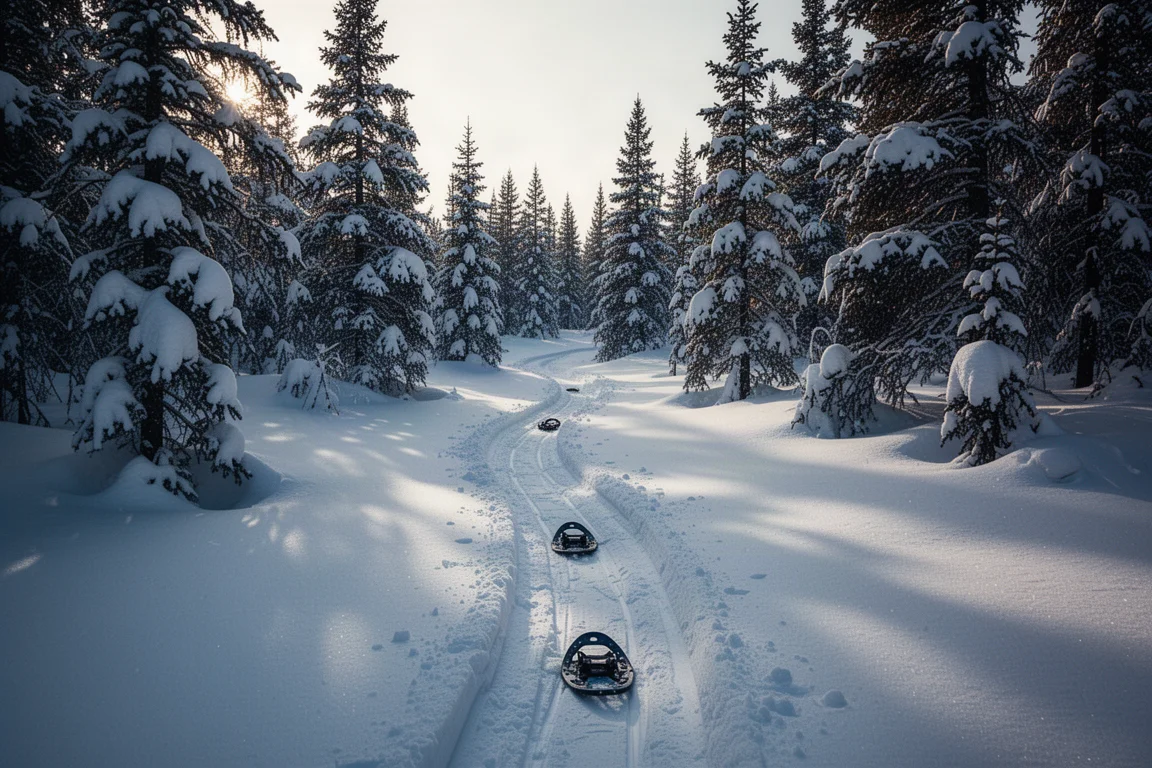
The trip also reinforced a simple point: light gear is not automatically fragile gear, and heavy gear is not automatically warm. The best items here are the ones that hit a specific balance for the conditions.
MSR Lightning Ascent Snowshoes
Snowshoes do not make hiking easy. They make it possible. In snow deep enough to swallow a step, they keep you on the surface, but you still lift the deck and whatever snow has piled on top of it with every stride. That trade-off is worth accepting when the alternative is post-holing.
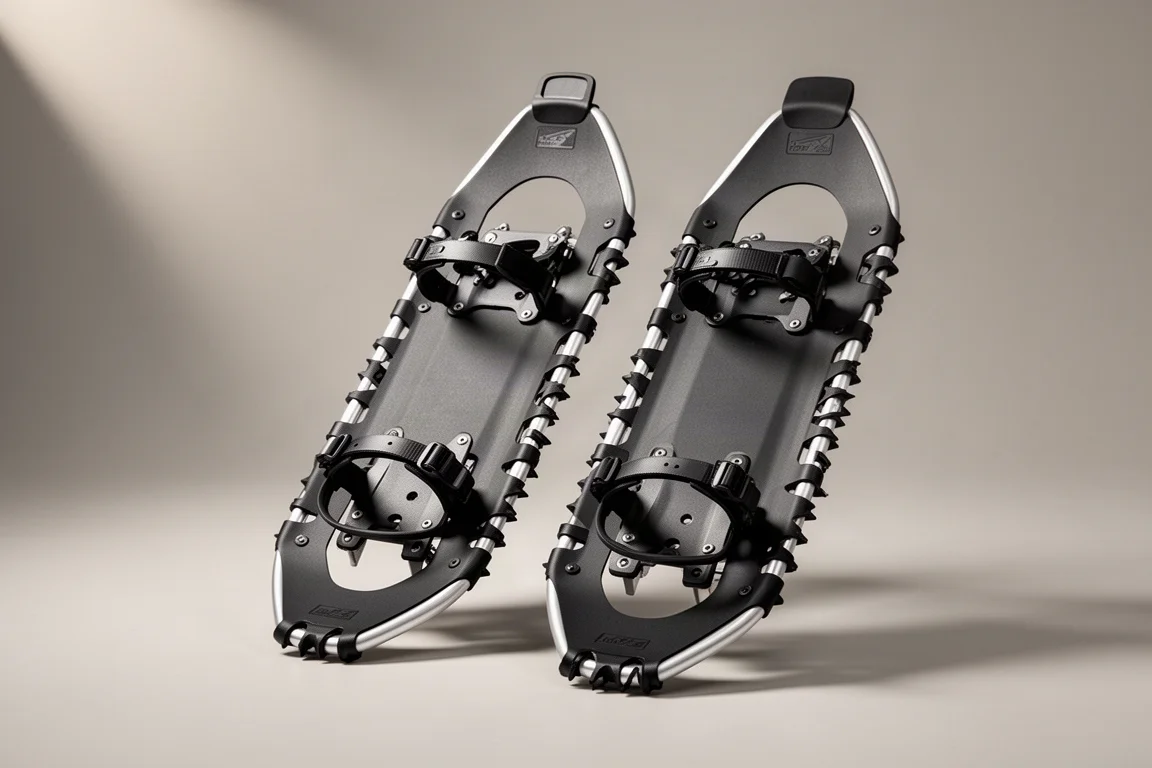
The MSR Lightning Ascent earns its place through a few practical details. The bindings are simple enough to strap on without removing gloves, which matters in cold wind. Traction teeth run across the base and along the sides, so you get grip on snow and ice as well as on sidehill traverses. There is also a flip-up bar under the heel that keeps your foot closer to level on climbs, so ascending feels more like climbing steps than straining on your toes.
These are expensive snowshoes, and they are also light for what they do. In deep snow, they were the difference between an attempt and a non-starter.
Zpacks Arc Haul Backpack
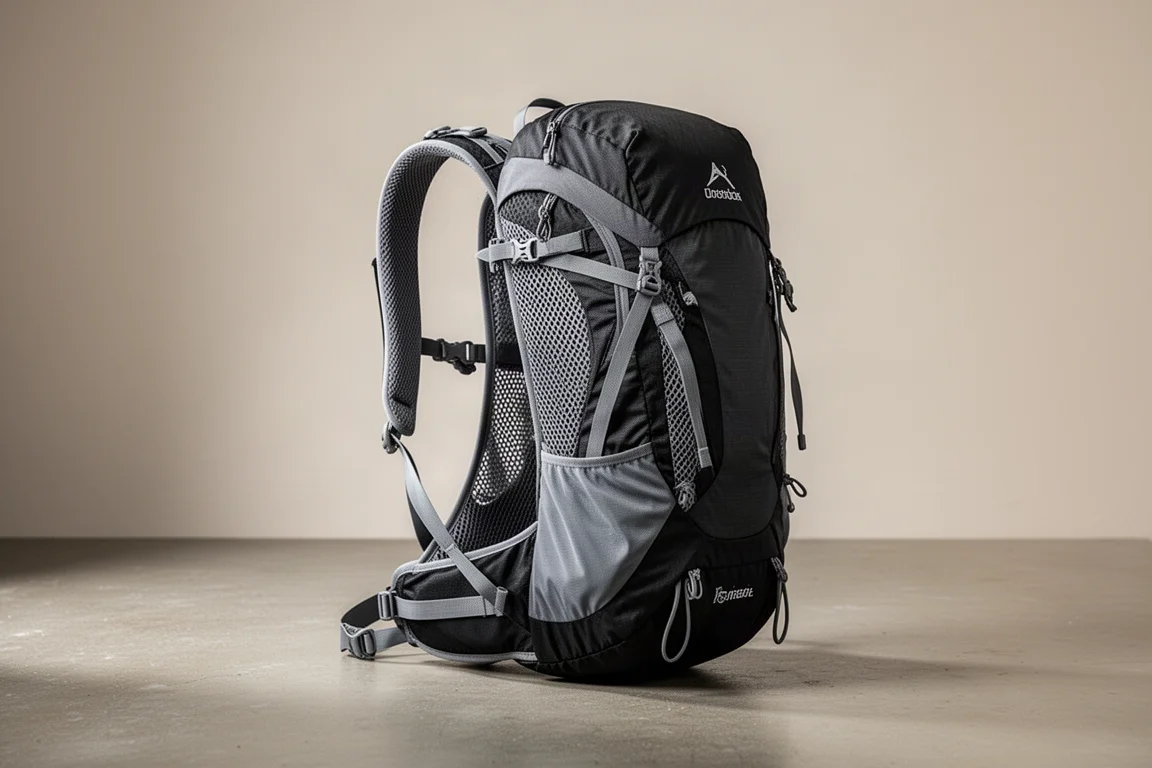
A 70-liter pack that weighs a little over 20 ounces sounds like a compromise until you load it. This one carried roughly 34 to 35 pounds of gear, food, water and fuel, and the shoulders never became the limiting factor. That is the real test of an ultralight pack.
The frame uses thin carbon fiber stays, and the suspension transfers weight to the hips effectively enough that long climbing days do not turn into a shoulder endurance contest. Capacity matters in winter, because insulation, a warmer sleep system and extra layers take up far more volume than the same kit does in summer. Choosing the larger version of an ultralight pack costs very little extra weight and pays off on cold-weather trips.
The main trade-off is price. This is a pack in the region of $400, and there is not much material to it, which can feel strange at first. The other quirk is the hip belt attachment at the front, which is a little short and can be awkward to loosen. Neither issue changed the outcome of the trip.
Durston X-Mid Pro 1 Tent
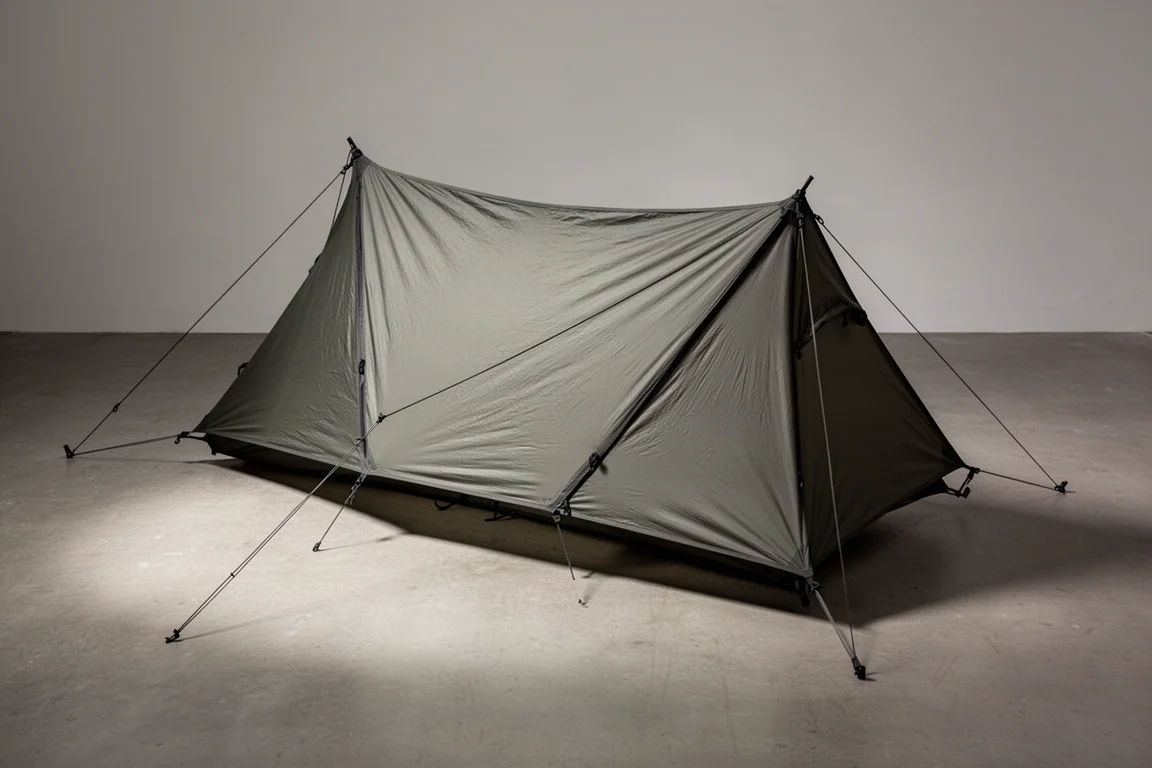
Shelter is where weight savings are felt most, and a one-pound, one-person tent is a genuine luxury on a long climb. The X-Mid Pro 1 is a trekking-pole-supported design, which keeps the packed weight low and the setup simple, and the geometry handles wind well, something that matters on exposed canyon terrain where conditions change quickly.
Pitching any trekking-pole tent in very deep snow raises an obvious problem: the poles sink. Using oversized snow baskets under the pole tips solved it, and the tent stayed standing.
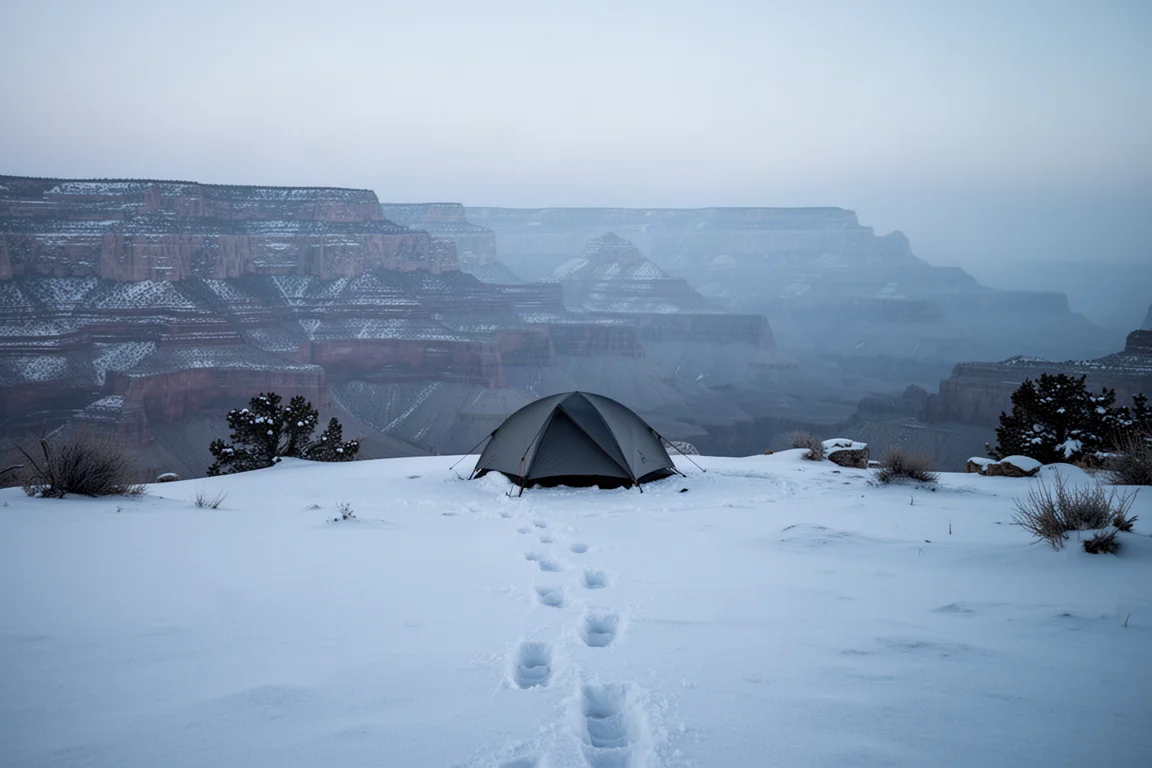
For a solo winter trip where every ounce is counted, a shelter this light takes real strain off the back and, by extension, off the whole day. The main consideration is that trekking-pole tents require you to carry poles you may not otherwise bring.
Hillsound Trail Crampons
Ice is the part of winter travel that stops progress completely. You can walk in snow, but you cannot walk up a steep icy slope without something under your feet that bites.
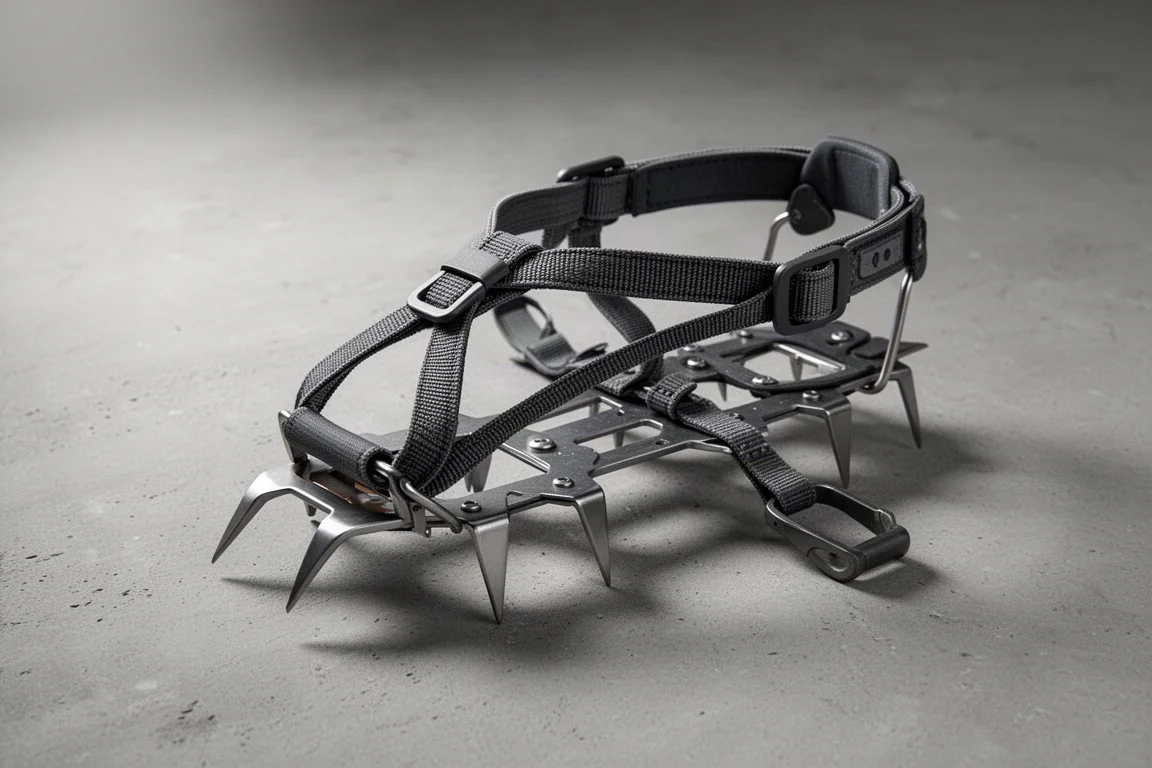
These trail crampons are on the beefier end of the category. They wrap around a boot or shoe and hold securely, with enough spike coverage to make icy terrain manageable on both climbs and descents. On a route with steep, exposed switchbacks, that grip is not a nice-to-have. It is what allows the route to be travelled at all.
Keen Bellows Flex Shoes
Footwear for a trip that spans deep snow and warmer canyon miles is genuinely difficult. A pure winter boot is too much for the lower sections, and a standard trail runner is not warm enough or protective enough for long stretches in powder.
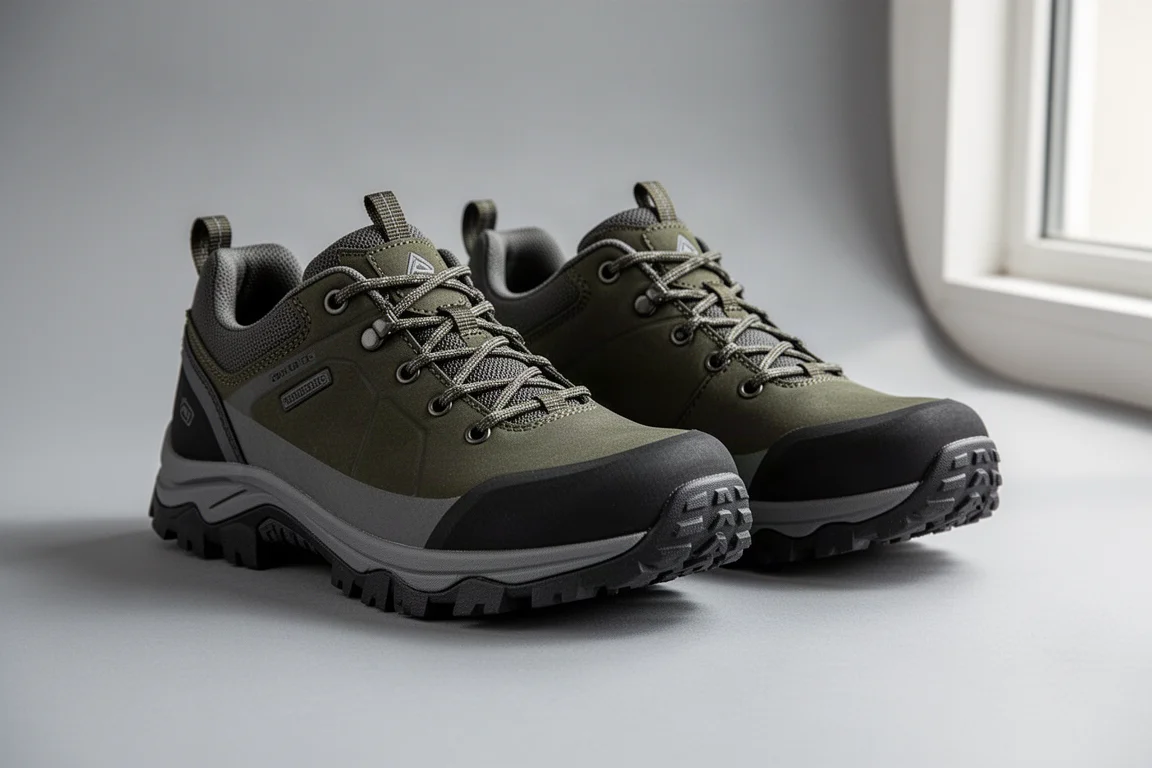
These shoes land in a useful middle. They are waterproof, they are thicker and a little warmer than an average trail runner, and the toe box is wide enough to let toes spread out, which reduces the rubbing that turns into blisters over long days. The toe cap is solid, so kicking through crust and ice chunks does not damage the shoe or hurt the foot.
They are not insulated, so they are not a replacement for a dedicated winter boot in extreme cold, but paired with gaiters they kept snow out even when steps sank to knee depth. The wide fit is the detail that made them work over many miles.
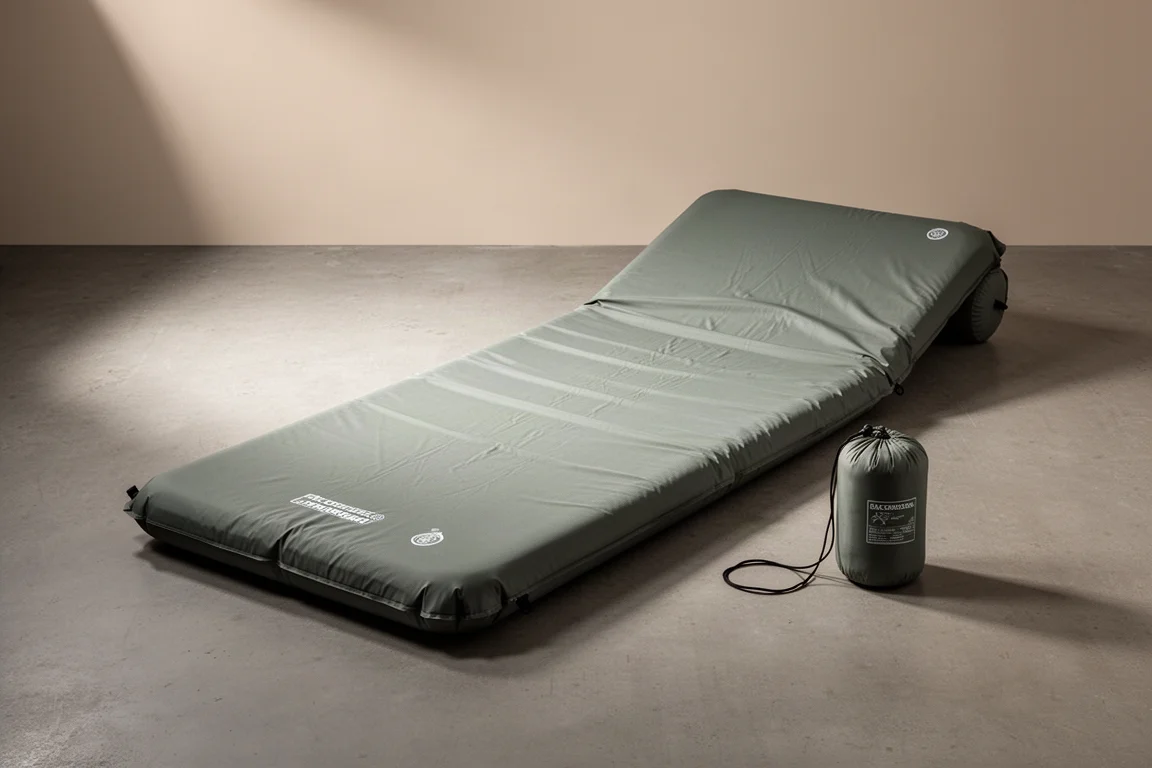
Therm-a-Rest NeoAir XTherm Sleeping Pad
Sleeping directly on snow is one of the fastest ways to lose a night of warmth, and it is why pad insulation matters as much as bag rating. This pad has a 6.9 R-value, which is high enough to be laid straight onto snow without feeling cold rising from below.
The long version weighs somewhere around 17 to 20 ounces, so it is not the lightest pad available, but its warmth-to-weight ratio is the reason to choose it. On a winter trip, the sleeping pad is doing half the work of the sleep system, and this one does it without needing a foam layer underneath.
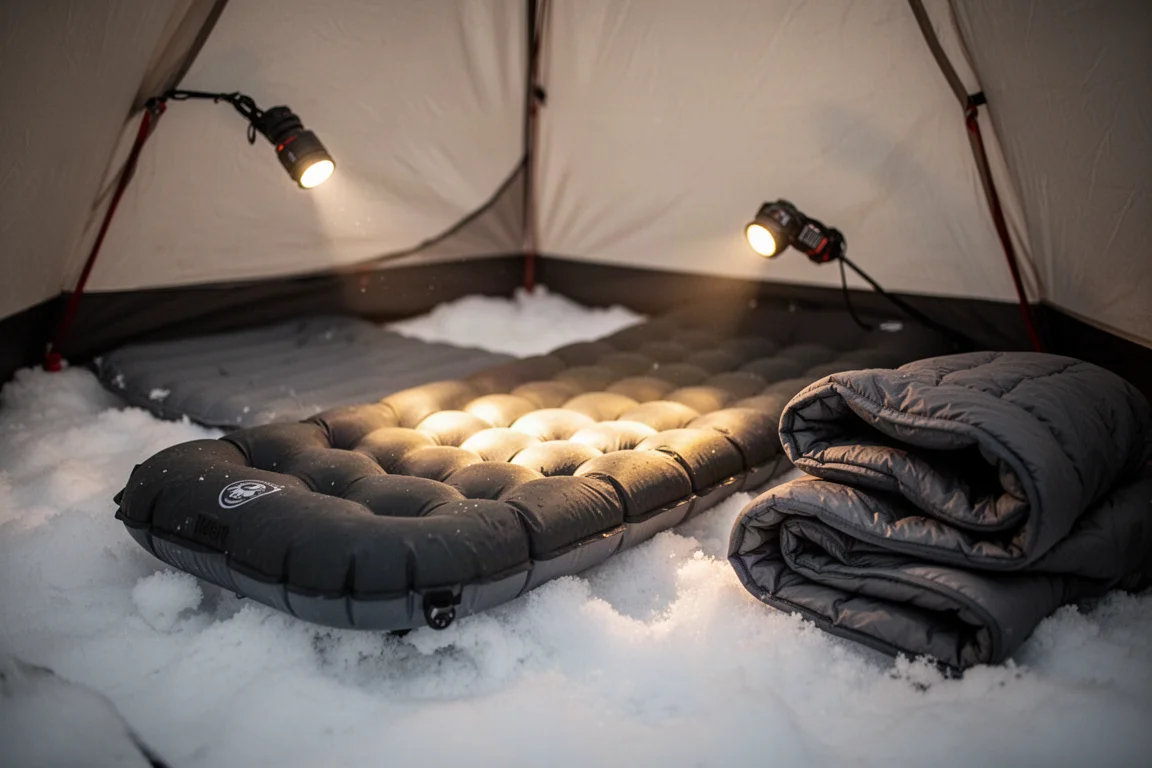
For anyone building a cold-weather sleep system, this is the piece that lets a sleeping bag perform to its rating.
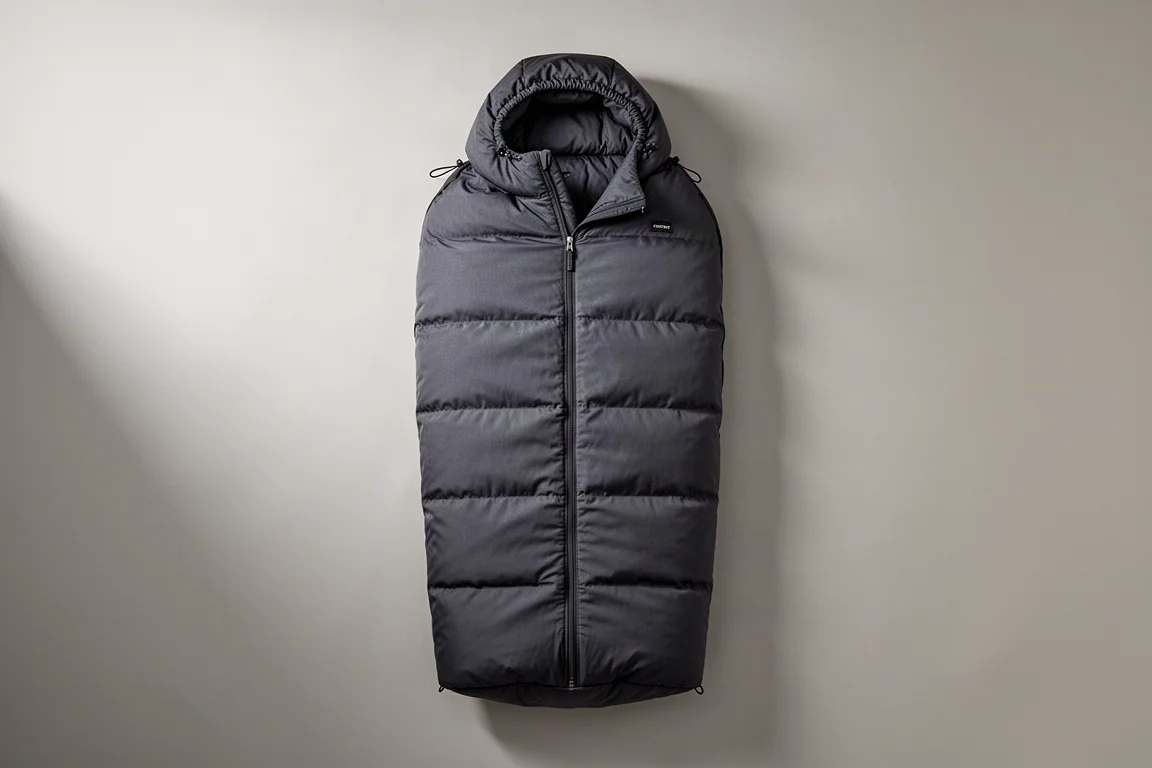
Outdoor Vitals Summit 0°F Sleeping Bag
The most interesting design choice here is the zipper, which runs up the center of the bag rather than along one side. That means you can lie on your back and zip straight up, or lie on your side without fighting a zipper that has rotated out of reach. It also allows the insulation to be distributed evenly around the bag, so the top, sides and bottom all hold the same loft.
That matters because many bags shift down around to save weight, assuming the sleeper stays in one position all night. This one is built for back sleepers and side sleepers alike.
The bag is light for its warmth and it is rated honestly. On the coldest night of the trip, around 16 degrees Fahrenheit, the chill came from other circumstances rather than from the insulation, and it would be reasonable to expect solid performance down to roughly 5 to 10 degrees Fahrenheit. It is also inexpensive for a lightweight down bag, and a warmer negative 15 degree version exists in the same line.
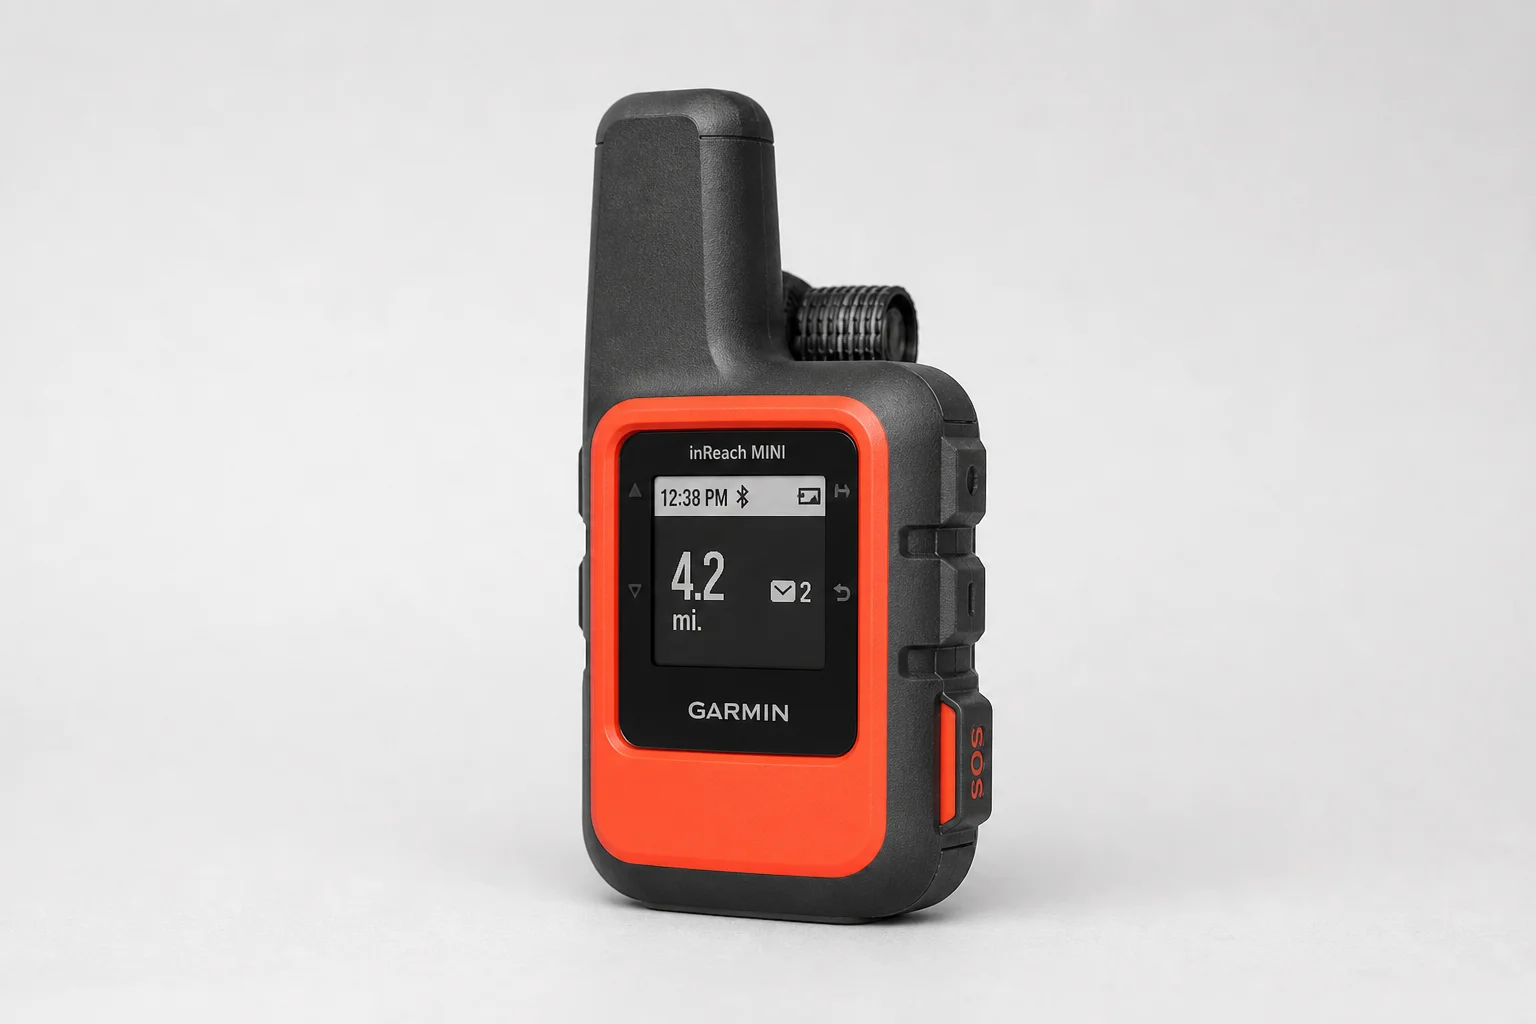
Garmin inReach Mini
A satellite communicator is the one item on this list that has nothing to do with comfort and everything to do with consequence. This one travels on every trip because it provides communication well beyond cell coverage, and it has an SOS button that can call for rescue when there is no other way to get help.
On this trip a cell signal was available, so the SOS function was not needed, which is exactly how it should be. It is still the piece of gear that makes remote travel reasonable to attempt, and it belongs in any kit heading into serious backcountry.
How to Prioritize Gear for Cold, Deep-Snow Trips
If you are building a kit for conditions like these, spend first on the sleep system and traction. A high R-value pad and an honestly rated bag determine whether you recover each night, and crampons and snowshoes determine whether you can move at all. Everything else is optimization.
Second, respect volume. Winter gear is bulky, and an ultralight pack with real capacity handles both the weight and the bulk better than a small pack you have to strap gear onto. The extra couple of ounces for a 70-liter ultralight pack is one of the best trades available.
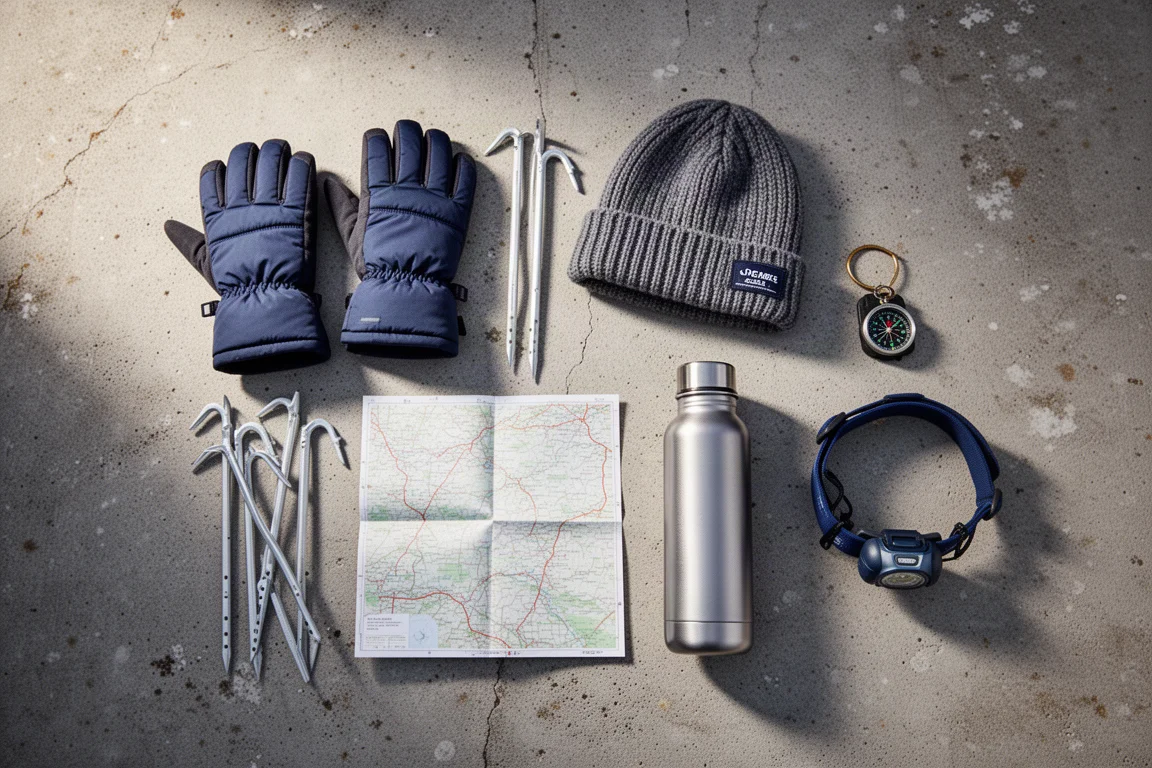
Third, do not buy ultralight versions of safety equipment. Communicators, crampons and snowshoe bindings are not the place to save a few grams. Buy light where weight is truly dead, such as the pack and the shelter, and buy capability where failure has consequences.
Conclusion
None of these items are cheap shortcuts. They are the pieces that made a genuinely difficult winter route possible, and each one solved a specific problem: flotation in deep snow, grip on ice, warmth from the ground up, capacity without shoulder strain, and communication when there is no signal. If your trips are heading into similar conditions, this is a reasonable place to start building a kit you can trust.
Further reading
Related Reviews

Backpacking Gear
Building a 10 lb Base Weight: An Ultralight Backpacking Gear List
A practical walkthrough of the ultralight pieces behind a 10 lb base weight, from a 765 g pack and a roomy one-person tent to a full camp chair and a dependable water filter.
Backpacking Gear
A 15-Pound Lightweight Backpacking Gear List for Solo Trips
A beginner-friendly 15-pound backpacking setup built from easy-to-find gear, with notes on what each piece does, how it packs, and where to spend your attention.
Backpacking Gear
8 Ultralight Backpacking Gear Upgrades Worth Carrying
Eight small, affordable backpacking upgrades that solve real trail annoyances, from a pillow that stays put to a fuel valve that rescues leftover canister gas.