Studio Monitoring
Five Levels of Studio Monitoring: A Practical Upgrade Path for Home Studios
A level by level look at studio monitoring, from reference headphones to pro level monitors, acoustic treatment and a subwoofer, and what each upgrade actually changes.
Introduction
Better gear will not make your music sound good on its own. Skill comes from starting early and practising often, and that matters more than any purchase. At the same time, your monitoring setup determines how much you can trust what you hear. Combine the skill you build through practice with the perspective that comes with better monitoring, and it becomes easier and faster to make your music sound the way you want.
It helps to think about monitoring as a ladder of five levels. You do not have to reach the top, but knowing where you are and what you might be missing makes it much easier to spend money where it actually changes what you can hear. This guide walks through each level and the products that illustrate it.
How to Read the Five Levels
Level one is headphones only. Level two adds a pair of studio monitors. Level three adds acoustic treatment, which is what allows those monitors to perform as intended. Level four upgrades to pro level monitors, and level five adds a subwoofer.
It is worth saying up front that levels four and five can happen in either order. Some producers move to better monitors first and add low end extension later, while others add a subwoofer to an entry level pair. Headphones also remain useful at every level. They travel easily, they isolate you from the room, and they let you check how a mix translates for listeners on headphones.
One mindset carries through the whole ladder. No single monitoring source is objectively perfect, so the goal is not to find a flawless system. The goal is to understand the system you have well enough that you can trust the decisions you make on it.
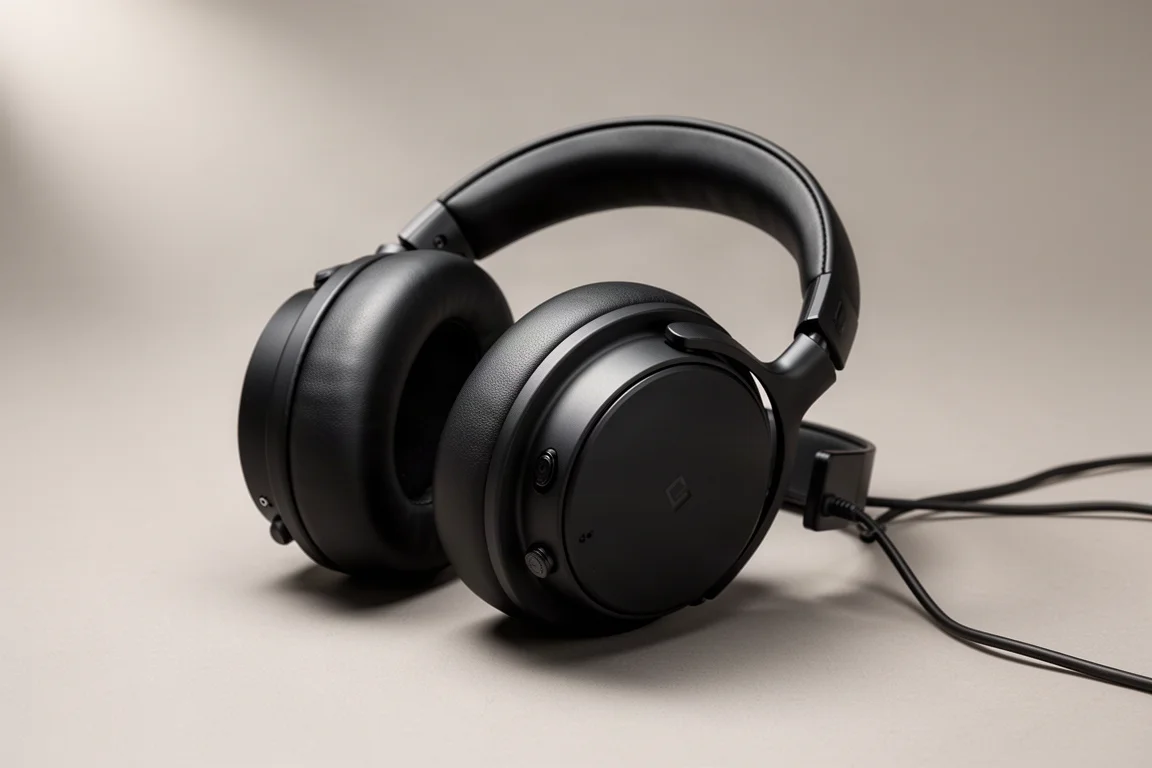
Level One: Reference Headphones and the Adam H200s
If budget is the primary factor, headphones are the sensible place to start. They are affordable, they are consistent, and they do not require any acoustic treatment to be useful.
There is a real difference between typical consumer headphones and reference headphones. Reference headphones are designed to give a flat, accurate representation of the audio, so what goes in is what comes out. Consumer headphones are often designed to hype the bass or make the sound more exciting by altering the frequency balance, which is not what you want when you are making decisions about a mix.
The effect a pair of headphones has on the frequency balance of the signal passing through it is called its frequency response. The Adam H200s is specified at 2 Hz to 23.5 kHz, with a tolerance of minus 3 dB relative to 1 kHz. That tolerance is the important part. A consumer pair might list a wider range, for example 4 Hz to 40 kHz, but being able to produce a wide range of frequencies does not mean the headphones hold an even balance across that range. If a tolerance is not listed, the frequency response figure is difficult to interpret.
Headphone frequency response is also less straightforward than it looks. Ear pad material, positioning on the head and the seal around the ear all change the balance a listener perceives, and different manufacturers target different curves. Some aim for the sound of a particular speaker in a treated room, others for their own proprietary response. The practical conclusion is that no pair of headphones is objectively flat, so producers tend to choose a pair and work with it long enough to learn how it sounds.
The Adam H200s ships with a headphone utility plugin that applies an EQ curve based on the manufacturer’s own measurements. You select the ear pad material, and the plugin applies the matching correction. The target curve can be set to pure, based on the brand’s flagship studio monitors in a treated room, or UNR, based on some of its legacy studio monitors. There is also an externalization control that engages crossfeed, feeding some of the left channel into the right channel and vice versa, which makes the sound behave more like a pair of speakers.
Level Two: Entry Level Studio Monitors and the Adam T7V
Level two introduces studio monitors. They are speakers, but like reference headphones they are intended to tell you the truth rather than flatter the material.
The two biggest differences between listening on headphones and listening on speakers both relate to space. The first is the stereo image. With a stereo speaker setup, a source panned fully left or fully right only reaches about 30 degrees off centre, so you are working with a field roughly 60 degrees wide. Headphones offer a stereo width of 180 degrees. Panning decisions made on headphones can therefore sound much narrower when the same mix plays back on speakers.
The second difference is spatialization. On headphones, the left ear hears only the left channel and the right ear hears only the right channel, which tends to place the sound inside your head. With speakers, sound from the left speaker reaches both ears, and so does sound from the right speaker. The two speakers work together to create a phantom image between them, which is what allows you to place elements across a sound stage in front of you.
Getting that to work depends on setup. The basic guideline is to place the monitors and the listening position in an equilateral triangle, with equal distance between the speakers and to the listening position, and to aim the cabinets at the listening position. High frequencies are more directional than low frequencies, so angling matters.
Speakers also add two things headphones cannot. The first is physical: low frequencies are felt as well as heard, and sound from headphones stays inside the ear cups rather than interacting with the body. The second is the room. With monitors, sound reaches you directly and indirectly after reflecting off surfaces, so you hear both the reverb in the mix and the reverb of the room you are sitting in. A long room reverb can mask quieter elements or reverb tails, which can lead you to use more or less reverb than you otherwise would.
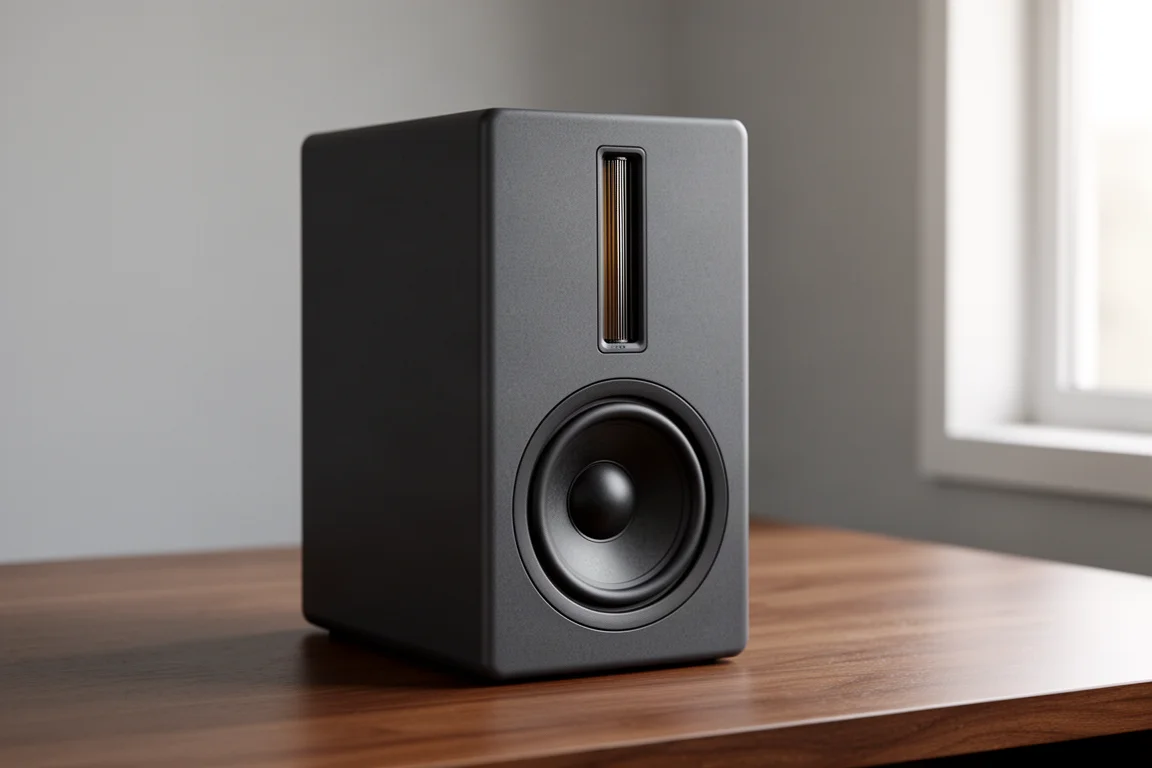
The Adam T7V is a two way monitor with a woofer and a ribbon tweeter, crossed over at 2.6 kHz, with a total amplifier power of 70 watts.
Level Three: Acoustic Treatment Comes First
Level three adds acoustic treatment to the room, and it is the level that changes what you actually hear most dramatically. If the budget allows, moving from level one straight to level three is worth considering, because monitors in an untreated room cannot show what they are capable of.
A speaker’s frequency response is measured by playing a reference signal into the speaker and measuring what comes out. Manufacturers measure this in an anechoic chamber, a room treated on the floor, the ceiling and the walls so that it has virtually no reflections, which isolates the monitor’s own response. In a real studio, the room adds its own frequency response on top of that.
In an untreated room with rigid, flat surfaces, sound reaches the listening position by several paths. The direct sound arrives first, and reflections from hard surfaces arrive slightly later. When they meet at the listening position they interfere with each other. With a single sine wave that could mean cancellation or summation, but music contains many frequencies at once, so the same difference in distance produces a different result at every frequency. Some frequencies cancel, some sum and get louder. The resulting response graph looks like a comb, which is why the effect is called comb filtering.
EQ correction software can address some room effects, but it cannot fix the cancellations caused by early reflections. If a frequency is being cancelled, boosting it also boosts the reflection causing the cancellation, which changes nothing. Placing absorption at the reflection points is the effective fix, and the first reflections matter most because they are closest in level to the direct sound.
Longer reflections are a different problem. The more sound bounces around the room, the longer the reverb tail becomes, and uneven decay across frequency bands can distort your sense of how much reverb a listener will hear. Rather than trying to absorb everything, the usual aim is to smooth the decay so all frequencies fall away at a similar rate. A completely dead room is not the goal either, since nobody listens to music in an environment with no reverb at all.
Low frequencies are the hardest part. The most troublesome resonances in small rooms are axial room modes, which occur between pairs of surfaces such as the floor and the ceiling or the side walls. Absorbing them requires thicker panels as frequency drops, which costs space and risks absorbing too much high frequency energy at the same time. A few strategically placed panels still make a large difference compared with none, and treatment can be improved incrementally over time.
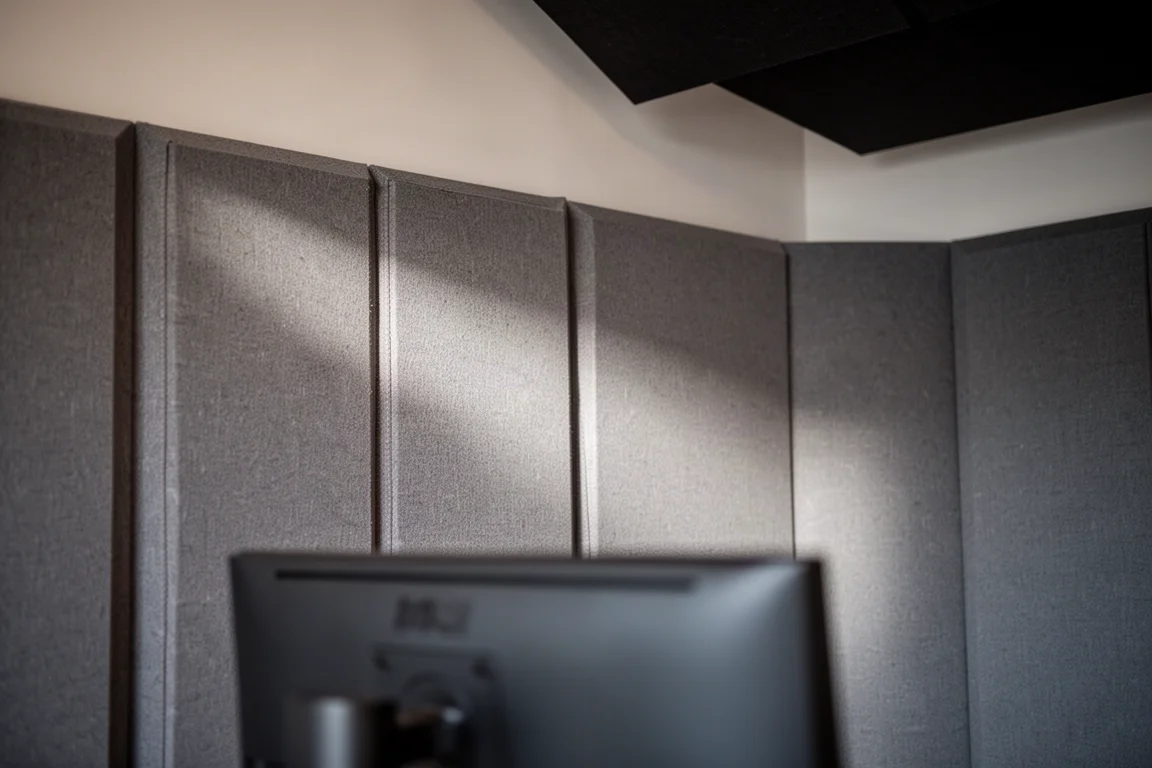
Perfect is not the target. A treated room with some residual unevenness is a far better working environment than a bare room with the same monitors in it.
Level Four: Pro Level Monitors and the Adam A7V
Level four means upgrading from entry level monitors to pro level monitors. It only makes sense with at least some acoustic treatment in place. Without treatment, the room remains the dominant factor in what you hear, and better monitors are a poor use of budget.
Before upgrading, it helps to understand what you are paying for, because spec sheets can make monitors at very different price points look similar. Comparable frequency response ranges, driver sizes and form factors tell you very little about the differences that matter.
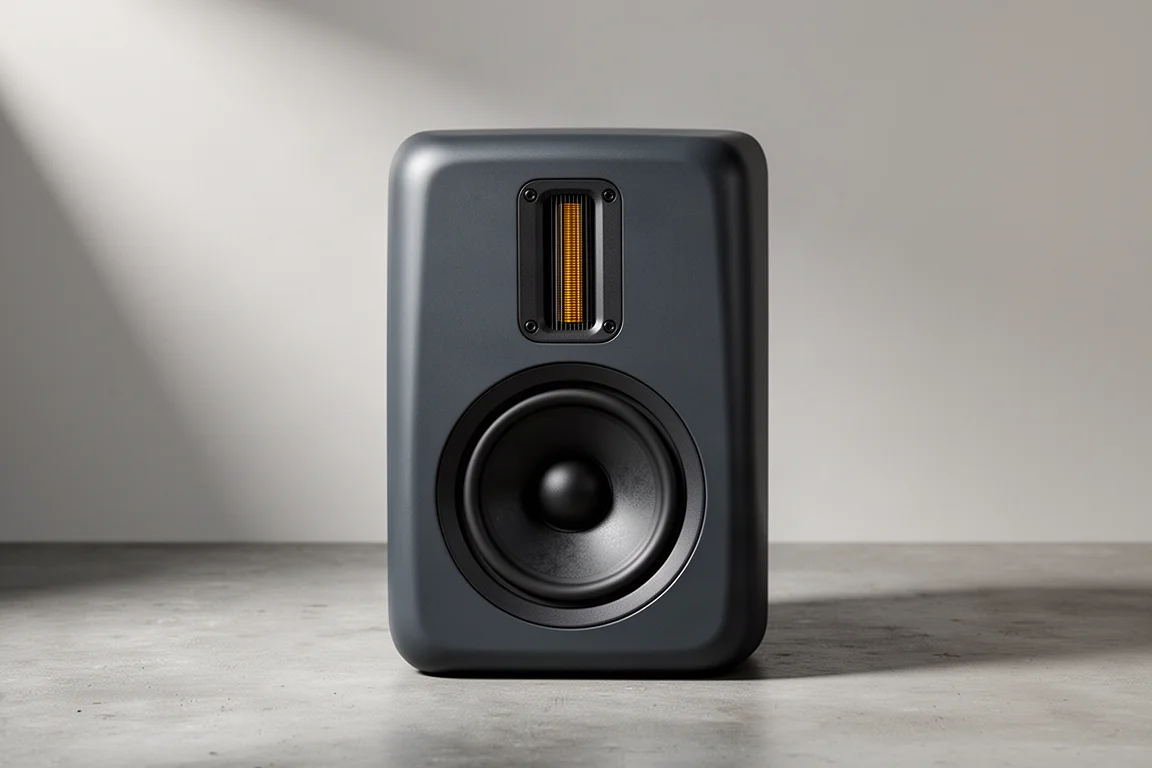
One significant difference is the number of drivers and how the frequency spectrum is divided between them. A two way monitor has a woofer for the low end and a tweeter for the high frequencies. The Adam A7V is a two way design with a crossover at 2.8 kHz.
Amplifier power is another. The Adam T7V has a total amplifier power of 70 watts, while the A7V nearly doubles that at 130 watts. More power is not mainly about playing louder, since the maximum SPL difference between the two is not dramatic. It is about headroom, the gap between your normal listening level and the point where the amplifier starts to strain. Transients such as kick drum hits are where that strain shows up first, and an amplifier with plenty of headroom reproduces those peaks cleanly while one operating closer to its limits introduces subtle compression or distortion. That difference can shape your perception of dynamics and clarity.
Higher power also affects the low end. Low frequencies need more energy to reproduce, and the amplifier has to control the physical movement of the woofer. A higher powered amplifier maintains better control over that motion, which is one reason two monitors with the same woofer size can sound quite different in the bass, one tight and defined, the other loose or slightly bloated.
Finally, higher end monitors often include practical features. The Adam A7V has an integrated parametric EQ and additional DSP that can be used to adjust how the monitor interacts with a specific room, including integration with Sonarworks SoundID Reference. Building correction into the monitor applies it at the end of the signal chain, after everything else, which means sources that never pass through your DAW are still corrected. A software plugin only processes what goes through the DAW, and it can also introduce quirks that interrupt a session.
Three Way Monitoring: The Adam A77H
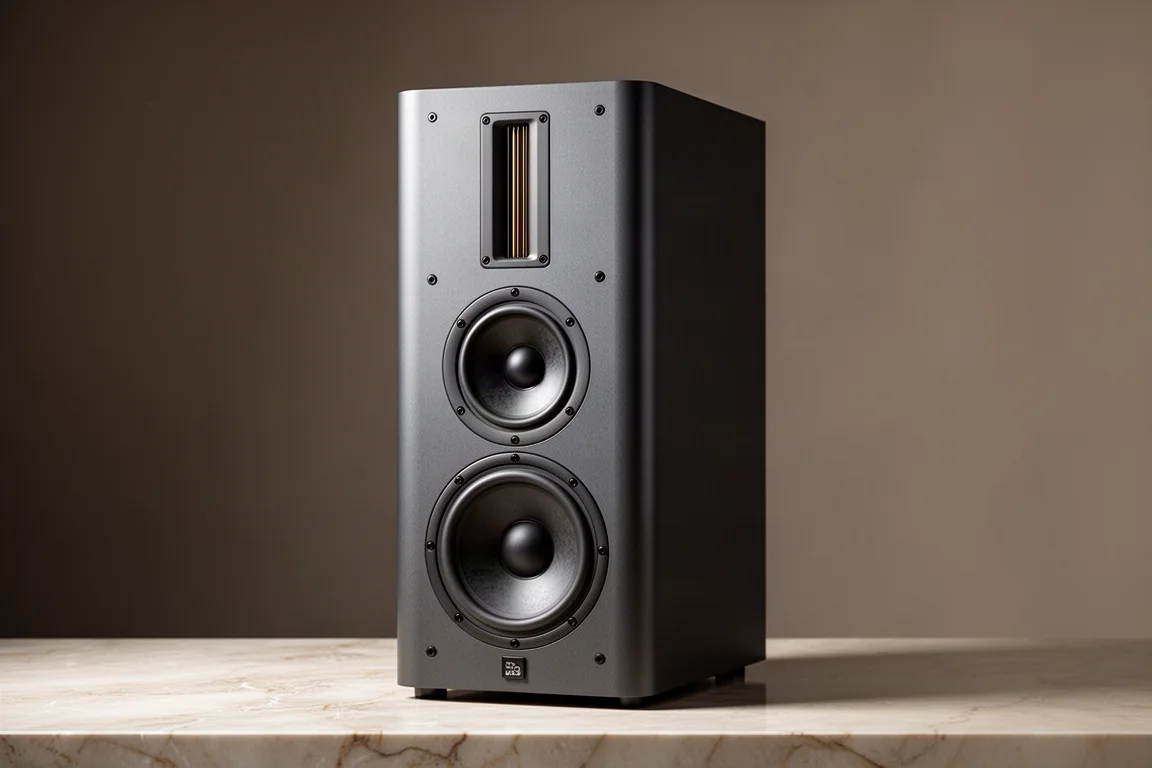
A three way monitor adds a dedicated midrange driver, splitting the work into three bands. This matters because the midrange is arguably the most critical part of a mix. Vocals, guitars, pianos and most melodic instruments live there, and asking a single driver to cover both the low end and the midrange means it has to work across a very wide range of frequencies at once. A dedicated midrange driver covers a narrower range and does its job more efficiently.
The Adam A77H is an example of a three way cabinet. Like the A7V, it includes an integrated parametric EQ and additional DSP for room adjustment, along with integration with Sonarworks SoundID Reference. The same logic applies here as at the rest of level four: the improvement is real, but it is most audible when the room is not fighting the monitors.
Headroom and Control: The Adam S2V
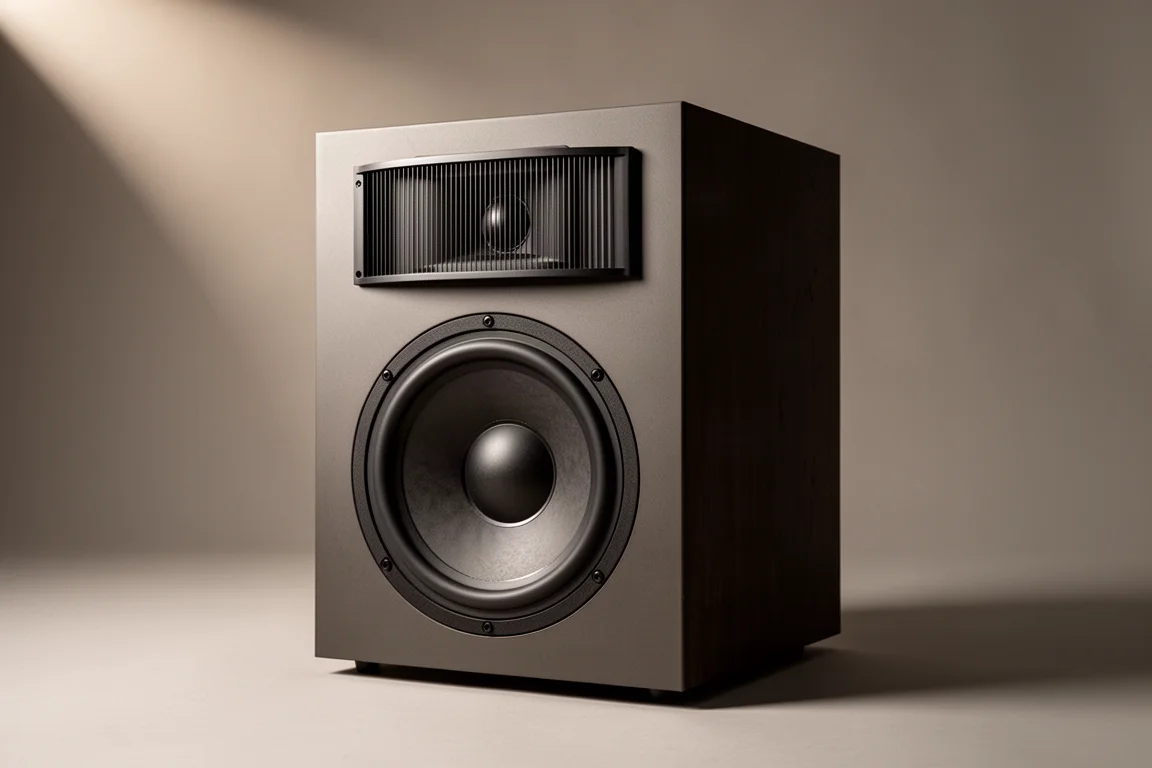
The Adam S2V sits at the top of this ladder. It is still a two way design with a 7 inch woofer, but its amplifier power of 350 watts more than doubles the A7V’s 130 watts.
That power is about control as much as output. With more headroom, transient peaks are reproduced cleanly rather than compressed, and the amplifier keeps a firmer grip on the woofer’s movement, which shows up as bass that sounds tighter and more defined rather than loose or slightly bloated.
Design materials matter too. Adam uses ribbon tweeters across the range, including at the entry level, which distinguishes these monitors from the soft dome or textile dome tweeters often found at comparable price points. There is also a meaningful difference between the ribbon tweeter used in the T7V and the S-ART tweeter found in the S series. That is not to say ribbon tweeters are always better, since plenty of excellent monitors use dome designs. The point is that tweeter design can influence decisions about sibilance on vocals, the brightness of acoustic instruments, and high frequency detail in cymbals, so it is worth listening to the options before deciding.
Room Correction with Sonarworks SoundID Reference
Your room adds its own frequency response on top of whatever the monitors are doing, and acoustic treatment is the best way to deal with it. Even in a treated room, some effects remain, such as a slight bump at a particular frequency or boundary reinforcement when monitors sit close to a wall. Software can address part of this.
Sonarworks SoundID Reference is a widely used option for correcting the variations between individual headphone models and bringing them closer to a flat response using EQ. The same kind of correction is available for monitors, and both the Adam A7V and the A77H integrate with SoundID Reference through their onboard DSP.
The advantage of correction inside the monitor is that it applies at the very end of the signal chain. Everything you monitor is corrected consistently, whether the signal came from your DAW or from an external instrument, a CD player or a phone connected through a patch bay. A software plugin, by contrast, only processes what passes through the DAW.
It is worth being clear about the limits. Correction software cannot repair the cancellations caused by early reflections, which is why treatment comes first and correction comes after.
Used alongside treatment, correction handles the smaller residual problems that treatment leaves behind, which is a sensible division of labour for a home studio.
Level Five: Adding a Subwoofer
Level five is not a monitor upgrade at all. It is the addition of a subwoofer.
At level four you might have moved from desktop monitors that reproduce down to about 45 Hz to pro level monitors that reach 40 Hz or lower, and from a two way system to a three way one that divides the work more efficiently. A subwoofer achieves something similar in a different way. It can open up a full octave below what the monitors reproduce, and it adds a dedicated driver focused purely on low frequencies.
The practical benefit is that you can hear what you have been missing. If you mix without a subwoofer, the lowest frequencies in your mix are simply not part of what you hear, beyond the effect they have on the range your system can reproduce. That is only part of the picture.
A subwoofer also adds complexity. Low frequencies are difficult to control in a room, which is the same problem that makes bass treatment so demanding. Calibration matters more once a subwoofer is involved, because you are introducing both space and time into the equation. Aligning the subwoofer and the monitors physically so their sound reaches the listening position in phase is important, especially around the crossover region. If that alignment is not possible, a delay may be needed in the signal flow to keep the mains and the sub phase aligned at the crossover frequency.
Buying Advice: Which Upgrade Order Makes Sense
The right order depends on where you are starting and what you already have.
If budget is the main constraint, begin with reference headphones. They are affordable, they are consistent, and they work without any acoustic treatment, which makes them the most practical starting point. A pair like the Adam H200s also gives you a correction plugin and a crossfeed option that make headphone work more predictable.
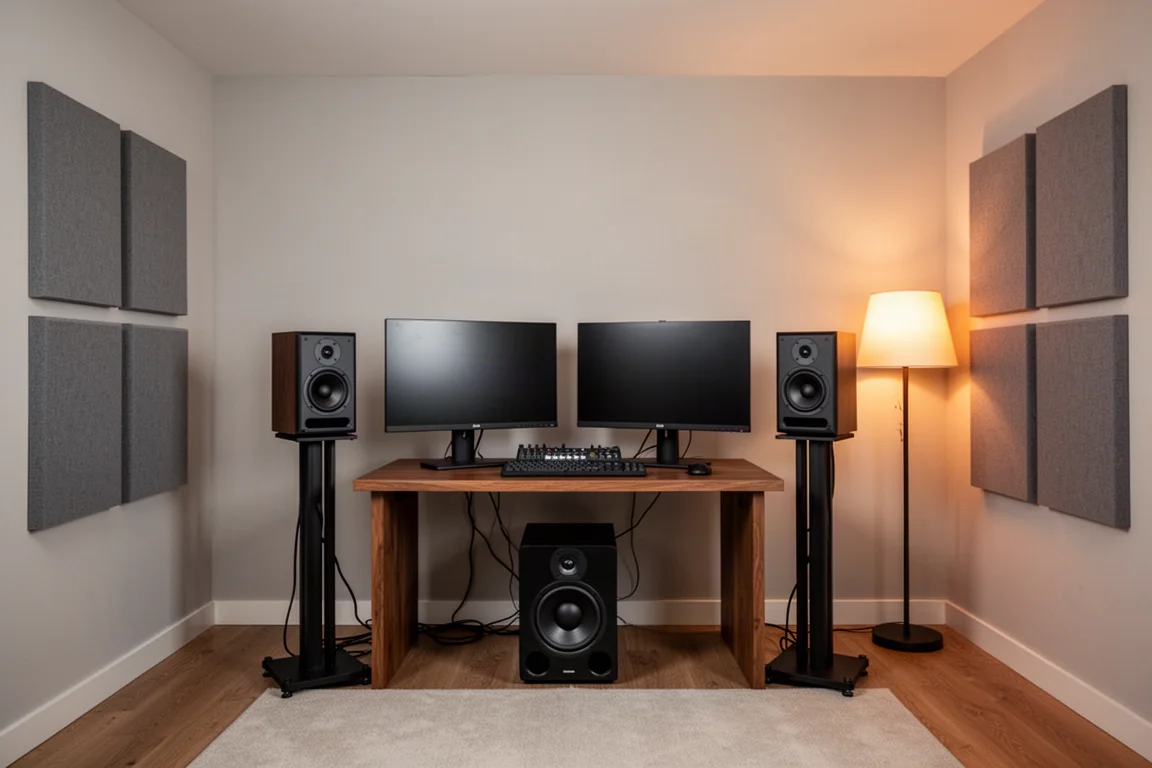
If you are moving to speakers, plan the room at the same time as the purchase. Monitors in an untreated room will not show what they can do, and the money spent on treatment is often more audible than the money spent on a monitor upgrade. A sensible path is to go from headphones directly to monitors plus treatment, then upgrade the monitors once the room is under control.
Headphones stay in the picture at every level. They are portable, they isolate you from the room, and they are the fastest way to check how a mix translates for listeners on headphones.
Levels four and five can be taken in either order. If your mixes feel like they lack low end information, a subwoofer may be the more useful addition. If your decisions about balance and detail feel uncertain, better monitors are likely to help more.
Whatever you choose, the gear is only half of the equation. Better monitoring with no skill behind it will not make your music sound good. Practice and ear training are what turn a clearer monitoring setup into better mixes.
Conclusion
Monitoring is a ladder rather than a single purchase. Reference headphones solve the starting problem affordably and without room treatment. Studio monitors reveal stereo placement and low end weight that headphones cannot. Acoustic treatment is what lets those monitors tell the truth. Pro level monitors add driver separation, headroom and built in room correction. A subwoofer extends the picture an octave lower. You do not need all five levels to make good music, but knowing which level you are working at makes it much easier to decide what to buy next, and what to leave alone for now.
Further reading
Related Reviews

Backpacking Gear
Building a 10 lb Base Weight: An Ultralight Backpacking Gear List
A practical walkthrough of the ultralight pieces behind a 10 lb base weight, from a 765 g pack and a roomy one-person tent to a full camp chair and a dependable water filter.

Road Bikes
10 New Road Bikes Worth Watching: Aero, Titanium, Steel and Endurance Standouts
A practical roundup of 10 new road bikes, from aero flagships chasing single-watt gains to titanium, steel and endurance platforms built for real roads.

Bikepacking Gear
11 Bikepacking Essentials for Long-Distance Cycling
Eleven bikepacking essentials for long-distance cycling, from a steel gravel frame and a two-person tent to helmet lights, packable gloves, and a frame bag that puts weight in the right place.