Backpacking Gear
First Backpacking Setup: Essential Gear for New Backpackers
A practical beginner backpacking gear list covering shelter, sleep system, pack, water treatment, cooking, clothing, and the small essentials that make or break a trip.
Introduction
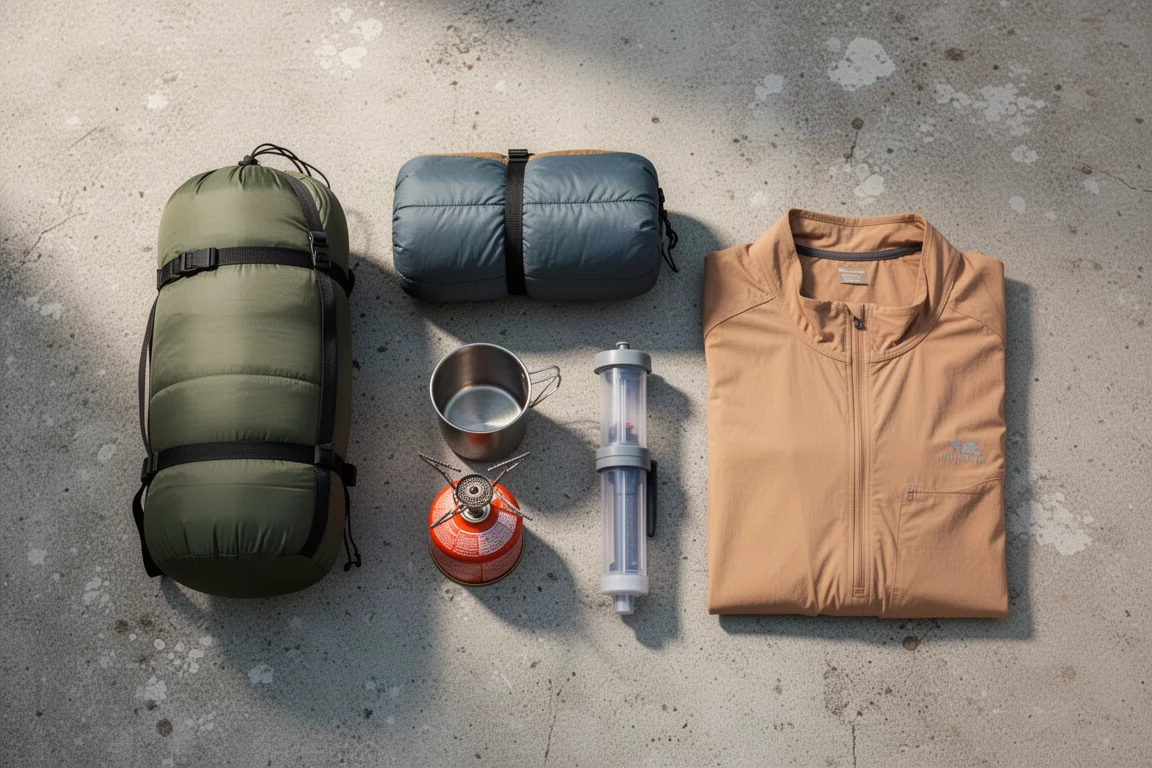
Building a first backpacking setup is less about buying the most expensive gear and more about assembling a system that covers the basics without weighing you down. The list below covers the essentials: shelter, sleep, a pack to carry it all, water treatment, cooking, clothing, and the small items that quietly decide whether a trip goes smoothly.
Nothing here is mandatory in a specific brand. What matters is understanding why each piece exists and how it fits with the others.
How to Build a First Backpacking Setup
The instinct for most new backpackers is to buy the backpack first. That is backwards. Shelter, sleep system, and cooking gear determine the volume and weight you will be carrying, and those numbers decide how large a pack you actually need.
A practical order looks like this: choose a shelter, choose a sleep system, then choose a pack sized to hold both. Water treatment, cooking gear, and clothing come next, and the small essentials fill the gaps. Buying in this order keeps you from ending up with a pack that is too small for a two-person tent or too large for a refined ultralight kit.
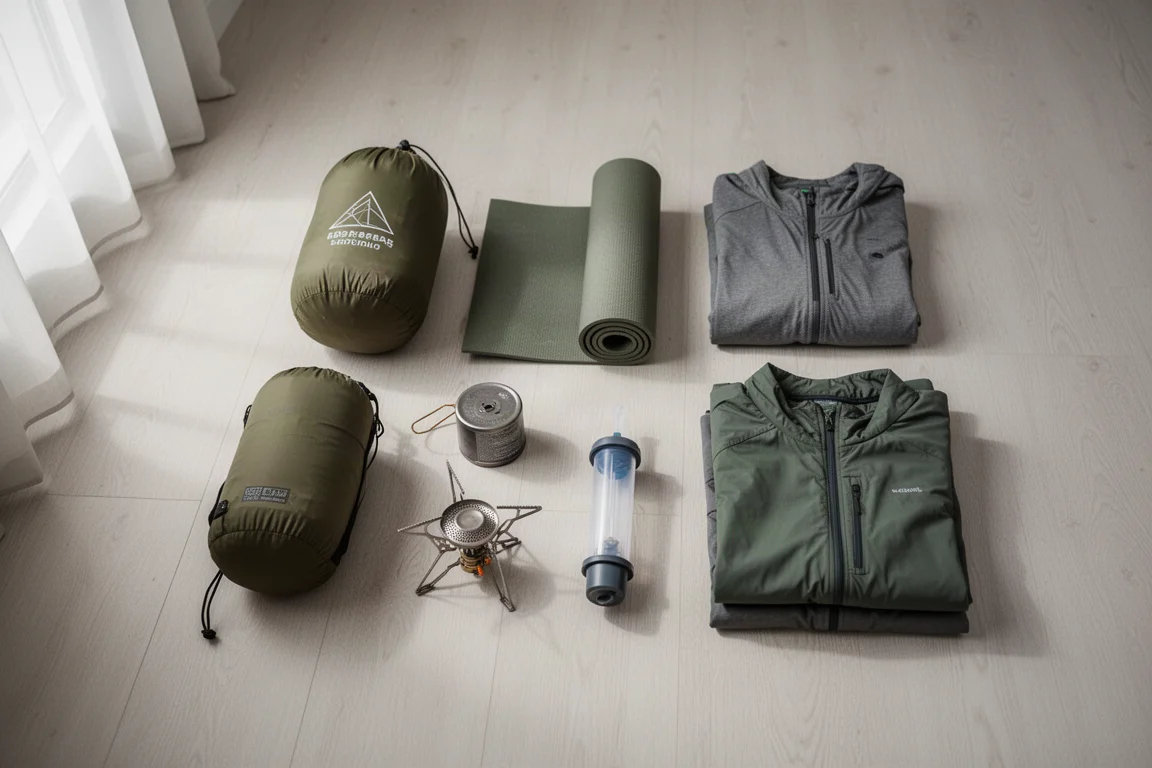
Weight and bulk are the two variables that drive cost in backpacking gear. Lighter and more compressible equipment generally costs more, and that trade-off is the main reason two tents of similar size can sit at very different price points. For a first setup, comfort and usable space usually matter more than shaving grams.
Shelter: The Nemo Dagger
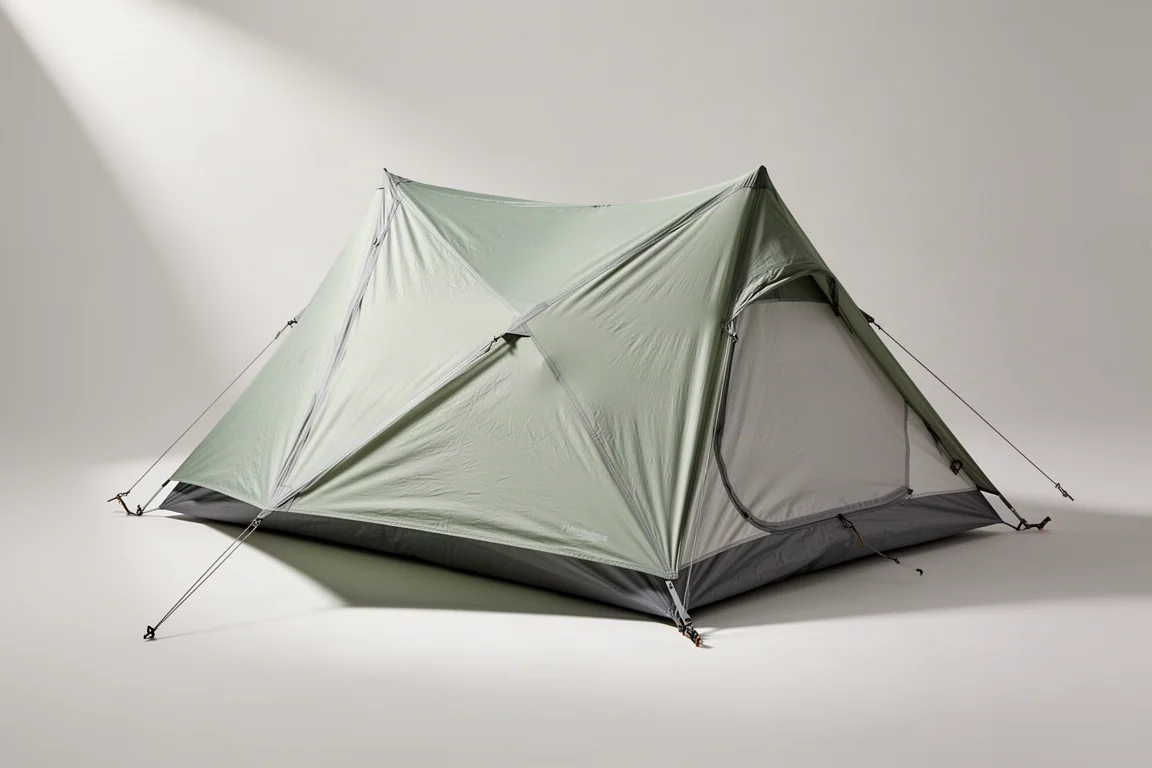
A tent is the simplest starting point for shelter. Tarps, hammocks, and bivy sacks all have their place, but a tent is the most forgiving option for someone learning how to camp comfortably in three-season conditions.
A two-person tent is the recommendation here even for solo trips. The extra space is useful while you are still figuring out how much gear you carry, and it leaves room for a partner, a friend, or a dog without forcing an immediate second purchase. The Nemo Dagger is a lightweight three-season backpacking tent that compresses well for its size. As with most shelter, paying more generally buys lower weight and less bulk rather than more features.
Sleep System: ZenBivy Bed
Sleep is where a lot of first trips fall apart, and the sleep system is the part of the kit most worth getting right. The two main routes are a traditional sleeping bag or a quilt.
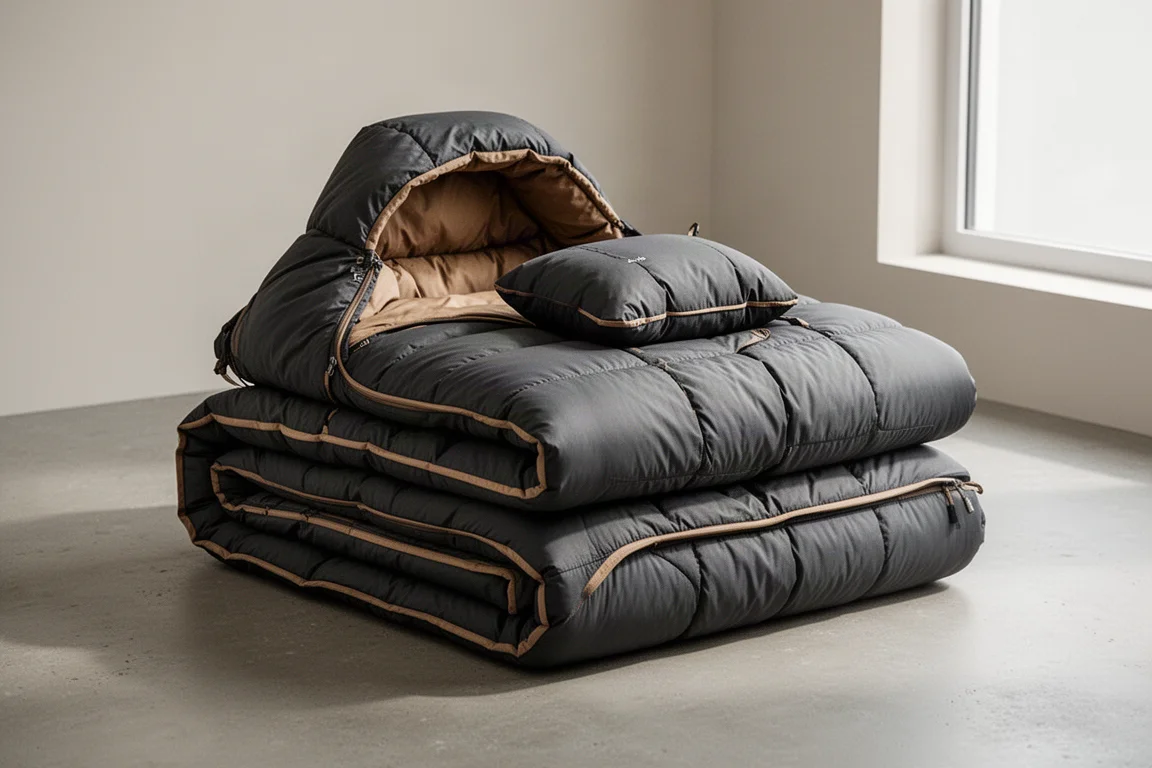
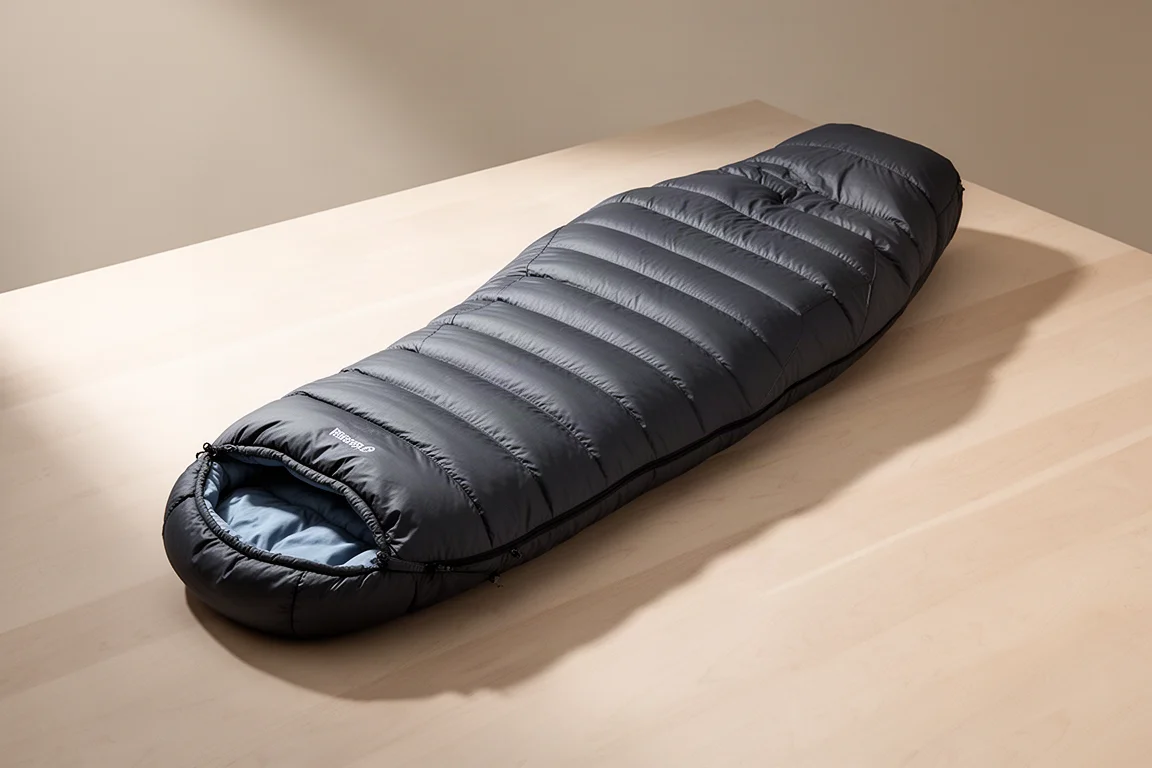
The ZenBivy Bed is a quilt system that leans toward comfort, with a plush feel and a pillow system included as part of the setup. It suits campers who want a more spacious, bed-like sleeping arrangement rather than a fully enclosed bag, and it pairs naturally with an inflatable sleeping pad.
A Sleeping Bag Alternative: Nemo Disco
Most newcomers are more comfortable in a traditional sleeping bag, and the Nemo Disco is a strong example of that format. A bag gives you an enclosed, familiar shape and removes the learning curve that comes with quilt straps and pad attachment.
The temperature rating you choose should reflect the conditions you actually expect to camp in. Colder trips call for a warmer rating, and warm-weather trips do not require one.
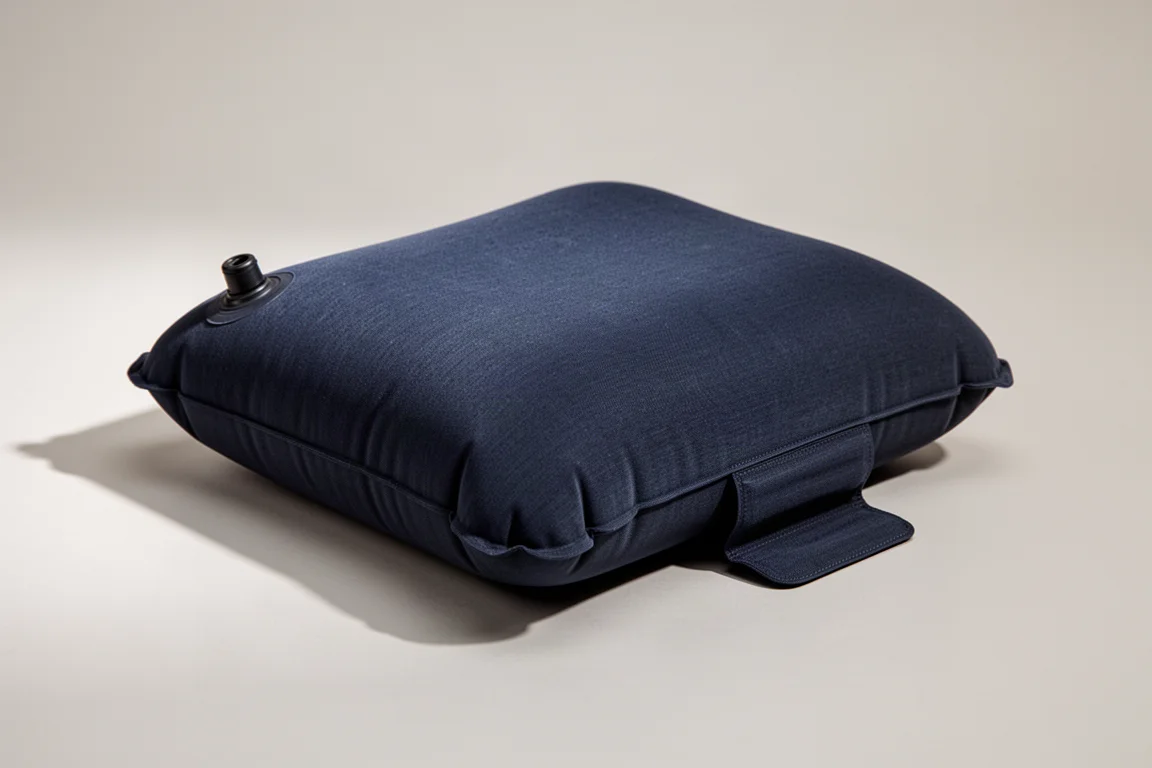
Sea to Summit Interlock Pillow System
A dedicated pillow is a small luxury that pays off over a full night’s sleep. The Sea to Summit Interlock pillow system connects to a sleeping pad setup, so it stays where you put it instead of sliding off in the night. The alternative is stuffing spare clothing into the hood of a sleeping bag, which works but rarely feels like a pillow.
Backpack: Ultra Light Adventure Equipment Catalyst
With shelter and sleep sorted, the pack size becomes a calculation rather than a guess. Somewhere in the 55 to 65 liter range is a sensible starting point for a first backpack. It sounds large, but new backpackers tend to carry more, and a bigger pack lets you grow into the hobby before sizing down later.
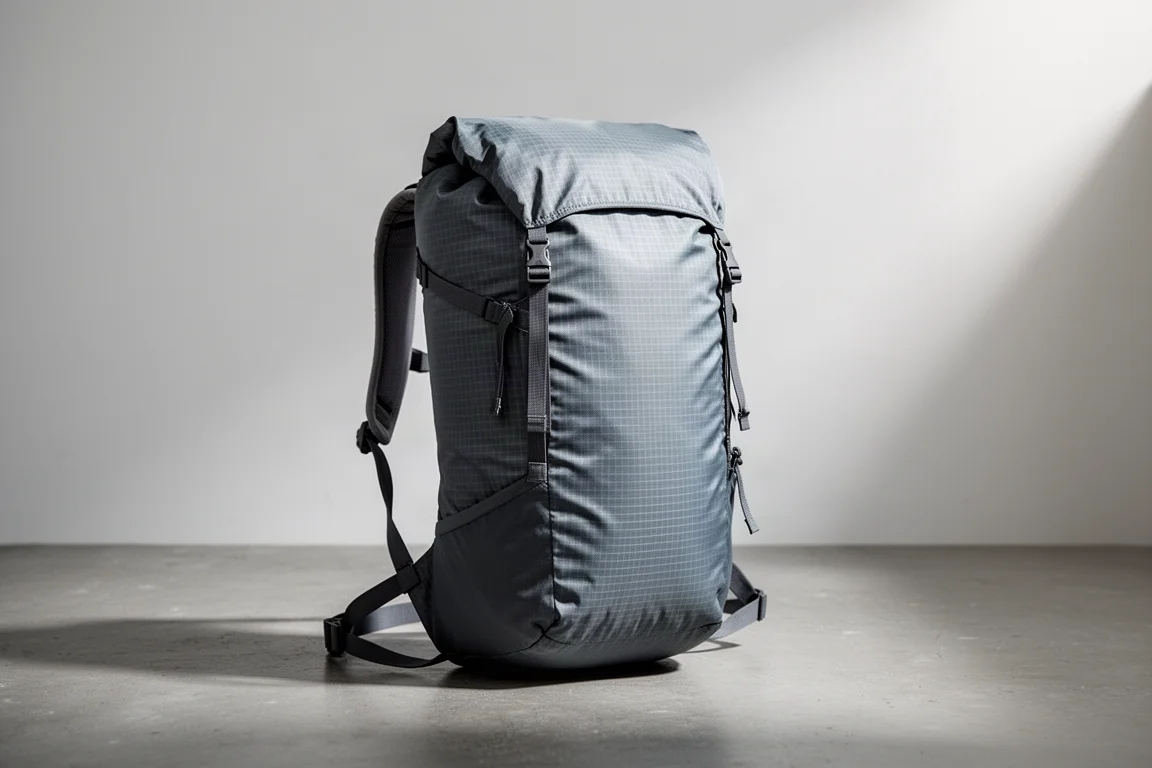
Packs fall into two broad camps. Feature-rich designs with multiple pockets, compartments, and hydration sleeves are easier for beginners because there is an obvious place for everything. Minimalist packs like the Ultra Light Adventure Equipment Catalyst go the other direction: material and straps, very little else, and a very low weight. That simplicity works well once your kit is dialed in, but it offers no place to hide disorganization.
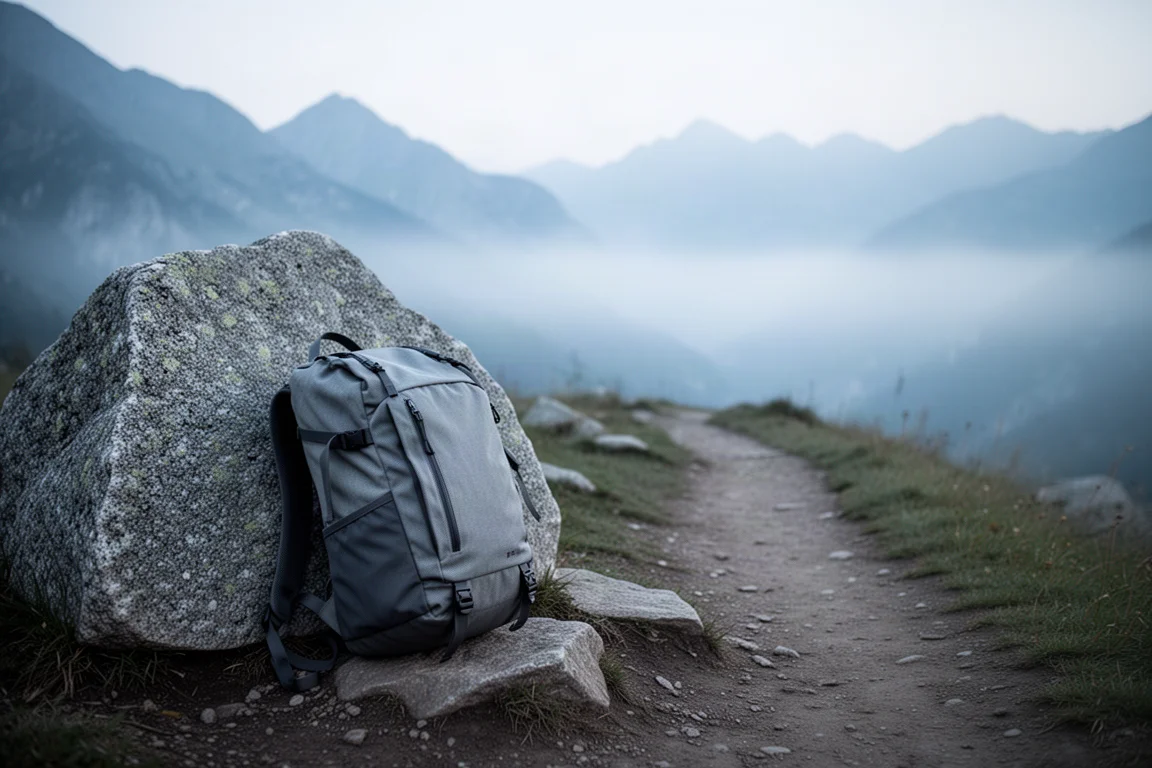
The Catalyst is built for people who already know what they carry and want the lightest possible way to carry it. It has no hydration reservoir sleeve, which is a deliberate trade-off rather than an oversight. Carrying water in a bottle instead of a reservoir is one way to work around it.
Water Treatment: Sawyer Filter
Water treatment is not optional on any trip where you plan to refill from a natural source. Options range from gravity filters that hang from a tree and serve a group, to squeeze-style filters, to filters that screw directly onto a bottle.
The Sawyer filter is the compact end of that range. It is small enough to carry in a pocket, can be threaded onto a standard plastic bottle to filter as you drink, and can also be paired with a squeeze bag. It is one of the more affordable pieces in a backpacking kit, and it remains one of the most versatile.
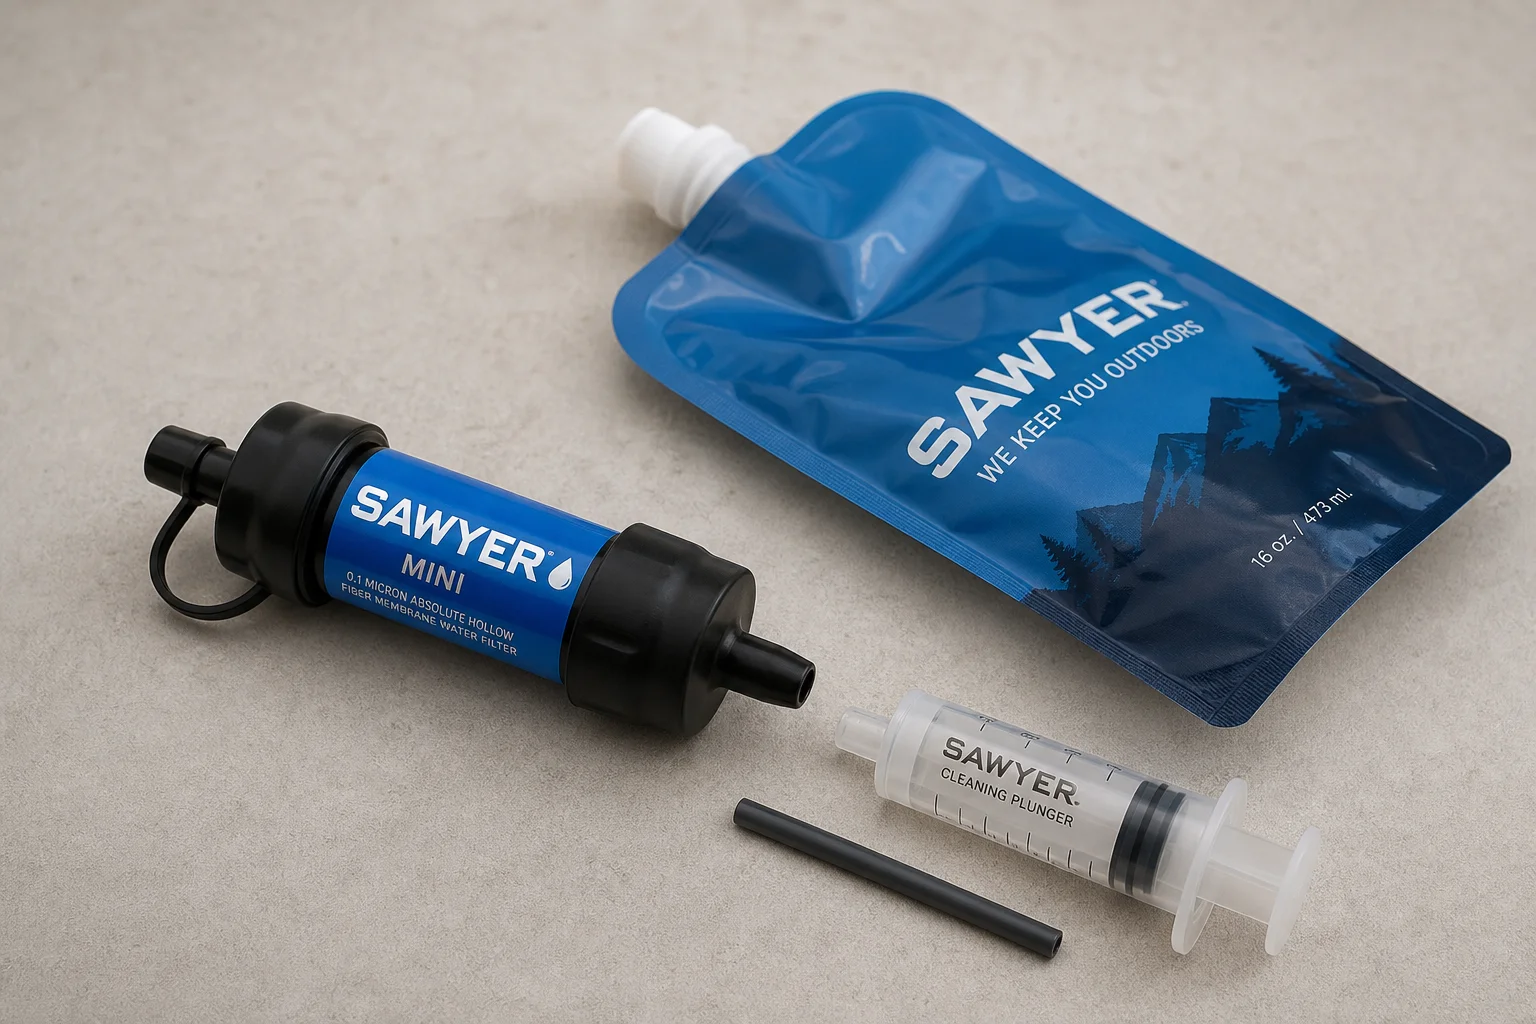
LifeStraw
A straw-style filter is another way to cover the same need, and it can be combined with bags and hose to create a gravity setup when you have the space or extra people to serve. Gravity filtering is simply easier when you are treating water for more than one person. For a solo hiker, a straw filter or a small squeeze filter is usually enough.
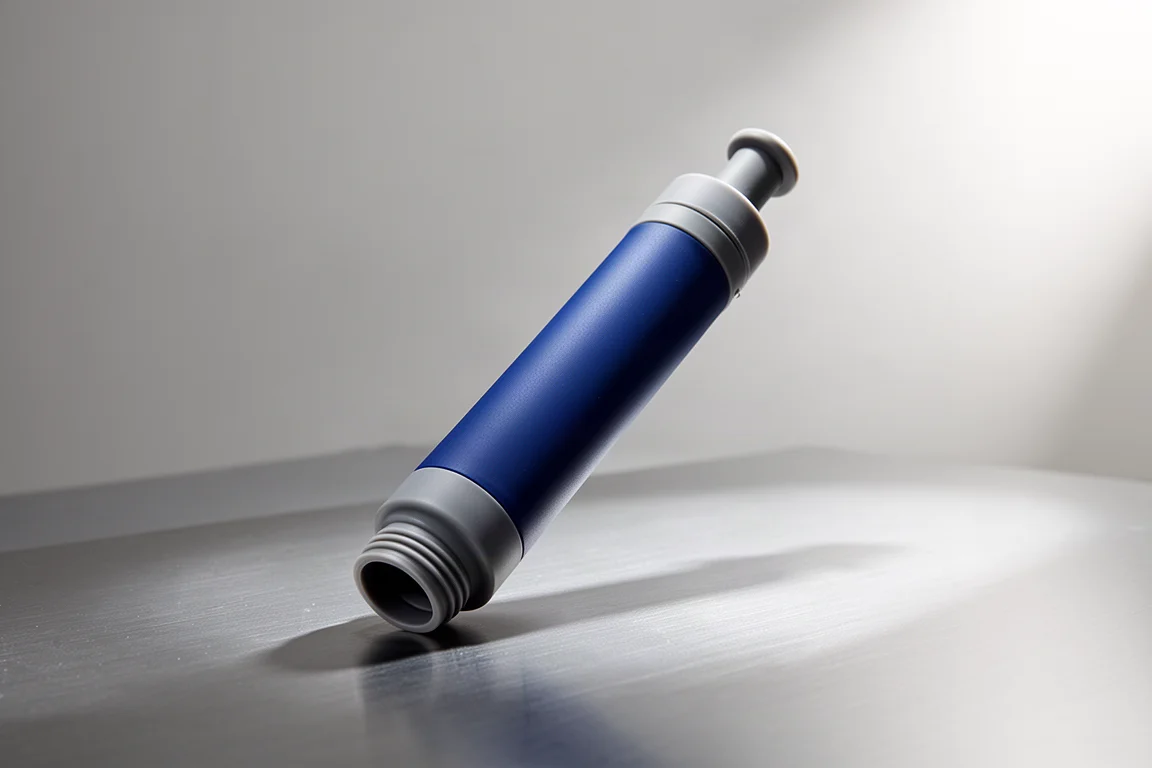
Cooking: Jetboil
Cooking gear is technically optional. You could carry only ready-to-eat food and skip the stove entirely. Most backpackers, however, want hot water for dehydrated meals, coffee, and tea at the end of a day.
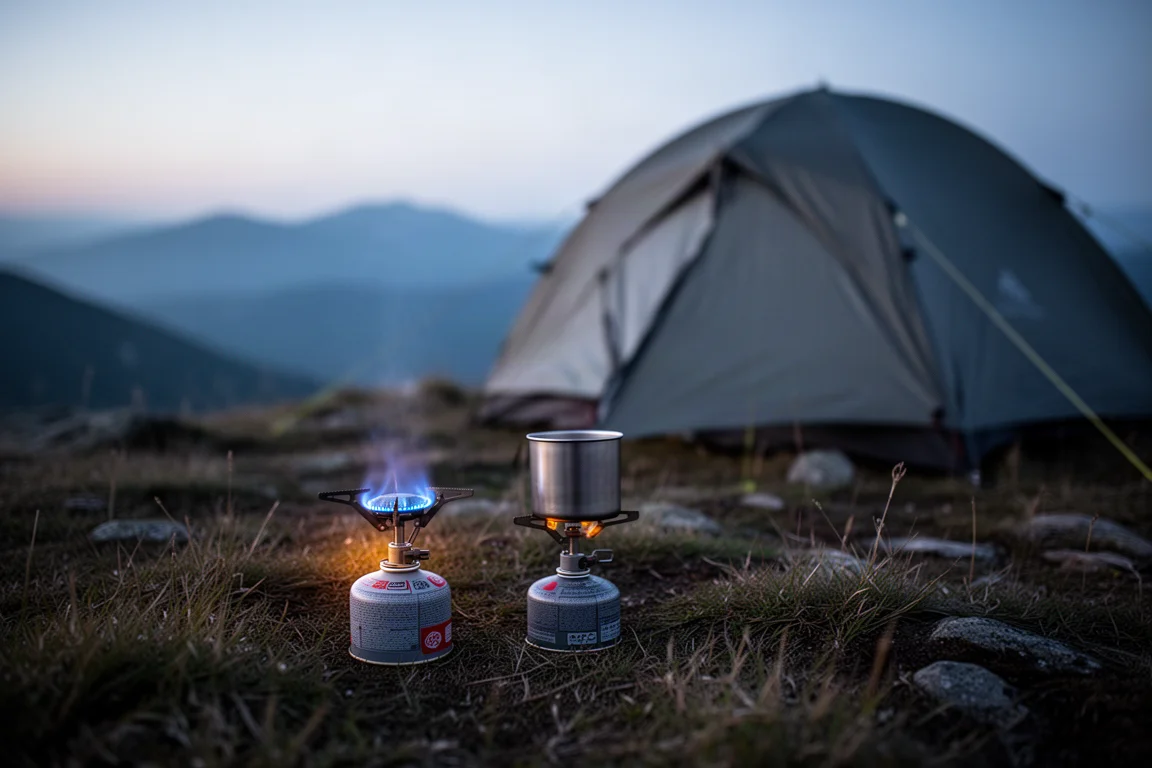
The Jetboil is an integrated system: a burner and a pot combined into one unit that boils water quickly and doubles as a cup for rehydrating meals. It sits at the more expensive end of cooking gear, and the convenience and speed are what you are paying for.
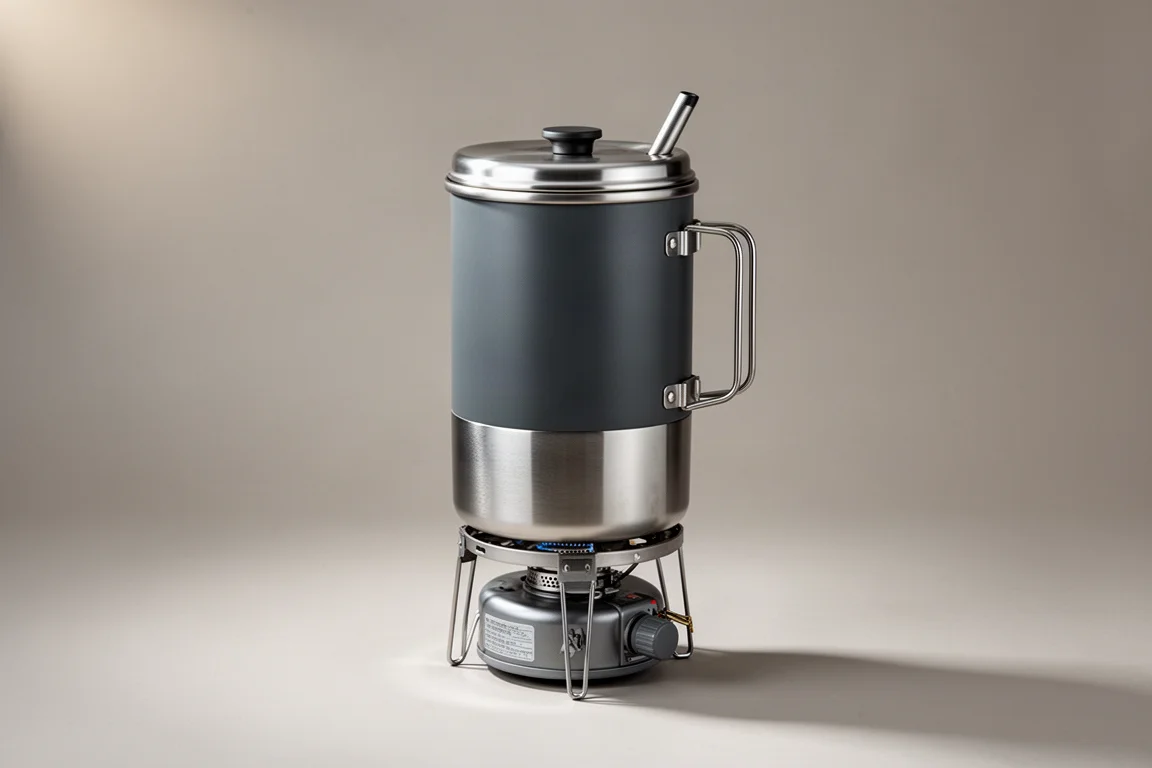
Pocket Rocket
A simple canister stove and a metal cup is the cheapest route into hot food and coffee. A pocket rocket style stove weighs very little and pairs with whatever pot or cup you already have. It does not offer the all-in-one convenience of an integrated system, and you supply your own cup or pot and fuel, but the cost difference is significant.
Clothing and Small Essentials
The clothing rule for backpacking is short: no cotton. Cotton holds water, dries slowly, and pulls heat away from your body when it is wet. Polyester and similar synthetic fabrics are the practical choice because they dry quickly and manage moisture far better.
A typical hiking outfit is a thin sun-protective shirt, hiking pants or convertible pants that zip off into shorts, a hat, and sunglasses. Trail runners are a popular footwear choice because they are light, grip well, and dry quickly after a stream crossing. Traditional hiking boots offer more ankle support and are often waterproof, but once waterproof boots get wet they take far longer to dry out.
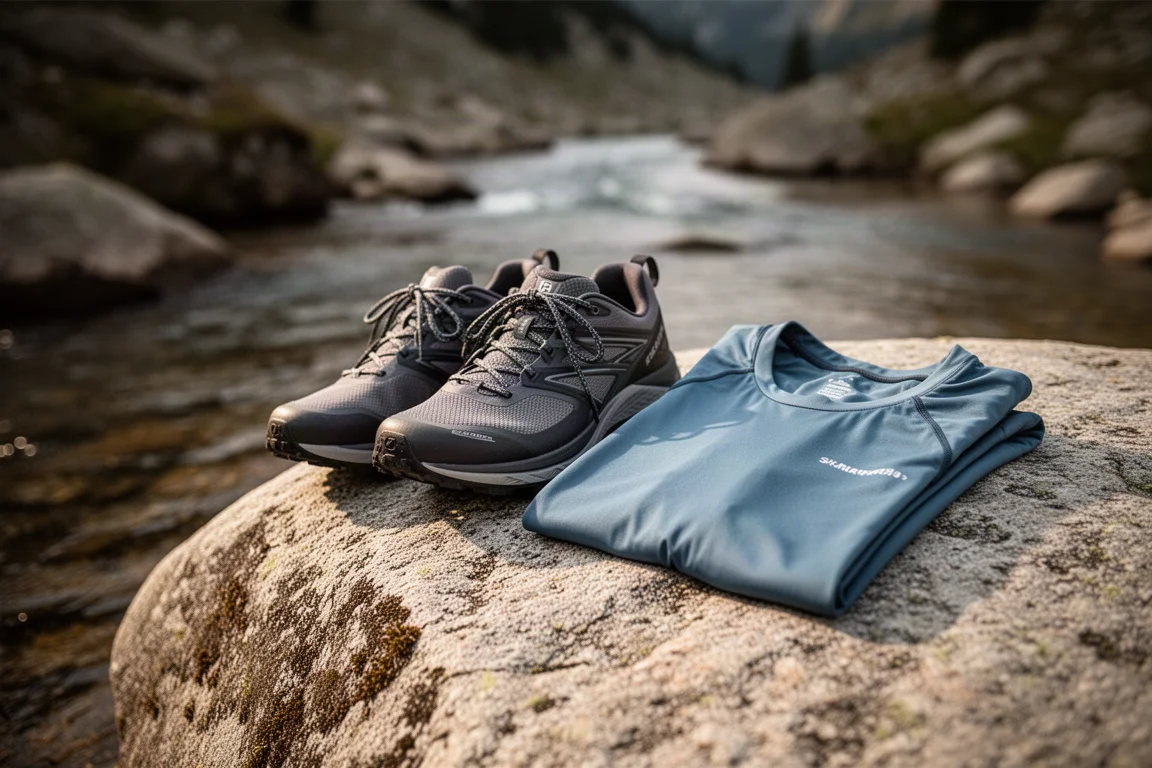
Extra socks are worth the small amount of space. A dry pair to change into while the first pair dries makes a real difference on a long day. Lightweight leggings work as sleepwear and as an extra layer around camp, a beanie keeps your head warm at night, and a warm outer layer is essential for cool evenings. A down jacket covers most people, and a fleece mid layer adds flexibility in colder conditions.
The small items are what make or break a trip. Toilet paper, baby wipes, and a trowel handle bathroom needs properly. A knife, a spork, a toothbrush, toothpaste, dental floss, sunscreen, and a lighter round out the daily kit. A headlamp with spare batteries covers lighting at night, and a fire starter makes lighting a fire quick rather than frustrating.
A simple first aid kit should focus on the problems that actually end trips: blisters and dehydration. Electrolytes address dehydration, which is the most common issue on the trail. Pain relief is useful for headaches at elevation and general aches. Tweezers, bandage strips, butterfly closures, blister treatment, and a small amount of fishing line and a needle for repairs cover most of the rest. In bear country, food and anything with a scent goes into a dry bag and gets hung in a tree with rope or twine.
How to Pack Everything Together
Packing follows the same logic as buying. Heavy, bulky items that you will not need until camp go at the bottom of the pack. That means the tent, the sleeping pad, and the sleep system. Cooking gear and dehydrated meals go in the middle, since they are only needed once you stop for the day. A spork kept inside a dry bag stays findable instead of disappearing into the shuffle.
The top of the pack is for anything you might need without unpacking: toiletries, toilet paper, wipes, medication, and water treatment. Keeping the filter and bottle accessible makes it easier to stay hydrated as you walk.
Hip belt pockets are the best place for items you want within reach. A knife, a headlamp, and twine in one pocket, and a medical kit in the other, means you never have to open the main compartment in an emergency. Tent poles and a water bottle ride on the outside, where they take up no interior space. Carrying water in a bottle rather than a reservoir frees up a surprising amount of room inside the pack and makes it easier to pour water into a pot or onto a toothbrush.
Navigation can stay simple. Printed maps and directions work well on well-signed trails, and many popular routes have plenty of other hikers around. A compass is a common recommendation, though many hikers carry one for years without needing it. A charging system for a phone is an optional extra rather than a core item.
Buying Advice
Spend where you sleep. Shelter and sleep system have the biggest effect on whether a trip feels comfortable, and they are the two categories where upgrading later is most expensive. A pack should be chosen last, once you know the volume of everything else.
If budget is tight, prioritize in this order: a tent, a sleeping pad, a sleeping bag or quilt, a filter, a pack, then cooking gear and clothing. A cheap canister stove and metal cup will get you hot meals for a fraction of the cost of an integrated system, and the savings are better spent on sleep. Water treatment should never be skipped to save money, because the consequences are more serious than an uncomfortable night.
Buy for the conditions you actually camp in. Temperature ratings, sleeping pad insulation, and outer layers should match your expected weather rather than the coldest trip you can imagine. Buying for a climate you do not camp in usually means carrying weight you never use.
Conclusion
A first backpacking setup does not need to be expensive or extensive. Shelter, sleep, a pack sized to hold both, a way to treat water, a way to heat water, synthetic clothing, and a small bag of essentials cover the vast majority of trips. Start with a two-person tent and a larger pack, learn what you actually use, and refine from there. The gear gets lighter and smaller as your experience grows.
Further reading
Related Reviews

Backpacking Gear
Building a 10 lb Base Weight: An Ultralight Backpacking Gear List
A practical walkthrough of the ultralight pieces behind a 10 lb base weight, from a 765 g pack and a roomy one-person tent to a full camp chair and a dependable water filter.
Backpacking Gear
A 15-Pound Lightweight Backpacking Gear List for Solo Trips
A beginner-friendly 15-pound backpacking setup built from easy-to-find gear, with notes on what each piece does, how it packs, and where to spend your attention.
Backpacking Gear
8 Ultralight Backpacking Gear Upgrades Worth Carrying
Eight small, affordable backpacking upgrades that solve real trail annoyances, from a pillow that stays put to a fuel valve that rescues leftover canister gas.