Avionics
Dynon SkyView 10-inch Display: A Practical Avionics Choice for Experimental Builders
Why this dual-screen glass panel setup appeals to homebuilders, from plug-and-play wiring kits to battery backup and clever panel ergonomics.
Introduction
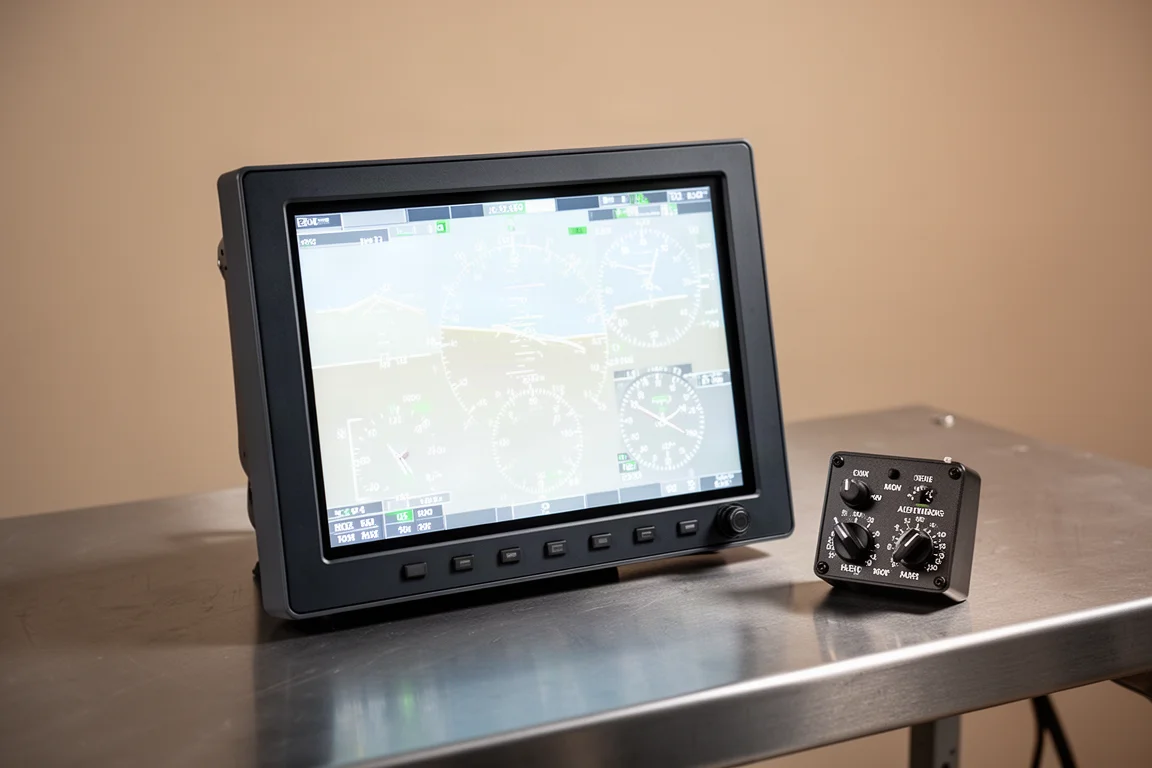
At some point, every experimental aircraft builder faces the same big decision: what goes in the instrument panel. For one builder working through a Zenith build, that choice landed on a Dynon SkyView setup with two 10-inch screens. This article looks at why that system was selected, how it ships, what the installation actually involves, and which details are worth knowing before committing to a glass panel.
Packaging and First Impressions
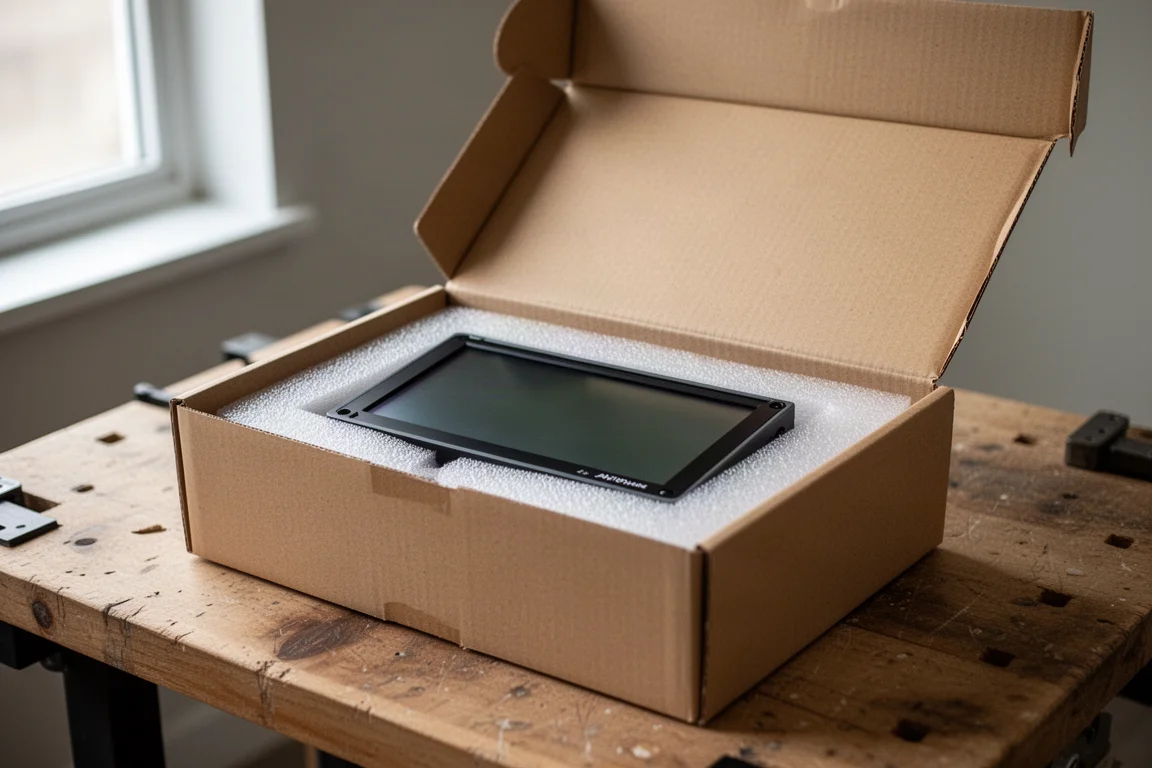
Packaging is the first introduction to how detail-oriented a company is, and Dynon does a genuinely good job here. The box showcases the avionics as soon as you open it, with quality cardboard and firm foam that lets the display float slightly in the box to absorb shipping shock. Everything arrived without a dent.
The unit itself is lightweight and shallow, essentially an interface for hardware connected elsewhere in the aircraft. It has heading, altimeter and barometric controls, intercom knobs and switches, and plastic of good quality. Connections sit on the back, and the system is designed to move as close to plug and play as possible, which simplifies both installation and panel design.
Why Dynon for a Glass Panel
Dynon is a familiar name in the experimental world, seen for years in many Zenith and Van’s builds. It is also present in certified aircraft, and the current certification list is available at dynon.com. Beyond reputation, the look and feel of the hardware matters, and the touch, fit and finish of the Dynon interface stood out. Dynon also owns Advanced Flight Systems, which runs on similar platforms with a slightly different touch and feel, so both are worth comparing on the same website.
Two Screens, Both Fully Capable
The plan here is two of the 10-inch screens rather than one screen plus an iPad as a backup. Several builders run a single screen with a tablet, which is a valid option, but it does not provide the same kind of backup as two identical displays.
An important detail: this is not a primary-and-slave arrangement. Dynon describes it as two primaries, with one acting as primary at all times. Both screens can do the same job, configured however you like. In this layout, the screen in front of the pilot shows the flight instruments, and it can be split to show engine information on the other side. The second screen is intended to serve as the primary navigation display.
Ergonomics Built for Bumpy Air
Ergonomics is a genuine selling point. The screen includes a kicked-out section of roughly 30 to 45 degrees that acts as a perch for your finger, which helps when flying through afternoon thermals and turbulence. The unit protrudes only about half an inch from the panel, held by four mounting screws, and that small lip gives you another perch on the side. Because the screen is a touchscreen, you can brace a finger against the edge and still operate the display while bouncing around. There is also a completely flat button-only panel option within the Dynon range if that suits your style better.
Backup Power for Peace of Mind
Reliability is the biggest concern for anyone moving from steam gauges to glass. Engines have built-in redundancy like dual magnetos, so what happens if the electrical system fails? Dynon offers a lithium-ion battery backup option, one per display, which was chosen for both screens here. A battery can run a display for roughly 45 minutes to an hour on its own, which lines up well with the typical 30 to 45 minute fuel reserve. Two batteries add only a few ounces, a small weight penalty for meaningful insurance.
Pre-made Wiring Kits Make Installation Approachable
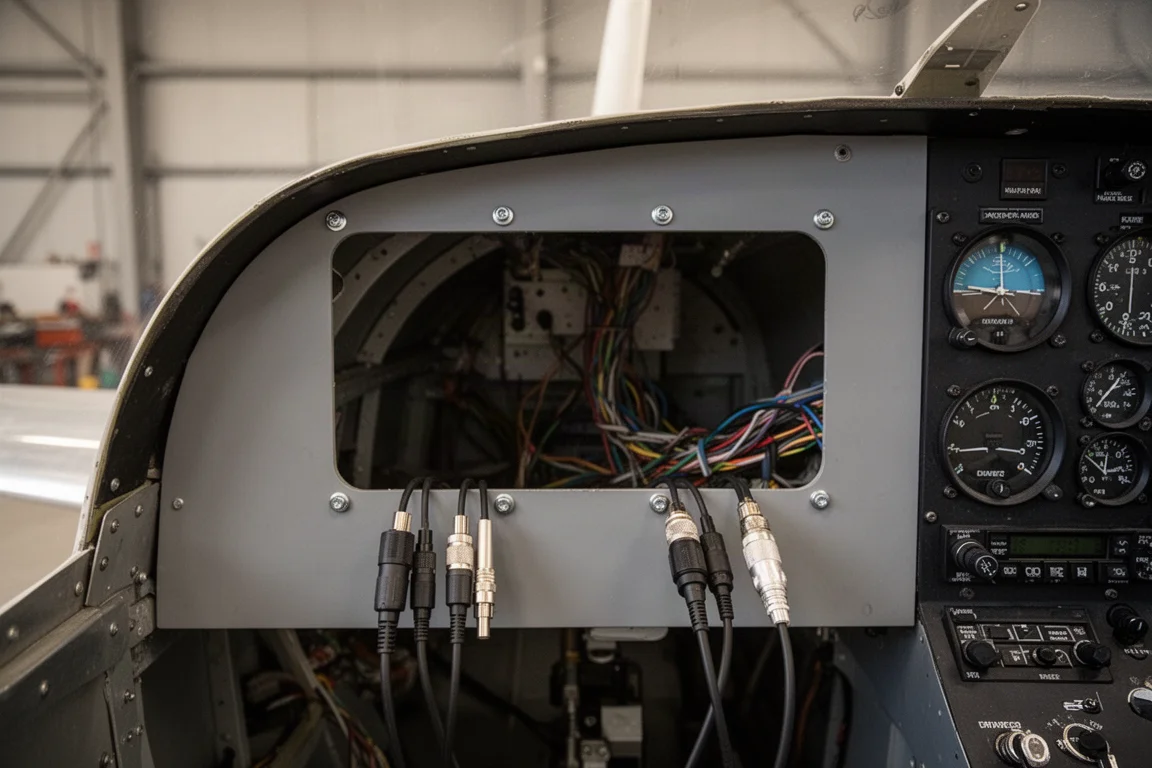
For builders who are not comfortable with wiring, or who worry about letting the smoke out, Dynon offers pre-made wiring kits that are as close to plug and play as it gets. Tell them what you want to build and where components mount, and much of it is pulled off the shelf. SkyView network cables come pre-terminated in standard lengths, and you can order some items cut to the specific length you need.
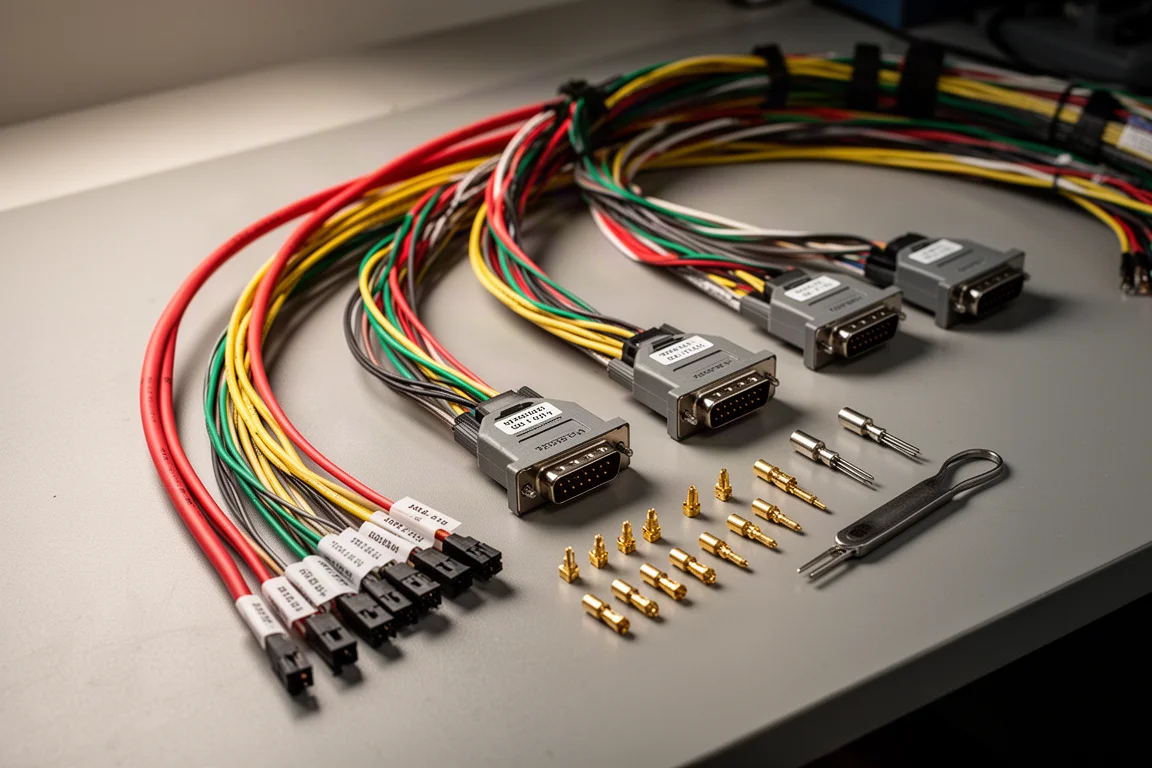
The intercom harness is a good example: one end arrives with a terminated connector, and the other end has unlabeled wire but clearly marked identities such as pilot phones, pilot mic and copilot mic, so terminating it is straightforward. Pins click into connectors from the back, and Dynon includes small release tools in case a pin goes into the wrong hole. A display harness with color-coded wires in red, yellow, green and more makes following the pin-out drawings simple. If you can assemble furniture from a store, you can handle this.
Remote-Mounted Hardware and Radio Options
Because the panel-mounted unit is only an interface, the heavy lifting happens in a separate box elsewhere in the aircraft, which opens up flexible mounting options. The radio antenna has a couple of placement options, including under or behind the seats. Dynon also offers a U-shaped sheet-metal bracket that sits right behind the panel, a tidy way to keep hardware close and accessible.
Serviceability and Panel Access
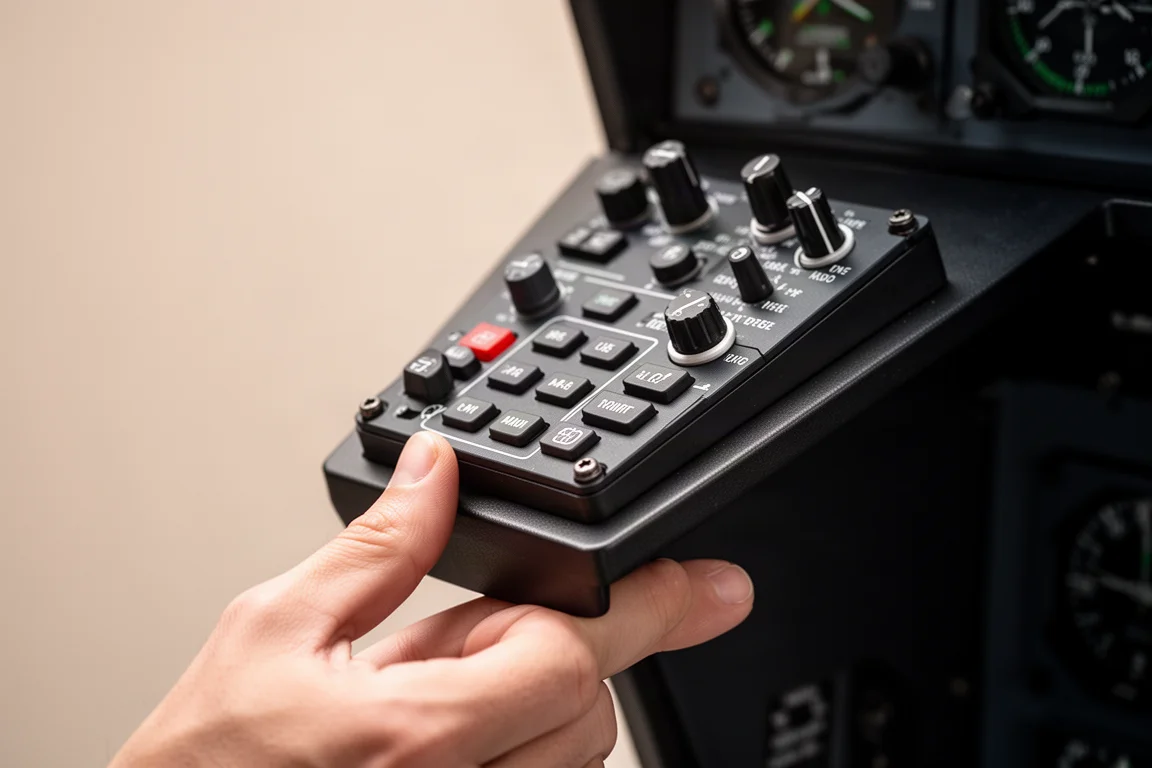
Many builders use the kit-supplied panel as a bulkhead, then cut out most of the middle, leaving an inch or so of flange, and build a new panel from thicker material like 0.060 to reduce flex. That is the plan here. What makes the Dynon approach appealing is serviceability: remove four screws, pull the display back, disconnect a couple of connectors, and you have a full 10-inch opening to reach everything behind it.
Other clever ideas from the builder community include hinging the whole panel forward, or mounting hardware on an inverted shelf behind the panel so nothing has to be reached deep into the airframe. Either way, the removable display itself is a practical access point.
Autopilot Considerations and Panel Layout
Dynon offers an autopilot system, and here the decision was to pre-wire everything needed for it while holding off on the servos. Each servo is roughly 3.9 to 4 pounds, but with rod ends, pushrods, mounting plates and hardware, the total can reach another 12 to 14 pounds. Weight has already crept up with options like a seat slider and dual brakes, so the servos may come later.
The strongest argument for adding the autopilot is the auto-level button. If you accidentally find yourself in instrument conditions, one press takes over and levels the wings, addressing one of the scariest parts of unintended flight into IMC. That is a significant safety benefit.
The planned layout stays deliberately simple: one screen for primary flight and engine instruments, the other for navigation, a panel-mounted compass on top as a nod to tradition, and a stack ordered by frequency of use with the radio highest. Level and heading buttons, an ELT switch, dual throttles left and right, and all other switches in the center console for easy maintenance without removing a screen.
Buying Advice
If you are building an experimental kit and want a glass panel that is well supported, widely used, and forgiving to install, the Dynon SkyView with two 10-inch screens is a strong contender. Budget for the battery backup modules, decide early whether autopilot servos are in the plan so you can pre-wire, and consider the pre-made wiring kits if soldering and crimping are not your favorite part of building.
Conclusion
The Dynon SkyView 10-inch display earns its place in an experimental panel through thoughtful ergonomics, redundant screen architecture, practical backup power, and installation support that lowers the barrier for builders who are not wiring experts. For anyone approaching the panel-cutting stage of a build, it is an option worth serious consideration.
Product link
View more details for Dynon SkyView 10-inch Display
This product is mentioned in the review. Check the specifications, options, and compatibility before buying.
View more details for Dynon SkyView 10-inch DisplayFurther reading
Related Reviews

Backpacking Gear
Building a 10 lb Base Weight: An Ultralight Backpacking Gear List
A practical walkthrough of the ultralight pieces behind a 10 lb base weight, from a 765 g pack and a roomy one-person tent to a full camp chair and a dependable water filter.

Road Bikes
10 New Road Bikes Worth Watching: Aero, Titanium, Steel and Endurance Standouts
A practical roundup of 10 new road bikes, from aero flagships chasing single-watt gains to titanium, steel and endurance platforms built for real roads.
Bikepacking Gear
11 Bikepacking Essentials for Long-Distance Cycling
Eleven bikepacking essentials for long-distance cycling, from a steel gravel frame and a two-person tent to helmet lights, packable gloves, and a frame bag that puts weight in the right place.