Camping Sanitation
DIY Portable Toilet System: Three Components That Make It Work
A compact, low-cost portable toilet setup built from three off-the-shelf components, with real notes on cost, odor control, and daily use.
Introduction
A portable toilet setup does not have to be complicated, expensive, or bulky. The version described here is built from three ordinary products, fits behind the driver’s seat of a truck, and comes in at around $50 in total. It is aimed at overlanders, car campers, and anyone who wants a clean, private option that avoids digging holes, queueing at rest areas, or relying on gas station bathrooms.
The whole idea rests on a simple chain of containment: a sturdy base, a sealed bucket, a heavy-duty liner, and an odor-control layer that keeps everything neutral until you are ready to dispose of it. Nothing here is fragile, and nothing here needs special tools or installation.
How the DIY Toilet System Works
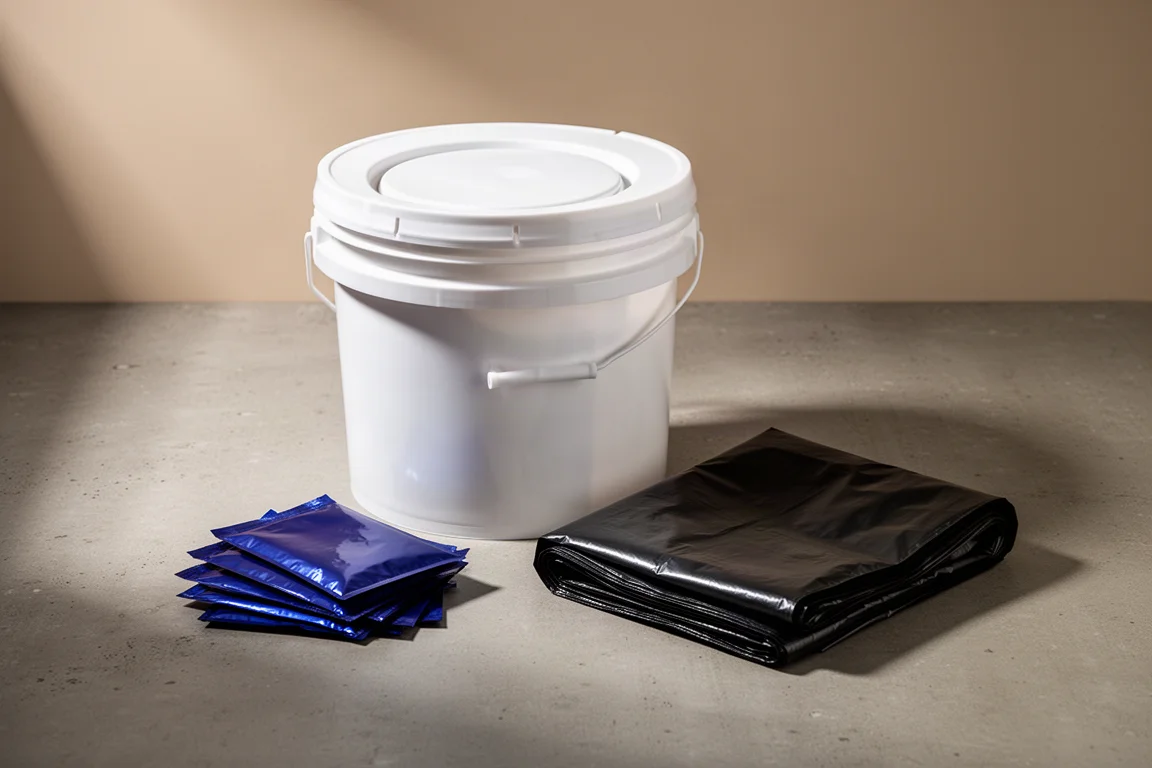
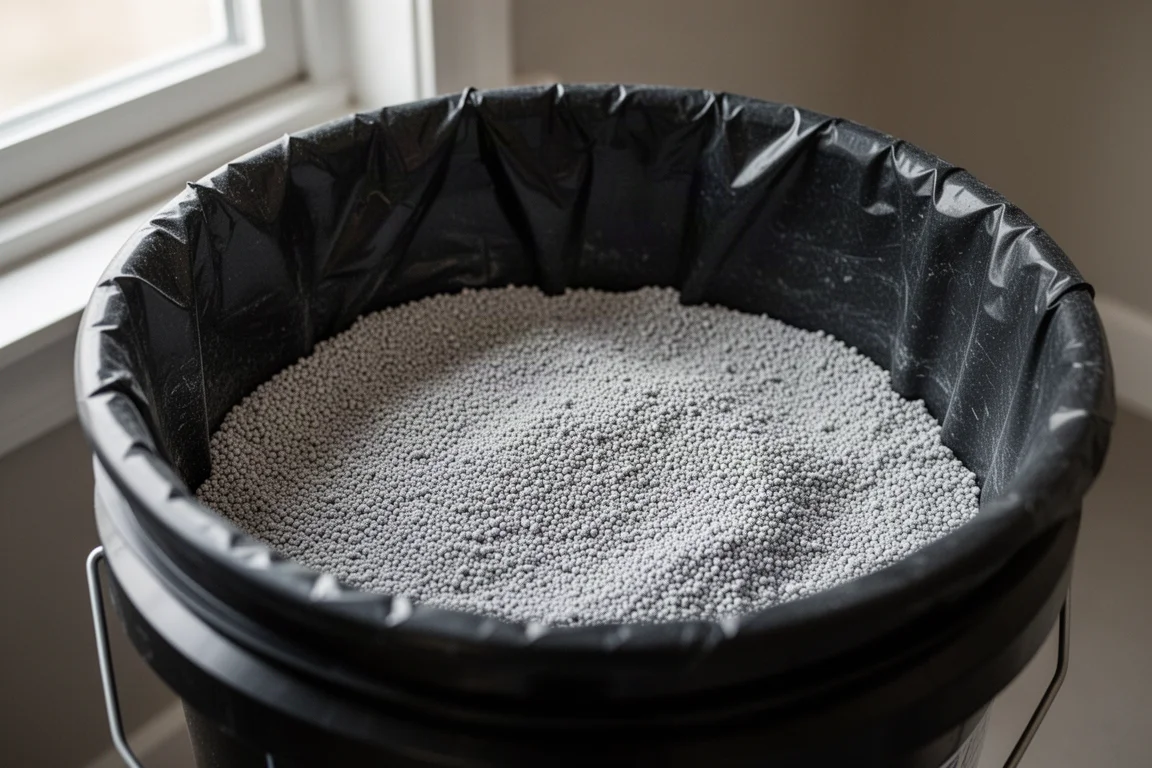
The system starts with a base. A basic plastic milk crate, the kind sold for around $10, gives the bucket a stable platform so it does not shift around while in use, and it doubles as a carrying handle when you move the whole setup in and out of a vehicle. From there you add a five-gallon bucket with a snap-on seat lid, a heavy-duty liner, a thin layer of absorbent cat litter at the bottom of the liner, and one moisture-activated deodorant sachet.
That layering matters. The litter keeps the contents from sloshing around when you drive over bumps, the liner keeps everything sealed and watertight, and the deodorant handles odor at the source. Each component has a job, and skipping one tends to show up quickly in the form of smells or leaks.
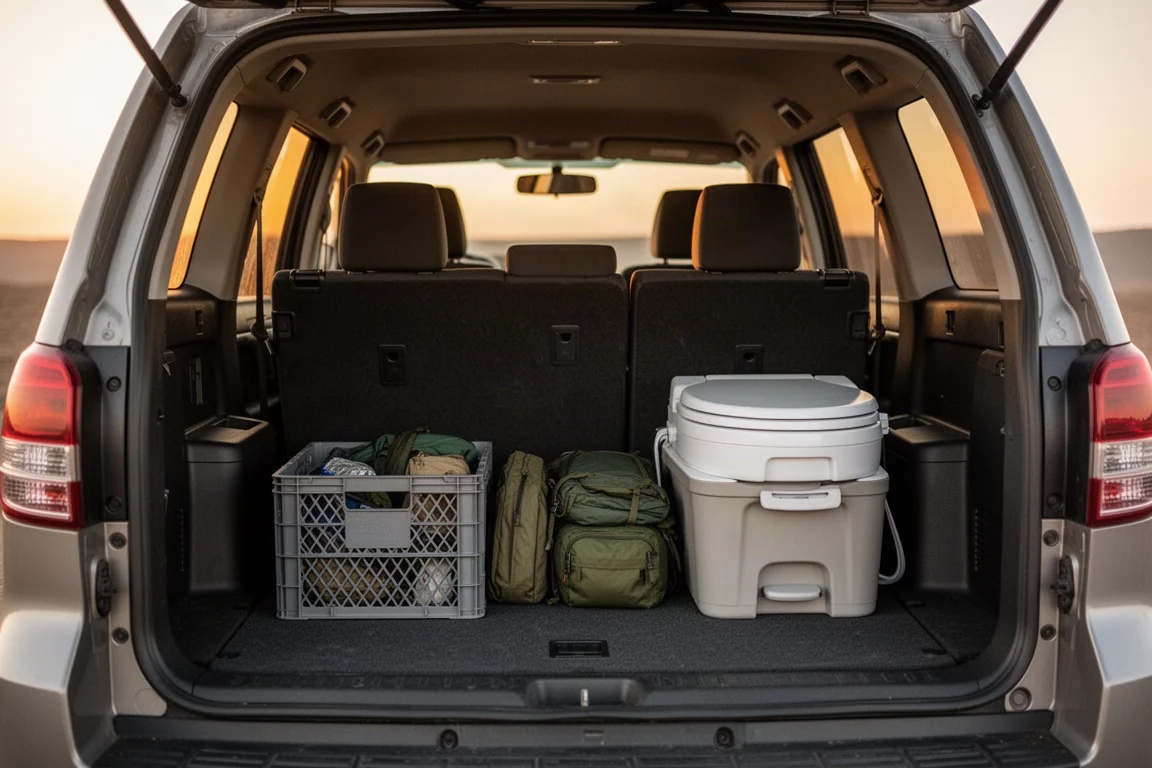
The practical result is a unit that can sit behind a seat or on a floorboard and be used without drawing attention. In testing, the setup ran a full day between liner changes, and was pushed to two days, and even to roughly two and a half days at the longest, with no odor inside the vehicle.
Best Toilet Bucket: Camco Toilet Bucket
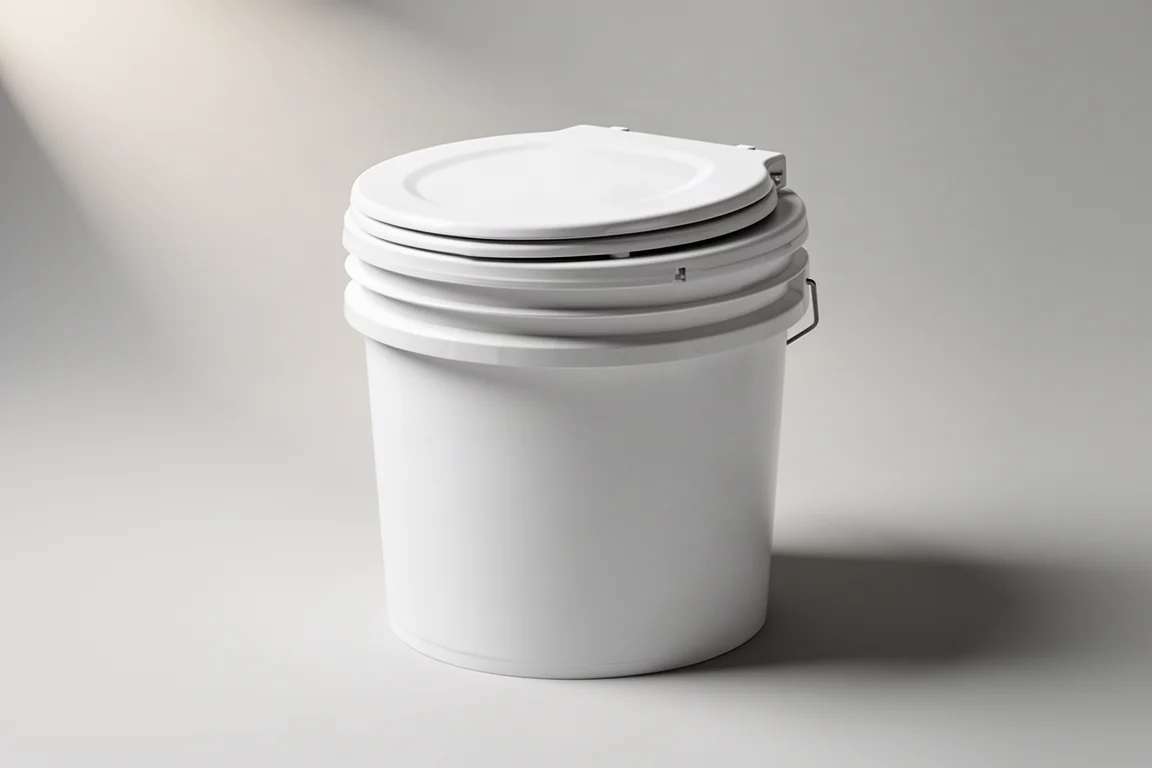
The core of the build is a Camco toilet bucket, which is a straightforward five-gallon bucket paired with a snap-on lid that carries a basic toilet seat. There is nothing elaborate about it, and that is the point. The lid snaps down onto the rim, the seat is molded into the lid, and the whole thing costs around $25.
Because the bucket is a standard five-gallon size, it sits neatly on a milk crate base and stays put once you are seated. The combination of crate plus bucket gives you something stable enough to use comfortably in the back of a vehicle with the seats folded up, and light enough to lift out with one hand when you need to.
What you give up is refinement. This is a basic seat rather than a cushioned one, and there are no pumps, no flush mechanism, and no seals beyond the snap-on lid. For a system that is meant to be simple, portable, and inexpensive, that trade-off is reasonable.
Best Odor Control: Reliance Bio Blue Toilet Deodorant
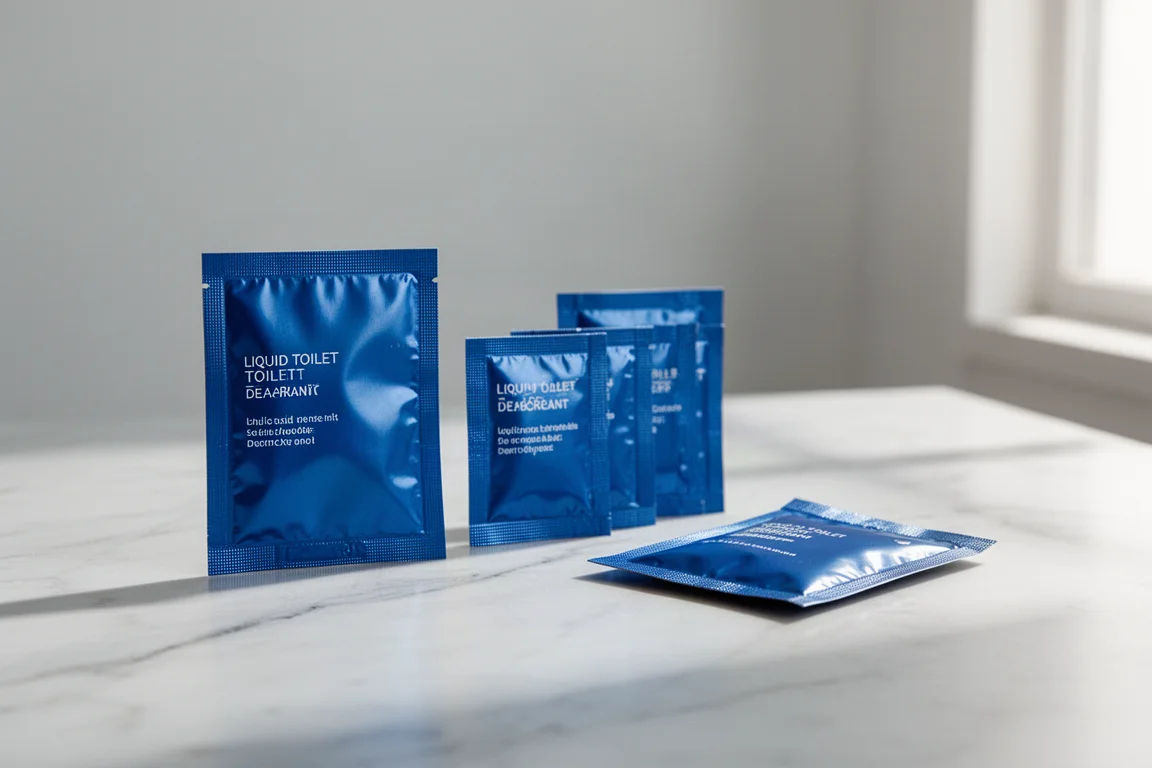
Odor control is where this setup either succeeds or fails, and the single most important item is Reliance Bio Blue toilet deodorant. These small blue sachets work on the same principle as the blue liquid at the bottom of a portable toilet. You drop one into the lined bucket, and it goes to work on smells rather than simply masking them.
A 12-pack costs around $11, which works out to very little per use given how infrequently you need to change a liner. The sachets are moisture activated, which is the one detail worth remembering. If the bucket is only used for solid waste, add a small amount of water so the sachet has something to react with. Once activated, it handles odor completely.
In real use, a single sachet kept a bucket neutral through a full day, and the same held true when the change interval stretched past two days. Combined with the litter layer underneath, it is the difference between a system you are happy to keep in your vehicle and one you are not.
Best Liners: Ultra Sac Contractor Bags
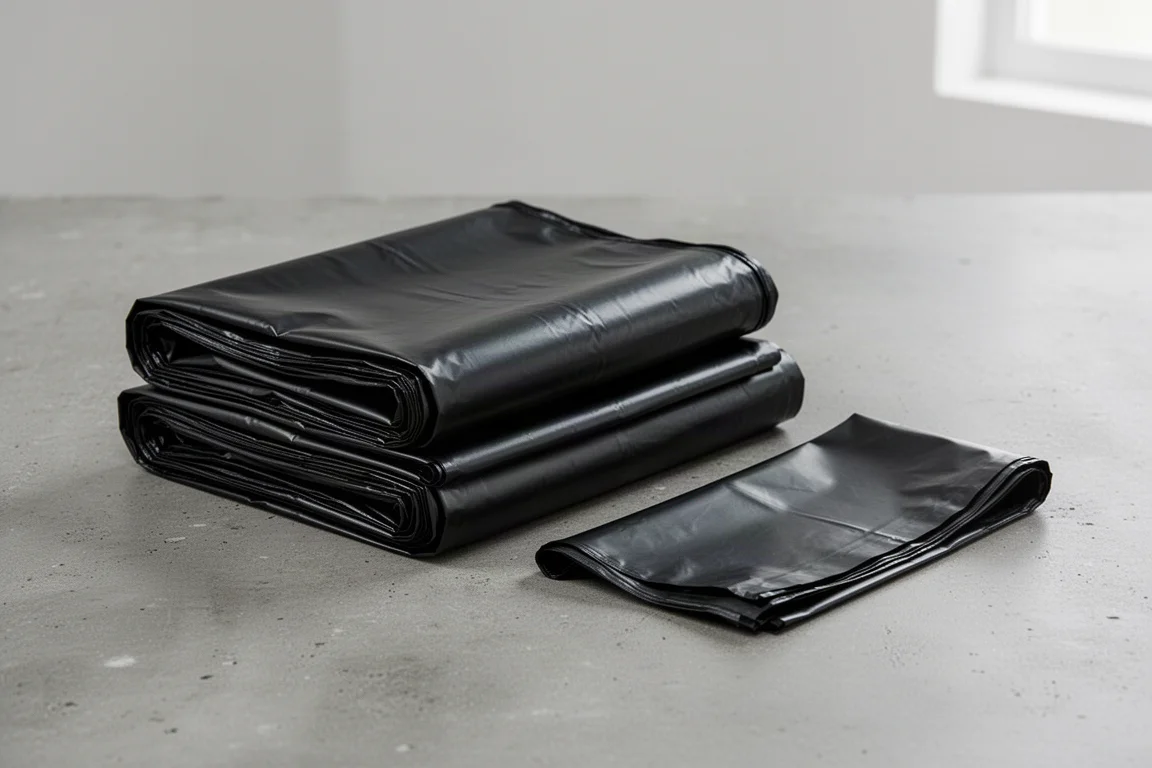
The liner is the component most people get wrong, and it is worth being specific about why. Ultra Sac contractor bags are short in length, which means they fit a five-gallon bucket properly instead of bunching over the rim, and they are heavy duty and watertight. Sold in bulk for around $15, a single purchase covers a long stretch of trips.
Not every heavy bag works. Compactor bags are a poor fit for this application, and ordinary household trash bags are not watertight enough to trust with waste. Contractor-grade bags are the right category because they combine thickness with a size that matches the bucket.
Once a liner is in place, you simply lift it out, tie it off, and dispose of it. That is the entire process, and it is no different in principle from bagging pet waste or disposing of a baby diaper. Keeping a dedicated supply in the vehicle means you never have to improvise.
Using the System Inside a Vehicle
One of the advantages of this setup is how little room it needs. With the rear seats folded up, the bucket sits on the floor behind the driver’s seat with enough space to get in, sit down, and use it normally. The crate base keeps it from sliding, and tinted windows mean the whole thing stays private. The same footprint fits the floorboard or back seat of an ordinary car, and if you prefer, you can simply set it outside next to an open door.
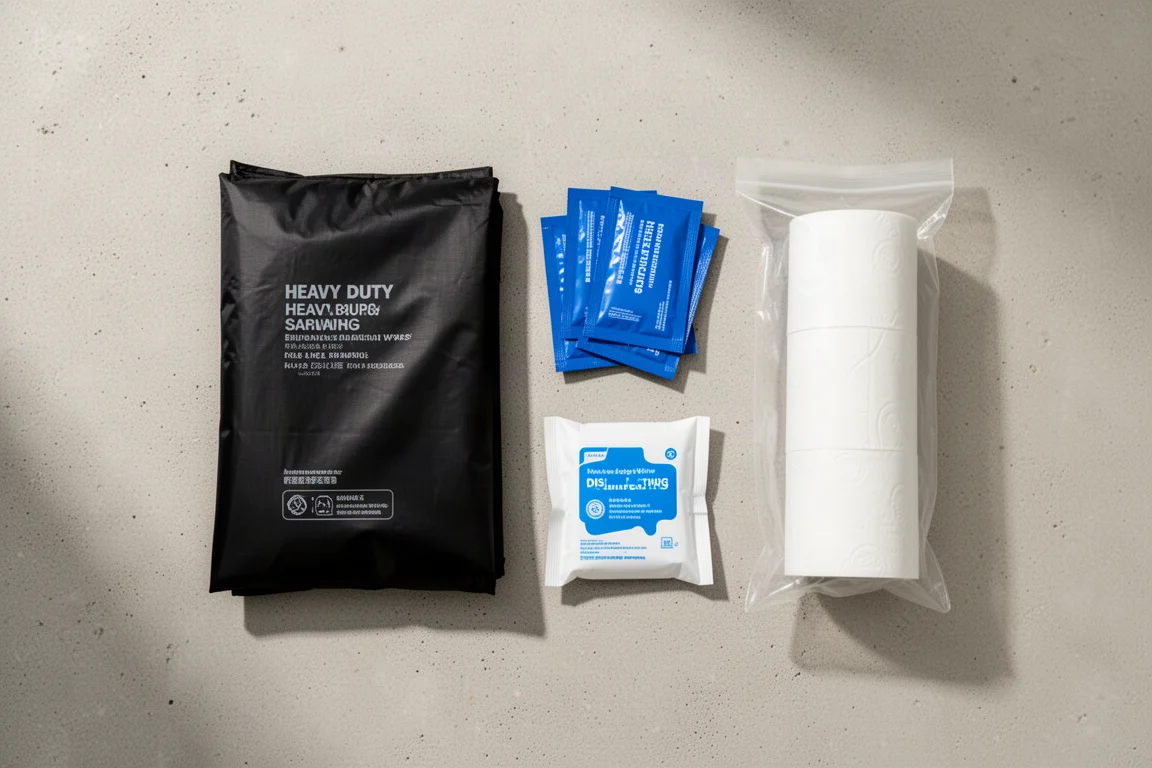
Two small habits keep it pleasant. First, condensation will form on the inside of the lid, which is normal when warmth and moisture rise inside a closed bucket. Open it, wipe the lid dry before use, and carry on. Second, keep cleaning supplies close at hand. A pack of disinfecting wipes, or a spray, plus toilet paper stored inside a resealable bag so it stays dry when you open the door in the rain, covers everything you need.
A quick wipe-down after each change keeps the bucket fresh and sanitary, and the litter layer keeps the contents from splattering while you drive. Those two details are what make the system workable for multi-day trips rather than a single outing.
Buying Advice and What to Expect
Budget around $50 for the three core components: roughly $25 for the bucket and seat lid, about $15 for a bulk pack of contractor bags, and about $11 for a 12-pack of deodorant sachets. A milk crate and a bulk container of cat litter, portioned into small resealable bags, add a little more, but both last a long time and are easy to source locally.
Plan to empty the liner roughly once a day, though the system has held up for two days and, at the longest, about two and a half days without odor becoming an issue. Disposal is straightforward and comparable to other everyday waste. The main thing to get right is the combination: heavy-duty liner, litter layer, and an activated deodorant sachet. Get those three in place and the system behaves predictably, trip after trip.
This is also a genuinely useful option for anyone who is put off camping by the prospect of squatting in the woods. Having a private, sanitary option in the vehicle removes one of the biggest barriers to car camping for couples, groups of friends, and families.
Conclusion
The appeal of this setup is that it is inexpensive, compact, and built entirely from products you can buy off the shelf. A Camco toilet bucket provides the base and seat, Reliance Bio Blue sachets handle odor, and Ultra Sac contractor bags keep everything contained and watertight. Add a crate and a bag of litter, and you have a portable toilet that stores behind a seat and works wherever you stop. If you want a simple sanitation solution for overlanding or car camping, these three components are the ones worth starting with.
Further reading
Related Reviews

Backpacking Gear
Building a 10 lb Base Weight: An Ultralight Backpacking Gear List
A practical walkthrough of the ultralight pieces behind a 10 lb base weight, from a 765 g pack and a roomy one-person tent to a full camp chair and a dependable water filter.
Road Bikes
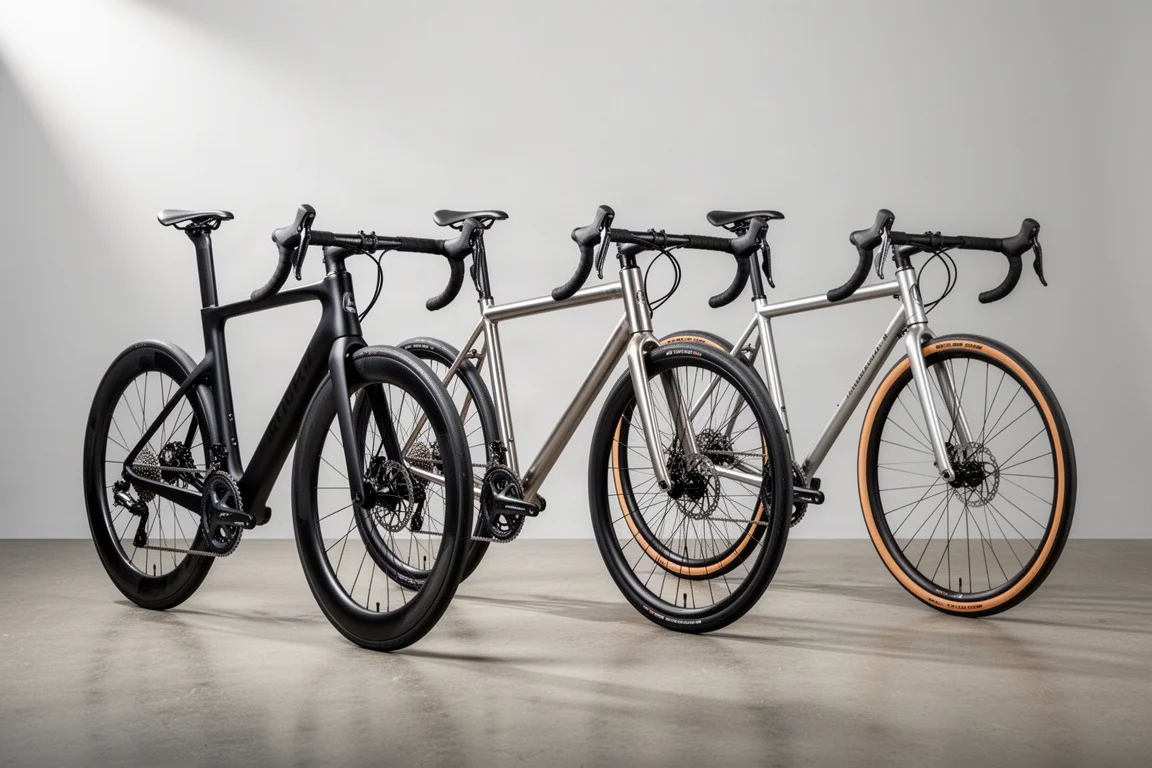
10 New Road Bikes Worth Watching: Aero, Titanium, Steel and Endurance Standouts
A practical roundup of 10 new road bikes, from aero flagships chasing single-watt gains to titanium, steel and endurance platforms built for real roads.
Bikepacking Gear
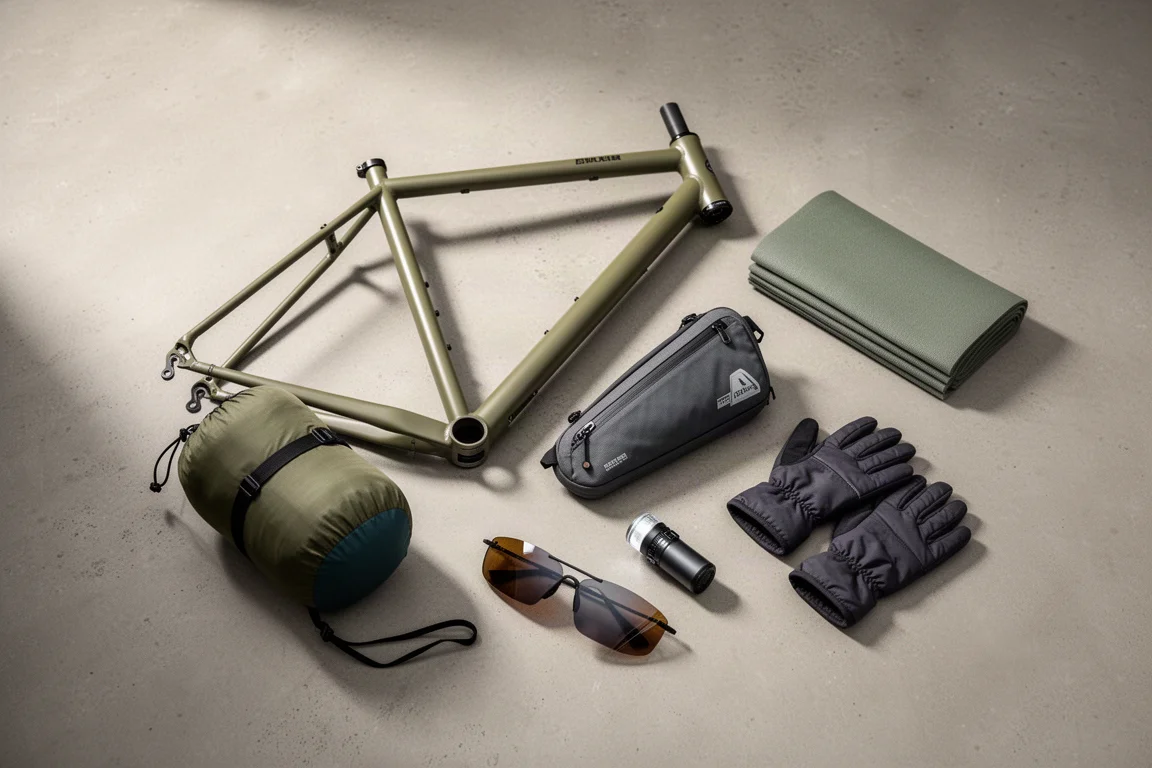
11 Bikepacking Essentials for Long-Distance Cycling
Eleven bikepacking essentials for long-distance cycling, from a steel gravel frame and a two-person tent to helmet lights, packable gloves, and a frame bag that puts weight in the right place.