Astrophotography
Deep Sky Astrophotography Gear Guide: The Equipment Worth Starting With
From a manual Dobsonian to strain wave mounts and narrowband filters, a practical look at the gear that makes deep sky imaging click.
Introduction: Why Try Astrophotography
There is a moment every visual astronomer remembers: the first time Saturn drifts into the eyepiece, or the Andromeda galaxy resolves into a faint smudge of light. Visual astronomy is all about the in-the-moment experience. Astrophotography is about documenting and revealing objects in incredible detail, and sharing what you find.
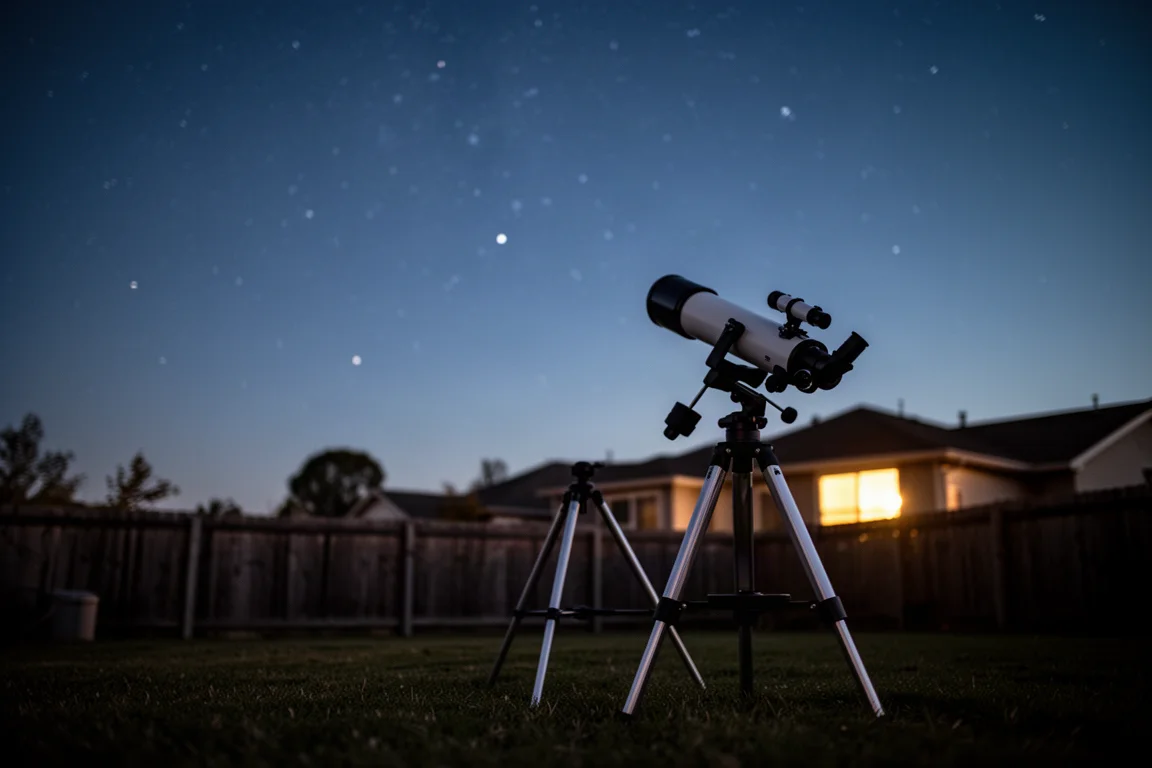
The barrier to entry is lower than most people think. Many imagers start by holding a point-and-shoot camera up to a manual telescope’s eyepiece. A 15-second exposure of the Orion Nebula, even out of focus and noisy, is often all it takes to get hooked. From there, the hobby becomes a slow, satisfying loop: collect photons, stack them, process them, and watch a faint ball of light turn into a swirling mass with detailed spiral arms.
First Light: A Simple Manual Telescope
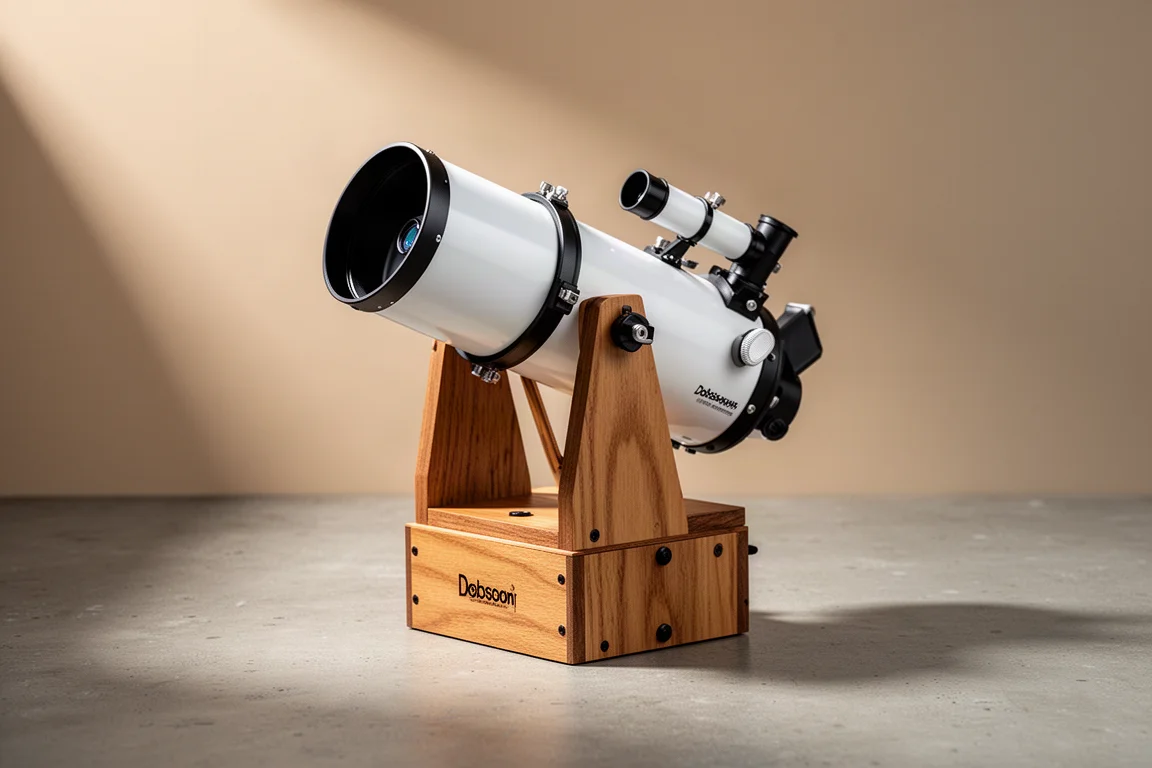
Before any of the tech, there is a case to be made for starting simple. The Orion SkyQuest XT 4.5 is the smallest Dobsonian ever made: no computer control, no tracking, just move it around and look. That kind of telescope is how many people see Saturn, Jupiter, and the Andomeda galaxy for the first time, and it builds the sky familiarity that makes imaging easier later.
Choosing a Camera: Start with a DSLR
If you are serious about deep sky imaging, you need a capable camera. Smartphones can grab fun snapshots, but an interchangeable-lens DSLR or mirrorless body lets you control every setting: aperture, ISO, and exposure length. Those custom settings matter enormously at night, because features designed for daytime photography will work against you under the stars. A 30-second exposure at a low f-stop records far more starlight than your eyes could ever see.
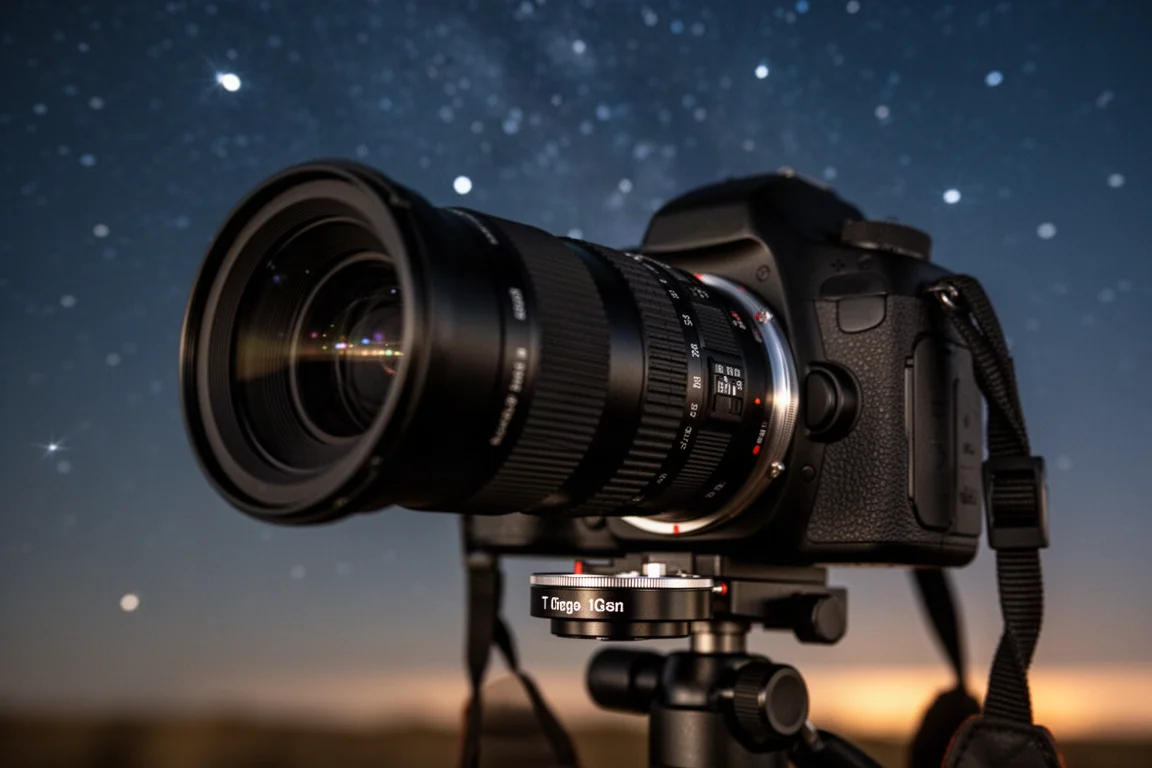
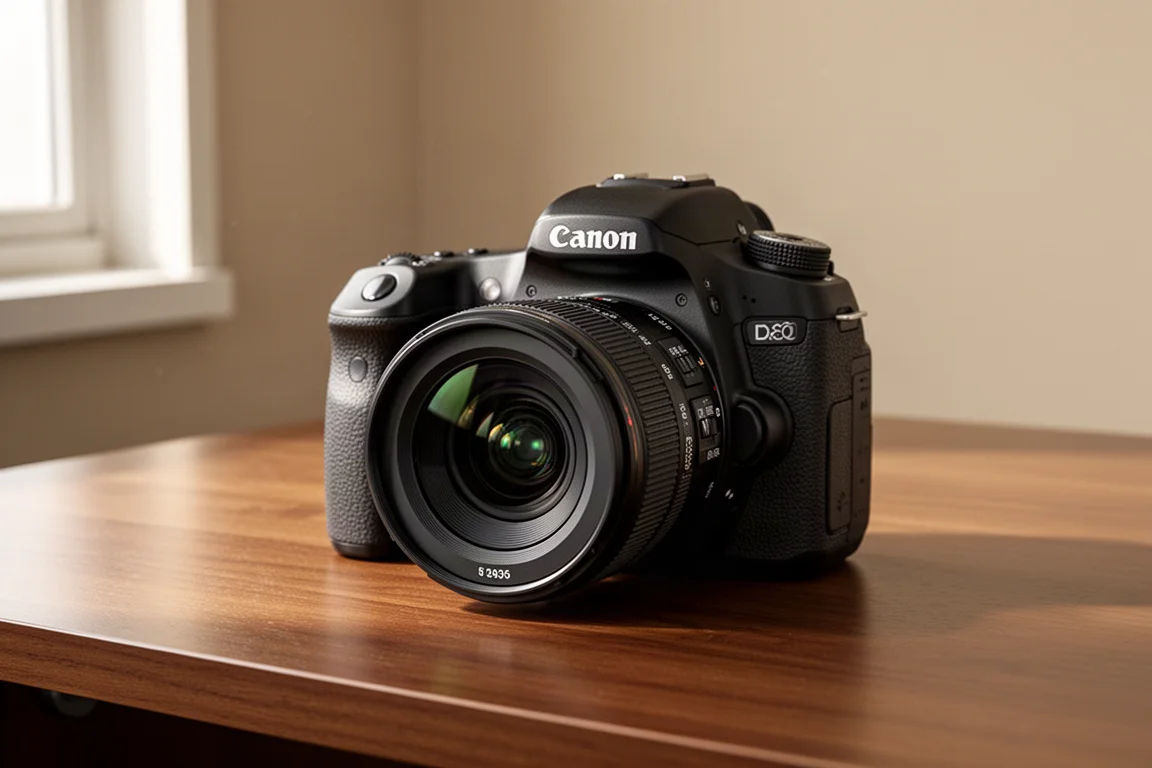
An entry-level Canon Rebel DSLR with a wide-angle lens is a classic starting point for exactly this reason. It is affordable, works with lenses for wide nightscapes, and attaches to a telescope with a simple T-ring adapter. Later, many people step up to dedicated astronomy cameras: cooled, astro-modified sensors in a metal cylinder that offer less noise and better sensitivity to the reds found in nebula, at the cost of extra complexity and required software. The common advice holds: start with a DSLR first.
The Best Beginner Telescope: A Widefield Apochromatic Refractor
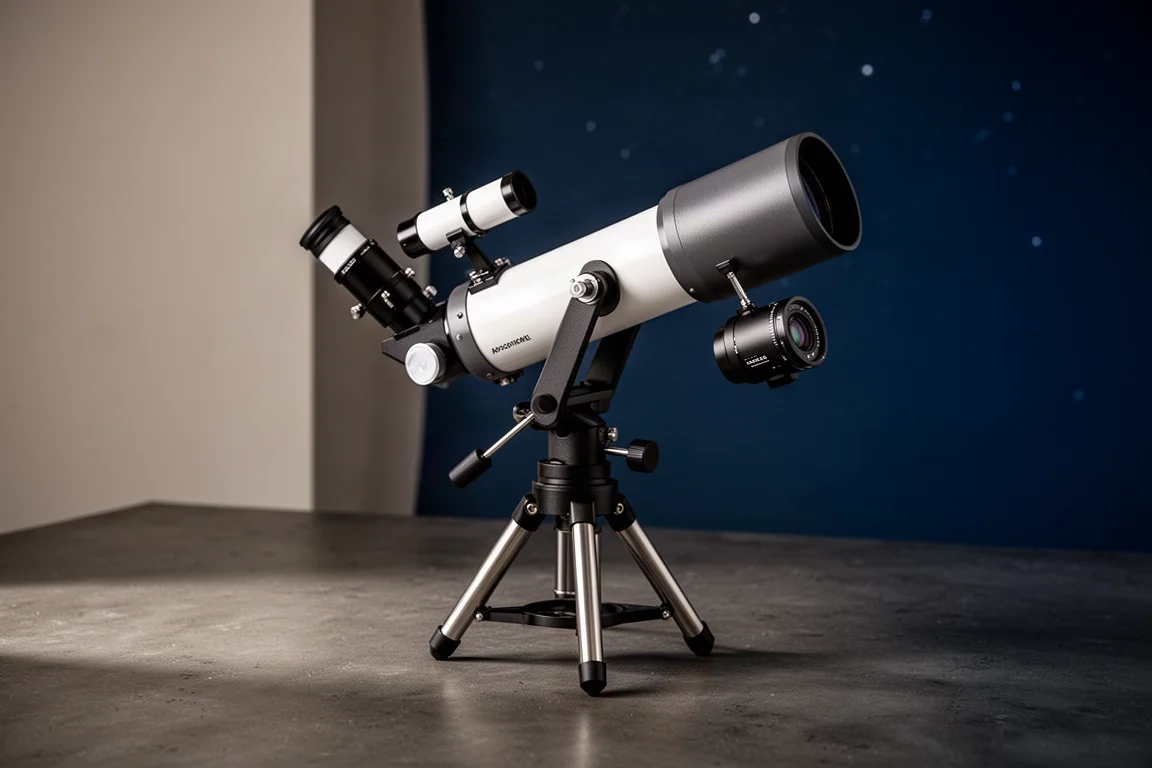
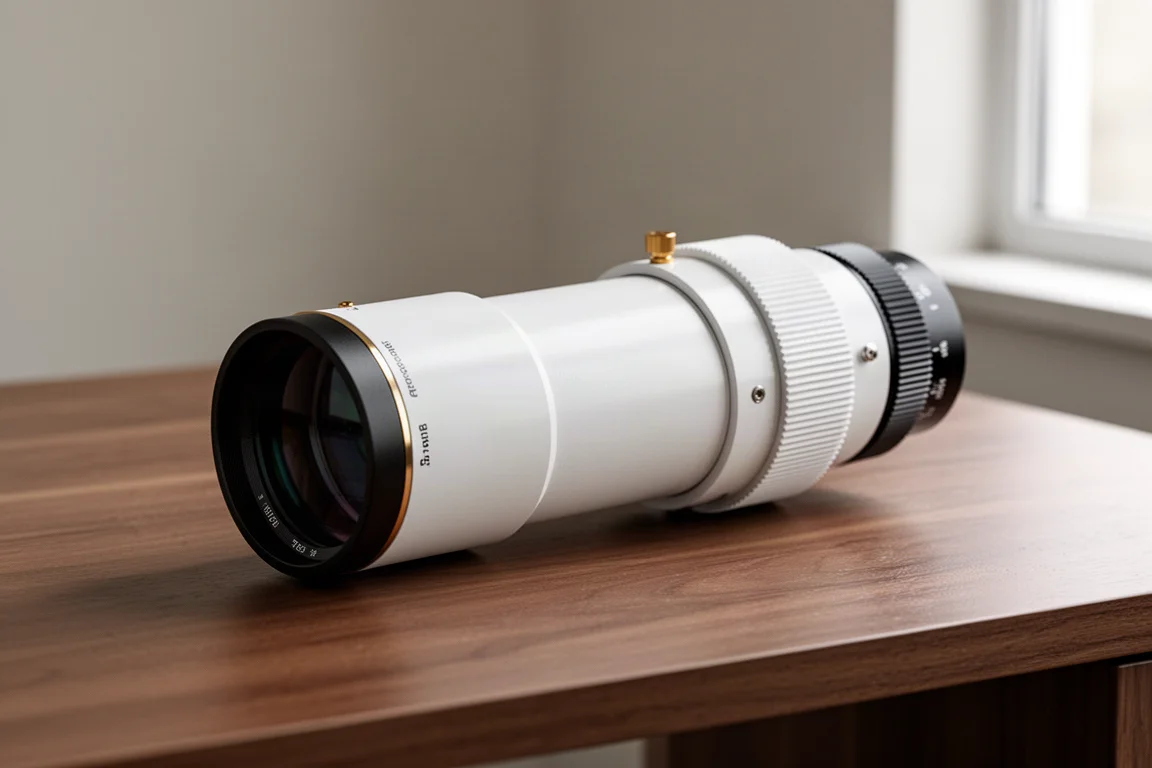
The most common question in the hobby is which telescope to buy, and the answer has stayed the same for nearly a decade: a widefield apochromatic refractor. Three specs matter here: aperture, focal ratio, and focal length. A telescope like the William Optics RedCat 51, with a 51mm aperture, 250mm focal length, and f/4.9 focal ratio, hits the sweet spot. It makes finding targets and achieving focus dramatically easier than a slow Schmidt-Cassegrain with a 2,000mm focal length, which is a recipe for getting lost in space.
A Newtonian reflector works too, but it is trickier to balance and collimate and much larger to handle. An apochromatic refractor, either a triplet or Petzval design, offers better color correction, which is critical for imaging. And contrary to popular belief, you do not need huge magnification for galaxies and nebula: a little APO is one of the best deep sky tools there is.
The Tracking Mount: Your Most Important Piece of Gear
The sky moves, and even a 5-second exposure through a telescope will show star trailing. An equatorial mount aligned with the celestial pole counters that motion, spinning at the same rate as the Earth. Polar alignment and smooth tracking are common early stumbling blocks, but they get easier with practice.
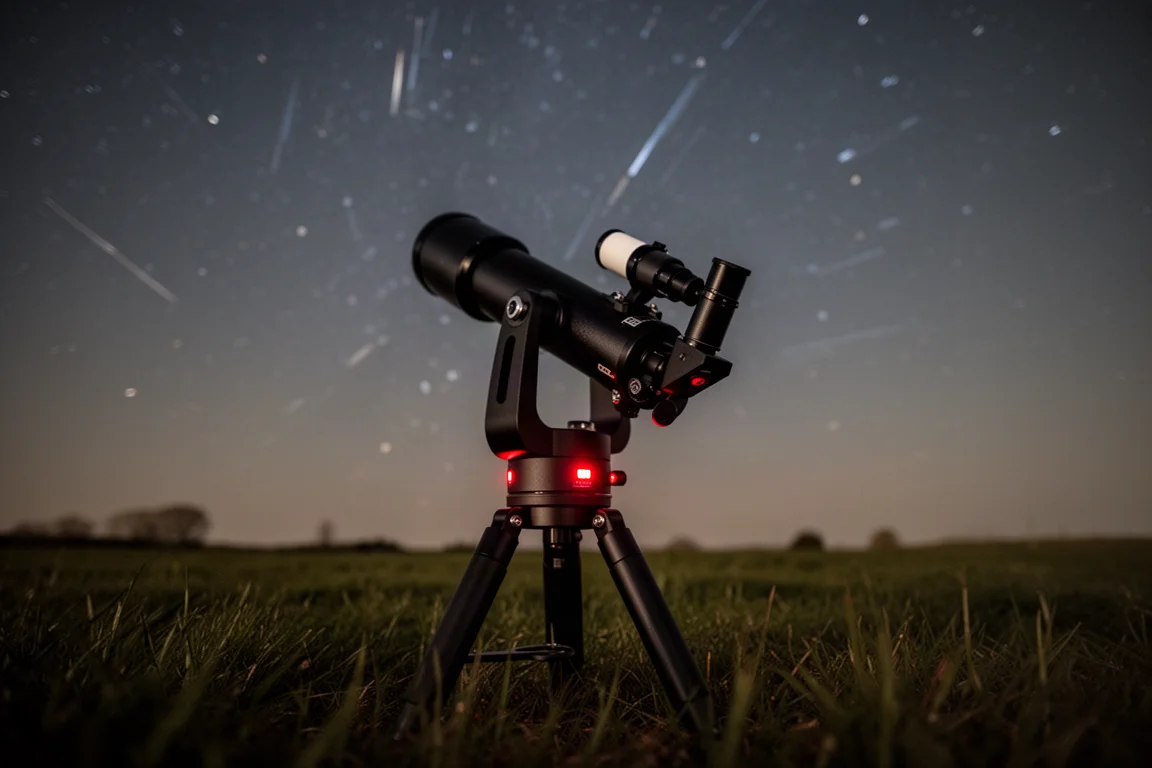
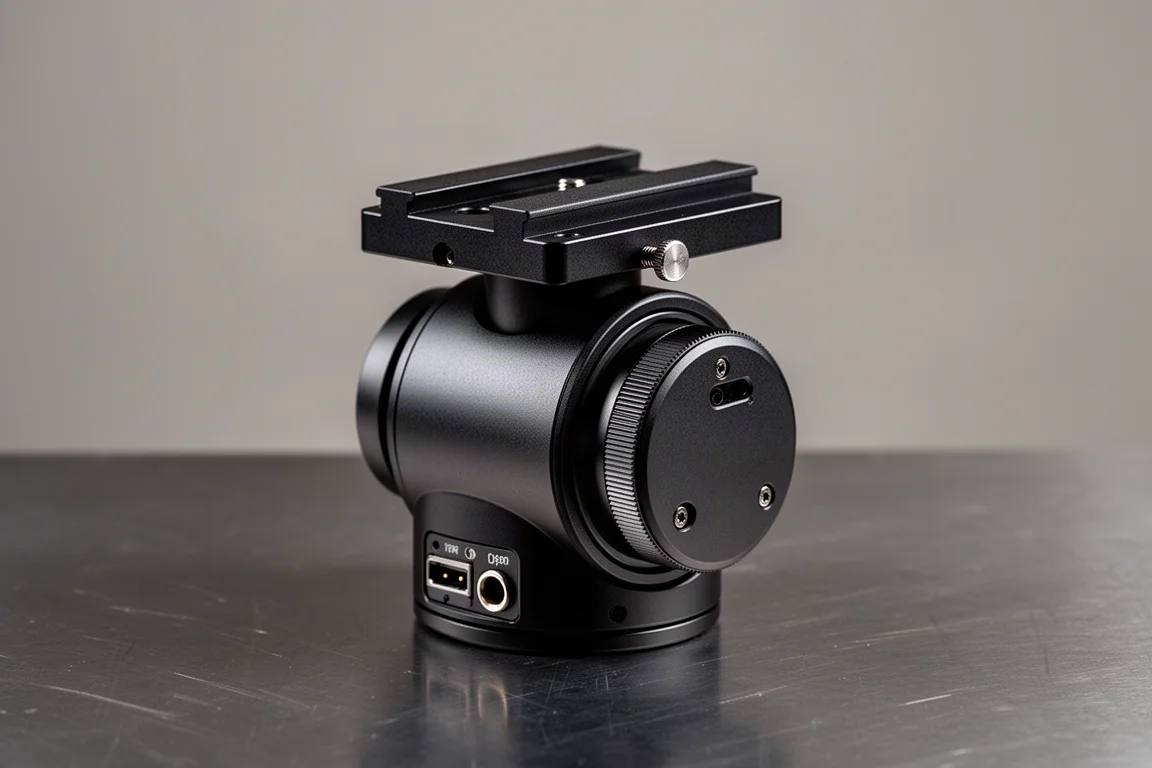
Payload capacity matters when choosing, ranging from around 11 pounds on small star trackers up to 150 pounds on robust mounts. The newest development is strain wave and harmonic drive mounts, which do not require perfect balance and often need no counterweight at all for small to medium loads. The ZWO AM5 and the even smaller AM3 are extremely popular for this reason: they hold a full-size astrophotography setup yet are the size of a compact star tracker. If you are entering the hobby now, these are seriously worth considering in place of a traditional equatorial mount.
The Controller That Changes Everything
Beyond the camera, telescope, and mount, key accessories include a camera controller, a guide scope and guide camera for autoguiding, filters, and dew heater bands to keep optics free of moisture. Software options like SharpCap, NINA, and AstroPhotography Tool run on a laptop and offer advanced control, but lugging a computer into the field adds headaches.
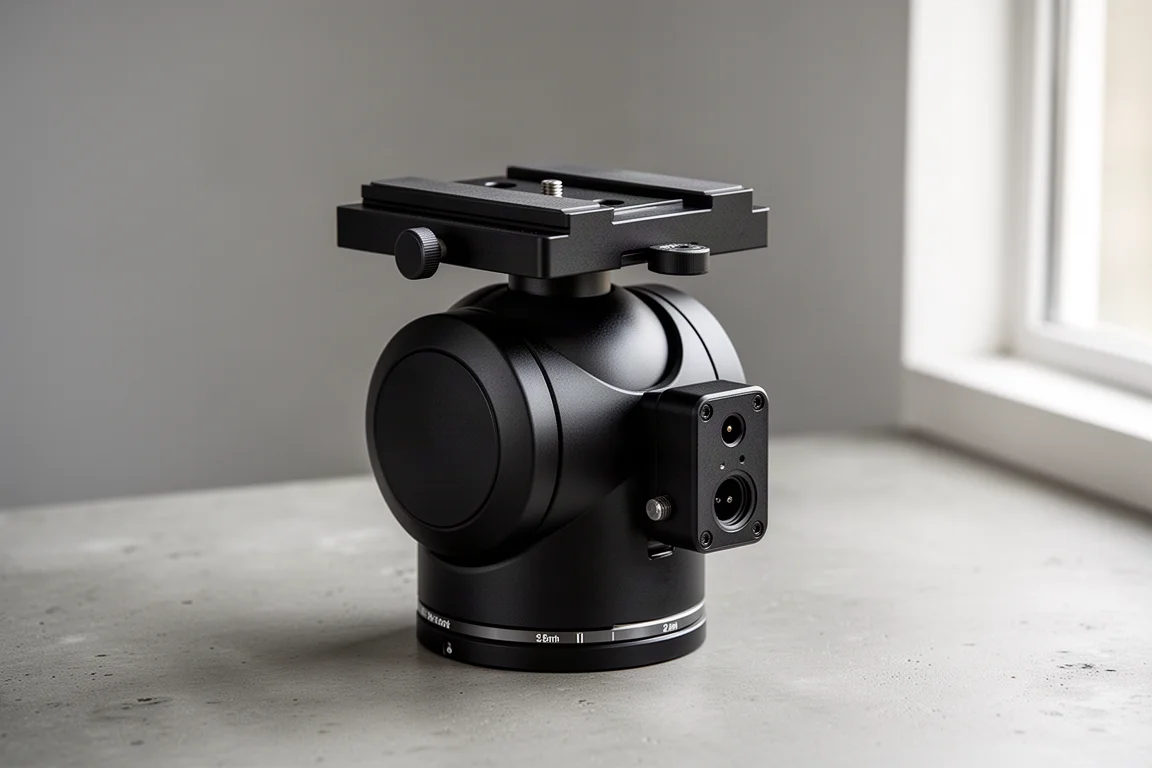
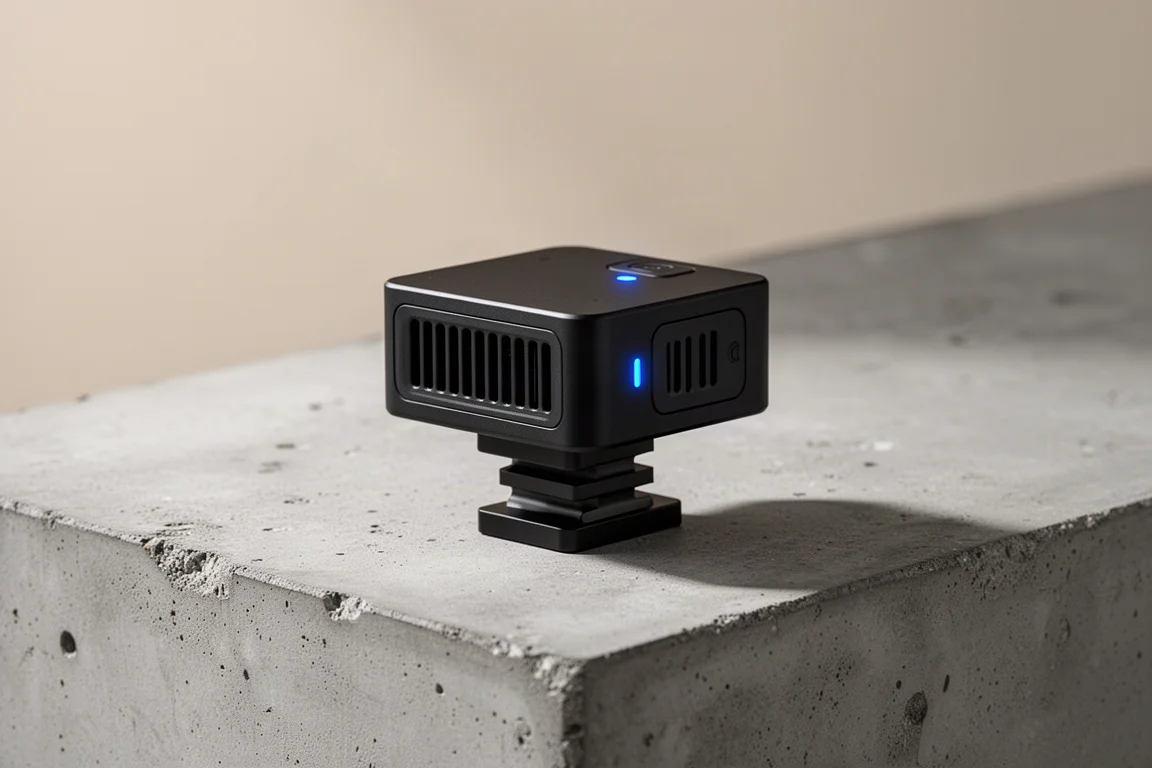
The ZWO ASI Air Pro eliminates most of them. It is a mini Wi-Fi controlled camera controller accessed through a smartphone app, mounted right on the telescope so all cables run neatly into it. The app handles everything from pointing the telescope to running multi-target imaging plans. One caveat: it only works with ZWO’s ASI dedicated astronomy cameras and most DSLRs, but ZWO makes some of the most widely used and reliable astronomy cameras available, and the interface is among the slickest and most user-friendly in its class.
Filters: Light Pollution and Narrowband
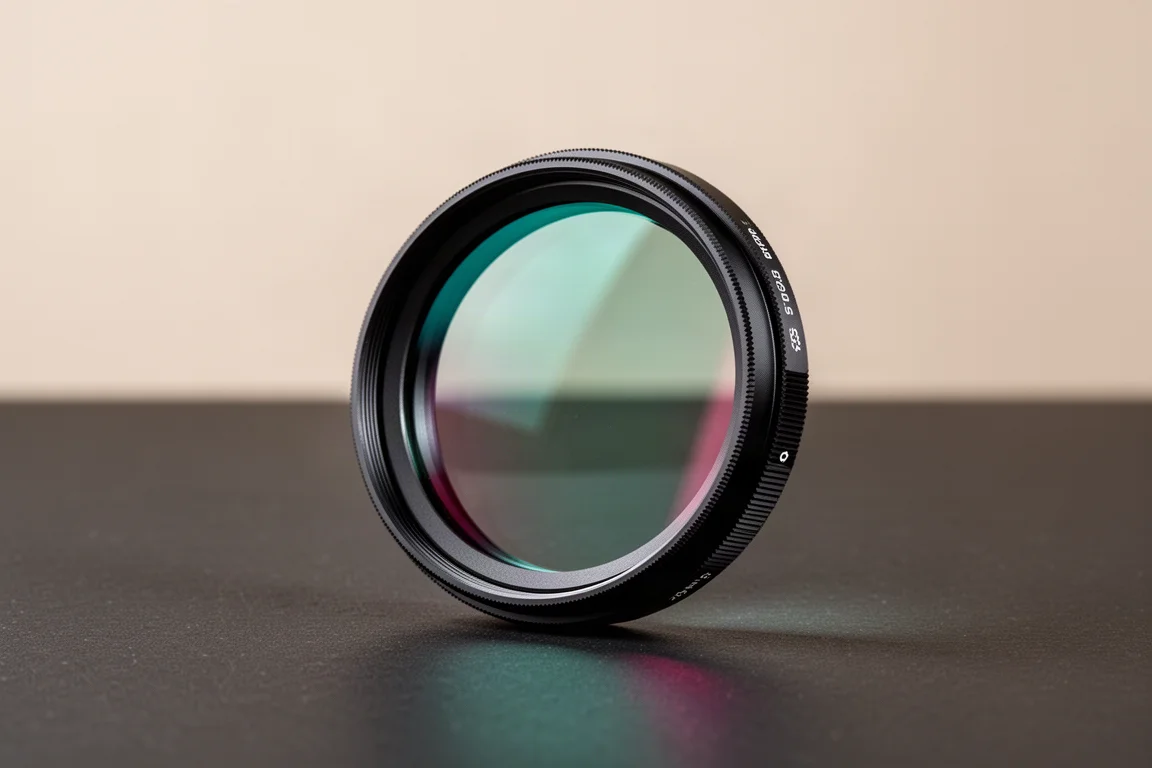
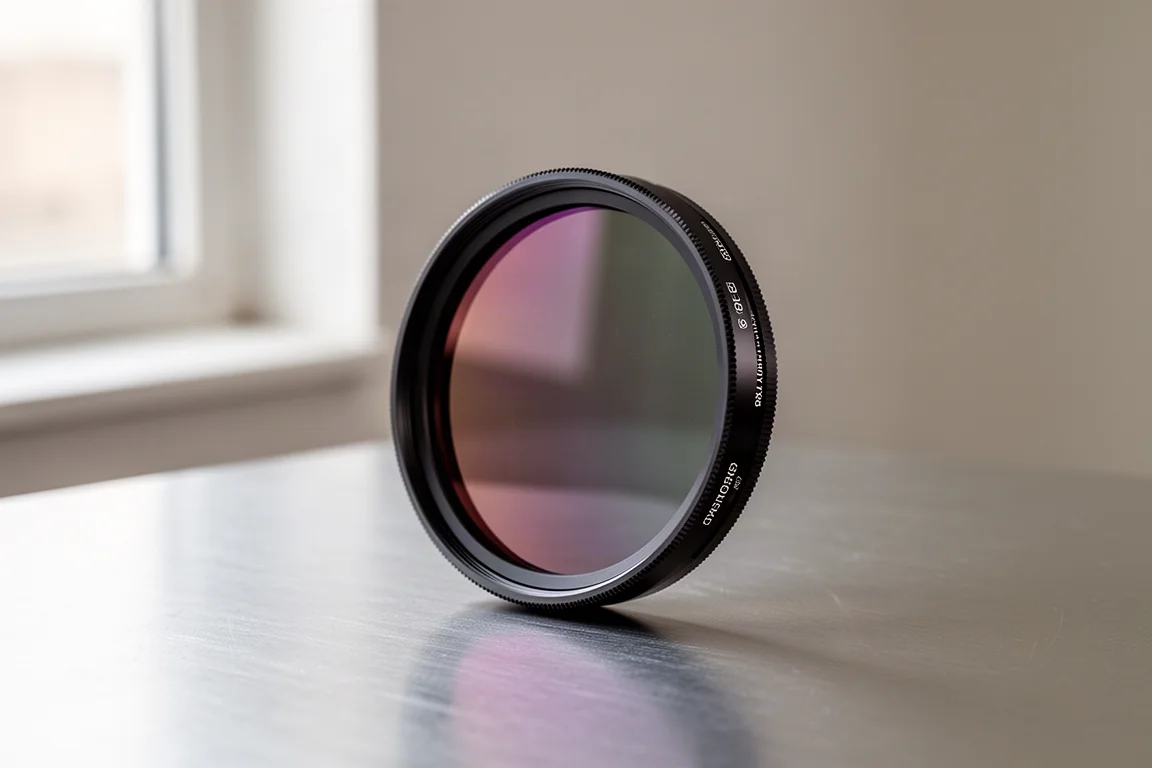
Filters come in varying levels of light pollution filtration, from mild broadband filters to strong narrowband filters that pass only a very narrow wavelength of light. In general, filters are necessary from the city and often unused at dark sky sites. Light pollution filters reduce unwanted city glow but can dull the natural colors of stars and your target.
From a light-polluted area, a dual-band filter like the Optolong L-Extreme is recommended for emission nebula and supernova remnants. For broadband targets such as star clusters, galaxies, and reflection nebula, something milder like the Optolong L-Pro is the better fit. Checking which filters other astrophotographers used for a given project is one of the best ways to decide.
Planning and Processing Your Images
Every deep sky project is built from many exposures. A typical project involves three hours or more of total integration, assembled from shorter frames such as 60 exposures of three minutes each. Stacking increases the signal and reduces noise, dramatically improving the signal-to-noise ratio. Dedicated projects can reach 20 hours of total exposure time, and in general the more time you invest, the better the result.
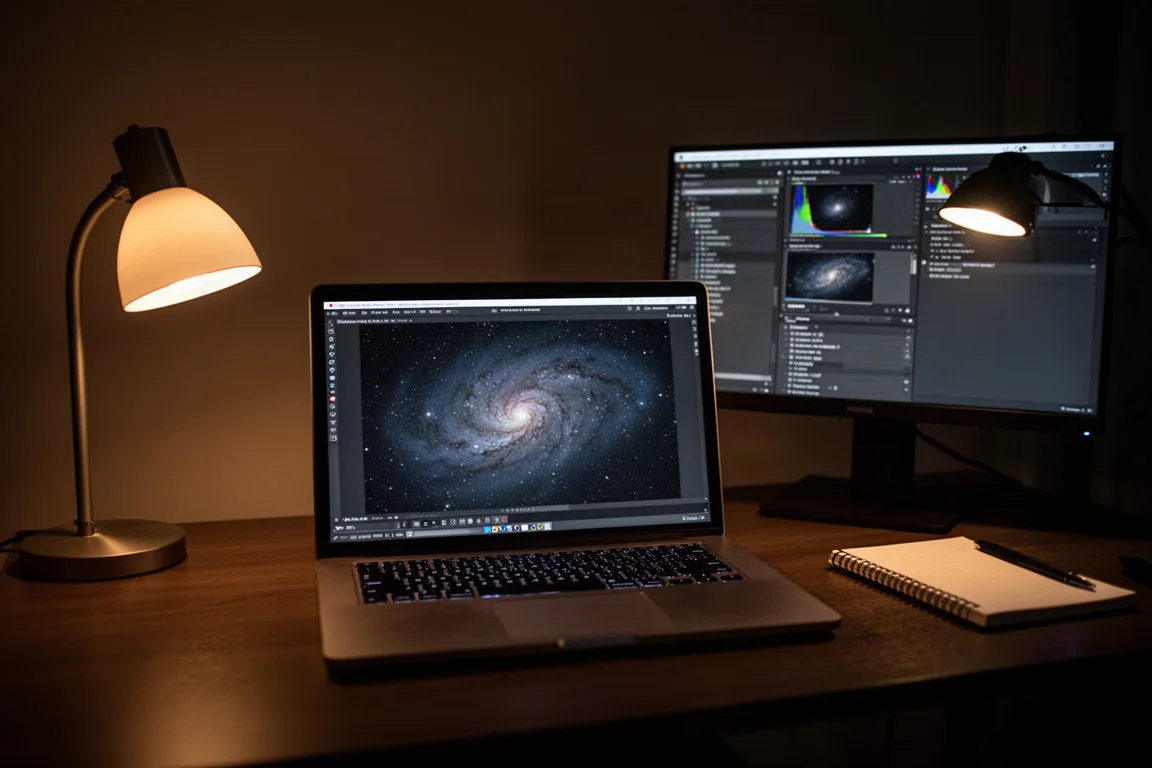
Free stacking tools like DeepSkyStacker and Siril handle calibration and combining, then the real art begins. Unstretched data looks shockingly dim, nothing like the images you see online. Stretching, saturation, and sharpening bring the image to life. Adobe Photoshop is a fantastic option for deep sky work, PixInsight is the most powerful tool on the market with a steep learning curve, and Siril is a refreshing free balance between the two. On the planning side, Stellarium lets you import a custom landscape, preview where objects will sit from your location, and track moon phase and ISS passes.
Advice for Getting Started
Choose targets that fit your telescope’s field of view and your location. Galaxies, reflection nebula, and dark nebula need dark skies and a moonless night. Emission nebula, with the right filter, can be captured almost anywhere, even during a full moon.
Most importantly, expect failure early. The surest way to get frustrated is to expect everything to work on the first night. Polar alignment, focusing, and balance all take repetition. The challenge is what makes the hobby special, and the payoff, a self-captured portrait of an object thousands or millions of light years away, is worth every cloudy night spent planning.
Conclusion
You do not need everything at once. A DSLR, a small apochromatic refractor, and a capable tracking mount form a deep sky rig that will grow with you, and tools like the ASI Air and the right filters remove friction as you progress. Start simple, pick appropriate targets, stack patiently, and enjoy the process of revealing what is really out there. Clear skies.
Further reading
Related Reviews
Astrophotography
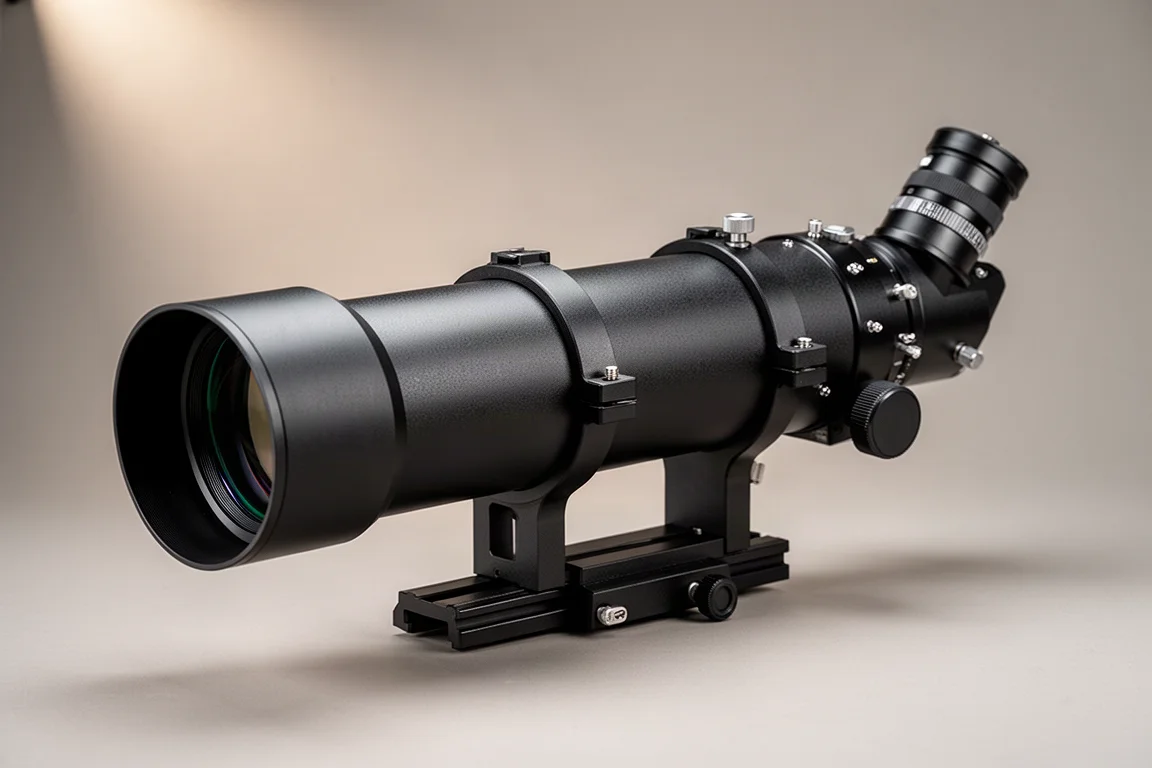
ASKAR FRA400C Review: A Versatile 400mm Refractor for Astrophotography and More
The ASKAR FRA400C is a compact 72mm refractor that balances reach, versatility, and portability for astrophotographers and visual observers.
Astrophotography
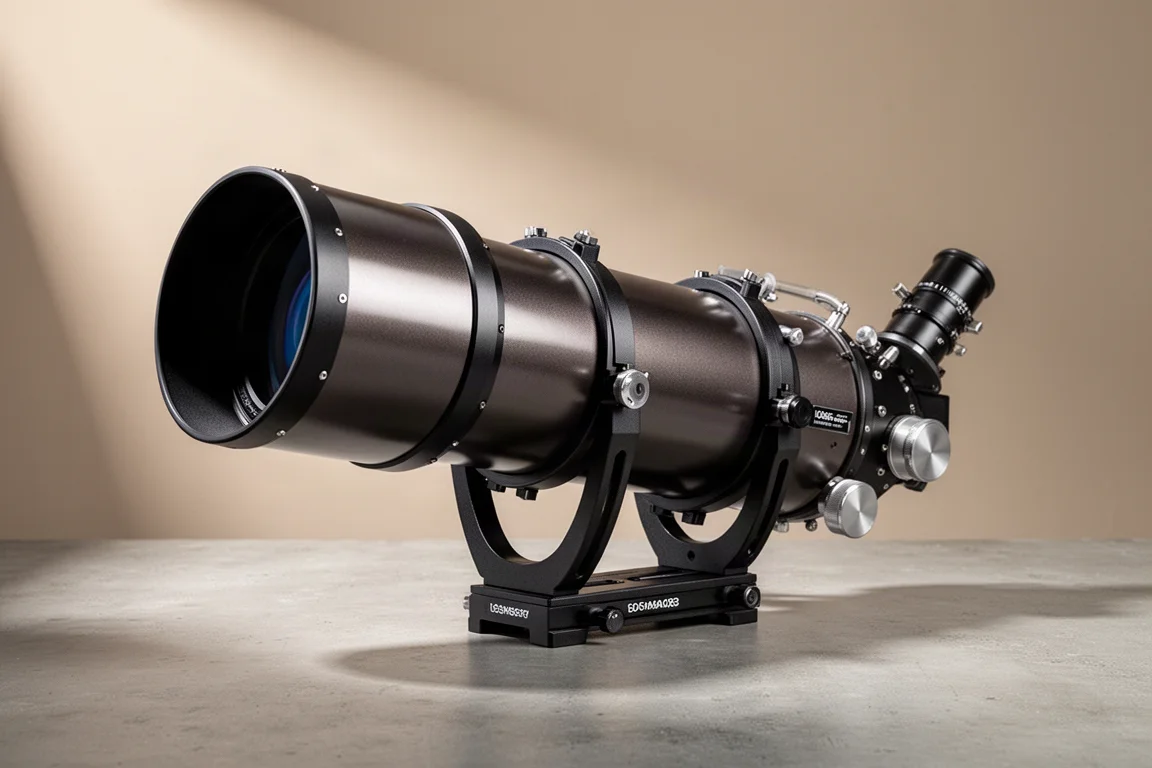
Askar SQA106 Review: A Premium 106mm Astrograph With Exceptional Optics
The Askar SQA106 is a premium 106mm quintuplet astrograph with impressive sharpness across full-frame sensors, though its price and weight demand careful consideration.
Astrophotography
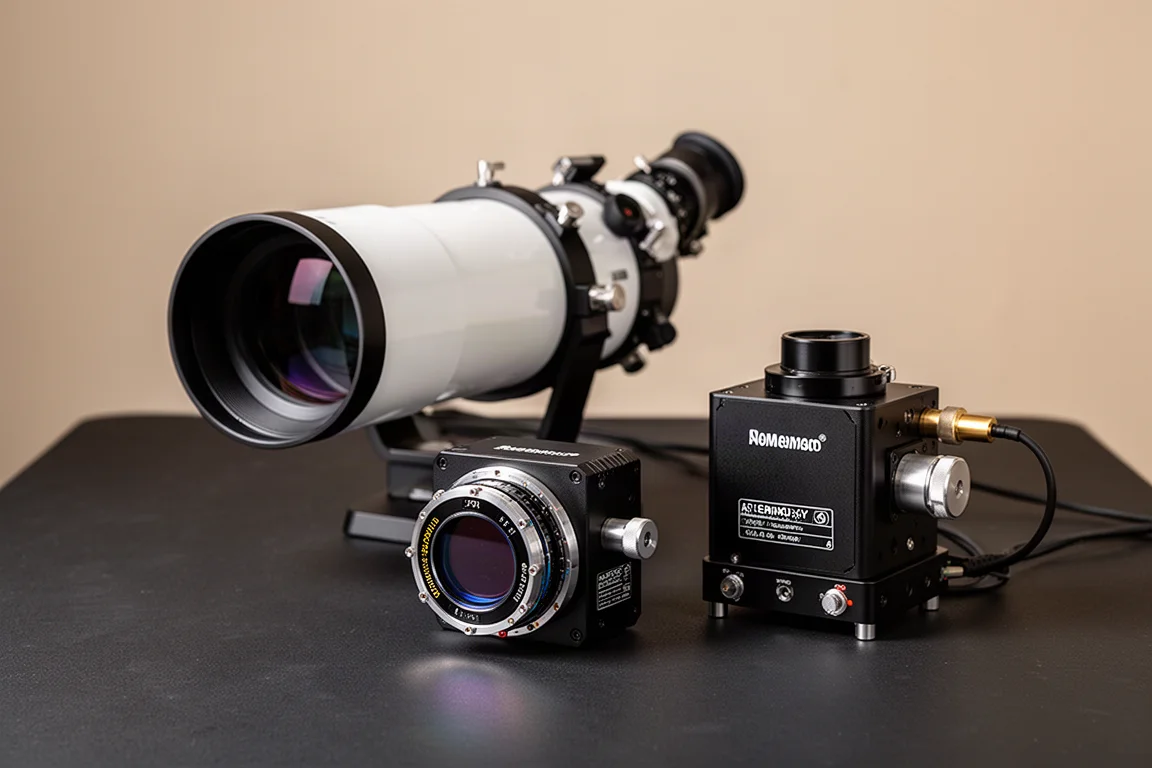
Astro Imaging Gear 2026: Eight New Products Worth Watching
A look at the most interesting new astrophotography and astronomy products announced this year, from fast telescopes to smart cameras and wireless accessories.