Flight Simulation
Complete Home Flight Simulator Setup Guide: Every Component Explained
A detailed breakdown of a professional home flight simulator cockpit, from avionics and controls to displays and motion platforms, with budget alternatives for each major component.
Introduction
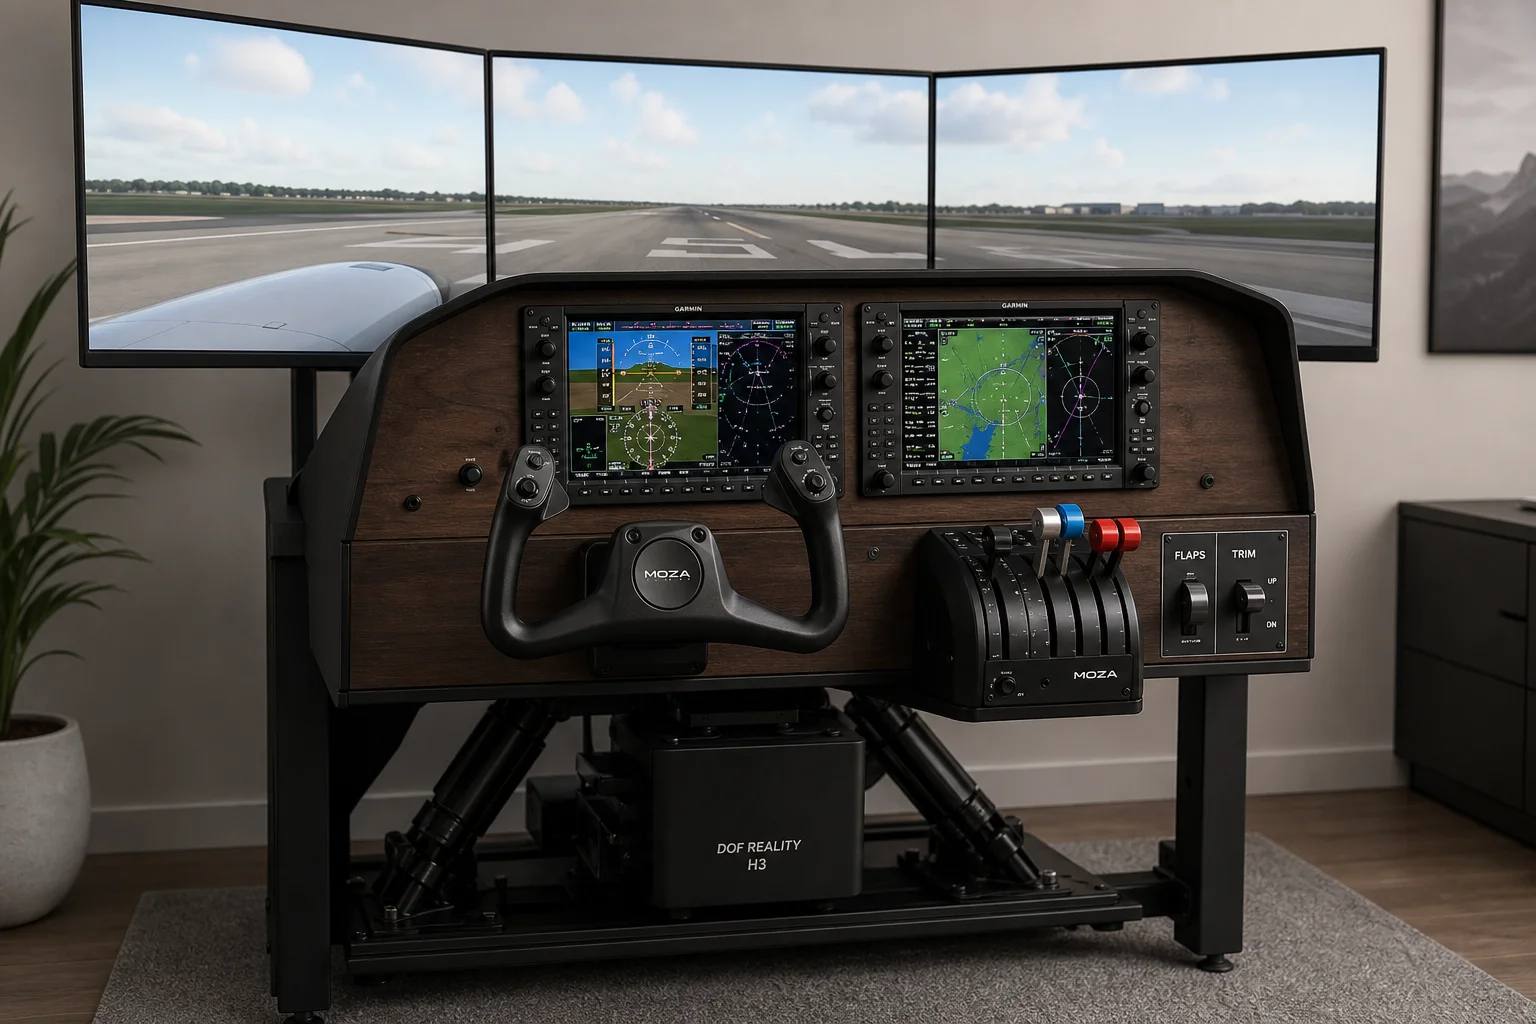
Building a home flight simulator cockpit is a journey that combines hardware, software, and careful planning. This guide walks through every component of a professional setup, from the structural foundation to the motion platform, explaining what each piece does and offering budget-friendly alternatives where available. Whether you are planning a full-featured cockpit or starting with essentials, understanding how these components work together will help you make informed decisions.
The Cockpit Foundation
The base of any serious flight simulator setup is the FlightSim Pro, which combines the FlightSeat Pro and FlightStand Pro into a unified platform. This integrated solution costs around $1,097 and provides several key advantages. The primary benefit is motion compatibility, allowing the entire cockpit to move with a motion platform while keeping the displays stationary. The structure is also highly adjustable, letting you position controls like sticks and yokes precisely where you need them. Mounting rudders directly to the rudder plate creates a solid, responsive feel.
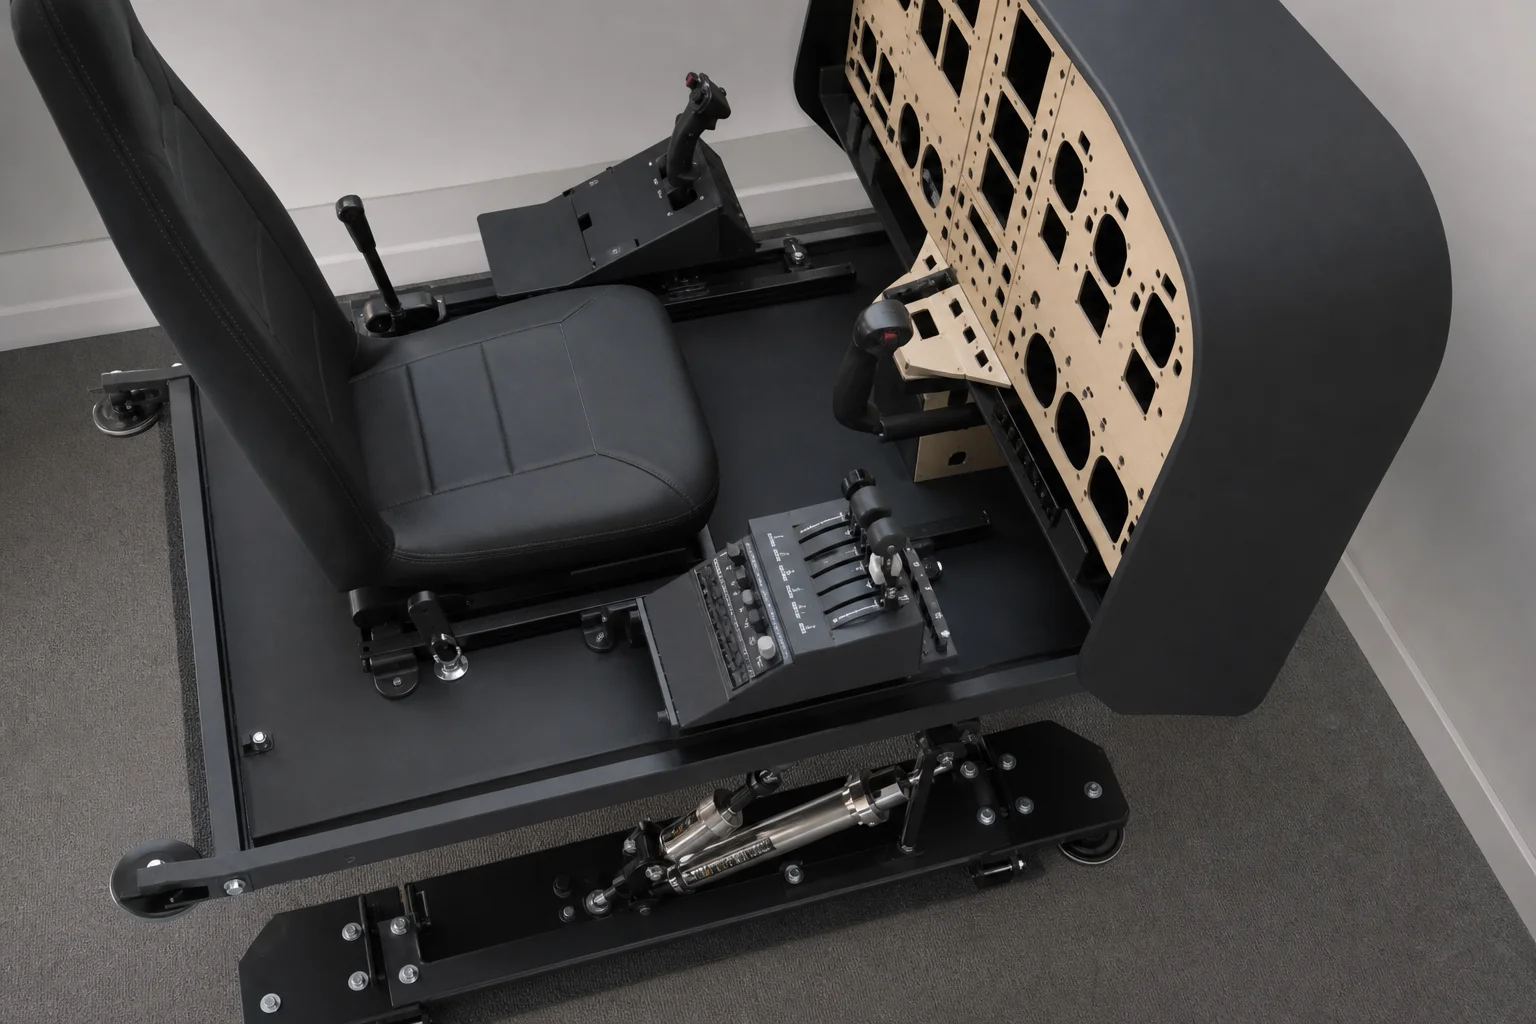
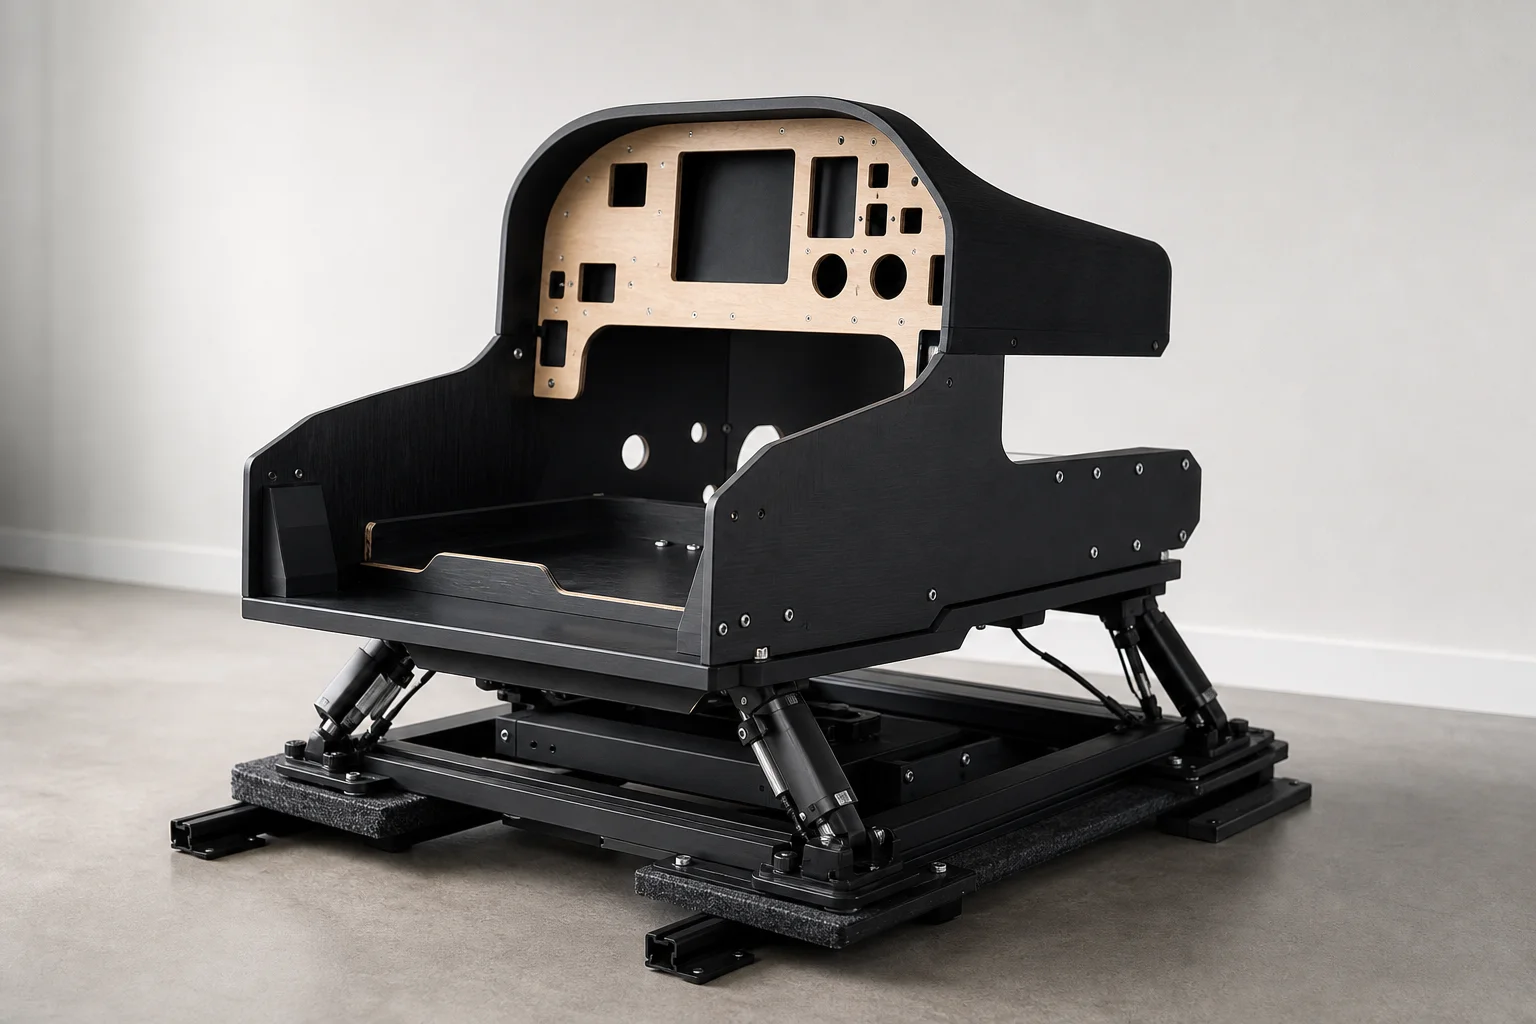
The physical base itself is built from 17mm form ply, a material commonly used in construction that offers a matte black finish without requiring paint. Underneath, carpet sliders allow the entire cockpit to slide in and out while remaining connected to the motion platform. The wooden mounting panel on top is 1.2 meters wide and 17mm thick, painted black, and serves as the anchor point for the yoke, avionics panel, and other controls. This design allows for easy access and maintenance while keeping everything securely fastened.
Avionics: The G1000 Glass Cockpit
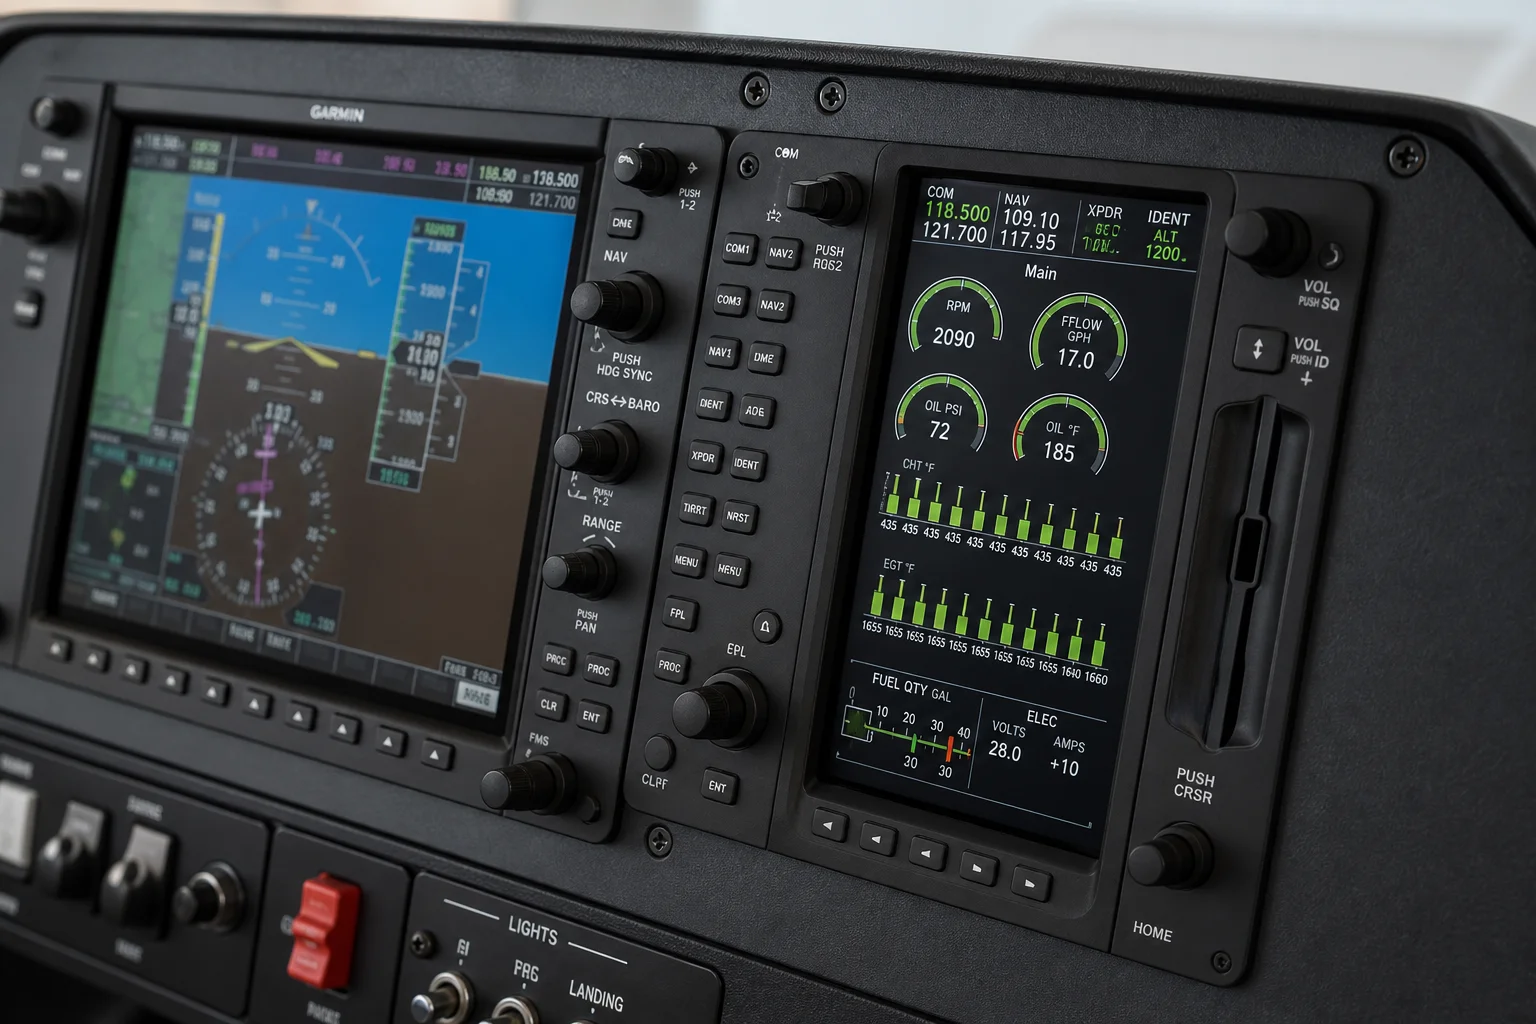
The avionics panel is the nerve center of the cockpit. The setup uses two FlightSimBuilder G1000 units, which are budget-conscious compared to other high-end options on the market, priced around $600 USD each. These tactile glass cockpit panels provide realistic interaction with the avionics systems found in many general aviation aircraft like the Cessna 172, Beechcraft 182, and Caravan.
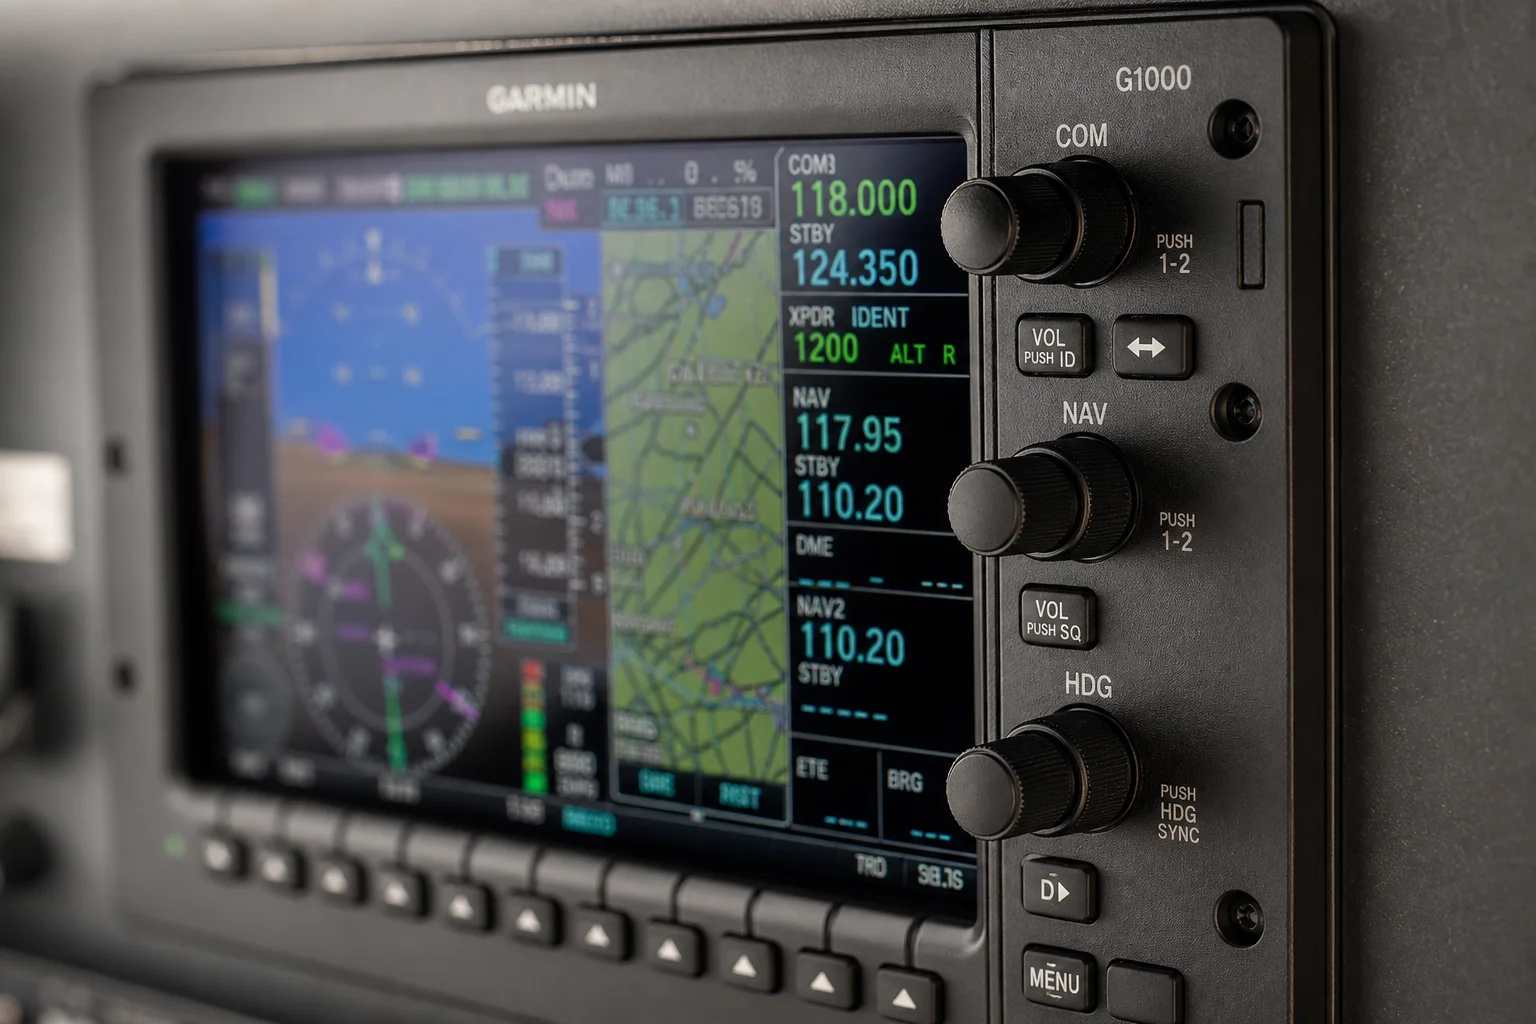
One important consideration is that G1000 avionics limit your aircraft selection. You will primarily fly planes equipped with G1000 systems, which narrows the variety but deepens the immersion when flying compatible aircraft. The panels feature working rotary knobs, buttons, and LED indicators that display real-time flight data. The build quality is solid, and the panels rarely experience issues. The avionics panel itself is constructed from 12mm MDF painted in dark grey chalk finish to minimize reflections, with a flexible compressed material curved around the front edge and finished with rubber trim tape for a polished appearance.
Control Interfaces and Stream Decks
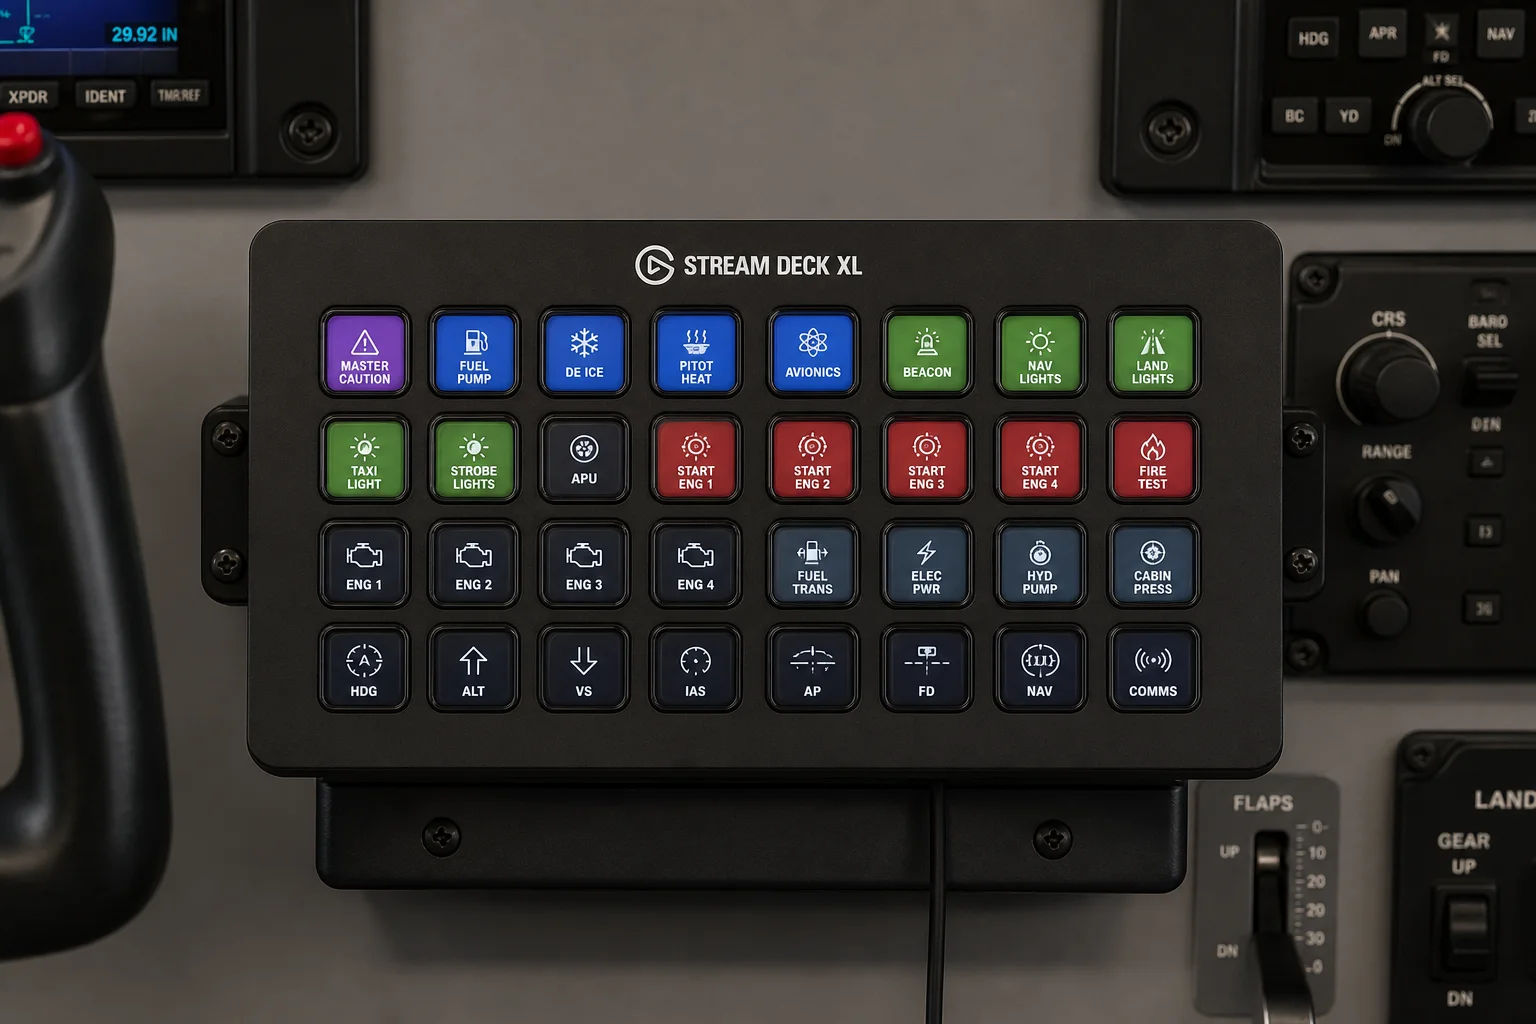
The Elgato Stream Deck XL serves as a programmable control hub for the simulator. With 32 customizable buttons, it allows quick access to frequently used functions without cluttering the physical cockpit. The Stream Deck Plus offers rotational knobs as an alternative, and the 15-key version provides a more compact option. All three versions prove useful for flight simulation, though the XL sees the most use in this setup.
The Virtual Fly Switcho radios panel adds another layer of control, displaying information about flaps, trims, elevator stages, pitot heat, and parking brake status. It also includes navigation and communication radio controls plus an autopilot panel. While this creates some functional overlap with the G1000 displays, it is particularly valuable in desk-based setups. At around $900 USD, it is a premium addition that is not essential for a cockpit-mounted simulator but enhances the experience if you have the budget.
Rudder Controls
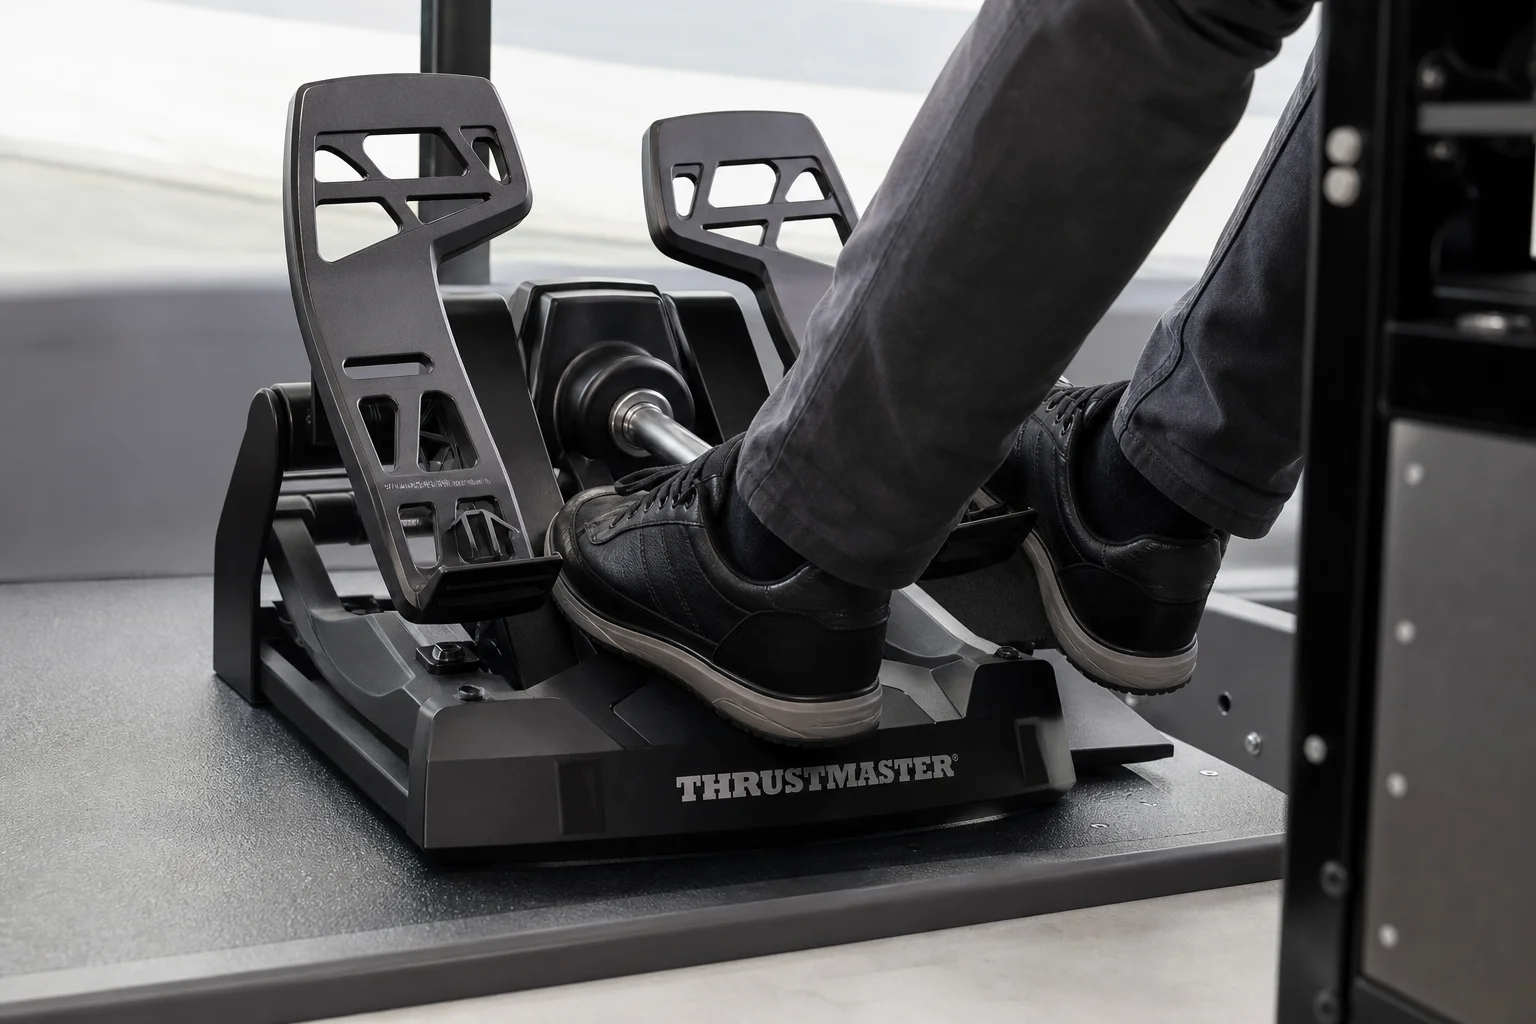
The Thrustmaster TPR rudders are the choice for this setup, selected for their versatility and responsive feel. They are paired with a damper modification from CubeSim to improve the tactile feedback. The alternative is the VirtuFly rudders, which offer similar functionality. For budget-conscious builders, these represent a significant investment but are essential for realistic flight control.
Throttle and Trim Controls
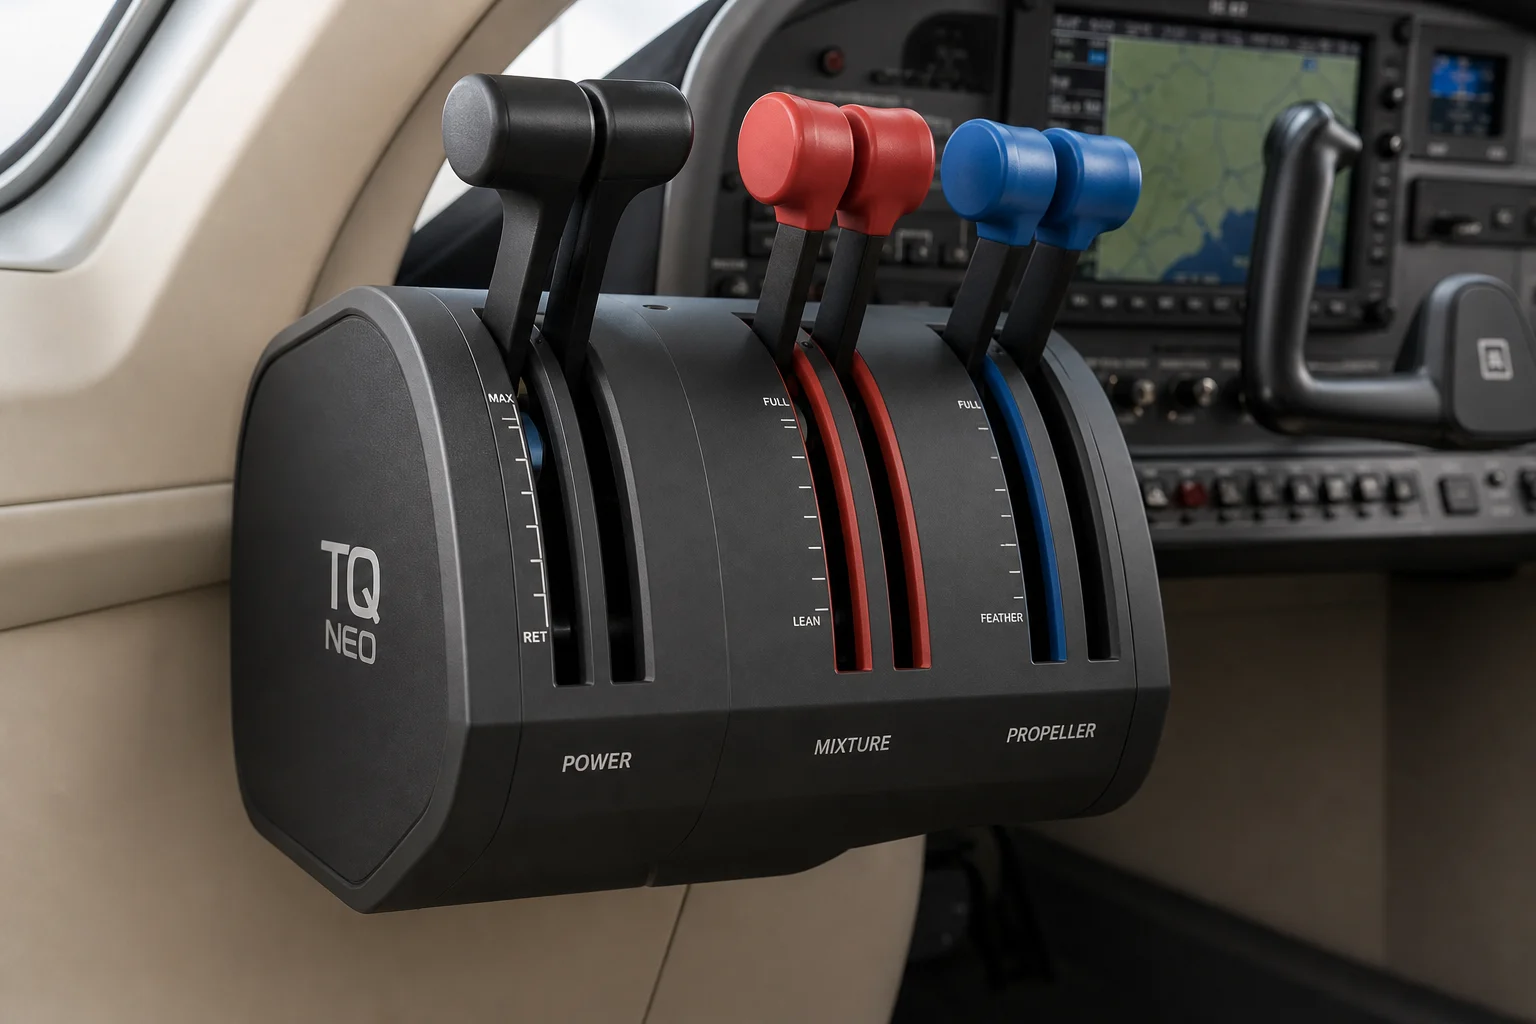
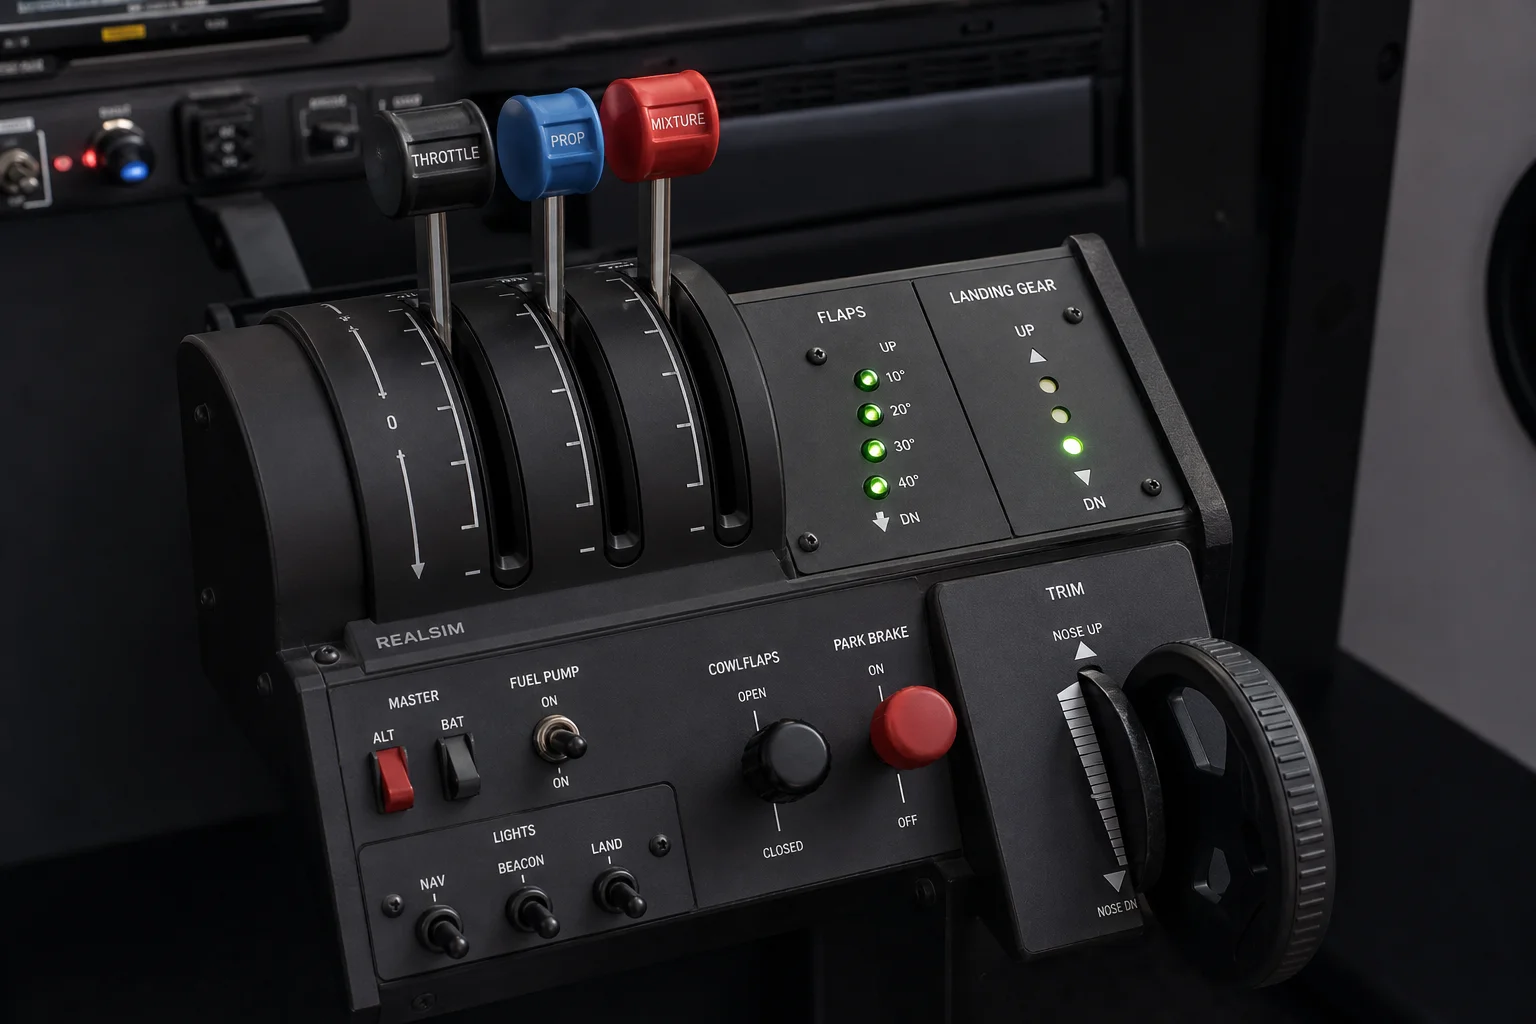
The TQ Neo throttle quadrant represents the high end of throttle control, priced at approximately $1,700 USD. This unit features two configurations: one for single-engine piston aircraft and another for twin-engine turboprops. The throttle levers feel exceptionally smooth and responsive, with multiple control axes for power, mixture, and propeller RPM. This is one of the most frequently interacted-with components in the cockpit, making its quality noticeable during every flight.
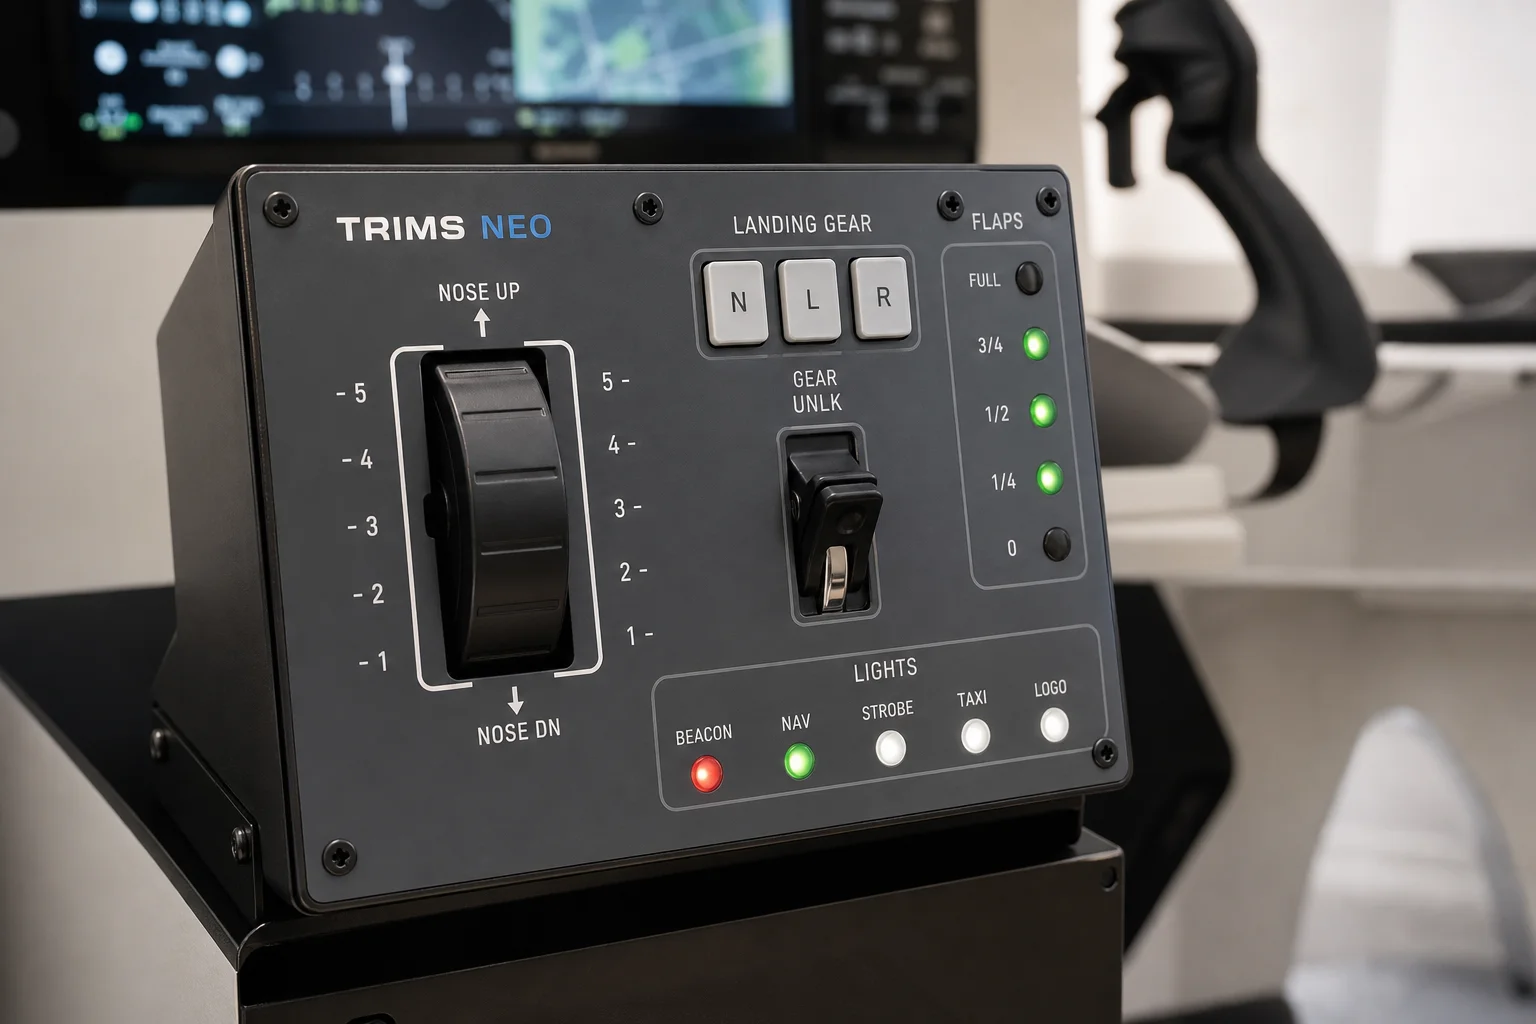
The Trims NEO panel, also priced around $1,700 USD, connects to the TQ Neo and includes a working trim wheel, parking brake, landing gear controls, flap indicators, and rudder and aileron trim controls. The LED indicators show the current position of flaps and trim in real time, providing visual feedback that matches the aircraft’s actual configuration. Both units bolt together neatly and share the same premium build quality.
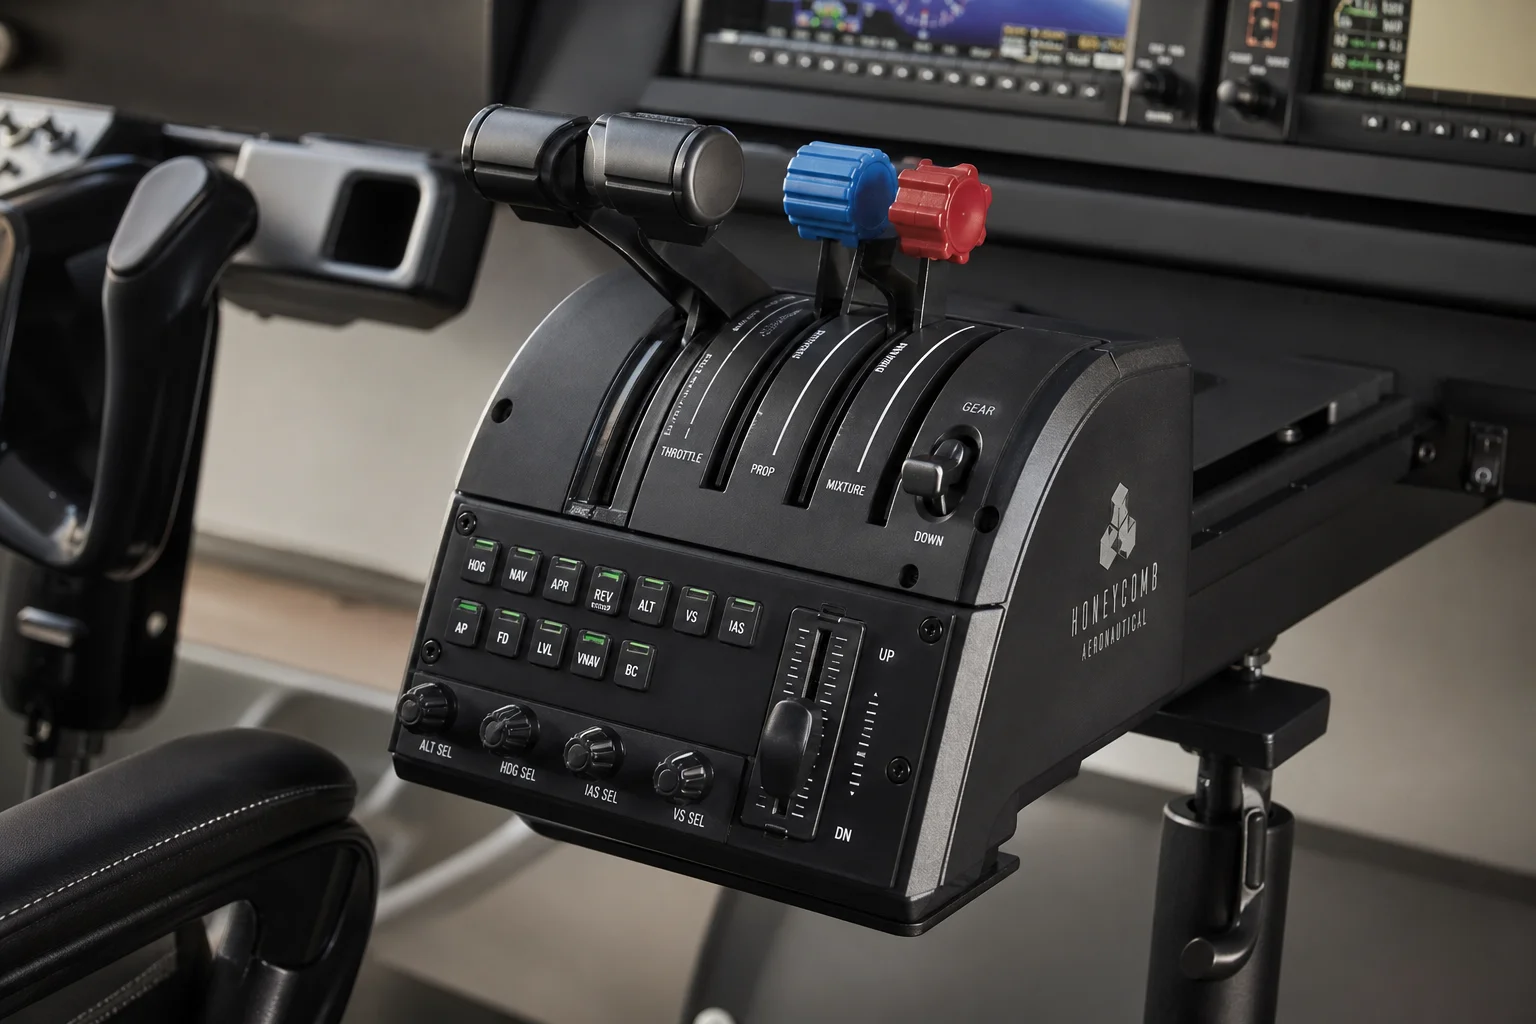
For those seeking to reduce costs, the Honeycomb Bravo Throttle Quadrant offers comparable functionality at a significantly lower price point. While it lacks the premium build quality and refined feel of the TQ Neo and Trims NEO combination, it delivers most of the same features and can serve as a capable alternative for general aviation flying.
Force Feedback Yokes
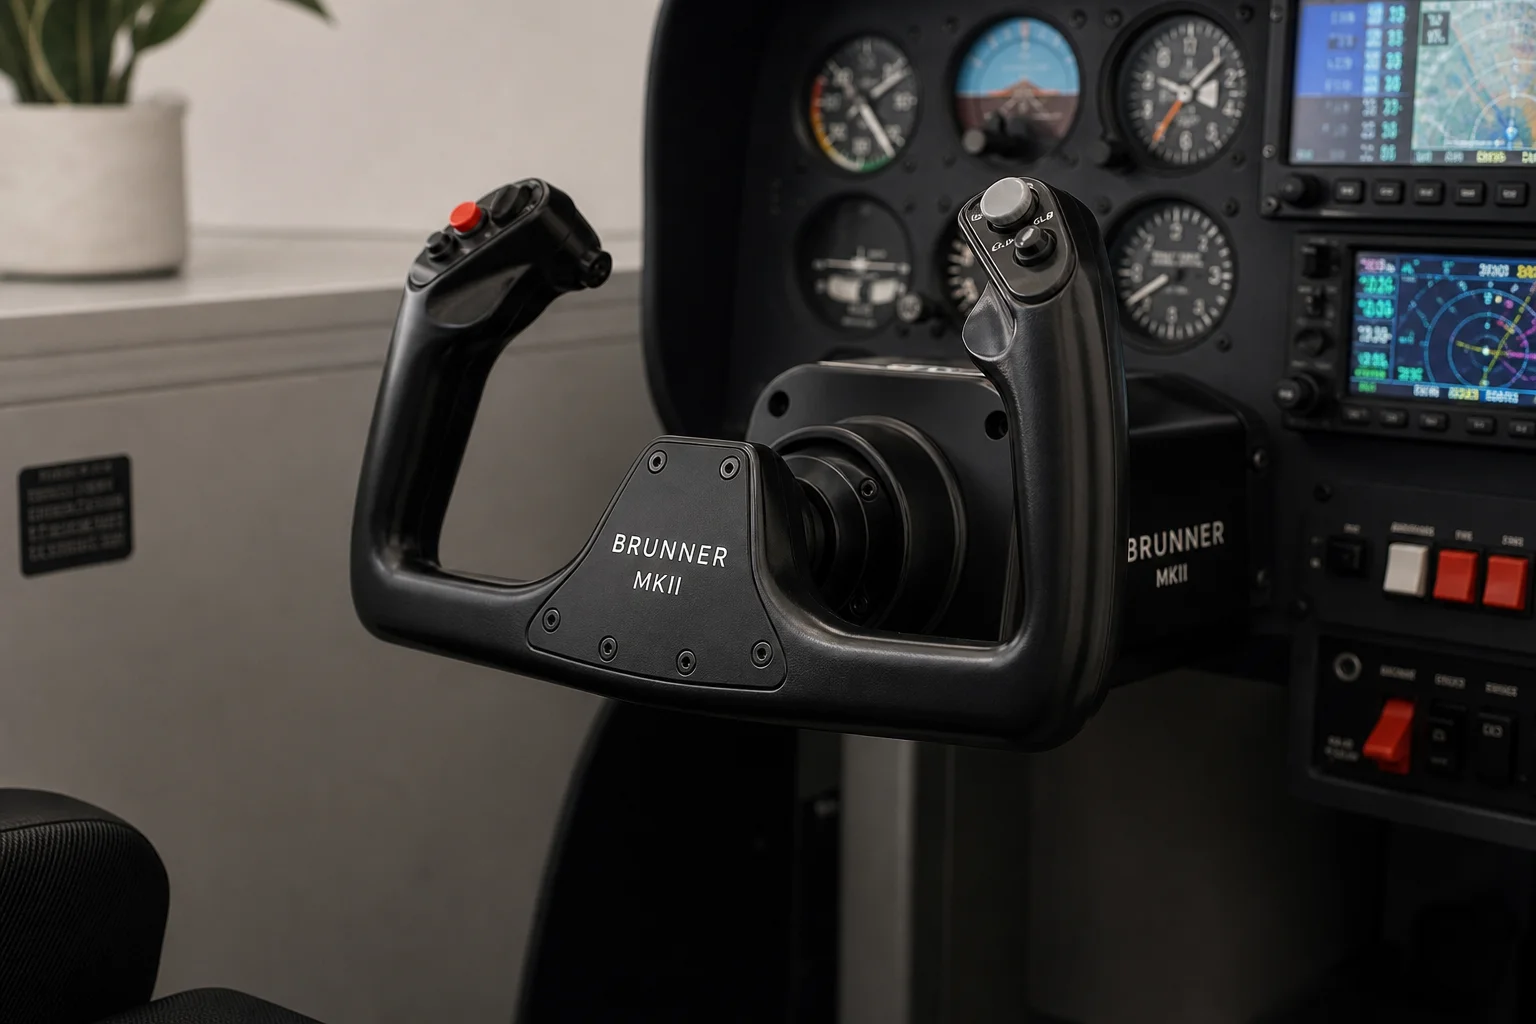
The Brunner MKII Force Feedback Yoke is the centerpiece of this cockpit, priced just under $2,200 USD. This yoke reads telemetric data from the simulator and reproduces airflow over the wings, control surface feedback, engine vibrations, and turbulence. The software interface is not intuitive, but once configured correctly, the force feedback is phenomenal. The yoke offers approximately 160 centimeters of full throw, providing realistic pitch control. This is the best force feedback yoke currently available, though it comes at a premium price.
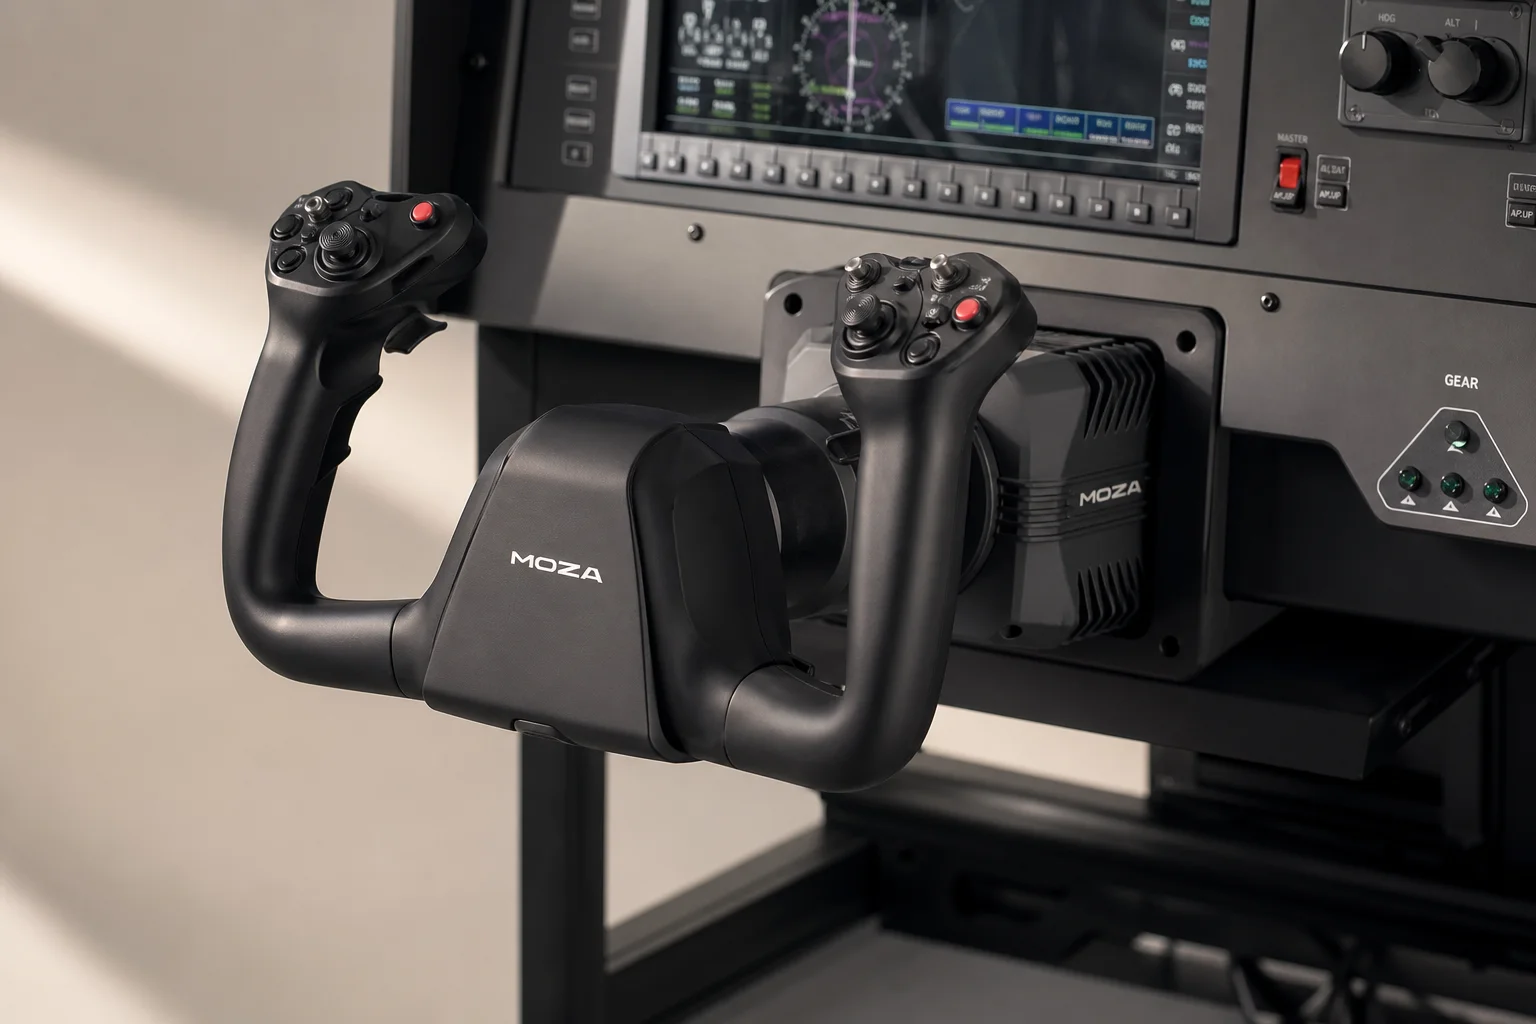
The Brunner NG is a more affordable variant at around $1,100 USD, offering less power and throw but maintaining the core force feedback experience. For further budget reduction, the Moza Force Feedback Yoke provides comparable build quality at a lower cost, though the software-generated feel is less refined. The difference is particularly noticeable in X-Plane, where force feedback is more pronounced.
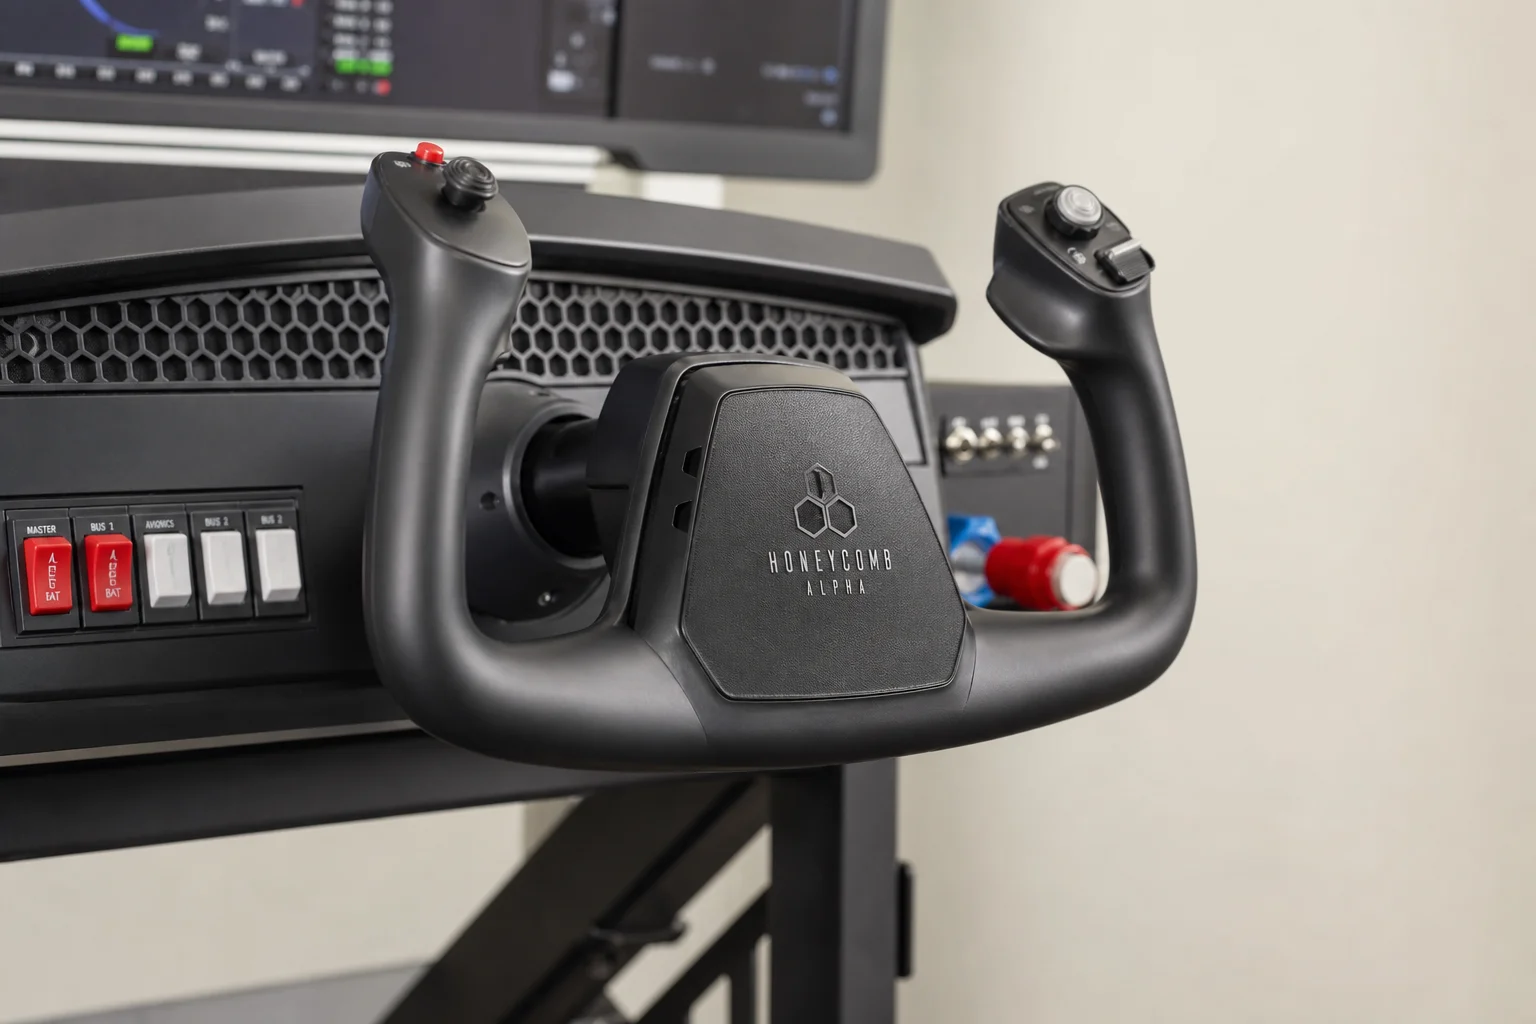
If force feedback is not essential, the Honeycomb Alpha Yoke is an excellent alternative. It features approximately 90 centimeters of pitch throw and full 90-degree roll range, making it a capable and affordable option for building an immersive setup without the expense of force feedback systems.
Display Setup and Monitor Selection
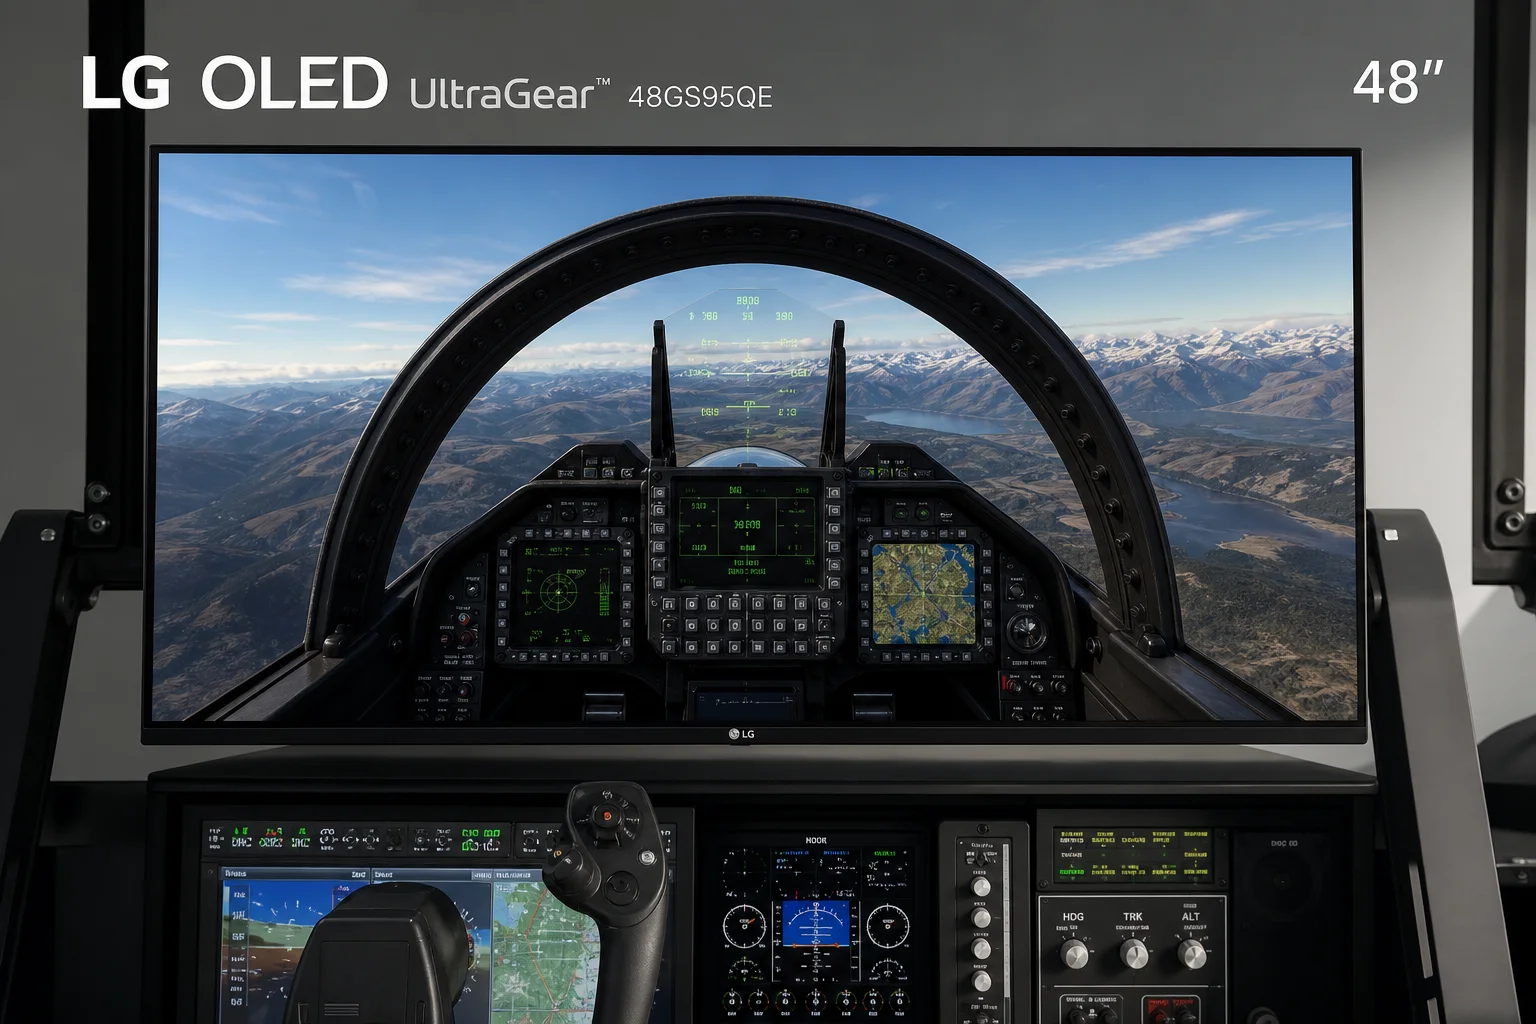
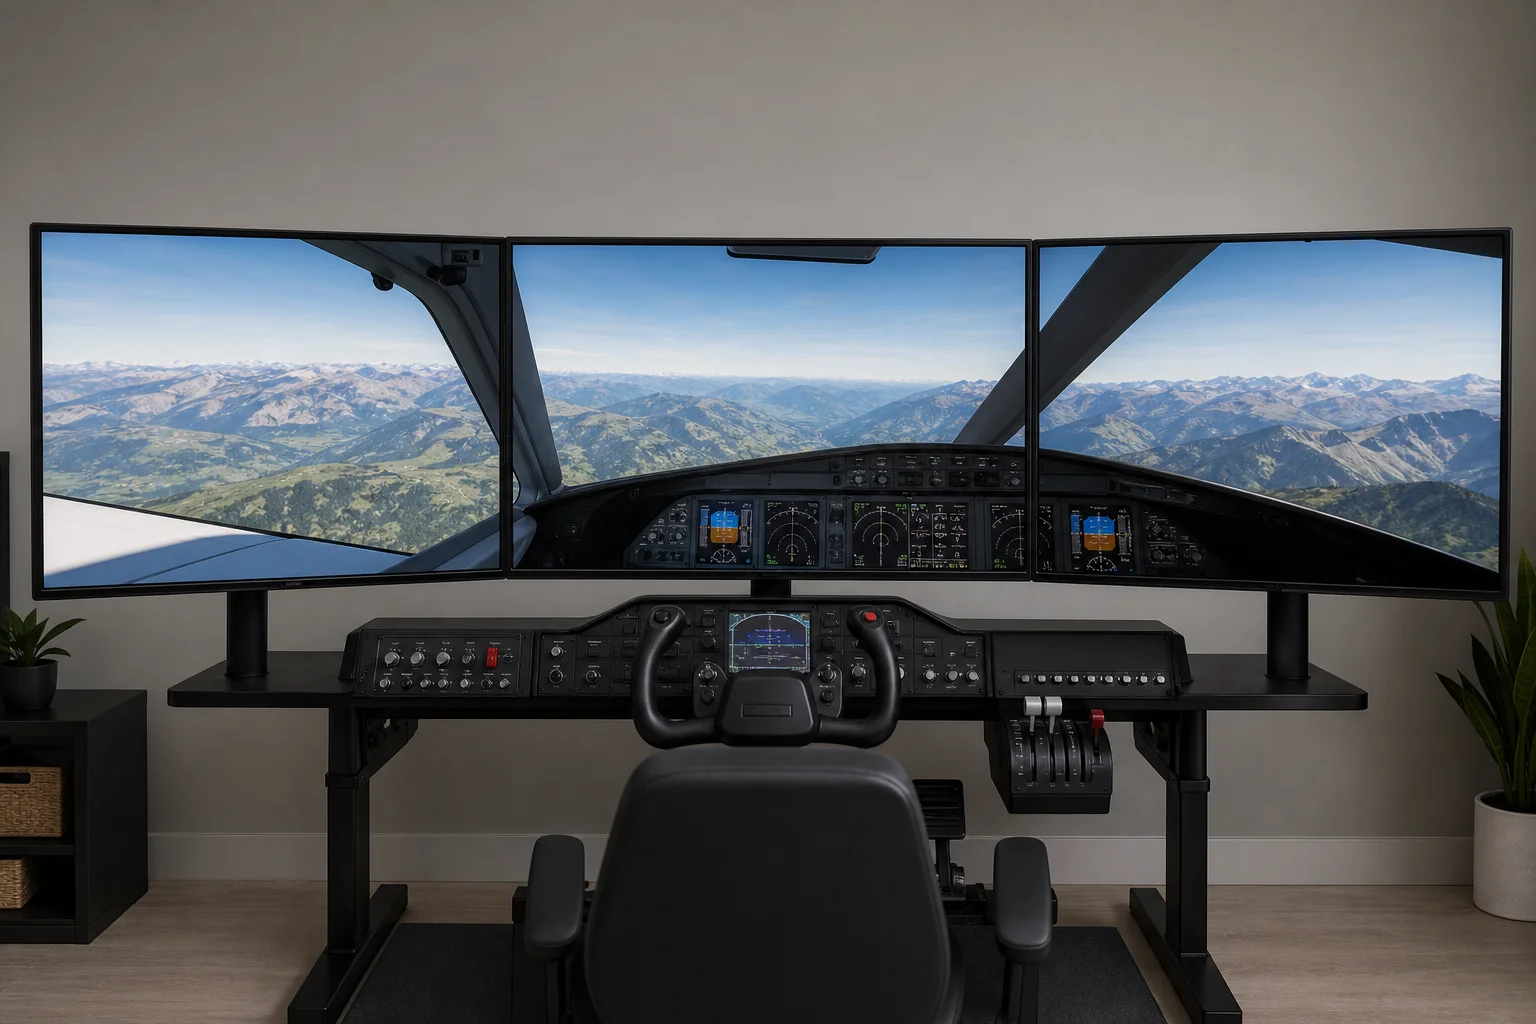
The display setup uses three LG 48-inch OLED gaming monitors, a significant upgrade from the previous triple 55-inch television configuration. The transition from TVs to dedicated monitors brought substantial improvements: a wider variable refresh rate range, direct DisplayPort connectivity eliminating HDMI converter headaches, and the exceptional contrast of OLED technology with deep blacks and no blooming.
The matte coating on these OLED monitors eliminates reflections and glare that plagued the glossy televisions, creating a cleaner visual experience. The only drawback is that these specific LG models are becoming difficult to find. The Asus 48-inch OLED is a comparable alternative, though typically more expensive. For budget-conscious builders, 55-inch or 43-inch televisions with variable refresh rate support provide good value, though they lack the monitor-specific advantages like DisplayPort connectivity and matte finishes.
The sweet spot for immersion and scale is between 48 and 60 inches. Displays larger than 65 inches begin to feel overwhelming, while smaller displays below 43 inches lose some of the sense of scale. The resolution of your chosen displays directly impacts the graphics card requirements, so selecting monitors first and then building the PC around them is the recommended approach.
Monitor Stands and Bezel Management
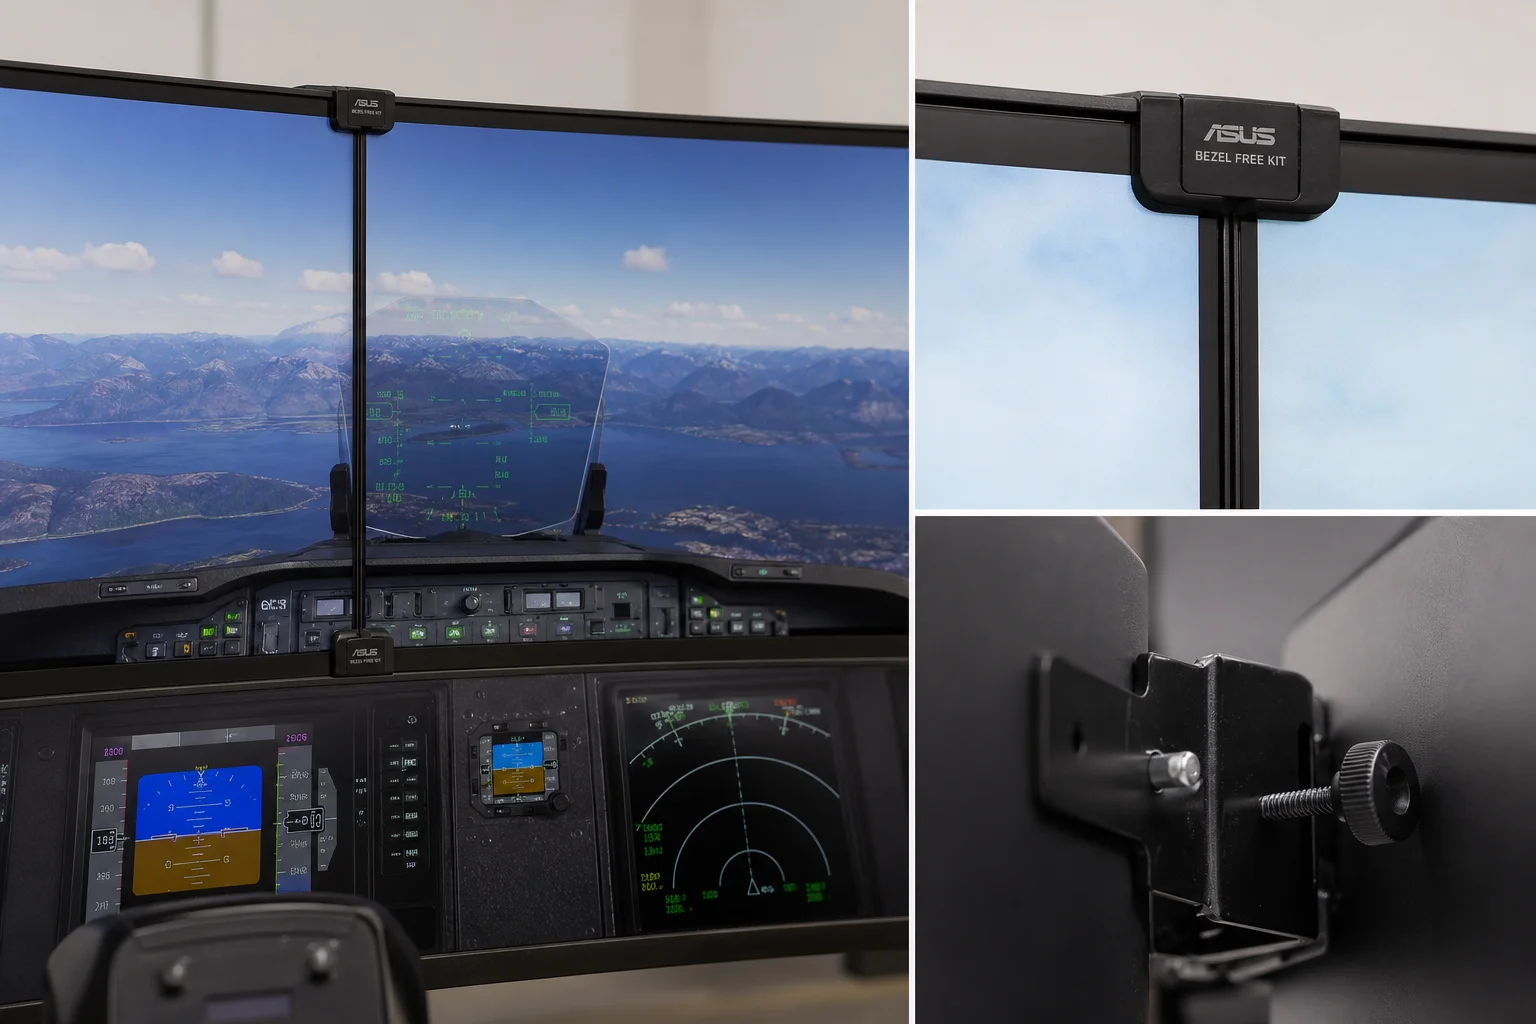
Two Next Level Racing Elite Monitor Stands support the display setup. The single-stand configuration was chosen because the triple stand was not compatible with the previous television setup, and the same limitation may apply to the 48-inch OLED monitors. Custom extrusion pieces were fabricated to create a unified mounting solution.
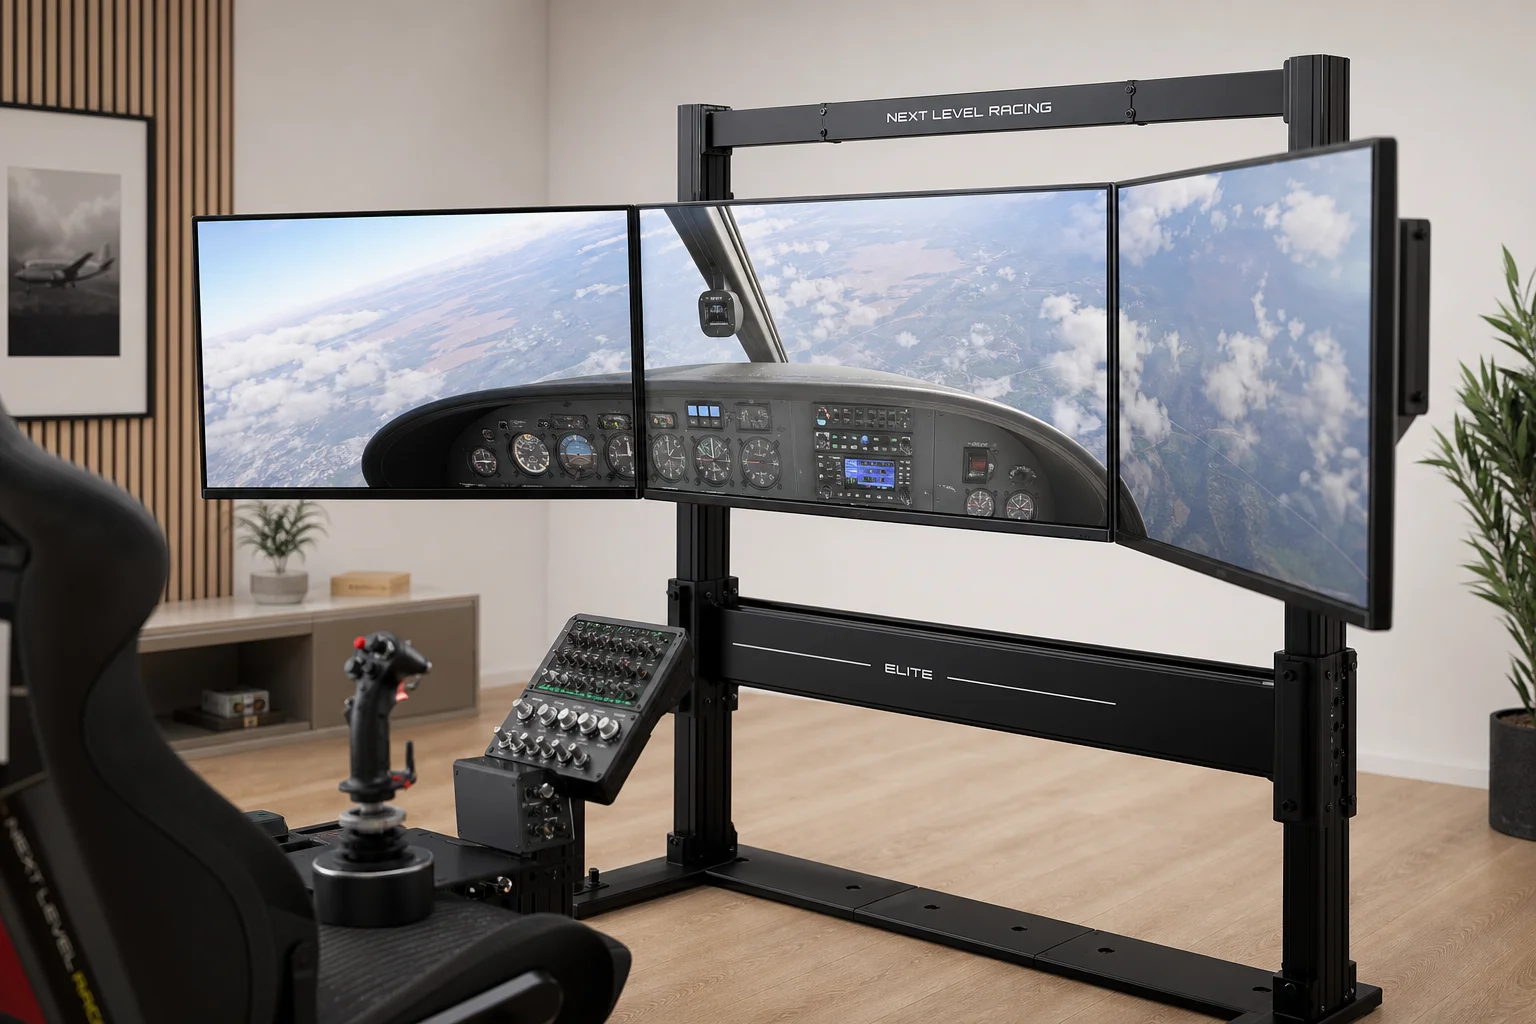
The Asus Bezel Free Kit removes the bezels between adjacent monitors, creating a seamless visual experience. For 48-inch displays, two kits are required due to the larger screen size. This accessory significantly enhances immersion by eliminating the visual interruption of monitor bezels.
Motion Platform
The motion platform is bolted directly to the FlightSim Pro frame and operates by pivoting the entire cockpit from a rocker point at the front. The displays remain stationary while the cockpit moves, providing pitch, roll, and heave (vertical) motion. The platform costs approximately $3,000 USD and is not essential but substantially enhances immersion once experienced.
The motion effects are subtle by design. Overuse can become distracting, so the platform is configured to provide minimal but noticeable feedback for turbulence, pitch changes, landing impacts, and ground effects. The platform includes customizable profiles for different flight scenarios. While budget motion options exist, the Next Level Racing platform is the only one with direct experience in this setup, making it difficult to recommend alternatives with confidence.
Software and Performance
The simulator runs either Microsoft Flight Simulator or X-Plane. Microsoft Flight Simulator offers superior graphics and better overall performance on this hardware, delivering 40 to 60 frames per second at triple 4K resolution using DLSS upscaling. X-Plane provides more realistic force feedback and motion platform integration but struggles with performance, often dropping below 30 frames per second at the same resolution despite less demanding graphics.
The PC powering this setup uses an RTX 4090 graphics card, AMD Ryzen 7 7800X3D processor, and 64GB DDR5 RAM. This represents a significant investment but is necessary for smooth triple 4K performance. Flying in less densely populated areas helps maintain frame rates, as does using DLSS technology.
Building Your Own Setup: Key Considerations
Before starting your build, consider these practical points. First, monitor heat output varies significantly between models. Visit a store and feel the heat output of your chosen displays to understand what cooling solutions you may need. Second, avoid HDMI cables longer than five meters, as signal degradation can occur. If using televisions, DisplayPort-to-HDMI converters may occasionally fail to work, requiring computer restarts to restore functionality.
Third, plan your build around your display choice first, then work backward to determine the graphics card and processor needed. The resolution and size of your monitors will dictate your PC requirements more than any other factor. Fourth, avoid USB extension cables when possible, as they can cause devices to drop in and out of connection. A single USB hub with one cable to the PC is the most reliable approach.
Finally, monitor size matters for immersion. Displays over 55 inches become impractical, while anything below 43 inches loses some sense of scale. The 48 to 60-inch range provides the best balance of immersion and practicality. Consider your space constraints, viewing distance, and graphics card capabilities when making your final selection.
Conclusion
A professional home flight simulator cockpit represents a substantial investment in both money and planning, but the result is an immersive flying experience that rivals commercial simulators. By understanding each component’s role and considering budget alternatives, you can build a setup that matches your priorities and budget. Start with the displays, plan your PC accordingly, and add components gradually as your budget allows. The journey of building and refining your cockpit is part of the enjoyment.
Further reading
Related Reviews
Flight Simulation
10 Essential Tips for Starting Digital Combat Simulator: A Rookie Pilot's Guide
A practical roadmap for new DCS pilots covering hardware, learning resources, and progression strategies to avoid frustration and build skills effectively.
Pickleball Paddles
2025 Paddle Awards: The Best Pickleball Paddles of the Year
A category-by-category breakdown of the best pickleball paddles of 2025, covering value, control, all-court, power, and paddle of the year.
Automotive Accessories
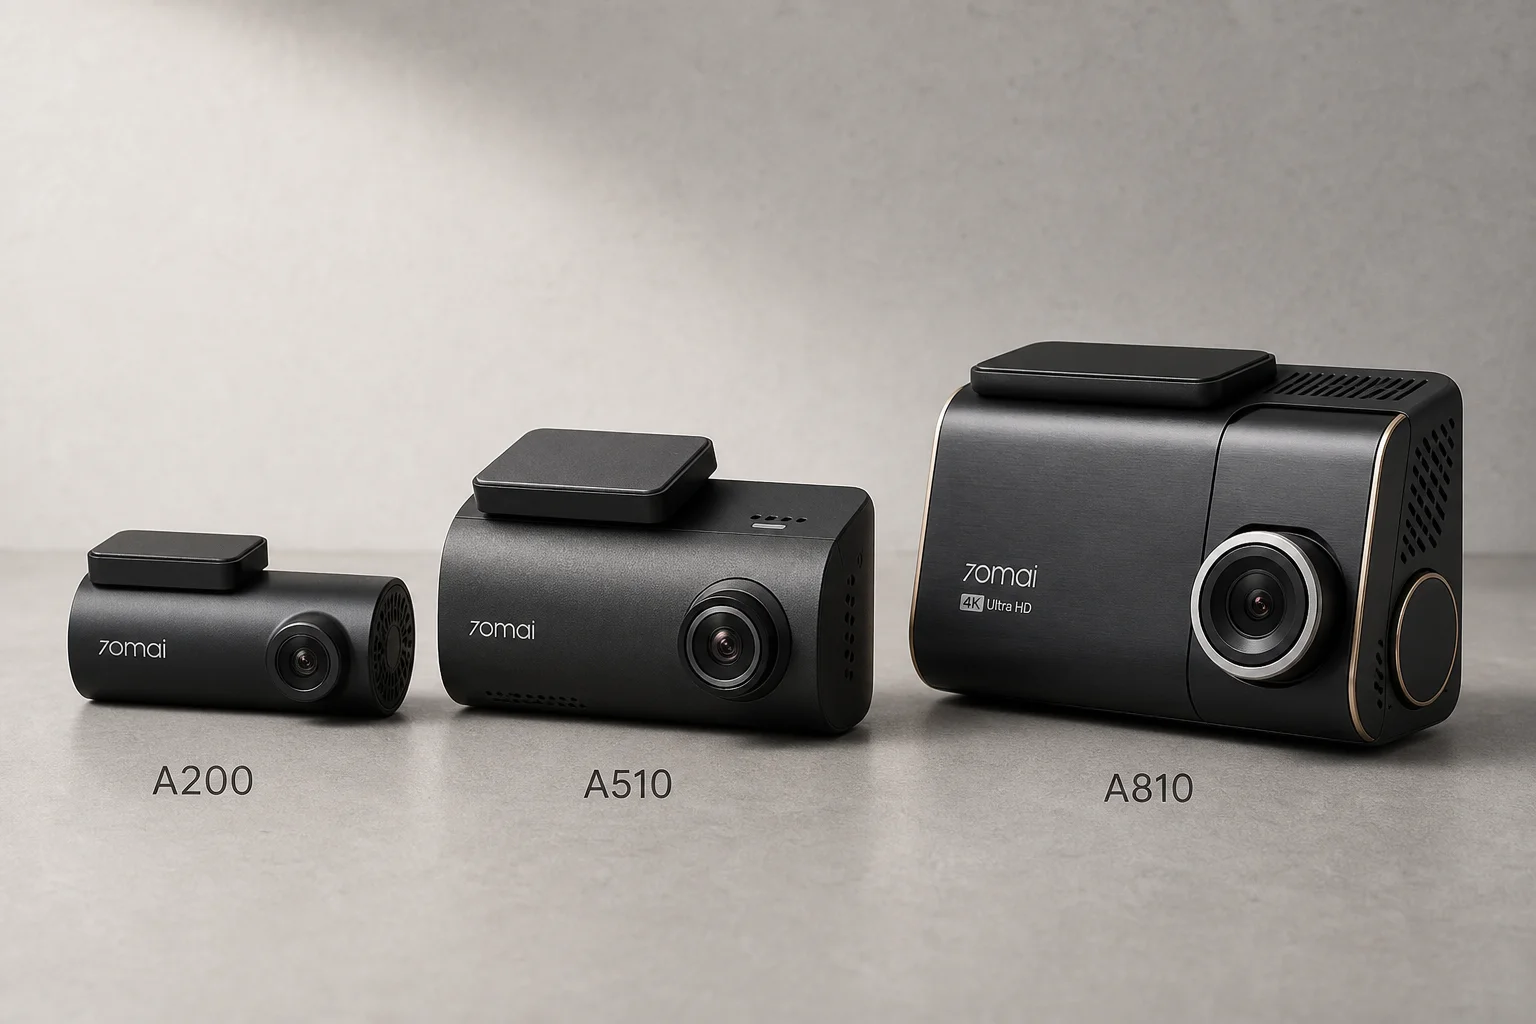
70mai Dash Cam Comparison: A200 vs A510 vs A810
Three dash cameras from 70mai across different price points reveal how resolution and sensor quality impact real-world footage clarity, especially for number plate visibility and low-light performance.