Home Theater
Compact Ultra High Performance Home Theater: The Gear Behind a 177-Driver Build
A component-by-component look at how an 18 by 15 foot room became an extreme-immersion theater with a 179-inch screen, 174 MartinLogan drivers, and a 10,000-lumen projector.
Introduction
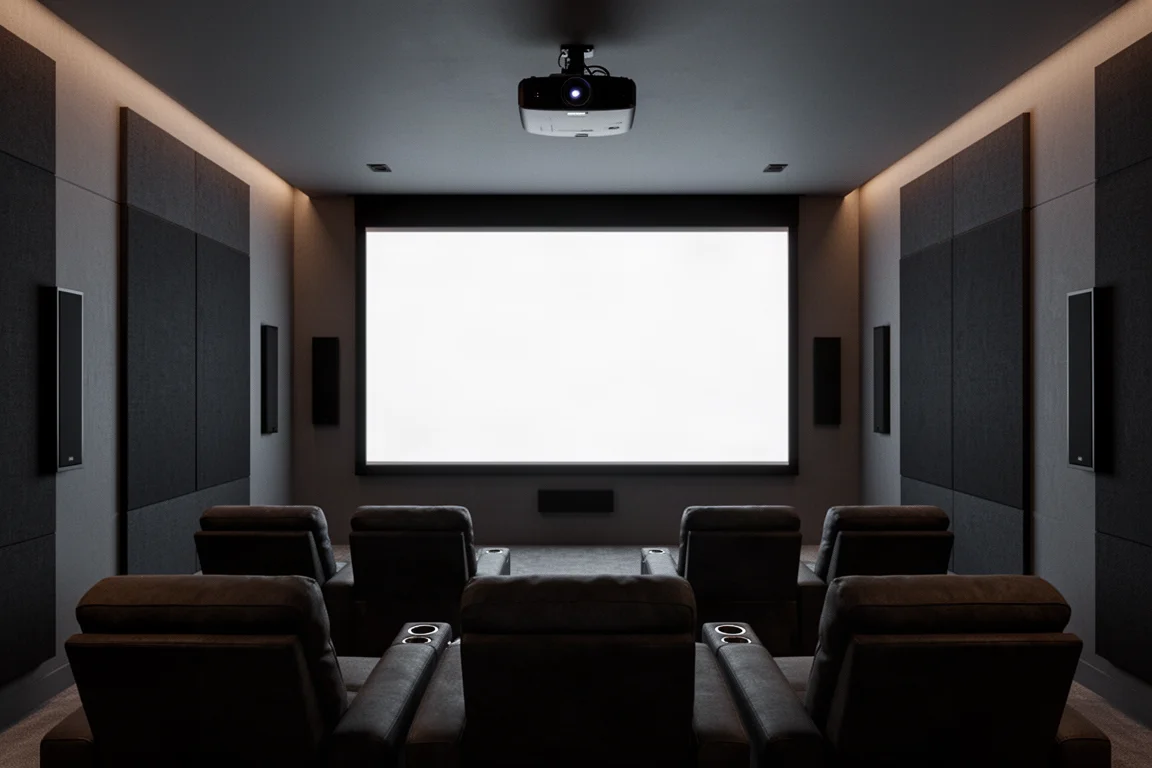
Some rooms force a choice between performance and practicality. This one did not. The theater occupies a space just 18 feet 3 inches deep, 15 feet wide, and 8 feet high, and the brief was simple to state and difficult to deliver: take performance as high as it can go inside the existing walls.
The finished room runs 177 speaker drivers, a 10,000-lumen laser projector, and a 179-inch screen. Every component was selected for performance first, then fitted into a compact footprint through a combination of in-wall construction, custom framing, and careful equipment placement.
What follows is a walk through the major pieces of the build, why each was chosen, and what a buyer should think about before pursuing something similar.
How This Compact Theater Was Planned
The design work started with the room itself. With 18 feet 3 inches of depth and 15 feet of width, seating distance is fixed by the walls, so the biggest available lever was screen size. The previous 140-inch screen delivered average immersion from the main seats. Pushing the screen to 179 inches moved the experience into the extreme immersion range, closer to sitting in the front third of a commercial cinema.
Getting there meant moving every speaker into the walls, which frees the floor and the front wall for a larger screen. The screen itself was floated 8 inches off the speaker wall on custom mounts, and the wall behind it was filled with acoustic absorption to control reflections coming back off the speaker wall.
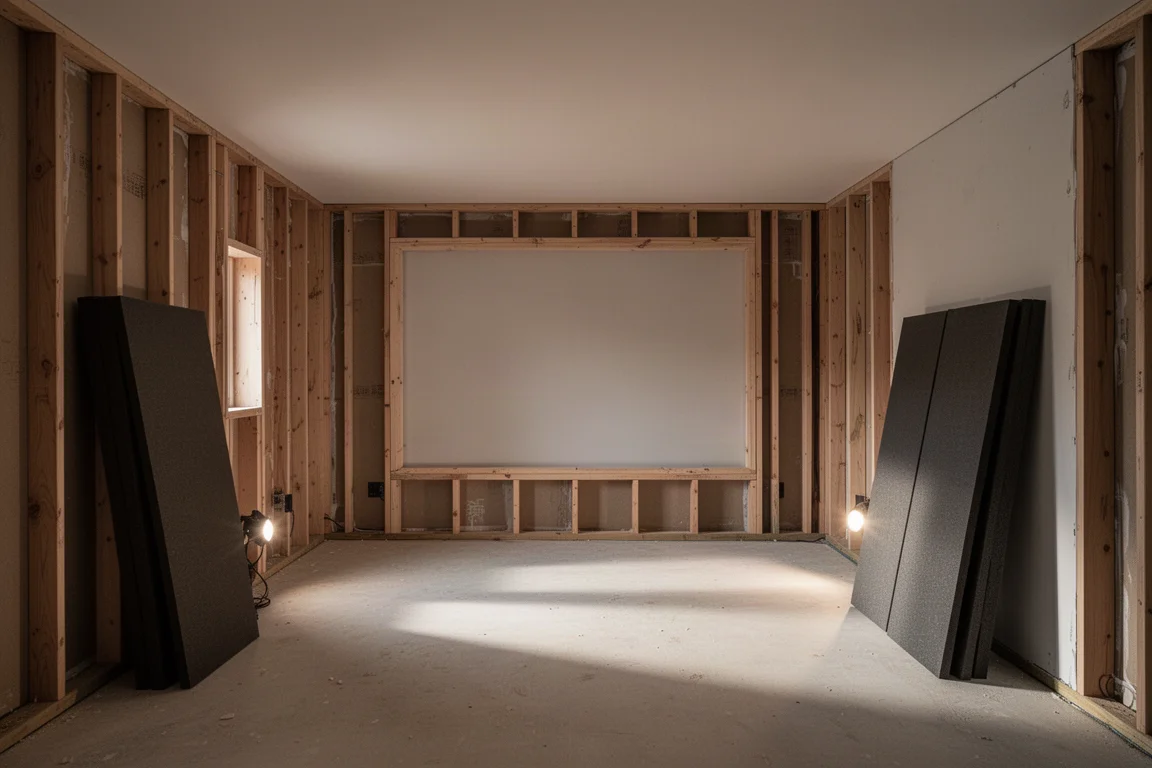
Wall construction followed the same logic. Because the speakers would live inside the room rather than in front of it, the room had to be framed to an exact plan instead of working around an existing structure. That decision shaped everything that came after, from screen size to where the equipment rack could sit.
Sony GTZ380: The Projector at the Heart of the Video System
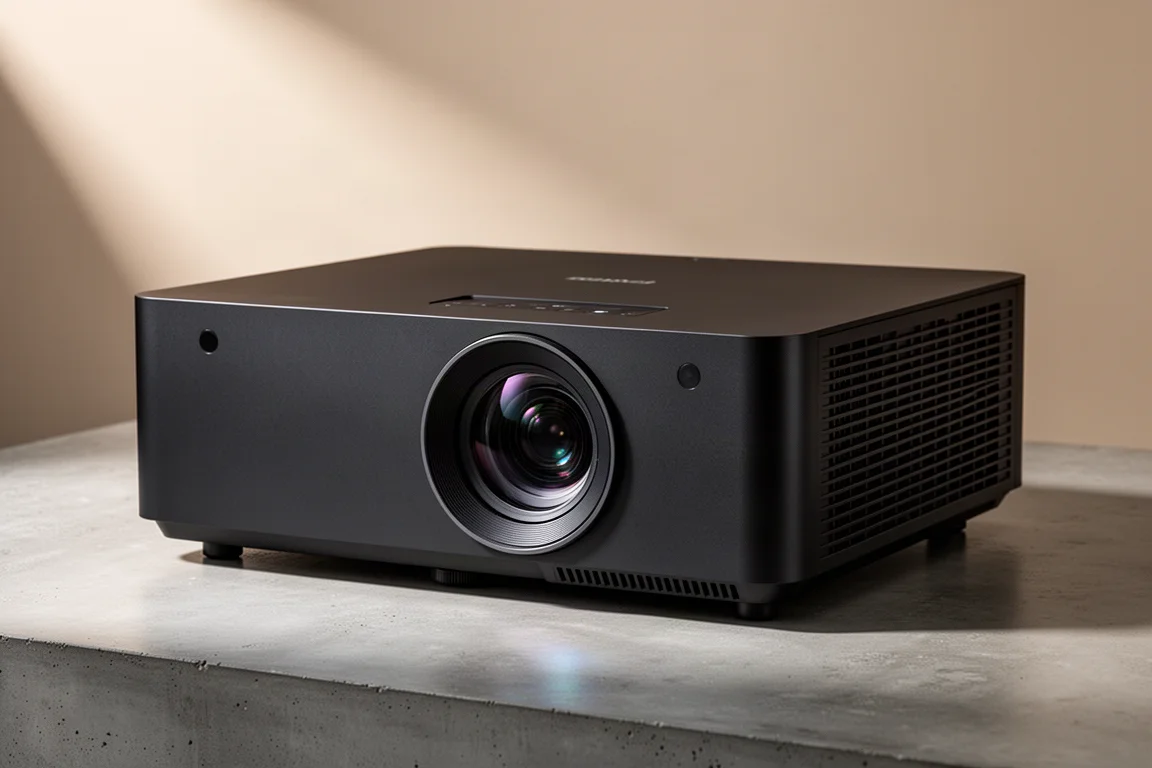
The video chain begins with a Sony flagship laser projector rated at 10,000 lumens. That output is what makes a 179-inch screen practical in a room this size, and it also dictates part of the installation: the projector is a 121-pound chassis that requires its own 240-volt outlet.
Height was the other constraint. With an 8-foot ceiling, the projector had to sit far enough forward that its light path clears the audience on the way to the screen. It is mounted less than four inches from the ceiling on a dedicated mount, and a short throw lens allows it to sit as far forward as the room allows.
Stewart StudioTek 100: A Gain-of-One Screen With a Ballon Edge Frame
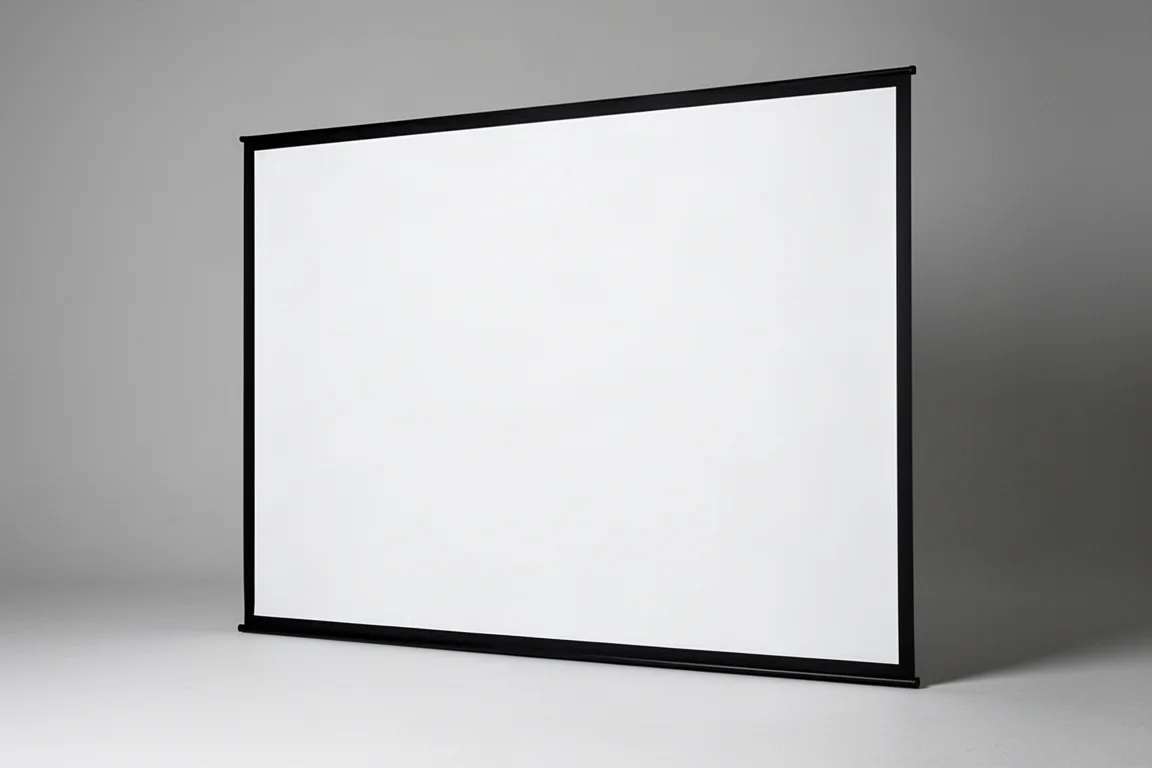
With 10,000 lumens available, the screen can use a gain-of-one material. The StudioTek 100 surface paired with this projector produces strong contrast and a uniform image across the full width of the screen, with no hotspots to work around.
The frame matters just as much in a room this compact. The Ballon Edge frame is only half an inch wide, which keeps the border visually minimal and returns the space a traditional frame would consume to the picture itself. The trade-off is precision: with almost no border to overscan into, projector position and geometry setup have to be exact.
The screen is mounted 8 inches off the speaker wall on custom brackets, leaving room for the in-wall speakers and the acoustic treatment behind it.
madVR Envy Extreme: Video Processing and HDR Tone Mapping
Between the processor and the projector sits an external video processor. It takes the HDMI output from the surround processor, applies its processing, and passes the result to the projector.
Two capabilities matter most here. First, HDR tone mapping: the measured brightness of the screen, in nits, is entered into the processor so it can map HDR content to the actual light output of the projector. Second, aspect ratio management: the processor detects widescreen material automatically and adjusts the image it sends, so no zooming is needed on the projector itself. Subtitles are handled in the same pass, with the image returning to full 2.4 when they clear.
For 16:9 material, a non-linear stretch mode can fill the full screen width, with almost no change in the center of the frame and the stretch applied toward the edges.
MartinLogan Statement 40XW: Flagship In-Wall Front Stage
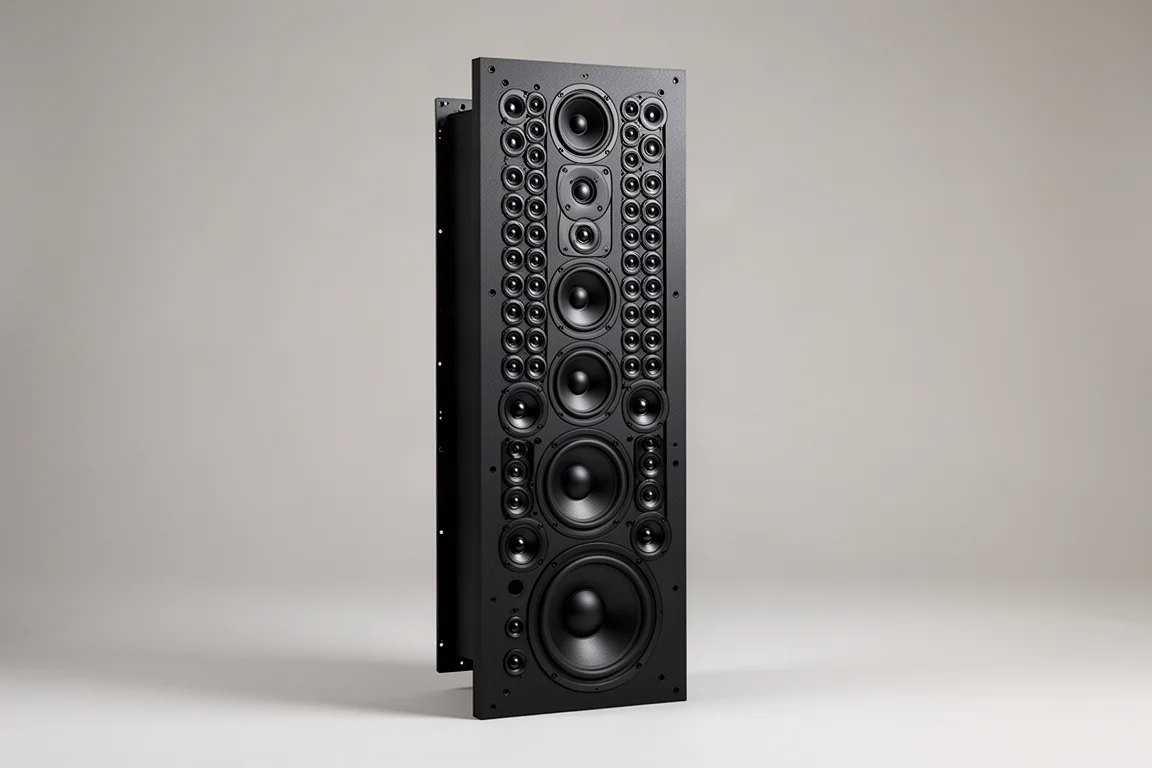
The front three channels use MartinLogan’s flagship in-wall speaker, a model that carries technology down from the brand’s top floor-standing designs. Each speaker contains 40 drivers: 16 tweeters, 16 3.5-inch mid-range drivers, and eight 6.5-inch woofers.
These are line source speakers. Instead of radiating from a single point, each one produces a vertical line of sound with controlled dispersion. The folded motion tweeters manage dispersion in the vertical plane while providing 80 degrees of horizontal dispersion, which sends more energy toward the seats and less into the rest of the room.
Installing them was the hardest part of the build. Each speaker needs a seven-foot back box, and the boxes sit in a false wall directly in front of the load-bearing wall. The old wall was removed and rebuilt to the exact design so the boxes could be framed in and the sheetrock could meet them cleanly. The boxes isolate and decouple the speakers from the wall structure, and there was effectively no clearance left over once they were in place.
The rest of the bed layer follows the same approach, with four side surround speakers and a pair of rear surrounds that use matching folded motion tweeters, mid-range drivers, and woofers.
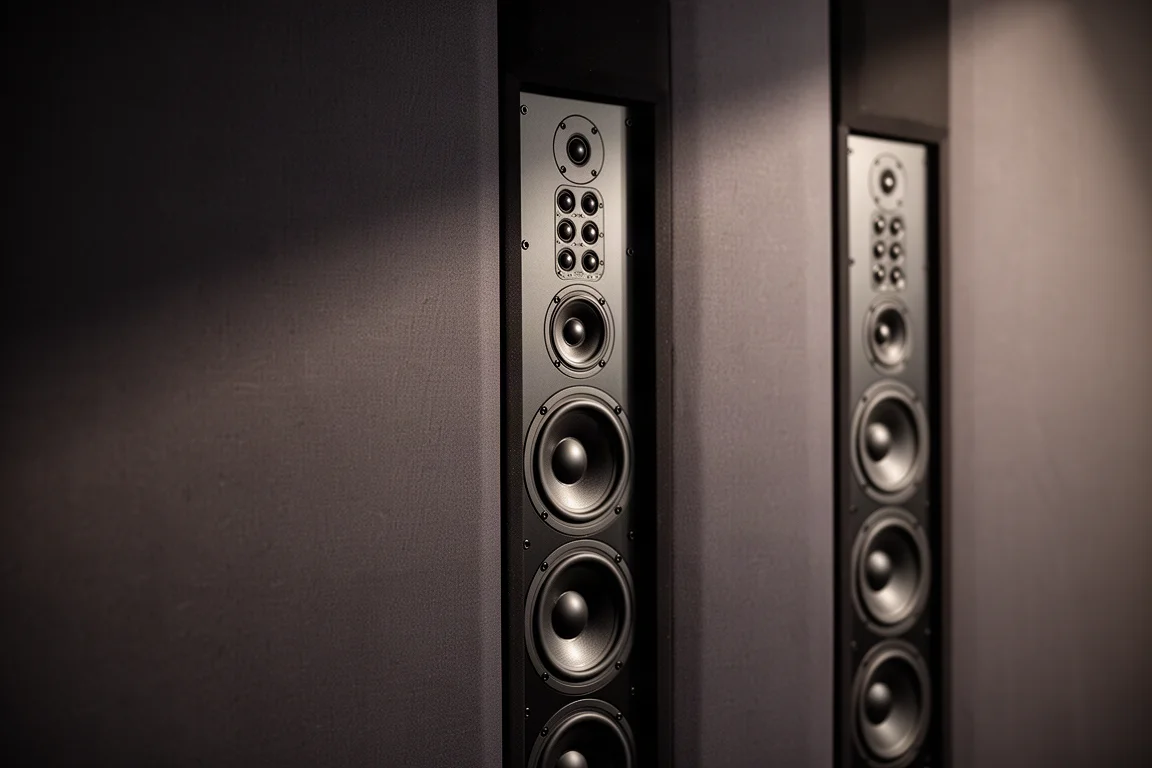
The payoff is a front stage that stays composed at low levels and still has headroom for the loudest effects. Imaging is exceptional, and the speakers move from the quietest detail to full-scale impact instantly, which is what gives the room its sense of scale.
MartinLogan Sistine 4XC: Six Atmos Channels in the Ceiling
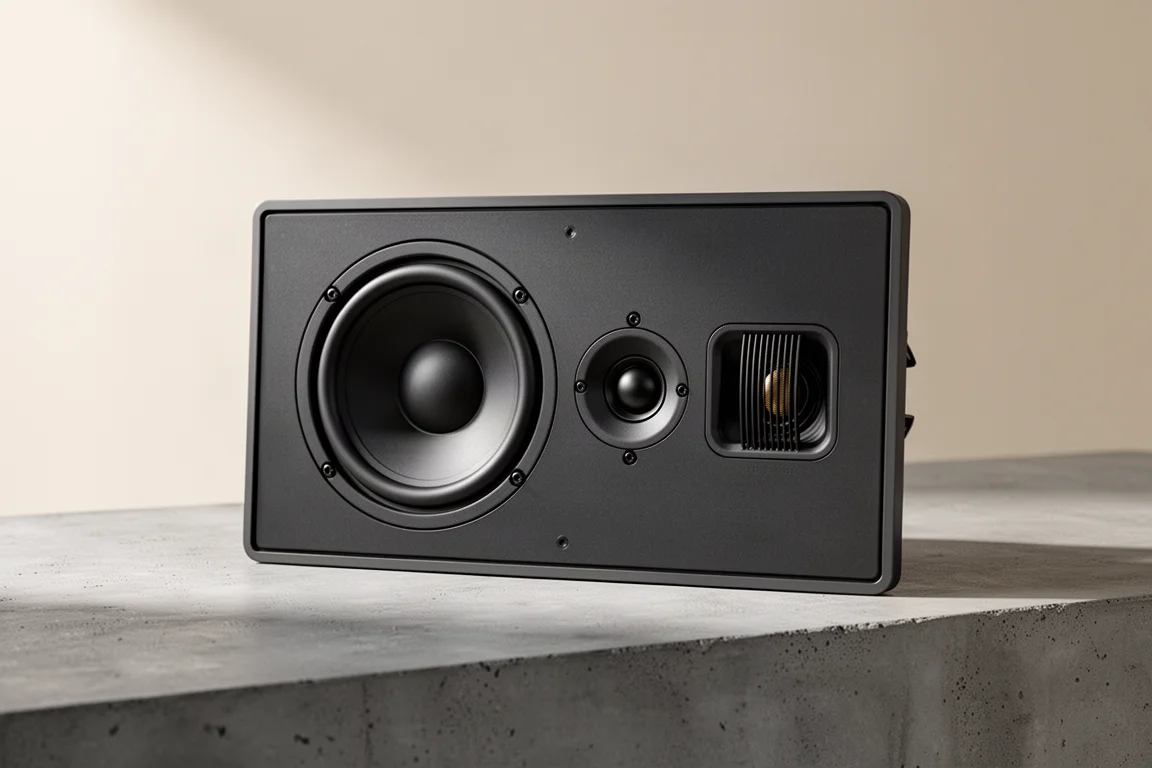
Six overhead channels use the MartinLogan Sistine 4XC, an in-ceiling speaker with an 8-inch woofer plus a mid-range driver and a folded motion tweeter. Using the same tweeter type as the rest of the system keeps the overhead layer tonally consistent with the bed layer, which matters when effects pan from ear level to overhead.
That brings the MartinLogan driver count to 174, spread across the front stage, the surrounds, the rears, and the ceiling. Combined with the subwoofers, the room runs 177 drivers in total.
JL Audio Subwoofers: In-Wall Bass Front and Rear
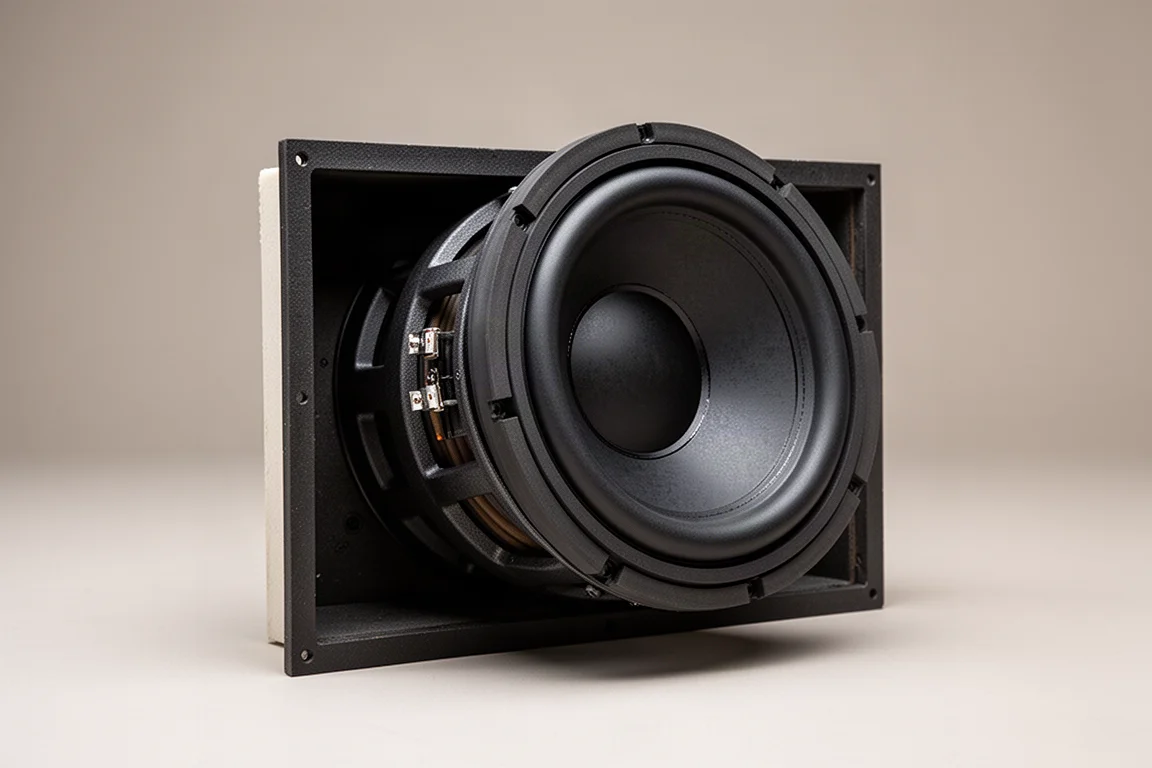
Bass comes from three subwoofers: two 13.5-inch in-wall units in the front wall and a 13-inch Fathom at the rear of the room. The front wall behind the screen had exactly enough depth designed into it to hold the in-wall subwoofers alongside the Statement speakers.
The rear subwoofer sits closer to the main listening position than the front pair, so its signal is phase delayed to line it up with the rest of the system. That step is what keeps the low end coherent across the seating area instead of arriving as a separate hit from behind.
McIntosh MX170: The Processor and RoomPerfect Calibration
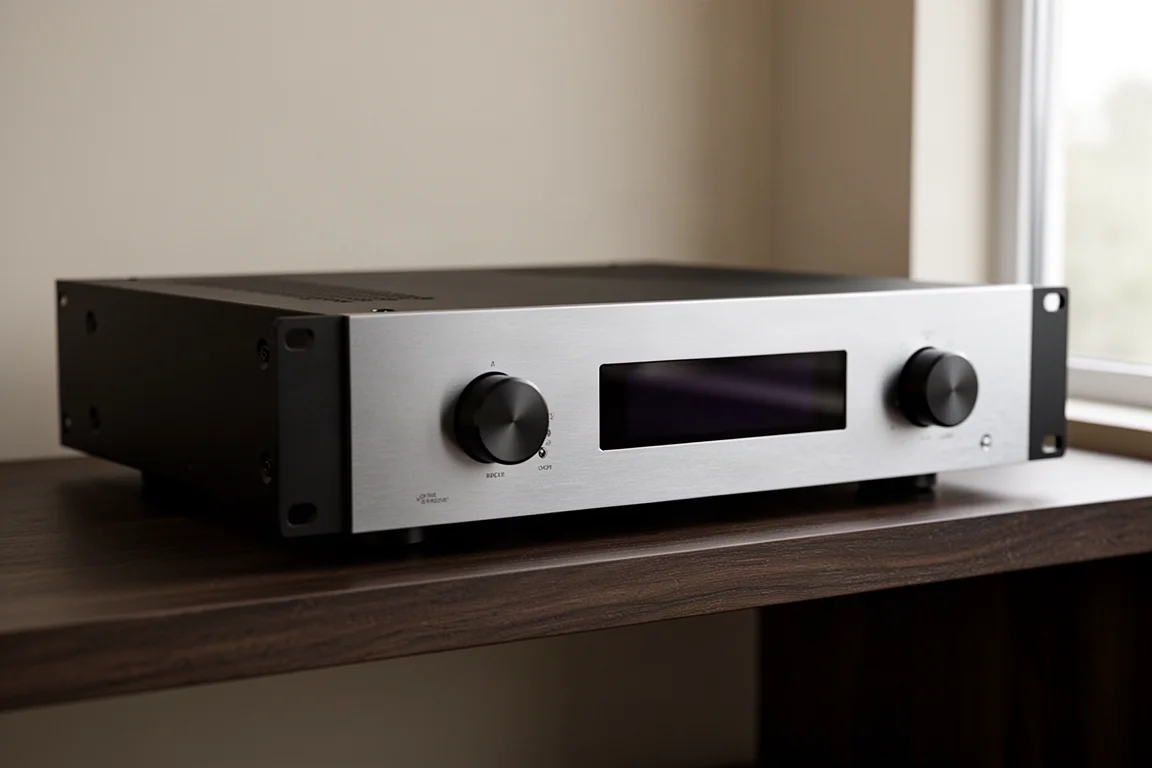
The surround processor is the system’s brain. It switches sources, decodes, and feeds both the video processor and the amplifiers, and it includes RoomPerfect room correction.
Calibration followed a deliberate order: subwoofers first, then full room correction. Because the equipment rack lives on a different floor of the house, the subwoofer calibration was run with the microphone in the theater and then completed from the rack.
McIntosh Amplifier Stack: MC402, MC255, and MI254
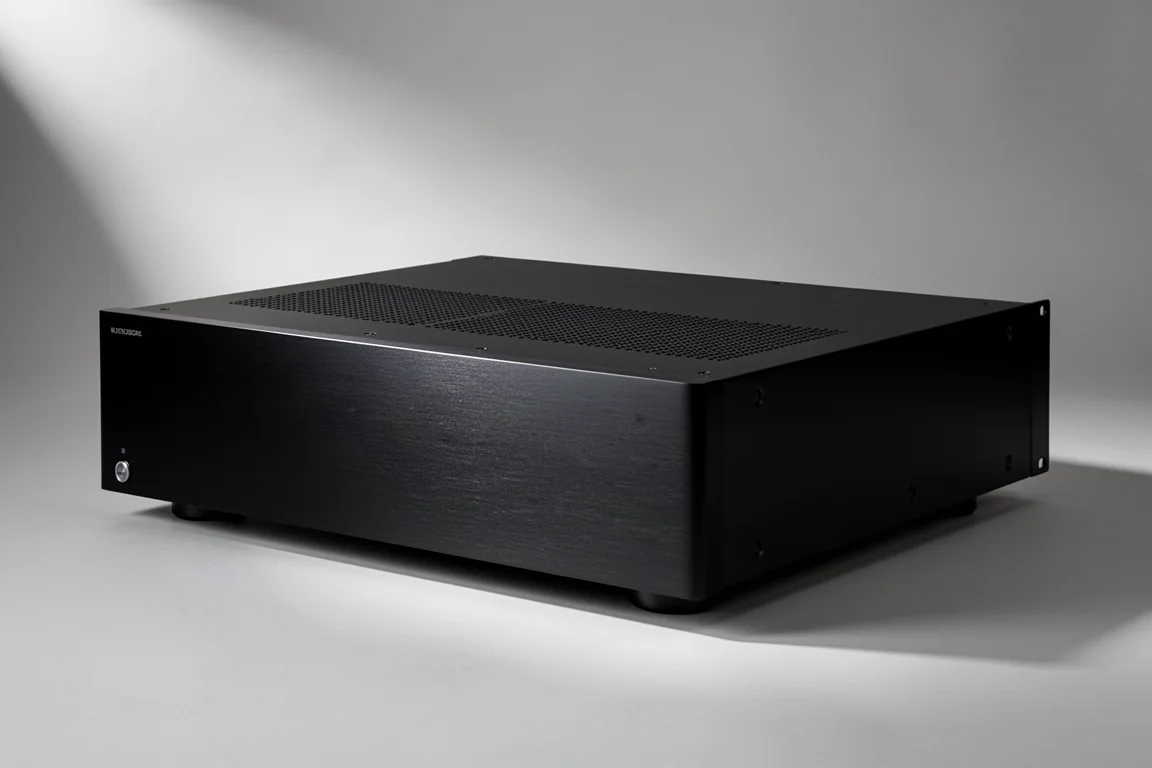
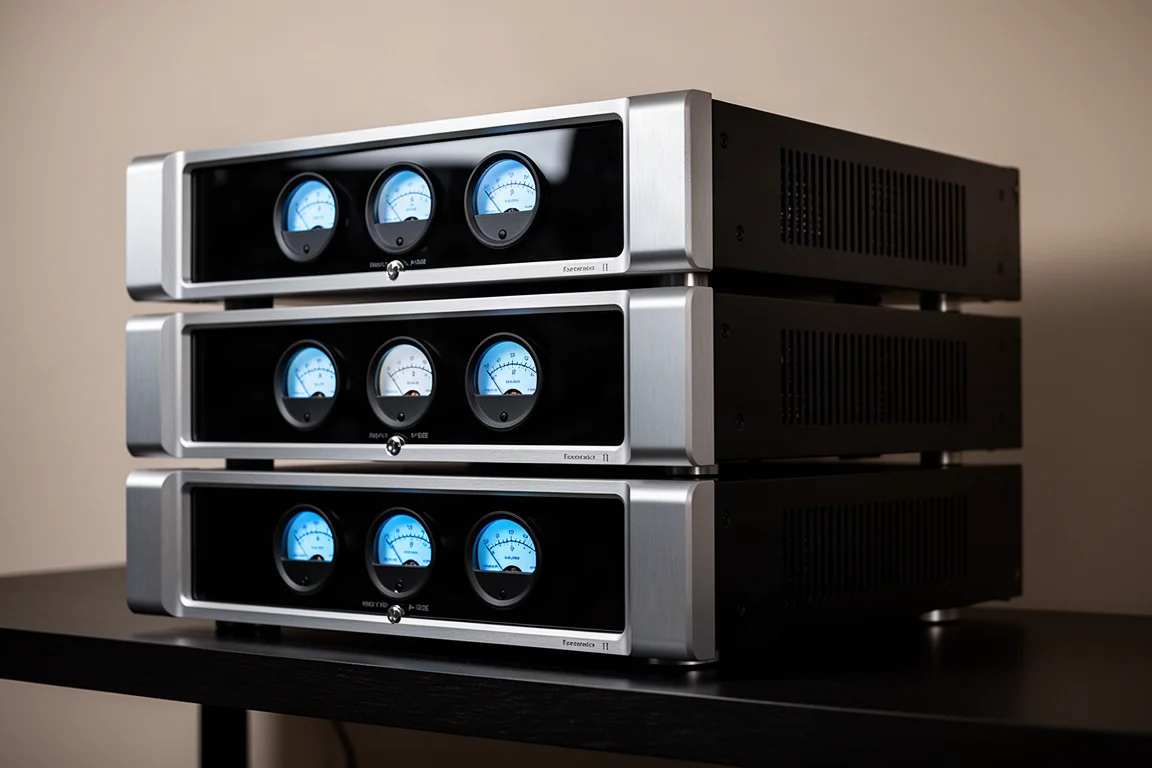
Amplification is split by channel group rather than handled by a single multichannel chassis. An MC402 drives the left and right channels, giving two-channel listening the same power as the rest of the system. An MC255 powers the center and surround speakers. Two MI254 amplifiers cover the Atmos and rear channels.
All of it is built in the United States. Splitting the load this way also keeps each amplifier matched to the speakers it drives, which is a meaningful advantage in a system with this many drivers.
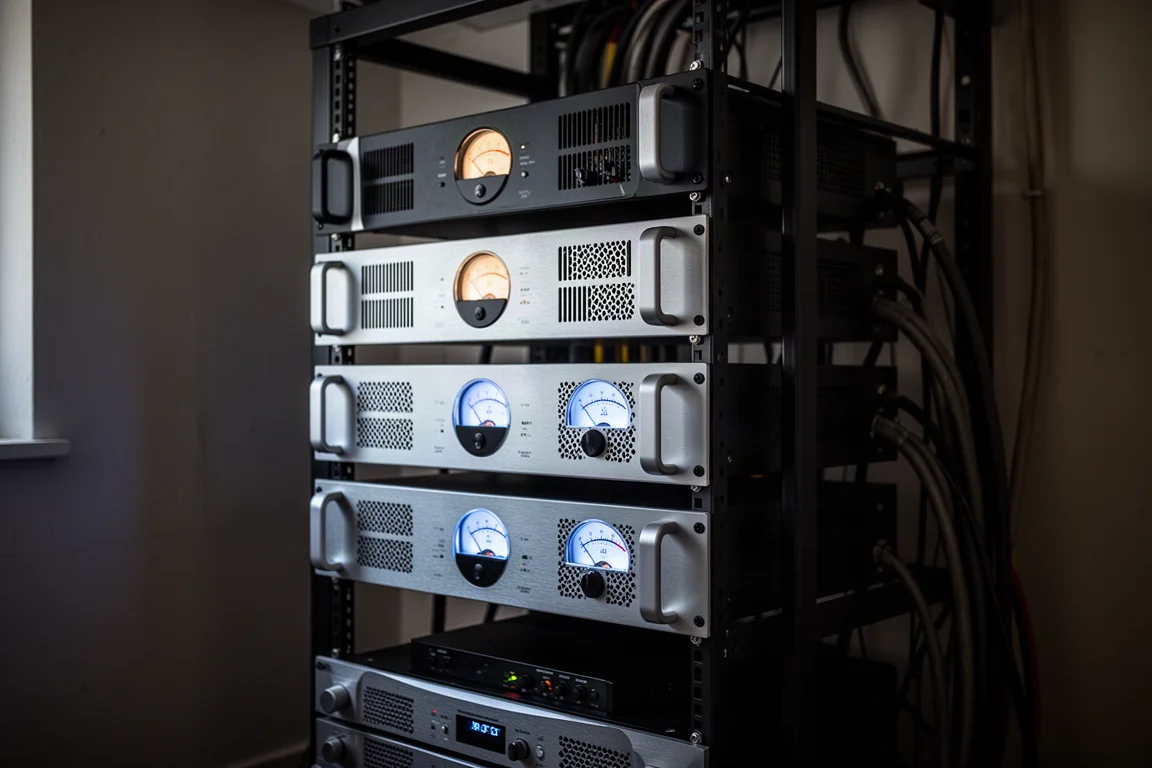
For anyone planning a similar room, amplifier count and channel assignment are worth settling early. They determine rack depth, ventilation, and circuit requirements long before the first speaker is hung.
AudioQuest Cherry Cola HDMI: A Reliable 100-Foot Run
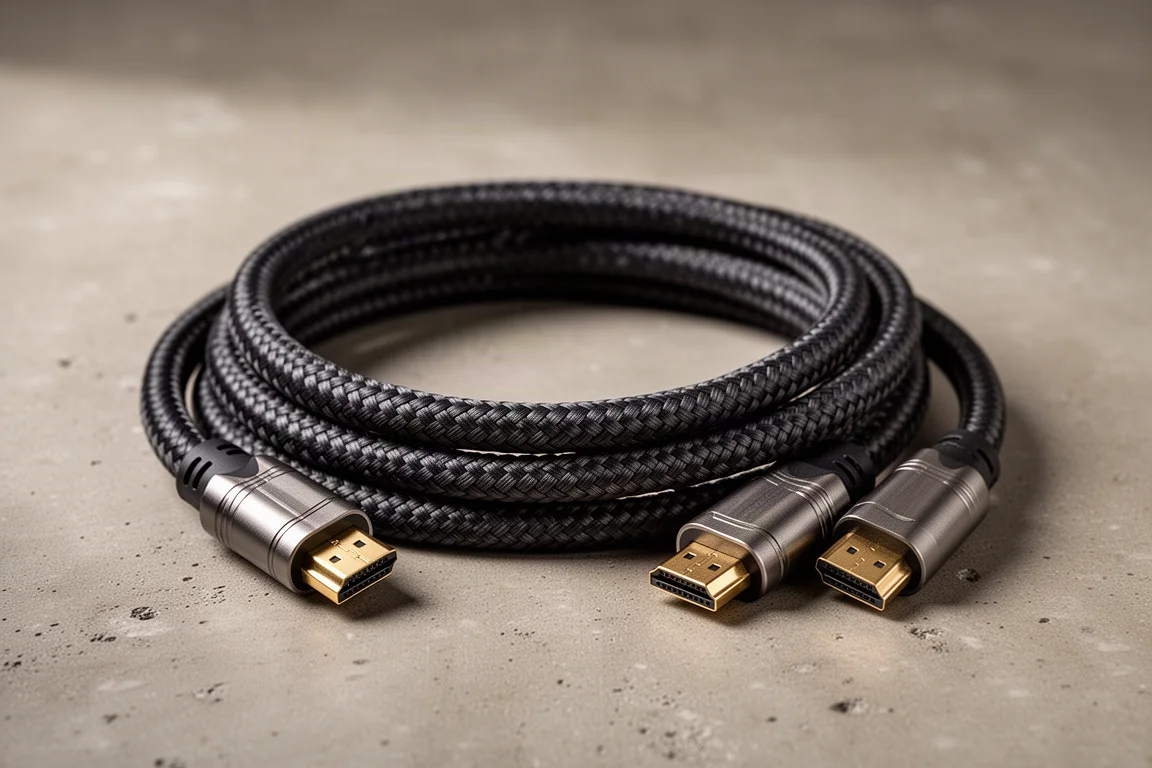
With the rack on a different floor, the theater needed an HDMI run of approximately 100 feet. That distance is where long cable runs get difficult. Several solutions that claimed to handle the distance did not prove reliable in practice.
The build ended up with a 30-meter AudioQuest Cherry Cola HDMI cable, which has performed reliably since installation. AudioQuest HDMI cables are used throughout the rest of the system as well.
Kaleidescape: Bit Perfect Playback and Lossless Audio
The source in this theater is a Kaleidescape movie player, delivering bit perfect video and lossless audio to the rest of the chain. Its library shows downloaded films, offers scene-level selection, and resumes whatever was playing last.
System control ties everything together. A single command turns on the projector, the surround processor, the video processor, and the player, brings the room lighting down, and hands over control for browsing. Shutting the room down is one more button.
Overall Buying Advice
A room like this is built in a specific order, and the order matters more than any single component.
Start with the room dimensions and the seating position, because those set the maximum screen size and the immersion you can realistically achieve. Screen size then drives projector brightness: a gain-of-one screen at 179 inches needs a projector with serious light output, and that projector needs the electrical service, the mounting hardware, and the lens to fit the room. A free home theater design tool can model screen size against seating distance before any equipment is chosen.
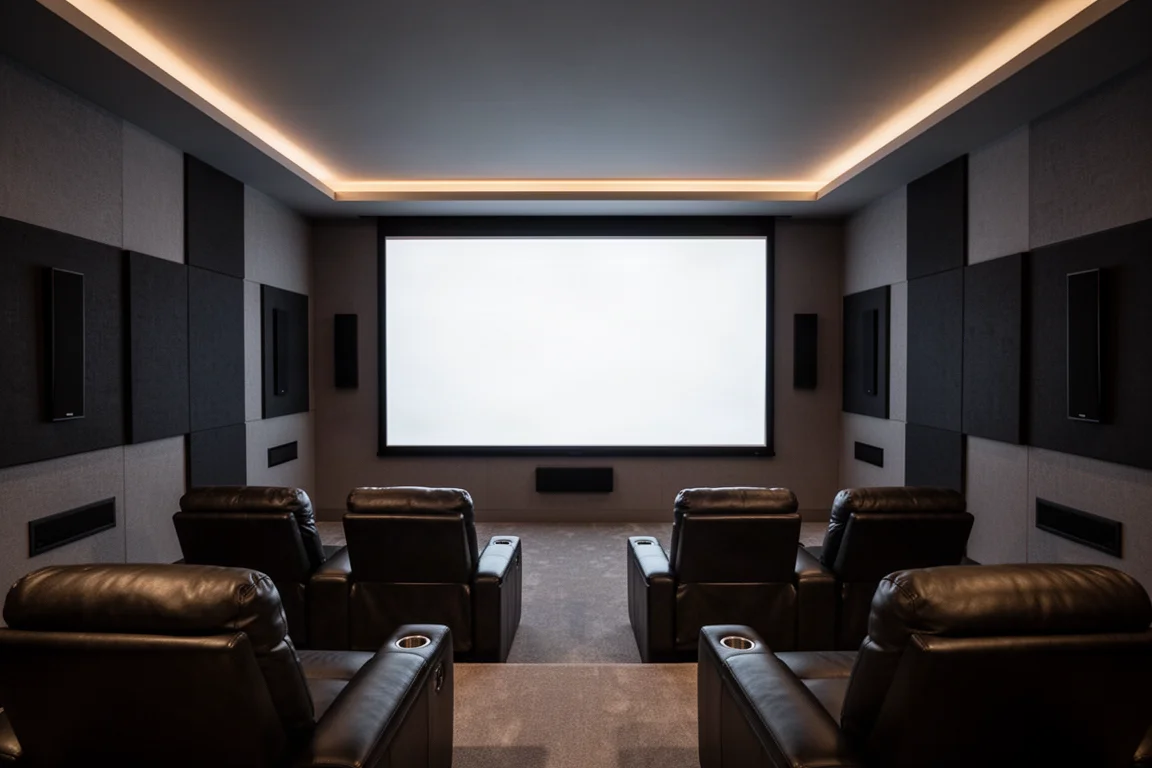
Audio follows the same logic. In-wall speakers free up the space a large screen requires, but they also require wall construction that matches each speaker’s back box dimensions exactly, which is why framing plans are drawn before demolition begins. Subwoofer placement, amplifier channel assignments, and cable runs should be decided at the same stage, particularly if the equipment rack will live in another room.
If you are planning something similar, work through the design before buying anything. Settling the room, the screen size, and the speaker layout first is what lets a compact space perform like a much larger one.
Conclusion
Theater performance in a compact room comes down to fit. Every piece in this system was chosen for output first and then installed with custom framing, custom screen mounts, a low-profile projector mount, and a carefully planned cable path.
The result is a room measuring 18 feet 3 inches by 15 feet by 8 feet that runs a 179-inch screen, 10,000 lumens, 177 drivers, and a source chain built around bit perfect playback. For anyone weighing an upgrade, the lesson is that the room plan and the component list have to be designed together from the start.
Further reading
Related Reviews
Home Theater
Anthem AVM 90 Review: A 15.4-Channel Flagship Preamp Processor
A close look at Anthem's flagship preamp processor, covering its dual ESS DAC architecture, 15.4-channel layout, ARC Genesis calibration and four independent subwoofer outputs.
Home Theater
Apple TV 4K With AirPods: A Best-Value Home Theater Setup
An Apple TV 4K paired with AirPods over Bluetooth makes a compact home theater setup for movies, spatial music and late-night viewing, and it can be assembled for as little as $300.
Home Theater
Arcam AVR15, AVR25, AVR35, and AVP45 Compared: Which AV Amplifier Fits Your System?
Four new Arcam home theater components share nine-channel amplification and Dirac Live, but differ in power, processing ceiling, and channel flexibility.