Backpacking Gear
Cold Weather Backpacking Gear: Building a Four-Season Sleep and Shelter System
How to turn three-season gear into a cold weather sleep and shelter system, with the quilts, pads, bags, liners, tents, and packs that make it work.
Introduction
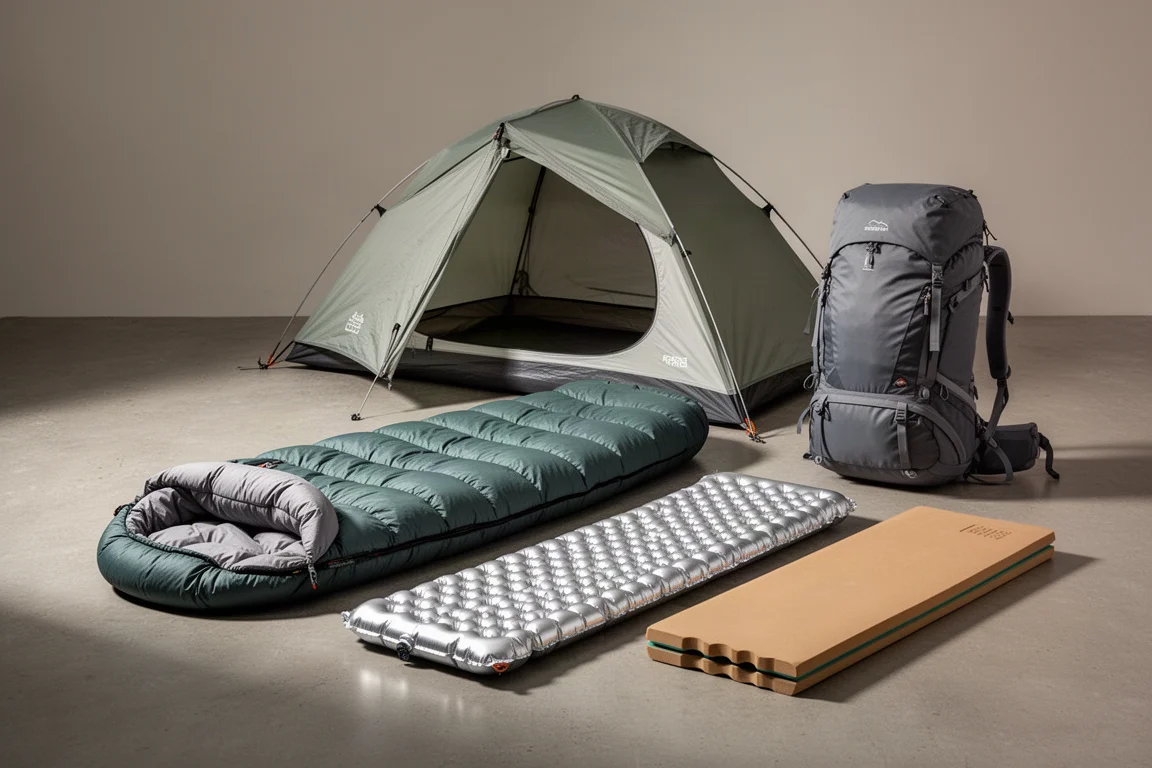
Cold weather settles in, and plenty of backpackers hang up their packs for the season rather than spend the night out in freezing temperatures. Staying warm is the concern that keeps most people away, and it is a fair one. The encouraging part is that a genuinely cold weather system does not require replacing everything you own. By combining three-season pieces you already have and adding a few targeted items, you can build a sleep and shelter setup that handles real winter nights and extends your hiking season well past autumn.
This guide walks through the pieces that make the biggest difference: the layers of your sleep system, the insulation under you, the shelter over you, and the pack that carries it all.
Building a Four-Season System From Three-Season Gear
The core idea is layering. A wide quilt on the outside with a three-season bag nested inside creates far more loft and interior space than either piece alone, which is exactly what allows a 20°F bag and a 25°F quilt to reach much lower temperatures together. Underneath, a pad with a high R value plus a closed-cell foam layer adds a second barrier between you and the ground. A liner inside the bag contributes warmth without the cost of a dedicated sub-zero bag.
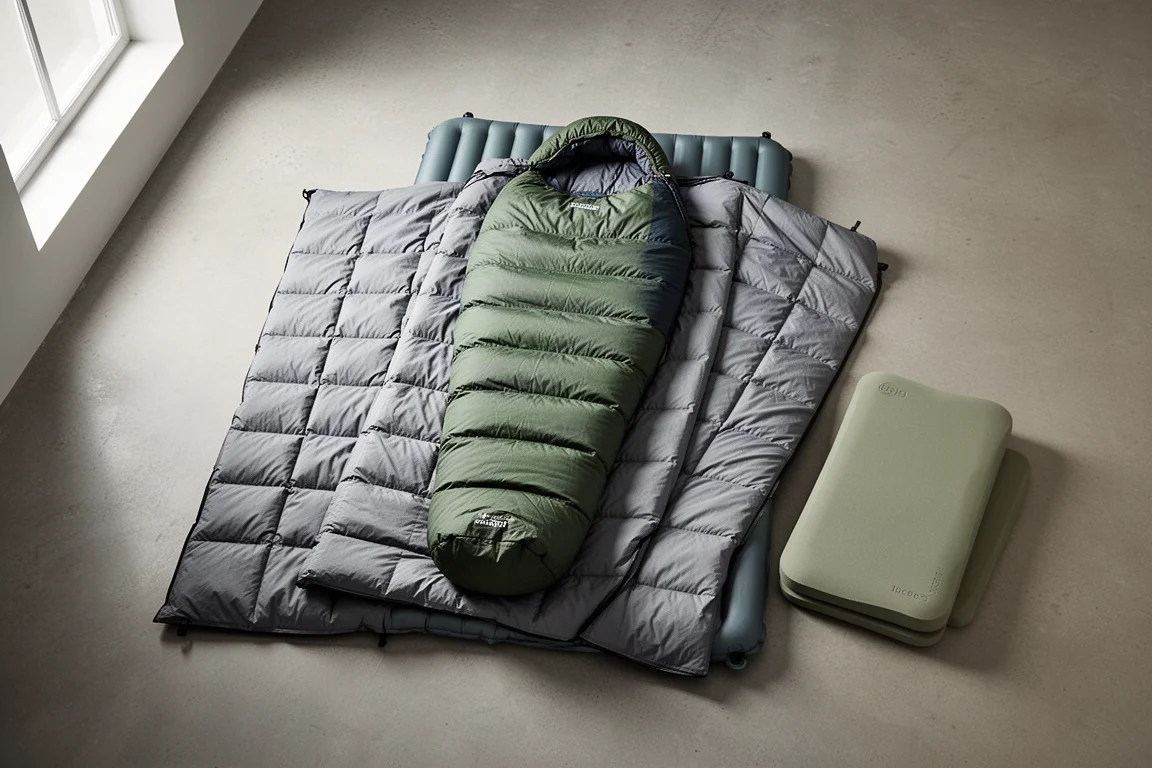
The appeal here is practical. You already own most of it, the mental barrier to heading out in the cold drops considerably, and you can scale the system up or down with the forecast instead of committing to a single expensive winter-specific bag.
Zenbivy Light Bed 25°: The Outer Quilt Layer
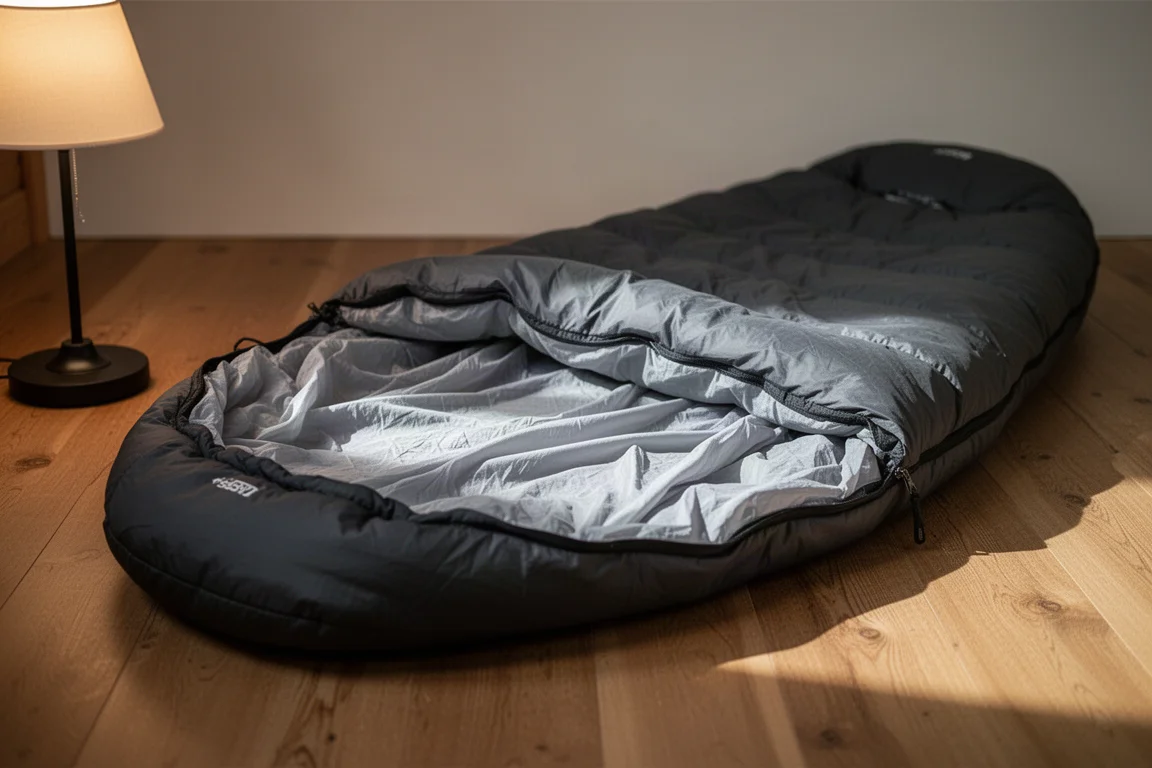
The Zenbivy Light Bed 25° is a down top quilt that attaches to a sheet system, which keeps the whole setup contained on top of the sleeping pad instead of sliding off overnight. That matters in a layered build, because a wide quilt is what creates the extra room and loft for a second bag inside it.
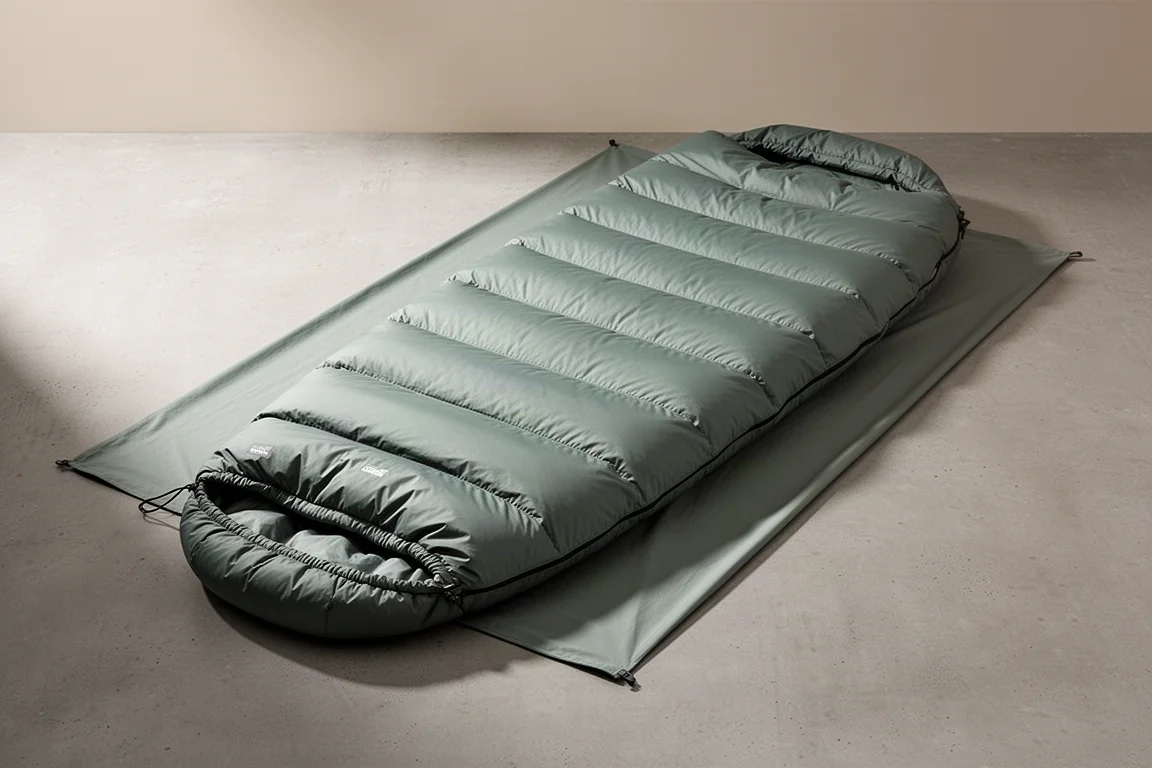
As the outer layer of a cold weather system, its value comes from width and containment rather than from its own temperature rating. On its own it is a three-season quilt. Combined with a bag inside it, it becomes the shell of a system that reaches much colder conditions.
Western Mountaineering UltraLite 20°: The Inner Bag
The Western Mountaineering UltraLite 20° goes inside the quilt. Nested together, a 20°F bag and a 25°F quilt create enough combined loft to push well below 0°F, which is the entire point of layering rather than buying one extreme bag.
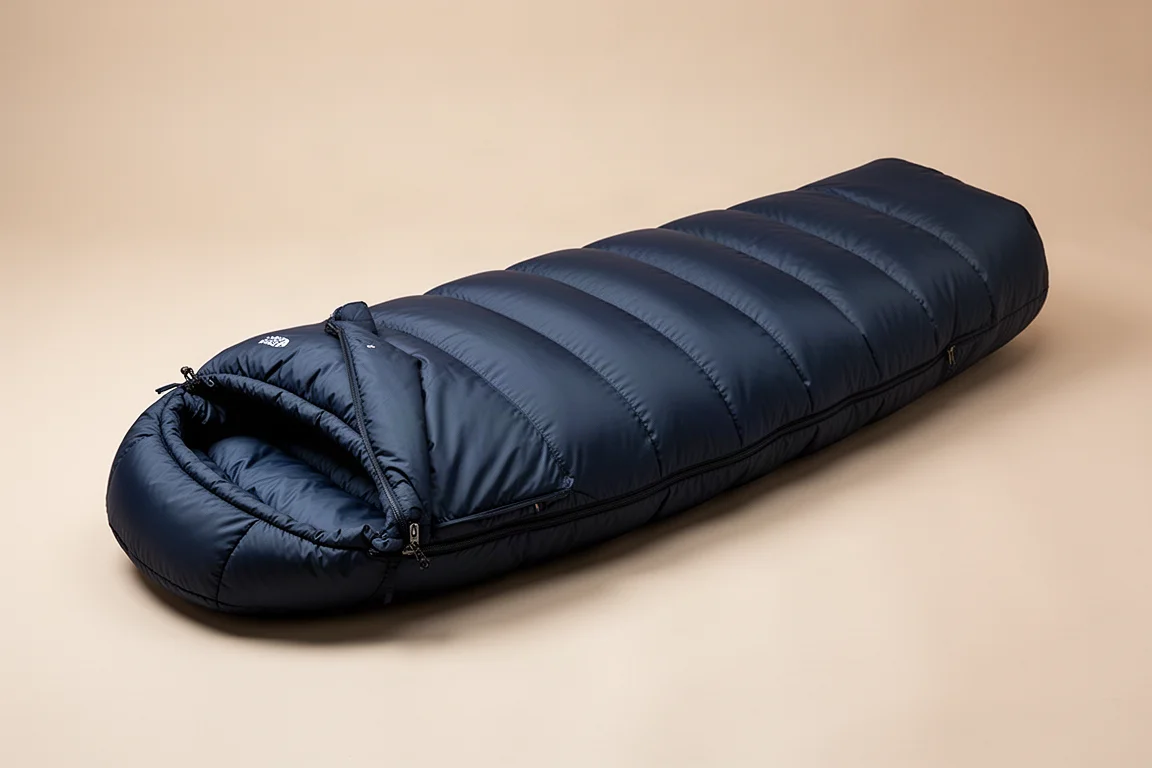
On its own it remains a capable three-season bag. In this configuration it does double duty, which is what makes the system efficient: nothing in the kit is single-purpose, and every piece still works on milder trips.
Therm-a-Rest NeoAir XTherm Max: Maximum Warmth Underneath
Ground insulation is where cold weather camping is often won or lost. The Therm-a-Rest NeoAir XTherm Max carries a 6.9 R value and is the strongest warmth-to-weight pad option, which makes it the foundation of a genuinely cold sleep system.
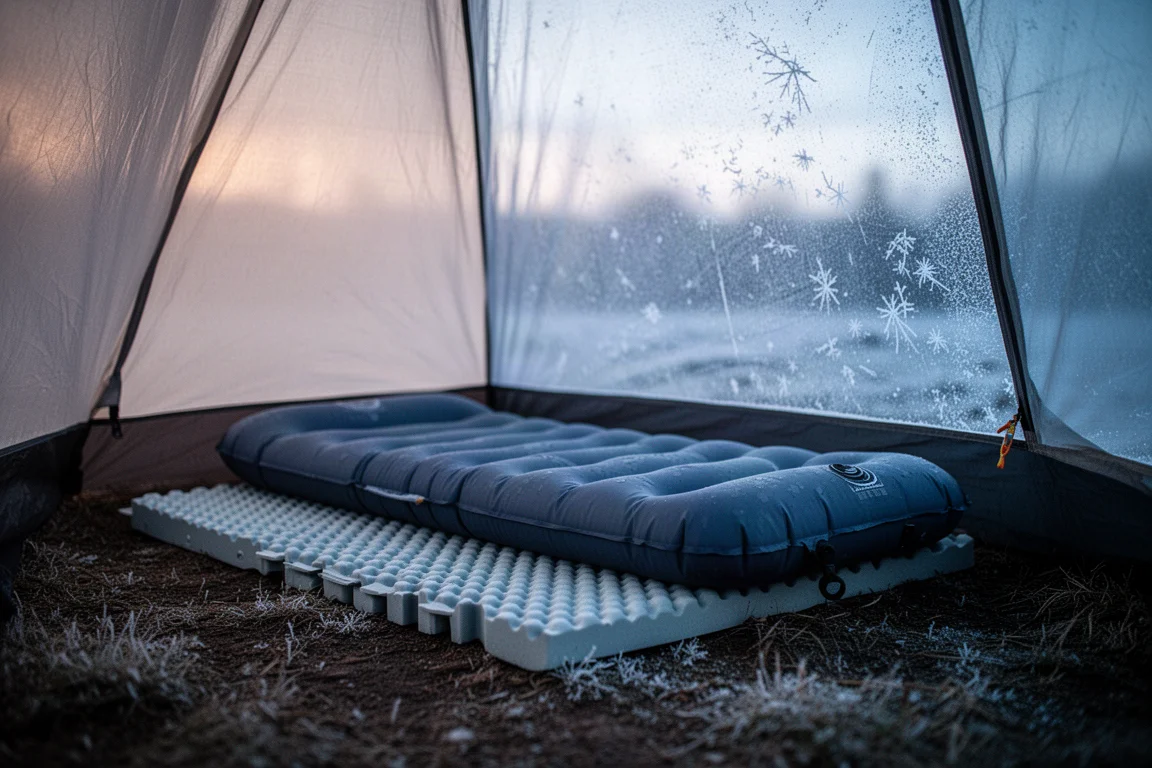
The trade-off is comfort. Personal preference plays a large role here, and some sleepers find this pad less comfortable than lower R value alternatives. If warmth and packed weight are the priorities, that is a reasonable compromise. If you sleep poorly on it, the rest of the system will not make up the difference.
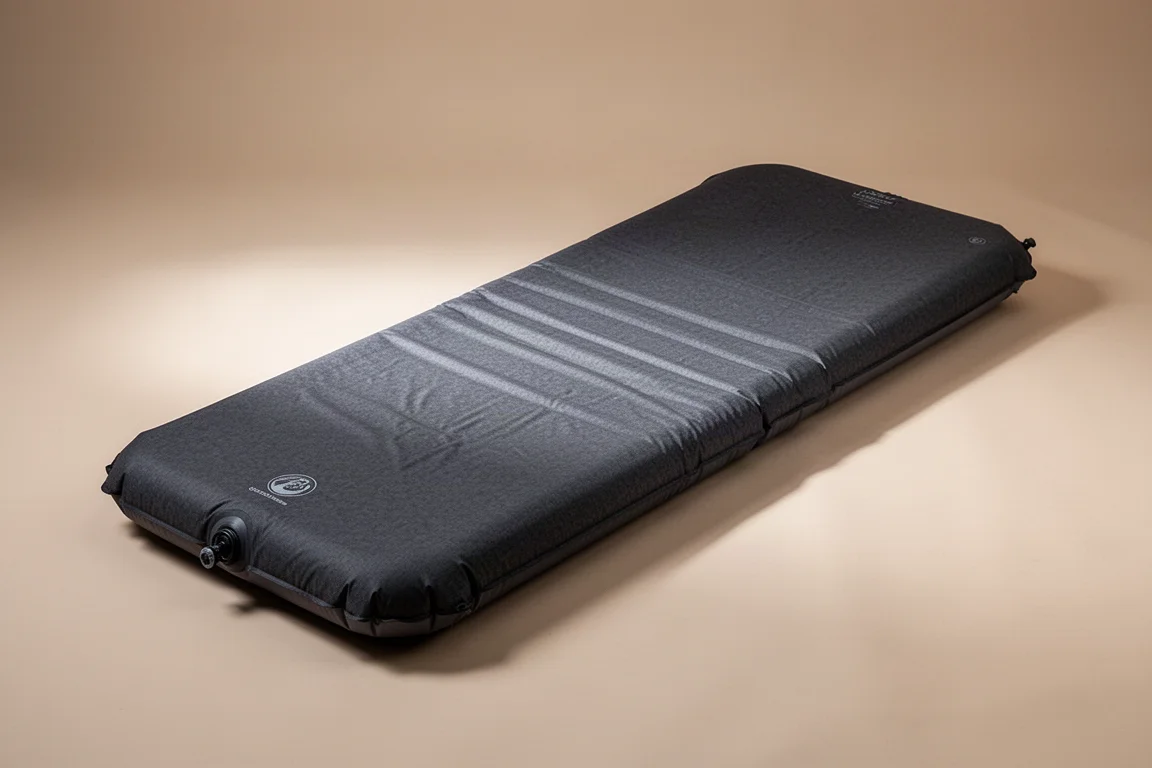
Nemo Switchback: Inexpensive Insulation Under Your Pad
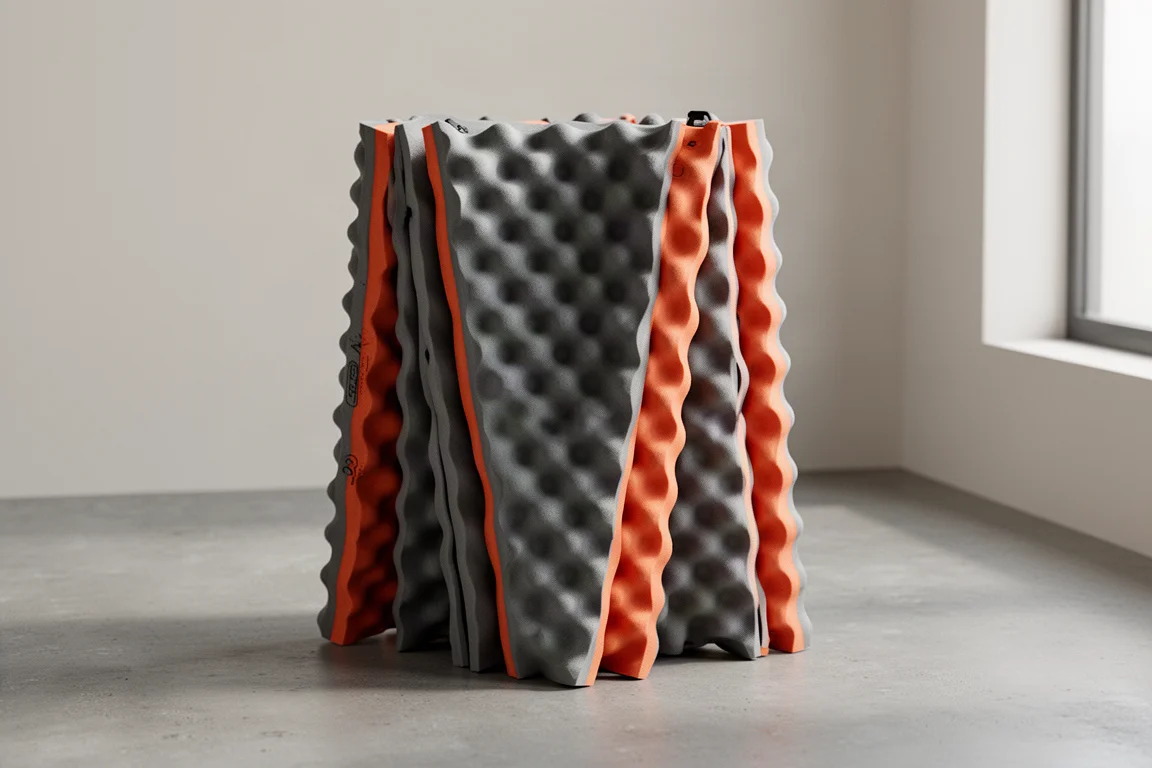
Not every trip needs a 6.9 R value pad. For conditions in the upper teens and low twenties, a closed-cell foam pad like the Nemo Switchback layered beneath an existing three or four R value inflatable adds meaningful insulation for very little money. It creates an additional barrier between you and the ground and raises the effective R value of the whole setup.
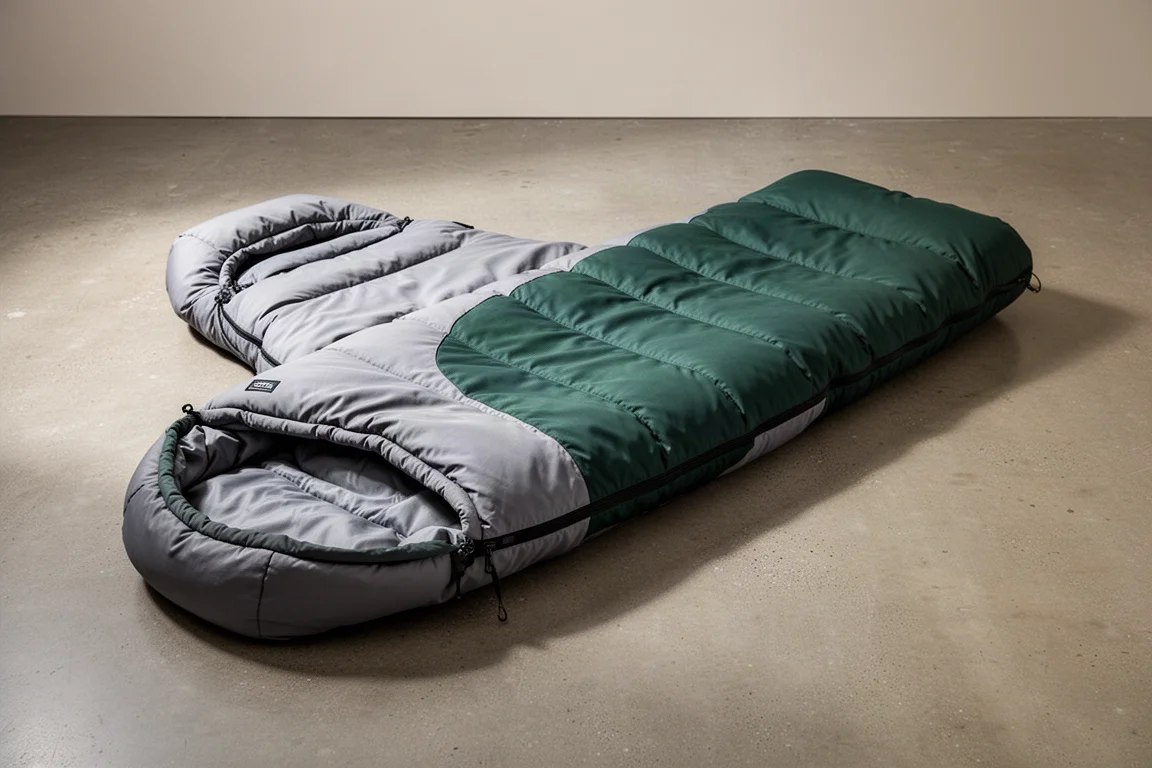
Nemo Riff 15°: A Three-Season Bag With Limits
The Nemo Riff 15° is a good example of a three-season bag that benefits from being part of a system. Its 15°F rating should not be read as a true comfort limit for cold weather camping. Paired with a well-insulated pad and a liner, it becomes a much more capable part of a cold weather kit.
Sea to Summit Reactor Liner: Extending the Warmth of Your Bag
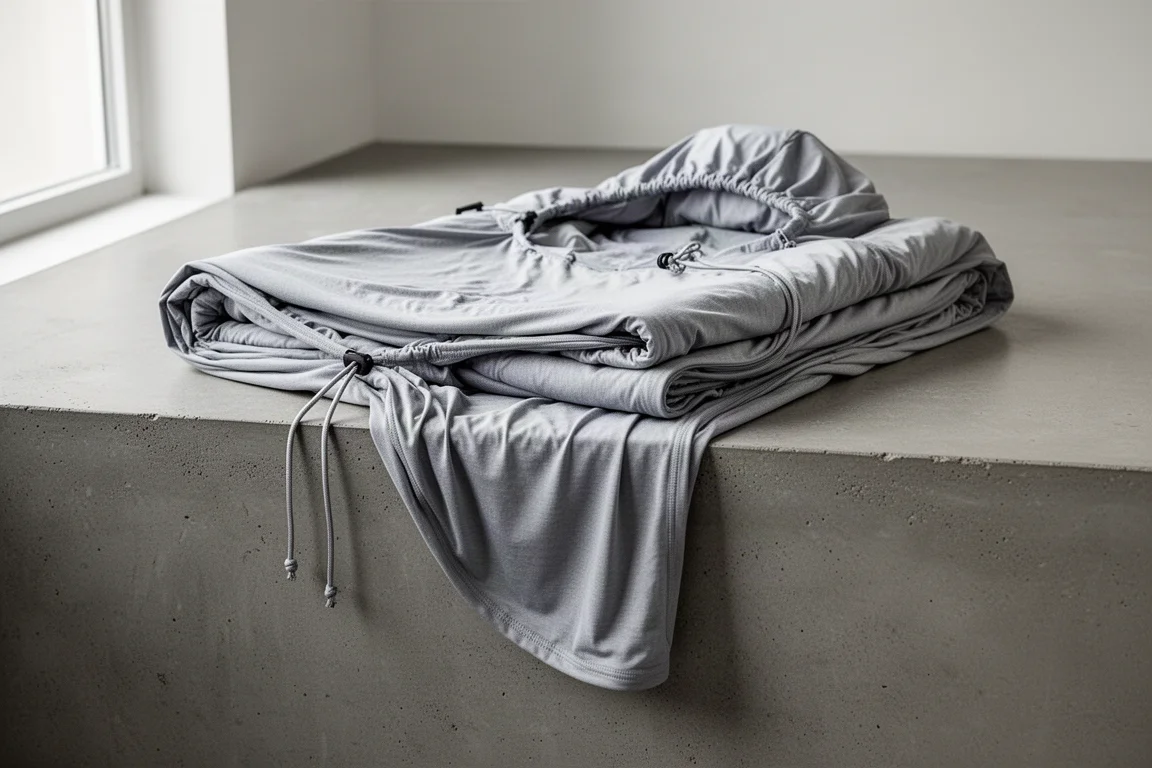
A sleeping bag liner is the cheapest way to get more out of a bag you already own. The Sea to Summit Reactor liner goes inside the bag and adds warmth, which can be the difference between a comfortable night and a cold one at temperatures below your bag’s rating.
The economics are straightforward. A liner costs far less than the $300 to $500 that a dedicated zero-degree or lower bag can run, and it extends the useful range of gear already sitting in your closet. It is not a substitute for a properly rated bag in extreme cold, but as one layer in a system it earns its place.
Black Diamond Highlight 2P: Shelter That Handles Snow
Shelter makes a larger difference in winter than most people expect, and an inadequate tent can ruin a trip. The Black Diamond Highlight 2P is a fully freestanding two-person tent with an internal pole structure. Because the poles sit inside, the tent is stronger and easier to pitch on soft snow without driving stakes or building dead man anchors.
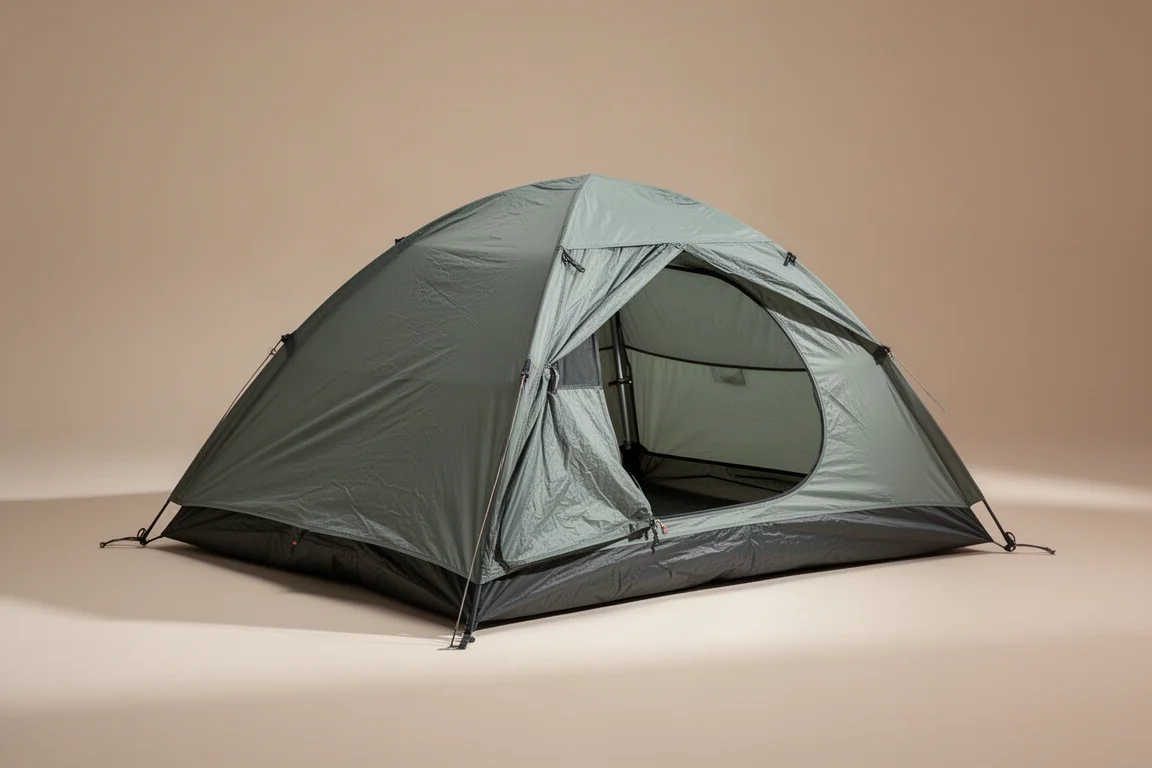
The polyester fabric stretches less than nylon when it gets wet, and the tent stands up well to snow load and heavy weather. It is a single-wall design, so it needs more ventilation to keep condensation in check, a manageable trade-off for the strength and simplicity it offers. A hot tent with a wood stove is another route for winter camping, but it is heavy, cumbersome, and a lot of work, and it is not the right answer for everyone. Dialing in a sleep system and being deliberate about when and where you go will do more for your experience than hauling a stove.
Waymark Gear Lite 50L: Carrying the Bigger Load
Cold weather gear is bulkier, so pack volume becomes part of the system. The Waymark Gear Lite 50L framed backpack is a workable size for many cold weather trips, though it can max out, and a 60L pack may be more appropriate for genuinely extreme temperatures.
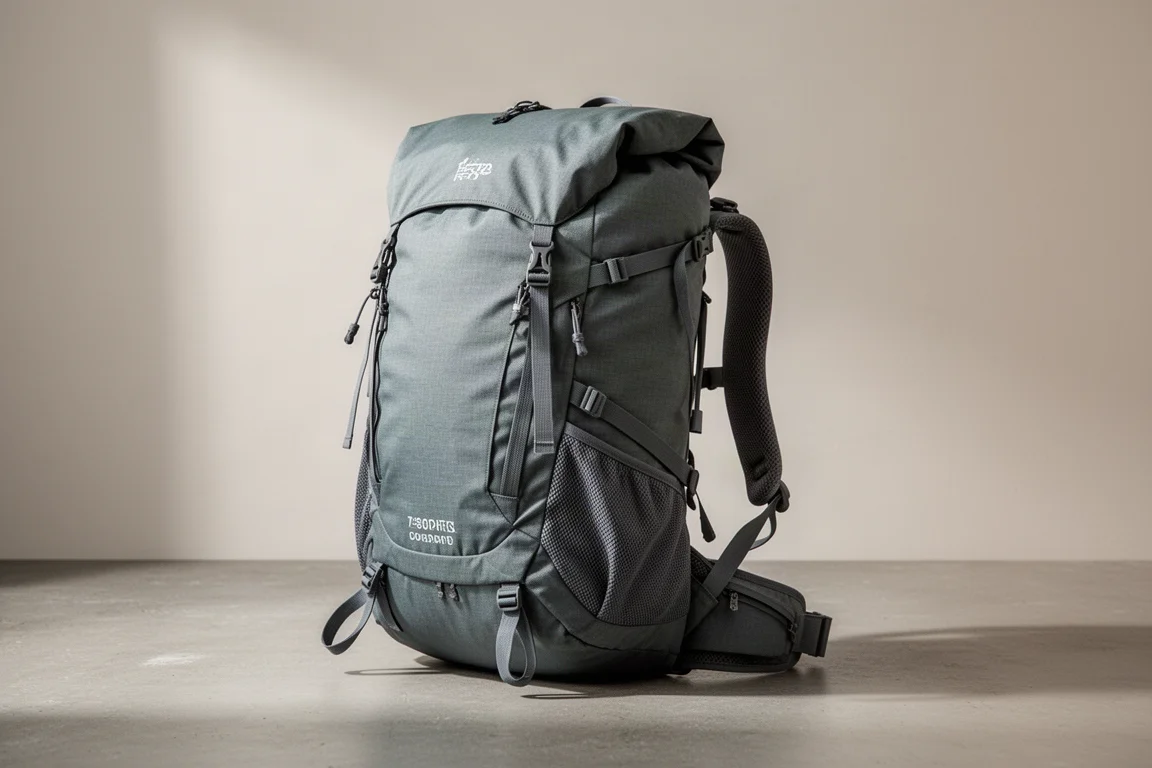
Water resistance matters as much as volume. Check whether the pack itself keeps contents dry or whether you need a pack liner and dry bags. Getting your insulation wet in cold conditions is the fastest way to end a trip early, so treat dryness as a non-negotiable part of the system rather than an afterthought.
Overall Buying Advice
Start with what you already own. If you have a three-season bag plus a quilt or a second bag, you can layer them. If your pad sits in the three to four R value range, a closed-cell foam pad underneath is a low-cost upgrade. A liner adds warmth for a fraction of the price of a new sub-zero bag.
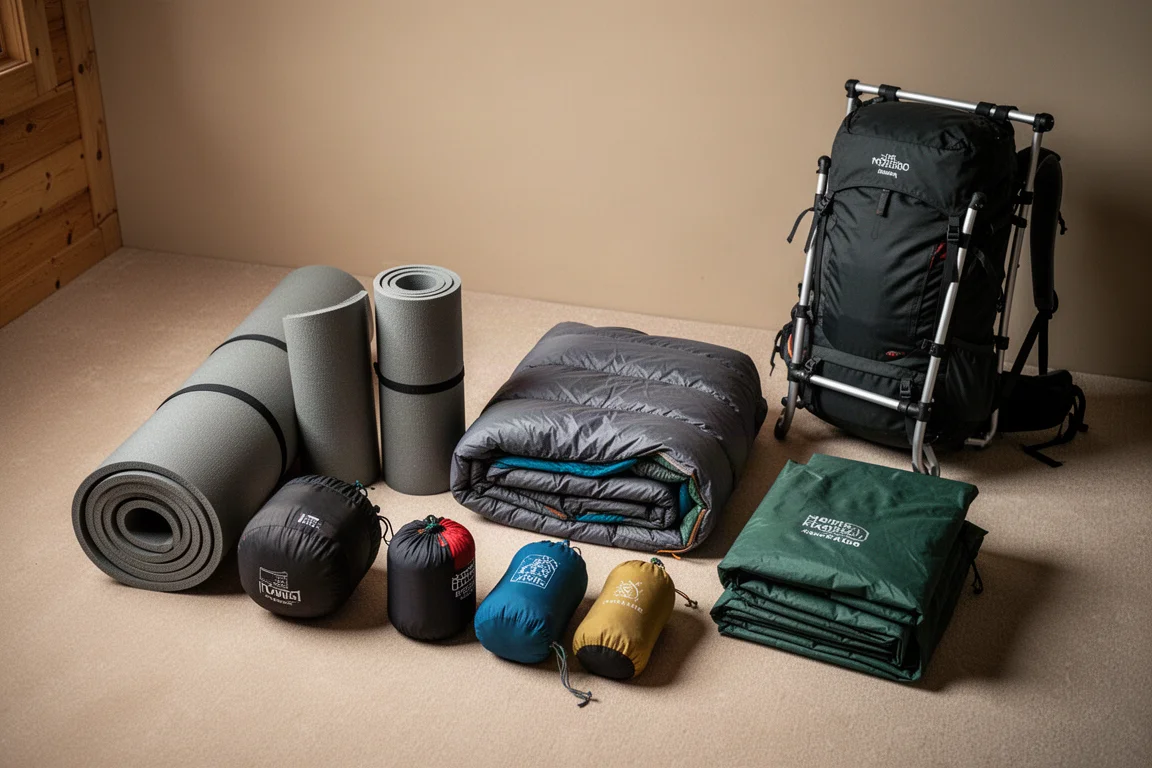
Where it makes sense to spend more is on the pieces that are hardest to improvise. A high R value pad and a shelter that sheds snow and stands up to wind are the two areas where an upgrade changes which conditions you can comfortably handle. Volume is the third: if your current pack cannot swallow the extra bulk, no amount of layering will help.
If you are new to cold weather camping, be honest about your temperature range. A system aimed at the upper teens and low twenties is a much smaller investment than one built for sub-zero nights, and it still extends your season considerably. Build for the trips you will actually take, then expand from there.
Conclusion
Cold weather backpacking is less about one heroic piece of gear than about assembling layers that work together. A quilt over a three-season bag, a high R value pad with foam underneath, a liner for extra warmth, a freestanding shelter that handles snow, and a pack big enough to carry it all will take you well beyond the usual season. Start with what you have, add deliberately, and keep everything dry.
Further reading
Related Reviews

Backpacking Gear
Building a 10 lb Base Weight: An Ultralight Backpacking Gear List
A practical walkthrough of the ultralight pieces behind a 10 lb base weight, from a 765 g pack and a roomy one-person tent to a full camp chair and a dependable water filter.
Backpacking Gear
A 15-Pound Lightweight Backpacking Gear List for Solo Trips
A beginner-friendly 15-pound backpacking setup built from easy-to-find gear, with notes on what each piece does, how it packs, and where to spend your attention.
Backpacking Gear
8 Ultralight Backpacking Gear Upgrades Worth Carrying
Eight small, affordable backpacking upgrades that solve real trail annoyances, from a pillow that stays put to a fuel valve that rescues leftover canister gas.