Tool Belts & Bags
A 47-Year Carpenter's Guide to Tool Bags and Belts: Occidental Leather and Buckaroo
After nearly five decades on framing and general carpentry work, one carpenter's setup comes down to two pieces of gear: Occidental Leather bags and a wide padded Buckaroo belt.
Introduction
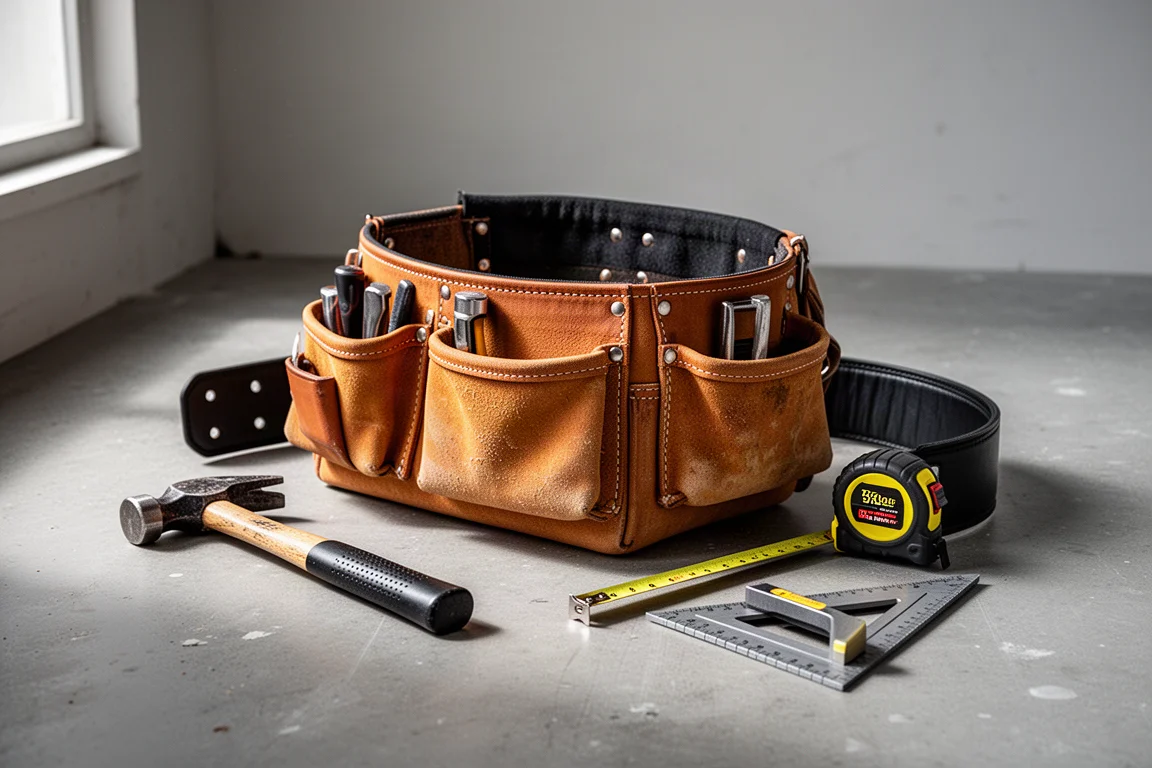
Carpenters have to carry their tools with them. The work happens wherever you are standing, wherever you have climbed to, and it has to keep going, which means your tools need to live around your waist and be reachable in one motion. After 47 years working primarily as a carpenter, along with stints driving truck, guiding elk hunters and blacksmithing, this is the setup that has survived the longest: a set of Occidental Leather bags ridden for 33 years, paired for the last seven with a Buckaroo padded belt from Australia. Here is how the rig is arranged, why it is arranged that way, and what to think about if you are just stepping into the trades or trying to keep up with the fastest worker on your crew.
Why Your Belt Matters More Than You Think
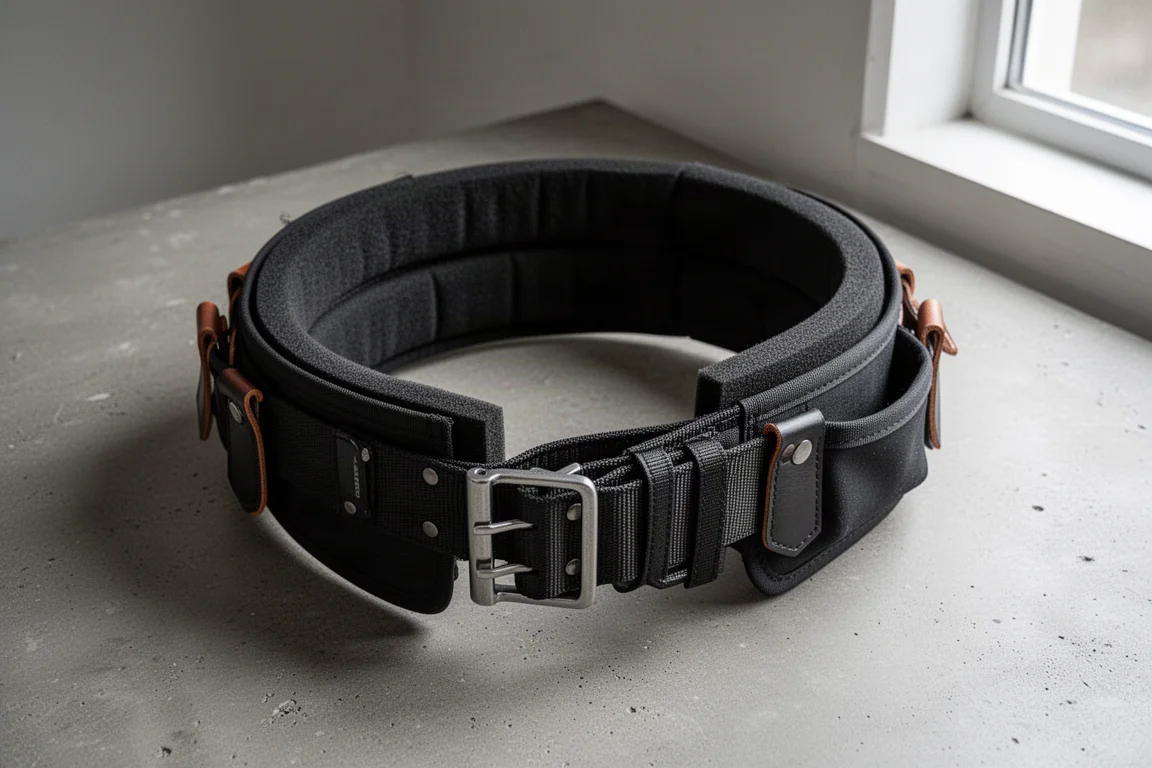
The belt is where your tools make contact with your body the most, and you only get one body to do a lot of work with. For the last seven years the rig has run on a Buckaroo belt, a wide padded design from Australia, and the verdict after that time is blunt: never anything except a wide and padded belt again. The material has held up, the padded construction softens the wear on your hips, and it is an unequivocal win.
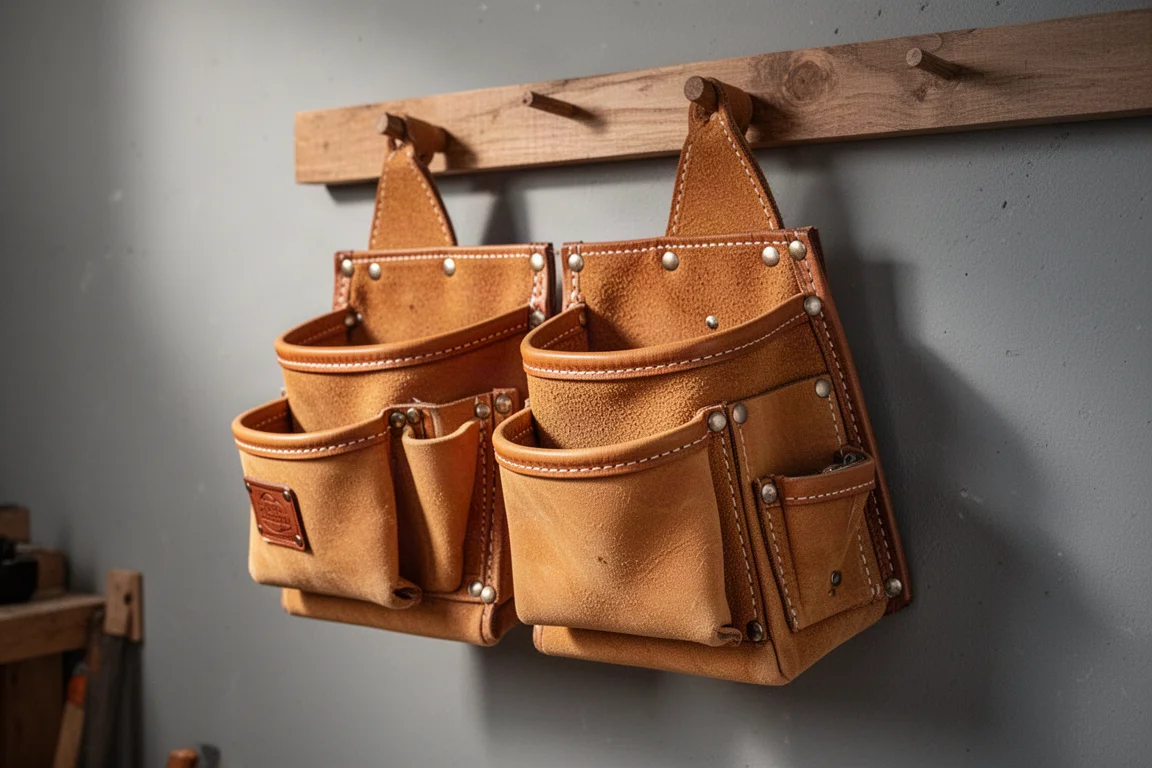
The design also changes how the bags attach. On this belt, the bags hang from a dedicated attachment that sits a shorter distance from the belt itself, which means they have less room to shift out of position during the day. Occidental Leather makes a matching belt for its bags and it is likely excellent, but there has been no reason to switch away from Buckaroo on the belt itself.
One side note from years past: suspenders used to carry the bags, which is why an older belt in the rotation looks chewed up. That worked for years, but the current preference is wearing the belt on the pants without suspenders, and it works.
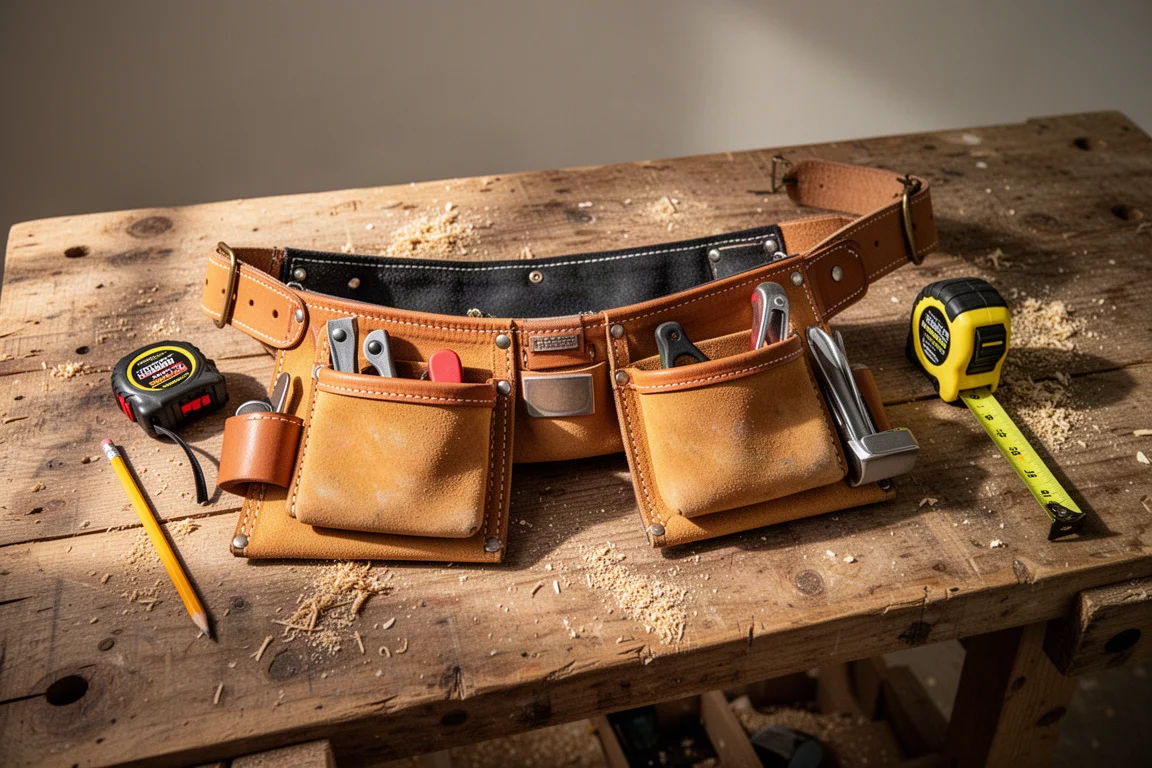
If you are starting your first construction job tomorrow and you buy the cheapest set of bags at the hardware store, that is legitimate. You have to start someplace. But you will likely grow past it, tired of replacing cheap bags every two years, which is exactly what happened for the first 14 years of this career. A wide padded belt is the piece worth spending real money on early.
The Layout: Where Each Tool Goes and Why
Every trade sets up differently. Electricians have their own arrangement, and every niche has its own logic. What follows is the setup for a framer, form setter or general carpenter who has to show up and do almost anything, any time. The best advice alongside any layout guide: watch the person on your crew who gets the most work done, notice why their tools sit where they sit, and copy them.
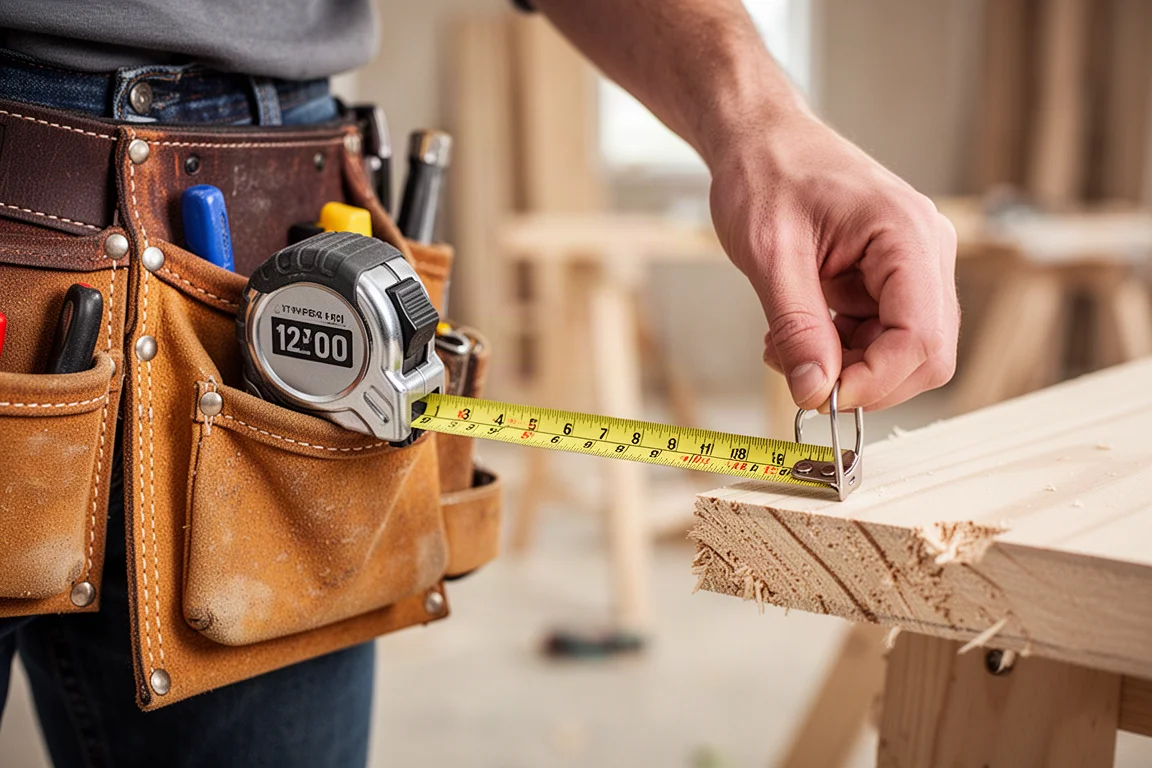
The tape measure rides on the left side because a right-handed carpenter holds the tape in the left hand and runs it out with the right, controlling a long extension with the dominant hand. The pencil goes on the right side, presented up where you can grab it, but not so high that it hangs up going between studs and snaps off. Find a pocket that lets it sit a little deeper while staying reachable.
The payoff is marking becoming a one-move operation: tape comes out, pencil comes out, measure, mark, both go back, and you are working again. If the tape and pencil sit on the same side, it is two moves, and nobody has time for that.
A speed square rides tight to the body on the left, where it is easily accessible and effectively undroppable. In this kind of work there is almost no cost to carrying it, because marking, squaring and cutting is the core loop of the job. Depending on the task, a tri square, T-bevel square or, if you are lucky, a Rufus can take that slot, but the speed square is the everyday default.
Deeper pockets hold the tools used less often. Occidental sets the bags up so a utility knife and a wood chisel ride slightly proud, but those get used maybe five or six times a day, sometimes five or six times a week, so they are not in the presentation position. Small items like a nail set or center punch sometimes drop down into those deeper pockets by accident, which is annoying; if your setup has a shallower pocket for them, use it.
The Hammer Question: Loops vs Auxiliary Holders
You never see a cop without a gun, and you had better not see a carpenter without a hammer. The bags come with a hammer loop on the right side, the correct side for the right-handed majority, and the bags can be alternated to mirror the layout for left-handed carpenters. But a loop is no longer the preferred option.
A standard hammer loop was one of the first things to wear out over years of use, since the sharp edges of the hammerhead eventually wear through the leather. The bigger problem is at speed: when you move fast, a hammer in a side loop bangs its handle against the outside of your knee, and it hurts, especially when running between tasks.
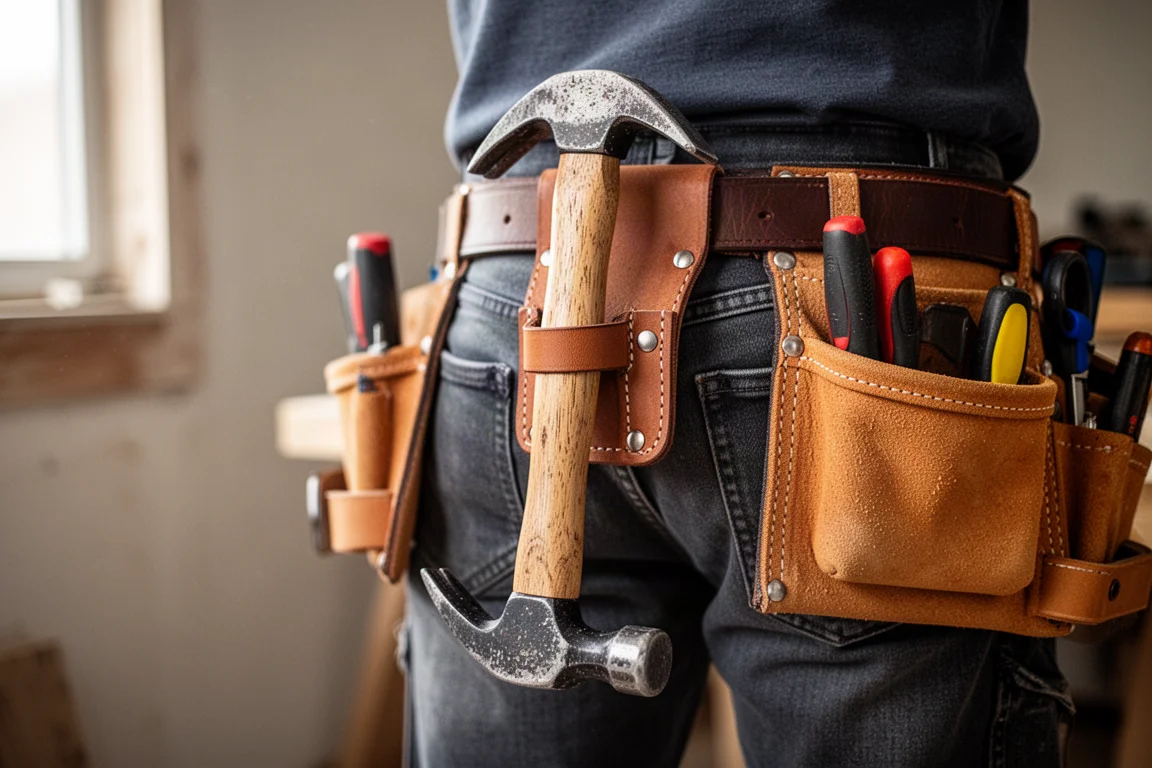
The fix is an auxiliary hammer loop that rides at the back, out of the way. The trade-off is honest: fall backwards with a hammer centered on your spine at your tailbone and it can hurt you. But a fall is going to hurt anyway, and any tool on your bags could end up against your body in a bad fall. It is a risk this carpenter has been willing to take for the productivity gain, plus the hammer no longer flops into countertops or door jambs and leaves marks that have to come out at punch-list time.
Durability, Repairs and Maintenance
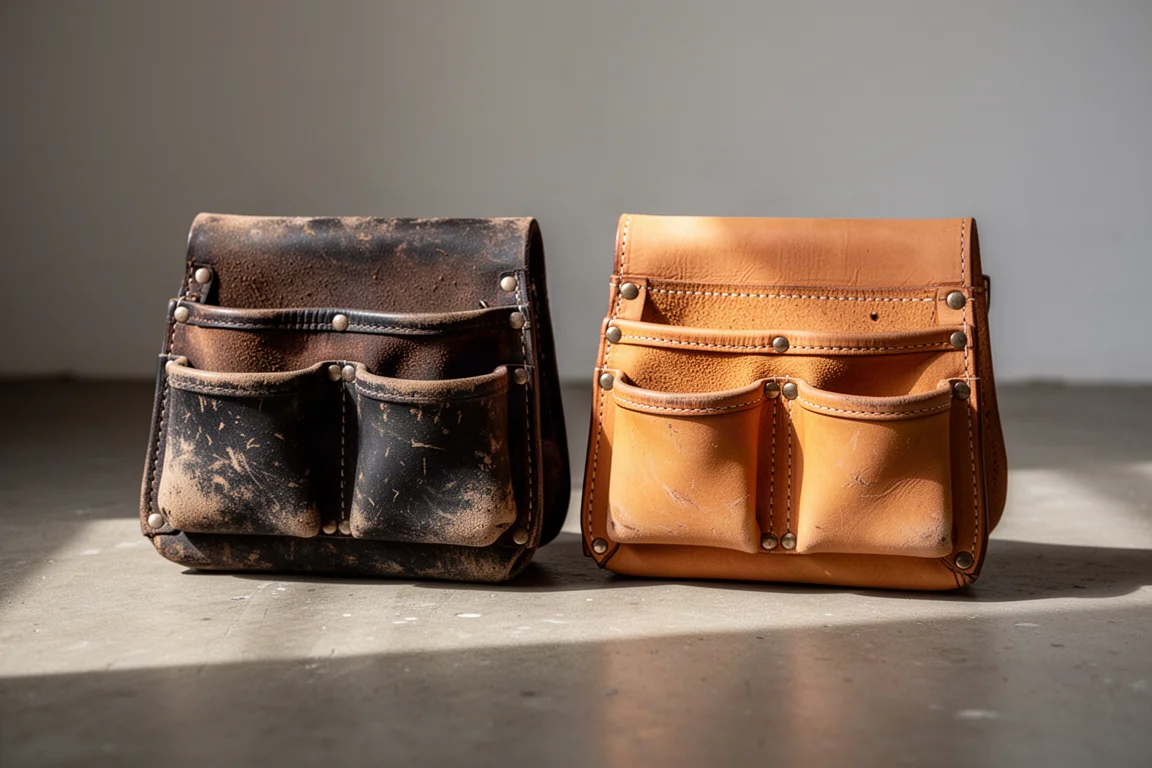
Leather wears out. Nylon wears out. Everything wears out, and the choice between materials comes down to feel, cost and how much maintenance you will actually do. Two sets of Occidental Leather bags in circulation tell the story: one bought used, worn in Las Vegas and beyond for about eight years before being passed along, and two newer sets with roughly 22 years and 12 years of use respectively. Bought at different life stages and used in different climates, they wear out in similar places.
The failures are ordinary ones. Rivets let go on a pocket, sometimes the original ones, sometimes replacements that held up fine; it seems to be luck of the draw. Stitching failed and was repaired by a friend. A pocket tore clean off after catching on something and ripping the leather, operator error more than product fault. The leather itself split in one spot and was patched. Corners were reglued. One pocket originally intended for a chalk line now carries a plumb bob or a spare tape instead.
Honest maintenance confession: these bags have been oiled almost never, once at most. They would have lasted better with regular care, and skipping that maintenance probably throws away some money. In the leather versus nylon debate, the calculus is personal: nylon can be lighter and stronger, leather feels better to many hands and ages with character. Either way, a little preventive care goes a long way.
The bottom line recommendation: if you do framing, form setting or general carpentry, set your bags up so your most-used tools are one-motion reaches on the correct sides, get a wide padded belt, spend a little money on your boots and a lot of money on your belt, and pour it on.
Conclusion
A good rig is not about owning the most pockets, it is about reducing every day’s most repeated movements to a single motion and protecting the body that does the work. Occidental Leather bags have proven they can last decades with minimal care, and a wide padded Buckaroo belt has proven, over seven years, that hip comfort and bag stability are worth paying for. Start cheap if you must, learn from the most productive carpenter on your crew, and then invest where it counts: the belt, the bags, and a layout that matches your own hands.
Further reading
Related Reviews

Backpacking Gear
Building a 10 lb Base Weight: An Ultralight Backpacking Gear List
A practical walkthrough of the ultralight pieces behind a 10 lb base weight, from a 765 g pack and a roomy one-person tent to a full camp chair and a dependable water filter.
Road Bikes
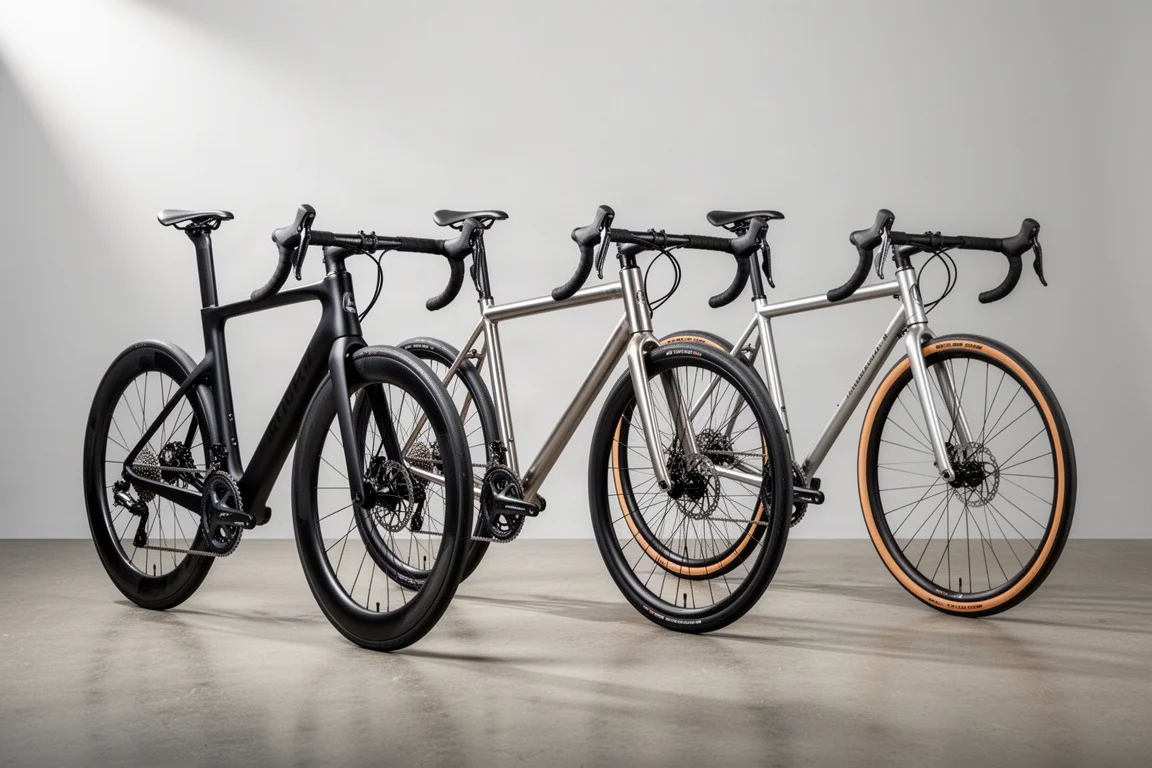
10 New Road Bikes Worth Watching: Aero, Titanium, Steel and Endurance Standouts
A practical roundup of 10 new road bikes, from aero flagships chasing single-watt gains to titanium, steel and endurance platforms built for real roads.
Bikepacking Gear
11 Bikepacking Essentials for Long-Distance Cycling
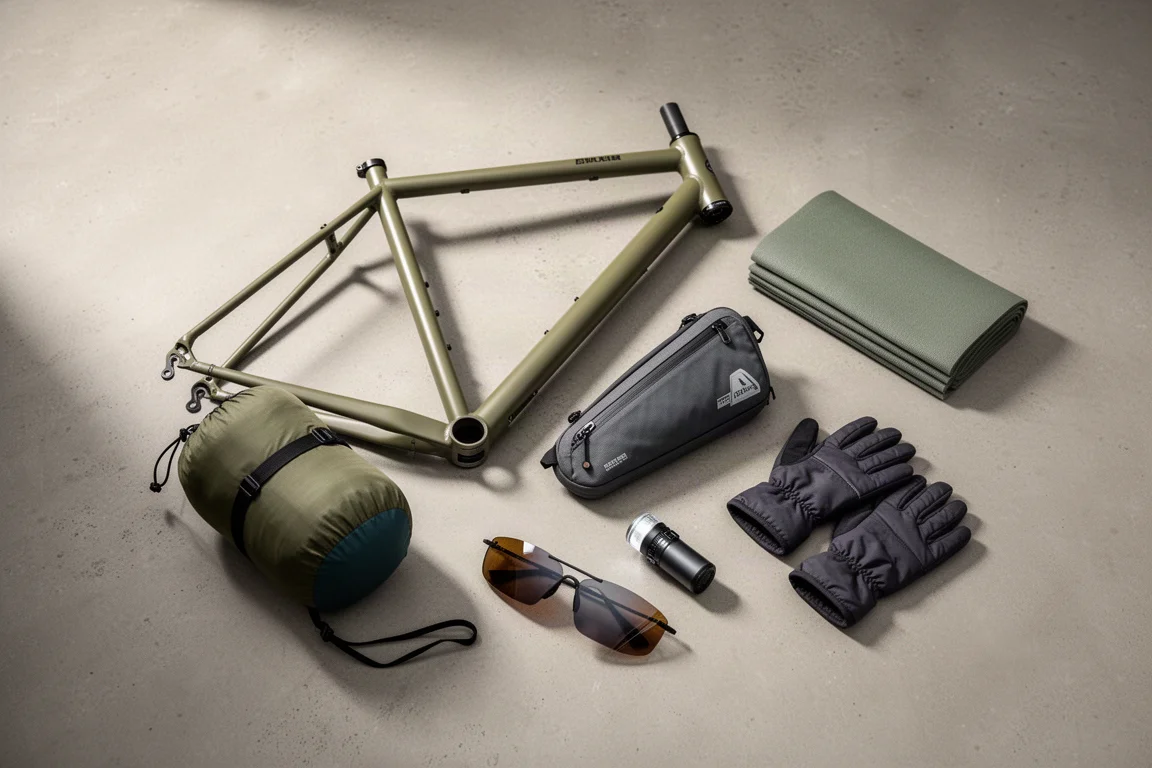
Eleven bikepacking essentials for long-distance cycling, from a steel gravel frame and a two-person tent to helmet lights, packable gloves, and a frame bag that puts weight in the right place.