Home Studio
Building a Beginner Home Recording Studio: Interfaces, Microphones, and Monitors
A practical guide to the first pieces of a home recording setup, from two-input audio interfaces to microphones, headphones, and studio monitors.
Introduction
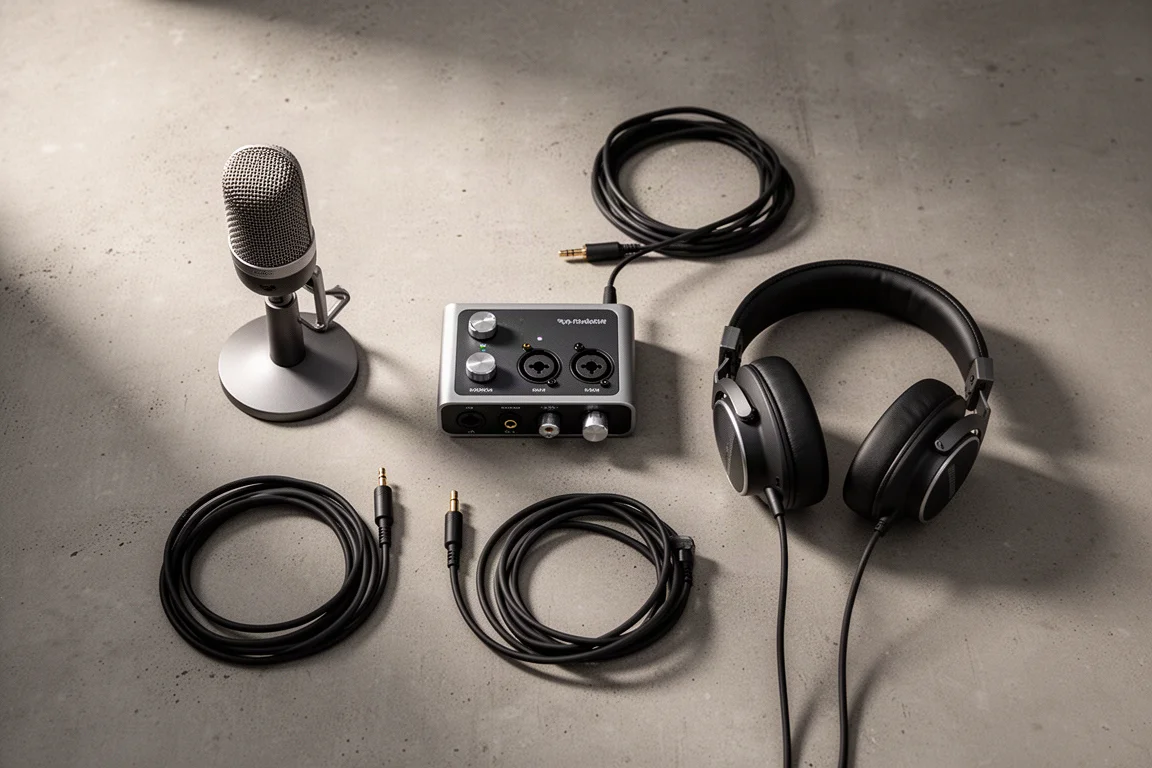
Starting a home recording setup can feel like a long shopping list, but the essentials break down into a small number of categories: an audio interface, one or two microphones, a way to listen back, and the cables and stands that hold everything together. The computer you already own is probably sufficient to begin with, and the recording software you choose comes down to personal preference. Trying limited trial versions of a few options is a low-risk way to find the one that suits how you work.
Each section below covers the choices worth knowing about at each stage, from the interface that acts as the hub of the system to the monitors you can add later.
What You Need to Start Recording
Before comparing models, it helps to know what each piece actually does. The audio interface connects to your computer or tablet over USB and lets you use microphones and speakers with your recording software. A microphone captures the performance. Headphones or studio monitors let you hear what you are recording and mixing.
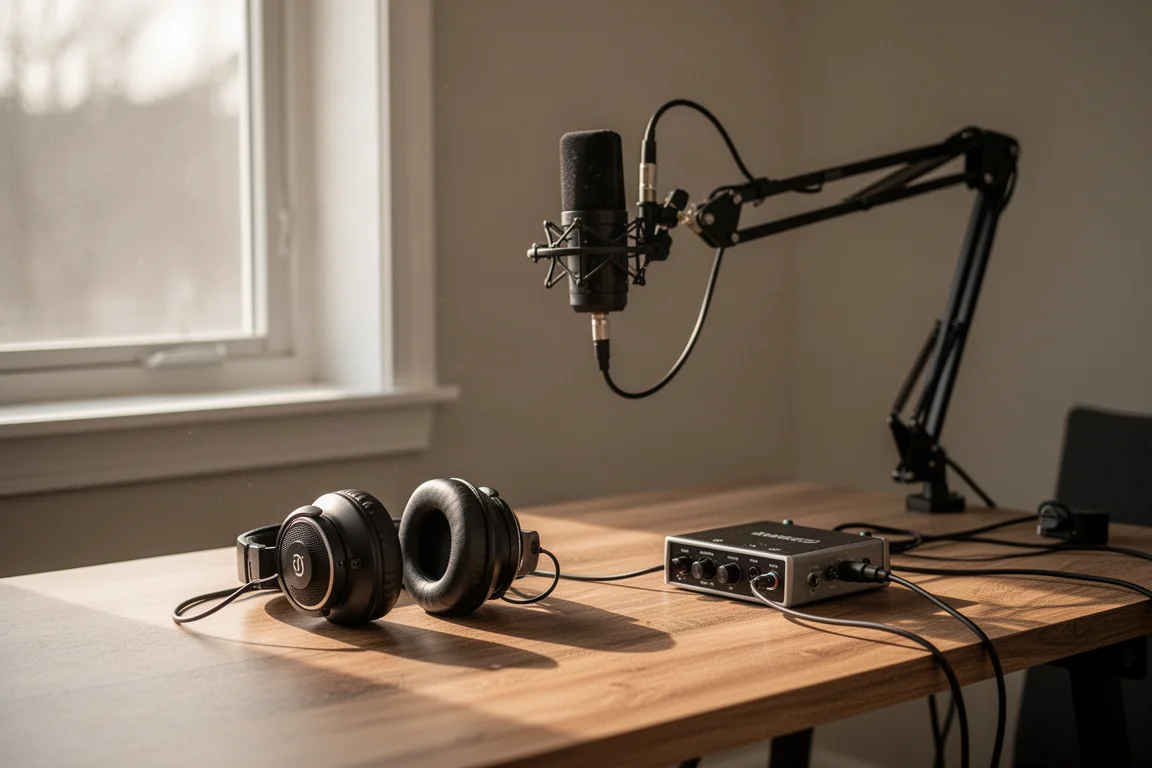
You do not need to buy everything at once. A sensible path is to start with an interface, one microphone, and a pair of headphones, then add a second microphone and a pair of monitors as your budget and your ambitions grow. That staged approach keeps the early spend focused on the parts that shape your sound the most.
Audio Interfaces
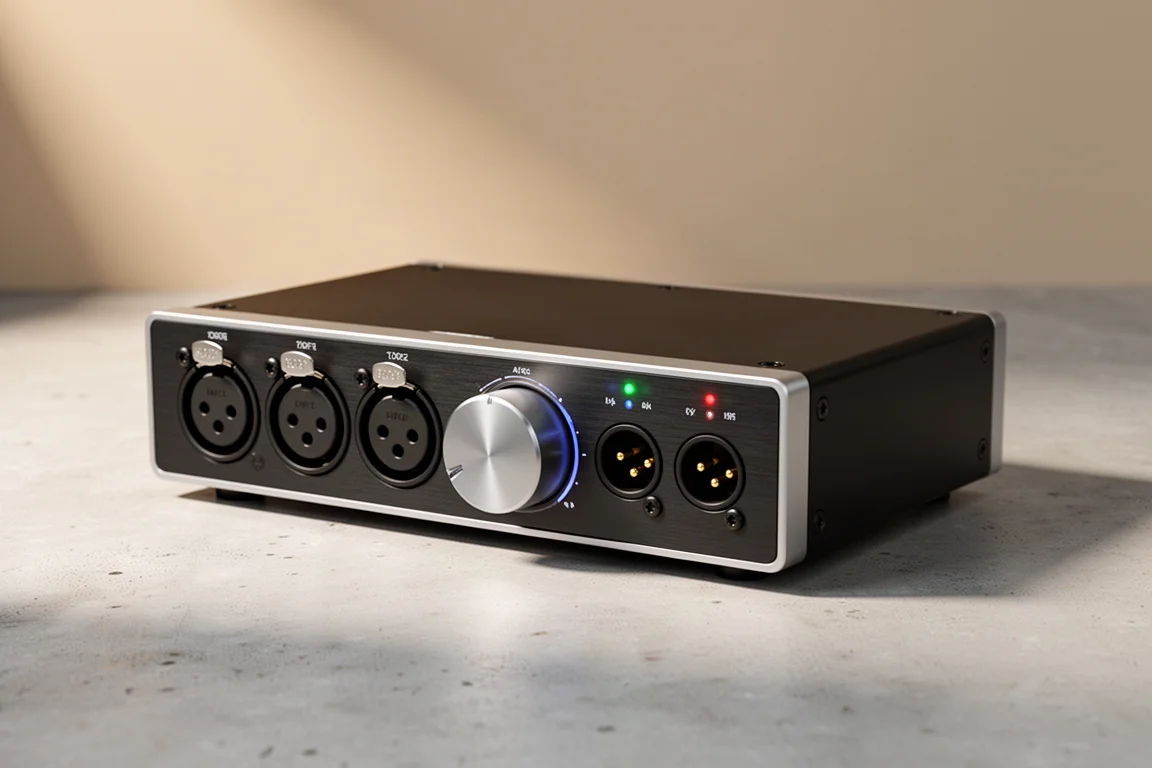
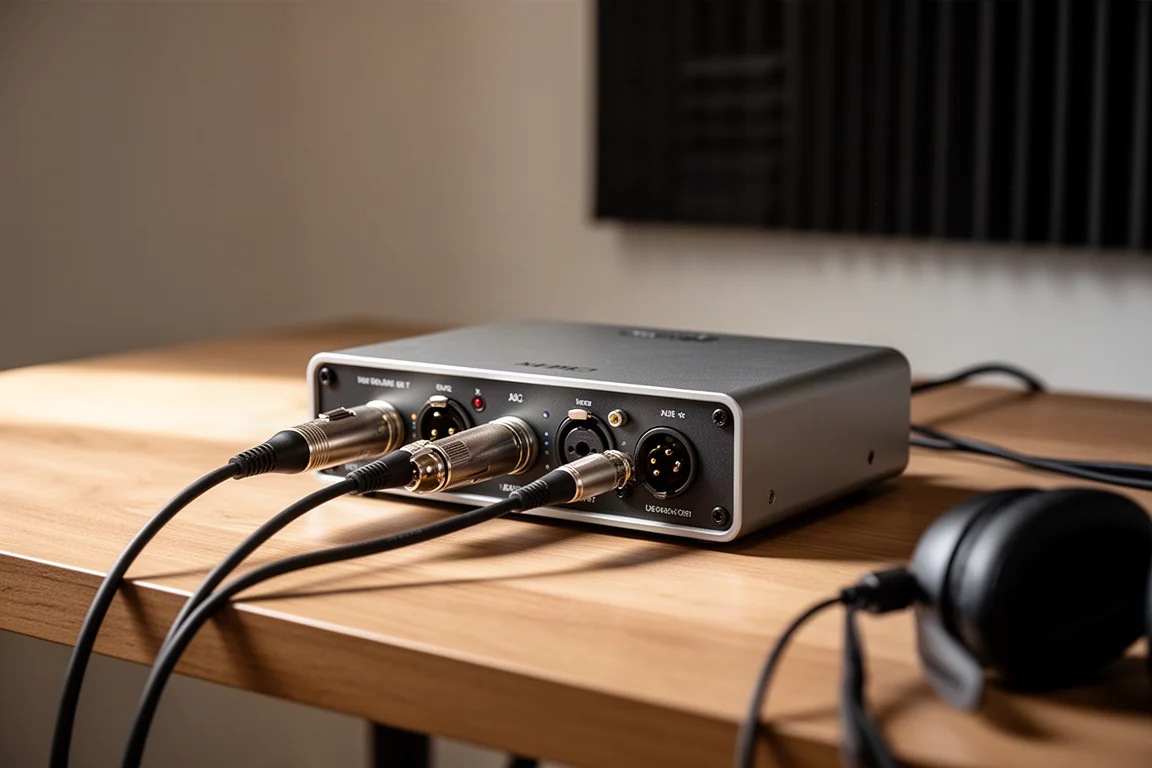
The interface is the central hub of the studio. It links your computer or tablet to your microphones and speakers, and it is the piece that lets your recording software see and use them.
Two microphone inputs are the sweet spot for most beginners. With two, you can record two sources at the same time onto separate tracks, or you can layer one microphone at a time and build a song piece by piece. A single-input interface can work on a strict budget, but starting with at least two inputs is the recommendation whenever the budget allows.
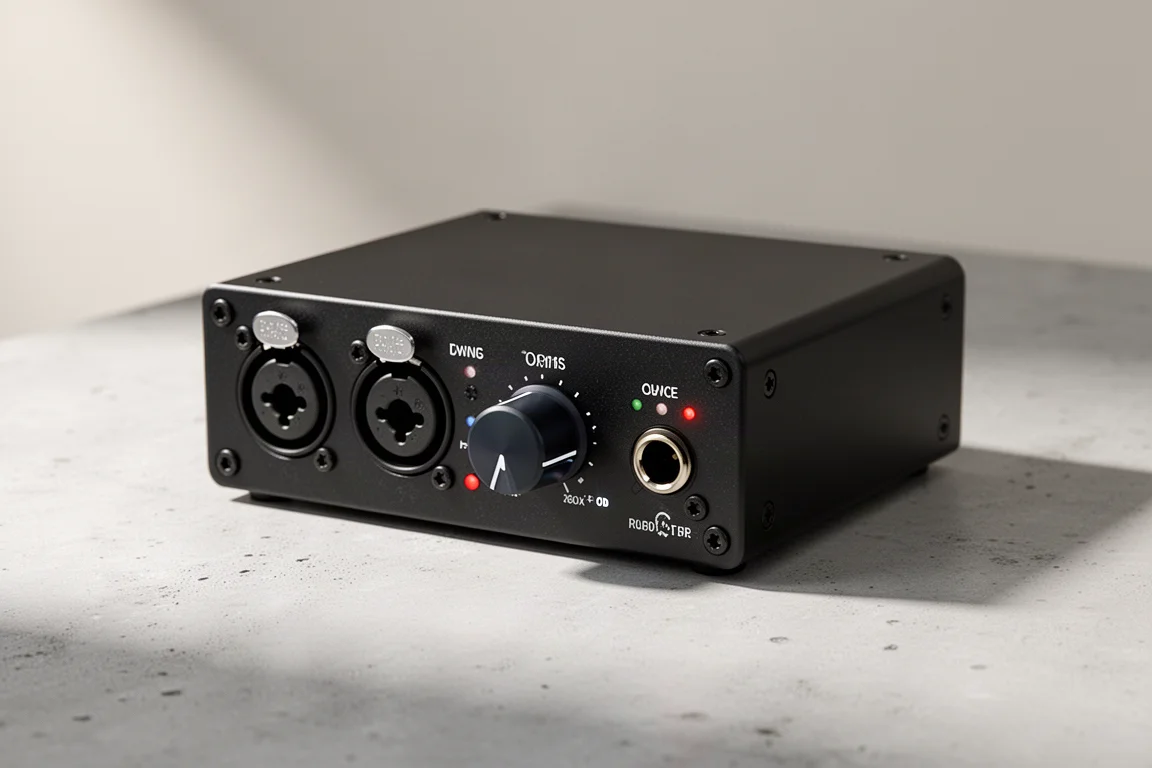
Universal Audio Volt 2
The Volt 2 provides two microphone inputs, a headphone jack, and two outputs on the back for connecting studio monitors. That combination covers the core of a small recording setup without extra boxes or adapters.
Focusrite Scarlett 2i2
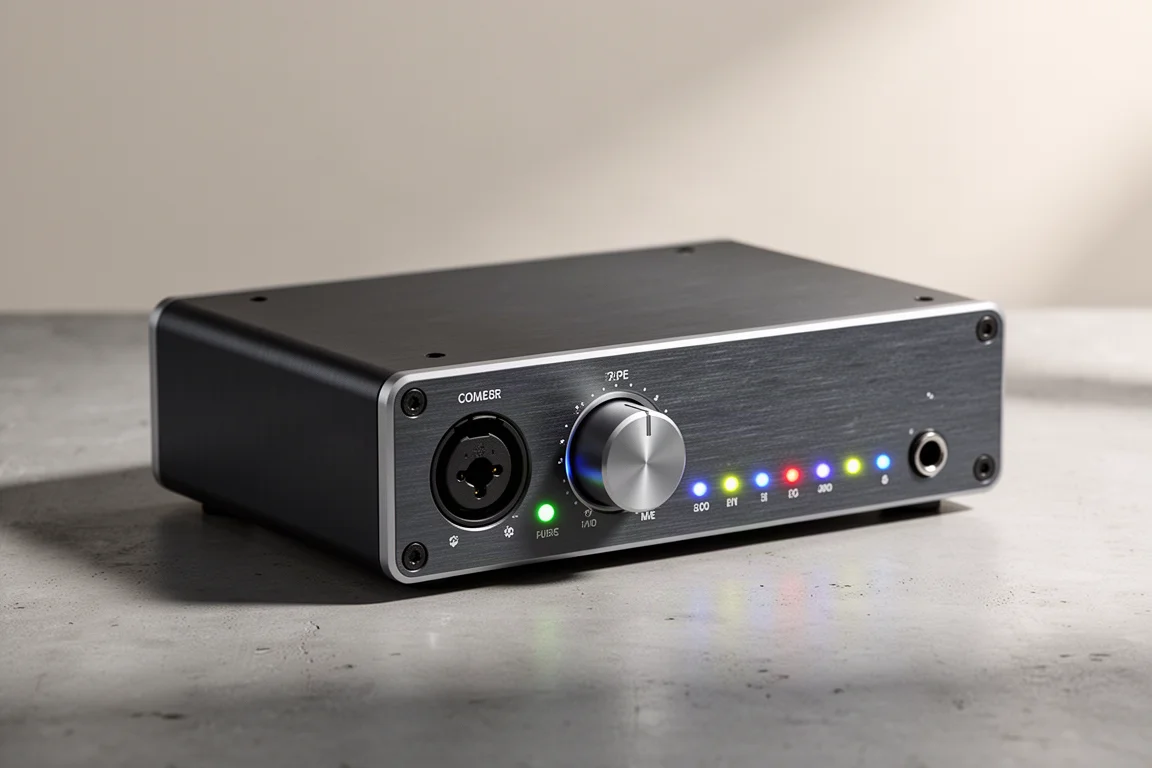
The Scarlett 2i2 delivers the same essential functionality as the Volt 2: two microphone inputs, a headphone output, and rear outputs for studio monitors.
MOTU M2
The M2 is another two-input option that covers the same core ground, which makes it a straightforward alternative if it suits your desk and your workflow better.
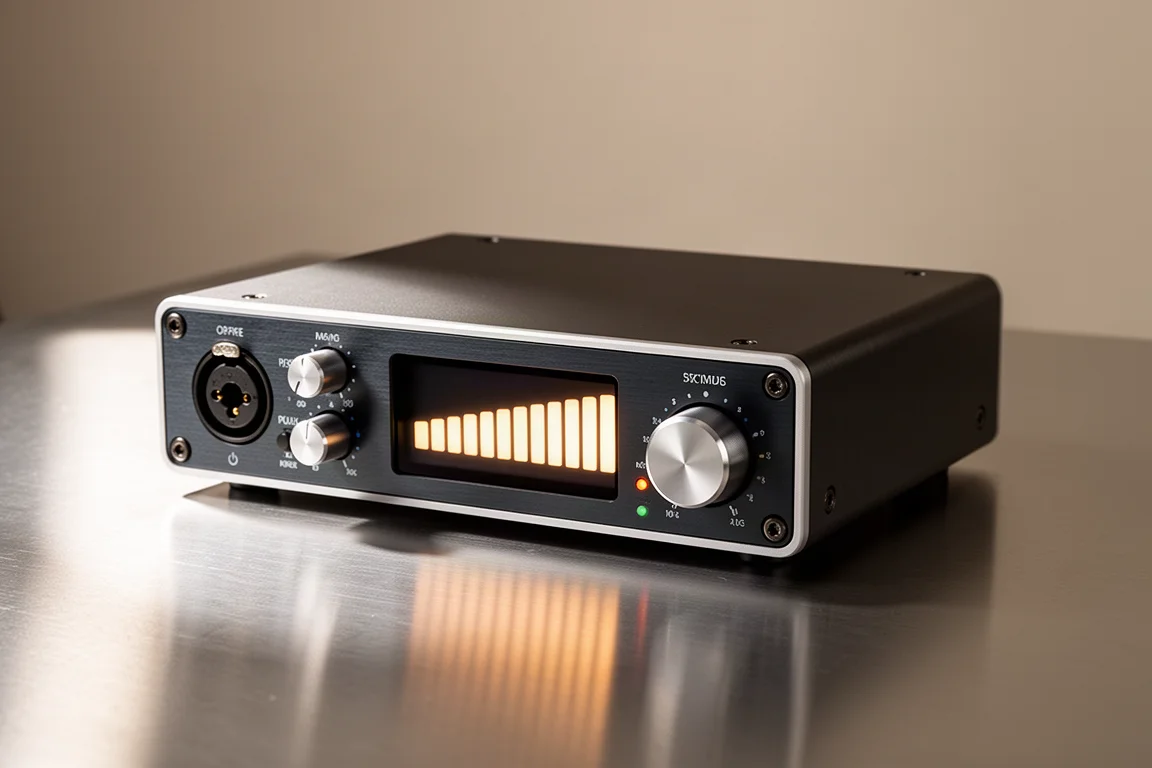
Audient Evo 4
The Evo 4 is the value pick of the group. It offers two microphone inputs for $129, which makes it the recommendation when keeping costs to a minimum without dropping to a single input.
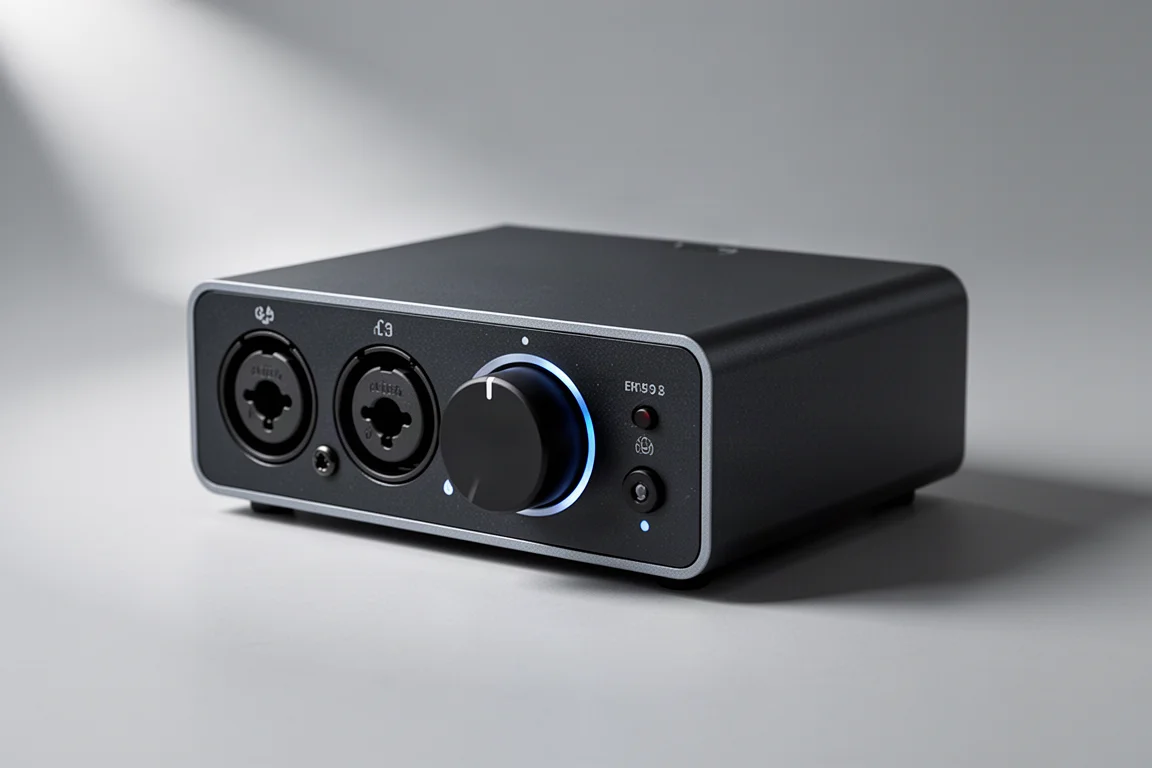
Universal Audio Volt 1
The Volt 1 is a single-input interface for strict budgets. It will get you recording, though it cannot capture two sources at once.
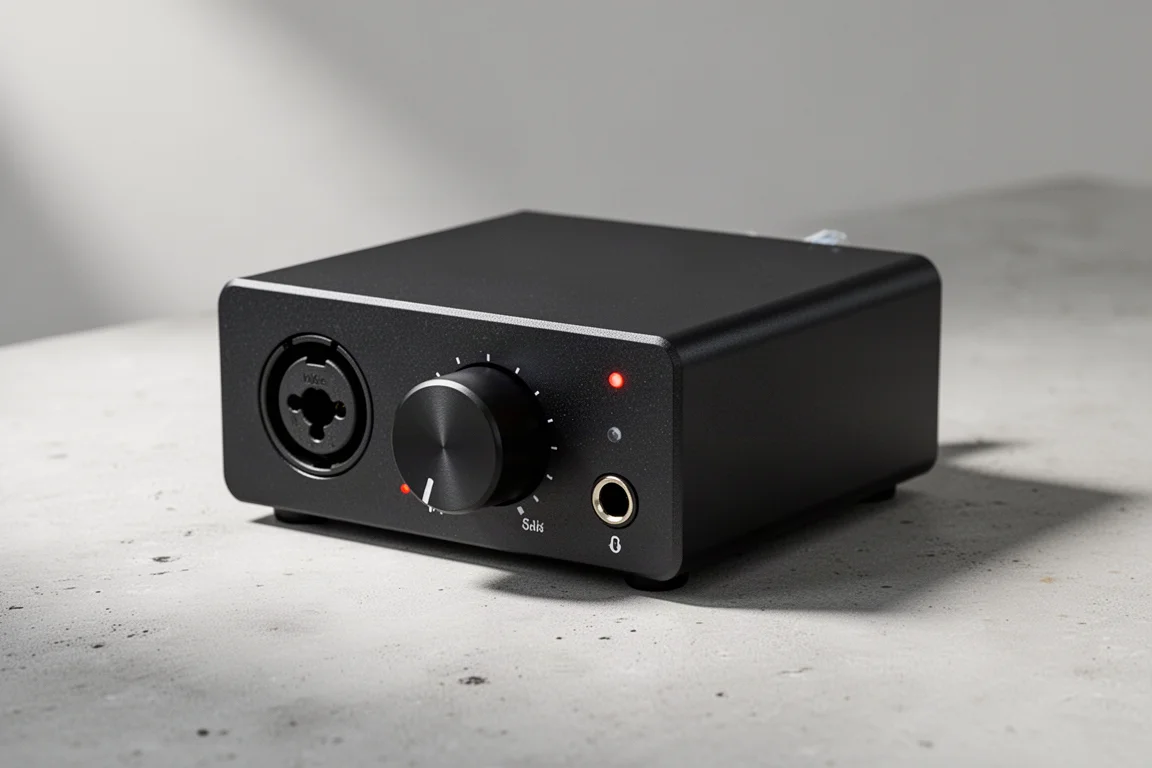
Focusrite Scarlett Solo
The Scarlett Solo is the other single-input option here, with the same trade-off: a lower entry price in exchange for one microphone input.
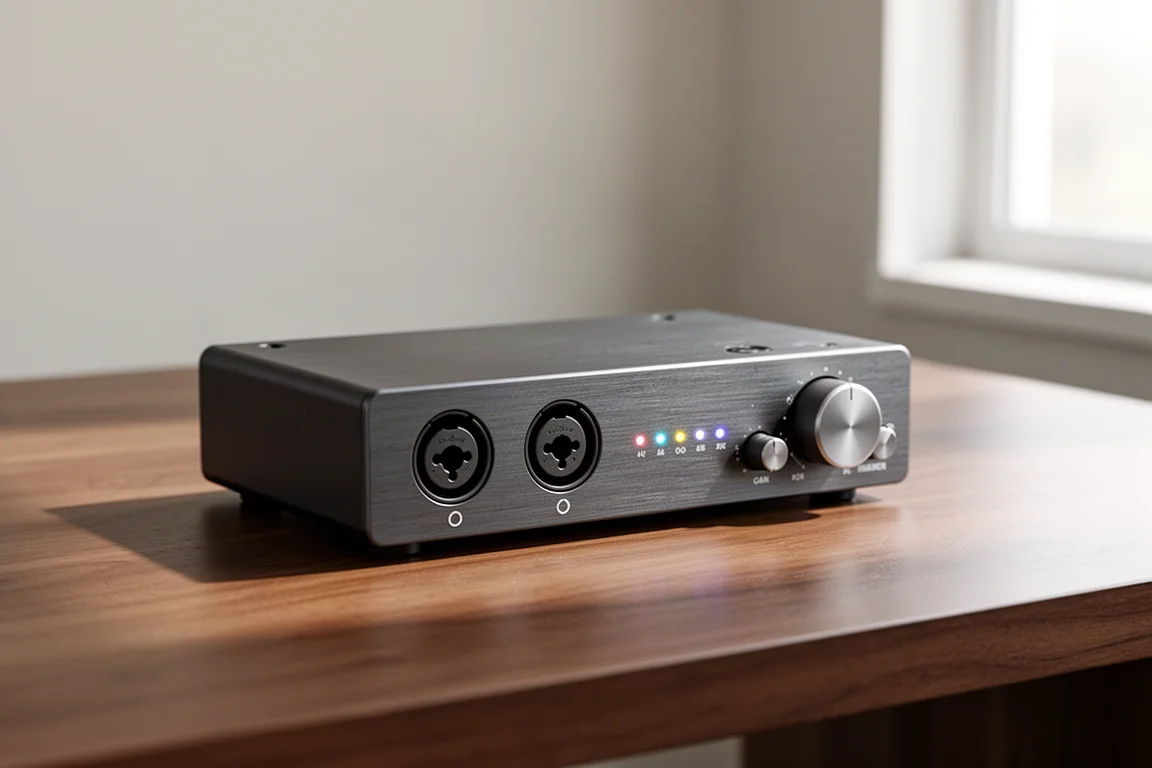
Audient Evo 8
If you want to record a whole band at the same time, four microphone inputs become genuinely useful, and the Evo 8 is the interface built for that job.
Microphones
The right microphone depends on what you plan to record. A practical starting point is a dynamic microphone, a condenser microphone, or one of each, since the two types cover different ground.
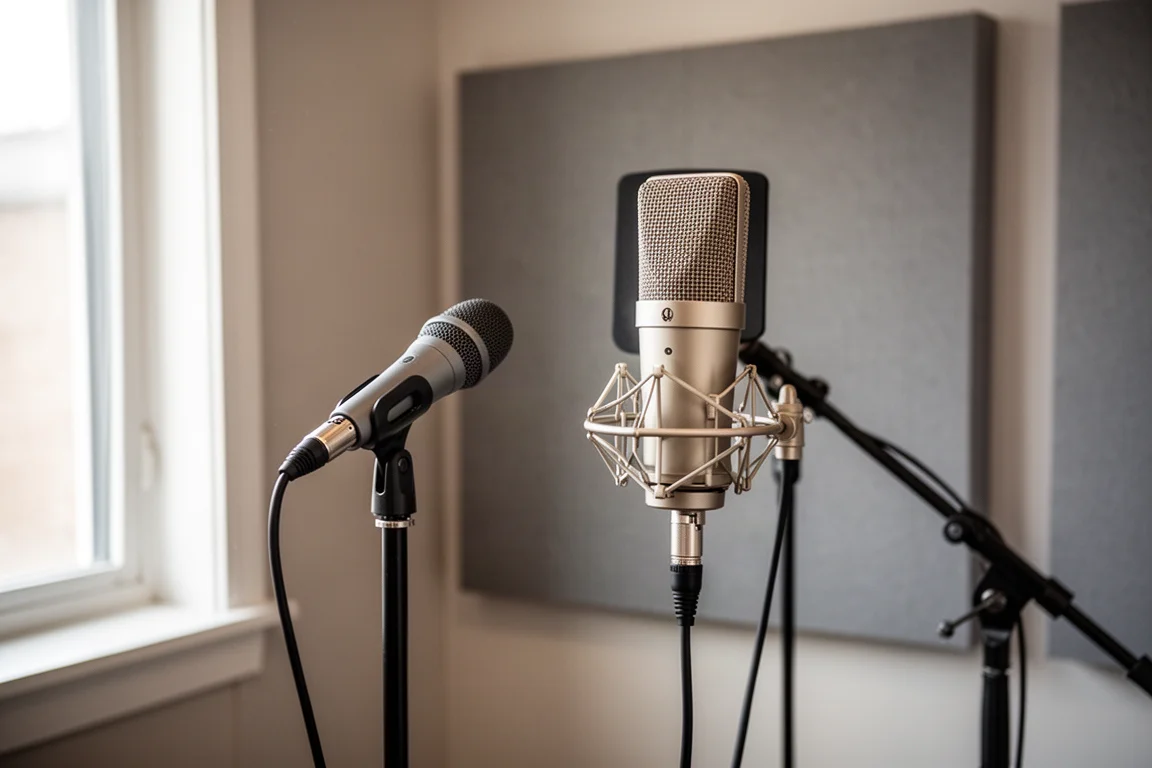
Dynamic microphones are the workhorses for vocals, electric guitar, drums, and many other instruments. Condenser microphones suit vocals and acoustic instruments especially well. Condensers cost more to make, which is why they generally carry a higher price than a comparable dynamic model.
Shure SM57
The SM57 is a relatively inexpensive dynamic microphone that can be found in almost every studio in the world. The price should not be read as a sign of compromise: it is a professional microphone that handles vocals, electric guitar, drums, and a long list of other instruments.
Rode NT1
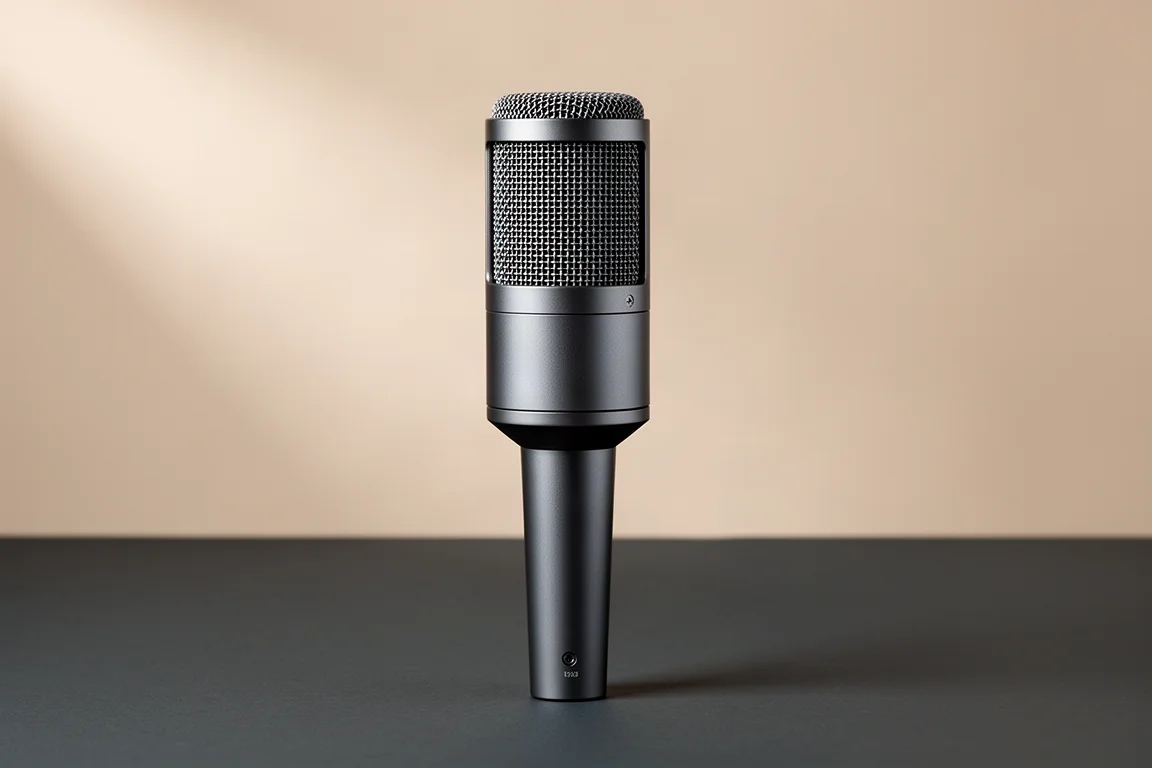
The NT1 is one of the condenser microphones worth considering if vocals and acoustic instruments are the focus of your recording.
AKG C214
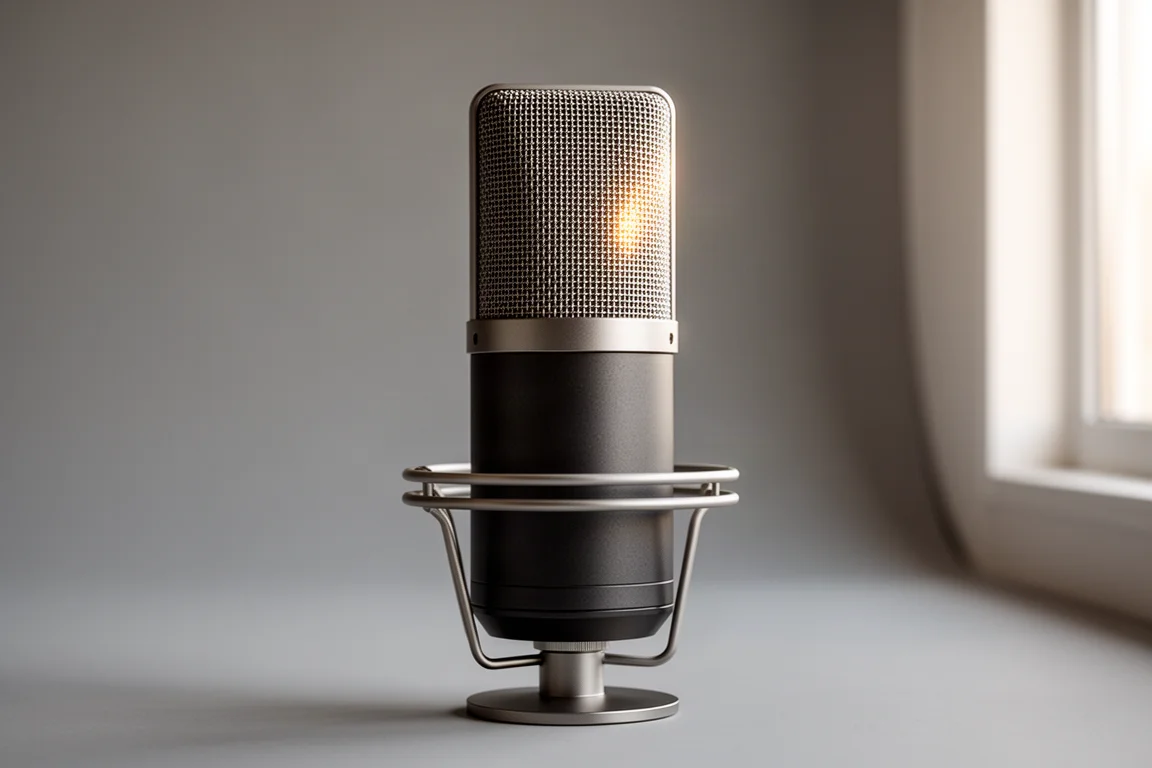
The C214 is a second condenser option in the same tier, aimed at the same kinds of sources and the same level of quality.
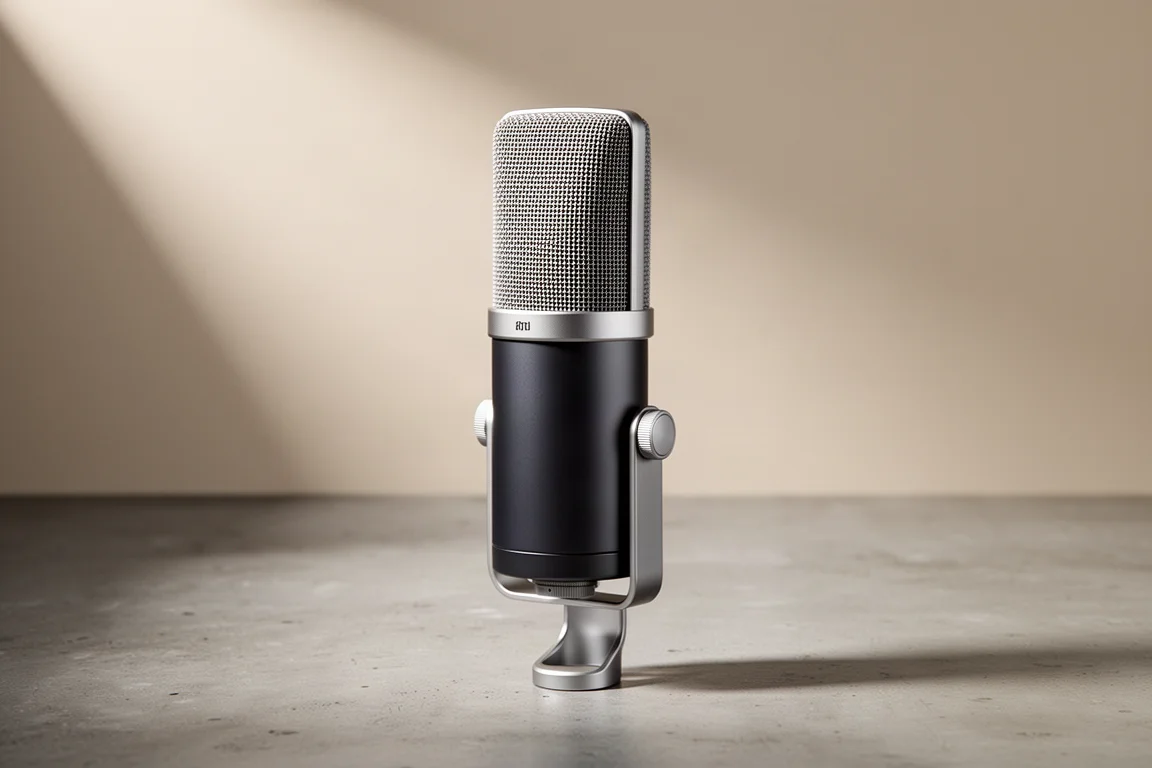
Audio-Technica AT4040
The AT4040 rounds out the three condensers. Like the other two, it costs more than a dynamic microphone, which is typical for the type.
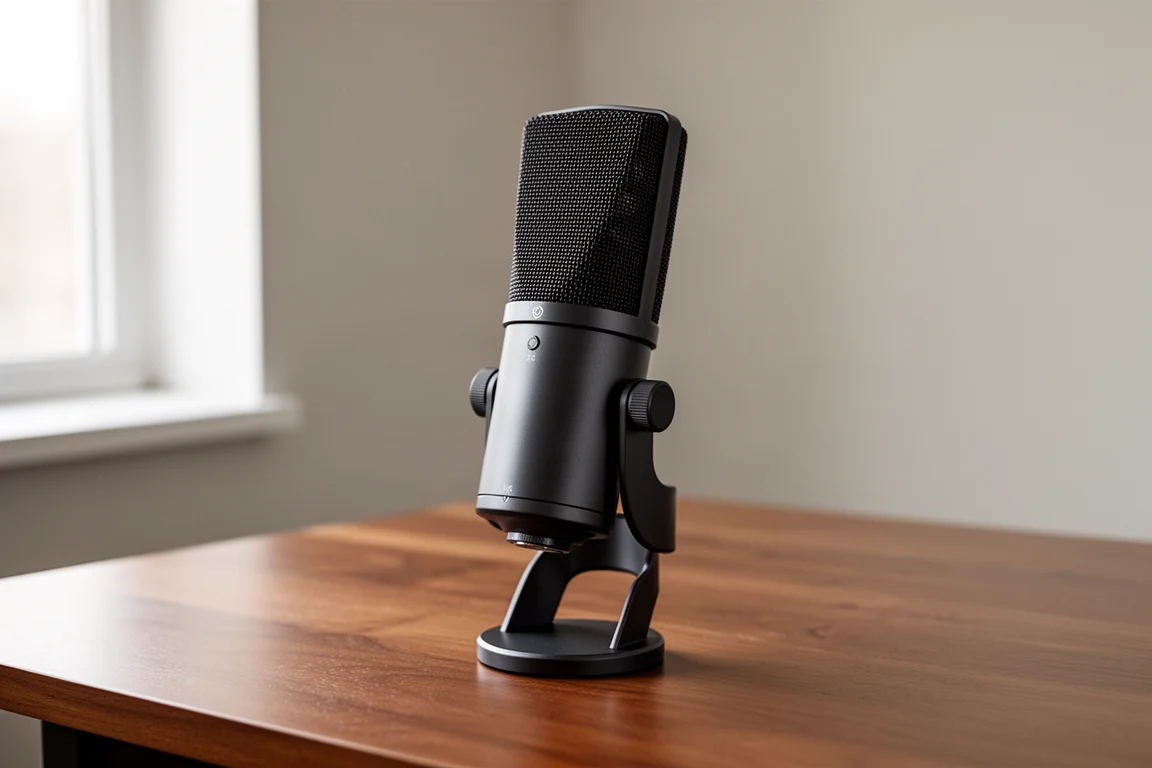
Audio-Technica AT2020
The AT2020 is a less expensive condenser microphone, around $100. It can get you started, but one of the three condensers above is the better long-term choice if the budget stretches, because a microphone you eventually outgrow tends to sit unused.
Headphones
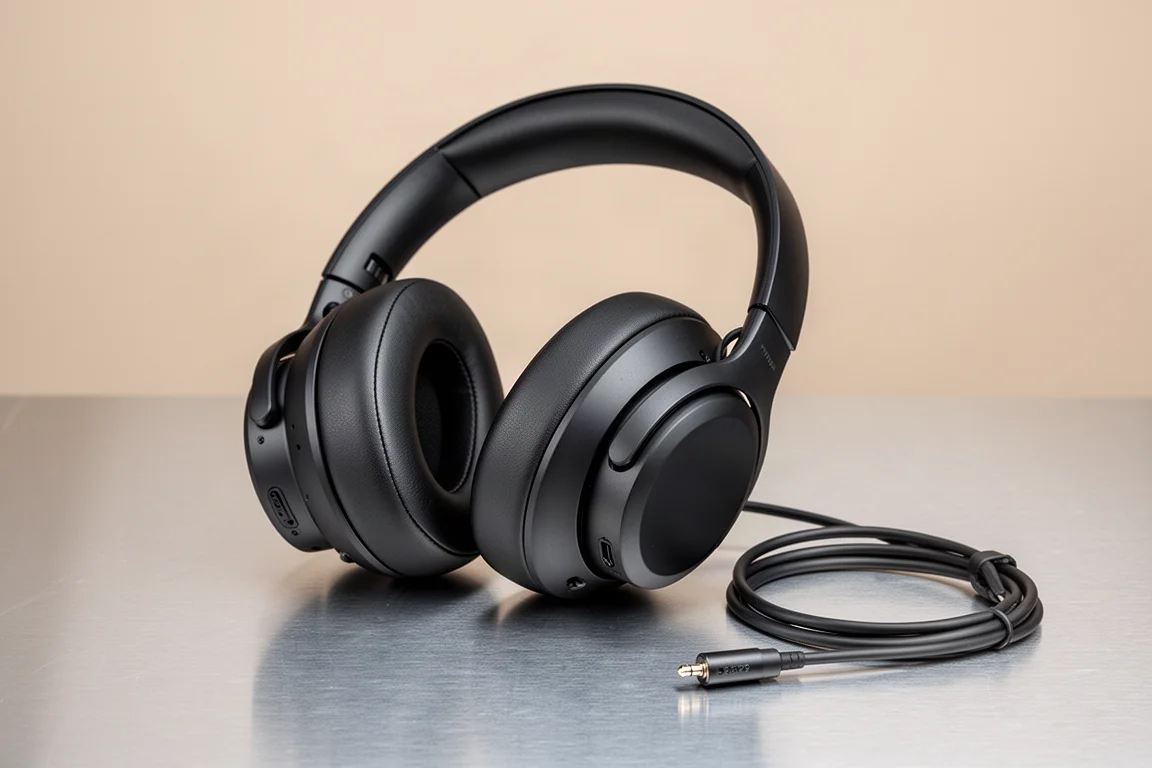
You need a way to hear what you are recording, and headphones are the simplest place to start. The ATH-M50x connects directly to the headphone jack on the interface, so you can monitor while tracking and mix without disturbing anyone else in the house.
Studio Monitors
If the budget allows, adding a pair of studio monitors is worth it. Monitors and headphones each have advantages and disadvantages, so having both is better than relying on one alone.
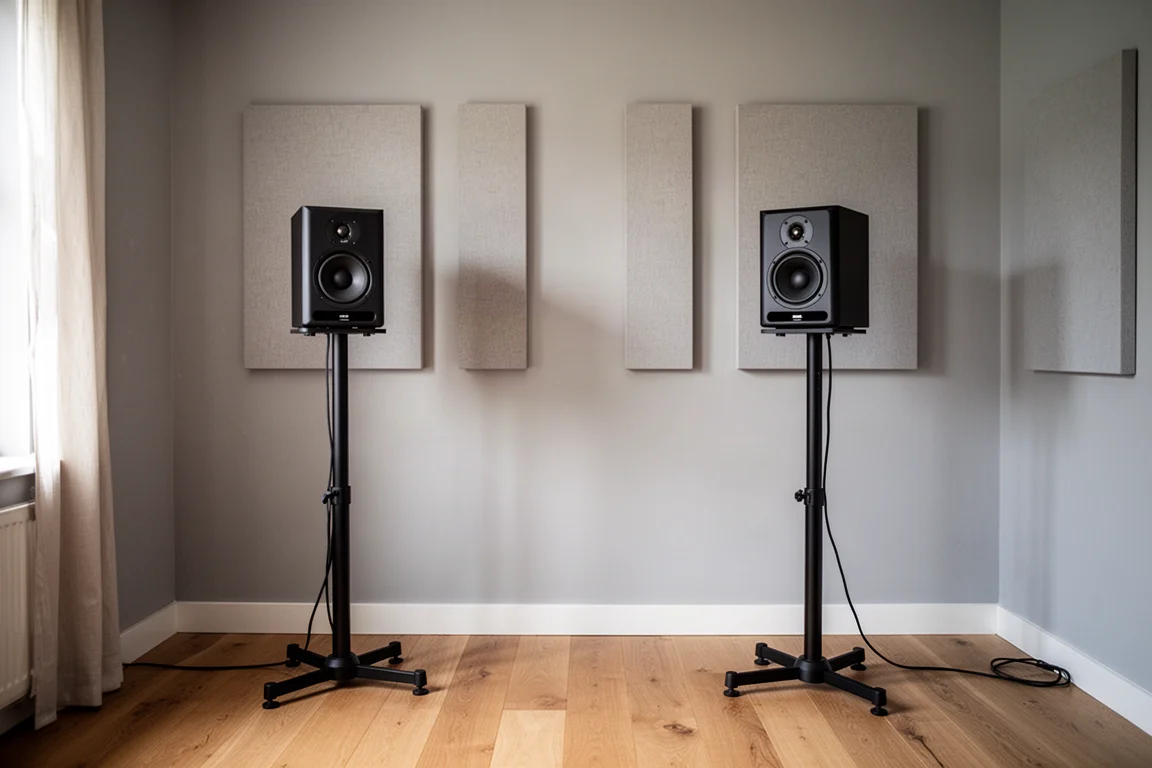
Monitors need stands to sit at ear level, and some monitor packages include them. It is also perfectly reasonable to begin with headphones only and add monitors later, since monitors are among the more expensive pieces in the chain even when they sit at the affordable end of the market.
Adam T7V
The T7V is one of the top recommendations in this price range.
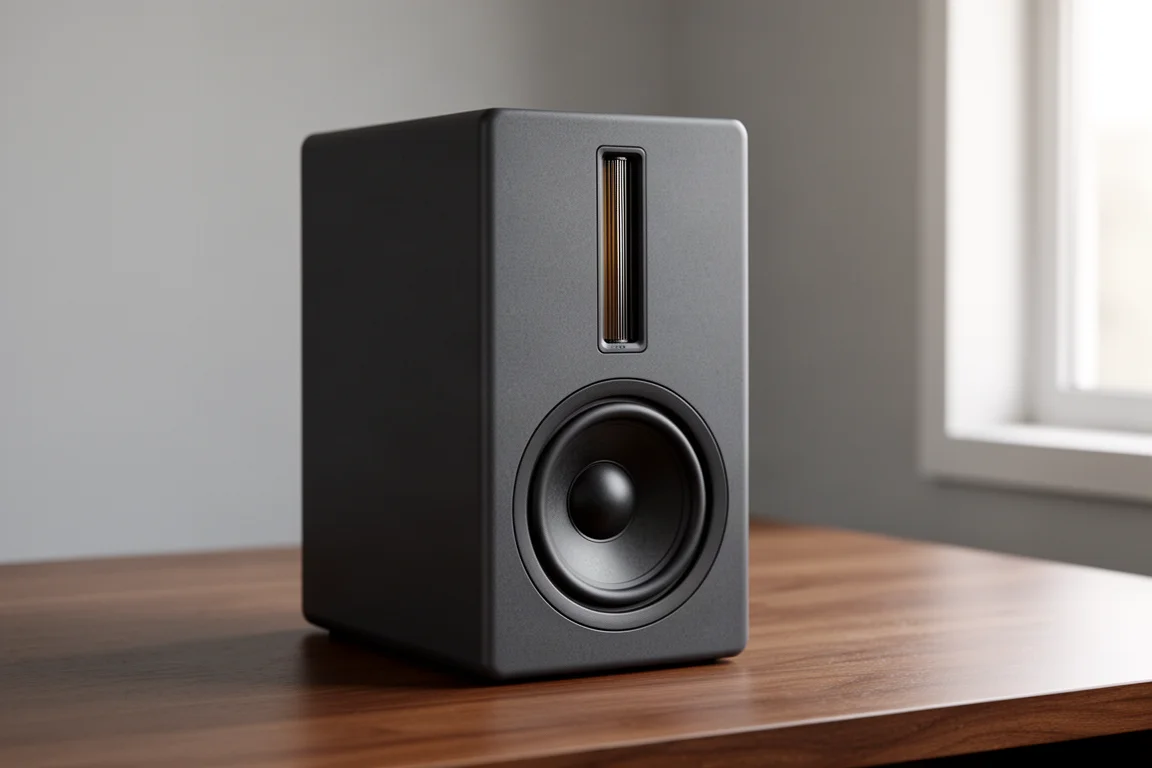
Adam T5V
The T5V is the smaller option in the same line, and it carries the same recommendation for this price bracket.

Accessories, Cables, and Room Acoustics
A microphone stand for each microphone is the first accessory to plan for. A high-quality stand from K&M is a durable long-term pick, and On-Stage offers a decent budget alternative.
Cables are the second piece. A typical small setup needs two XLR cables for the microphones, two 1/4-inch TRS to XLR cables for the studio monitors, and one TS instrument cable for connecting a guitar or keyboard to the interface.
Room acoustics deserve attention as well, and they are the item most often skipped. A common mistake is to spend heavily on high-end microphones and speakers without considering how the room shapes what you hear. Pre-made acoustic panels can be pricey, but they are easy to build yourself, and they have a large impact on the sound quality of recordings and mixes. Panels are not part of a basic starter setup, but adding them when possible pays off over the life of the studio.
Buying Advice
Two microphone inputs are the first thing to prioritize, because they keep your options open for tracking two sources at once. The Evo 4 at $129 is the most affordable way to get there, while the Volt 2, Scarlett 2i2, and M2 all cover the same core functionality if you prefer one of those.
On the microphone side, pairing an SM57 with one of the three condensers gives you two professional-quality microphones that will keep serving you for years. If you would rather keep the initial spend down, the AT2020 is a reasonable starting condenser, with the understanding that it may be outgrown. Headphones are the sensible first monitoring choice, and monitors can follow when the budget allows. Acoustic treatment is worth planning for early rather than last, since it affects every recording you make in the room.
Conclusion
A beginner studio does not have to be complicated or expensive to be useful. An interface with two microphone inputs, a microphone that suits what you record, a pair of headphones, and the cables and stands to connect them will get you recording. From there, a second microphone, a pair of monitors, and some acoustic treatment are natural upgrades that build on what you already have rather than replacing it.
Further reading
Related Reviews

Backpacking Gear
Building a 10 lb Base Weight: An Ultralight Backpacking Gear List
A practical walkthrough of the ultralight pieces behind a 10 lb base weight, from a 765 g pack and a roomy one-person tent to a full camp chair and a dependable water filter.
Road Bikes
10 New Road Bikes Worth Watching: Aero, Titanium, Steel and Endurance Standouts
A practical roundup of 10 new road bikes, from aero flagships chasing single-watt gains to titanium, steel and endurance platforms built for real roads.
Bikepacking Gear
11 Bikepacking Essentials for Long-Distance Cycling
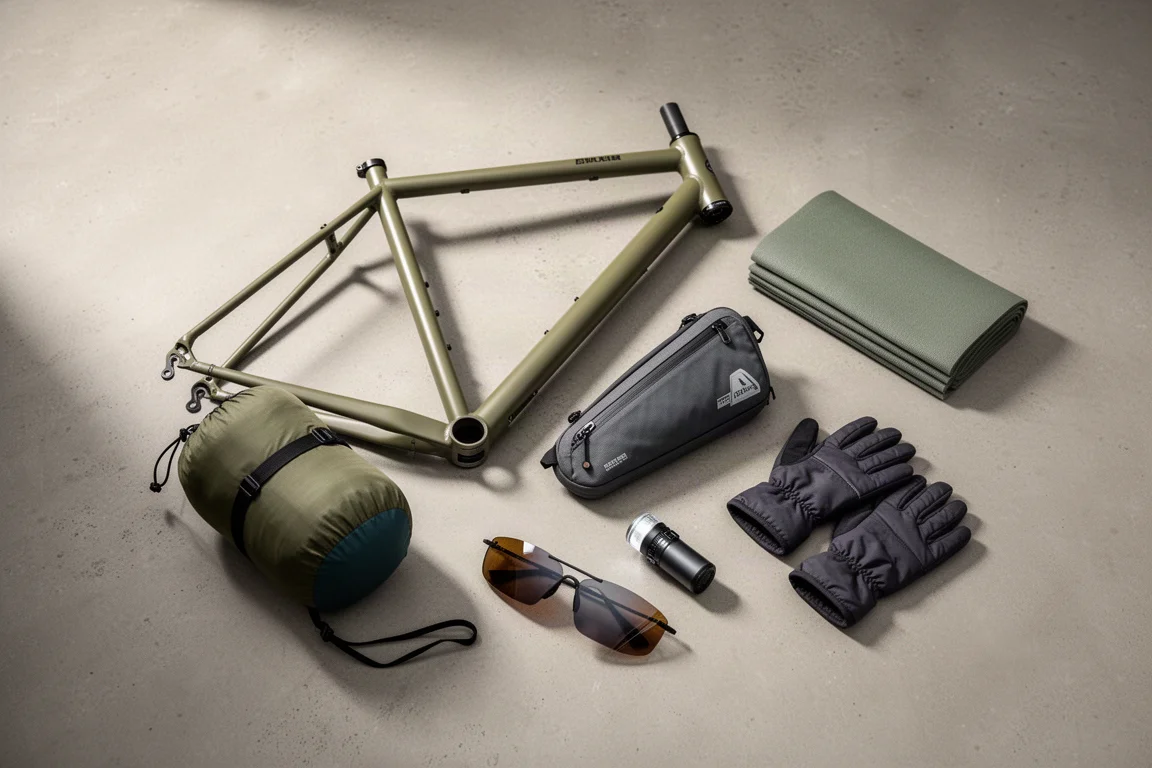
Eleven bikepacking essentials for long-distance cycling, from a steel gravel frame and a two-person tent to helmet lights, packable gloves, and a frame bag that puts weight in the right place.