Audio Interfaces
Budget vs Professional Audio Interfaces: Which One Do You Actually Need?
A practical comparison of budget and professional audio interfaces, covering input count, preamp gain, latency, metering, and included software.
Introduction
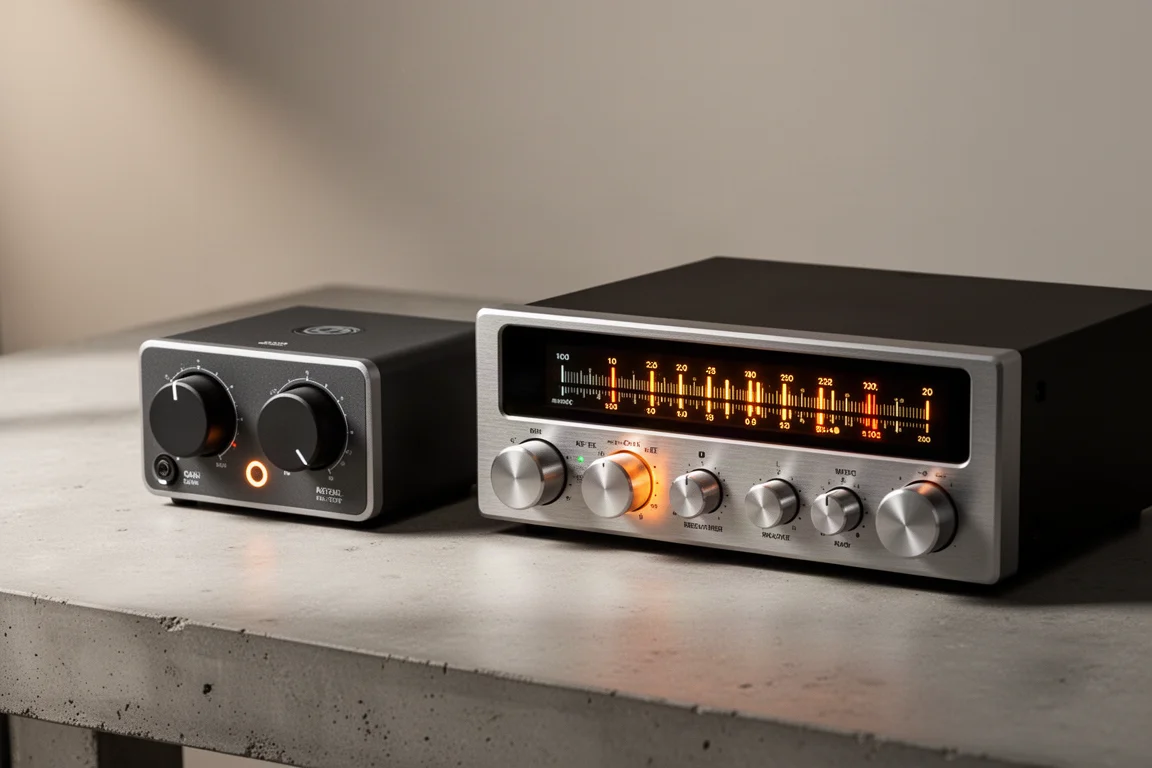
An audio interface is the piece of gear that lets you record microphones, instruments, and other audio sources into a computer. That part is simple. What is less obvious is why two interfaces with the same channel count can sit at such different prices. One two-channel interface can cost around $200 while another two-channel interface costs over $2,000, and the gap is not marketing noise. It comes down to inputs and outputs, preamp quality, latency, metering, included software, and build.
This guide walks through what actually changes as the price rises, then looks at four interfaces that represent different points on that curve.
What Separates a Budget Interface From a Professional One
Start with input and output count, because it determines what you can record at once. If you layer one instrument at a time, a single input can be enough in theory. Recording a guitar and a vocal together, miking a full drum kit with a separate microphone on each drum, or tracking several podcast guests all require more inputs. Decide how many sources you need to capture simultaneously, then choose an interface with at least that many inputs.
Input type matters just as much. Line level inputs accept devices that already output a strong signal, such as a smartphone, a mixer, or outboard effects like compressors, gates, delay, and reverb processors. Instrument level inputs are built for electric guitars, bass guitars, and keyboards, and they include a preamplifier that raises that quiet signal to line level. Microphone inputs carry the most gain of all, because a microphone signal is very weak. Connectors usually follow the same logic: line inputs are typically quarter inch, XLR, or RCA, instrument inputs are almost always quarter inch, and microphone inputs are almost always XLR. Some interfaces add digital inputs for devices with digital outputs.
On the output side, most interfaces include at least one pair of outputs for studio monitors, and plenty of people never need more. Extra outputs become useful when you want to send audio to a mixer, to outboard effects, or to a second pair of monitors. Headphone outputs are separate from line outputs, and a line output will not drive headphones without a headphone amplifier. If more than one performer records at a time, look for multiple headphone outputs with independent volume controls so each person can hear themselves properly.
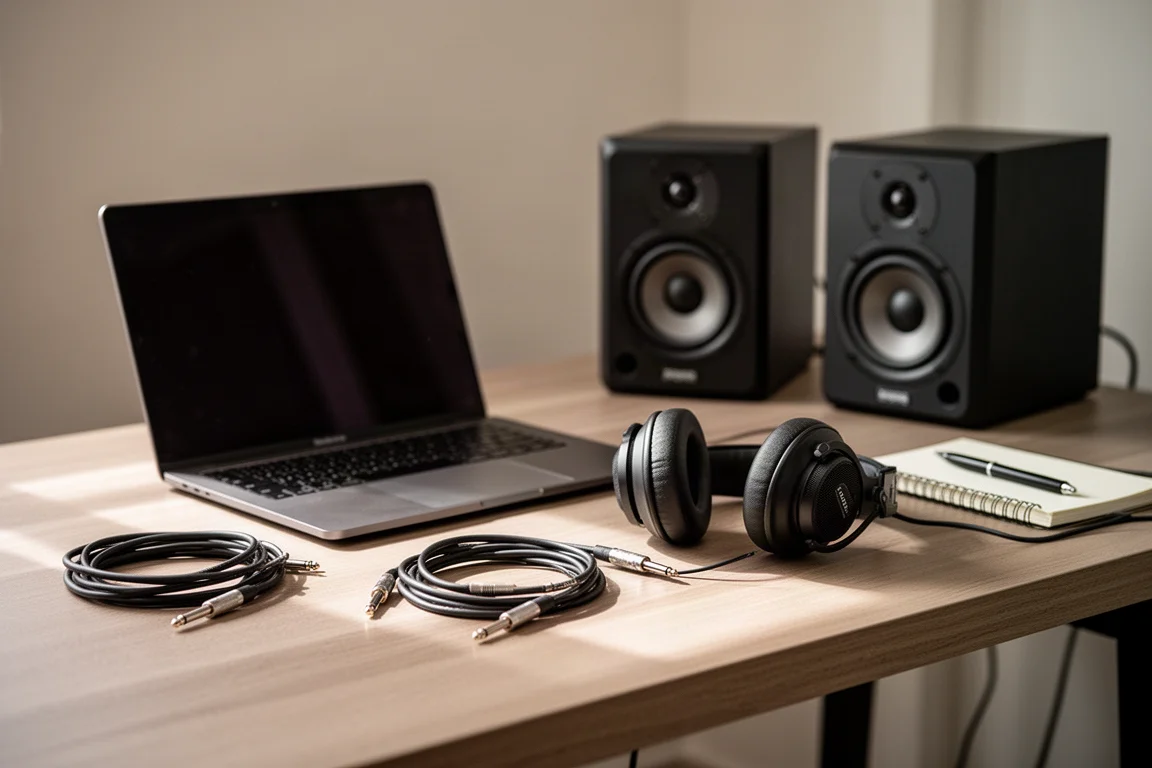
Latency is one of the clearest dividing lines between budget and professional interfaces. It is the delay between a signal entering the interface and that signal reaching your headphones, caused by the trip through the interface, into the DAW, through processing, and back out. The driver has a large influence here, which is why installing the best available driver matters during setup. Connection type plays a role as well: USB interfaces can be extremely low latency when the drivers are well written, while Thunderbolt interfaces tend to be extremely fast because the data transfer rate is much higher than USB 2.0. The most effective way to cut latency is direct monitoring, which is available on many interfaces, including budget models.
Preamps are the other major variable. A more expensive interface generally offers more gain and a lower noise floor. A gain difference of several decibels is common, and it matters with low sensitivity microphones that need an inline preamp to reach a healthy level. Higher-end preamps also tend to be quieter and more characterful, and some interfaces let you load plugins that emulate vintage preamp designs known for their iconic tone.
Converters, the internal word clock, and metering round out the picture. Most interfaces today record at 96 kHz or higher and at least 24-bit depth, so those numbers rarely separate one model from another. The quality of the analog to digital and digital to analog converters does, along with a minimized noise floor. Metering is easy to overlook but very practical, because a detailed meter lets you fine-tune a level instead of guessing. Finally, check which plugin bundles and control software ship with the interface, since even affordable models often include tools that help you start building a mixing arsenal.
Focusrite Scarlett 2i2
The Scarlett 2i2 is a budget two-channel interface that covers the essentials. It includes direct monitoring, which is the feature to prioritize when money is tight, but note that direct monitoring here gives you the dry signal only, without effects.
Its preamps provide 9 dB less gain than the preamps in the Apollo Twin. That gap shows up with low sensitivity microphones such as the Shure SM7B, and an inline preamp like the Cloudlifter is a practical way to add the missing gain without changing interfaces.
Metering is minimal: a single LED ring that turns red when the signal clips. The knobs and connections feel less substantial than those on pricier units, though real-world durability is not a problem, and units have kept working for close to six years. One detail worth knowing is that the Focusrite Control app is not included with the Scarlett 2i2, since it ships with the higher models in the range.
Universal Audio Apollo Twin
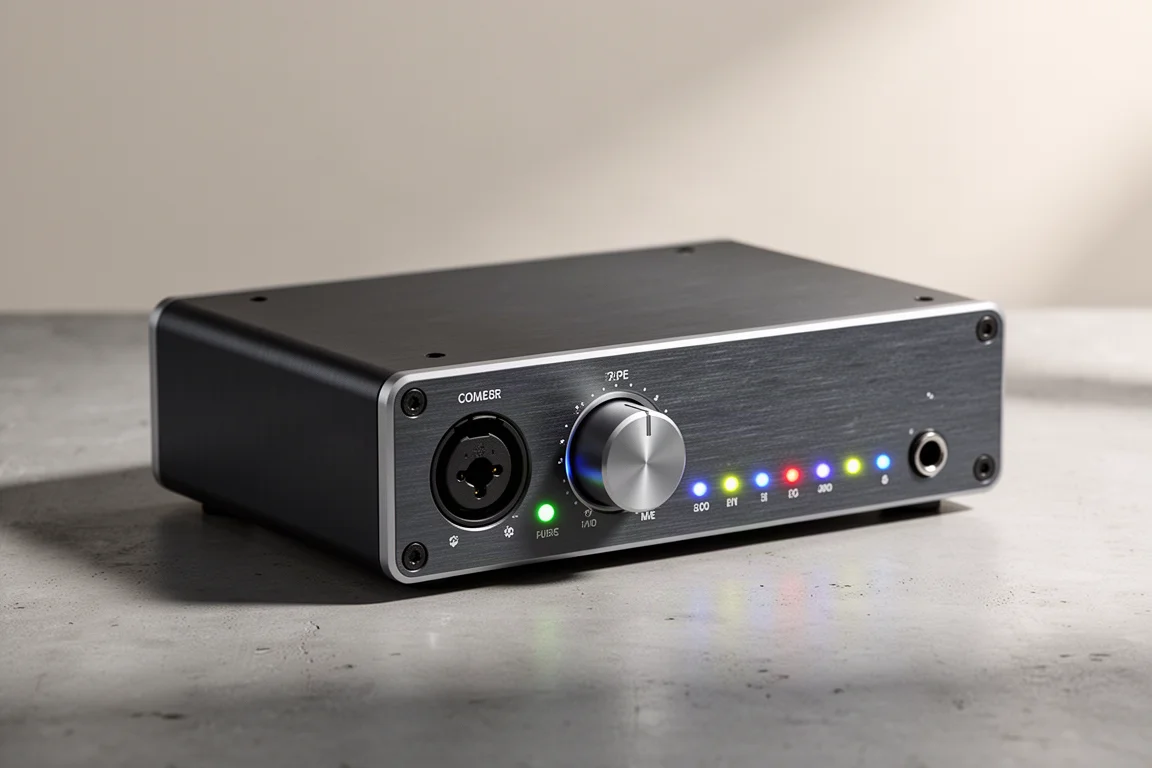
The Apollo Twin is the professional option here, and its defining feature is built-in DSP. Onboard amp simulation and other effects run on the processor inside the interface, so the signal you monitor does not need to pass through the computer. The result is near zero latency monitoring with effects, a capability that on its own justifies the extra spend for many producers.
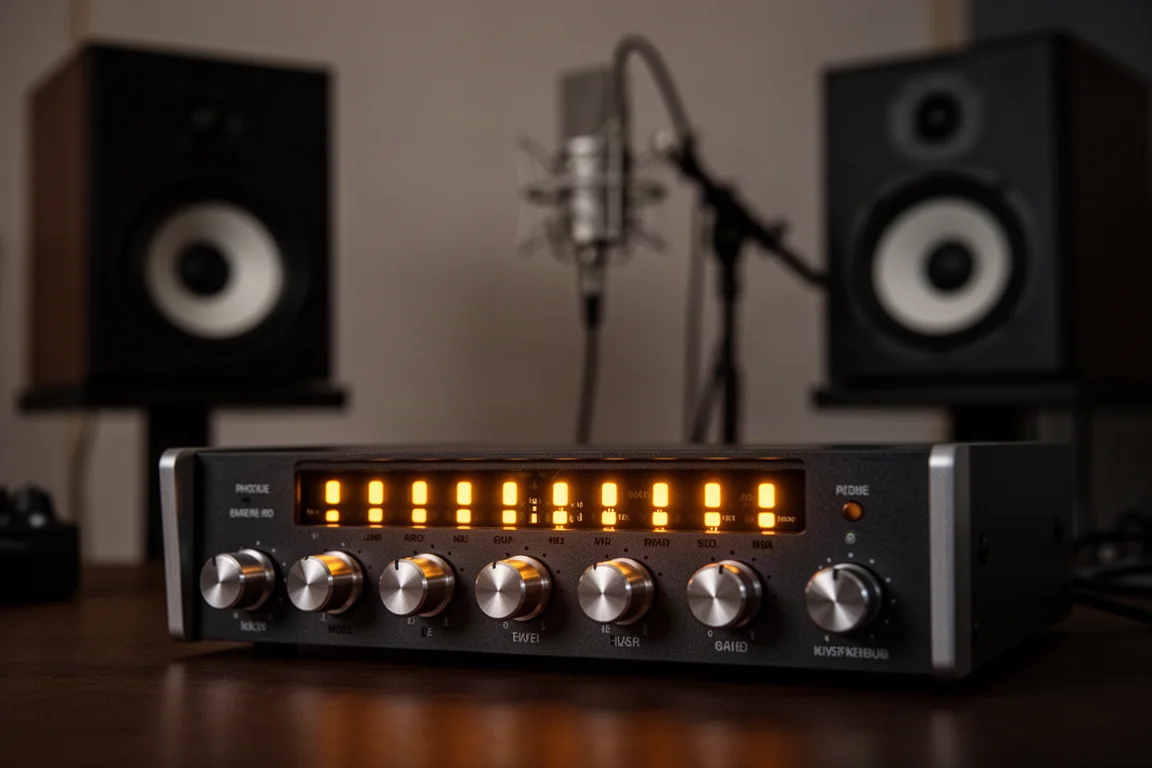
The preamps deliver 9 dB more gain than the preamps in the Scarlett 2i2, which makes them a better match for demanding dynamic microphones. Because the platform supports plugins, you can also load emulations of vintage preamps known for their iconic sound. A standard bundle of Universal Audio plugins is included, and these rank among the best in the world, which offsets part of the cost.
The accompanying console software is another advantage. It lets you route inputs to outputs, create virtual outputs for routing audio from software, and build separate headphone cue mixes. Metering is far more useful than a simple clipping indicator, so you can fine-tune levels with confidence. The build also feels robust, from the knobs to the connections.
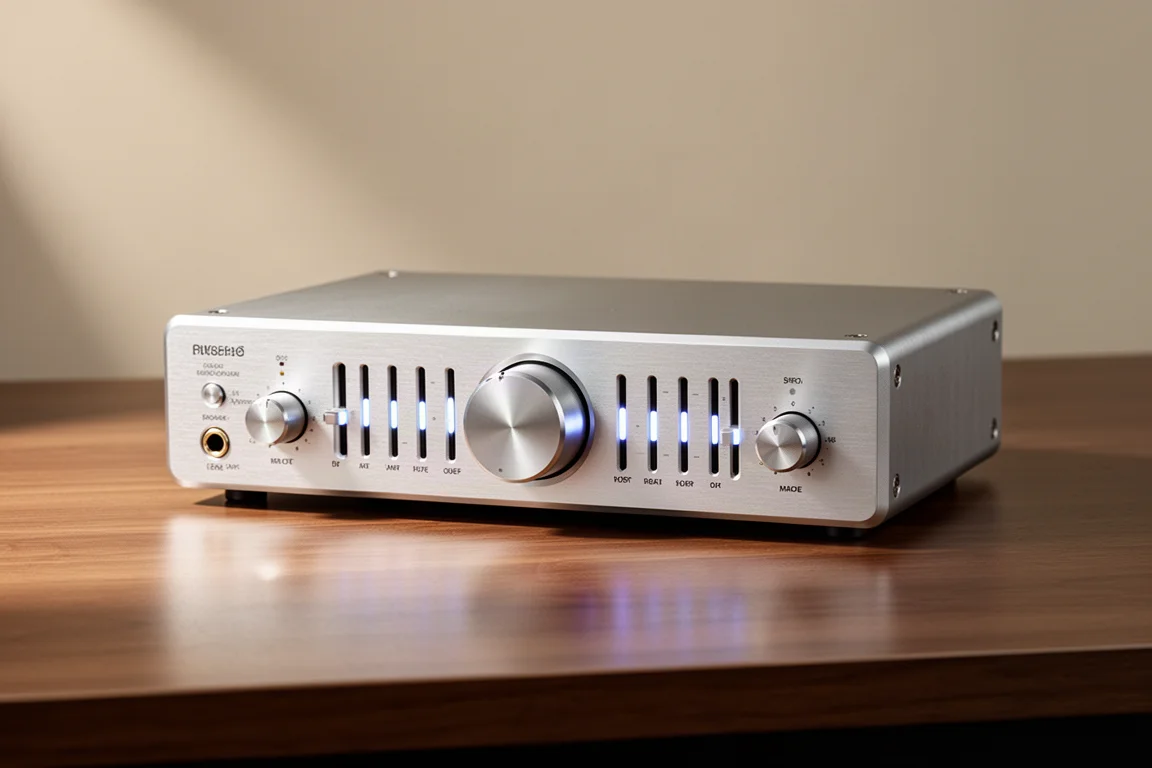
MOTU M2
The MOTU M2 is a relatively affordable interface that stands out for its metering, which is among the most impressive available at any price. Good meters make a real difference day to day, because they let you confirm that a signal is strong and clean before you commit to a take.
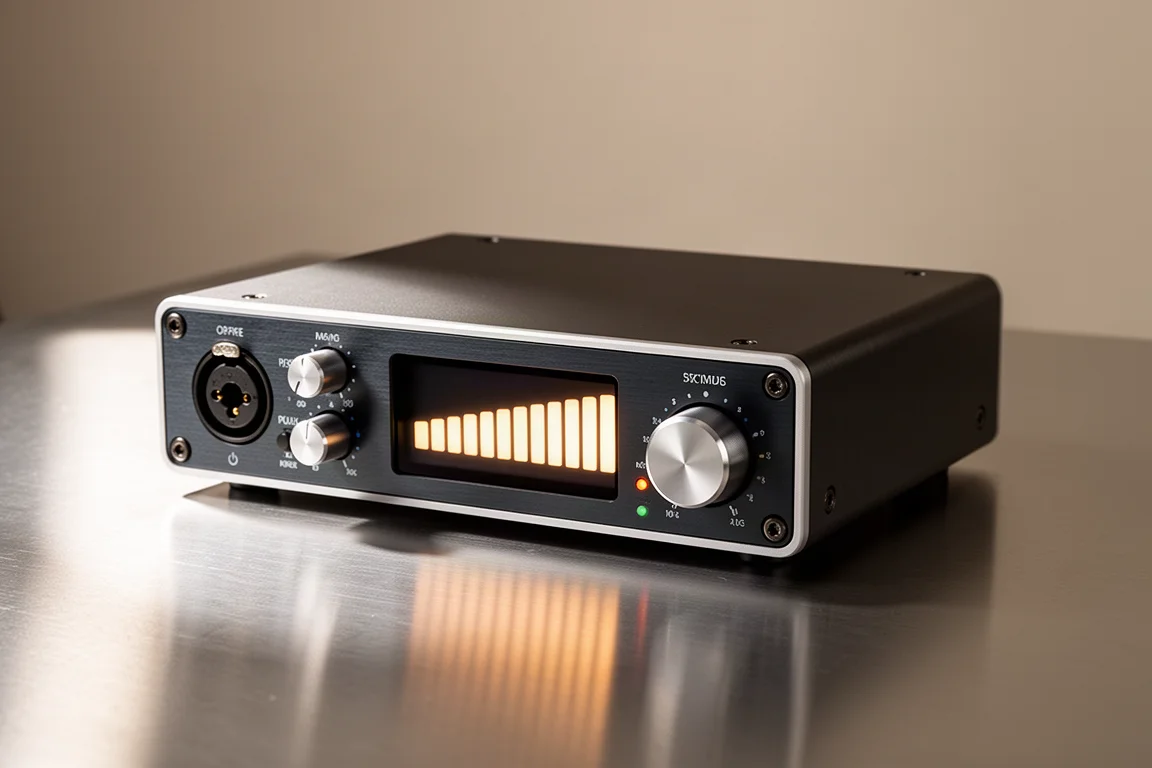
MOTU M4
The M4 comes from the same line and keeps the metering quality that makes the M2 notable, in a larger configuration for setups that need more room than a two-channel interface provides.
If you regularly record more than one source at a time, that extra capacity is worth having, and the same clear metering helps you keep every channel in a healthy range.
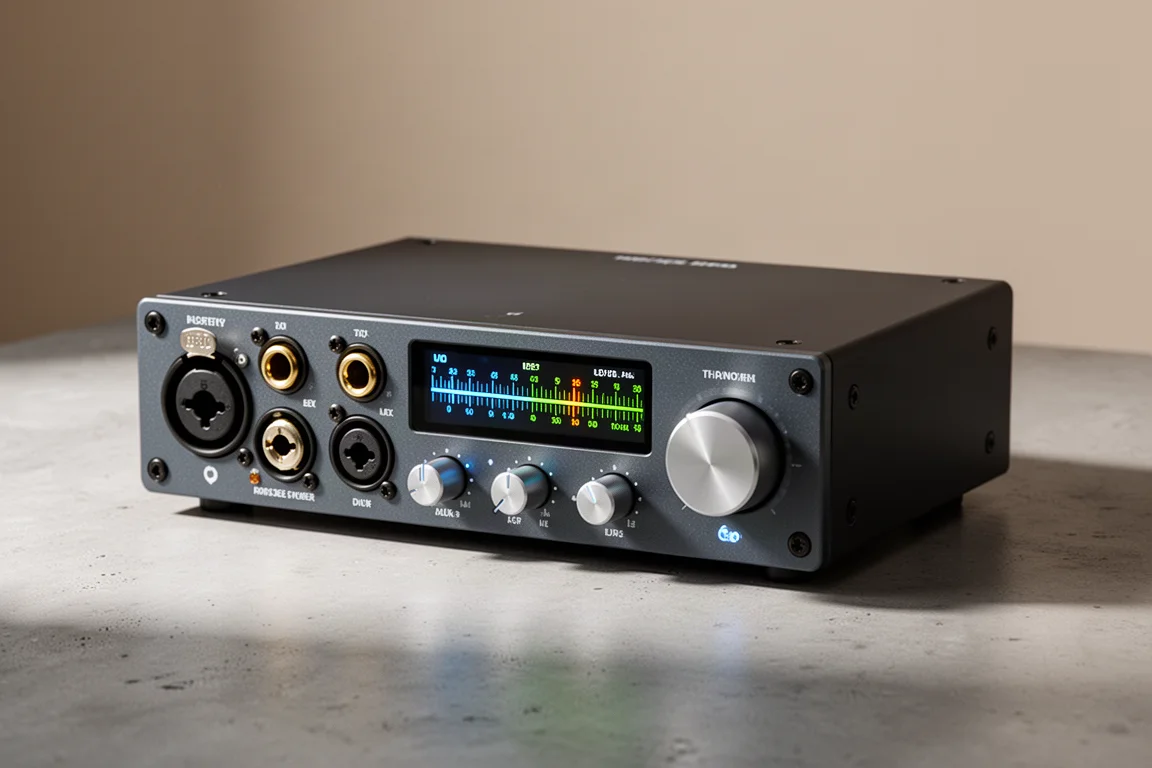
Matching an Interface to How You Record
Count simultaneous inputs first. One instrument layered at a time is the lightest case, while a guitar and a vocal, a drum kit with a microphone on each drum, or several podcast guests push the requirement upward quickly. Choosing an interface with at least as many inputs as your busiest session needs saves an upgrade later.
Monitoring deserves the same attention. Anyone recording more than one performer benefits from multiple headphone outputs with separate volume controls, because each musician or guest needs to hear themselves clearly. On the technical side, a USB interface with well-written drivers can deliver extremely low latency, and Thunderbolt is extremely fast when the rest of your setup supports it.
If you rely on low sensitivity microphones, decide early whether you are buying gain or buying an inline preamp to supply it. Then weigh the software: a plugin bundle and a routing console can add real value to an inexpensive interface, while a professional interface often includes both as part of the package.
Buying Advice: Where the Money Goes
In practice, everyone and no one needs an expensive audio interface. Even the cheapest interfaces made today sound incredible, and professional quality recordings are possible with just about any interface on the market. The honest other half of that truth is that professional equipment makes the job easier. A reduced noise floor, world-class plugins, and the tone of quality preamps all work together to push a production closer to the next level.

If your budget is limited, prioritize direct monitoring and enough inputs, and treat everything else as a future upgrade. If you can stretch, DSP-based monitoring with effects is the feature that most clearly changes how a professional interface feels in daily use, because you hear processing in real time without the delay that a round trip through the computer introduces.
Conclusion
The right interface is the one that matches how you actually record. A budget two-channel unit with direct monitoring is enough to make serious recordings, especially if you add an inline preamp for demanding microphones. A professional interface earns its price through DSP-powered monitoring with effects, more preamp gain, quieter operation, more informative metering, and a plugin bundle that would cost real money on its own. Neither choice is pointless, and neither is strictly necessary. Pick the one that fits your sessions, and the recordings will follow.
Further reading
Related Reviews
Audio Interfaces
Audient EVO and iD Range Guide: Eight Audio Interfaces Explained
A practical walkthrough of eight Audient interfaces, from the compact EVO 4 to the expandable iD44, and how to match one to the way you record.
Audio Interfaces
How Many Mic Inputs Do You Need? An Audio Interface Buying Guide
Microphone input count is the decision that shapes every audio interface purchase. A practical guide to choosing an interface you will not outgrow.
Audio Interfaces
Best Audio Interfaces Under $200: Nine Practical Picks for Home Recording
Nine audio interfaces under $200 grouped by microphone input count, from single-input models for solo work to eight-input setups for tracking a full band.