Cycling Components
20,000 Miles on a Budget Bike Build: Which Parts Lasted
A rim-brake aero road bike built from low-cost parts has covered 20,000 miles and raced at a national championship. Here is what held up and what did not.
Introduction
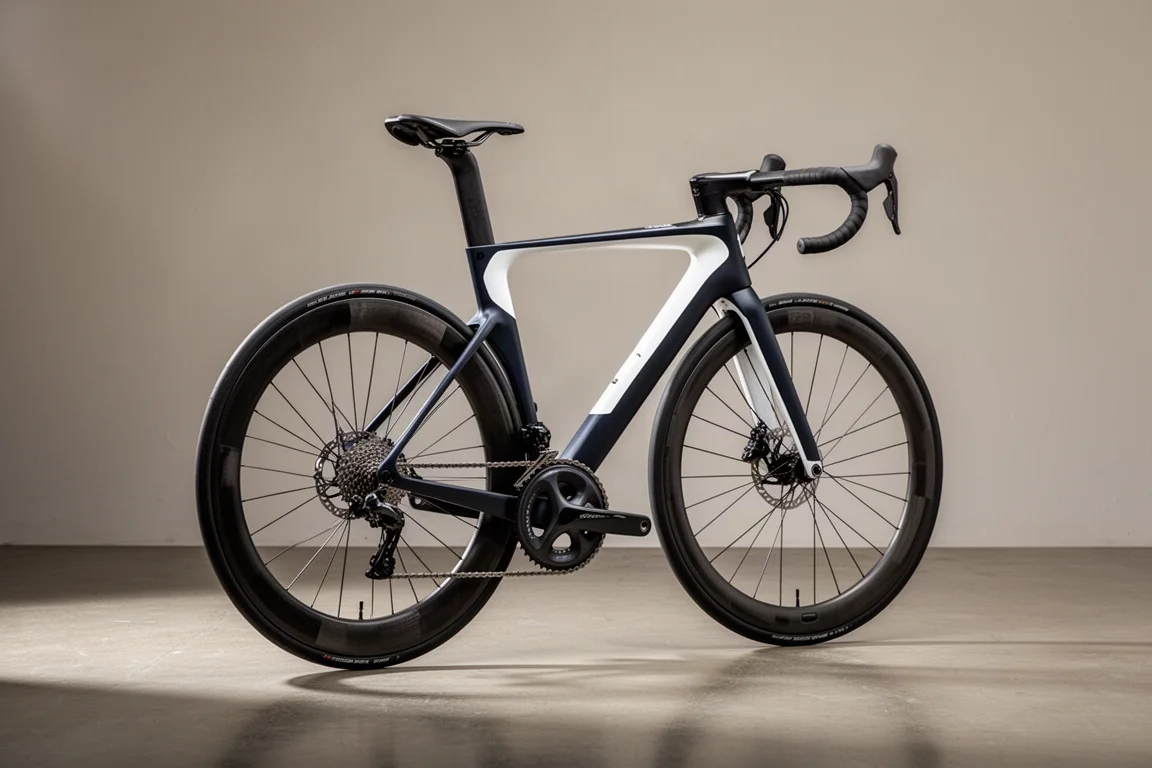
A road racing bike assembled almost entirely from low-cost online parts has now covered around 20,000 miles and was still being raced at a national road race championship. The build paired a rim-brake Elves Falath Pro frame with a Sensah Empire Pro 12-speed mechanical groupset, a SRAM Red crankset, Continental GP5000 tires with latex tubes, and a Shimano Ultegra front derailleur swapped in as a fix.
The result is genuinely fast. It is also a bike that has needed constant attention. This article breaks down each component in the build, what has held up over 20,000 miles, and what to weigh up before buying anything similar. Total cost came in at just over £2,000, using a mix of new parts and components already on hand.
What This Build Got Right
The first thing to say is that the bike is quick. On flat roads it holds its own against machines costing many times more, and the aero frame and deep-section wheels are the reason why.
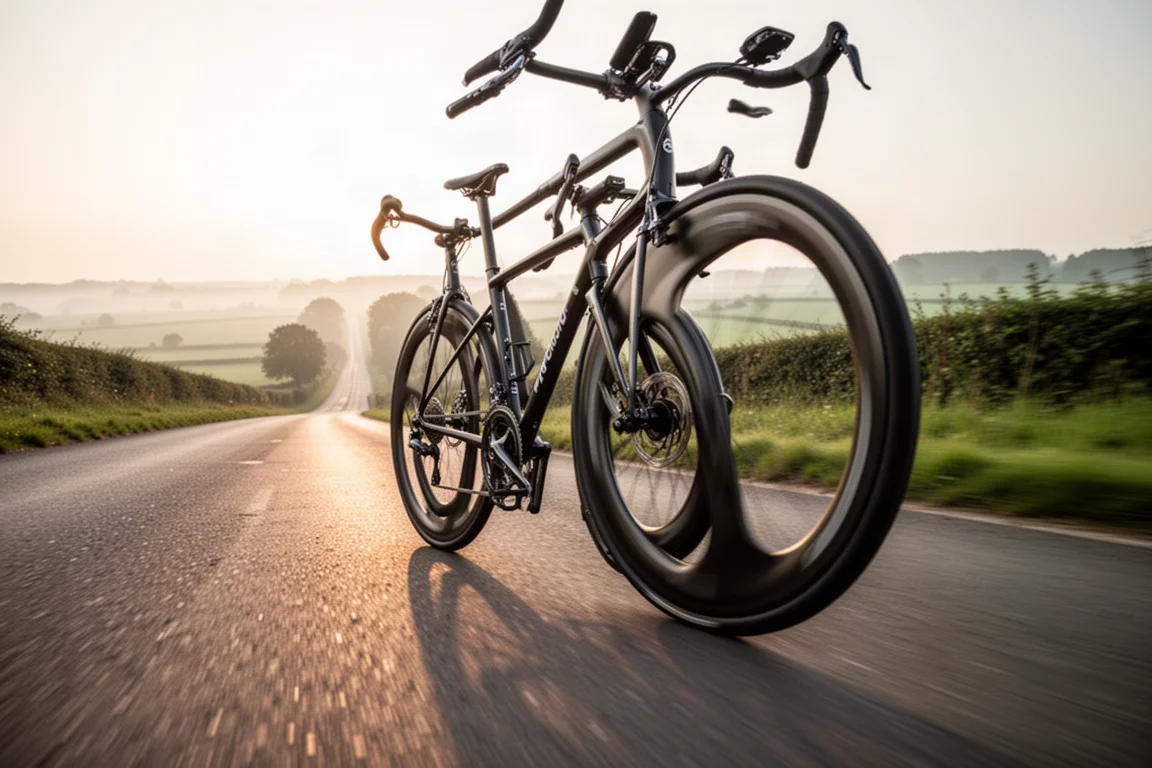
The bearings in the carbon wheels are the standout surprise. They ran for more than a year of hard riding without being serviced and still spun smoothly, which is a genuine result for a low-cost component. The frame itself has also proved structurally sound: it has survived a year and a half of racing, including a hilly championship route, without cracking or failing.
The other thing the build got right was the decision-making. Money went into the parts that carry the most load and cause the most trouble when they fail, while the simpler components were kept as cheap as possible.
The Frame: Elves Falath Pro
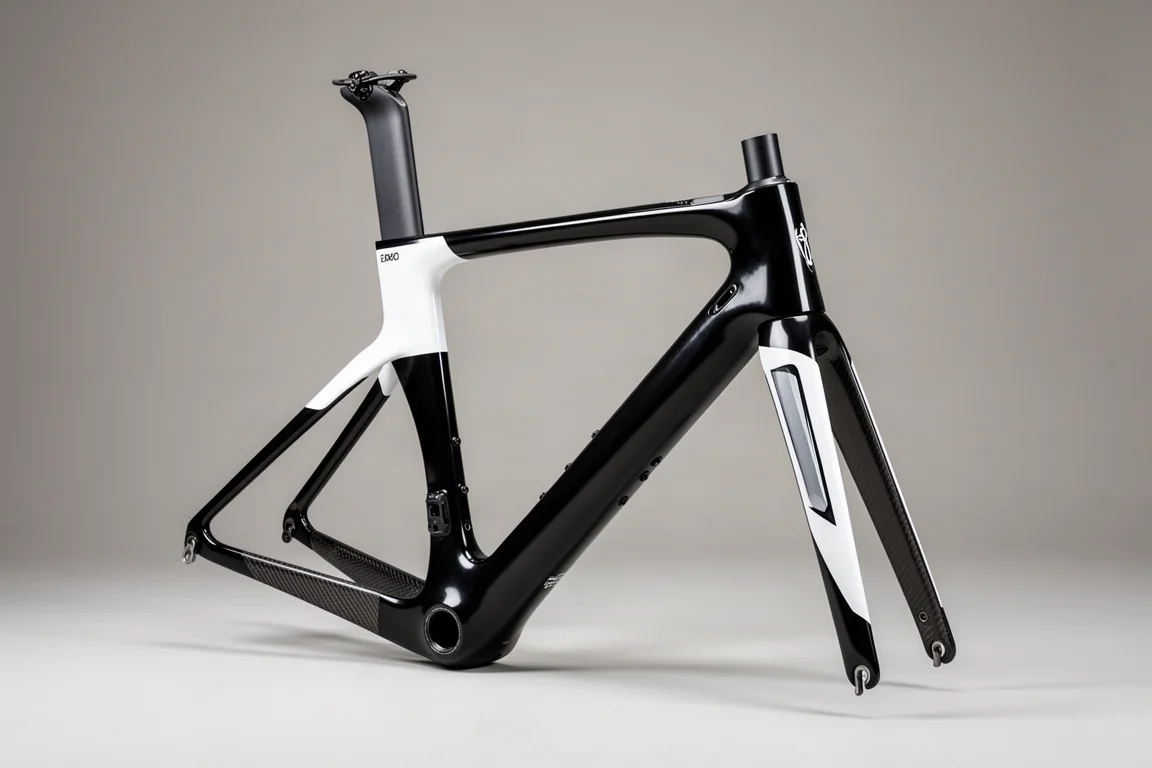
The Elves Falath Pro is a rim-brake aero frame bought as a previous-generation model for around £800. It is light, stiff enough to race on, and it delivers the fast, aero feel the build was chasing.
Finishing quality is where the price shows. The clear coat is uneven, with some areas properly coated and others not, and the white sections have stained in a way that cannot be cleaned back. The brake mounts were not faced properly and had paint overrun, which had to be corrected before the calipers would sit correctly. The bottom bracket shell was extremely tight, to the point where fitting a bottom bracket felt like it might damage the frame. The seatpost slipped repeatedly and needed thread-locking compound on the bolt plus a shim to stay in place.
The most frustrating issue is cable routing. There is an outlet for the rear brake but no matching inlet, so the rear brake cable has to be routed through the headset. That forces a tight bend into a cable that is not designed to bend that way, and the rear brake has never worked as well as it should as a result.
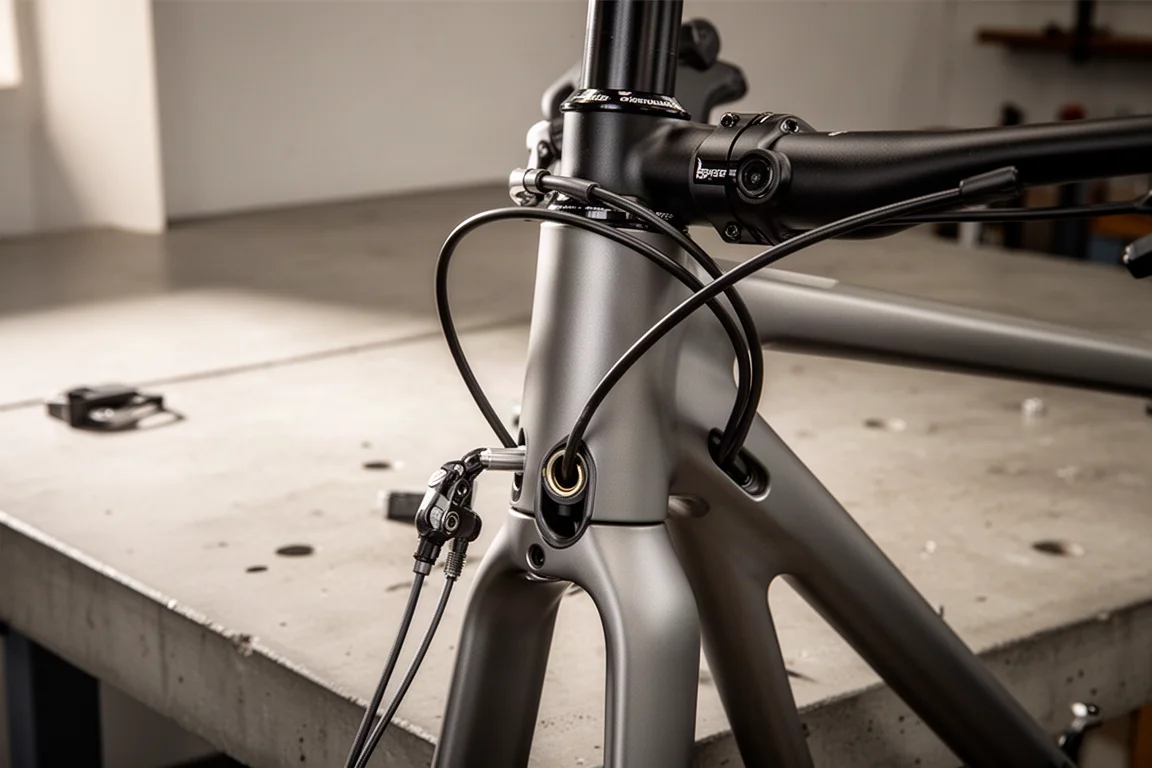
Anyone considering this frame should plan for a workshop check on the brake mounts and bottom bracket facing, and should expect to solve the seatpost and routing quirks personally.
The Groupset: Sensah Empire Pro
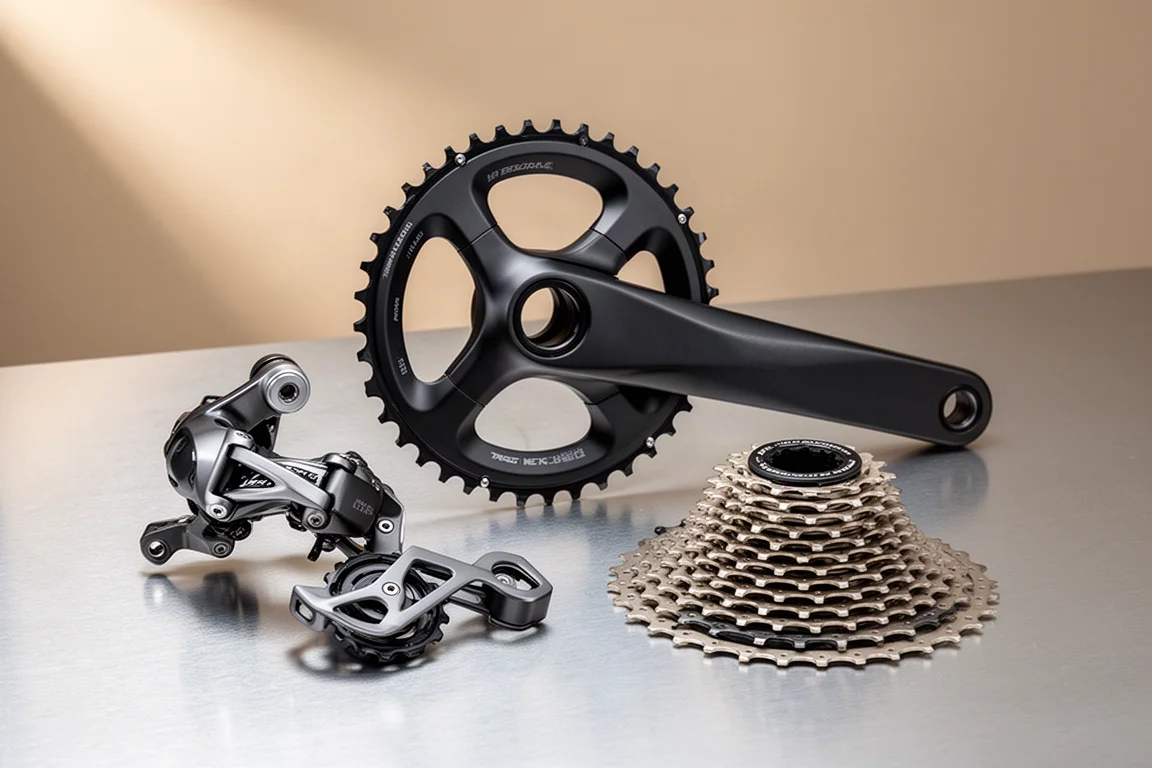
The Sensah Empire Pro is a 12-speed mechanical groupset that costs a fraction of a mainstream equivalent, and when it shifts, it shifts well. The lever feel is pleasant enough for racing.
Reliability has been the weak point. There has been no single catastrophic failure, just a steady accumulation of small ones. A pin worked loose and the mechanism came apart mid-ride, and a roadside repair with a twig was what got the bike home. The rear derailleur has a weak spring that allows it to move around, and a replacement unit developed the same behaviour.
The front derailleur is the component to avoid. The straightforward advice is not to try to make it work, but to replace it. The rest of the groupset stays usable if you accept that it will need more attention than a premium groupset would.
The Crankset: SRAM Red
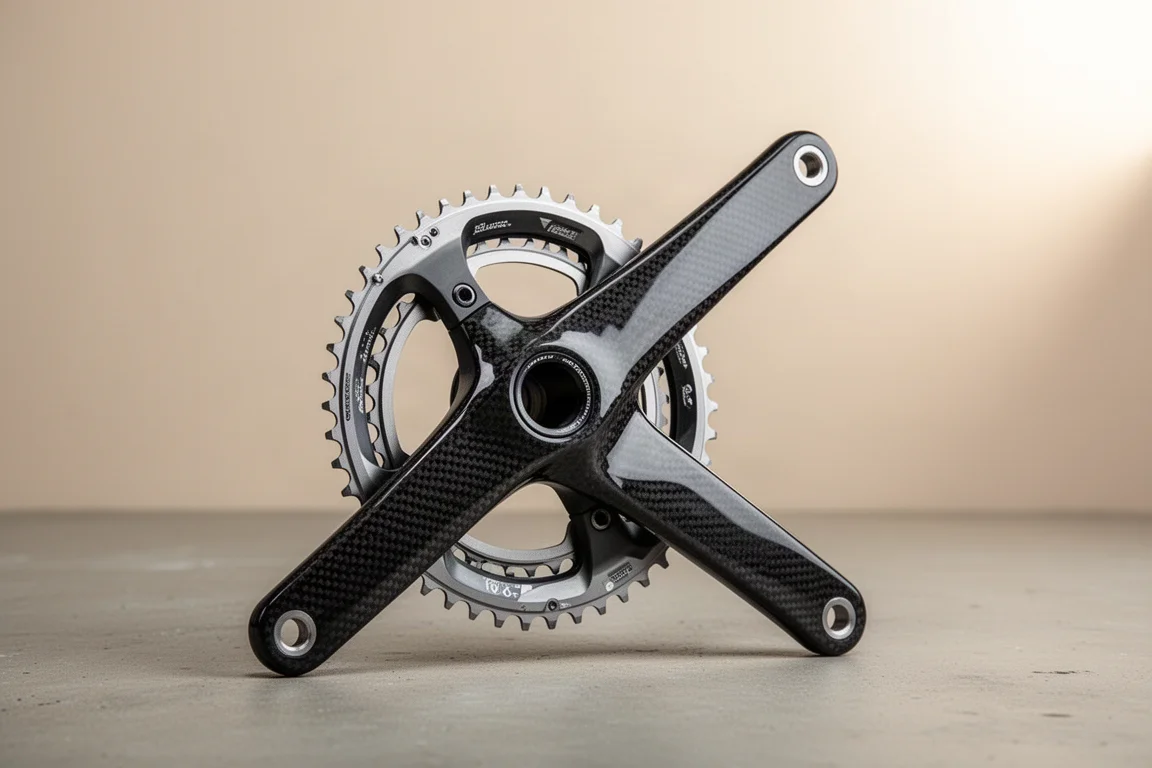
The SRAM Red crankset was already owned rather than bought for the build, and it has not been part of the problem list across 20,000 miles. It is a proven premium component, and it sits at the centre of the drivetrain, where reliability matters more than a small saving.
For anyone copying this approach, the crankset is one of the smarter places to keep quality high. It is also one of the easiest parts to source from an existing bike or a used listing rather than buying new.
The Tires: Continental GP5000
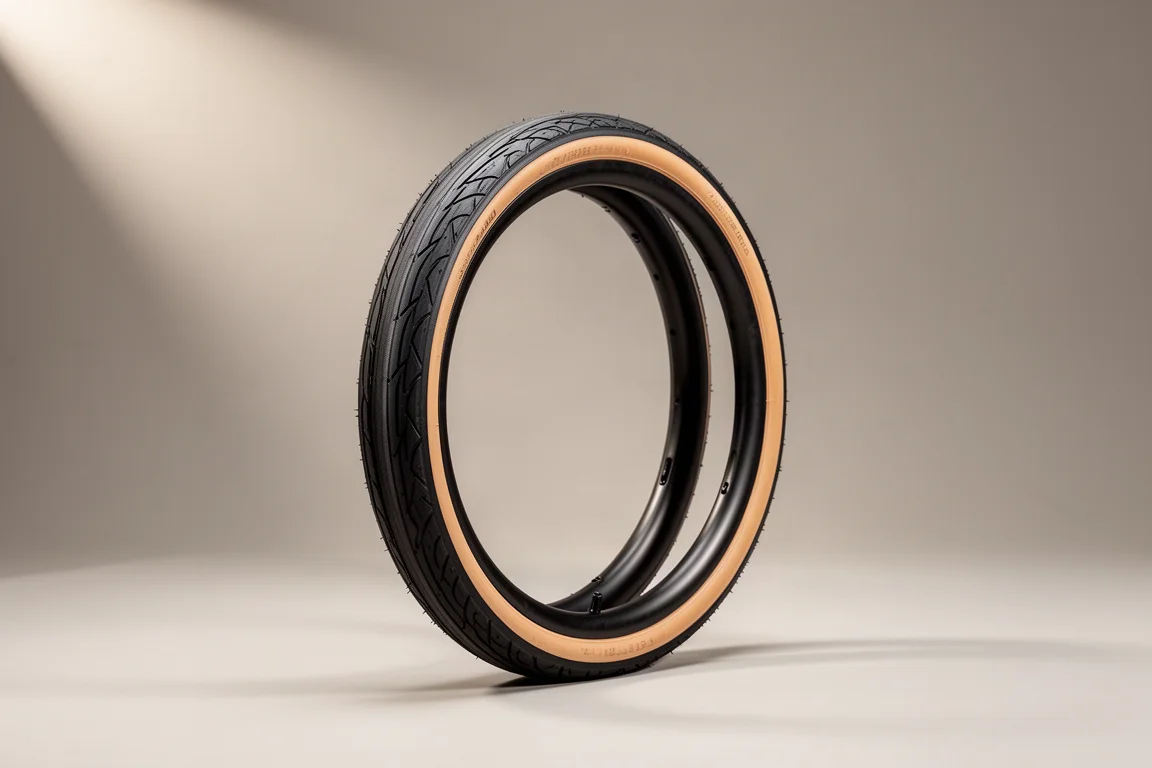
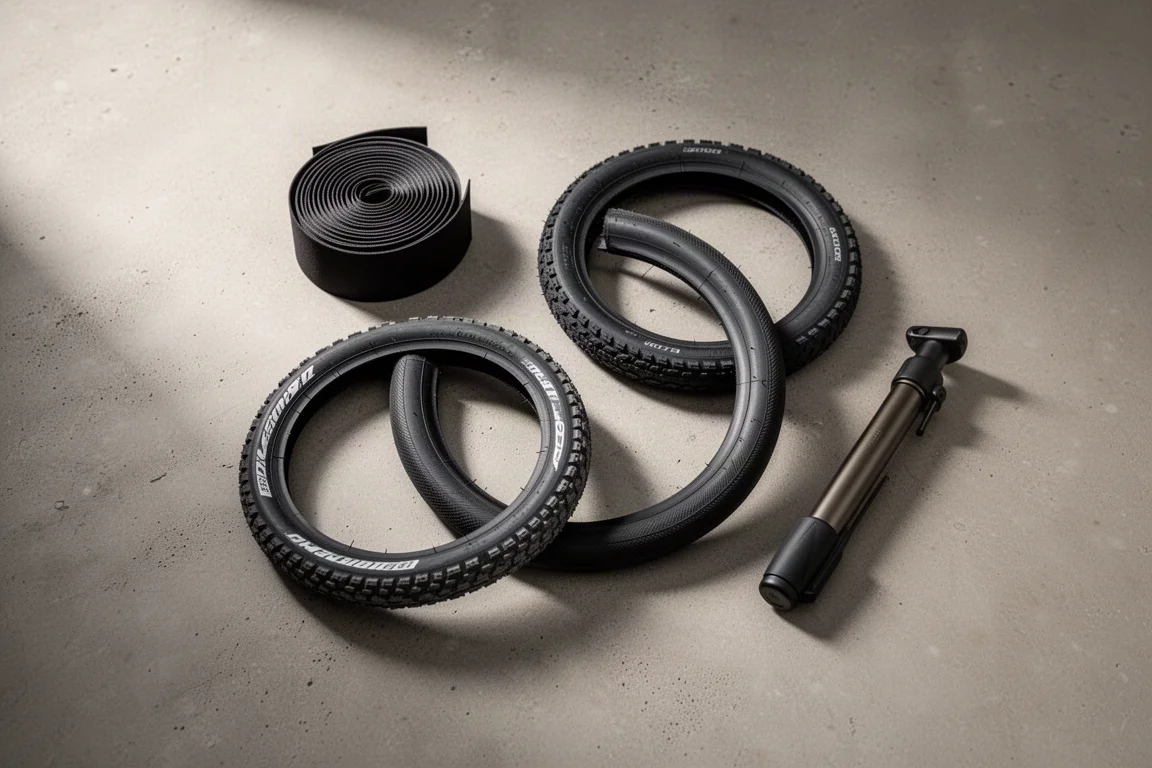
The build ran Continental GP5000 tires with latex tubes, a common pairing on road race bikes. Tires and tubes were not among the recurring problem areas, which makes them one of the safer places to spend in a budget build.
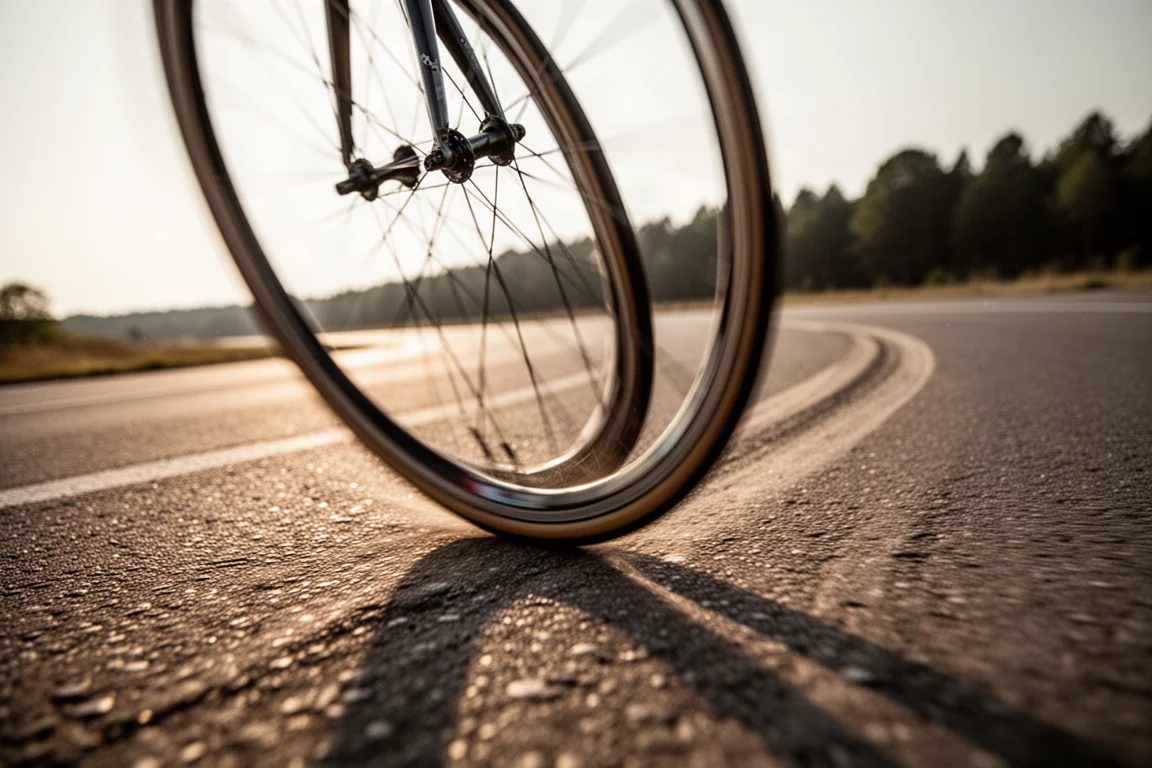
The trade-off is straightforward. Good tires cost more than budget tires, but they are consumables, and they are not where this build’s problems came from. Choosing them removes one variable from an already complicated project.
The Front Derailleur Fix: Shimano Ultegra
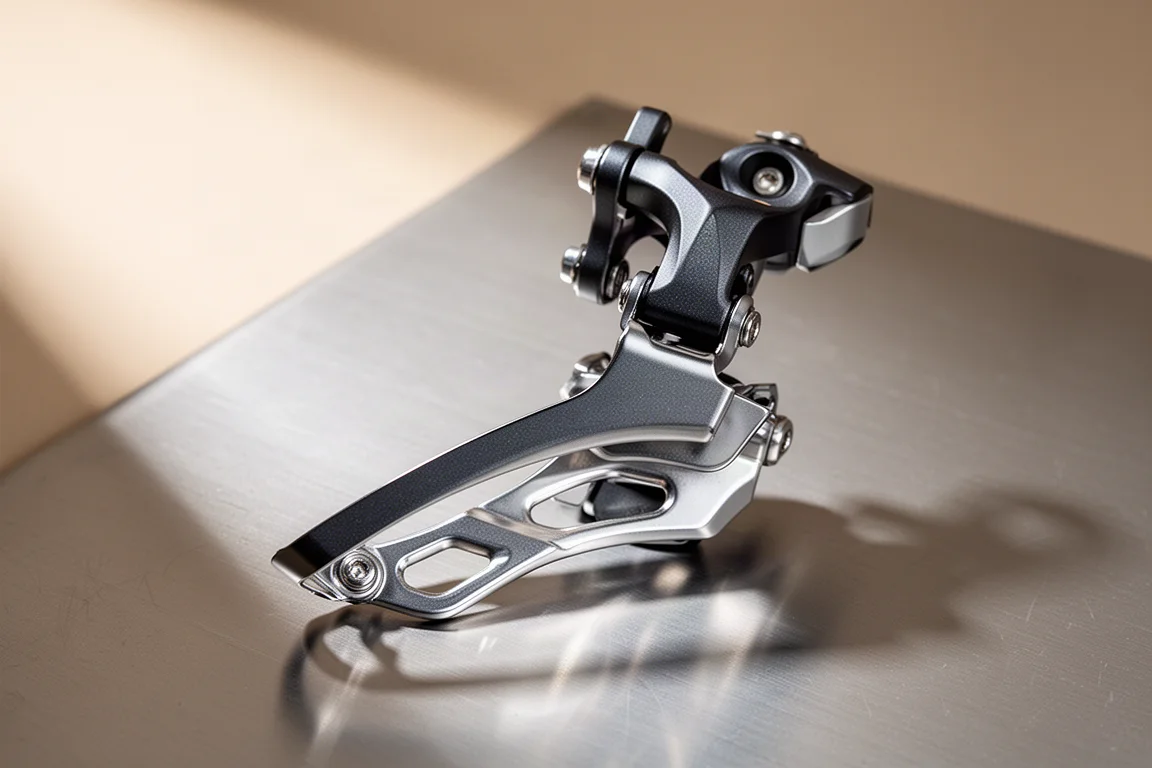
The single most effective change in this build is the front derailleur. Replacing the budget unit with a Shimano Ultegra front derailleur resolves a problem that no amount of adjustment was going to solve.
If you are running a low-cost groupset, this is the highest-value upgrade available. Front shifting is where budget groupsets struggle most, and a dependable front derailleur makes the entire drivetrain feel more trustworthy.
Overall Buying Advice
A bike like this can be built for just over £2,000, and it will be genuinely fast. What it will not be is trouble-free.
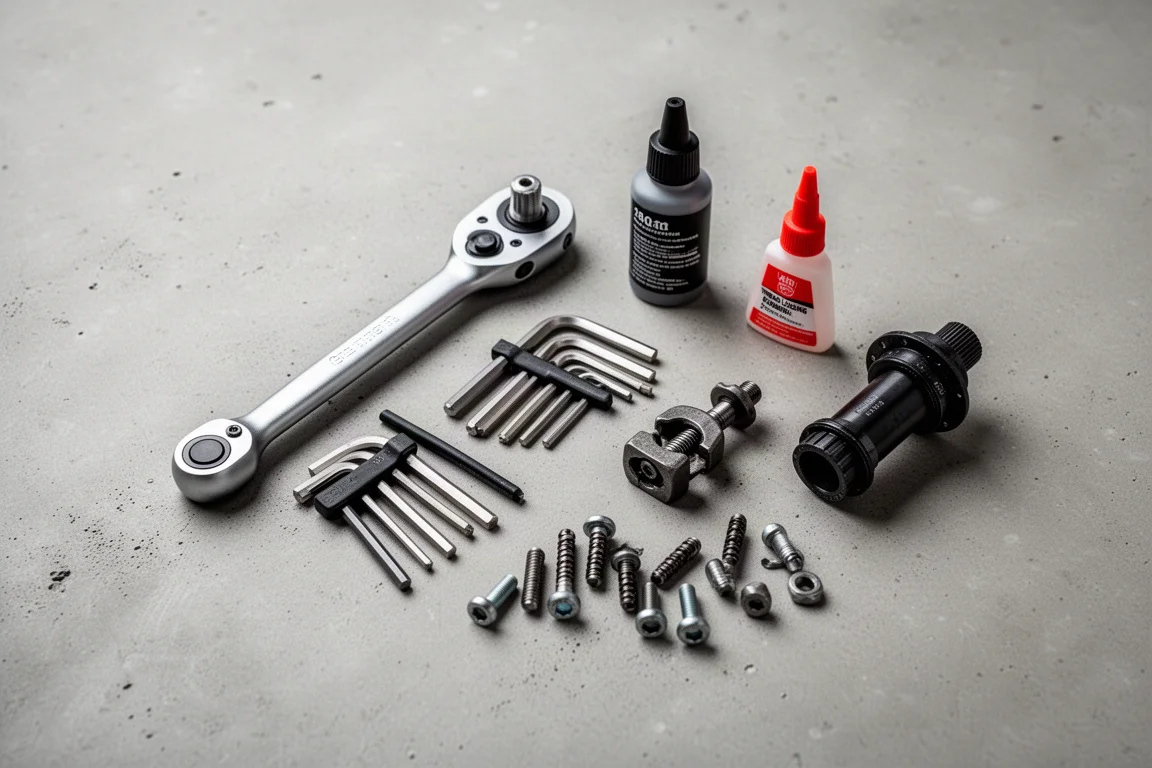
A few practical points are worth knowing before committing to a similar project. Budget for a workshop check on brake mounts, bottom bracket facing and seatpost fit on any low-cost frame, and expect to replace the front derailleur on a budget groupset. Deep-section carbon wheels also deserve scrutiny: on this build the brake track wore away after roughly seven months of use, and the wheels were unstable in crosswinds.
Two safety cautions stand out. Counterfeit brake calipers are not a sensible purchase at any price, even when a listing carries strong ratings, and a low-cost stem cracked in use on this build before being replaced with a painted 3T stem. Those are the parts where saving money carries real risk.
The rest comes down to temperament. Budget parts can deliver most of the speed at a fraction of the cost, but they demand more maintenance and more patience.
Conclusion
This build proves something useful: a genuinely fast race bike can be assembled for around £2,000, and it can survive 20,000 miles and a national championship. It also proves the trade-off. Uneven frame finishing, awkward cable routing, a groupset that needs regular attention and a brake track that wore through in months all add up to a bike that asks a lot of its rider.
After a year and a half of racing, the honest verdict is that the project was worth doing, but the small problems have become tiring, and the bike is close to the end of its useful life. That is a fair summary for anyone considering the same path: go in with open eyes, plan to replace the weak links, and treat maintenance as part of the deal.
Further reading
Related Reviews
Cycling Components
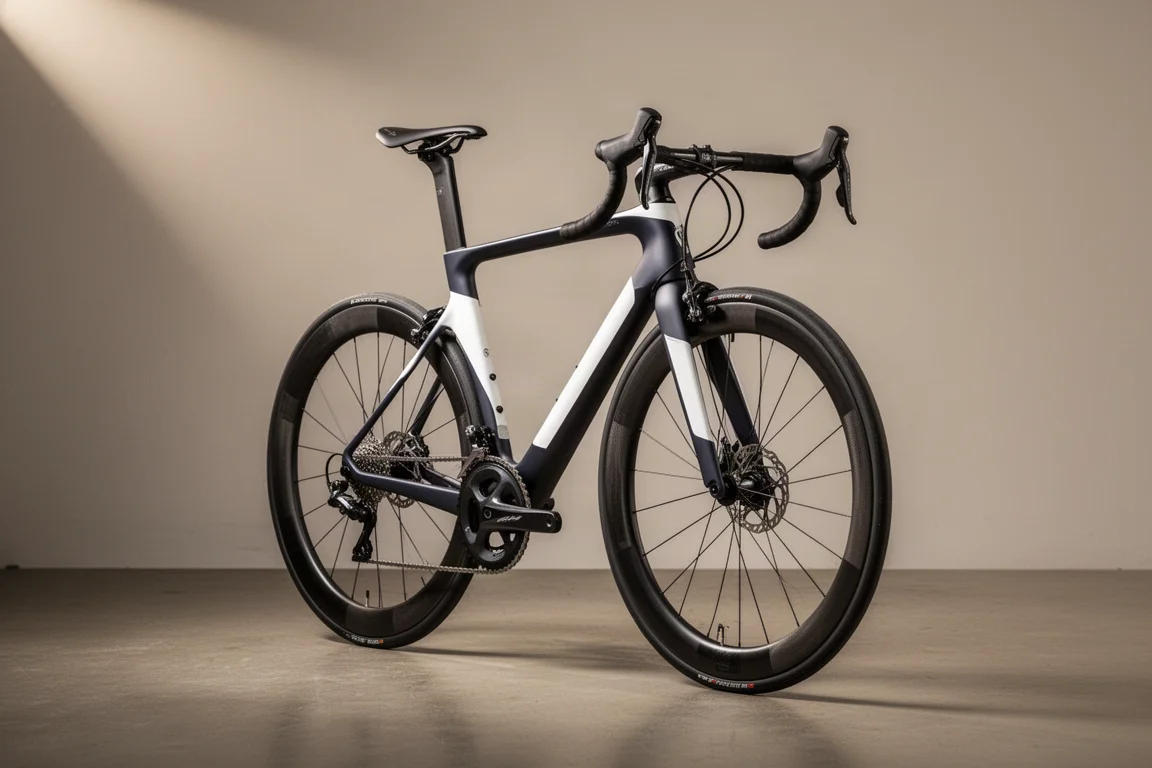
A 20,000-Mile Budget Race Bike Build: Five Parts Worth Knowing
A rim brake race bike assembled from low-cost components and ridden for 20,000 miles. Here is what delivered real speed, what caused problems, and what to weigh before copying the formula.
Cycling Components
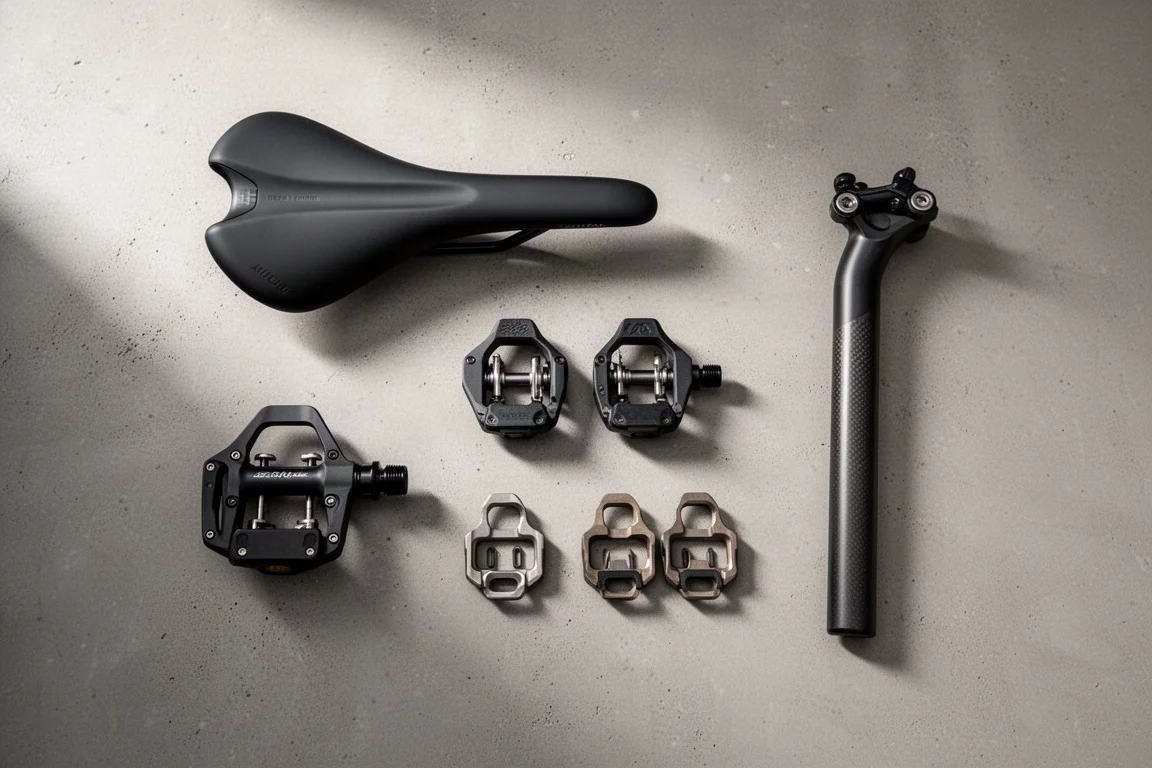
7 Bike Fit Products Fitters Avoid: What to Check Before You Buy
Seven bike components that regularly cause knee, foot and saddle problems, with the specific concerns behind each one and what to look for instead.
Cycling Components
Four Affordable Bike Upgrades That Improve Ride Feel
Four low-cost cycling products that make a real difference to ride feel, plus the free setup changes worth trying first.