Cycling Components
A 20,000-Mile Budget Race Bike Build: Five Parts Worth Knowing
A rim brake race bike assembled from low-cost components and ridden for 20,000 miles. Here is what delivered real speed, what caused problems, and what to weigh before copying the formula.
Introduction
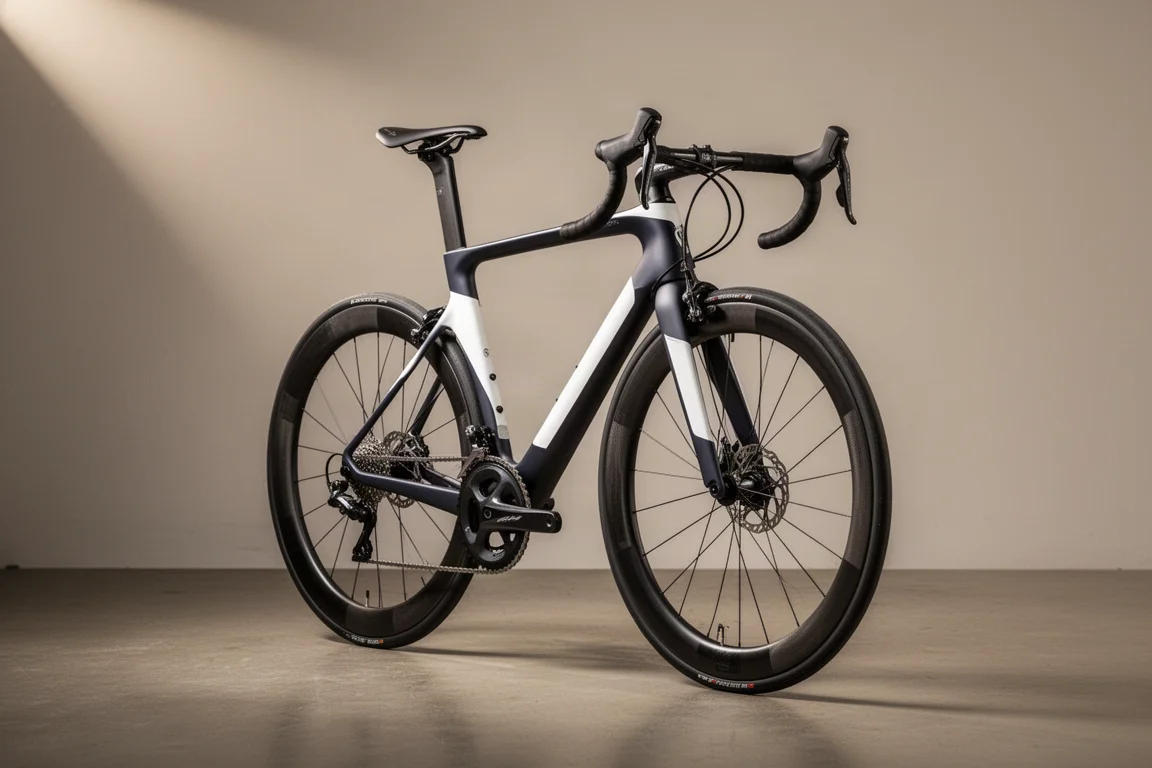
Some of the quickest road bikes on a weekend ride are not the most expensive ones. This build makes that case well. It uses a rim brake race frame bought as a previous-season model from a budget marketplace, assembled with low-cost components, and then raced hard for around 20,000 miles, including a national road race championship. It is still in one piece, and it is still fast.
It has also been a steady source of small problems. That combination is what makes it worth studying. It separates the parts that delivered real speed from the parts that quietly cost time, money, and patience.
How This Build Came Together
The frameset is a previous-season Elves Falath Pro in its rim brake version, bought for roughly £800. Everything around it was chosen to keep the total low: a Sensah Empire Pro 12-speed mechanical groupset, a SRAM Red crankset carried over from an existing bike, Continental GP5000 tyres with latex tubes, and a deep-section carbon wheelset with a 60mm front rim and an 82mm rear.
Two items from the original spec are worth flagging as things not to copy. The brake calipers were counterfeit, and counterfeit safety-critical components are not worth the risk at any price. An unbranded stem also developed a crack and was replaced with a 3T stem.
Built this way, with some parts already owned, the total came to just over £2,000.
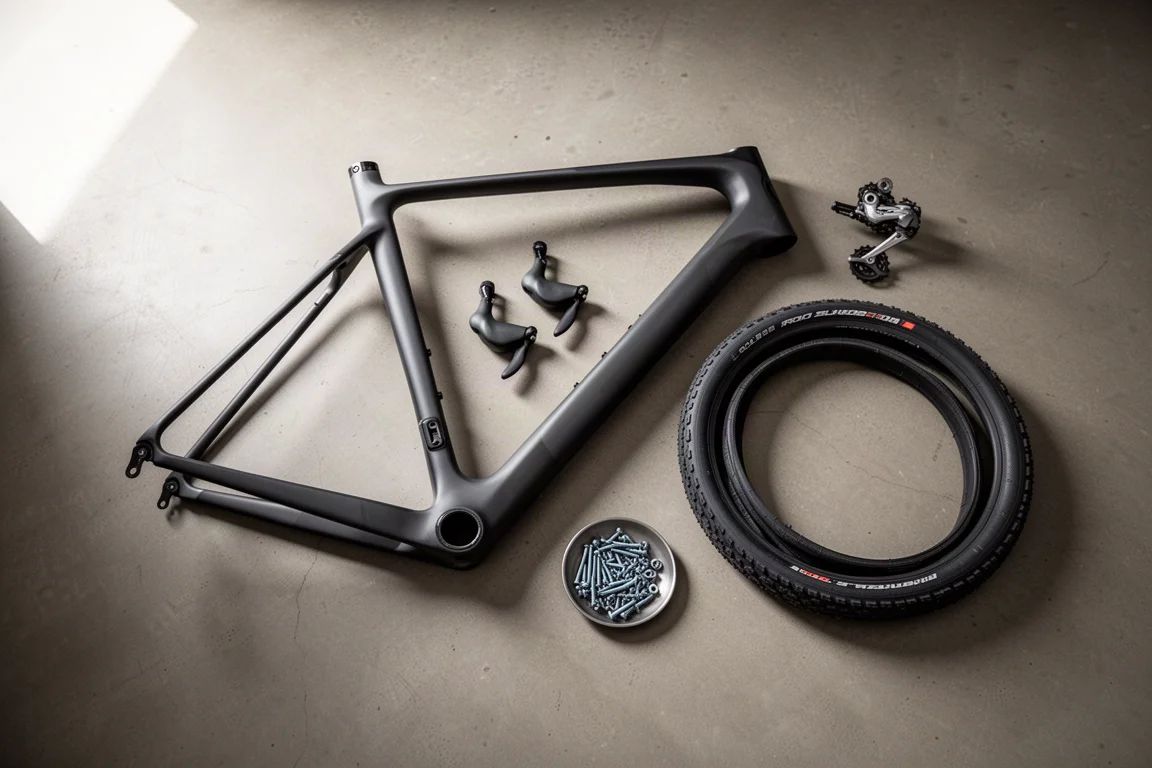
The goal was straightforward: get close to the speed of a very expensive race bike for a fraction of the cost. On flat roads, that goal was met.
Elves Falath Pro Rim Brake Frameset
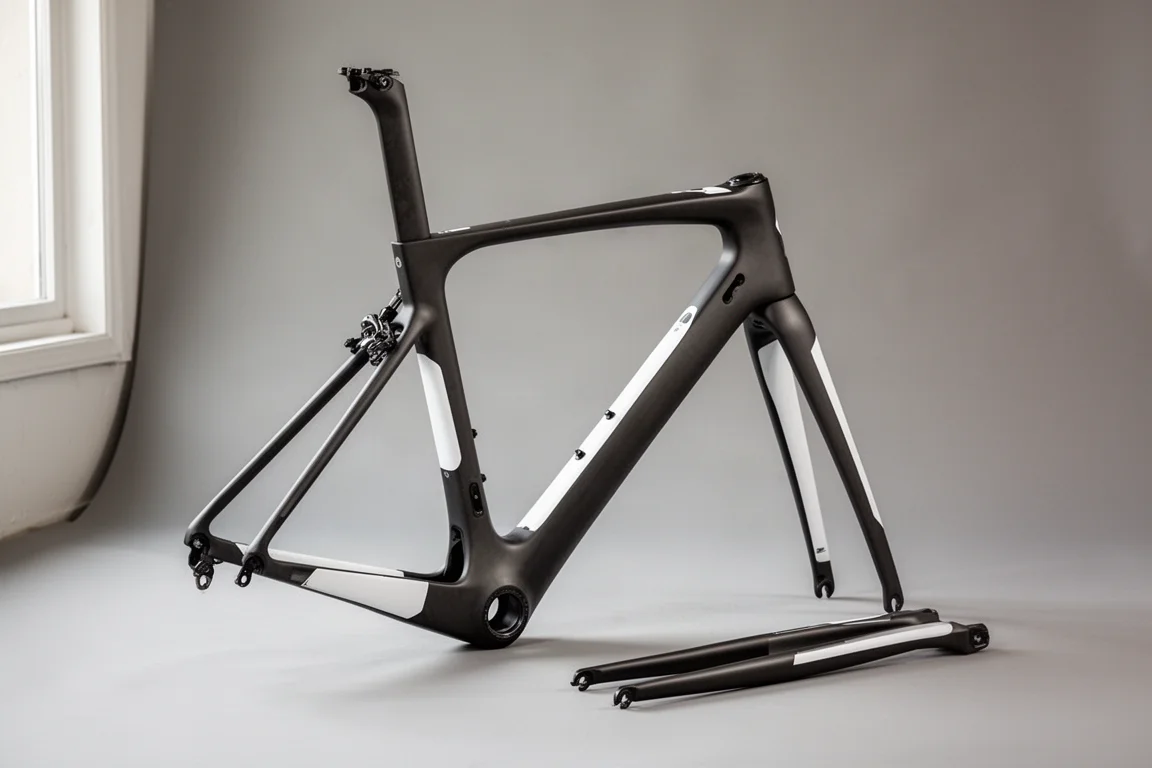
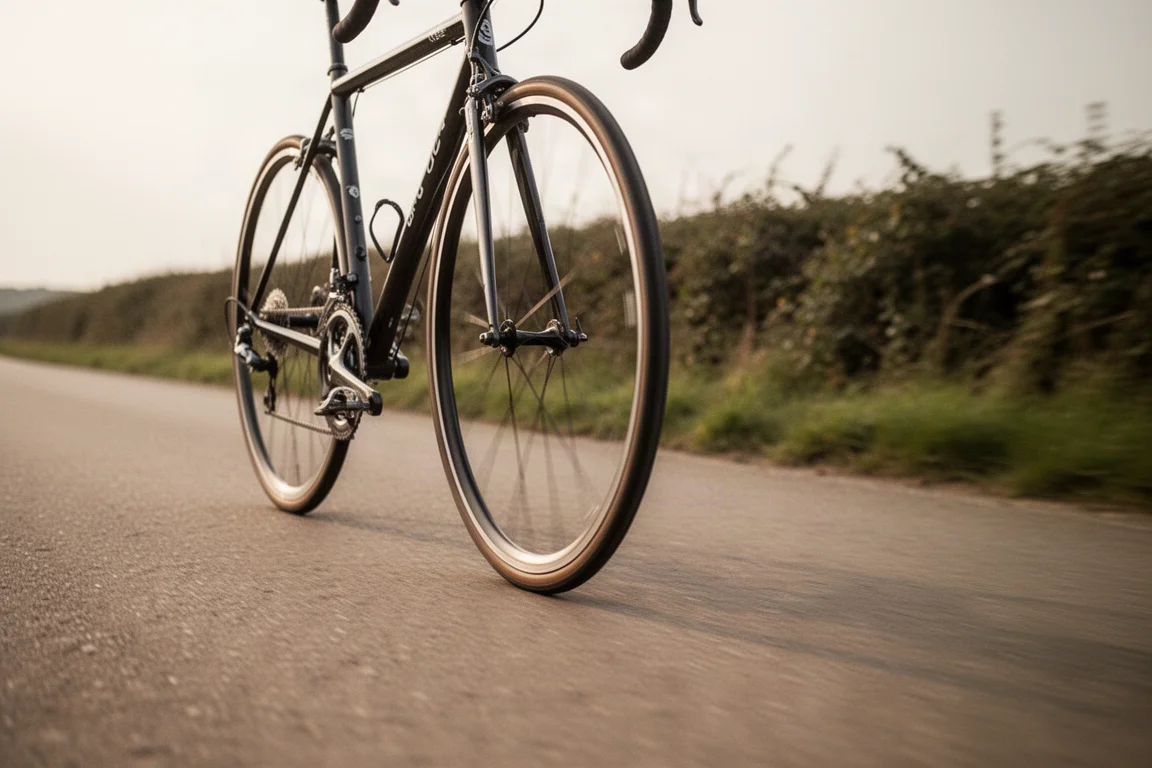
The frame is the centre of the story. It is a previous-season rim brake model selling for around £800, and it is fast. On flat roads it flies, and it held its own in a breakaway at a national road race championship. The trade-off is that an aero frame with deep wheels felt sluggish on the hilly sections of that course.
Finishing quality is where the price shows. The clear coat is not applied evenly, and the paint has stained in places, so the white panels no longer come fully clean. The brake mounts were not faced properly and had paint overrun. The bottom bracket shell was extremely tight, to the point where fitting a bottom bracket felt like it might damage the frame.
Ownership quirks have added up. The seatpost slipped repeatedly until threadlocker was applied to the bolt and a strip of sandpaper was wedged into the clamp area. Cable routing is awkward: there is an exit for the rear brake but no matching entry, so the rear brake housing has to be routed through the headset, which forces an unnatural bend and weakens rear braking.
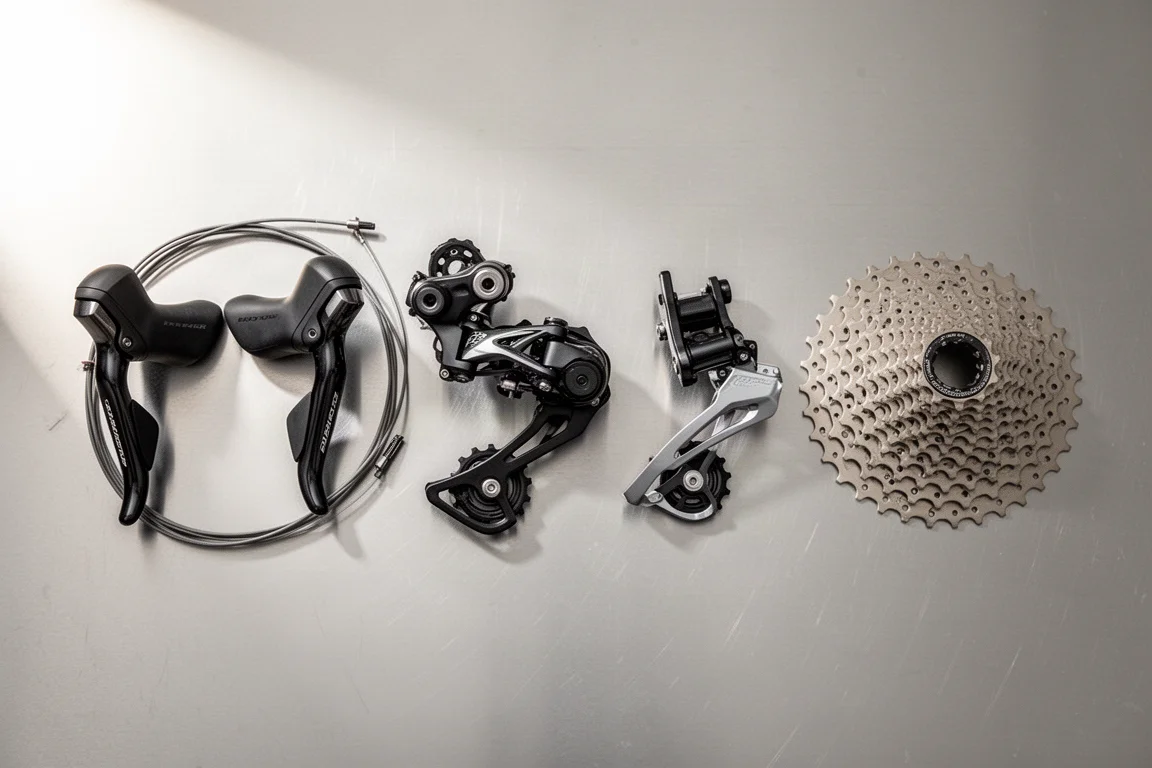
Sensah Empire Pro 12-Speed Mechanical Groupset
The groupset is inexpensive, at roughly £100 for both shifters, and the shifting is enjoyable when it works. The problem is consistency. The rear derailleur has a stabilising spring that does not hold the cage firmly, so the derailleur moves around noticeably. It was replaced once, and the movement came back.
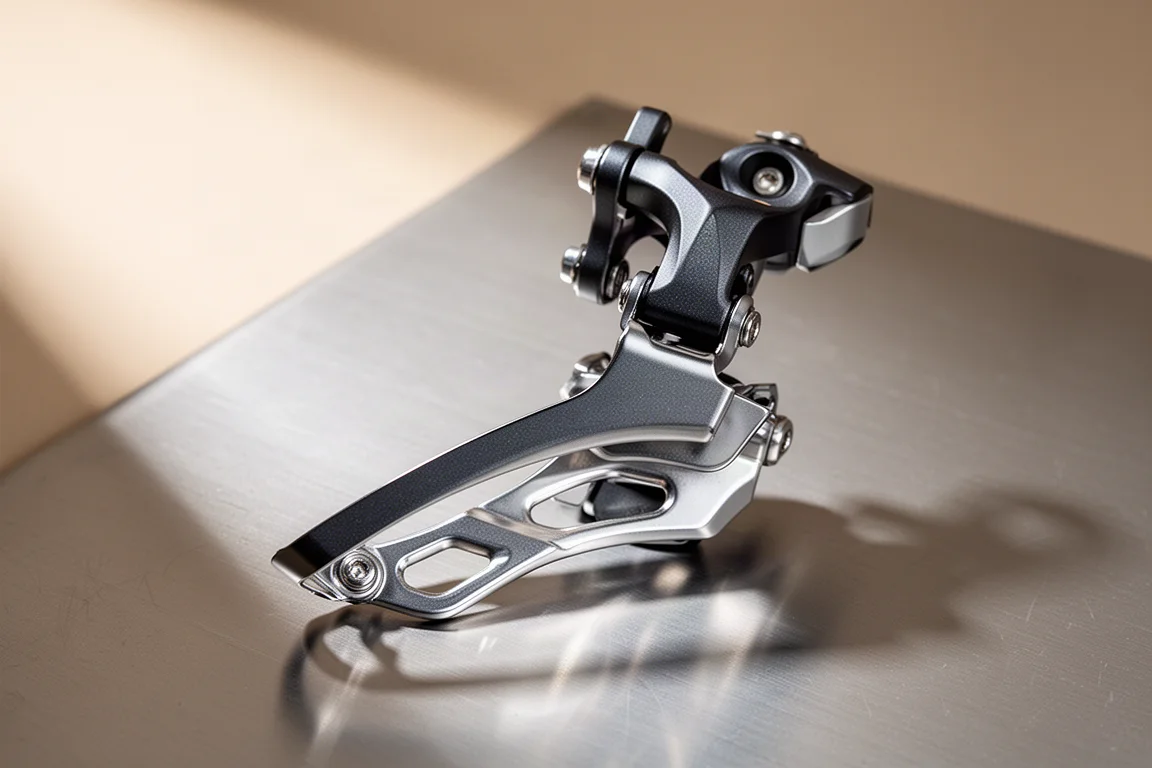
The front derailleur is the weakest link, and the practical move is to replace it rather than trying to tune it. A Shimano Ultegra unit solved that problem. There have also been durability surprises, including a pin working loose after about 18 months, which left the rider improvising a roadside fix to get home.
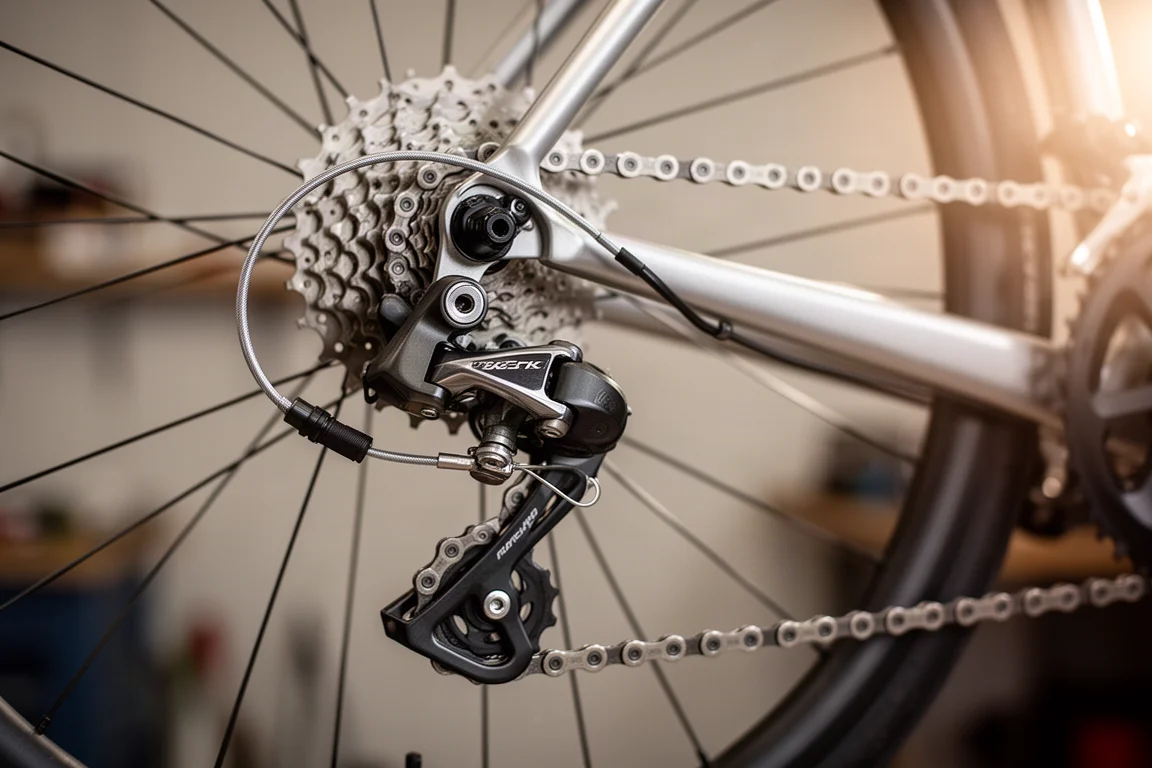
So the groupset delivers a 12-speed mechanical drivetrain at a very low cost, and it can be made to work well. It simply asks for more attention and the occasional part swap than a mainstream groupset would.
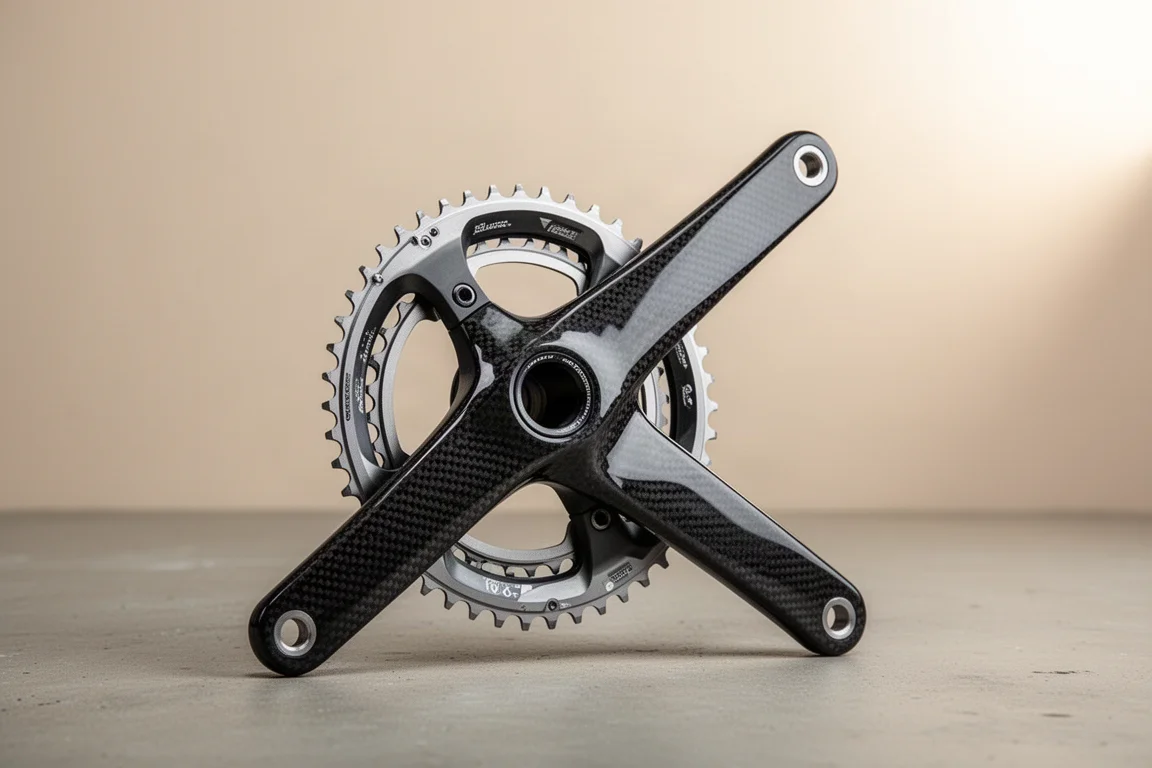
SRAM Red Crankset
The crankset is one of the few parts on this bike that did not come from a budget marketplace. It was already owned before the build and carried across, which is one of the most practical ways to keep a project like this affordable: reuse the parts you already trust instead of replacing everything at once.
For riders planning something similar, that is a useful pattern. Spend where a part carries real load and real consequence, and save on the parts where a cheap alternative is easier to live with.
Continental GP5000 Tyres
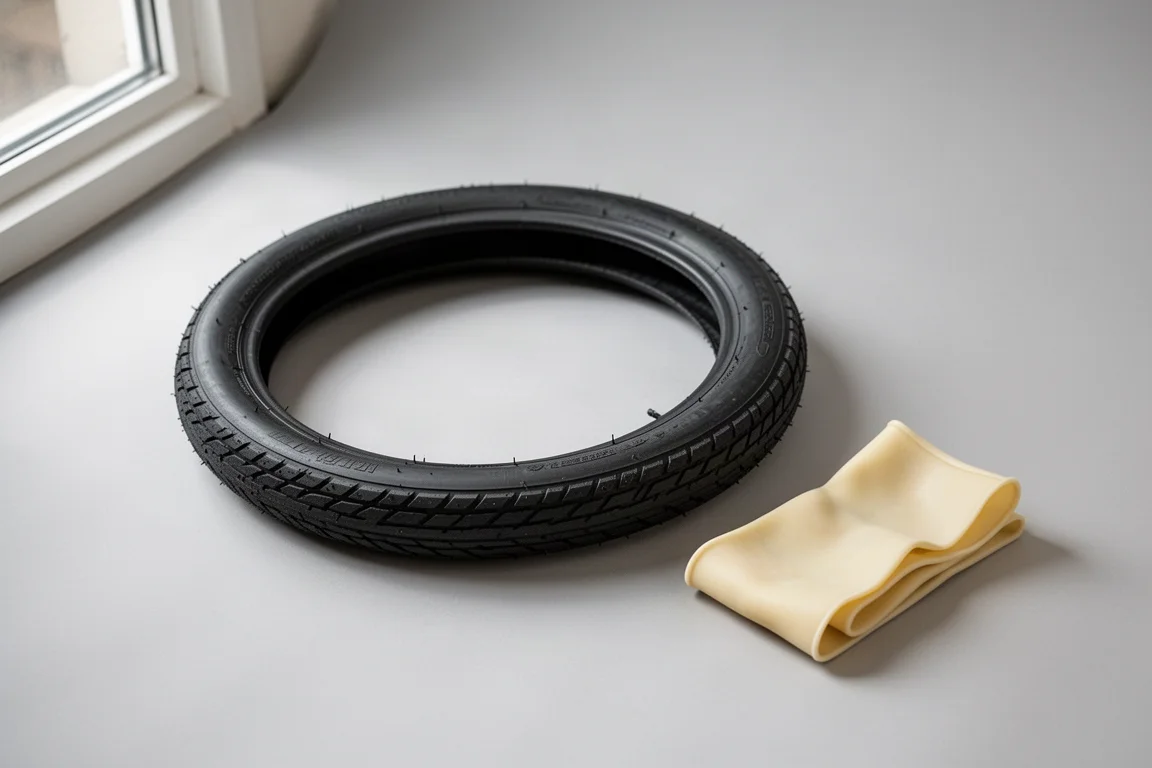
The build runs Continental GP5000 tyres with latex inner tubes. Tyres are one of the few areas where this bike does not rely on an unfamiliar budget part, and that looks like a deliberate choice.
On a build where the frame, the groupset, and the wheels all came from low-cost sources, a well-known tyre keeps at least one variable predictable. It also means the contact patch between the bike and the road is not where the cost saving happens.
For anyone copying the formula, that is an easy decision to replicate: keep the tyre choice conventional and spend your risk budget elsewhere.
Shimano Ultegra Front Derailleur
The Ultegra front derailleur is not part of the original budget spec. It is the fix. The groupset’s own front derailleur could not be made to shift reliably, and swapping in an Ultegra unit was the change that finally worked.
That makes it a good illustration of how budget builds tend to evolve. A single low-cost component can be replaced with a mainstream one without giving up the overall cost advantage of the bike. A front derailleur is also a small, contained purchase, so it is a low-risk upgrade to plan for from the start.
What 20,000 Miles Reveals About Budget Race Bikes
Two things are true at once about this bike. It is genuinely fast, close enough to far more expensive race bikes that the gap on flat roads is small. And it does not work as well. Shifting, braking, frame finishing, and wheel durability all ask for more attention, and the fixes arrive one small part at a time rather than as one obvious failure.
That is the real lesson of 20,000 miles. The performance is there. The consistency is not. A rider who enjoys diagnosing faults and sourcing replacements gets a very quick bike for a fraction of the usual cost. A rider who wants to fit and forget will not.
Buying Advice
If the appeal of a build like this is speed per pound, the formula still holds. Start with a fast frameset, keep the drivetrain simple, and reuse the components you already own.
Upgrade first the parts that affect control and reliability: the front derailleur, the brake calipers, and the stem. Counterfeit brake calipers should be avoided entirely, and a known-brand stem is cheap insurance.
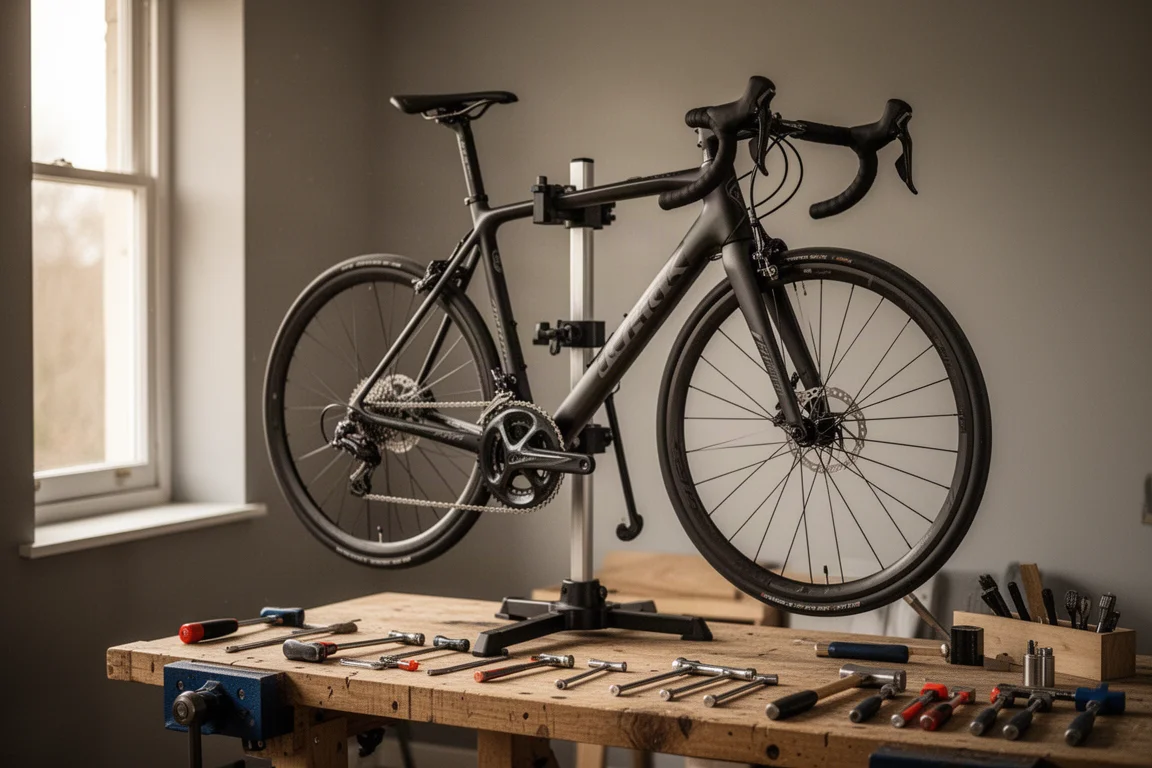
Budget for time as well as money. This bike cost just over £2,000 to assemble in this form, and it has also needed repeated fixes and replacement parts along the way. The conclusion after 20,000 miles is that the speed is close to bikes costing many times more, but the day-to-day experience is not.
Conclusion
A 20,000-mile race bike assembled from low-cost parts is a real achievement. It shows that the performance gap between budget and premium road bikes is narrower than the price gap suggests. It also shows where the difference actually lives: in finishing quality, in drivetrain consistency, and in the small failures that accumulate over time.
If you enjoy the process, the formula works. If you want a bike that simply works, this is a useful reminder to weigh that preference before you start buying parts.
Further reading
Related Reviews
Cycling Components
7 Bike Fit Products Fitters Avoid: What to Check Before You Buy
Seven bike components that regularly cause knee, foot and saddle problems, with the specific concerns behind each one and what to look for instead.
Cycling Components
Four Affordable Bike Upgrades That Improve Ride Feel
Four low-cost cycling products that make a real difference to ride feel, plus the free setup changes worth trying first.
Cycling Components
Six Affordable Bike Upgrades That Improve Ride Quality
A practical guide to six low-cost cycling upgrades, from handlebars and bar tape to tires and inner tubes, and how each one can make an entry-level bike feel noticeably better.