Backpacking Gear
Budget Backpacking Gear: What Worked in a Sub-$500 Loadout
A complete budget backpacking loadout built from big-box store gear, with honest notes on what carried well, what saved the most money, and what to upgrade first.
Introduction
Budget backpacking gear has a reputation problem, and it is not entirely deserved. This complete three-day loadout was assembled from the outdoor aisles of big-box retailers, and the base weight came in around 15 pounds for a total cost of roughly $451. For context, that total is less than what a single premium shelter often costs on its own.
Some of these items performed well beyond their price. A few others worked for a short trip and then showed clear limits. The sections below cover what carried comfortably, what saved the most money, and what is worth replacing first.
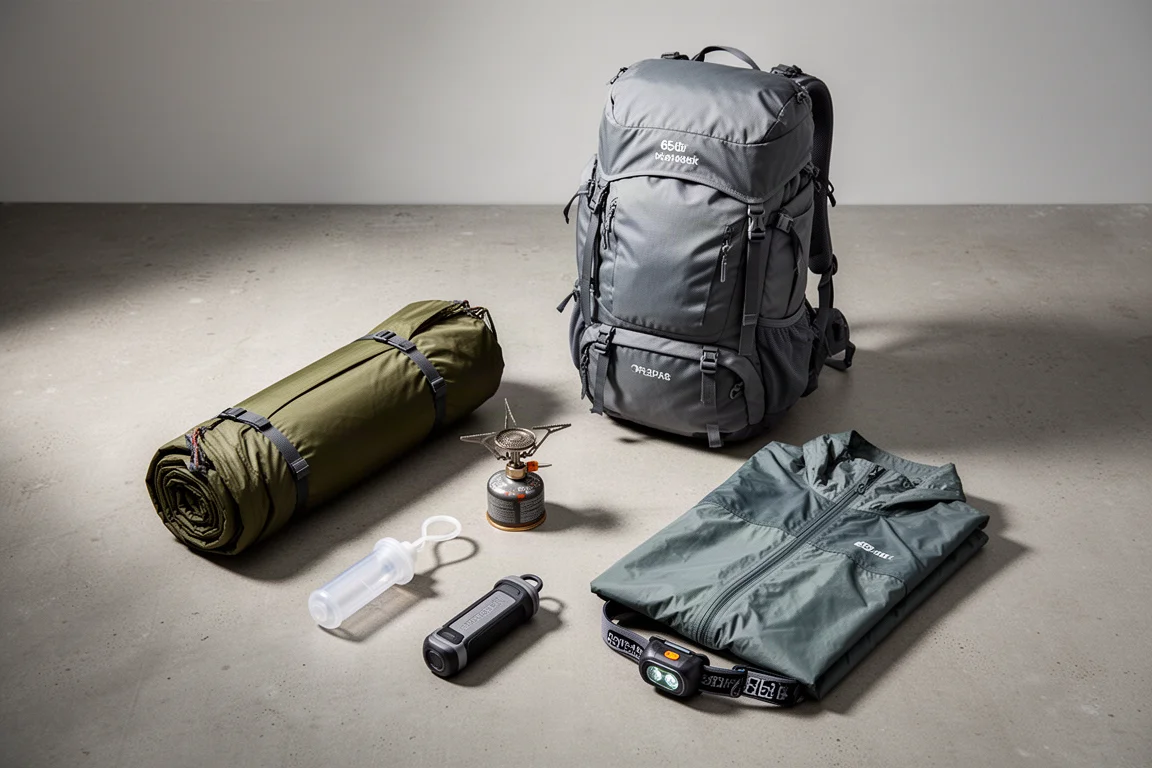
The clearest pattern in the list is that the cheapest gear that worked well was also the simplest gear. A canister stove, a squeeze filter and a packable rain shell each delivered far more value than their price suggested, because there was very little inside them that could fail.
How This Budget Loadout Was Built
Three priorities shaped every selection. Weight came first: anything that could be trimmed without much cost was trimmed, including swapping heavy stock tent stakes for aluminium ones. Volume came second, because the pack had to swallow camera equipment alongside normal camping essentials. Warm-weather suitability came third, since budget sleeping bags are heavy and are best used in mild conditions.
A short trip is the right testing ground for gear like this. Three days and two nights keeps the risk low while still revealing how a shelter, a pack and a sleep system behave once they are actually being used.
Shelter: Ozark Trail 1-Person Backpacking Tent
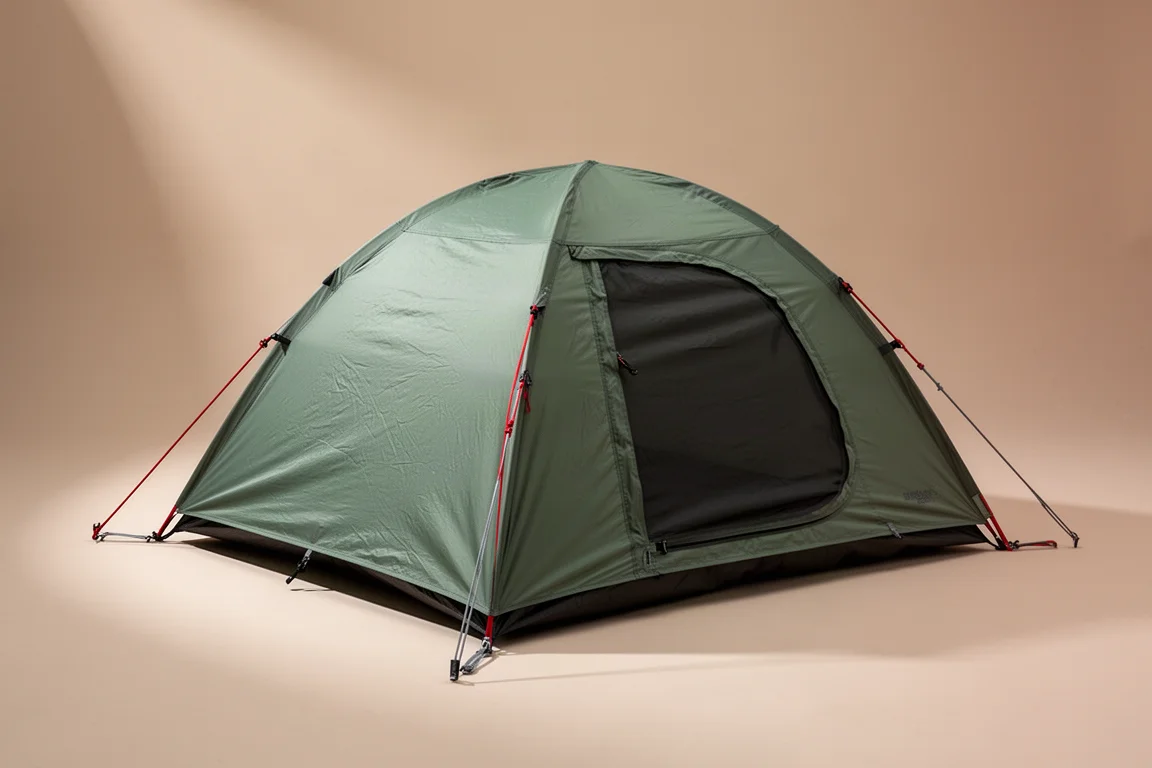
This was the lightest one-person tent on the shelf, with a claimed carry weight of about 3.5 pounds. Measured in practice, the body, stuff sack and poles came to 2 pounds 13 ounces, and six aluminium stakes added 3.6 ounces on top. It is a single-wall design with a vestibule and a vent hole intended to help with airflow.
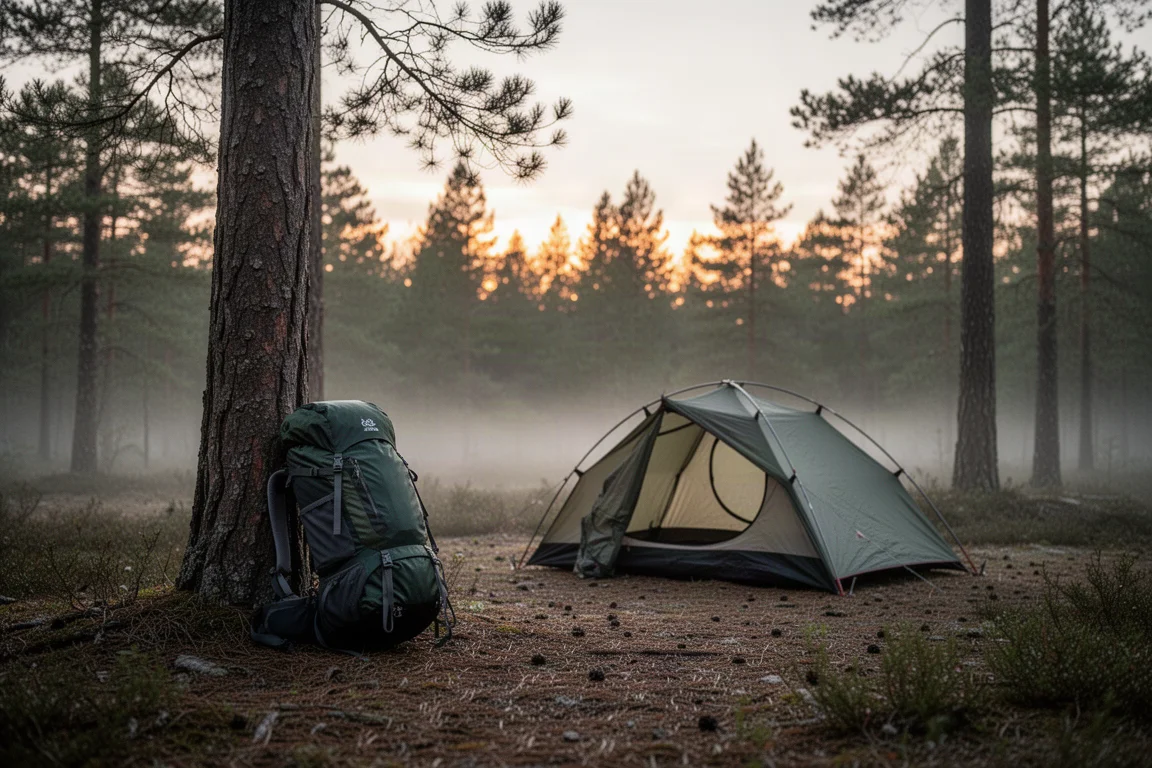
On the trail it offered the usual roominess for a solo shelter, and it handled a few nights without complaint. The one recurring issue was condensation on the inside of the fly. Camping directly beside water in humid conditions will do that to almost any single-wall tent, and leaving the vestibule door open when the weather allows is the simplest way to improve airflow. The tent was not used in rain during the trip itself.
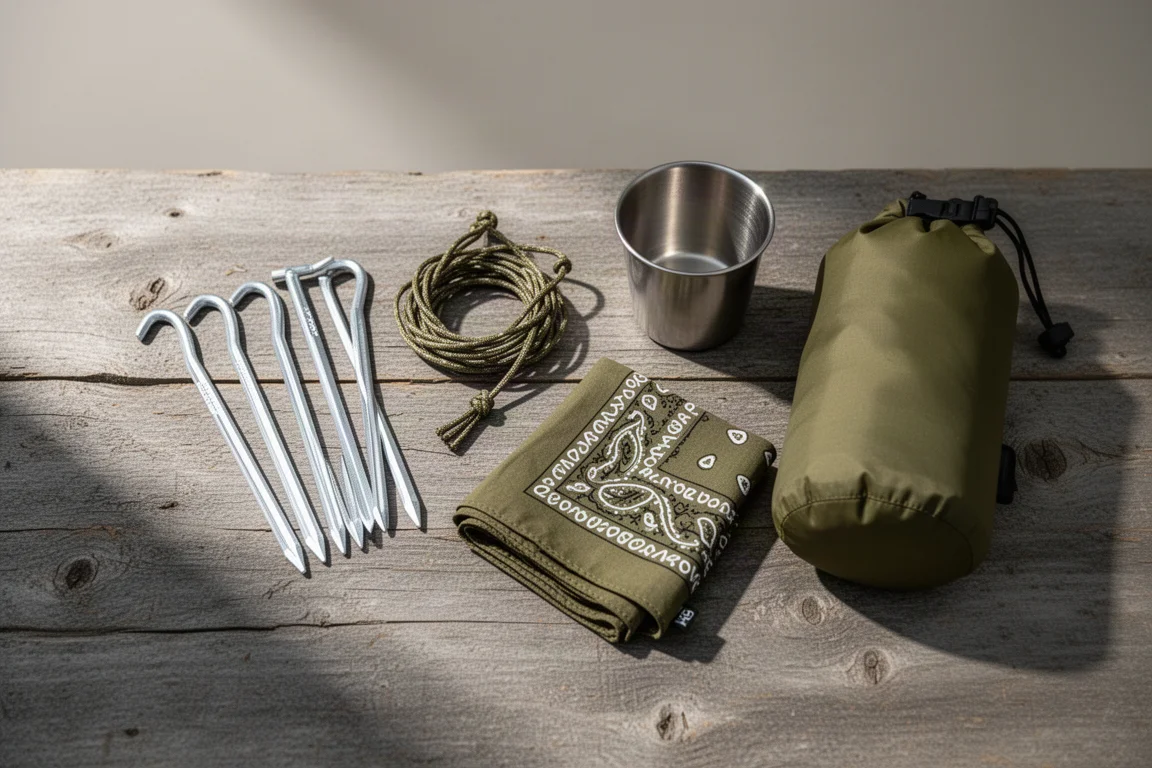
A follow-up rain test at home was where things went wrong. A light sprinkle produced no leaks inside, so the tent was left pitched to catch more weather. After a heavier soaking, it was found flat on the ground with one of the poles snapped. Carrying a few metres of cordage is a sensible precaution with any budget shelter, since a broken pole can often be tied out to a tree or bush well enough to finish a trip.
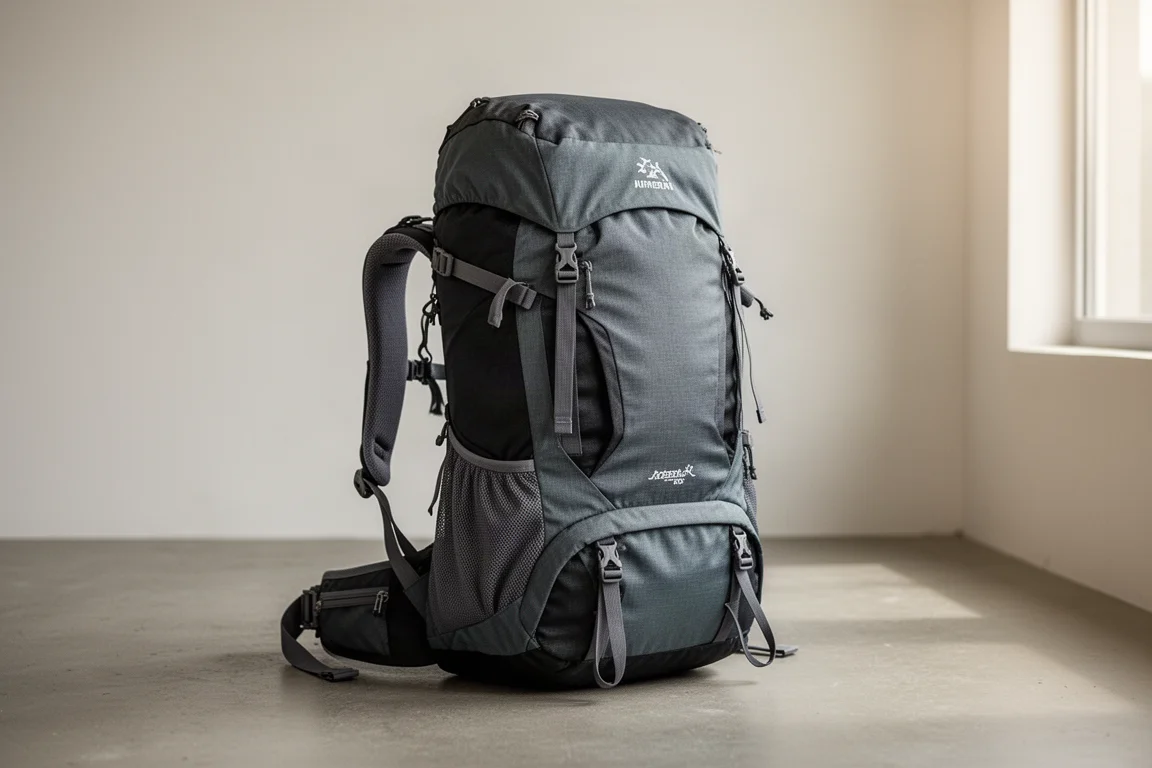
Carry: Slumberjack 65L Backpack
At 65 litres this pack carried more volume than the trip really needed, but the alternatives were either too small for camera gear or missing features that matter on a long day: hip belt pockets, an exterior mesh pocket, side loops for a cup holder, and attachment points for strapping a tent to the bottom. Extra space was the better trade. It weighs just over 3.5 pounds and costs $84.
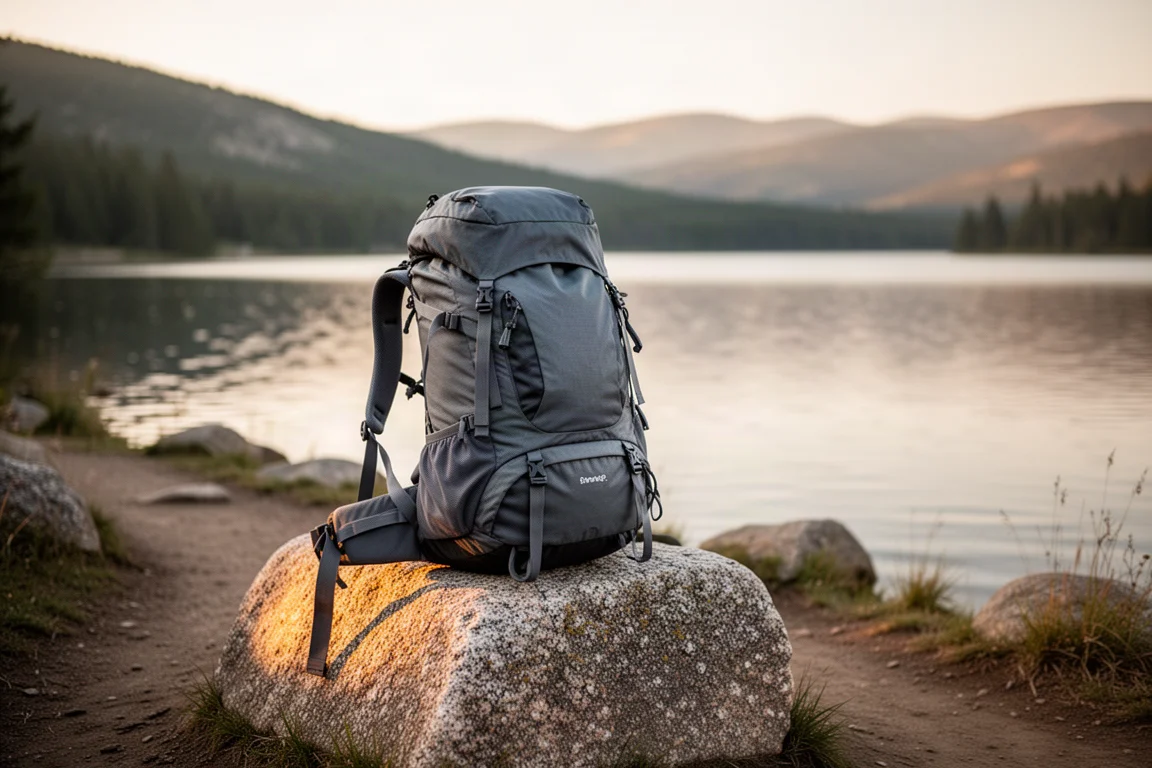
Comfort is where this pack separates itself from most budget options. It has load lifters, and the hip belt attaches to the pack with the same style of adjustment found on far more expensive packs. The back panel adjusts to fit different torso lengths, the padding across the back panel, hip belt and shoulder straps is generous, and the removable lid can be stripped off and replaced with a simple roll-down closure for lighter trips. Carrying a full load of gear plus camera equipment was comfortable throughout.
The main caveat concerns sizing. If you have a slender waist, the hip belt may not cinch down far enough to sit properly, and it can only be tightened so far. Otherwise this is a strong starting pack for anyone new to backpacking, and one of the better budget packs available despite sitting at the pricier end of that category.
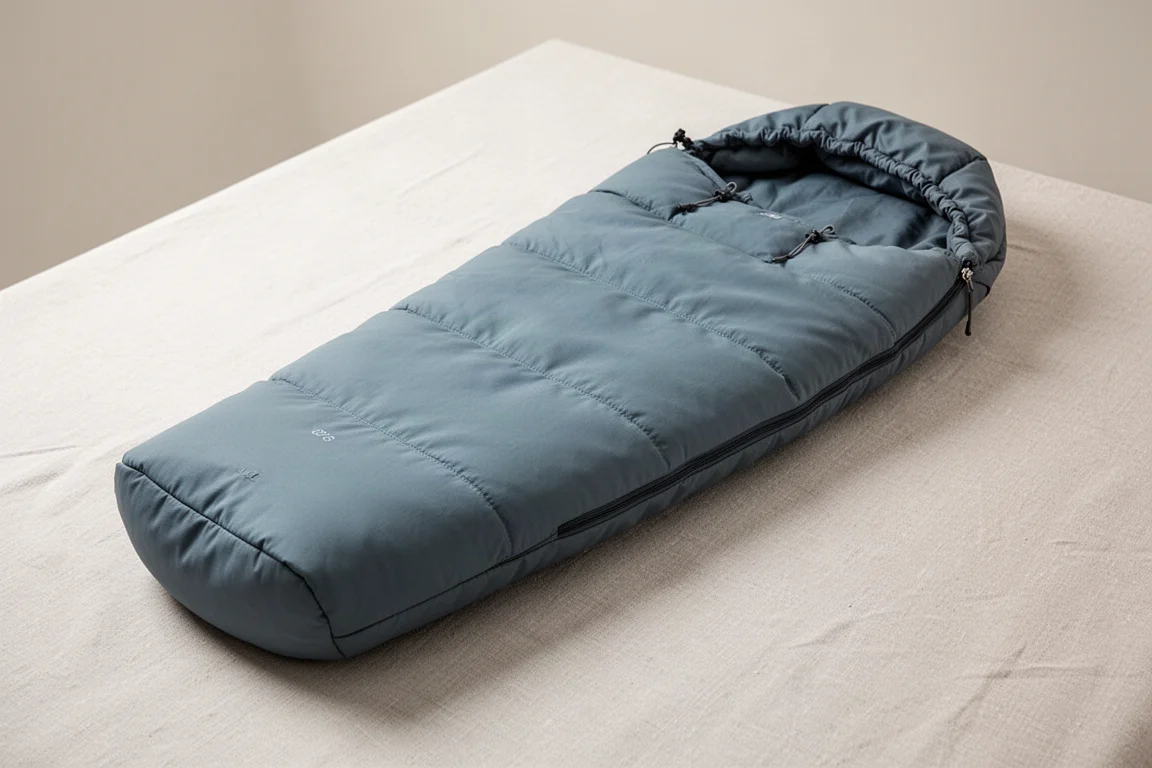
Sleep: Firefly Youth Mummy Sleeping Bag
The sleeping bag was the lightest option on the shelf and is rated for warmer nights, which makes it a summer and shoulder-season bag rather than a three-season one. Adult mummy bags rated for around 50 degrees Fahrenheit were at least a pound heavier, and budget sleeping bags in general are the main reason a full loadout from big-box stores is best attempted in mild weather.
At 5 feet 8 inches, this youth bag was not quite long enough to use the hood, though that did not matter on nights that stayed comfortably warm. A closed-cell foam pad completed the sleep system: trimmed from head to knees it weighed 12.35 ounces and cost $27.96, and it was fine for a few nights, but it is not the right choice for side sleepers or for anyone planning a longer trip.
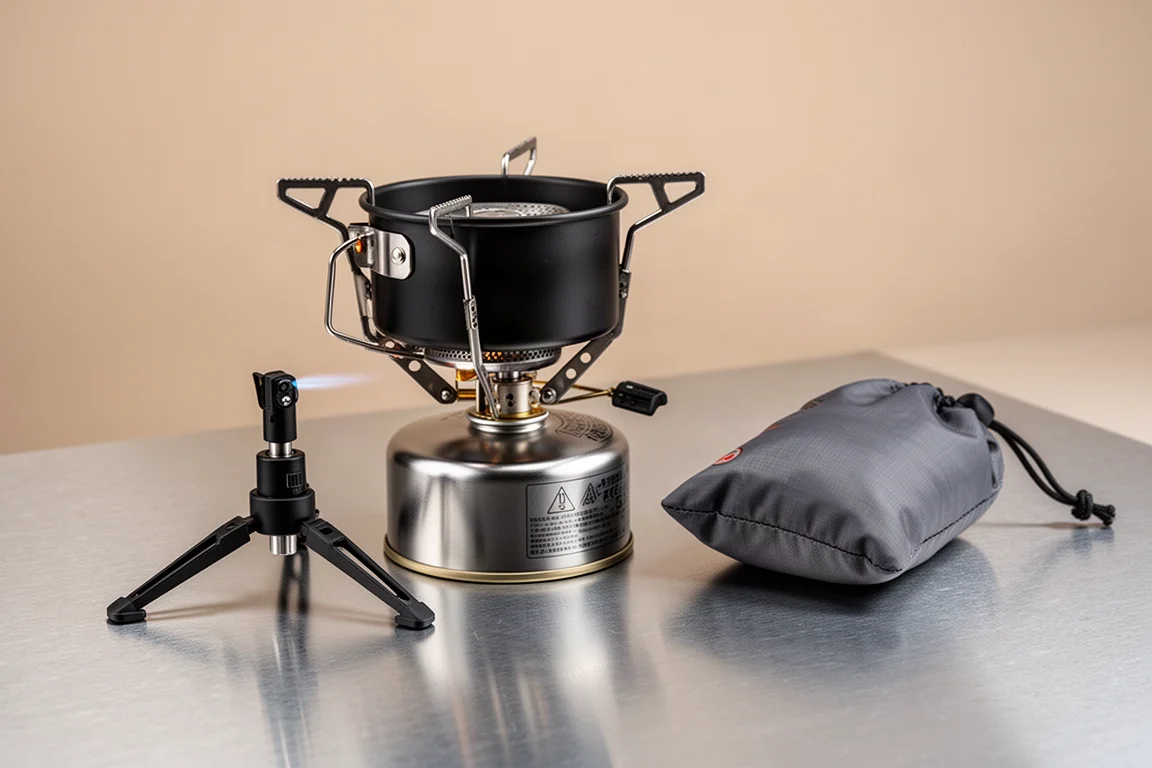
Cooking: Ozark Trail 4-Piece Stove Kit
This kit costs $12.97 and the stove itself weighs 3.35 ounces, which puts it in the same weight class as a well-known premium canister stove while costing $25 to $30 less. The kit also includes a small tripod stabiliser that holds a fuel canister steady, an adapter for larger camping fuel bottles, and a stuff sack.
The stove has a built-in striker, so a lighter is only a backup rather than a requirement, and the burner arms fold out to support a larger pot. In practice only the stove itself is worth carrying: the stabiliser, adapter and bag add weight for benefits that rarely matter on a short trip. Wrapped in a bandana and packed inside a pot, the stove travels safely. An 18-ounce stainless steel cup handled boiling water for pouch meals and morning cereal.
One caution applies to fuel. Only 8-ounce canisters were available, and some canister brands are not compatible with every stove, so it is worth confirming that a canister threads correctly onto your stove before leaving the house rather than discovering the problem at camp.
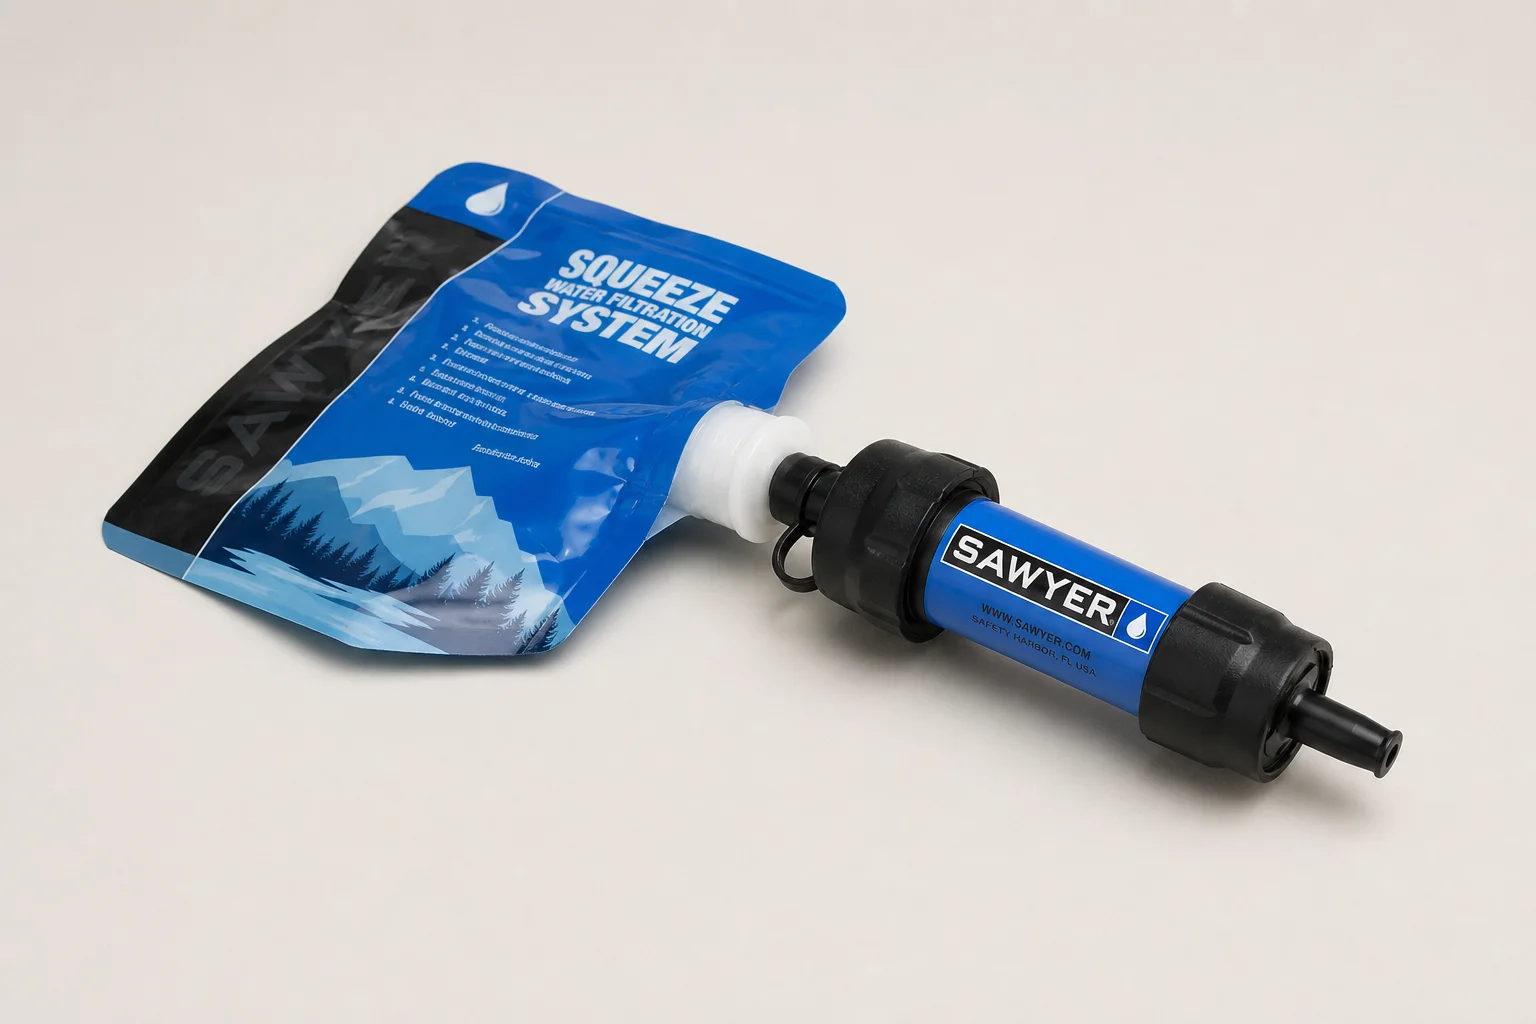
Water Treatment: Sawyer Squeeze
The Sawyer Squeeze remains one of the simplest ways to treat water on the trail. It weighs 2.45 ounces and costs $29.97, which is less than the filter typically sells for elsewhere. There are no batteries, no pumps and no moving parts to break.

The filter threads onto bottles with a matching thread, which makes it easy to drink straight from a bottle or squeeze water into a clean container. Two one-litre bottles came to $2.82 in total, and each weighs 1.45 ounces empty, so the whole setup stays light.
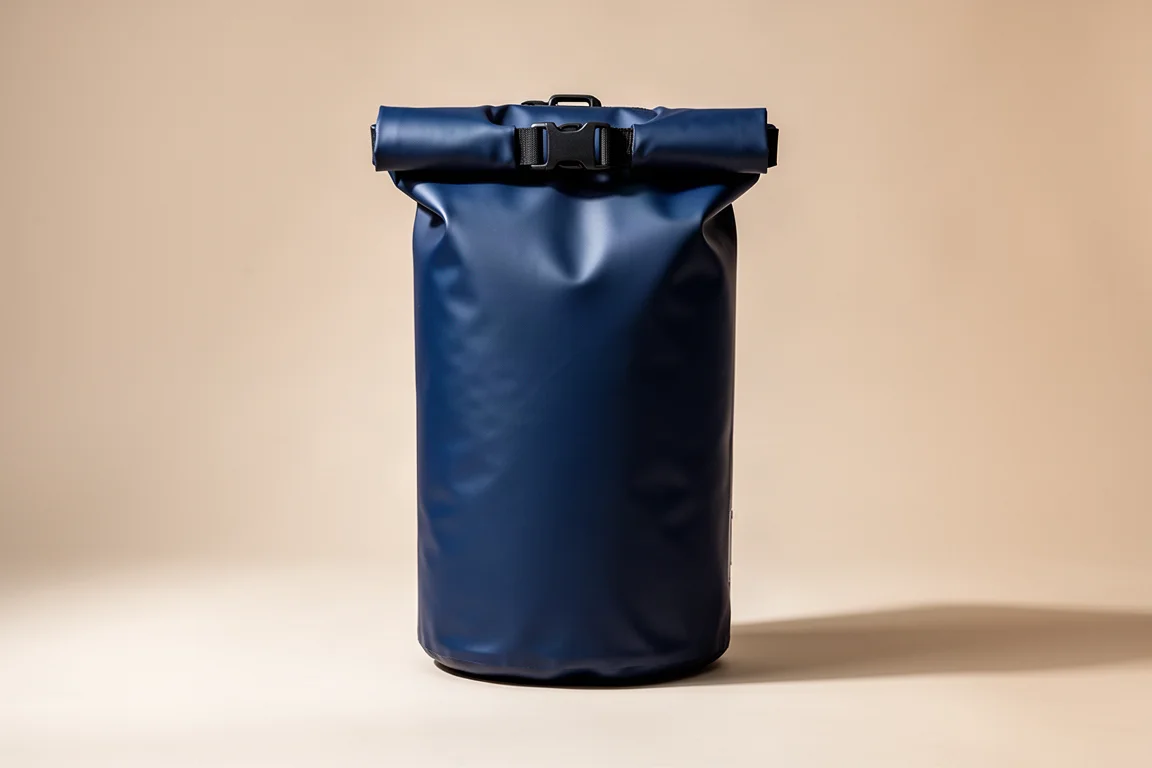
Storage: Outdoor Products 20L Dry Bag
This dry bag was overkill in two ways. A 20-litre capacity is far more than a three-day food carry needs, and the vinyl is thick enough that the bag weighs 9.8 ounces, which is more than half a pound for a single storage item. It is closer to the sort of bag you would take kayaking than the sort you would carry on a hike.
It still did its job. At $6.88 it kept food and other essentials dry, and it doubles as a hanging food bag at camp. Inside the pack, a 55-gallon compactor bag served as a waterproof liner for everything else.
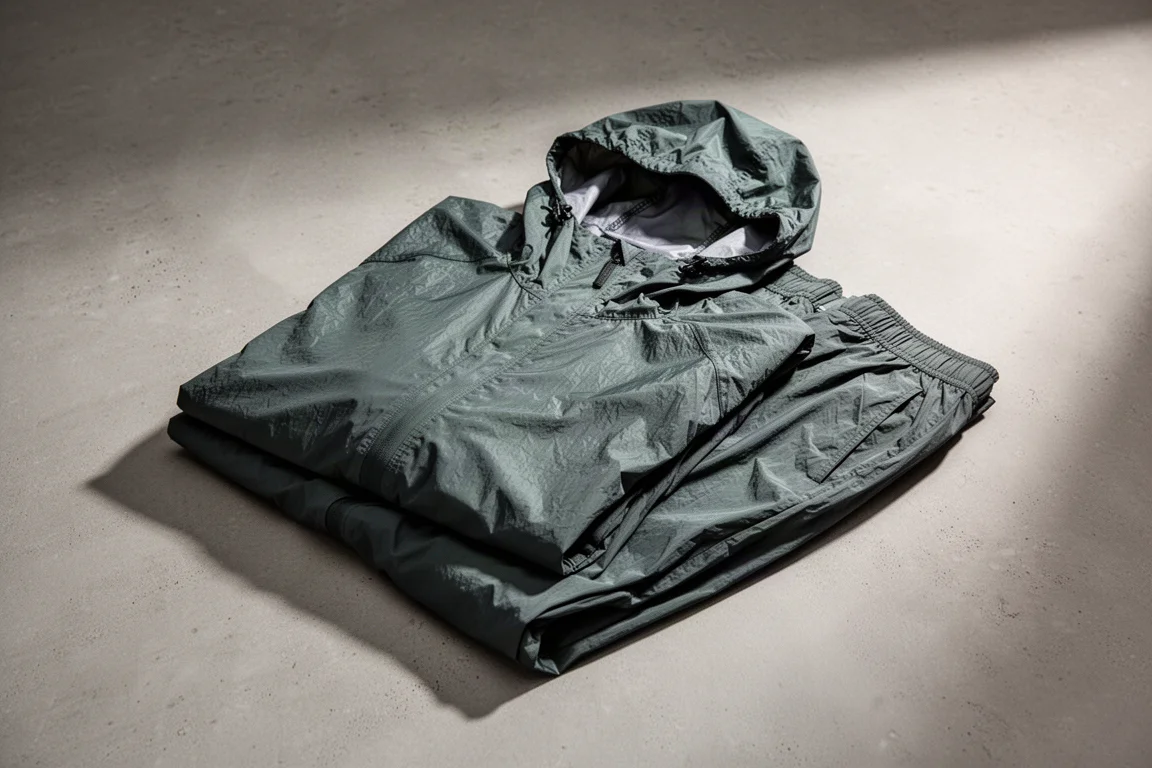
Weather Protection: Frogg Toggs Ultra-Lite Rain Suit
The full rain suit, jacket and pants together, costs $20.38. The jacket alone weighs 4.7 ounces, so in warm conditions the pants can be left behind and the jacket becomes very cheap insurance against a sudden shower.
Durability is better than the price suggests. This type of rain gear holds up well on maintained trails, and a set carried on a long-distance thru-hike lasted roughly to the halfway point before being replaced. It is not built for pushing through dense brush, but for trail use it is a reasonable trade of cost against lifespan.
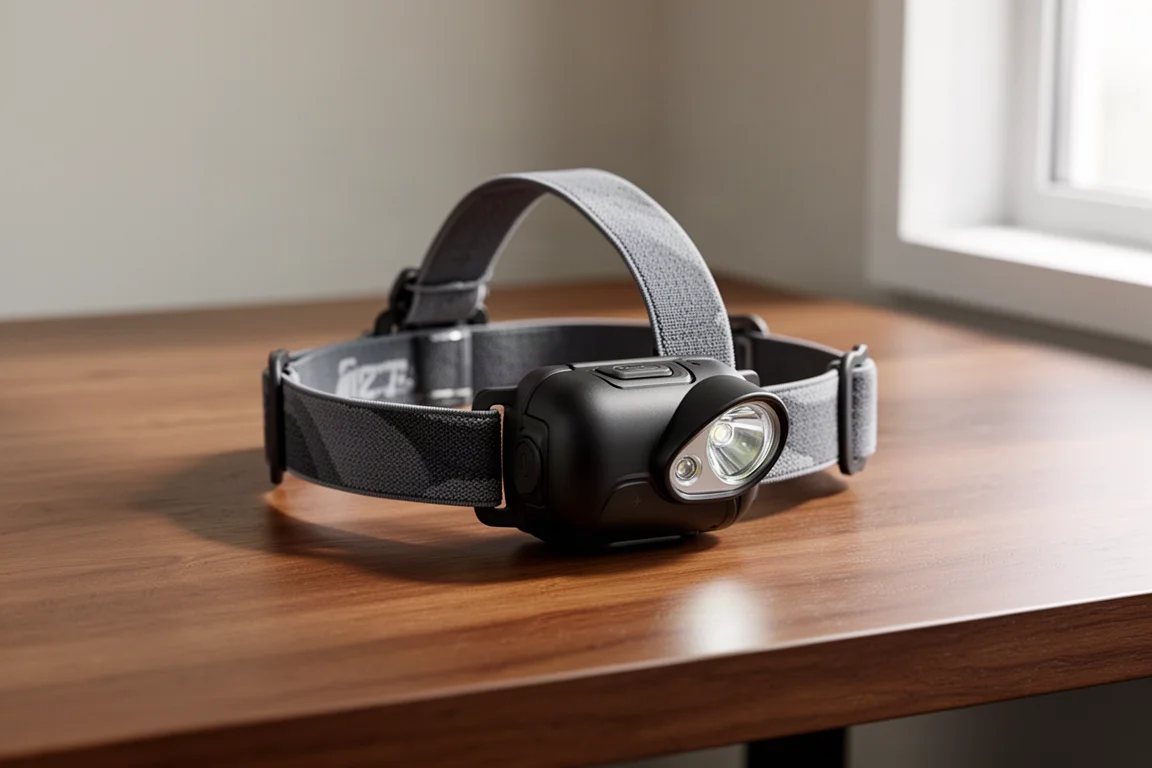
Lighting: Mossy Oak 300 Lumen Headlamp
At $14.97 and 3.1 ounces, this headlamp covers more ground than its price implies. It offers low, medium and strobe settings, plus a night mode with a bluish beam that is easier on the eyes of anyone else in camp than a standard white light. That mode is intended for tracking, but it works well for late-evening chores in a shared campsite.
The useful extras are the motion sensor, which turns the light on and off with a wave of the hand, a tilting head so the beam can be aimed down without tilting your whole head, and an adjustable band. It is also rechargeable, which removes the need to carry spare batteries.
Clothing and Footwear: What to Keep in Mind
Backpacking does not require dedicated hiking clothing. The one rule worth following is to avoid cotton, especially in colder months, because it holds moisture against the skin and can contribute to hypothermia. Synthetic fabrics dry faster and reduce chafing. Beginners are generally better off starting in warmer months while they get used to new gear.
For the hiking layers, a synthetic v-neck top and synthetic crop leggings did the job. The leggings had a waist tie, which stops them from sliding down mid-hike, and a side pocket that kept a phone within easy reach for photos. Sleeping layers were a long-sleeve synthetic shirt and thin synthetic bottoms, plus a sweatshirt with thumb holes as an insulating layer, a keyhole sports bra, a three-pack of synthetic underwear and a six-pack of synthetic socks. The socks are the weak point: one developed a hole after two days of wear, so a sturdier wool pair is a better choice for backpacking.
Footwear is the category worth spending more on. Wide men’s sizes did not suit a narrow foot, and while the largest women’s size felt fine in the store, toes slid forward on descents, which is a reliable way to lose a toenail. Tread was also inadequate for muddy trails. The shoes worked well enough to finish the trip, but this is where a larger budget pays off.
Buying Advice: Where to Spend and Where to Save
Everything on this list, from the shelter to the socks, came to $451.49 with a base weight of about 15 pounds. That is less than a single premium tent, which makes the case for budget gear clear: you do not need the most expensive equipment to get outside and enjoy it.
The strongest value in the loadout was in the small items. The canister stove, the water filter, the headlamp and the rain suit each cost very little and performed close to their more expensive equivalents. If you are building a loadout from scratch, start there and put the savings toward the two categories where budget gear struggles most: footwear and shelter.
Shopping strategy matters as much as product choice. Sticking to a single store rarely produces the best price, so it pays to compare online, check thrift stores, and watch used-gear marketplaces. Giving yourself a few weeks before a trip usually turns up sales that a last-minute shopping run will miss.
Conclusion
A budget loadout can absolutely get you onto the trail. The stove, the filter, the headlamp and the rain suit all earned their place, and the 65-litre pack was comfortable enough to carry a full load of gear plus camera equipment. The shelter and the footwear are the two items that showed their limits first, and both are worth upgrading before anything else on this list.
Careful packing, a bit of cordage, and a realistic warm-weather plan cover most of the risk that cheaper gear introduces. Start with a short trip, learn how the kit behaves, and upgrade from there.
Further reading
Related Reviews

Backpacking Gear
Building a 10 lb Base Weight: An Ultralight Backpacking Gear List
A practical walkthrough of the ultralight pieces behind a 10 lb base weight, from a 765 g pack and a roomy one-person tent to a full camp chair and a dependable water filter.
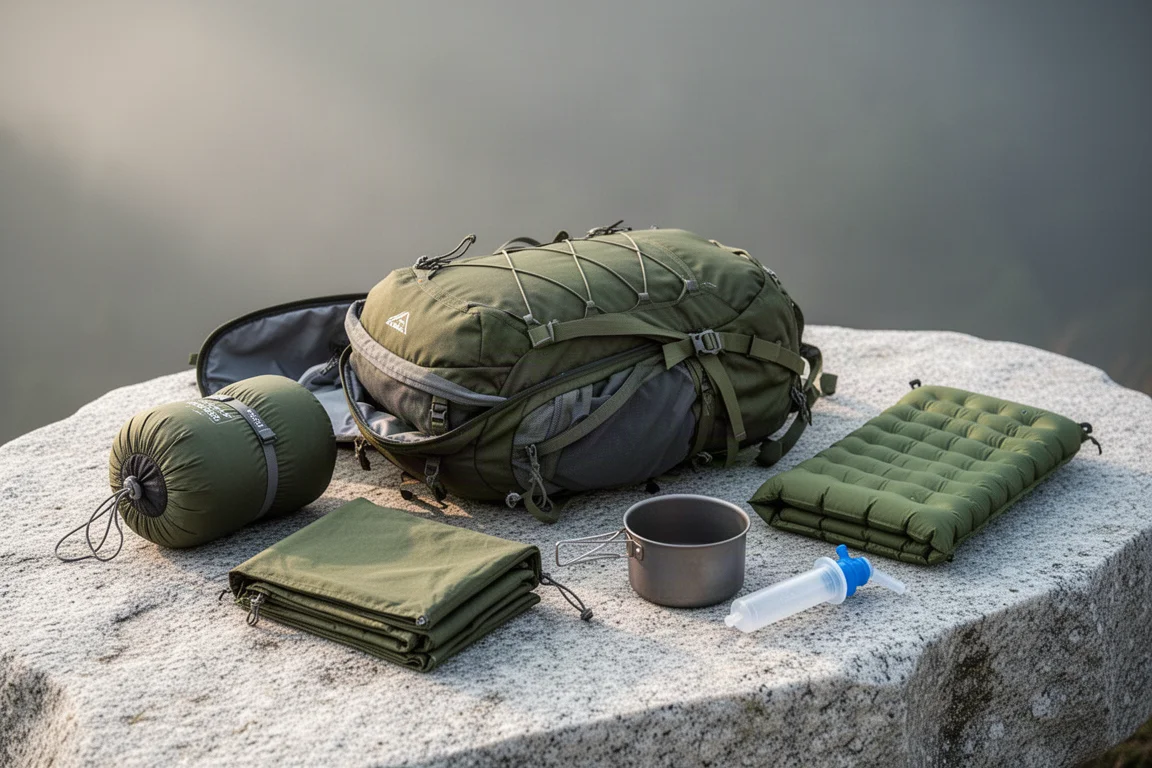
Backpacking Gear
A 15-Pound Lightweight Backpacking Gear List for Solo Trips
A beginner-friendly 15-pound backpacking setup built from easy-to-find gear, with notes on what each piece does, how it packs, and where to spend your attention.
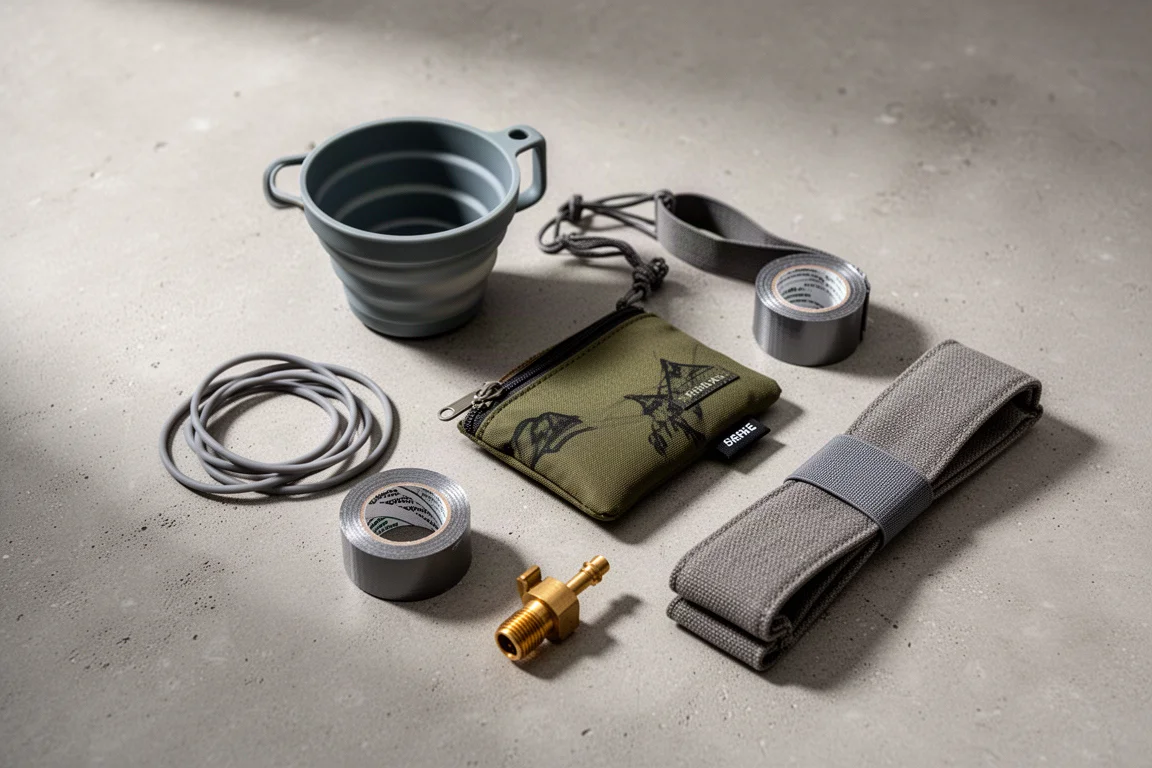
Backpacking Gear
8 Ultralight Backpacking Gear Upgrades Worth Carrying
Eight small, affordable backpacking upgrades that solve real trail annoyances, from a pillow that stays put to a fuel valve that rescues leftover canister gas.