Astrophotography
A Budget Deep Sky Astrophotography Rig: 7 Pieces of Gear That Work Together
A capable backyard deep sky setup built around affordable, proven gear, from the mount and telescope to the camera, guiding, and filters.
Introduction
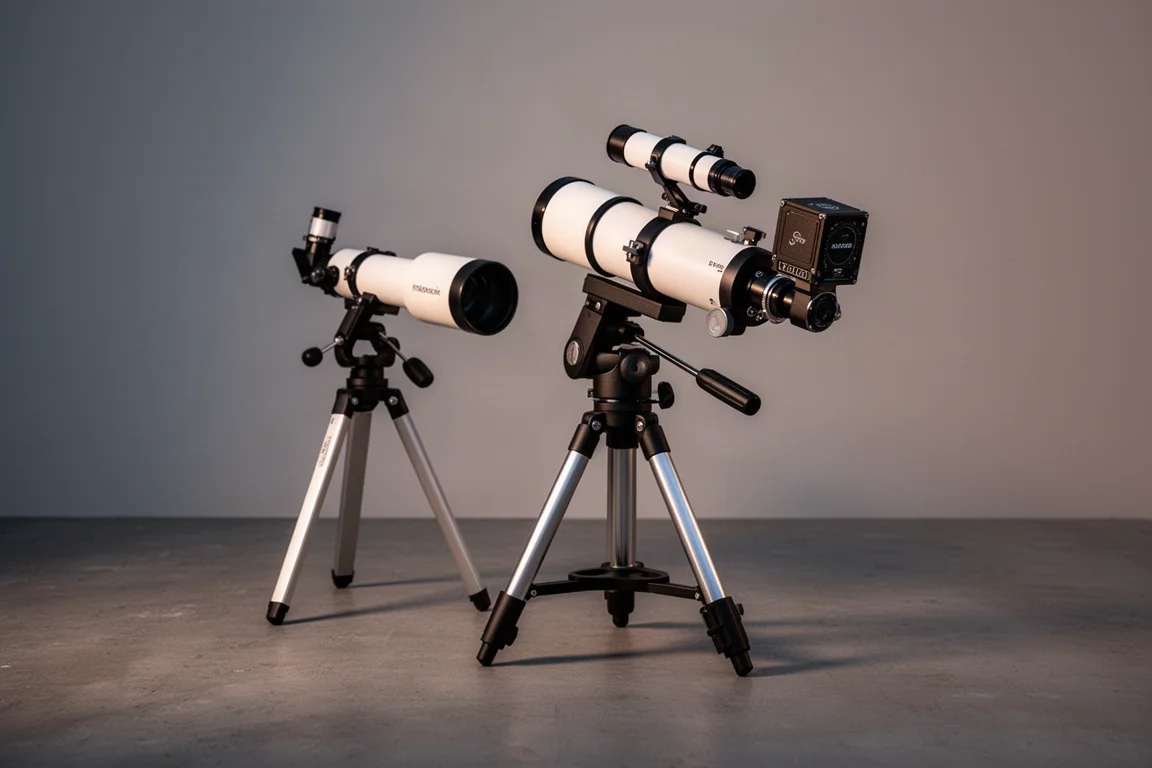
Astrophotography has a reputation for being an expensive hobby, and on the high end that reputation is earned. But a capable deep sky rig does not have to break the bank. This build assembles a full imaging system: mount, telescope, cooled astronomy camera, control unit, guiding pair, and a narrowband filter, all chosen to deliver a genuinely good result on a single clear night from a light-polluted backyard.
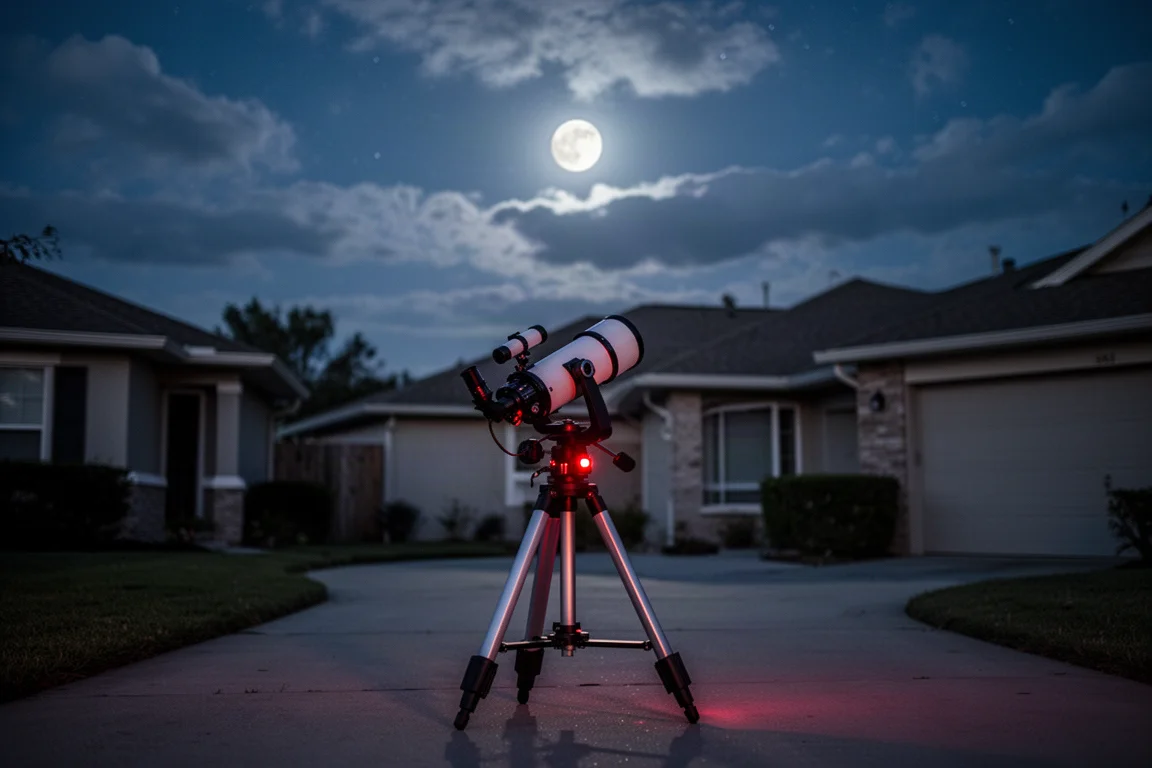
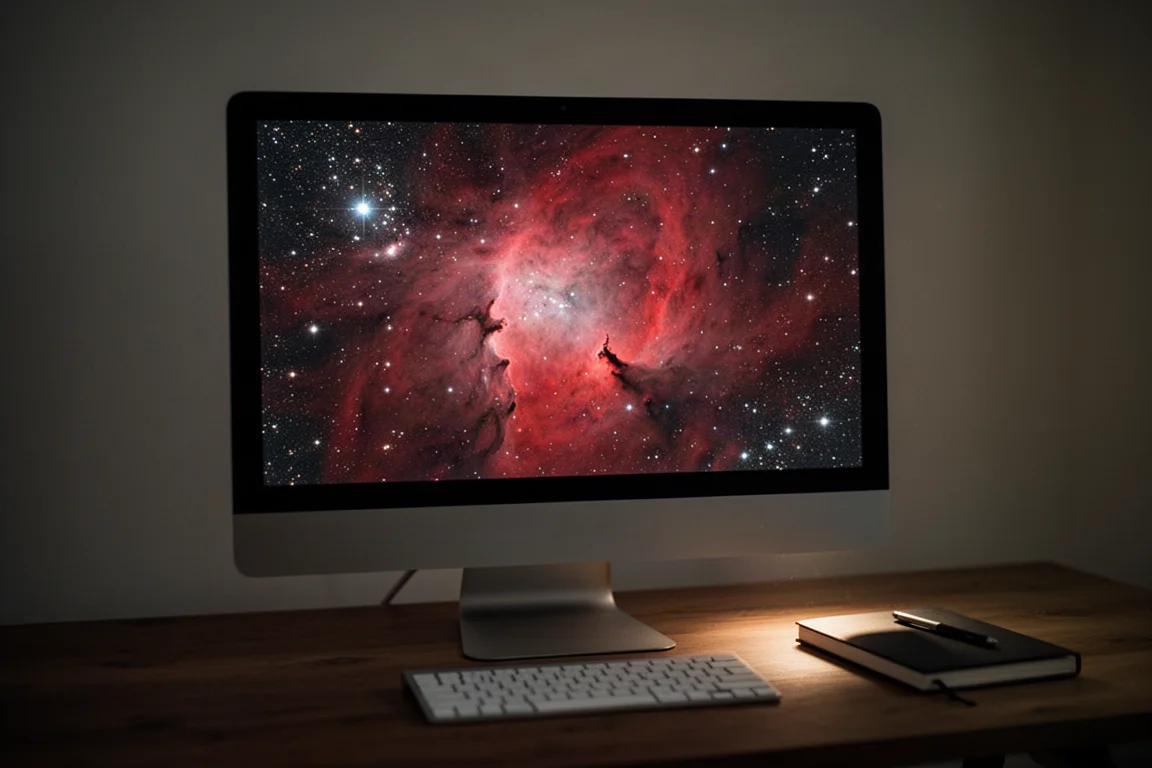
The target used to test the complete kit was the Monkey Head Nebula in Orion, an emission nebula chosen specifically because it emits a strong signal in hydrogen alpha. That matters when you are shooting under a nearly full moon from a Bortle 6 sky with clouds on the way.
How This Kit Was Chosen
Every piece in this rig was selected to keep the total cost down without giving up capability. Where a compromise was made, it was a deliberate one: smaller image sensor instead of a larger camera, a mini control unit instead of the flagship, and a single narrowband filter to make moonlight manageable.
The result is a full-featured, very capable deep sky rig that held up through several backyard imaging sessions. You could certainly go cheaper with used gear and an uncooled DSLR, but this combination leaves very little out.
The Mount: Sky-Watcher EQ AL 55i
The catalyst for this entire budget build is a new intermediate-level mount, the Sky-Watcher EQ AL 55i. At $760 it costs about the same as a Star Adventurer GTi, but it doubles the payload to roughly 22 lb. That payload ceiling gives you room to grow, and it is what makes the rest of this kit possible.
Used with an ASI Air and plate solving over an EQMod cable, everything worked well during testing. Guiding settled at around 1.1 to 1.2 arcseconds under hazy conditions, which is impressive for this price class. A few practical notes: the mount sounds like it is working hard compared to more premium gear, Sky-Watcher mounts can be picky about power supplies (a Celestron branded 12V 5A adapter has worked reliably), and the pier extension, roughly $140 extra, is a worthwhile addition for clearance.
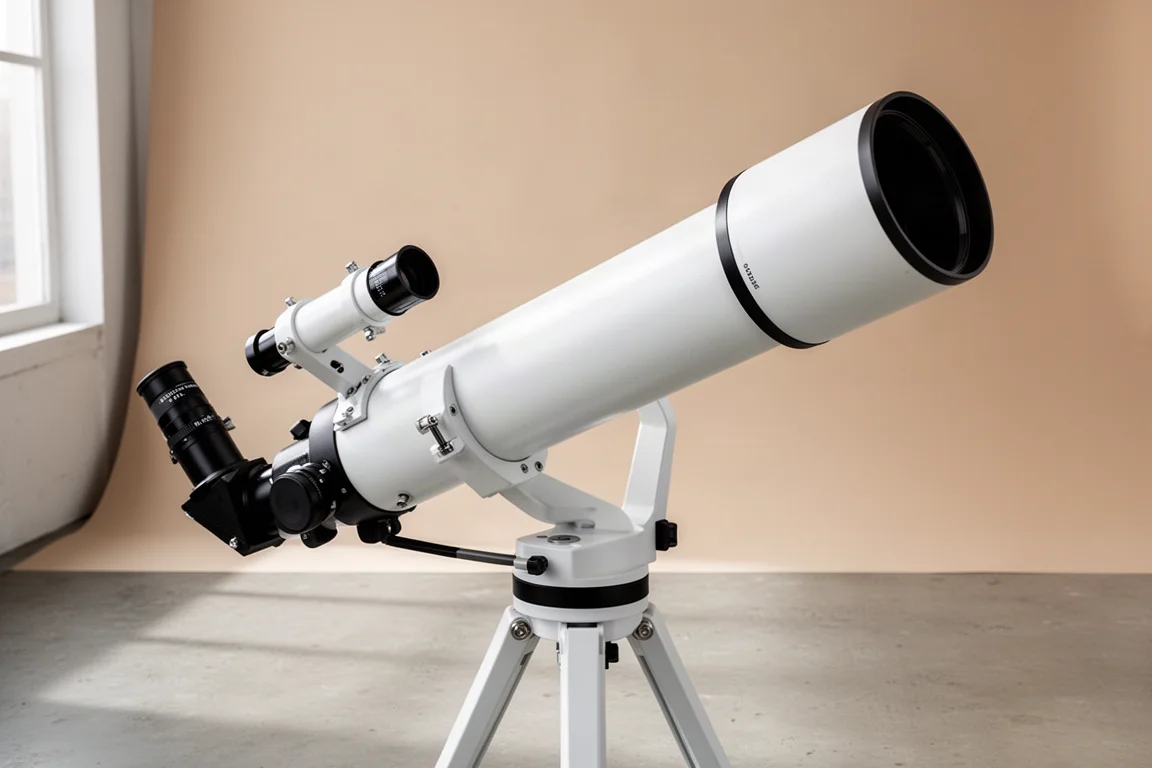
The Telescope: Svbony SV550
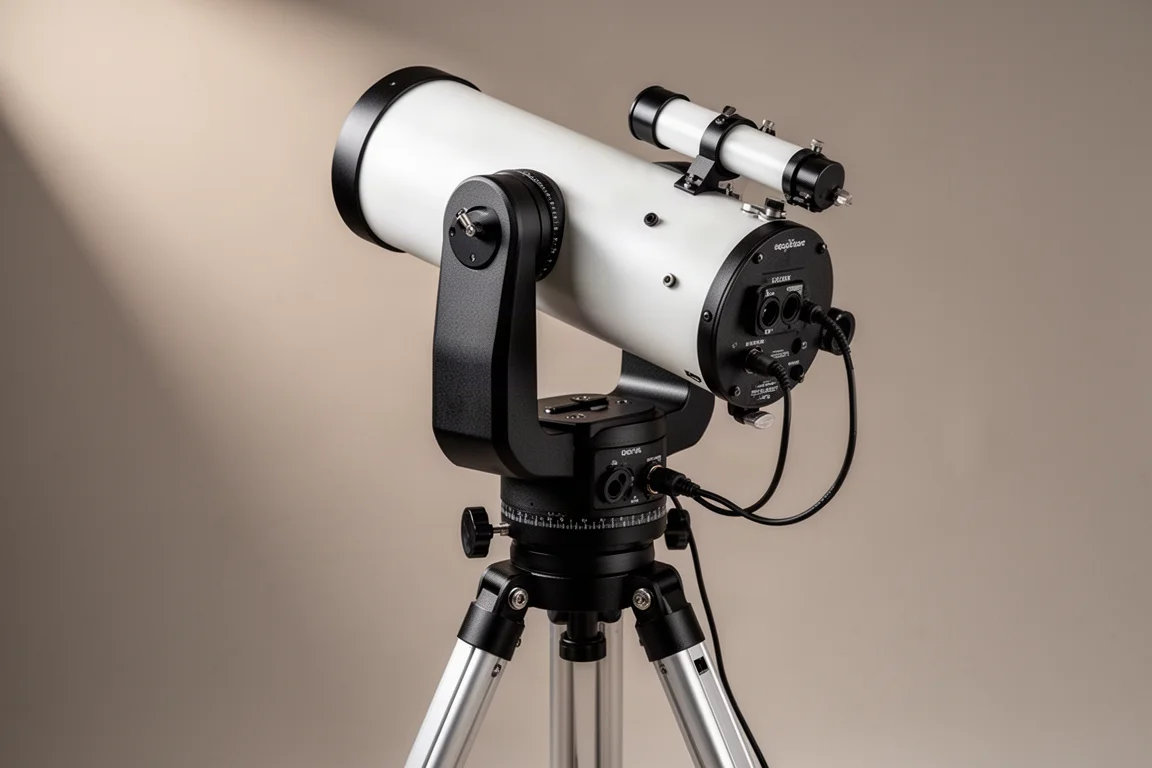
The SV550 is a triplet apochromatic refractor with a 480 mm focal length and an f/6 focal ratio, and at around $730 on Amazon it includes the field flattener, which is unusual at this price. The air-spaced triplet uses FPL-51 glass, and reviews suggest it delivers strong color correction; a proper unfiltered evaluation still needs a moonless night.
It pairs particularly well with the camera in this build, delivering a healthy image scale of 1.2 arcseconds per pixel. As a first refractor for a budget deep sky rig, it is hard to argue with.
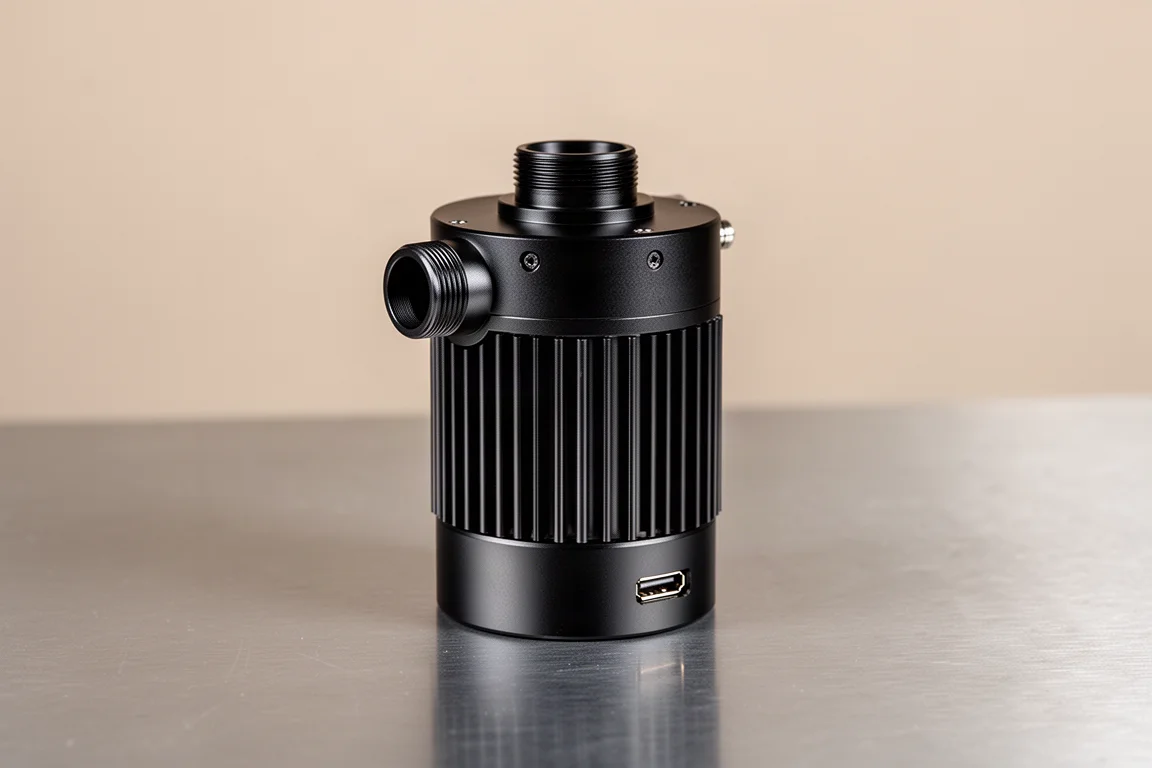
The Camera: ZWO ASI585 MC Pro
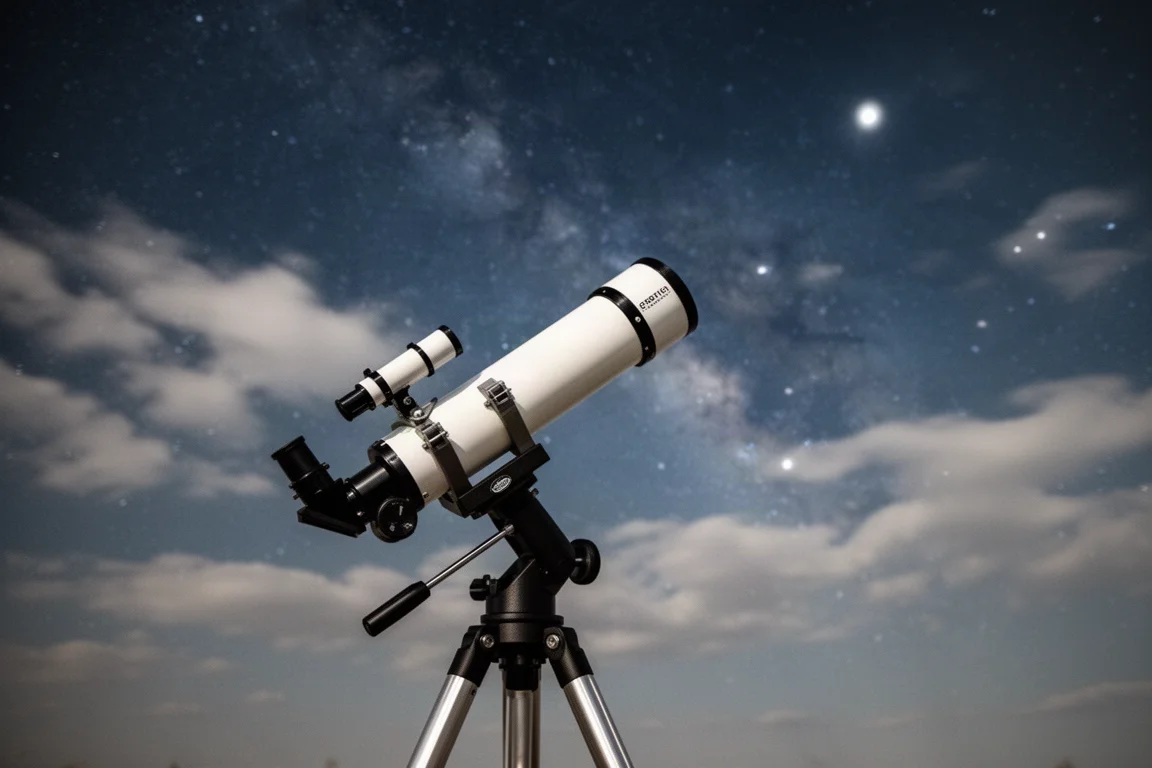
One of the most affordable cooled dedicated astronomy cameras on the market, the ASI585 MC Pro was chosen over the larger ASI533 to keep the build honest to its budget mission. A cooled, dedicated astronomy camera is the one place where this build refuses to compromise, because an old DSLR would be cheaper but uncooled and likely unmodified for astrophotography.
The one quirk to know about is the small, long and narrow image sensor, which affects framing when composing a target. Beyond that, the match with the SV550 proved to be the biggest pleasant surprise of the whole project: the image scale produces nice, crisp, sharp results with this 80 mm class refractor.
Session Control: ZWO ASI Air Mini
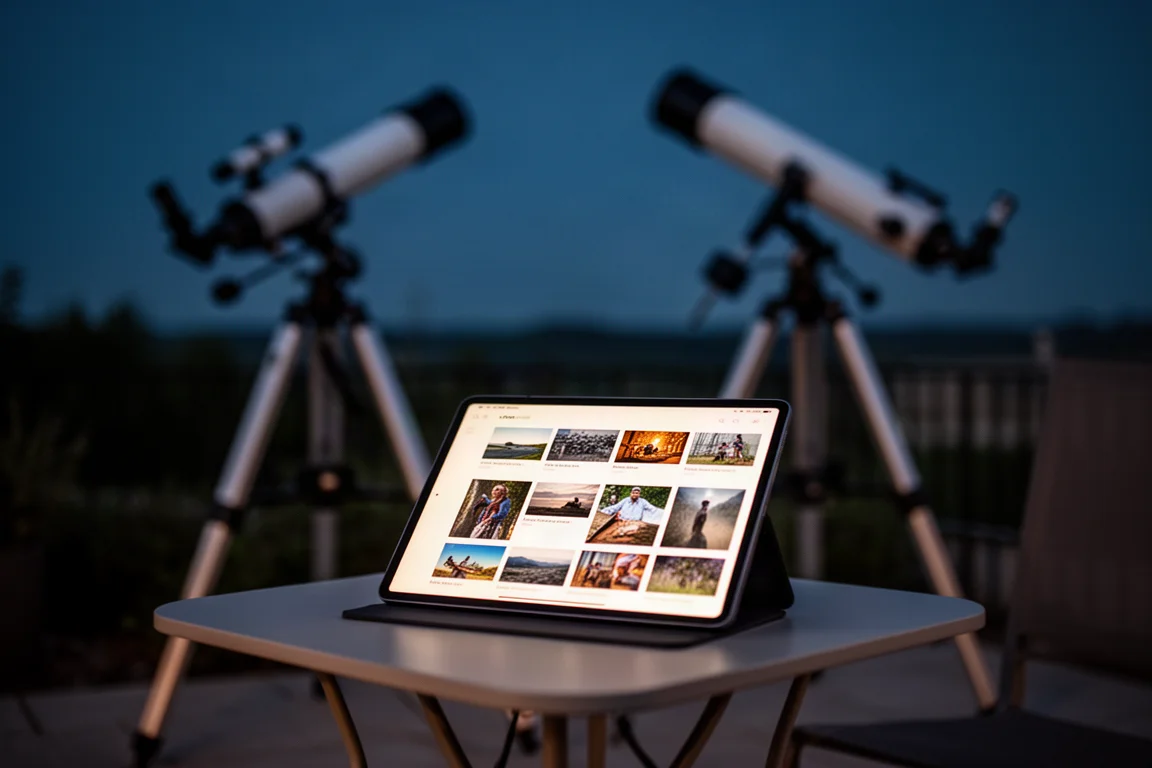
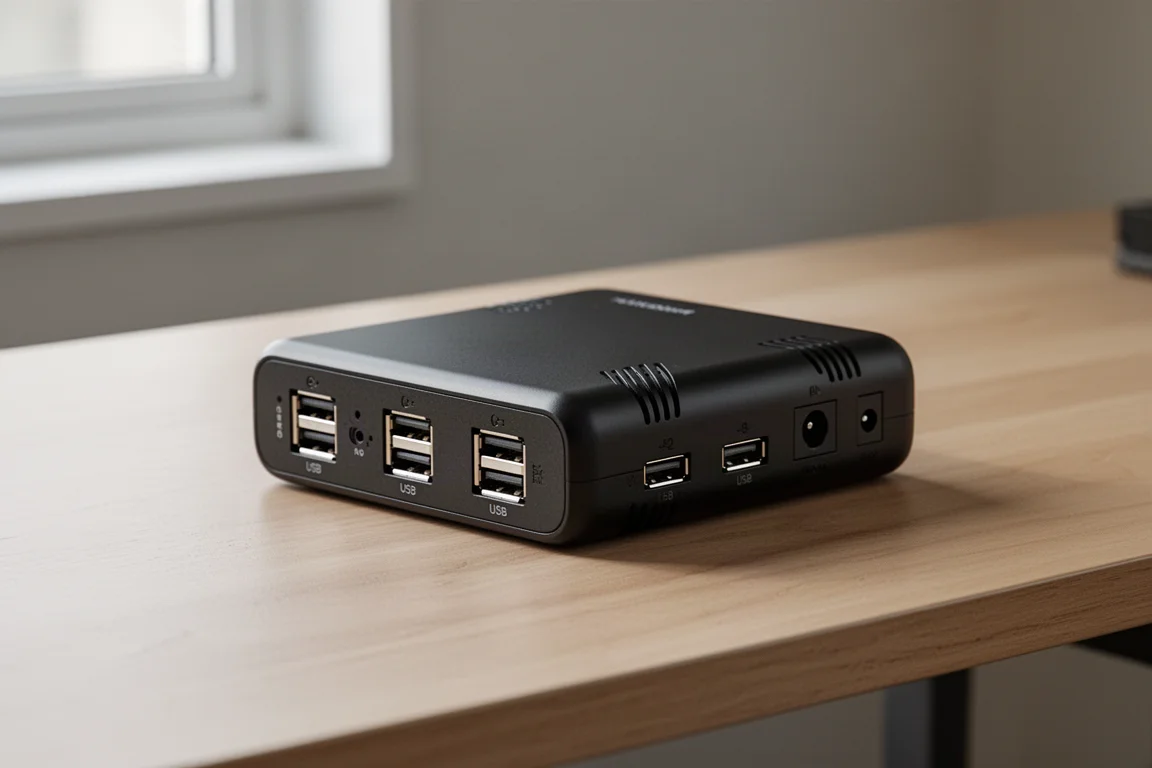
There are many ways to run an imaging session, but few are as easy as an ASI Air and a tablet. The ASI Air Mini is the cheapest model in the lineup, and it handles everything: polar alignment, auto guiding, and running the imaging plan itself.
Using station mode to connect to a home Wi-Fi network, you get a strong connection that lets you monitor the session from indoors on a tablet while the rig works outside in the cold. If clear nights are rare where you live and you need to maximize every clear minute, this is the easiest way to do it.
The Guiding Pair: William Optics Uniguide 32mm and ZWO ASI120MM
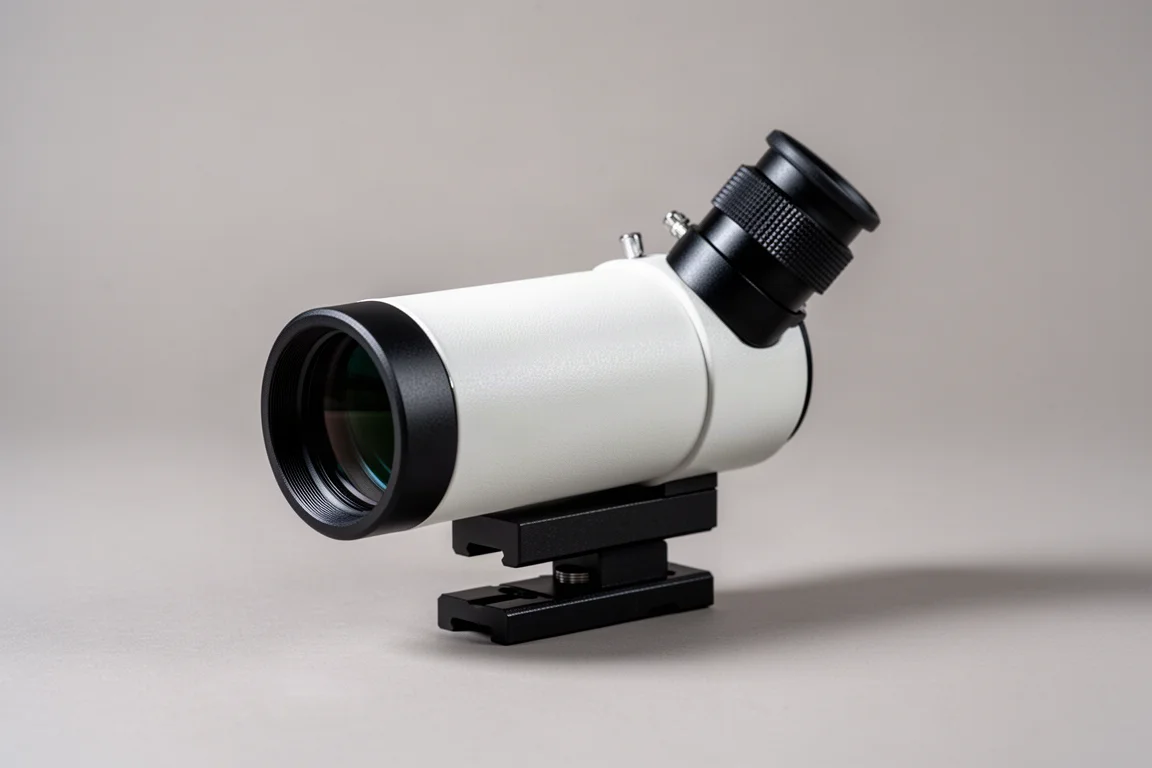
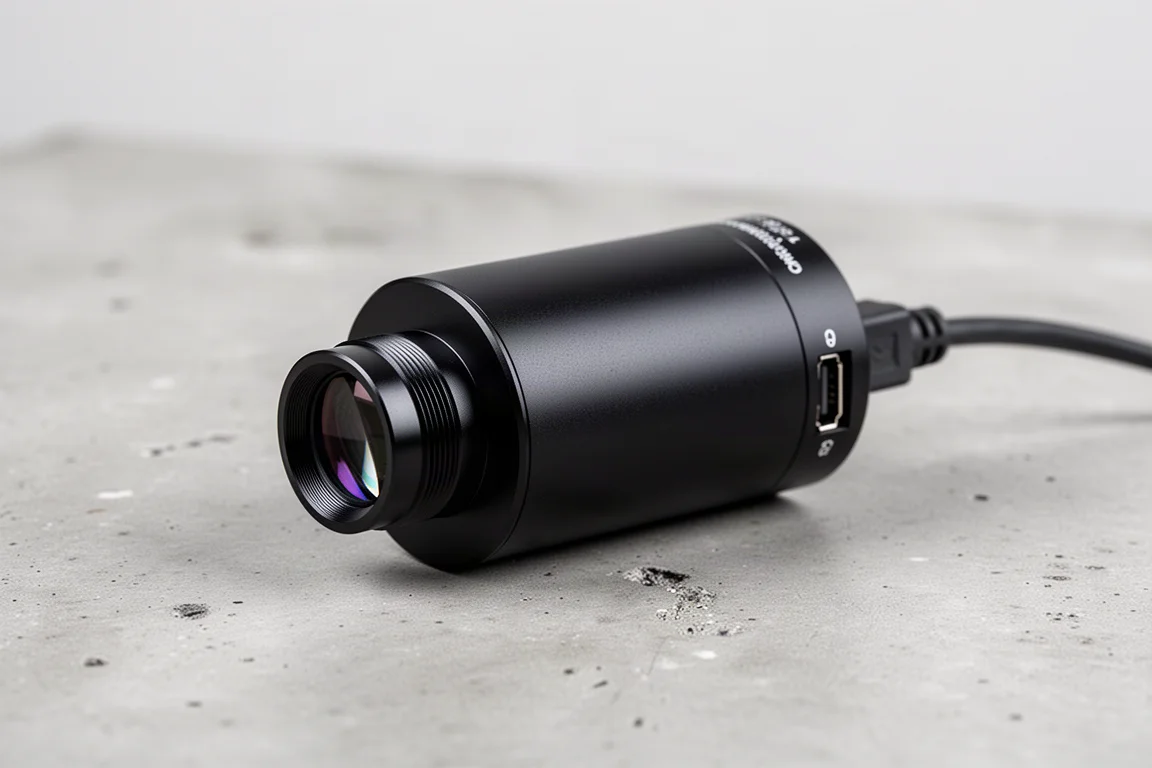
Auto guiding here uses about as cheap a setup as it gets. A 32mm William Optics Uniguide guide scope mounts on top of the SV550, and inside sits the ZWO ASI120MM, a planetary and guiding camera that has never let its owner down.
The combination adds almost no weight to the rig and makes longer sub-exposures possible, into the 5-minute range if desired. For a first guiding setup, this pairing is a proven, low-risk choice.
The Filter: Optolong L-eXtreme
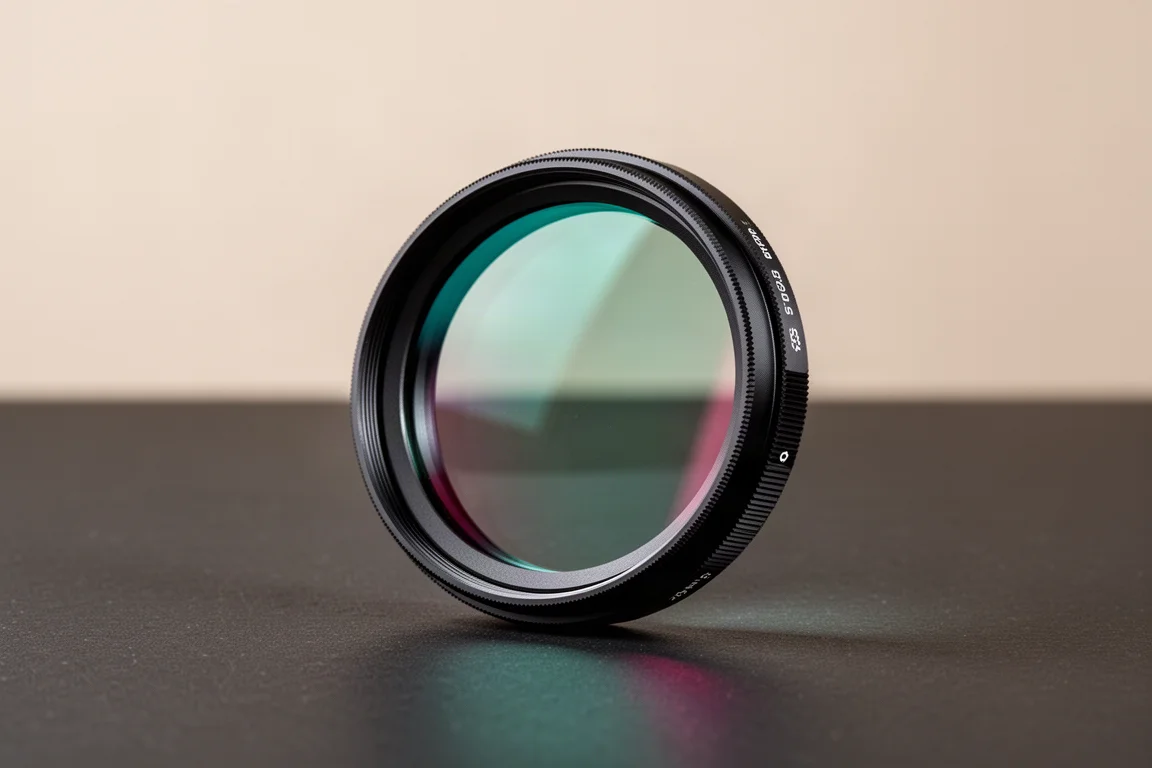
The filter choice is what makes a single-night result possible under a bright moon. At about $300, the Optolong L-eXtreme lets the rig collect a healthy signal-to-noise ratio even with moonlight working against you.
If you are lucky enough to live somewhere darker than Bortle 6, you could skip the filter entirely, though you would still have to deal with the moon. Cheaper alternatives with similar characteristics exist, such as the Svbony Duo-band filter, but that one has not been tested in this configuration. The payoff is real: this filter is what turns a difficult moonlit night into a usable stack of 4-minute sub-exposures.
Overall Buying Advice
The core strength of this build is that every component has a clear job and none of them fight each other. The mount has payload headroom, the telescope and camera are well matched on image scale, the guiding pair is lightweight and reliable, and the filter handles the worst observing conditions.
Two small lessons from real-world use are worth repeating: budget for the pier extension, and pay attention to your mount’s power supply, since picky behavior is often power related. If your budget is tighter still, a used mount, a DSLR, and skipping the smart control unit can shave significant cost, at the price of convenience and cooled sensor performance.
Conclusion
A rig this capable at this price would have been hard to put together not long ago. For anyone assembling a first deep sky astrophotography setup on a tight budget, this combination of seven pieces covers everything from mount to final signal, and it has already proven itself on cold, hazy, moonlit nights in the backyard.
Further reading
Related Reviews
Astrophotography
ASKAR FRA400C Review: A Versatile 400mm Refractor for Astrophotography and More
The ASKAR FRA400C is a compact 72mm refractor that balances reach, versatility, and portability for astrophotographers and visual observers.
Astrophotography
Askar SQA106 Review: A Premium 106mm Astrograph With Exceptional Optics
The Askar SQA106 is a premium 106mm quintuplet astrograph with impressive sharpness across full-frame sensors, though its price and weight demand careful consideration.
Astrophotography
Astro Imaging Gear 2026: Eight New Products Worth Watching
A look at the most interesting new astrophotography and astronomy products announced this year, from fast telescopes to smart cameras and wireless accessories.