Astrophotography
A Budget Deep-Sky Astrophotography Kit That Delivers: 5 Pieces Worth a Look
Five affordable pieces of gear that together form a complete deep-sky astrophotography rig capable of impressive nebula images from a light-polluted backyard.
Introduction
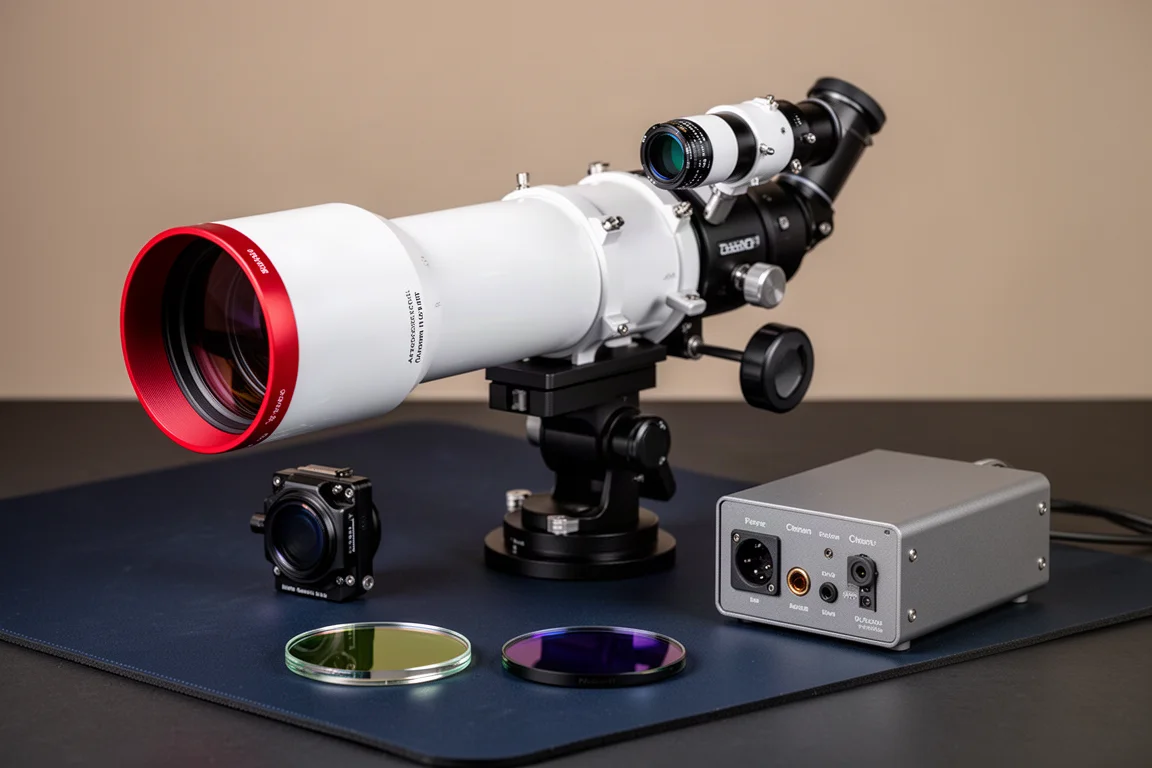
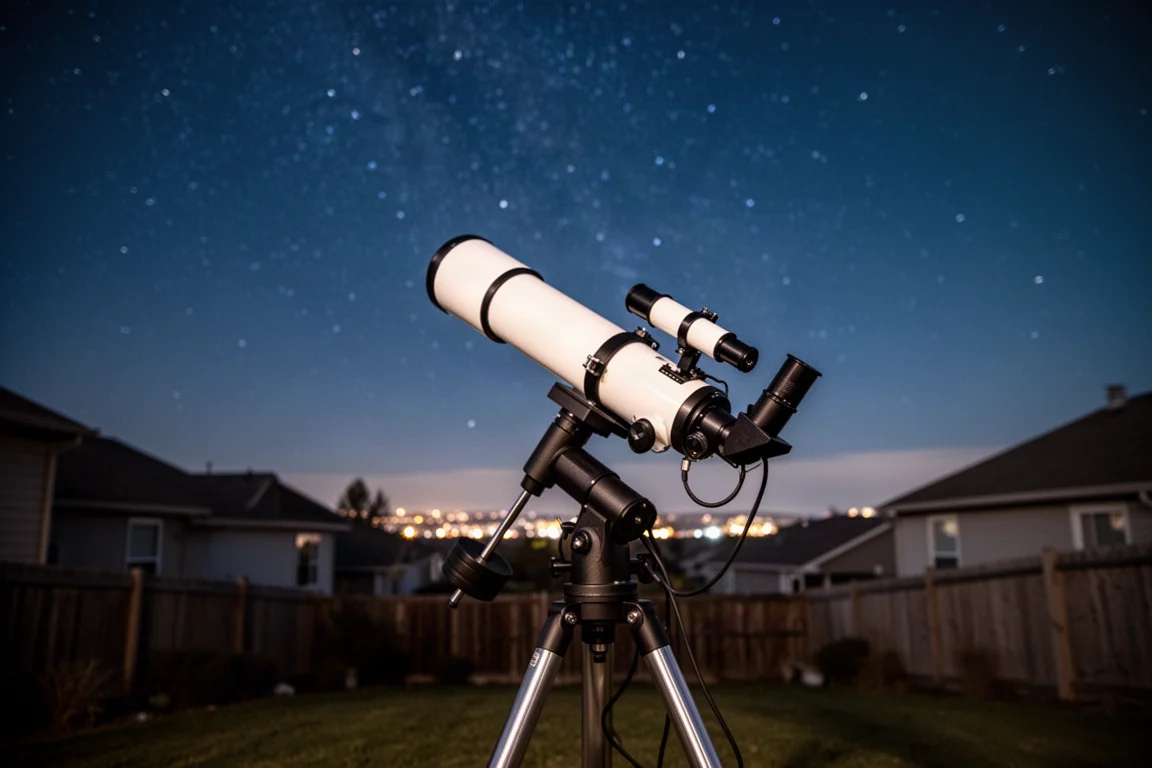
Building a deep-sky astrophotography rig does not have to mean spending five figures. A complete setup built around an affordable telescope and camera combo has proven it can capture punchy nebula images from a light-polluted suburban backyard. The full kit shown here totals just under $3,000, and every piece plays a clear role: optics, sensor, tracking, light pollution control, and power management. Here is what each component brings to the table, and the trade-offs to know before buying.
The Telescope: SVBony SV550 80mm Triplet APO
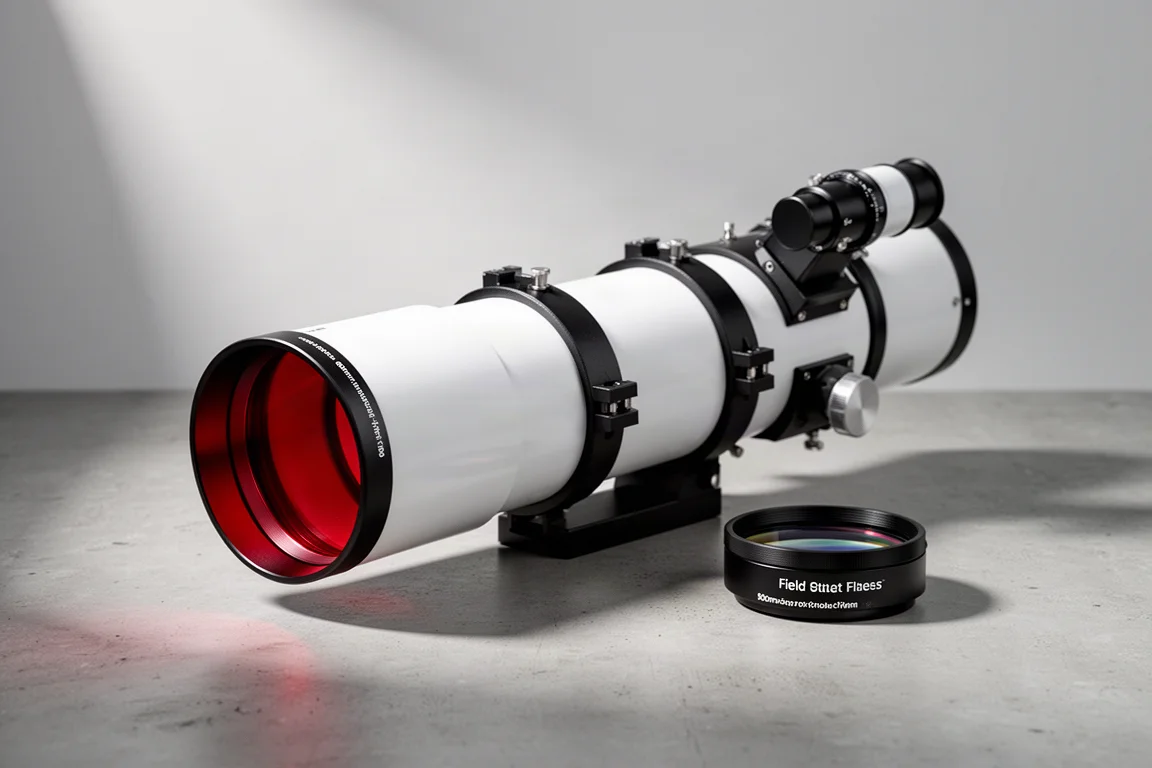
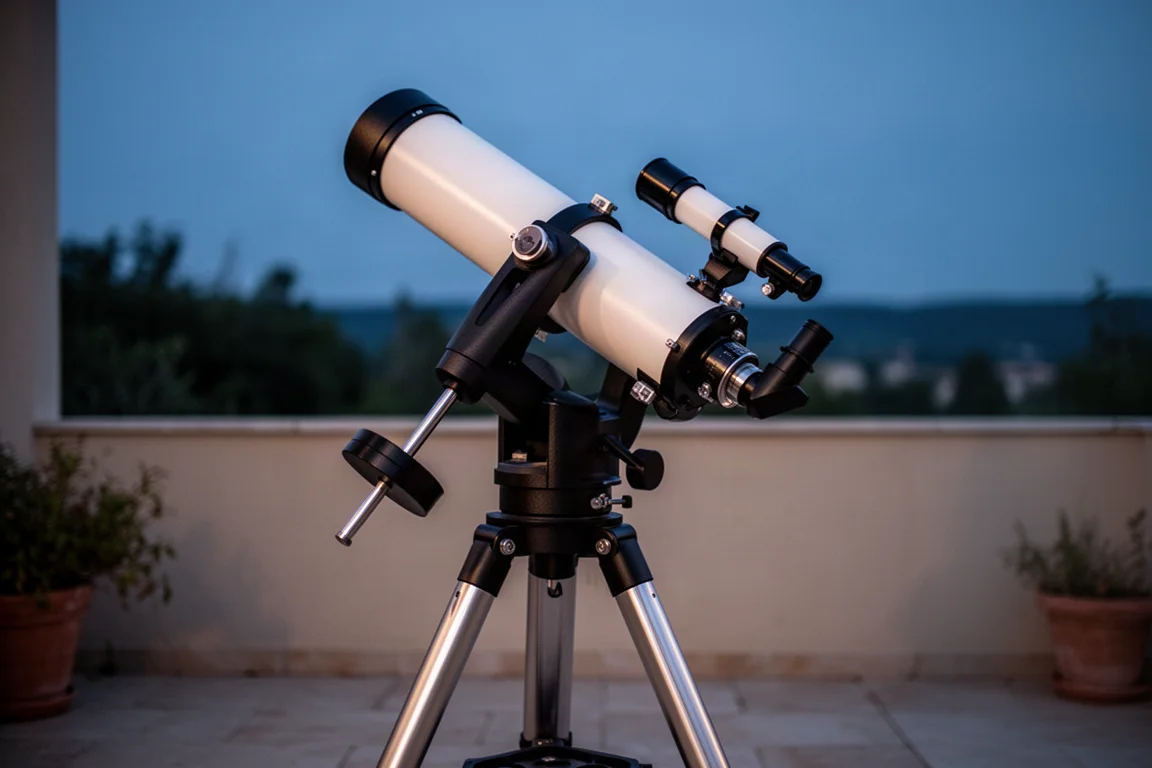
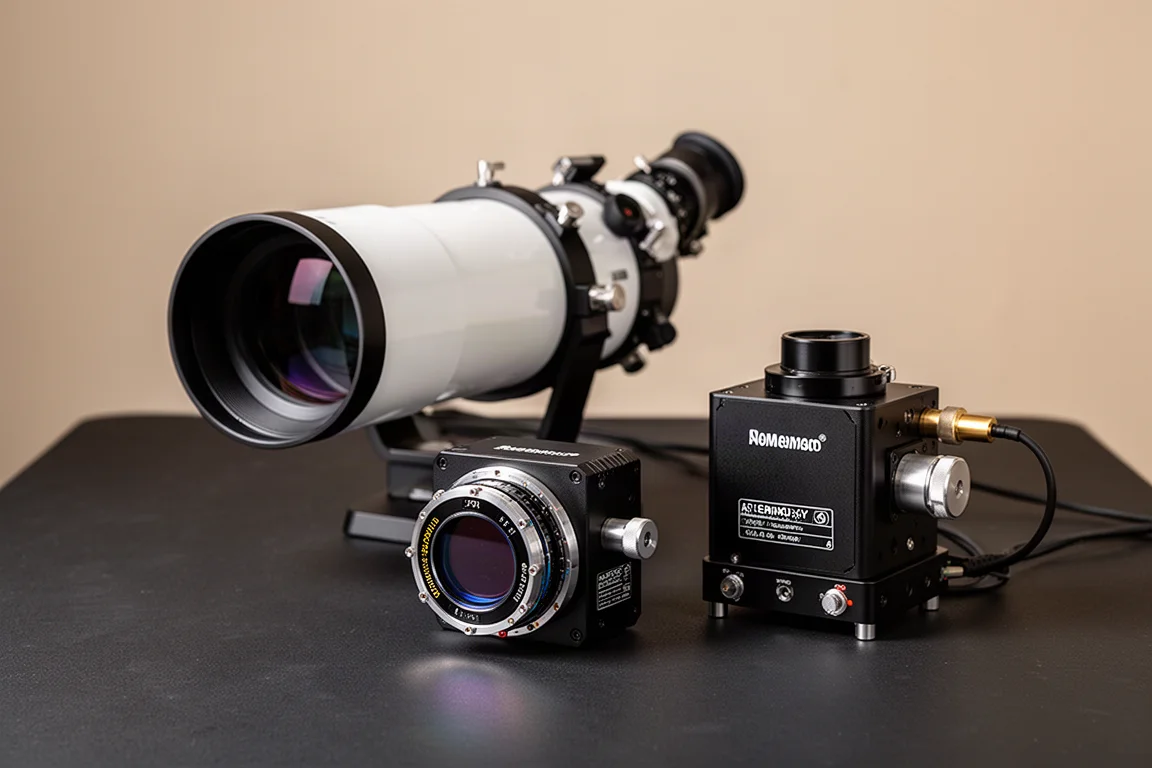
At the heart of the rig is the SVBony SV550, an 80mm triplet apochromatic refractor sold on Amazon. It uses three lens elements including FPL51 glass, and while SVBony was long considered a budget brand, this telescope is a genuinely capable imager. At 480mm focal length and f/6, it is a practical focal length for a wide variety of deep-sky targets, and it recalls classic 80mm imaging refractors in character.
A broadband test on the Iris Nebula using 3-minute exposures showed mostly well-formed stars, with slight jaggedness to star shapes but no problematic color halos around blue stars. Color correction holds up well. The package includes a dedicated field flattener, which is an additional item worth budgeting for; larger-sensor cameras will show misshapen stars at the frame edges without it. With a small sensor, the field is forgiving.
The Camera: ZWO ASI585MC Pro
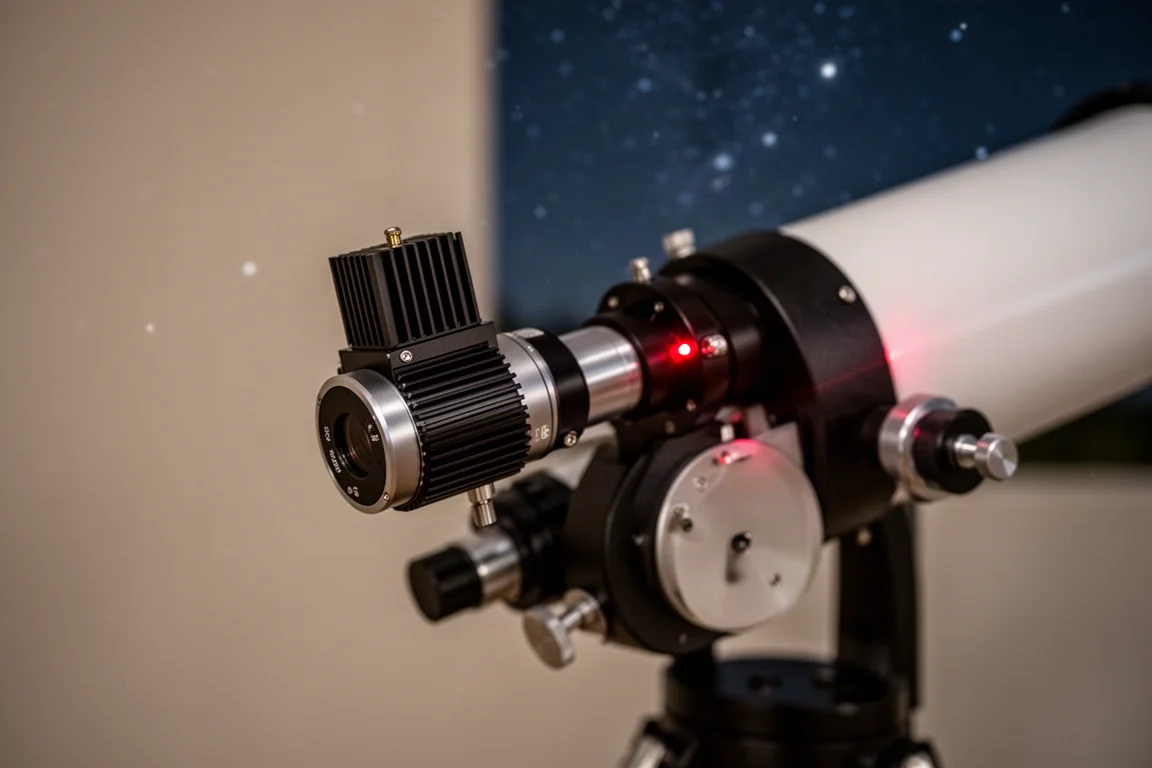
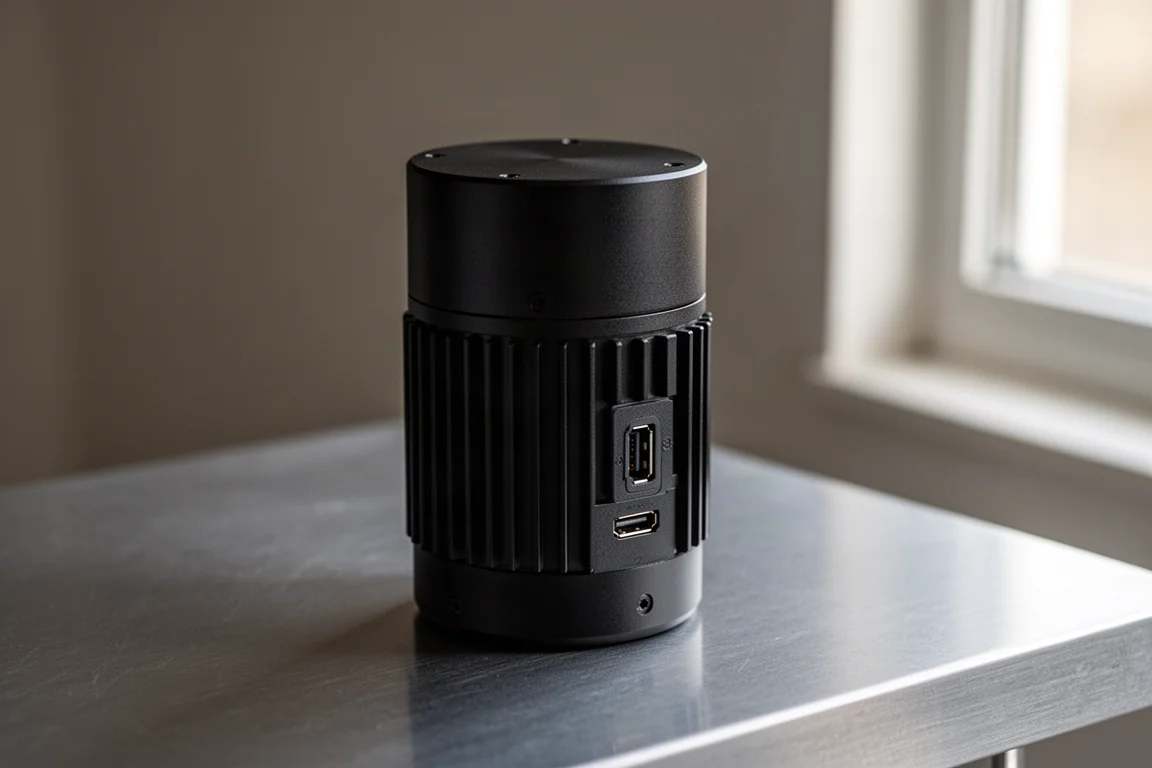
Attached to the scope is one of the most affordable dedicated astronomy cameras available, the ZWO ASI585MC Pro. It is a color camera with internal cooling and a sensor that picks up the important H-alpha wavelength of light, which matters enormously for emission nebulae. In practice it offers the power and features of more expensive cameras in a smaller package.
The pairing with the SV550 creates a tighter field of view than you might expect from a wide-field refractor. At 480mm with this sensor, the image scale works out to about 1.2 arcseconds per pixel, a good match: stars look soft and round while the deep-sky object stays crisp and detailed, neither too soft nor too crunchy.
The Mount: Sky-Watcher EQ AL55i
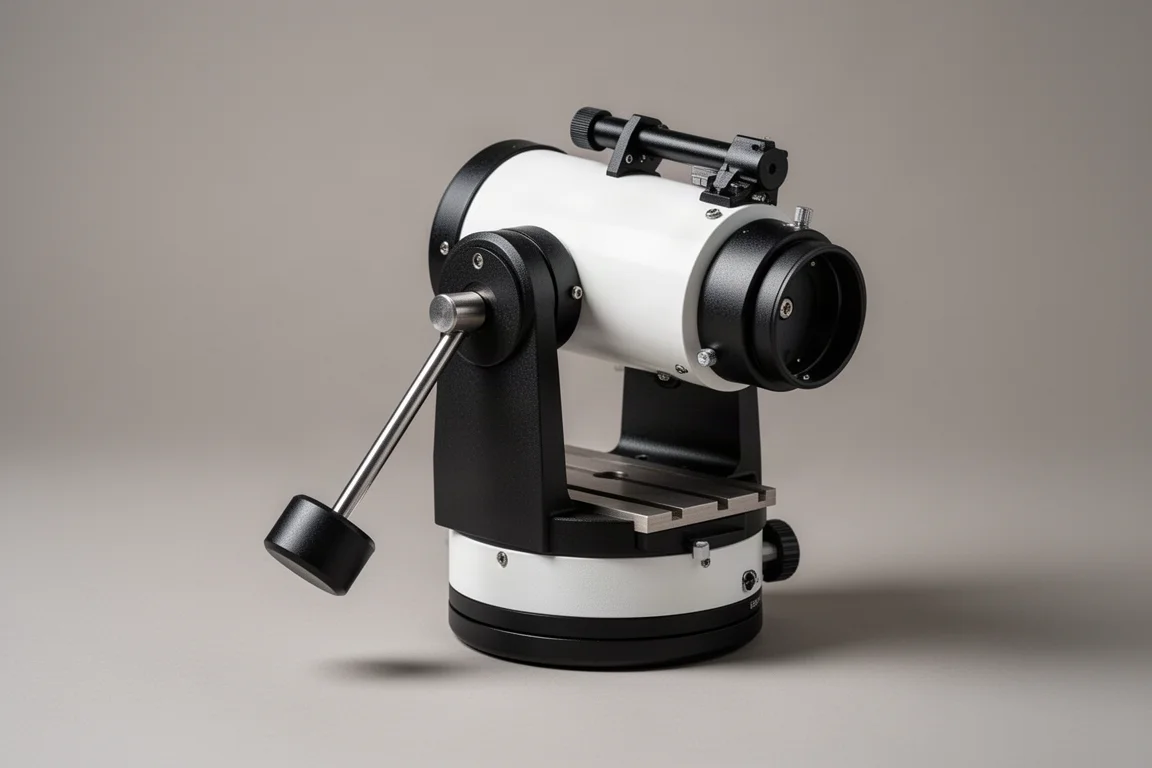
The telescope mount is the most important piece of the entire rig. Without smooth tracking, the best cameras and telescopes are useless. The Sky-Watcher EQ AL55i is a modest traditional equatorial design with a 22lb max payload, a step up from a star tracker, and in testing it has done an admirable job with autoguiding.
There are quirks to know about. Some users report declination backlash, and occasional odd behavior appears in the guiding graph, always on the declination axis, typically right after a dither move. In practice this costs roughly two unusable subframes out of every 40 to 50 three-minute exposures, which is an acceptable loss rate. Proper balance, guiding, and keeping the payload well under the 22lb limit all help, and dithering every two frames instead of every frame may reduce the hiccups. It is not recommended to open the mount up for internal adjustments. Otherwise it behaves like a mini EQ6-R and works well with the ASIAIR or a SynScan hand controller; a dedicated connection cable is needed for ASIAIR control.
The Filter: Optolong L-Enhance
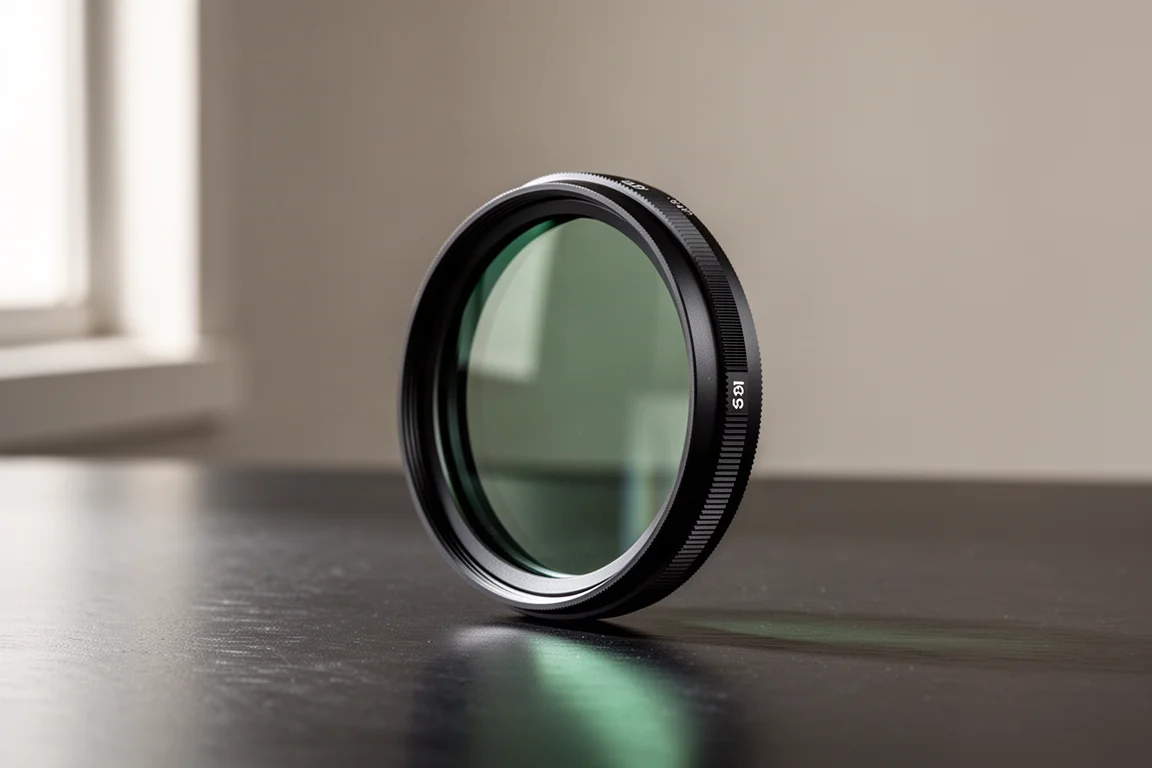
To cut through city light pollution and get a punchy image of emission nebulae, the Optolong L-Enhance is the filter of choice for this rig. It is a dual-band filter that passes H-alpha and OIII light, making it ideal for targets like the Pac-Man Nebula in Cassiopeia. It performs almost as well as the more expensive L-Extreme, which makes it a smart value pick for nebula work from suburban skies.
Power and Session Management
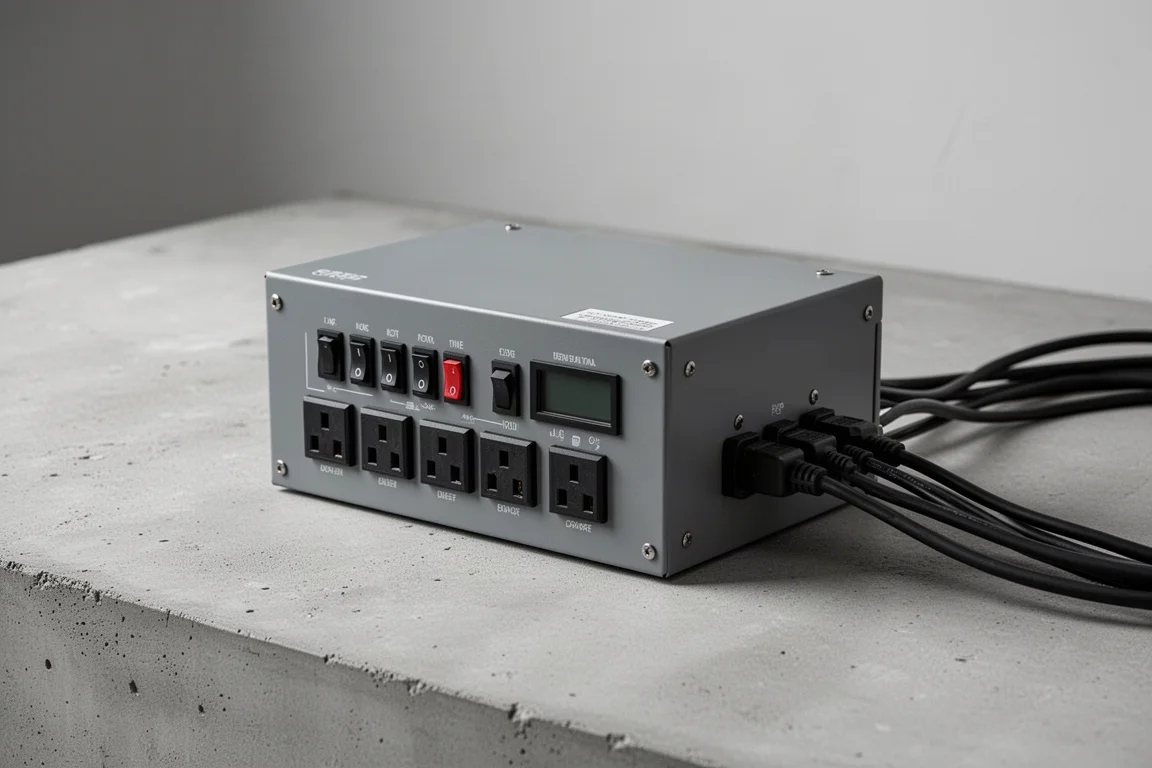
The SVBony SV241 power box is the small grey box that keeps the rig tidy. It provides additional ports, cleans up the cabling, and is used to power the ASIAIR Mini and run dew heater bands for moisture control. It is the kind of unglamorous accessory that makes long automated sessions far easier to manage.
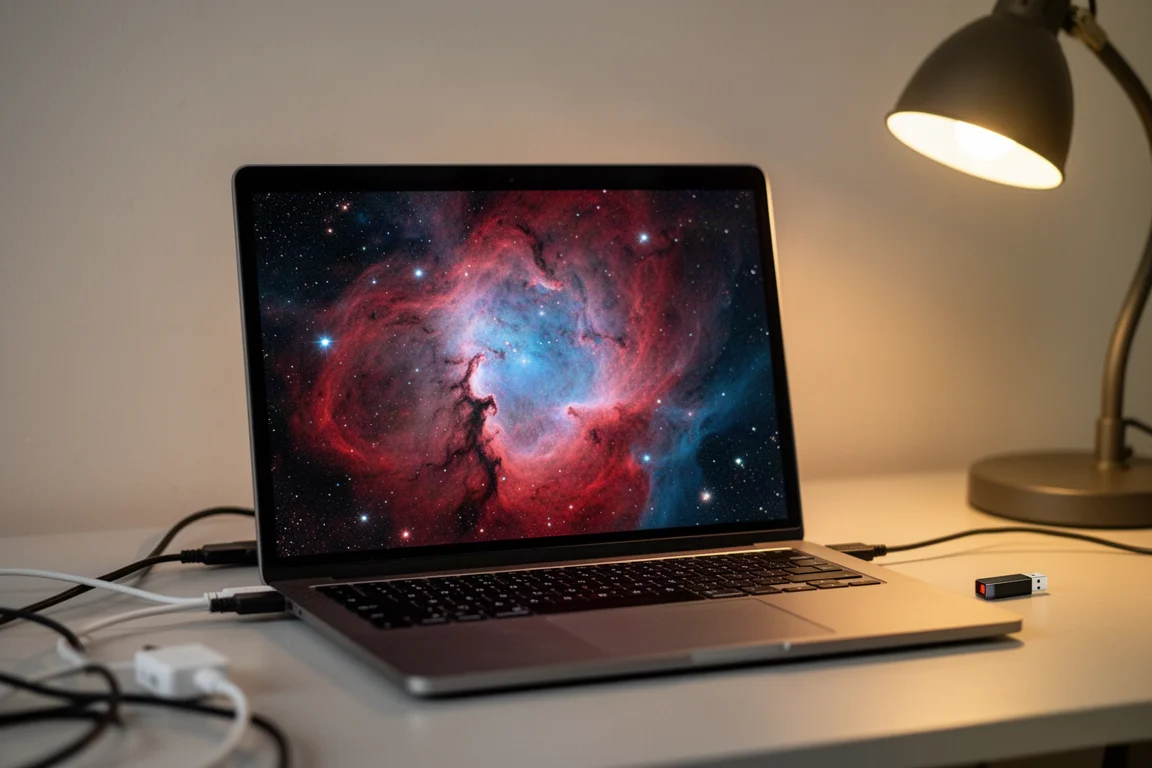
Everything is controlled wirelessly from indoors using an ASIAIR, which handles target locating, autoguiding, and dithering during the session. Images are stored on a mini USB thumb drive plugged into the ASIAIR and downloaded to a computer the next morning. Balancing with the counterweight and polar aligning on the north celestial pole remain essential steps, and the one notable gap in the rig is an autofocuser: focus is currently achieved with a Bahtinov mask on a bright star, with occasional trips outside after major temperature changes.
Buying Advice
As a template, this kit works. You can swap any component for gear you already own or upgrade individual pieces later, but as a complete deep-sky astrophotography package for someone on a tight budget, it is a winning combo. The total for everything described here comes in just under $3,000. Factor the field flattener into the telescope budget, pick up the ASIAIR connection cable for the mount, and take polar alignment and balancing seriously before your first session.
Conclusion
Affordable does not have to mean disappointing. An 80mm triplet APO, a cooled color camera, a modest equatorial mount, a dual-band filter, and a tidy power distribution box add up to a rig that turns a light-polluted backyard into a window on emission nebulae. Match each piece to your own skies and targets, and clear skies.
Further reading
Related Reviews
Astrophotography
ASKAR FRA400C Review: A Versatile 400mm Refractor for Astrophotography and More
The ASKAR FRA400C is a compact 72mm refractor that balances reach, versatility, and portability for astrophotographers and visual observers.
Astrophotography
Askar SQA106 Review: A Premium 106mm Astrograph With Exceptional Optics
The Askar SQA106 is a premium 106mm quintuplet astrograph with impressive sharpness across full-frame sensors, though its price and weight demand careful consideration.
Astrophotography
Astro Imaging Gear 2026: Eight New Products Worth Watching
A look at the most interesting new astrophotography and astronomy products announced this year, from fast telescopes to smart cameras and wireless accessories.