Ski Goggles
Best Ski Goggles With Interchangeable Lenses: Giro, Smith, and Anon Compared
A practical guide to today's interchangeable-lens ski goggles, how each major lens system works, and which models suit glasses wearers, small faces, and wide peripheral views.
Introduction
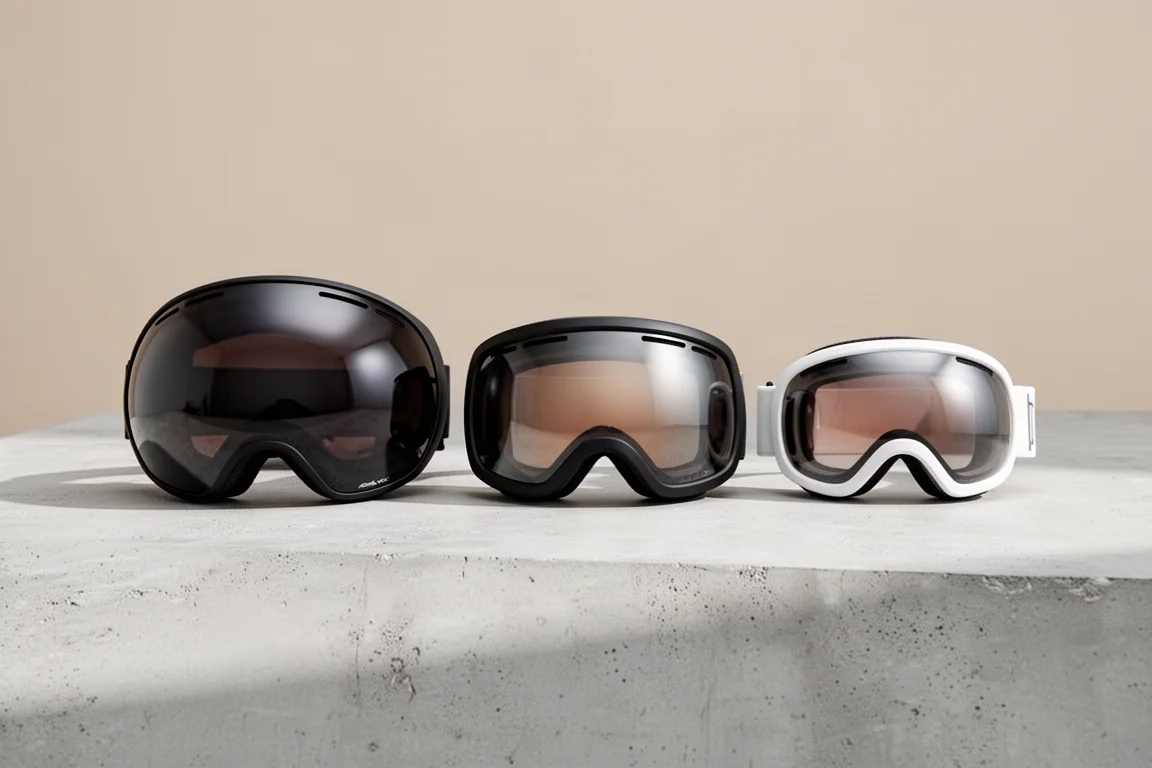
If you have shopped for goggles recently, you have noticed that nearly every model now comes with interchangeable lenses. That is not just a marketing trend: swapping lenses lets you match your vision to the conditions, and some systems are dramatically easier to use than others. This guide walks through how the major lens-change systems work and which goggles stand out for fit, visibility, and glasses compatibility.
Why Interchangeable Lenses Matter
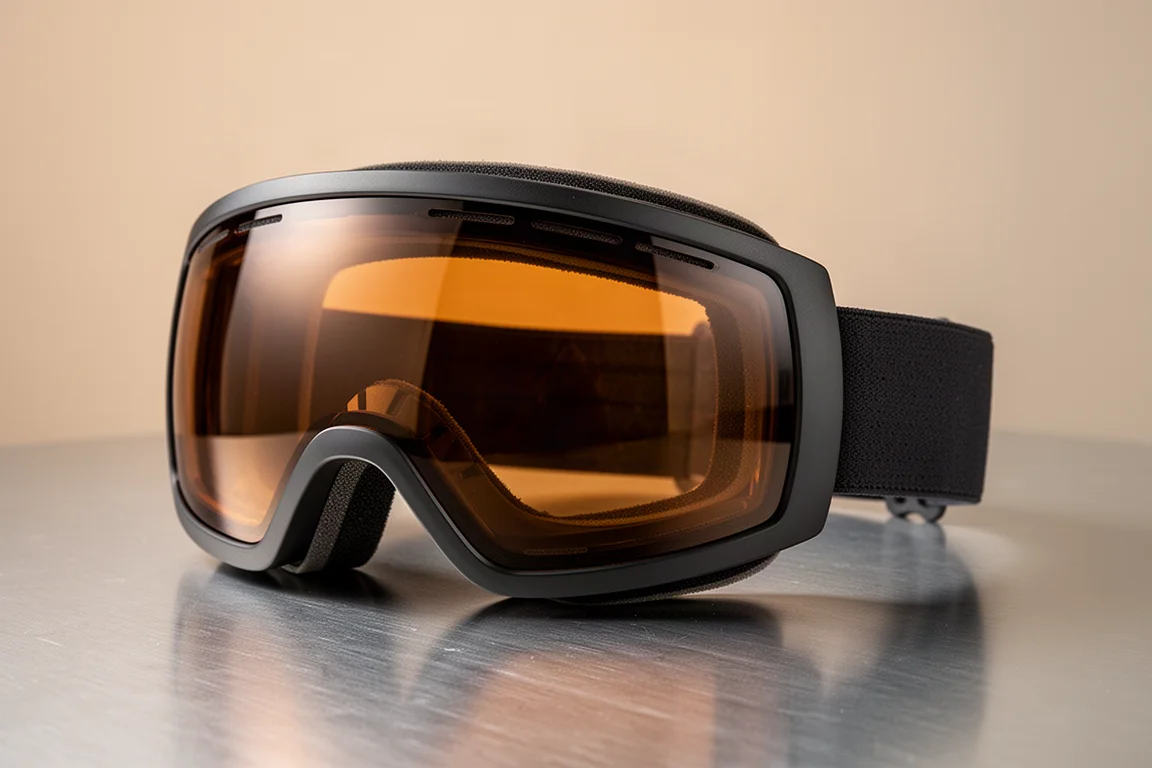
A darker lens behaves like a pair of sunglasses. It protects you in really bright, above-treeline conditions: glacier skiing, alpine skiing, wide open bowls out west, or simply the top of the mountain on a bluebird day.
The problem arrives when the sun drops, snow starts falling, or cloud cover flattens the light. Contrast disappears, and differentiating cat tracks and grooves in the snow gets genuinely difficult. That is when your second lens earns its keep. Most spare lenses use a much lighter tint, typically a light pink or light yellow, to make those grooves easier to read. Each brand tints slightly differently, but the goal is the same.
Giro Contact: Big Frame, Easy Top-Button System
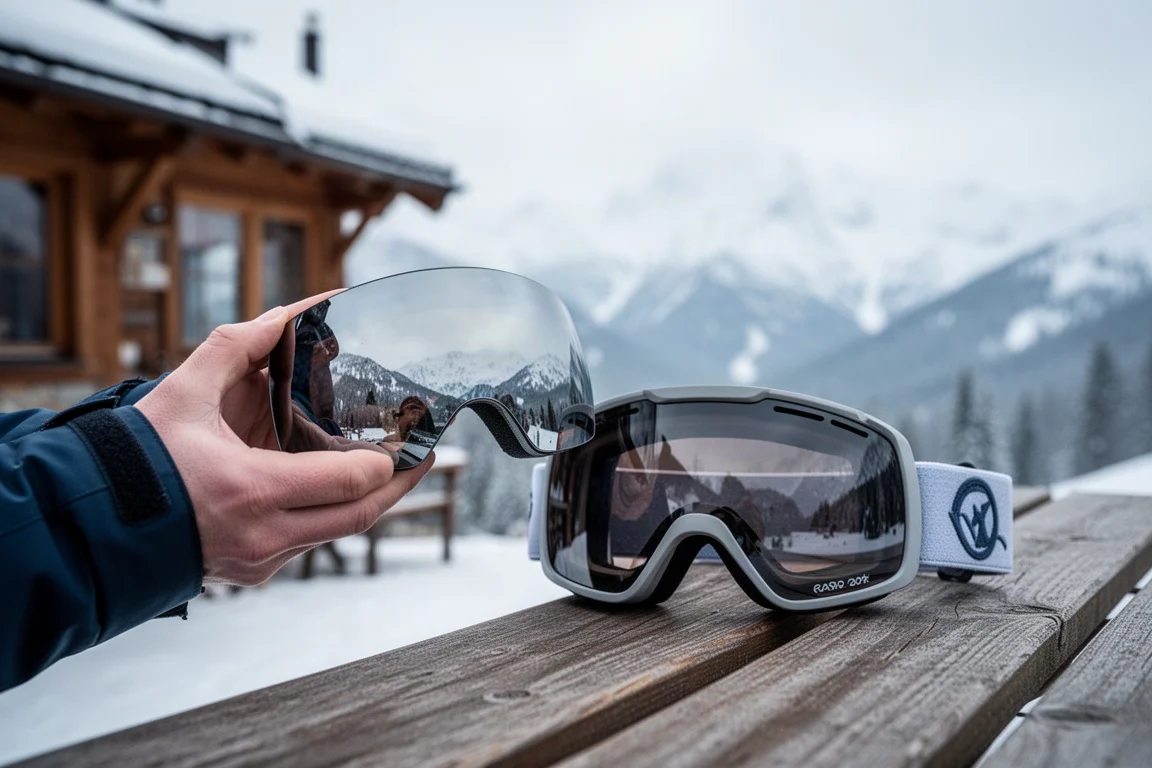
The Giro Contact is a slightly larger frame, and it uses one of the easiest lens changes in the Giro collection. A small button at the top releases the lock, you bend the frame to free the lens, and pull it out. Magnets hold the lens in place, so installing your spare is a matter of lining up the magnets and pushing the button down until it locks again.
One important detail: you can change the lens on your face or off your helmet, but not while the goggle is mounted on a helmet. The frame bends in a way that prevents the lens from locking correctly, so take it off first.
Giro Contour RS: Wide Peripheral Vision
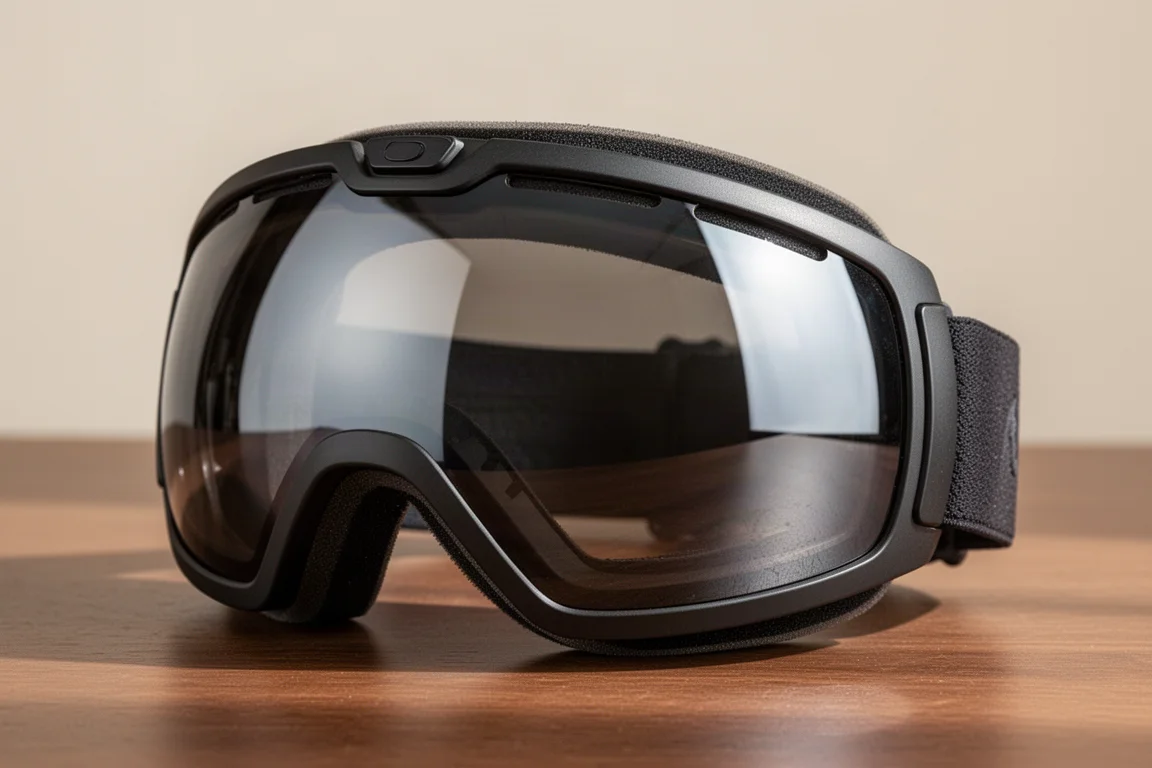
The Contour and Contour RS share a lens system, with the RS using a slightly smaller frame. Both are known for one of the largest extended views available, letting you see well into the periphery on each side.
Changing the lens is refreshingly simple: there is a groove at the nose bridge, you slide your fingers in and pop the lens out. Four grommets on the goggle line up with matching grommets on the back of the lens to seat it securely. The RS changes exactly the same way.
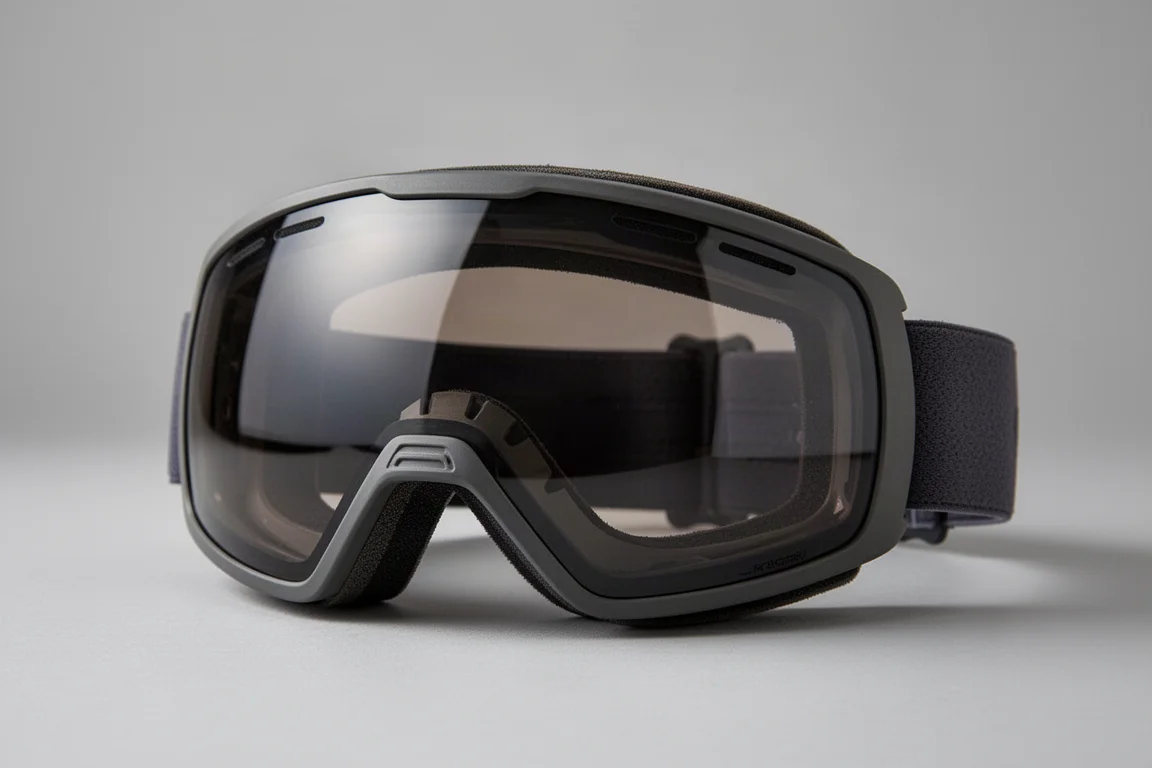
Giro Axis and Ella: Same System, Smaller Frame
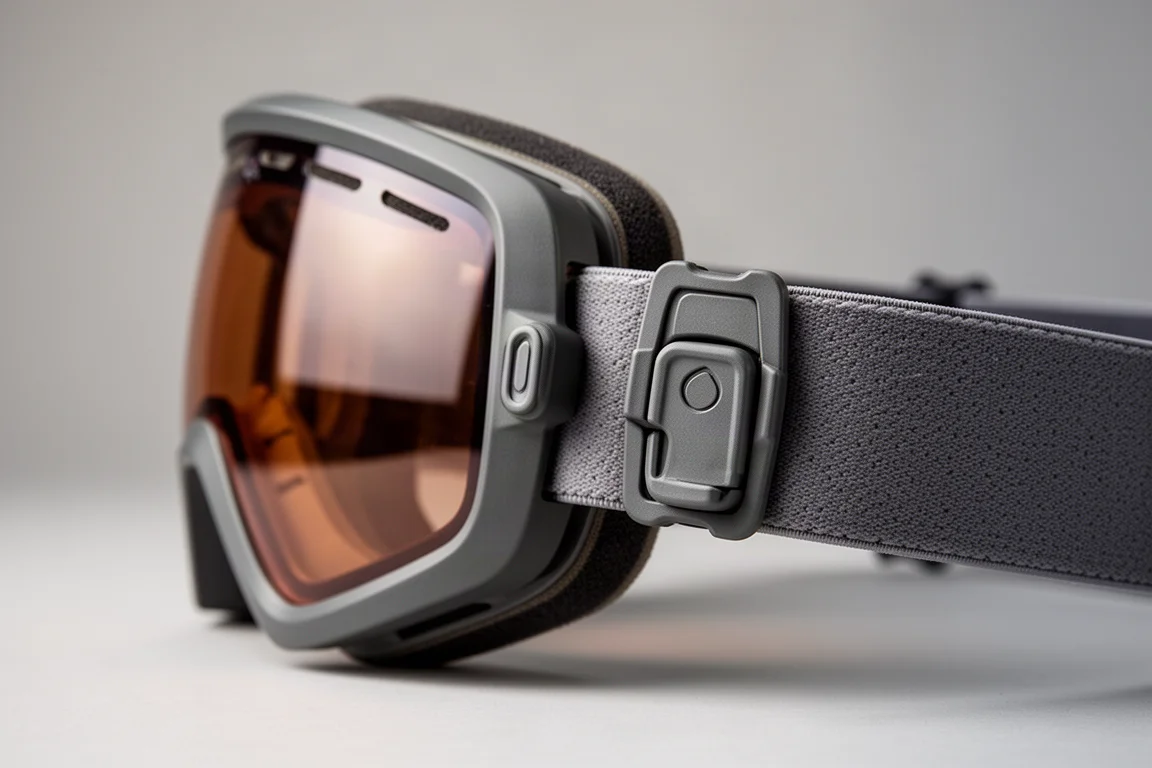
The Axis and the Ella (the women’s version, with different color options and a soft fleecing on the inside) sit in a medium frame size, a bit smaller than the Contour and Contact. The lens changes exactly like the Contour: fingers into the groove, pop the lens off, line up the magnets and four grommets, and it is back in place. Very simple.
Smith 4D Mag: Fishbowl Lens With Dual Locks
The Smith 4D Mag has become one of the more popular goggles lately thanks to its fishbowl lens, which wraps down below to add peripheral view. The regular 4D runs large, closer in size to an I/O XL, while the 4D Mag S is the smaller version.
To change the lens, there are two locks, one on each side. Release both, bend the lens back, and it releases. Magnets help you line it back up: make sure both edges click in, then lock each side back down.
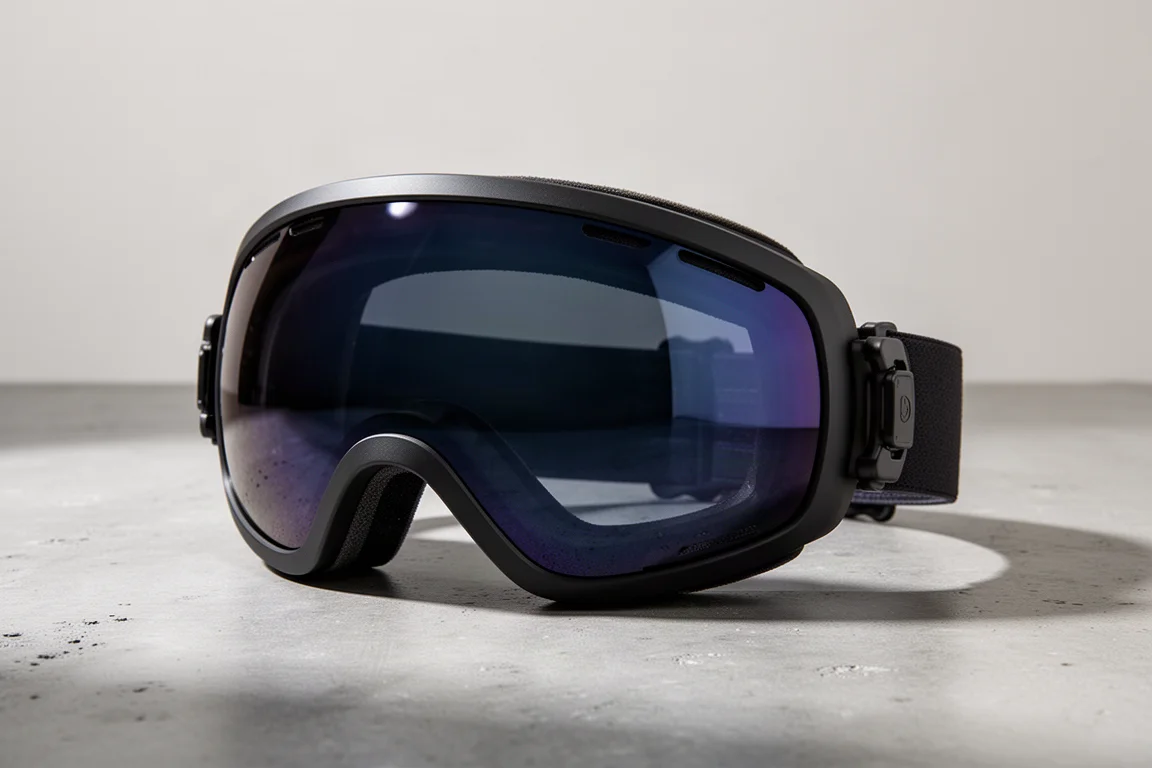
Anon M5: Arguably the Easiest Lens Change
Anon’s M Series spans the M5, M5S, M4, M4S, M3, and M2, plus a women’s line with the WM3, WM2, and WM1, with smaller numbers generally meaning smaller frames. All the M collection frames change exactly the same way, and it is arguably the easiest system out there: just bend the frame back. The entire retention is magnetic, with a set of magnets holding the lens in place. No locks, no buttons, super simple.
Anon also offers both cylindrical and toric or spherical lens shapes across the line, so you can choose whichever geometry you prefer.
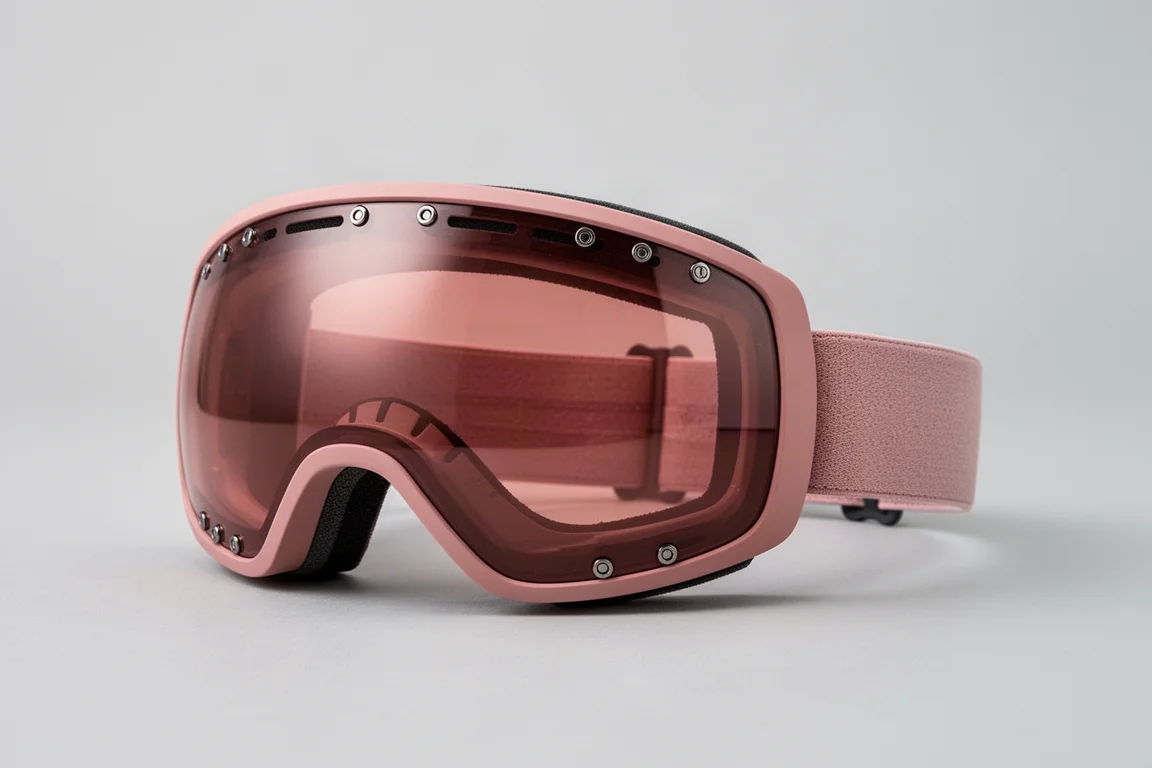
Best OTG Picks for Glasses Wearers
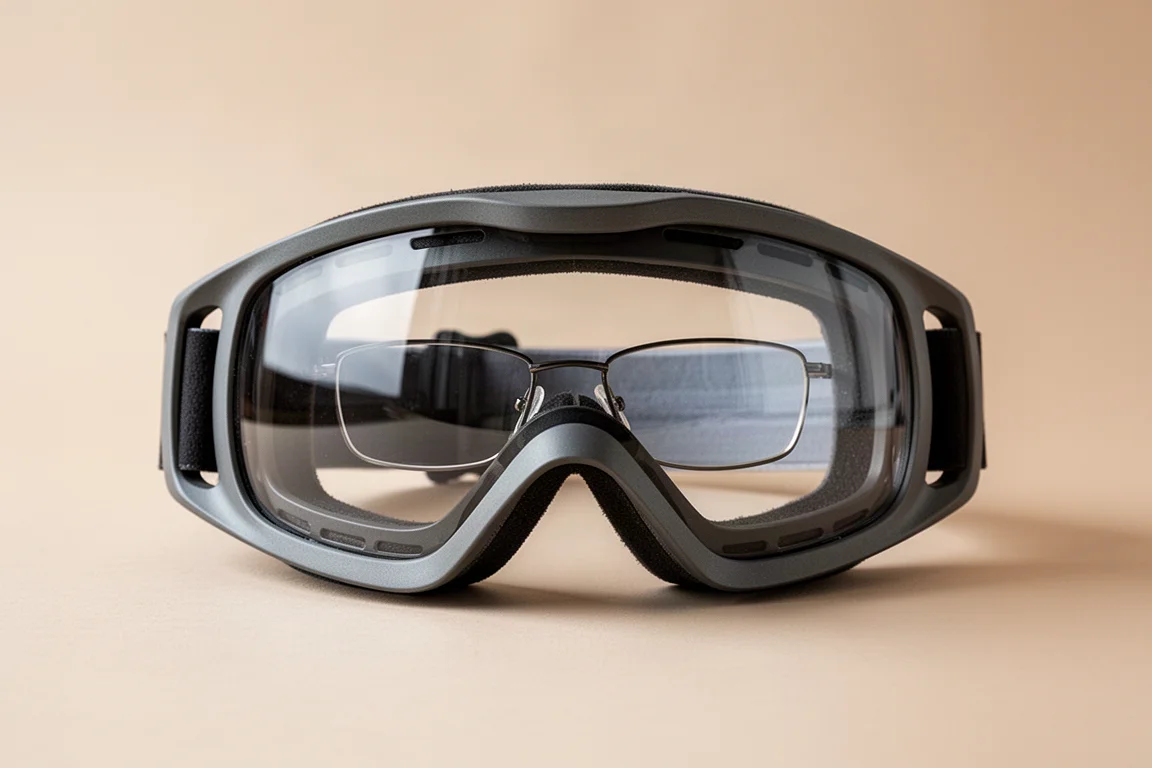
If you wear glasses under your goggles, look for models designed for that. True OTG (over the glass) goggles have a much deeper frame so the goggle does not push your glasses lenses against your face, and they remove the plastic along the frame sides so your temple arms are not pressed into your head.
If you want more options, OTC (over the glass compatible) goggles are regular goggles with built-in features like the removed frame plastic, though with less overall depth than dedicated OTG designs. The best advice: bring your glasses when you try goggles on, and make sure they fit comfortably without pushing too far into your face. If you prefer a dedicated OTG fit, the Giro Index and the Smith Sequence are the standouts.

How to Match Your Goggles to Your Helmet
Helmet compatibility matters more than most people realize. You want to avoid a huge gap between the goggle and the helmet, but a little air is necessary because the vent at the top of the goggle needs to breathe to prevent fogging. Never block the top of your goggle, and clear snow off it rather than cinching the helmet down so tight the goggle cannot vent at all.
Also look at the slot area on the helmet: get the goggle frame as close to the helmet edge as possible. A smaller goggle will always leave a slightly bigger gap, but a large one will leave the sides of your head feeling very cold.
Storing Your Spare Lens
If your goggles come with two lenses, protect both. Most double-lens goggles include a sleeve with two interior pockets, one for the spare lens and one for the goggle itself. Pack them separately so the lenses never rub against each other in transit.
Conclusion
When you are ready to decide, three things matter most: how easily you want to change your lens, the frame size and how well it fits your face, and how cleanly it locks up with your helmet with as few gaps as possible. Pick the lens system that matches how often you actually swap, and the fit that keeps you comfortable all day, and any of the models above will serve you well.
Further reading
Related Reviews
Ski Goggles
Best Ski Goggles 2026: Four Goggles Tested, One Clear Winner
We spent a full winter skiing the Zeal Beacon, POC Nexal, POC Retina Big Clarity, and Oakley Flight Path to find which goggle is actually worth your money.
Backpacking Gear
Building a 10 lb Base Weight: An Ultralight Backpacking Gear List
A practical walkthrough of the ultralight pieces behind a 10 lb base weight, from a 765 g pack and a roomy one-person tent to a full camp chair and a dependable water filter.

Road Bikes
10 New Road Bikes Worth Watching: Aero, Titanium, Steel and Endurance Standouts
A practical roundup of 10 new road bikes, from aero flagships chasing single-watt gains to titanium, steel and endurance platforms built for real roads.