Astrophotography
Milky Way Photography Gear Compared: Smart Telescopes vs a Traditional Star Tracker Rig
Six pieces of gear for capturing the Milky Way, from a $700 smart telescope to a full-frame star tracker rig, with what each does best.
Introduction
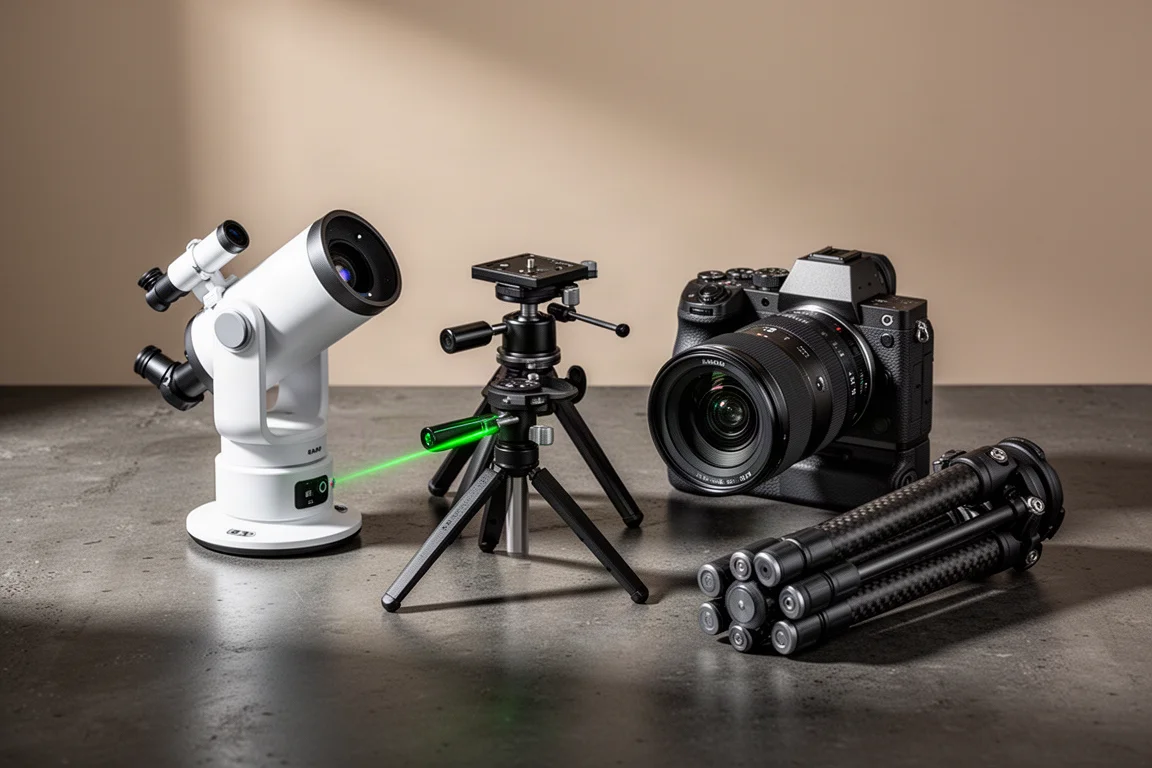
Capturing the Milky Way used to mean one thing: a camera, a fast wide lens, and a star tracker. Smart telescopes have changed that. To see how far they have come, we tested a compact smart telescope head-to-head against a traditional Milky Way rig on a single night in northern New Mexico. This guide breaks down the six pieces of gear involved, what each one does well, and which type of setup makes sense for you.
How the Two Rigs Were Tested
The comparison pitted a ZWO Seestar S30 Pro smart telescope against a traditional rig built around the Move Shoot Move Nomad star tracker with a full-frame camera and a 28mm lens. Both systems shot the Milky Way from the same dark site on the same night, capturing roughly 20 to 30 minutes of exposures that were then stacked and processed.
The setup logic is simple: the smart telescope automates nearly everything through a phone app, while the traditional rig gives you a bigger sensor, a bigger lens, and full manual control at the cost of more parts and more setup steps.
ZWO Seestar S30 Pro
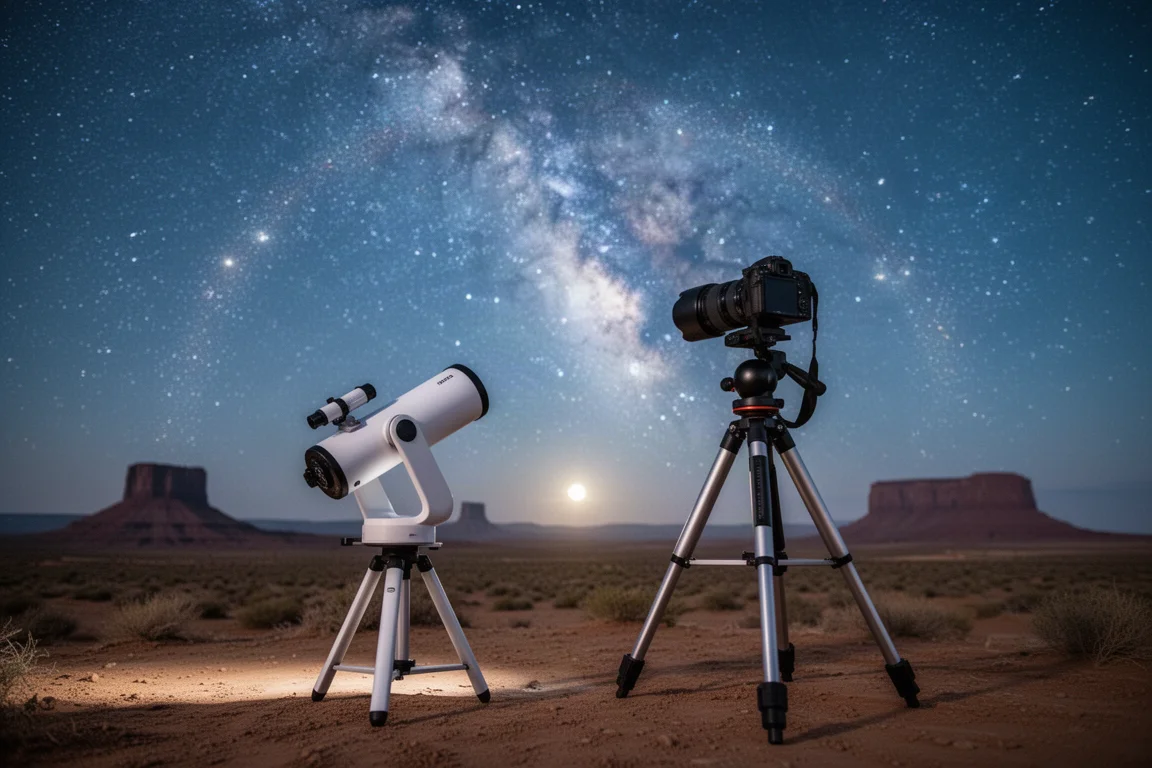
The Seestar S30 Pro is a smart telescope that retails for around $700, and Milky Way capture is just one of many astronomical objects it handles. Deep sky imaging is its main attraction, and the Milky Way mode is best seen as a very capable bonus feature.
Operation is almost entirely app-driven. You power it on, connect in the app, tap to open the arm so the cameras can see the sky, and enter a dedicated Milky Way mode. An on-screen joystick slews the unit left, right, up, and down until it faces your target, then autofocus runs and a single red button starts the sequence. The image live-stacks on screen, so you can watch the Milky Way grow more defined over a session of around 20 minutes.
In alt-azimuth mode, which is recommended for Milky Way work, 20-second sub-exposures were the sweet spot: long enough for good signal, short enough to avoid rotational star trailing in the corners. The automatic foreground capture keeps the horizon straight and now stacks many foreground sub-exposures with tracking off, which noticeably improves the ground portion of the image. The sensor is open to H-alpha light, so red nebulae pop out unusually well, though stars are not razor sharp given the phone-class lens, and fine dark nebula structure can look a bit muddy. If you shoot at home in a humid climate, the anti-dew setting matters; in very dry air it is unnecessary.
View more details for ZWO Seestar S30 Pro
ZWO Seestar S50 Pro
The S50 Pro is the newer sibling, and its wide-field camera system for Milky Way capture is identical to the S30 Pro’s, so everything above applies here too. The difference sits elsewhere in the package: the S50 Pro carries a bigger telephoto lens for its core deep-sky work.
It is currently offered on a pre-order sale for around $900, with the price set to rise to about $1,000 shortly after. If your interest leans more toward galaxies and nebulae than nightscapes, the extra reach makes the S50 Pro the better pick, while Milky Way results between the two should be essentially the same.
View more details for ZWO Seestar S50 Pro
Move Shoot Move Nomad
The Nomad is the heart of the traditional rig, and it is a genuinely well-executed star tracker. The brand was already making a name for itself with its first tracker, and with the Nomad it has become the clear leader in the Milky Way star tracker space. It is about as stripped down as a star tracker can be: small, solid, easy to set up, and it simply stays out of your way, which is exactly what Milky Way imagers want.
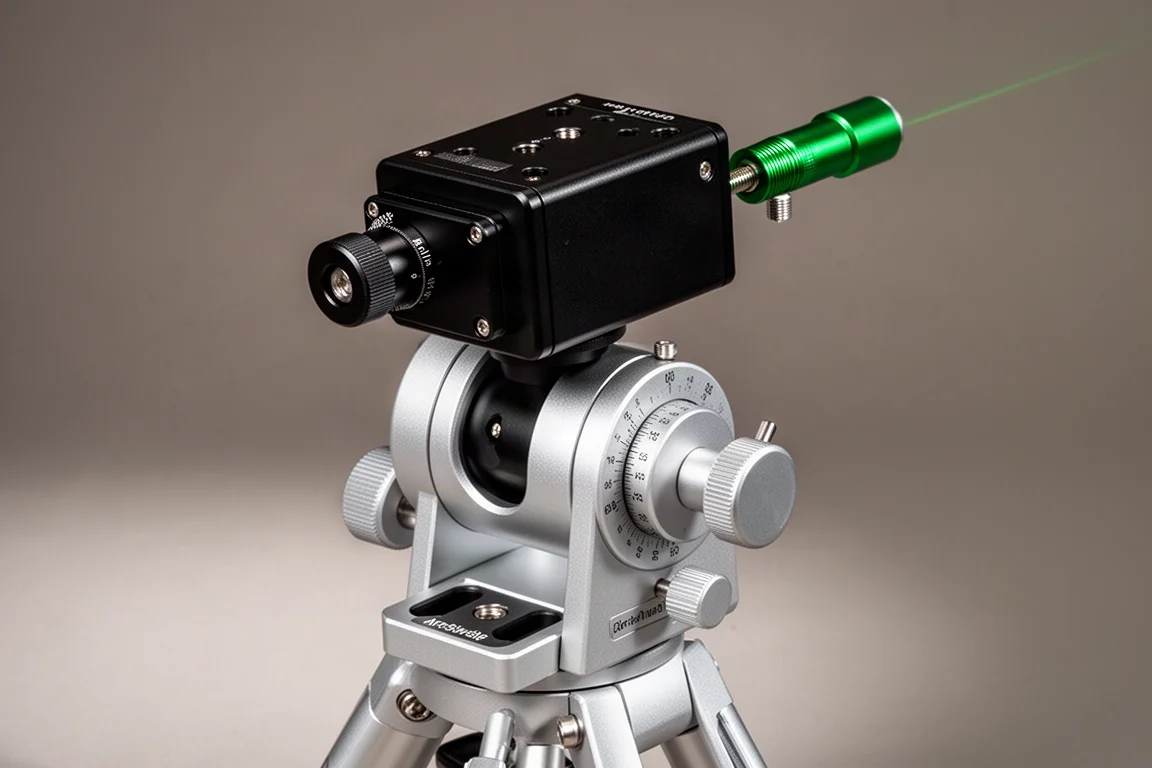
The ecosystem around it is thoughtful. An equatorial wedge screws onto the tripod via a standard 3/8-inch stud, the Nomad drops into the wedge with its built-in Arca-Swiss style foot, and a ball head attaches using a large red retaining ring, a system that feels much nicer than an exposed stud. Polar alignment offers several paths, including smartphone alignment and an optional green laser pointer that screws onto the back; the laser is the fastest method in the northern hemisphere, though it is not legal everywhere and does not work in the southern hemisphere, where the phone method works well. Once aligned, avoid bumping the tripod or you will need to realign.
Beyond the Milky Way, the Nomad has handled 85mm tracking for comets and the Large Magellanic Cloud impressively well, so it is not strictly a one-trick tool. It has become the kind of thing worth bringing on every dark-sky trip because it is so small and works so reliably.
Canon EOS Ra
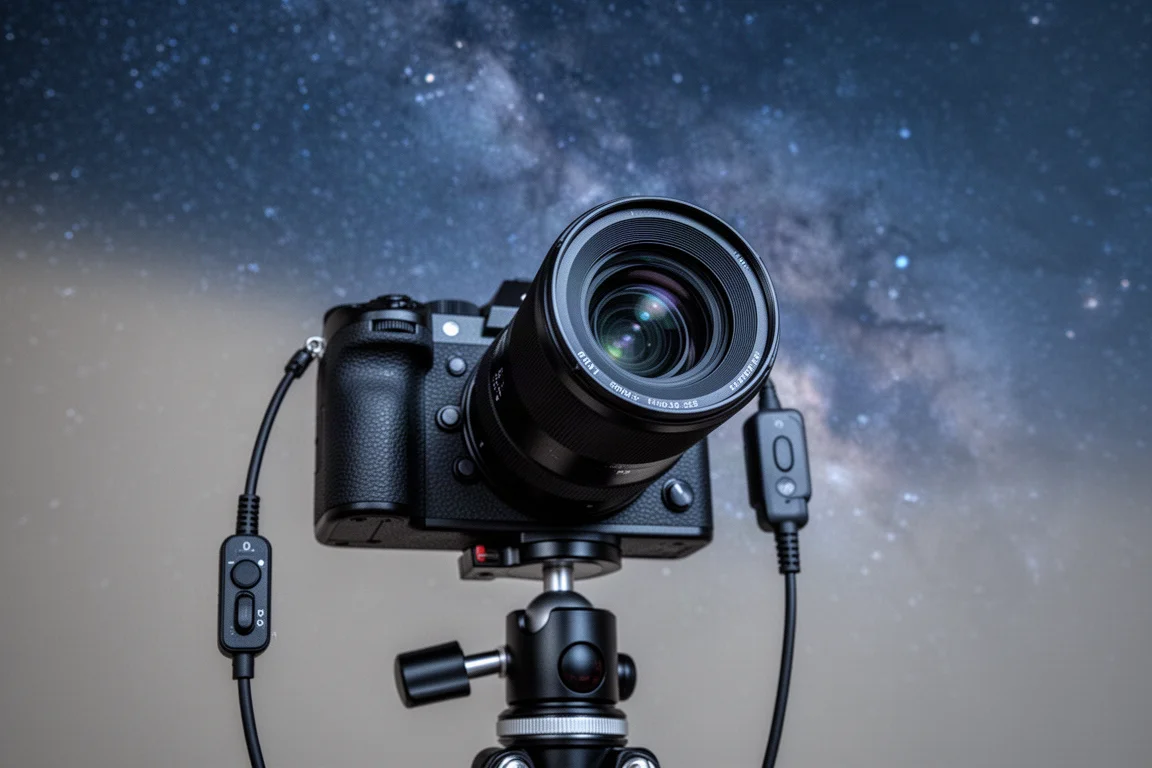
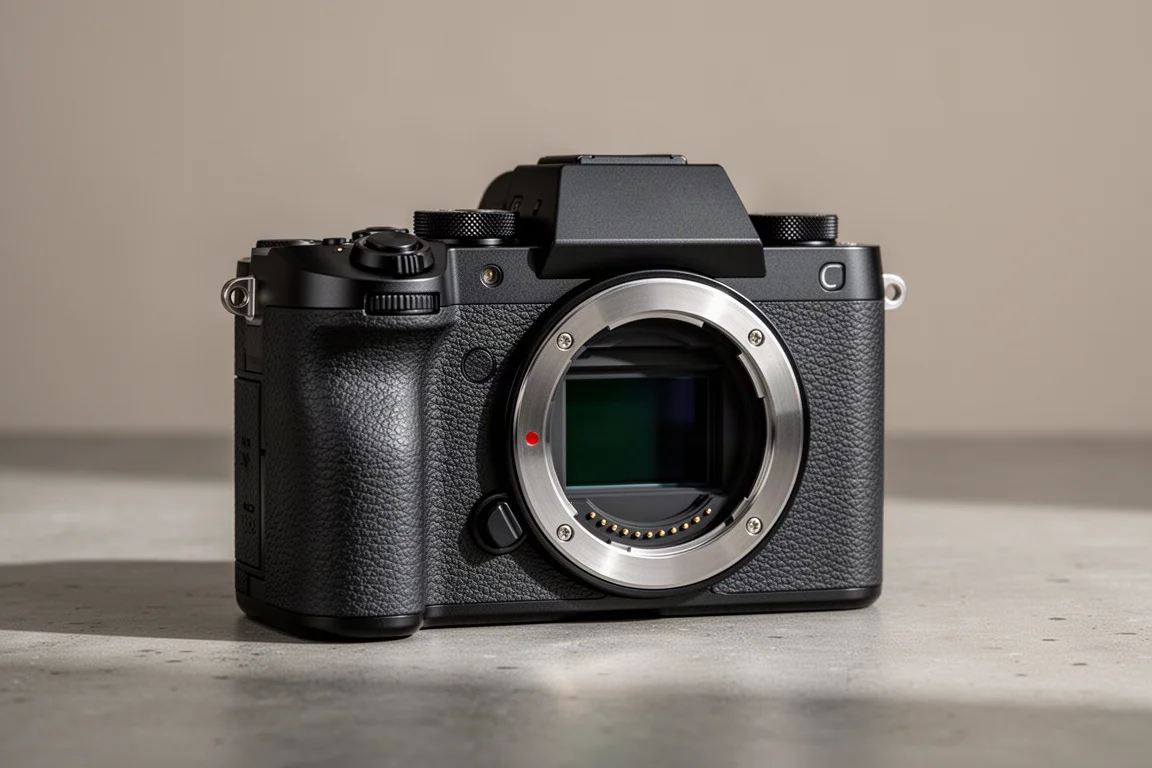
For the traditional rig, the camera body was a Canon EOS Ra, though any DSLR or mirrorless camera can do this job. A modified sensor is an advanced option rather than a necessity, and a full-frame sensor is nice for a wider field of view but not required. If you shoot crop sensor, simply reach for a wider lens instead.
Settings guidance is straightforward. ISO 600 to 3200 is a good range. With an f/1.4 lens, stopping down to around f/2 or f/2.2 yields sharper stars; an f/2.8 lens is best shot wide open. Start at 20 or 30 seconds, check the histogram, and aim for the peak sitting roughly a quarter to halfway over from the left edge, avoiding both crushing the left side and pushing too far right. Focus on the stars manually or with autofocus if your camera supports it, making stars as small as possible and watching for faint stars popping into view, then verify in playback zoom. Note that the EOS Ra and some other items in this kind of kit are discontinued, so used pricing is the realistic route.
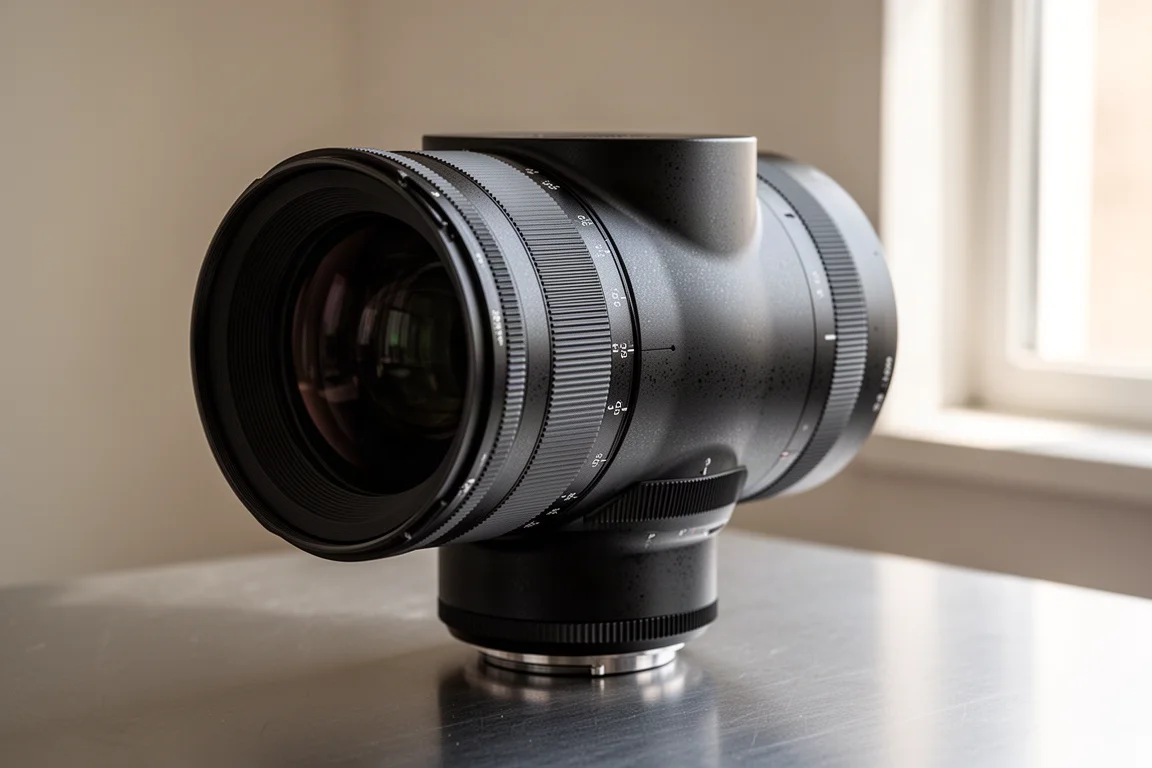
Sigma 28mm f/1.4 Art
The lens on the test rig was the Sigma 28mm f/1.4 Art in EF mount, adapted to the RF camera body. It is a favorite Milky Way lens for good reason: the wide aperture gathers a lot of light, and the 28mm focal length gives a broader field of view than a 35mm would. On a crop-sensor body, something closer to 14mm would be the equivalent choice.
The catch is availability. This specific lens is discontinued, so you will be hunting the used market. Since it is an EF-mount lens on an RF body, an EF to RF adapter is needed. The wide aperture is what makes the traditional rig’s light gathering advantage so pronounced: in a single 20-second exposure, the full-frame setup pulled in far more signal and far more faint stars than the smart telescope.
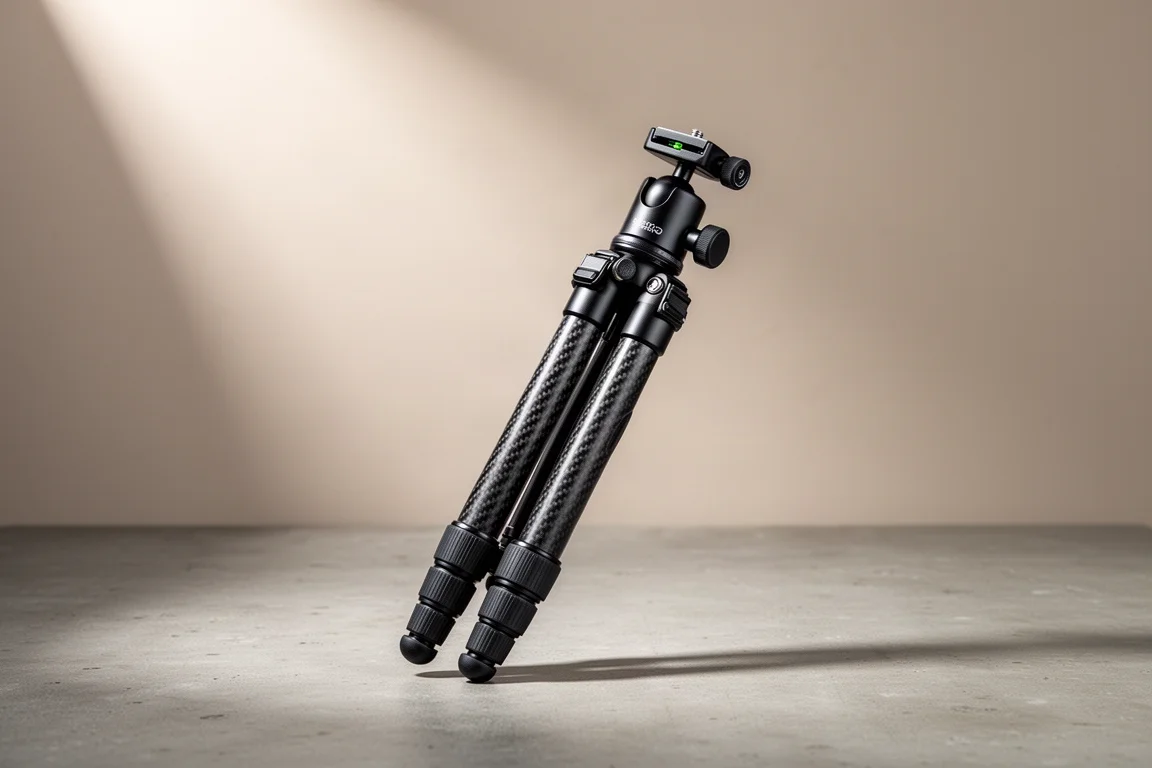
Peak Design Travel Tripod
Underpinning the traditional rig is the Peak Design Travel Tripod. There are plenty of travel tripods available, but this one packs down so small that it becomes the default choice for any trip involving a flight, which is exactly how it ended up in New Mexico.
The universal head adapter replaces the default head, effectively making the Move Shoot Move wedge and Nomad the new tripod head. If you do not already own a ball head for aiming the camera, Move Shoot Move sells a good one, though any decent ball head will do. The key requirement is stability: once polar aligned, the tripod must not be bumped, or the alignment is lost.
What the Results Showed
In a single 20-second exposure, the traditional rig’s bigger sensor and lens gathered visibly more light, with many more small, defined stars compared to the noisier single frame from the Seestar. But even in that single frame, the Seestar picked up nice detail in the Milky Way’s dark dust lanes and small star clusters and nebulae.
After stacking 20 minutes of exposures, the gap narrowed considerably. The Canon’s unprocessed stack looked much like its single exposure, while the Seestar’s stack gained a bigger glow and far more clearly resolved fine stars. It genuinely needed those 20 minutes to build sufficient signal-to-noise.
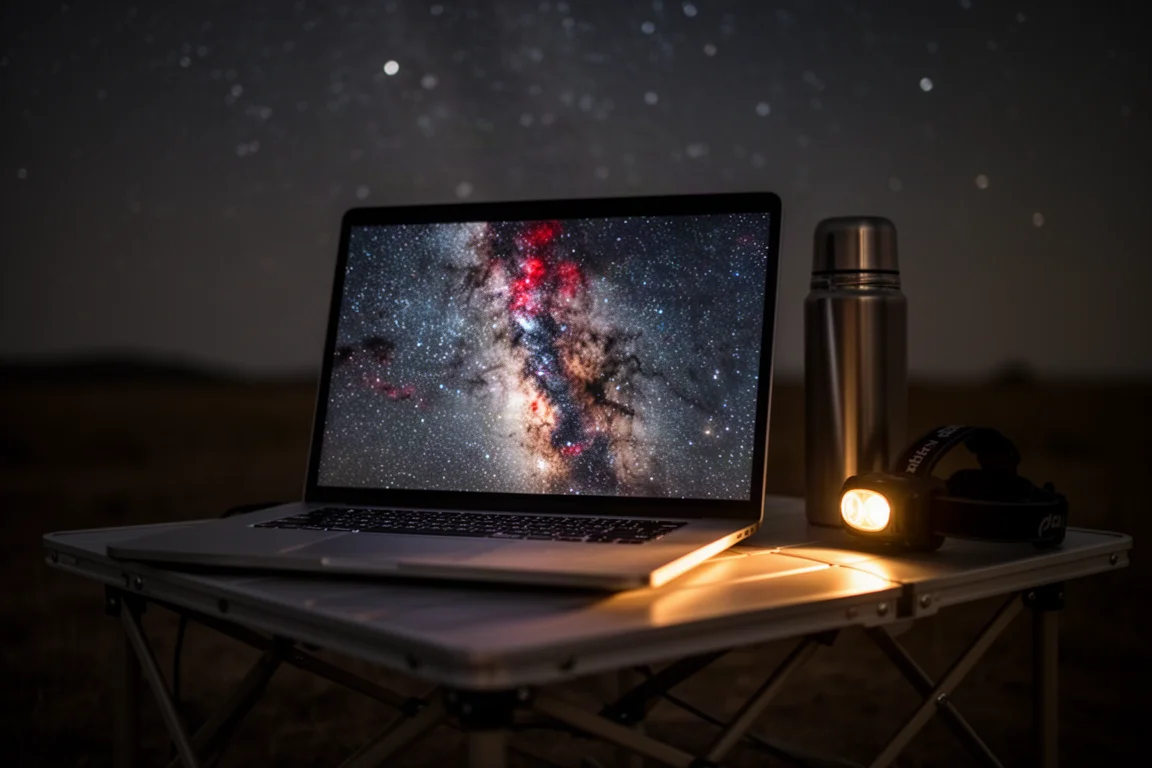
In the final processed images, the two came out surprisingly similar at a zoomed-out view. Zooming in revealed the differences: the full-frame rig produced sharp, colorful stars and better-defined dark nebulae like the Dark Horse and Rho Ophiuchi, while the Seestar’s stars stayed somewhat duller and softer, though red features like the Lagoon Nebula and the Cat’s Paw showed up well thanks to its H-alpha-sensitive sensor. Cost is worth a note: about $700 for the S30 Pro versus roughly $4,000 for the complete traditional rig at average used prices, though many photographers already own a camera, lens, and tripod, in which case the Move Shoot Move kit at around $330 for the Nomad, wedge, and laser is all that is actually needed.
Which Setup Should You Choose?
If you want the simplest path to your first Milky Way images, especially from a dark site, the Seestar S30 Pro or S50 Pro is genuinely suitable for beginners. You get automation, live stacking, automatic foreground blending, and extras like star trails, time-lapse, and in-app Milky Way panoramas, all in a package whose main purpose is deep-sky imaging anyway.
If you already own a capable camera and lens, or if star sharpness and dark nebula detail matter most to you, the traditional route wins. The Nomad plus your existing gear is a modest investment for a meaningful image quality jump, and the tracker opens the door to longer-focal-length deep-sky targets later. Either way, both approaches are fully capable of producing a Milky Way image you will be proud to share.
Conclusion
This comparison shows two philosophies working side by side: the smart telescope makes the Milky Way accessible with almost no learning curve, while the traditional tracker rig rewards the extra setup with sharper stars and richer detail. Match the choice to what you already own and how much control you want, and both will deliver under a dark sky.
Further reading
Related Reviews
Astrophotography
ASKAR FRA400C Review: A Versatile 400mm Refractor for Astrophotography and More
The ASKAR FRA400C is a compact 72mm refractor that balances reach, versatility, and portability for astrophotographers and visual observers.
Astrophotography
Askar SQA106 Review: A Premium 106mm Astrograph With Exceptional Optics
The Askar SQA106 is a premium 106mm quintuplet astrograph with impressive sharpness across full-frame sensors, though its price and weight demand careful consideration.
Astrophotography
Astro Imaging Gear 2026: Eight New Products Worth Watching
A look at the most interesting new astrophotography and astronomy products announced this year, from fast telescopes to smart cameras and wireless accessories.