Cycling Lights
Best Magicshine Bike Lights: Four Front and Rear Options Explained
A practical guide to choosing bike lights, with four Magicshine front and rear options covering beam shape, output, mounting, and smart features.
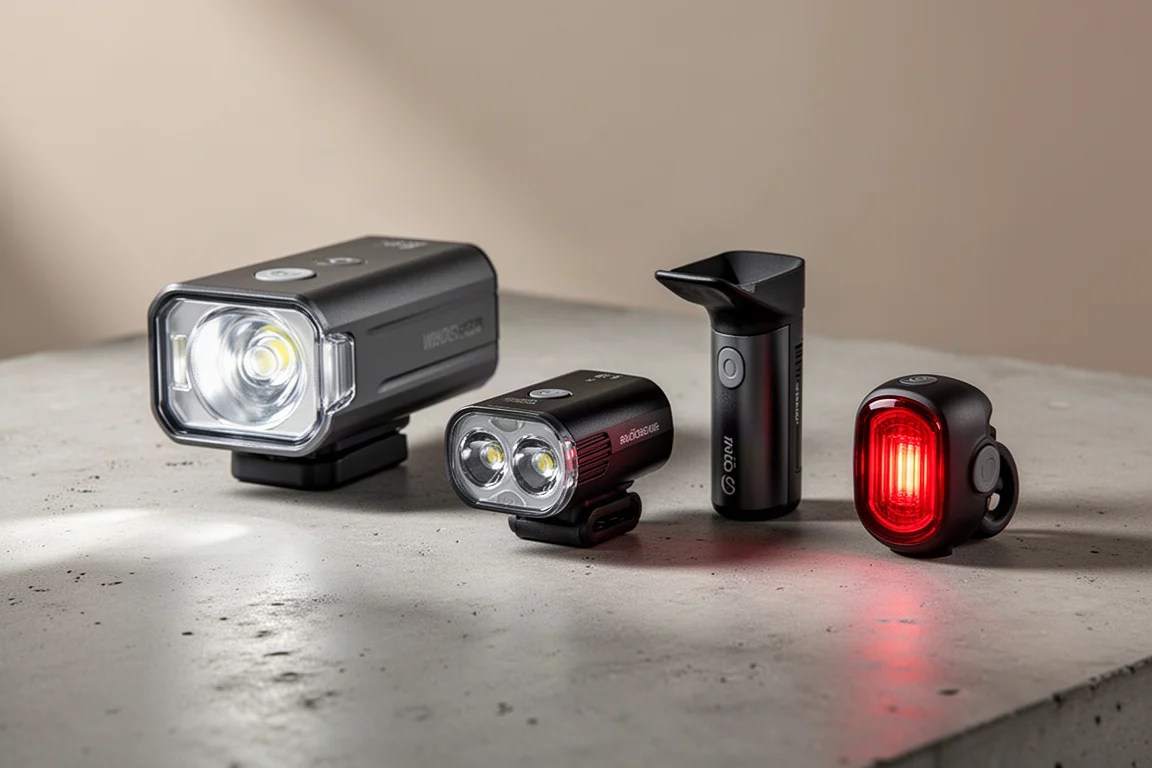
Introduction
Choosing bike lights can feel overwhelming, and it is easy to spend money on the wrong thing. Some riders pick the cheapest option they can find and end up barely visible, while others buy an enormous high-output light that drains its battery in an hour. Plenty of people choose on brightness alone, without considering beam shape, mounting position, or the modes they will actually use.
The four lights below cover the main jobs a bike light can do: illuminating the road ahead, being seen in traffic, and warning you about what is coming from behind. Each takes a different approach, so the right choice comes down to where and when you ride.
Matching Beam Shape and Output to Your Riding
A front light can do two things: help you see where you are going, or help other road users see you. Lights built purely for visibility are usually compact, lighter, and less expensive, because they do not need large lenses, more powerful LEDs, or bigger batteries. They are all most riders need on well-lit streets. If you ride where ambient light is scarce, you need something with more power and a focused beam that actually puts light on the road.
Output is measured in lumens, which describes the total light emitted. Higher numbers mean more power, but how a light shapes that output matters just as much. For urban riding with street lighting, a minimum of around 200 lumens is enough, and roughly 500 lumens can cover careful road riding in the dark. For riding at speed on the road, a beam strength around 1,000 lumens is a reasonable level, and gravel riders may want a little more because the surfaces they meet are less predictable. Very high outputs, in the region of 2,500 to 3,000 lumens, flood the road ahead much like a car using its high beam.
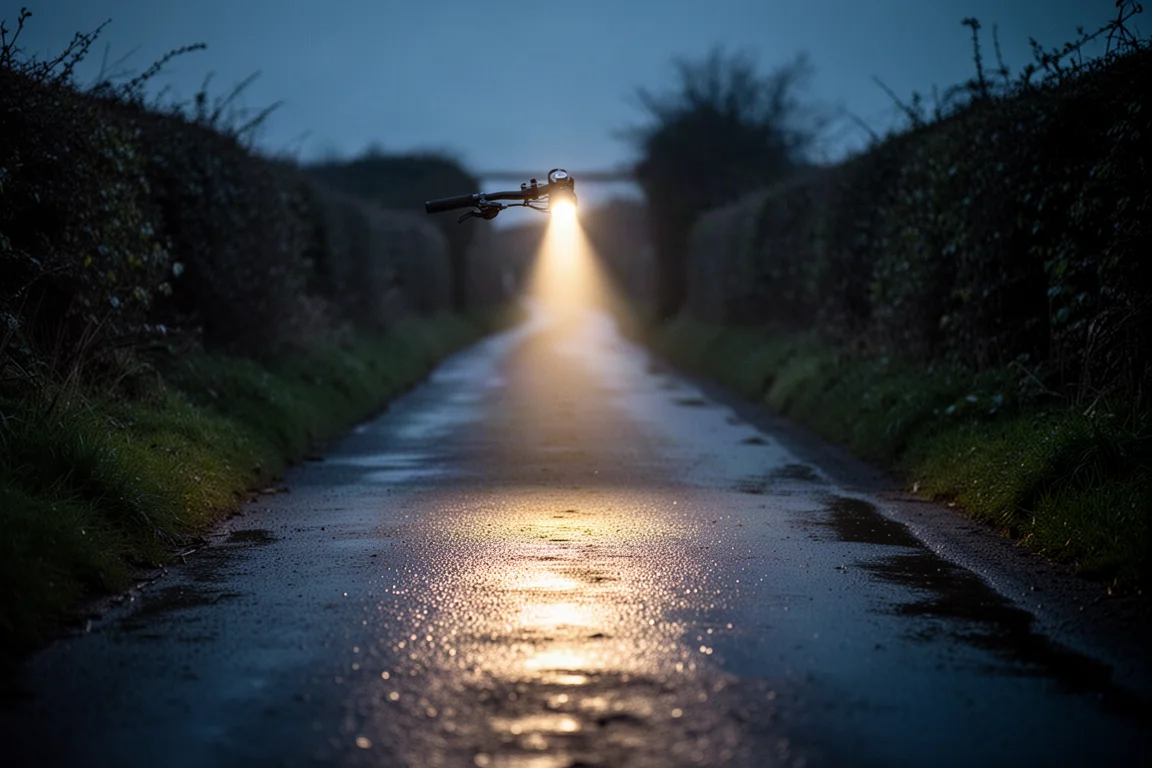
Beam shape falls into three broad types. Diffuse beams spread light widely, sometimes beyond 270 degrees, which is ideal when you simply need to be seen. Focused beams use internal lenses to direct output into a central circle of light that bleeds off into the surrounding area, so you get usable light on the road. Cut-off beams create a shaft of light with a defined boundary, which reduces glare for other road users while still lighting your path.
Modes deserve attention too. Most lights offer several settings, so a 1,000 lumen light might run at 100, 400, 600, and 1,000 lumens. The medium settings are often all you need in reality, and the larger battery that comes with a more powerful light means fewer charges. Daytime flash modes are worth having as well: their strobe pattern punches through ambient light and bright daylight, though they should not be used at night, because they can distract or disorient other road users.
Rear lights work differently. They exist to draw attention, so they use wide viewing angles rather than focused beams. Typical rear output ranges from about 50 to 300 lumens, with some models reaching 500. In practice, 150 to 300 lumens is punchy enough for most riders and most situations, and there is little to gain from going brighter, because you do not want to blind the people behind you.
Magicshine EVO 1700: Built to Light the Road
The Magicshine EVO 1700 is a front light designed to light the way rather than simply attract attention. It falls into the more powerful, focused category, which makes it a sensible choice for riders who spend time on unlit roads, lanes, or paths and need to see the surface ahead. Because it carries more powerful LEDs, a larger battery, and the electronics needed to drive them, it is a bigger unit than a compact visibility light, but it also covers far more situations. Riders who want one light that handles dark roads and mixed conditions tend to prefer this style of front light over a small commuter unit.
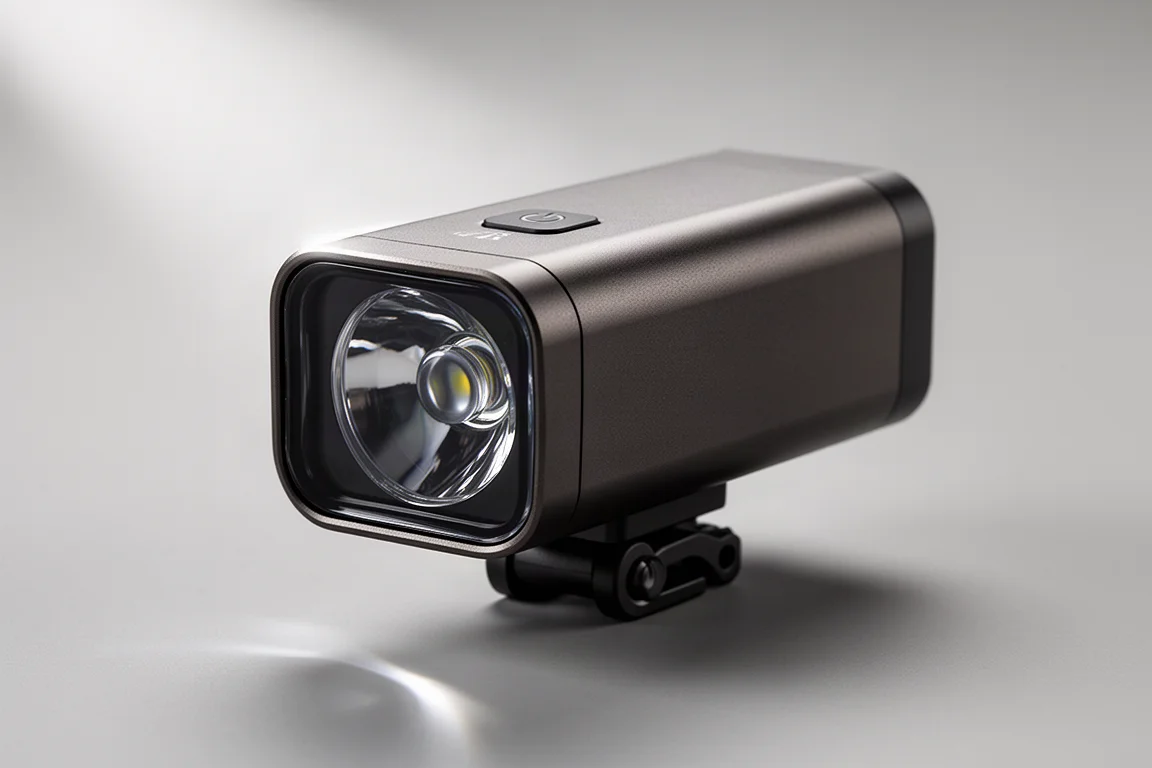
Magicshine HORI 900: Dual Lens Versatility
The Magicshine HORI 900 uses two sets of lenses and LEDs for different purposes, which lets it balance a focused beam with broader surrounding light. The result is a central circle of usable light that bleeds off into the area around it, so you can see the road directly ahead while still being visible from the sides. This kind of focused beam is what you want when ambient light is limited, and the dual arrangement gives it more flexibility than a single-purpose unit.
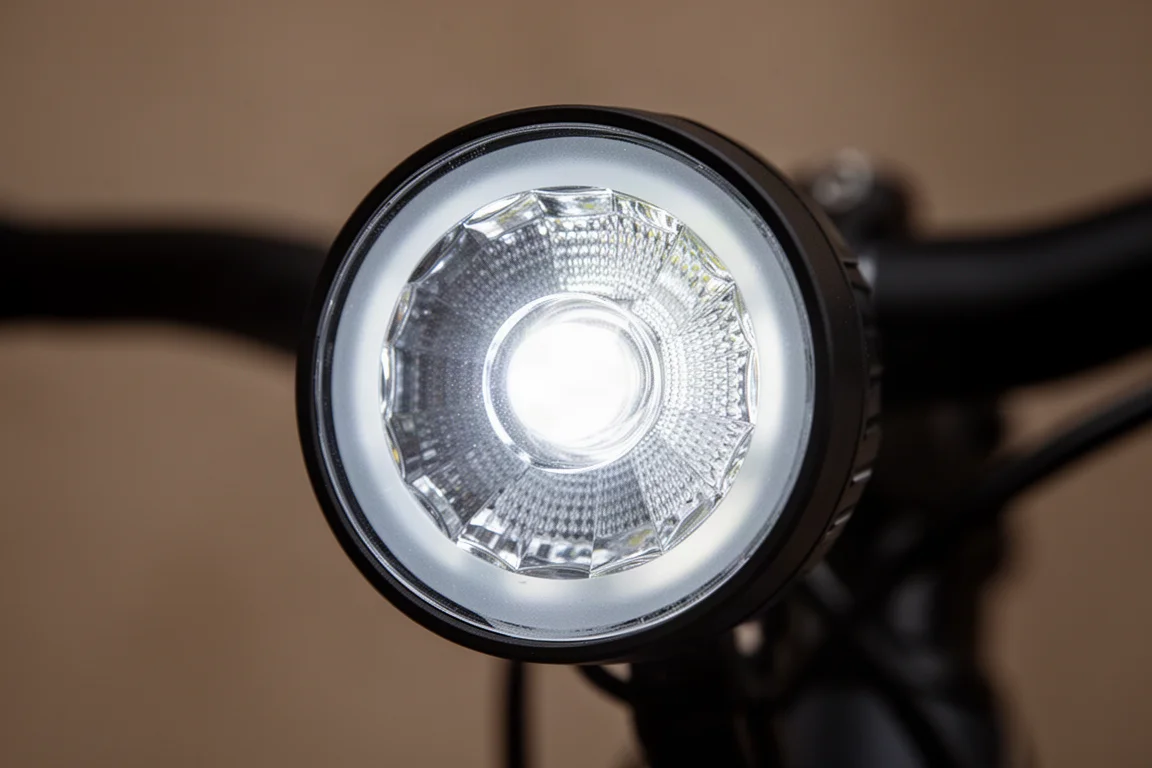
For riders who want a front light that works on dark lanes without being as large as a high-output unit, this middle ground is often the sweet spot. It also suits anyone moving up from a compact be-seen light who wants more usable light on the road.
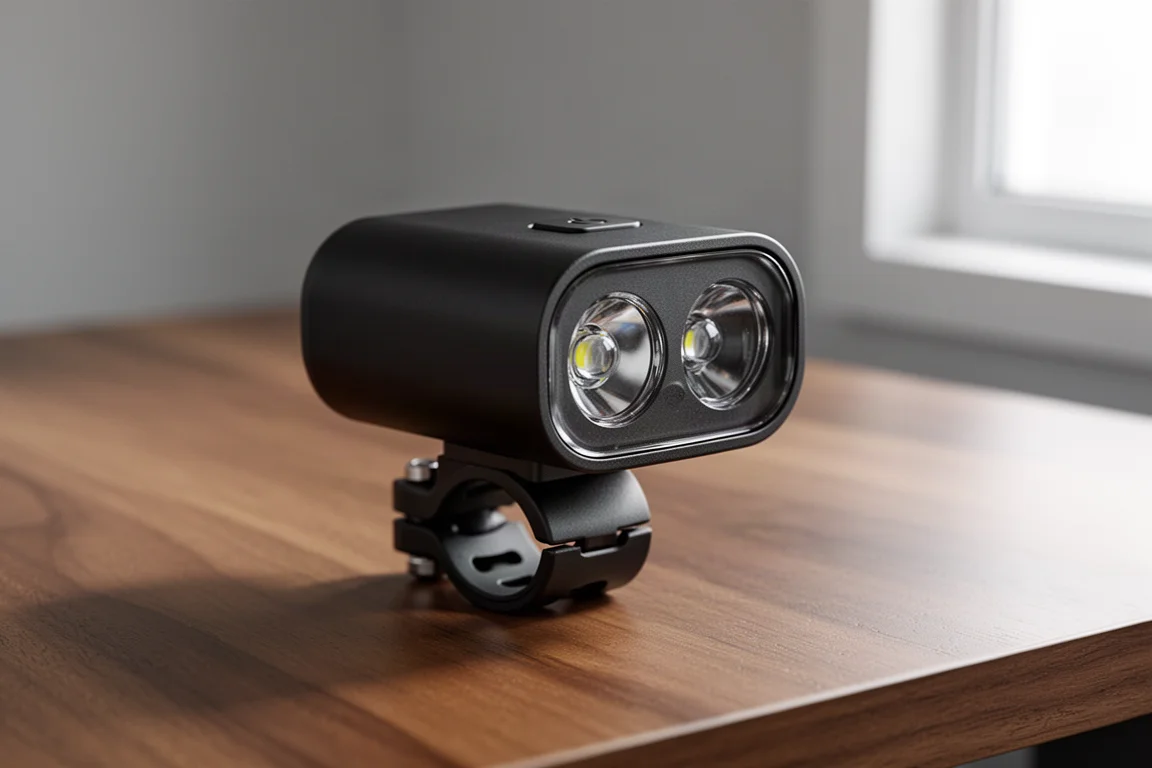
Magicshine HORI 1300S: Cut-Off Beam and Smart Features
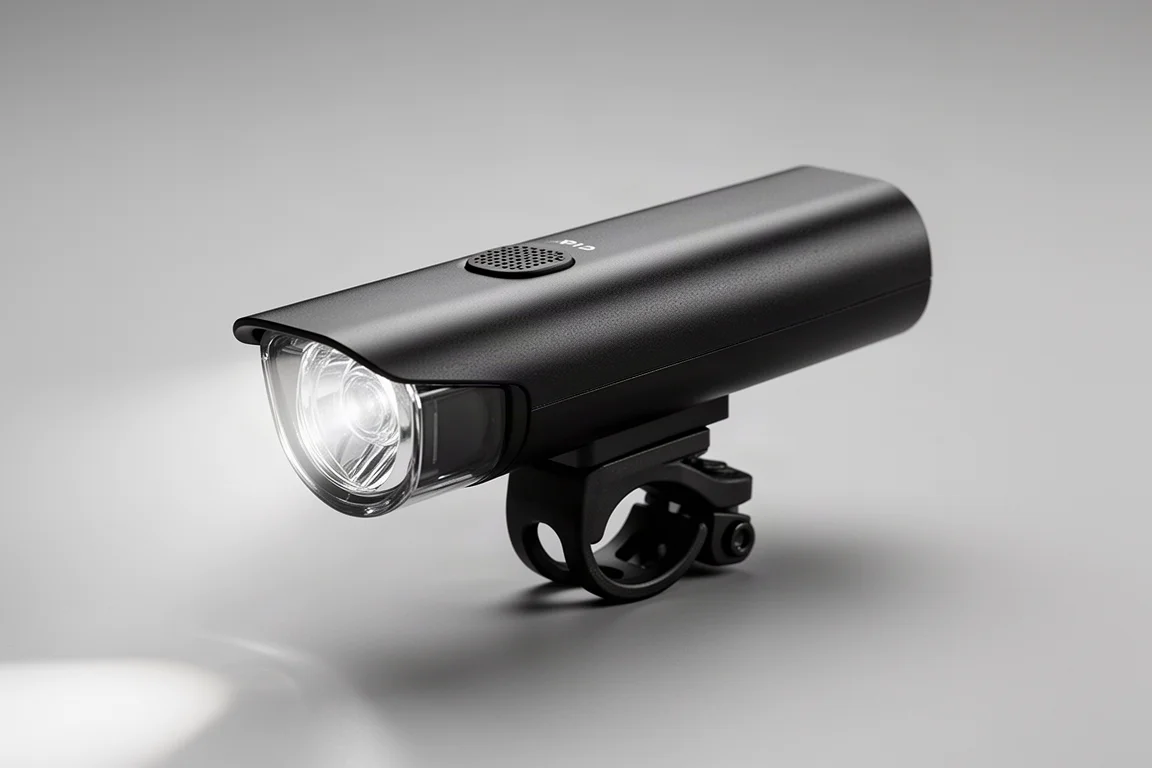
The Magicshine HORI 1300S uses a cut-off beam, which produces a shaft of light with a defined boundary. That shape means you are not going to cause as much glare to other road users while still getting the light you need to see by, and it can be paired with a high beam setting so you can flick between the two much as you would in a car. Whether a cut-off beam suits you better than a standard focused beam comes down largely to personal preference, though riders in Germany will find that all front and rear lights are governed by STVZO regulations, which require strictly regulated cut-off beams and no flashing modes.
This light also includes a couple of smart touches. It can sync with a matching rear light so both switch on and off at the same time, which helps if you sometimes forget to switch one on. It will also turn itself off if you forget to do so after a ride, so you will not accidentally drain the battery.
Magicshine SEEMEE R300: Radar Awareness at the Rear
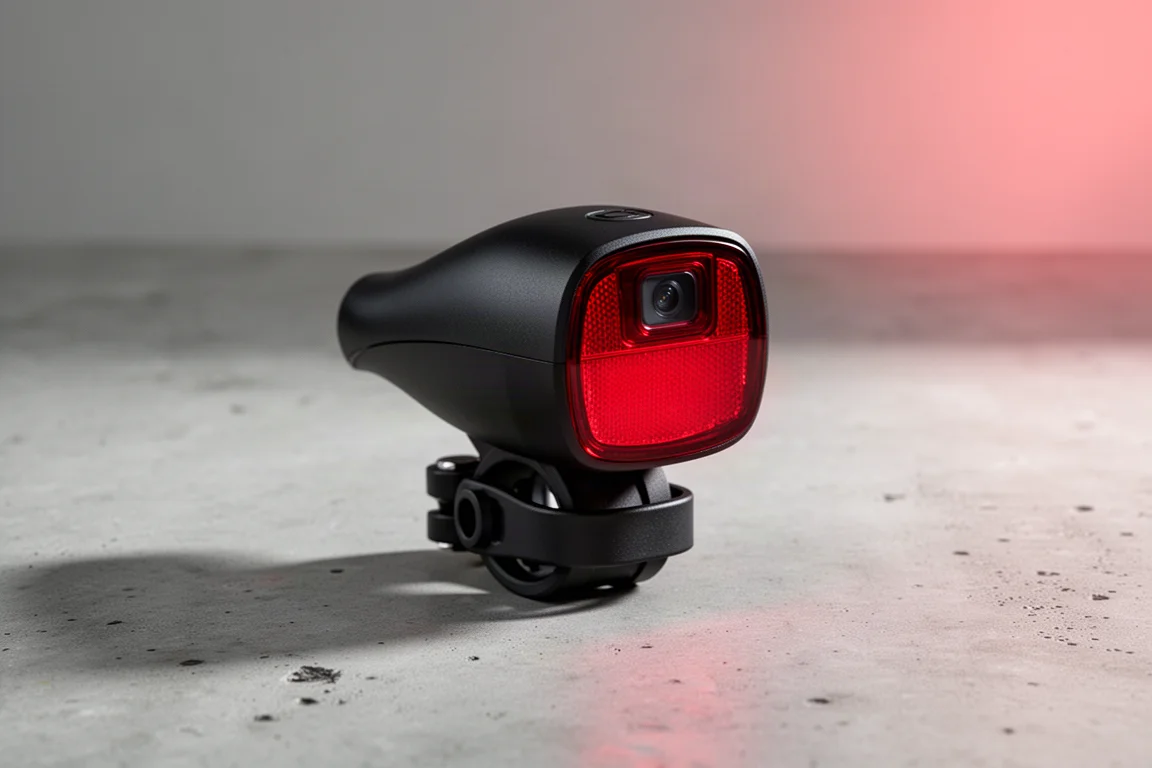
The Magicshine SEEMEE R300 is a radar rear light, a category that adds awareness of traffic approaching from behind. It pairs with a compatible bike computer to display where the traffic is behind you, and it changes its mode to boost your visibility when needed. Rear lights already work by drawing attention with wide viewing angles, and a radar model builds on that by giving you information rather than just a glow.
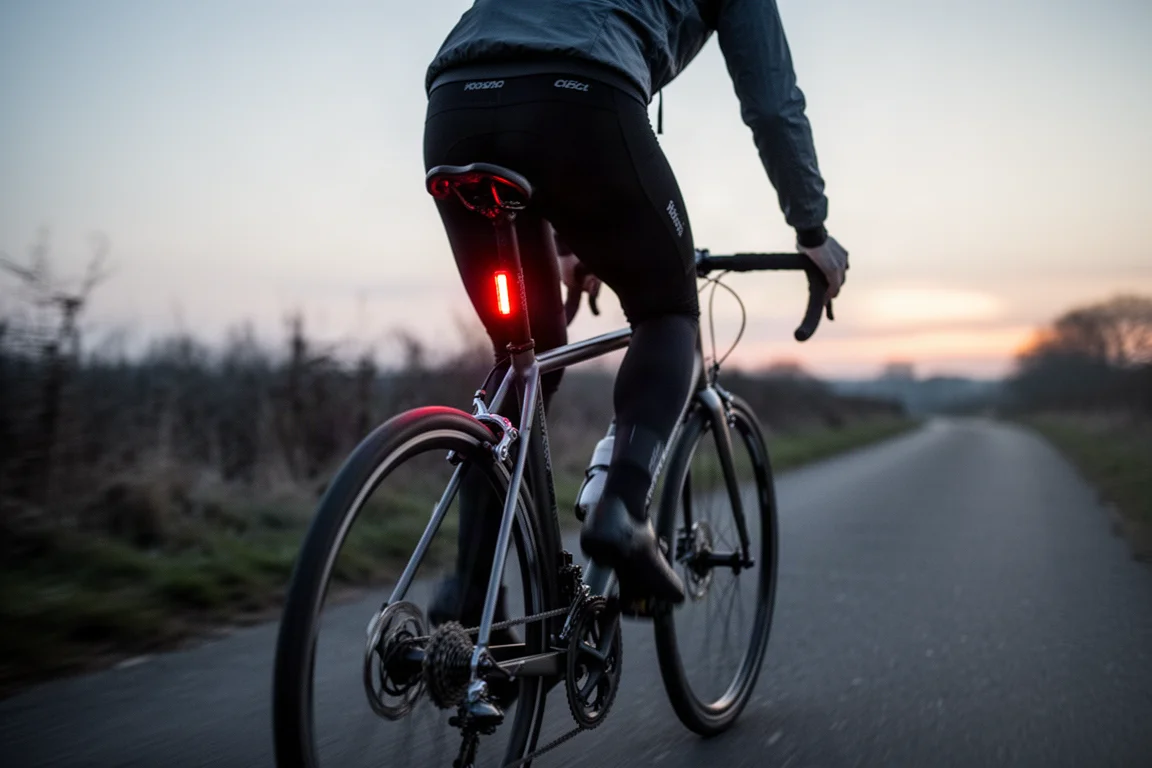
Radar lights are worth considering if you ride on open roads and want more context about what is closing in behind you. Like other smart rear lights, they can draw battery power more quickly depending on how often their sensors trigger, so burn times can be less predictable than with a simple flashing unit. If you want a rear light that combines visibility with traffic awareness, this is the type to look at.
Mounting, Remotes, and Fit Considerations
Every light comes with a mounting system, and these vary enough to affect your choice. The most common is a bar top mount, either as a clamped bracket with a quarter-turn interface or as a bracket built into the light that straps on with a band. Band mounts generally only work with standard round handlebars, though some include inserts to help you get a secure fit.
A popular option among road and gravel riders is to integrate the light with an out-front computer mount. This usually needs a GoPro-style adapter screwed into the underside of the mount plus an adapter for the light itself, so the computer sits on top and the light below. Some brands include the adapters, while for others they are an optional extra. One-piece cockpits with flattened tops often will not accept bar top mounts, which can push you toward an out-front setup, and reaching the light and its buttons becomes trickier in that position. A handlebar remote can help there, though remotes are sometimes supplied and sometimes not.
Rear lights mount on the seat post, the seat stay, or under the saddle using saddle rail brackets. Many come with a moulded insert or spare strap for aero seat posts, and magnetic attachments appear on some models. Running two rear lights, one flashing and one static, gives you a spare on the road and lets you combine the attention-grabbing quality of a flash with the consistent reference point of a static light.
Buying Advice: Matching Lights to Your Riding
Before buying, work out what you actually need the light for, because that dictates both the type and the number of lumens you need. A compact be-seen front light is plenty for lit urban streets, while unlit lanes call for a focused beam and more power. Then check battery life in the modes you will use most often, not just the headline maximum output. A light that can run at 1,000 lumens but empties its battery quickly is less useful than one with sensible medium settings and longer runtime.
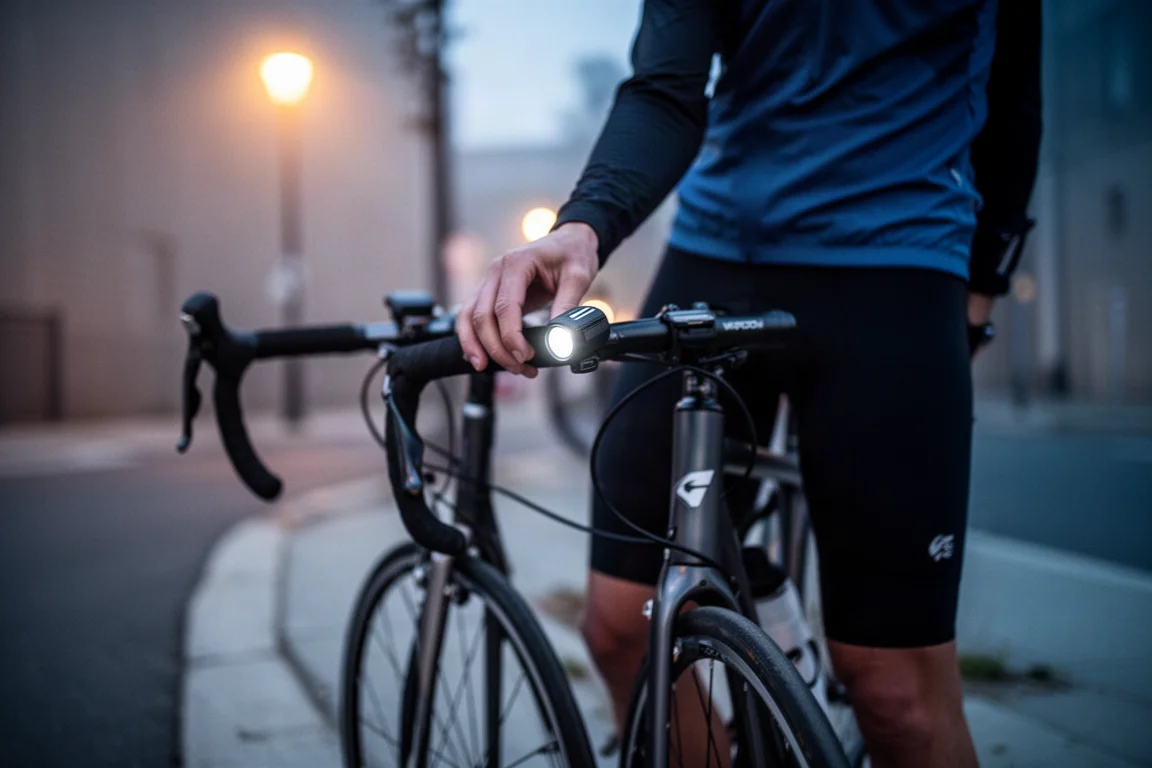
Mount compatibility matters too. Confirm that the supplied bracket fits your bike or that you can run an out-front setup, and budget for adapters or a remote if you need them. A daytime flash mode is worth having if you want to be seen year round in all conditions, and rear lights should offer both static and flashing options. Finally, lights are getting smarter, with syncing, auto-off, ambient light sensors, radar, and group ride modes, but it is worth paying only for the features you are likely to use.
Conclusion
The right bike light is the one that matches your riding rather than the cheapest or the brightest option on the page. A focused front light such as the EVO 1700 or HORI 900 covers dark roads and mixed conditions, the HORI 1300S adds a cut-off beam and smart switching for riders who want less glare and fewer things to remember, and the SEEMEE R300 brings radar awareness to the rear. Match beam shape, output, and mounting to your routes, and the decision becomes much simpler.
Further reading
Related Reviews
Cycling Lights
Best MagicShine Bike Lights: Building the Ultimate Night Riding Setup
A practical look at five MagicShine lights for commuting, fast unlit roads, and group rides, plus how bright to go, how many lights you need, and how to aim them.
Cycling Lights
Best Rear Bike Lights 2026: Five Options for Low-Light and Night Riding
Five rear bike lights compared on brightness, runtime, mounting and charging, with clear guidance on which setup suits commuting, group rides and daytime visibility.
Cycling Lights
Best Trail Lights 2026: 10 Night Riding Lights Compared
Ten trail lights that clear the 1,500-lumen mark, compared on beam pattern, mounting options, controls, and measured runtime at maximum power.