Kitchen Knife Care
Best Knife Sharpening Gear: Waterstones, Honing Steels, and Accessories Worth Owning
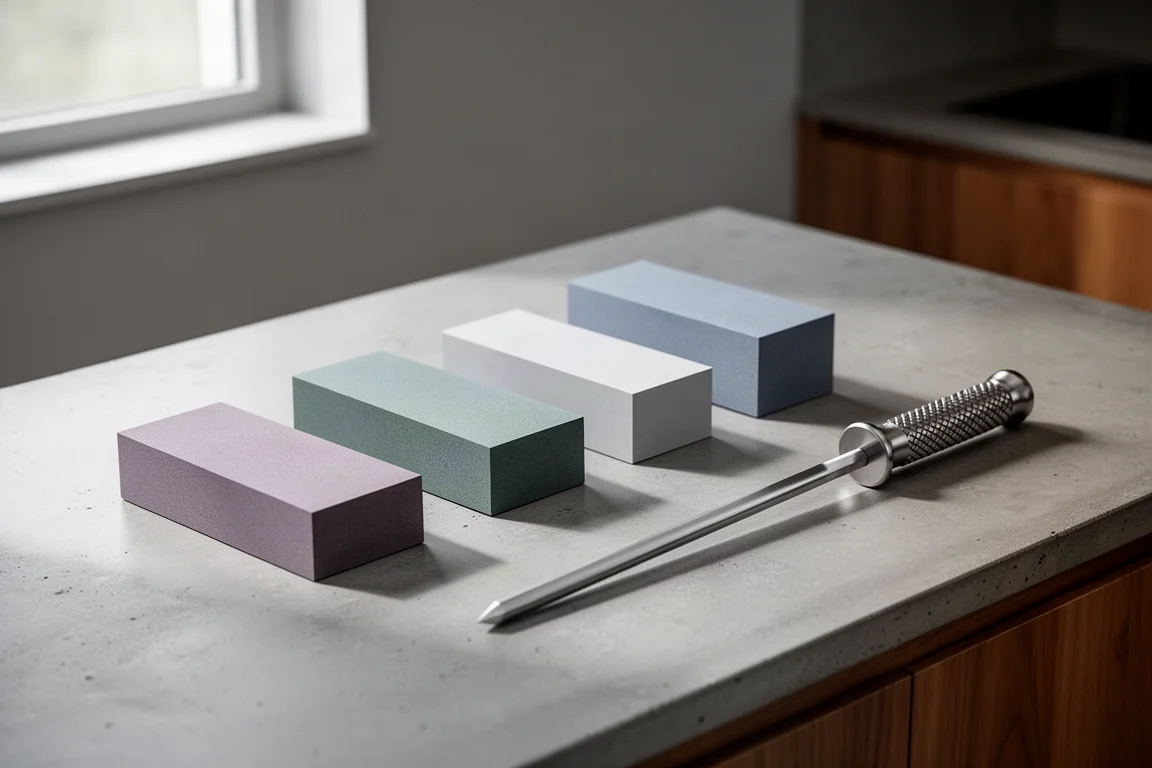
A practical setup for sharpening kitchen knives at home: Naniwa waterstones, a budget-friendly combo stone, and a honing steel that actually does its job.
Introduction
If you are trying to level up your knife sharpening game, the gear matters more than you might think. Pull-through and electric sharpeners are common, but they are genuinely hard on a blade edge, and the difference in results against proper waterstones is not subtle. This roundup covers a practical setup: quality waterstones for the actual sharpening work, a well-priced combo stone for beginners, and a honing steel to keep edges aligned between sharpenings.
Why Waterstones Beat Pull-Through Sharpeners
It is worth being blunt about pull-through and electric sharpeners: they tear up the blade edge, and the damage is not worth the convenience. Waterstones take more time and practice, but they preserve the edge and give you far better results.
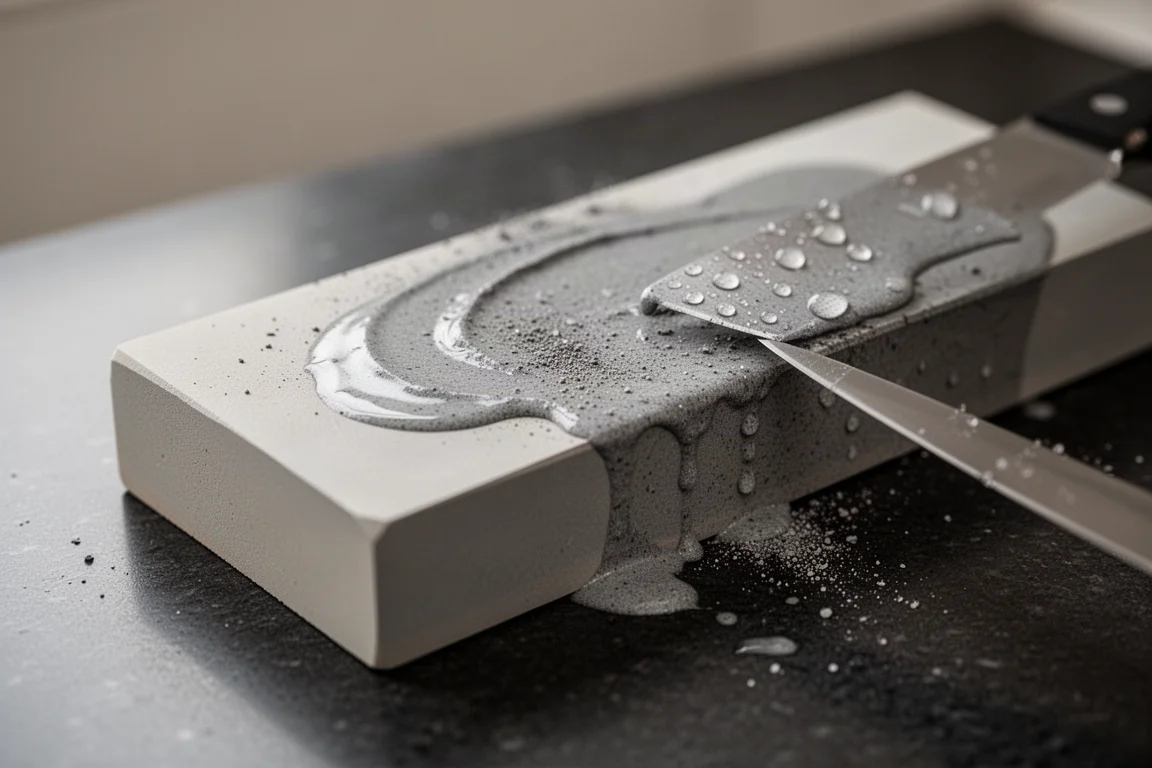
The stones featured here have a high abrasive-to-adhesive ratio. That matters because the abrasive is what does the sharpening: as you work, abrasive particles wear off, form a slurry, and cut into the steel. Cheaper stones tend to pack more adhesive and less abrasive, so you get more usable sharpening power when you pay a bit more.
Grit Selection: How the Lineup Works
The Naniwa lineup spans two related lines: the older Chocera line, which shipped with a plastic stand that most owners ended up removing because it was poor quality, and the newer Professional line, which comes without that backing and is noticeably nicer overall. Both lines are still fairly expensive, but the quality justifies it.
A sensible grit spread looks like this. A 400 grit stone handles reshaping and repairs, like fixing chips or changing a blade’s geometry; some people go down to 220, but 400 works fine outside serious repair work. The 1000 grit stone is where initial sharpening happens, setting the angle and bevel. The 6000 grit stone polishes that edge to a mirror finish.
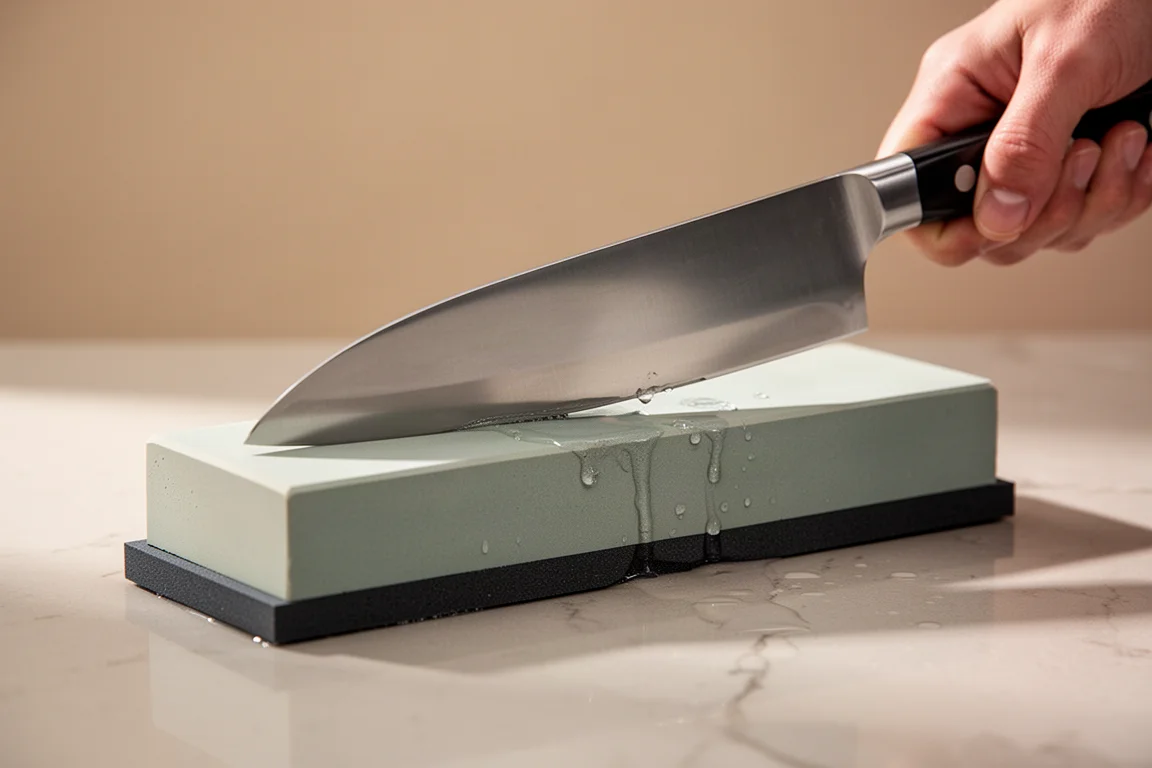
Another practical advantage: these stones only need a splash of water before use. No soaking for several minutes, which makes getting started far less annoying than with older-style stones.
Best Budget Starting Point: Naniwa Perfection Combo
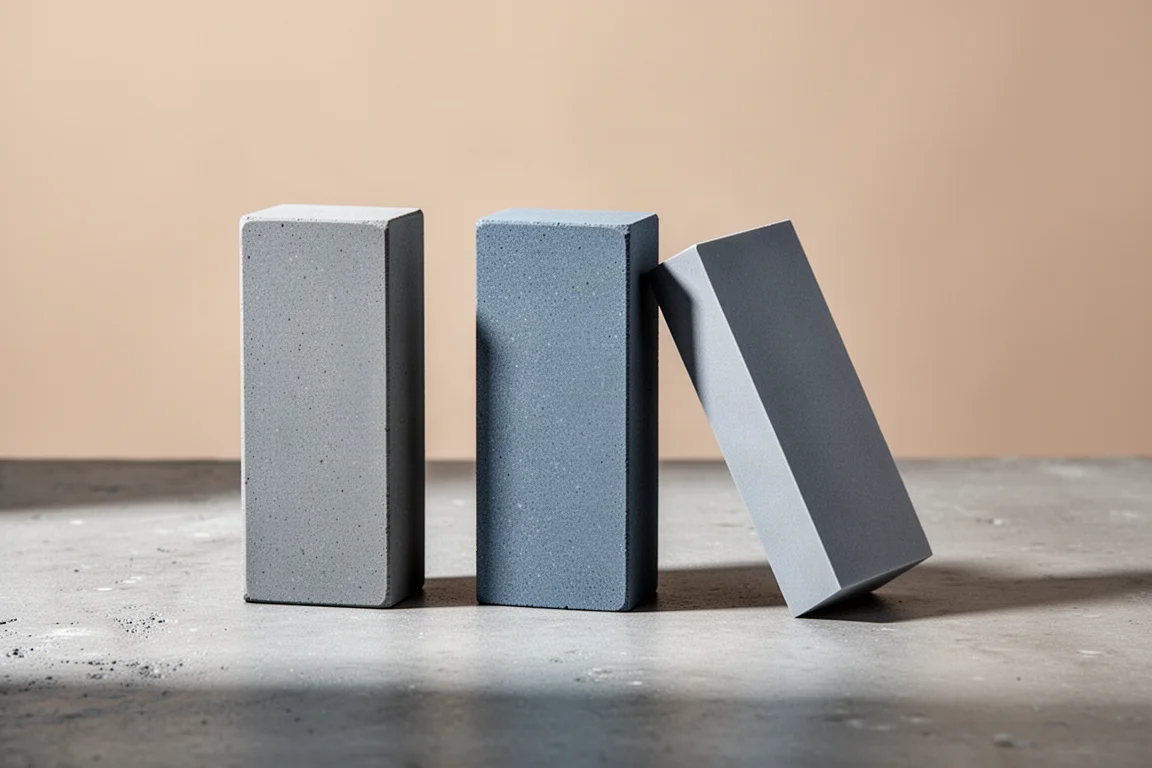
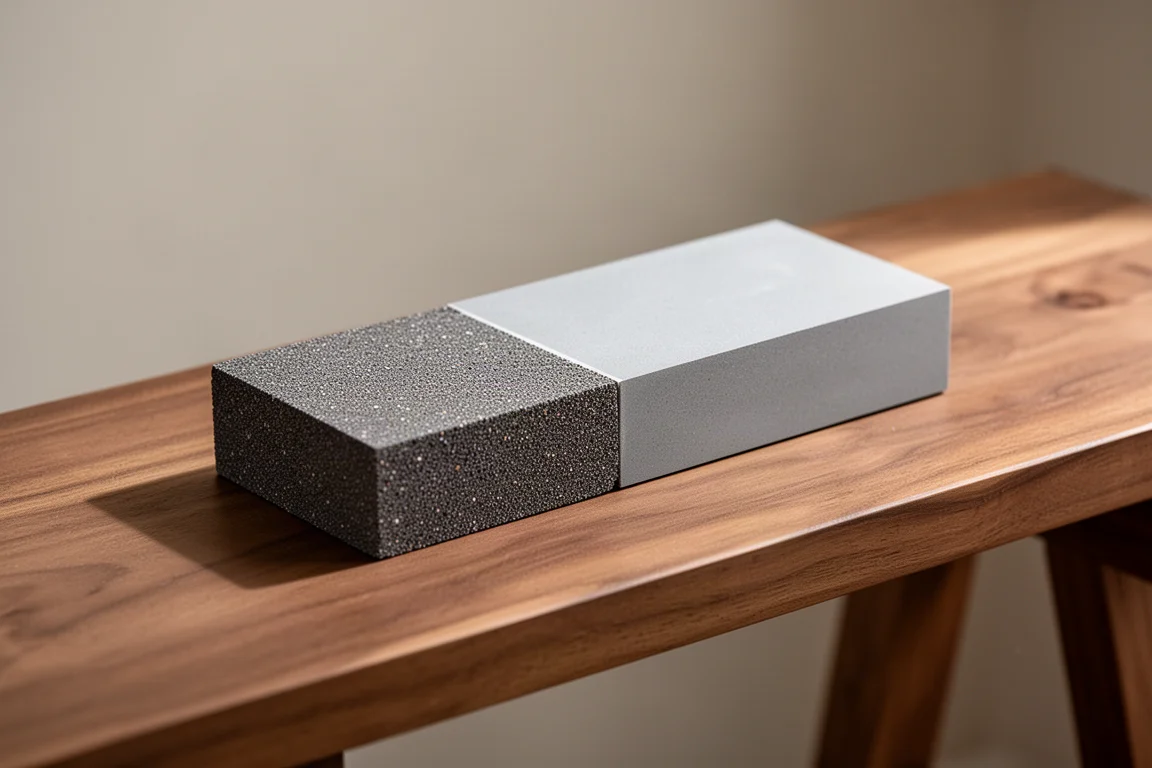
For most people starting out, a setup built around roughly 1000 grit, with maybe a 5000 grit stone added later, is the sweet spot. The Naniwa Perfection combo stone covering 803 and 1000 grit makes that first step easier. It helps you reach your first wire edge faster, so you see signs of success sooner, and you can always add higher grit stones later if you need them.
The pricing is a real highlight: the whole combo costs less than a single 5000 grit stone. It comes from the Professional line, and it is a genuinely well-priced entry into waterstone sharpening.
Finishing Touch: Stropping After Sharpening
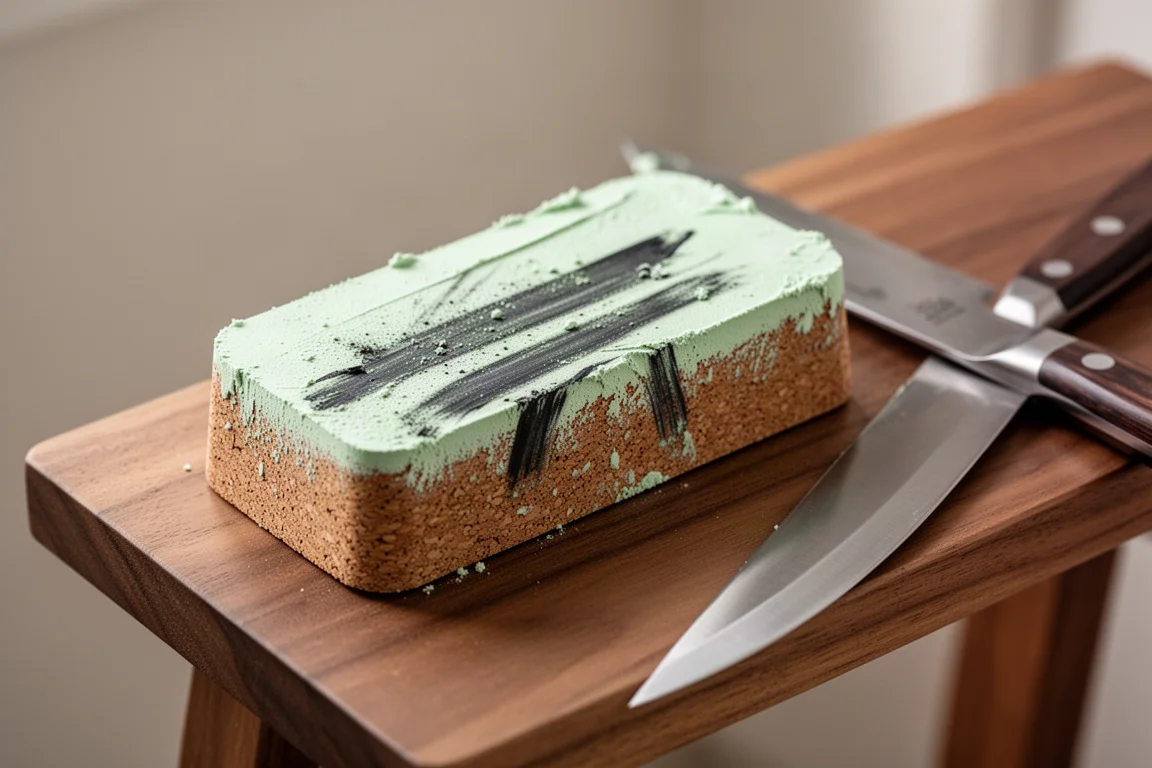
Once your knives are sharpened, one final step completes the job: stropping. Think of old-school barbers drawing a razor back and forth across leather. A cork version is more forgiving than leather, because digging in the wrong direction on leather leaves a bump in the surface essentially forever.
The cork here is coated in a chromium oxide compound, which binds to the surface and pulls residual metal off the edge. The black residue that builds up on the compound is exactly that: tiny particles of steel removed from your knives that would otherwise make the edge cut worse. A strop and a tub of compound together run roughly 40 dollars, and the compound lasts a very long time. You do not need it on day one, but it is a worthwhile investment over time.
Honing Between Sharpenings
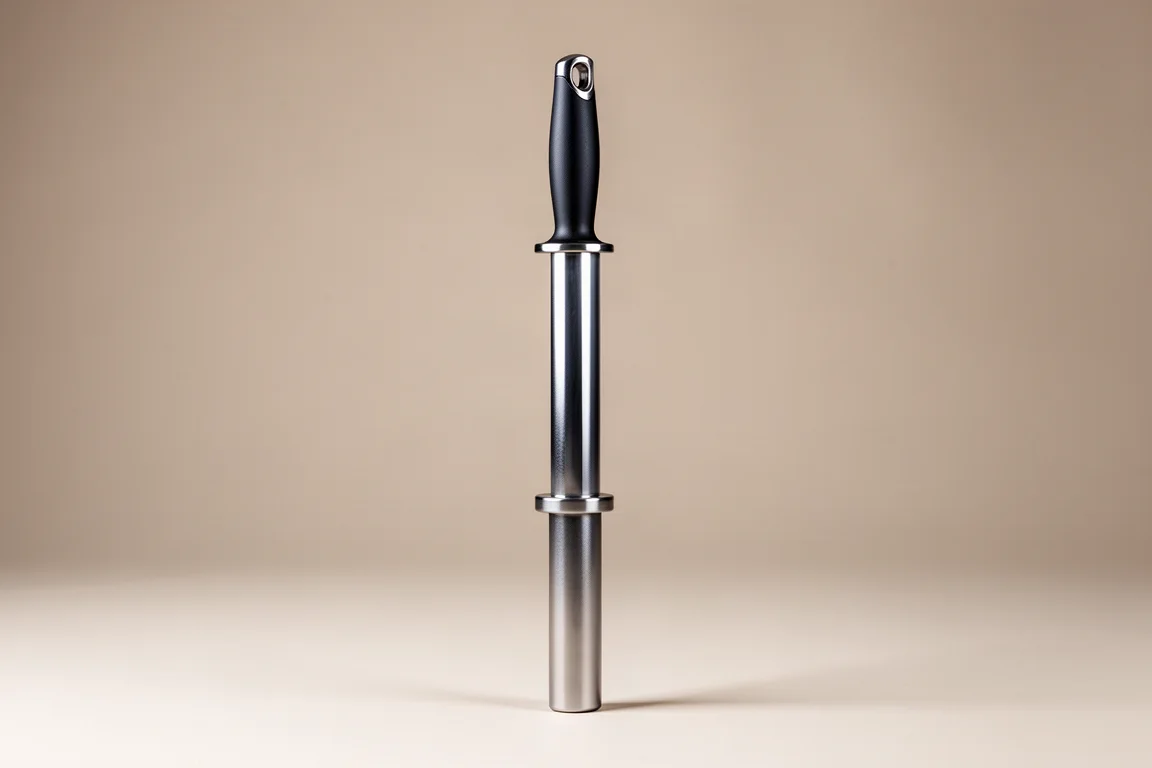
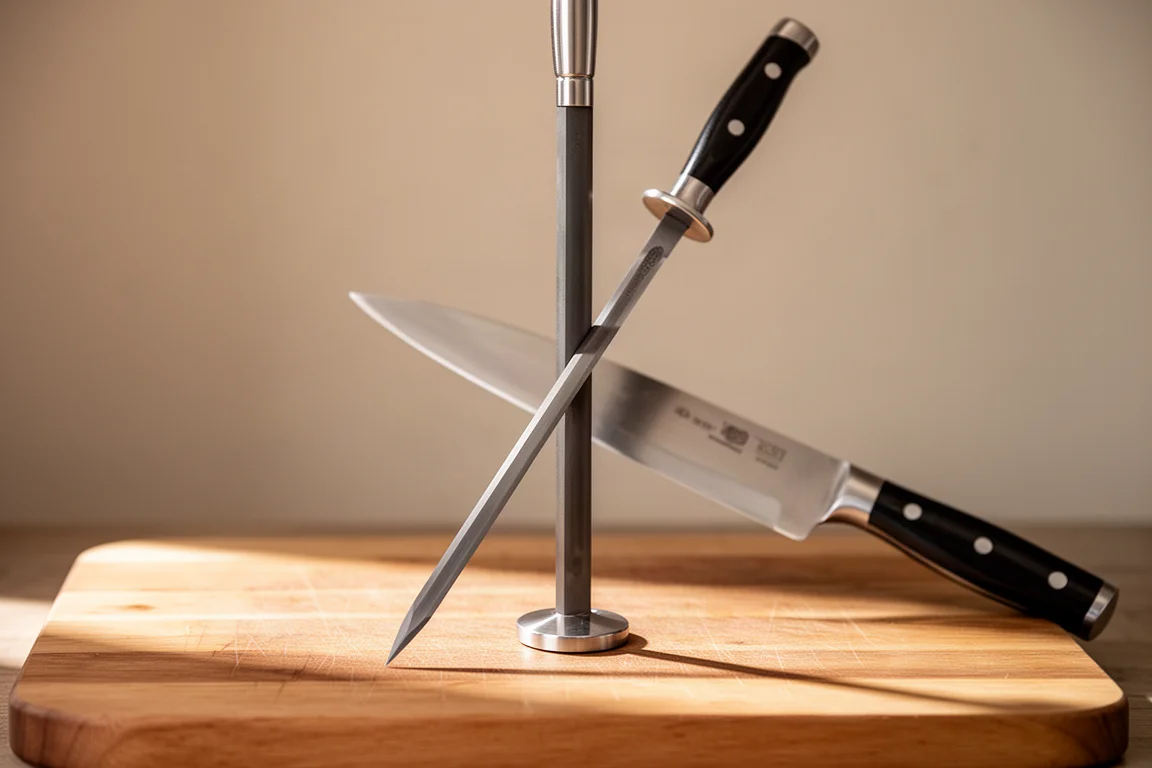
Honing steels are widely misunderstood. They do not sharpen a knife. What they do is realign the very tip of the edge, which bends out of alignment with use over time. A misaligned edge feels dull even when the geometry is fine, and honing puts it back on center. In between sharpenings, this is your go-to tool, and it is smart to hone before deciding a knife needs sharpening, since honing alone often fixes the problem.
Material matters here. Ceramic steels and diamond steels both remove a significant amount of metal, which works against the point of honing. Steel rods are the better choice. F. Dick’s Dickoron steels are a favorite: the shape and surface texture deliver consistently good results. The premium model runs around 100 dollars, though cheaper options from the same brand are available and budget honing steels generally start around 20 to 30 dollars.
Maintenance and Small Accessories
Waterstones need a little care of their own. Steel particles embed in the stone surface over time, especially on finer grits, and embedded steel stops the abrasive from doing its work. A maintenance stone pulls that steel back out. Lower grit stones are less affected.
A leveler is the other piece to consider: you grind the stone surface flat periodically so divots do not form, keeping your edge consistent. These run roughly 10 to 15 dollars and are easy to acquire, and honestly many people work a long while before needing one. Beyond that, any stand that works for you is fine.
Building Your Full Sharpening Setup
Putting it all together, a sensible progression looks like this:
- Start with the Naniwa Perfection 803/1000 combo stone as your core.
- Add a honing steel right away, since everyone should have one and budget options are inexpensive.
- Pick up a strop and compound when you are ready; it is an inexpensive upgrade with a long-lasting compound.
- Grow into higher grit stones and maintenance stones like a leveler as your skills develop.
Take your time and learn what to look for. Knives are tools, not decorations, and there is very little you can do to them while sharpening that cannot be repaired. You will have a much better time cooking once you build this skill, and you do not have to nail it on the first try.
Conclusion
A focused setup covers most home sharpening needs: quality waterstones for the real work, a combo stone to get started affordably, a honing steel for between sessions, and a strop to finish the edge. Learn the technique alongside the gear, and the results will keep improving with practice.
Further reading
Related Reviews
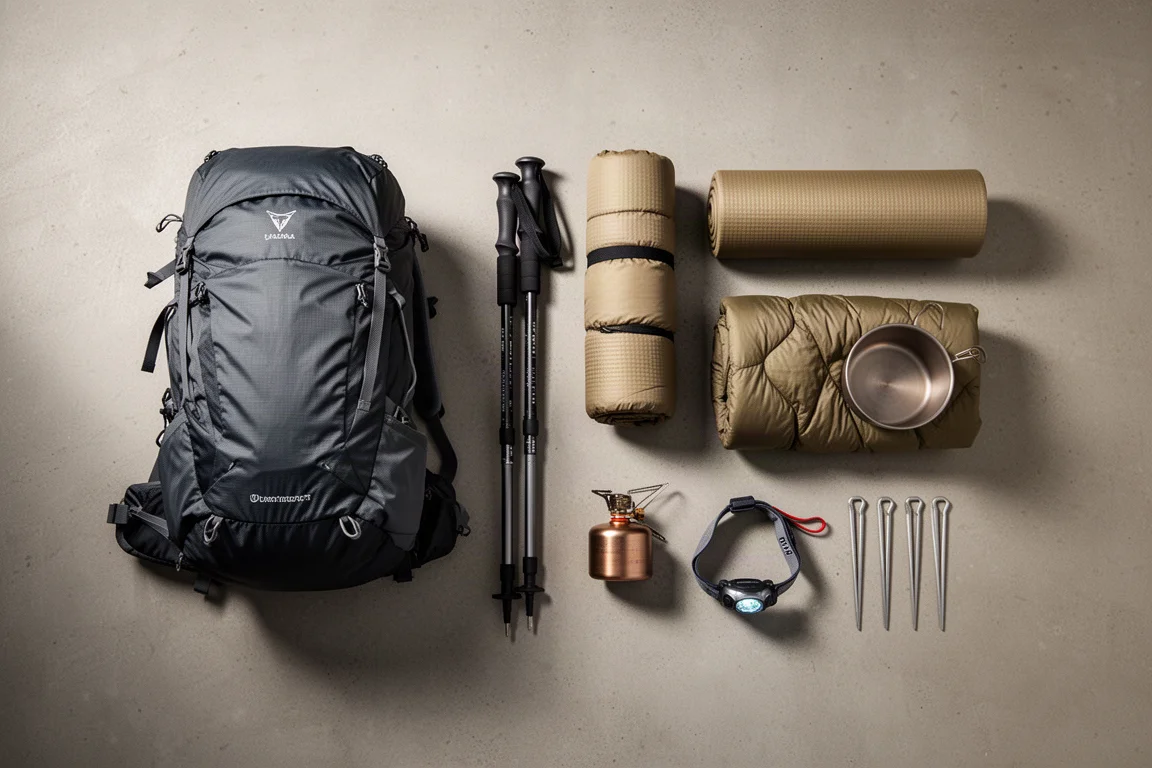
Backpacking Gear
Building a 10 lb Base Weight: An Ultralight Backpacking Gear List
A practical walkthrough of the ultralight pieces behind a 10 lb base weight, from a 765 g pack and a roomy one-person tent to a full camp chair and a dependable water filter.

Road Bikes
10 New Road Bikes Worth Watching: Aero, Titanium, Steel and Endurance Standouts
A practical roundup of 10 new road bikes, from aero flagships chasing single-watt gains to titanium, steel and endurance platforms built for real roads.
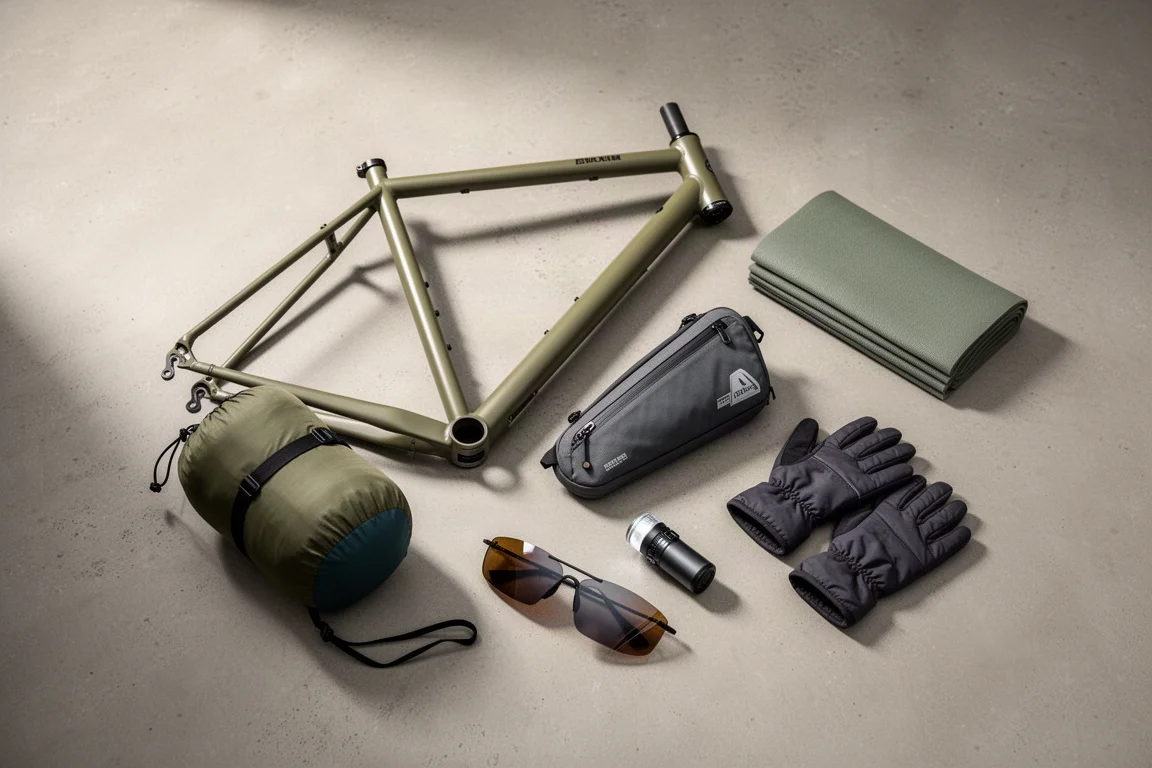
Bikepacking Gear
11 Bikepacking Essentials for Long-Distance Cycling
Eleven bikepacking essentials for long-distance cycling, from a steel gravel frame and a two-person tent to helmet lights, packable gloves, and a frame bag that puts weight in the right place.