Camera Guides
Best Cameras for Bird Photography: From Superzoom Bridges to Flagship Mirrorless
A beginner-friendly guide to the best cameras for bird photography and videography, covering bridge cameras, DSLRs, mirrorless bodies, exposure basics, and field tips.
Introduction
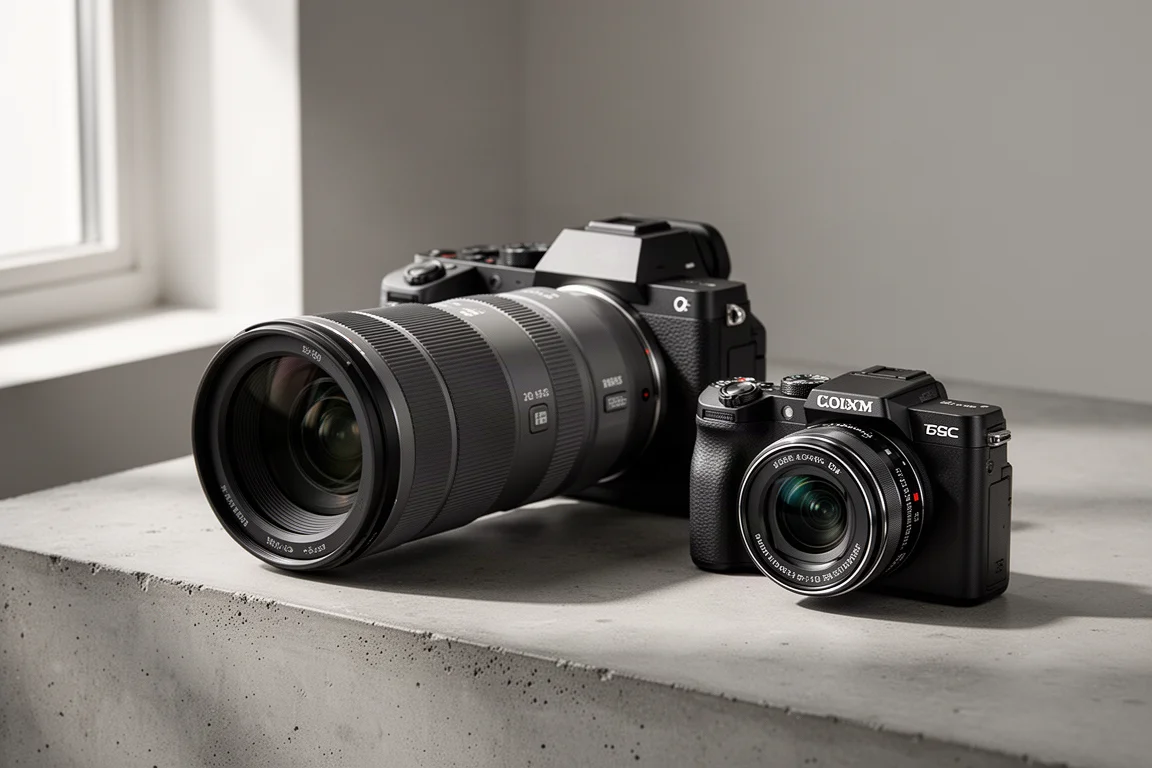
Choosing a camera for bird photography can feel overwhelming. There are compact point-and-shoots, superzoom bridge cameras, DSLRs, and a fast-growing range of mirrorless bodies, all at very different prices. This guide breaks the categories down in plain terms, highlights specific models worth a look, and covers the exposure and composition basics that actually improve your bird shots.
Camera Types for Birding
Compact point-and-shoot cameras are fun and easy, but they generally lack the zoom reach and image quality needed for small birds. They work for subjects that are very close, and little else in this niche.
Bridge cameras are the sweet spot for many beginners: superzoom capability in a light body, simple auto modes, and no lenses to swap. DSLRs use a flipping mirror to send the image to the viewfinder, which means audible shutter noise, but many high-quality DSLR bodies are now available at attractive prices because the photography community has largely moved on. Mirrorless cameras remove that mirror entirely, so light goes straight to the sensor. They tend to be lighter, shoot silently, and offer noticeably better autofocus, including dedicated bird eye detection on some models.
One key concept: sensor size. Full-frame sensors are considered the professional standard because they do not crop your image. Smaller sensors apply a crop factor. OM System bodies use a 2x crop, so a 150-600mm lens behaves like a 300-1200mm equivalent, which is a genuine advantage for reaching small birds.
Bridge Cameras: Light, Affordable, and Surprisingly Capable
Panasonic Lumix FZ80
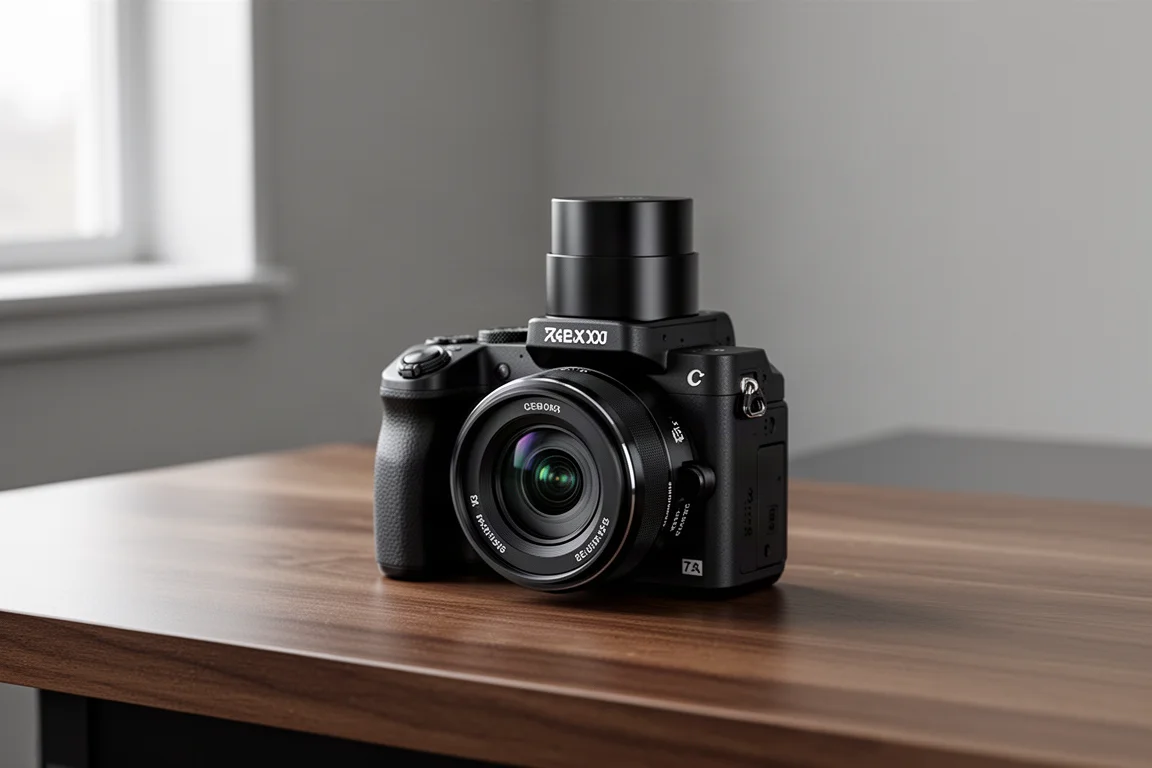
The Panasonic Lumix FZ80 is a superzoom bridge camera that has stayed in regular use for over a decade. It is light, works like a point-and-shoot in auto mode, and has very good video stabilization. That makes it a strong pick for beginners, younger photographers, or anyone who does not want extra weight hanging from their neck.
Nikon Coolpix P1000
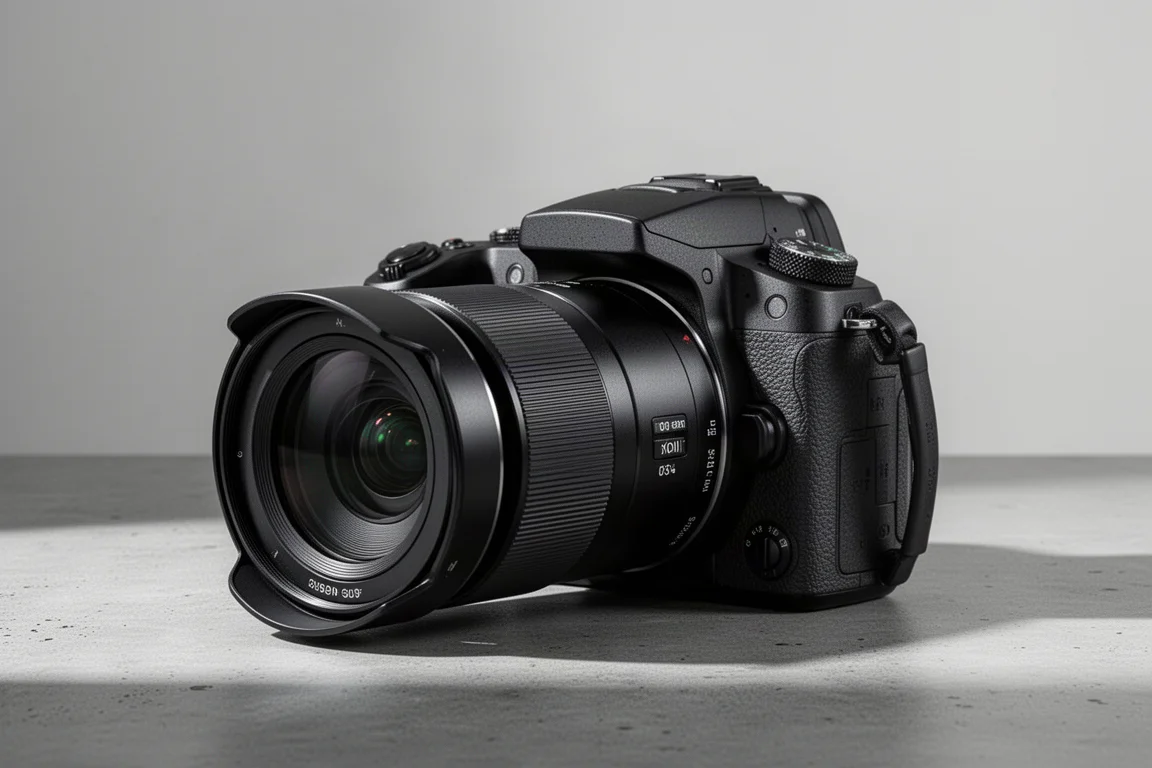
The Nikon Coolpix P1000 is another superzoom bridge camera with even more reach, but it is heavier and the zoomed-in balance tips forward. Some birders find the weight hard on the neck. It is still a great grab-and-go option, though at maximum zoom you start to notice the ceiling compared with professional setups.
Mirrorless Systems with Bird Eye Autofocus
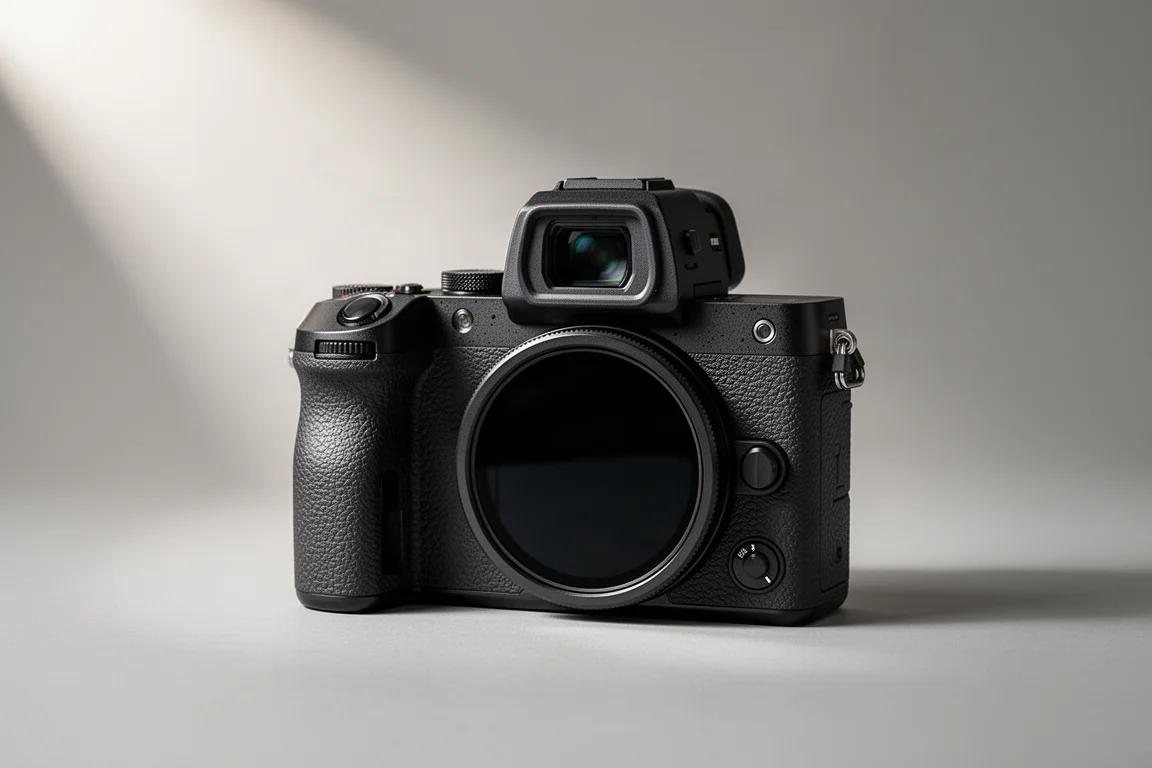
OM System OM-1
The OM System OM-1 was a genuine eye-opener: put it in auto and you can start clicking and walk away with impressive bird photos. Its standout feature is bird eye autofocus that locks onto a bird’s eye to keep the face sharp. The 2x crop sensor also doubles your effective reach, and it includes a pro capture mode that begins shooting on a half-press so you do not miss a bird taking off.
OM System OM-1 Mark II
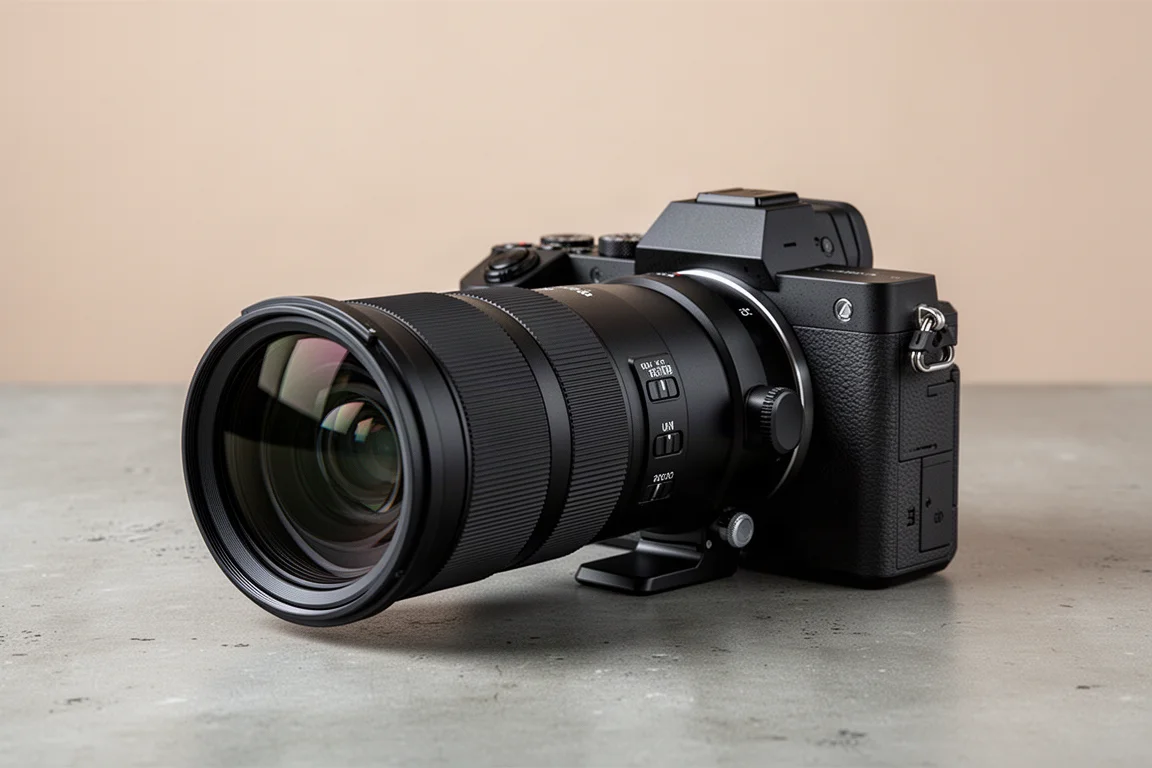
The OM System OM-1 Mark II pairs that same bird eye autofocus and 2x crop with the 150-600mm lens for a 300-1200mm equivalent reach, which feels wonderfully close after shooting full-frame. The trade-offs are real: lenses get heavy, so a carrying system helps, and the zoom barrel can slide down and needs locking. Stabilization on the lens, plus a touch of post-processing, makes handheld shooting very workable.
Full-Frame and Flagship Mirrorless Options
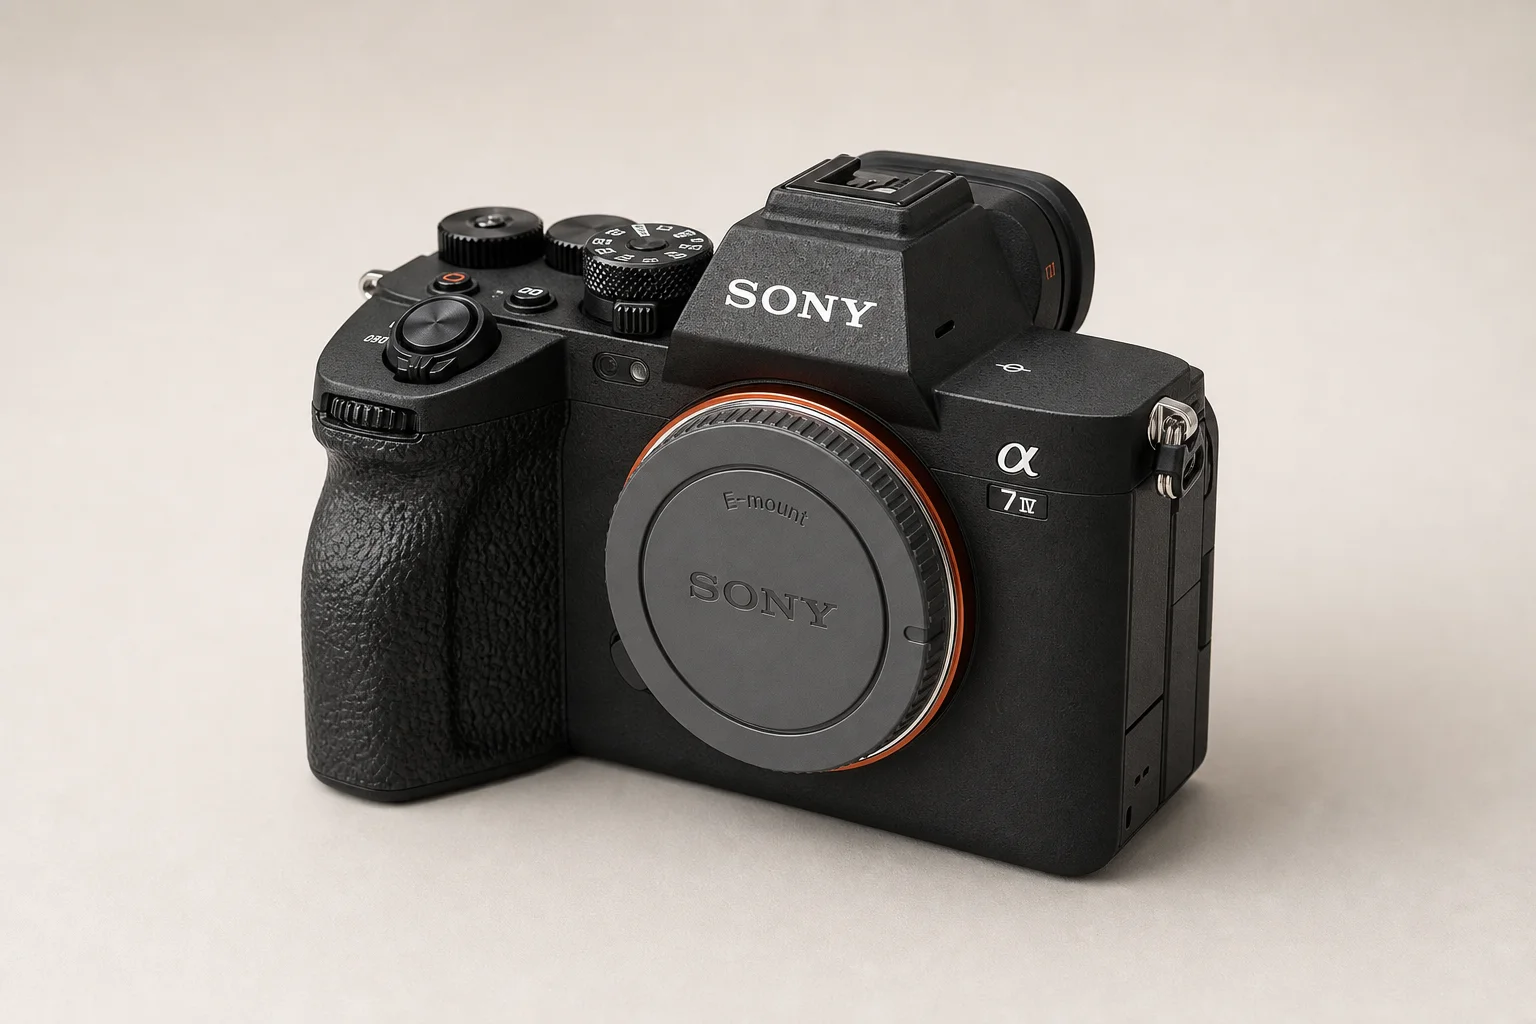
Sony a7 IV
The Sony a7 IV is a hybrid body aimed at both photo and video, and it is a genuinely enjoyable camera to use. If you shoot a mix of stills and video, it covers both well.
Sony a7R V
The Sony a7R V sits in the R series, which leans more toward photography. It is a strong choice if stills are your priority over video.
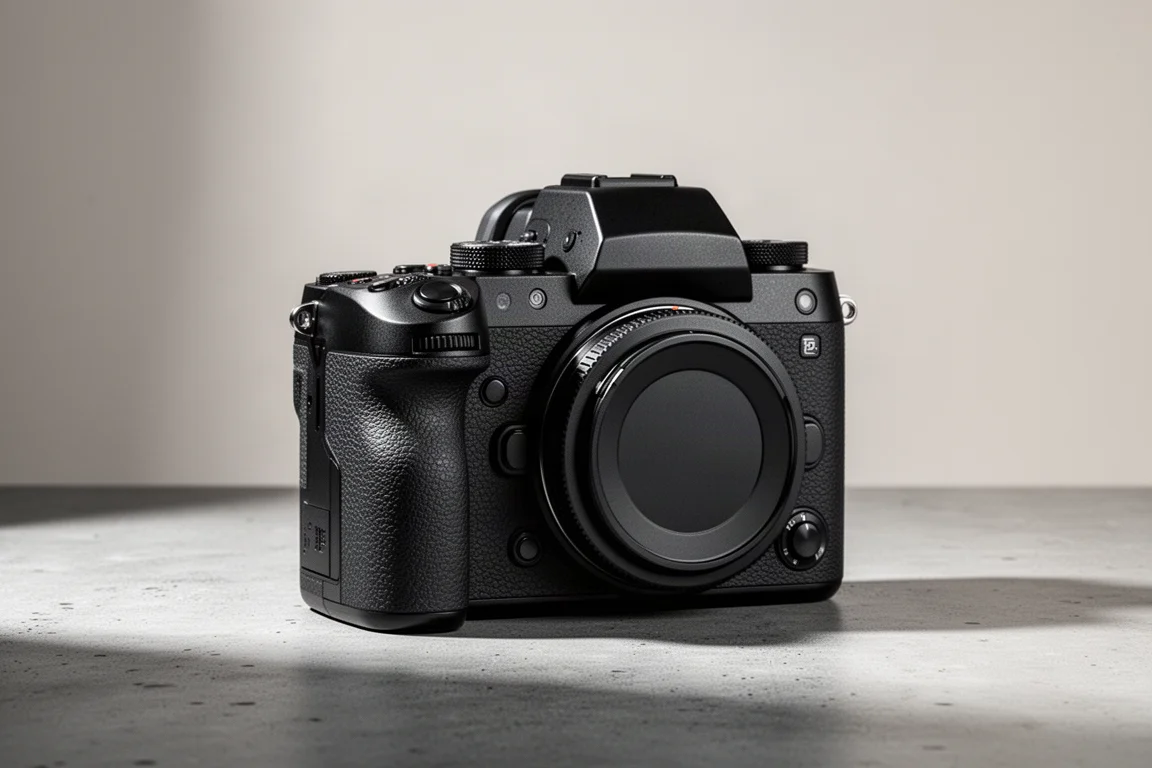
Canon EOS R5
The Canon EOS R5 is a popular full-frame body, and paired with Canon’s 100-500mm lens it is a combination capable of excellent bird imagery. With newer Canon models now available, the R5 may be coming down in price.
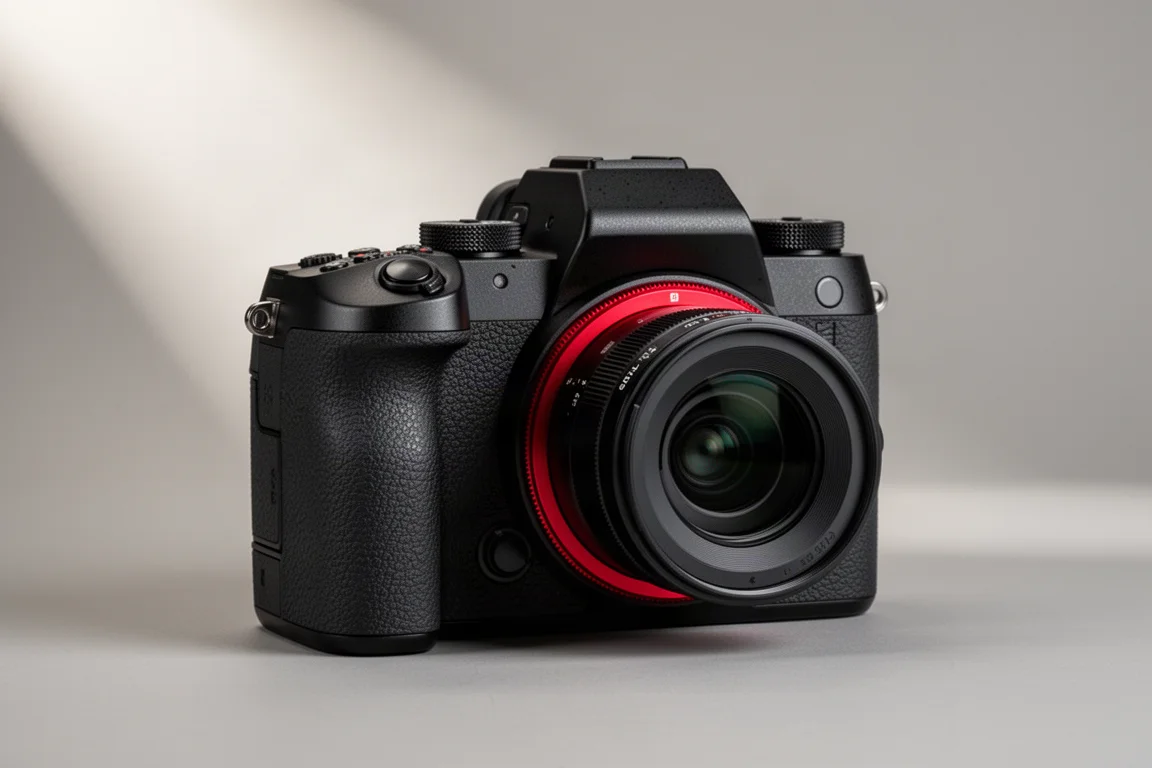
Nikon Z8
The Nikon Z8 is one of the strong mirrorless options from Nikon and a serious step up in capability for dedicated bird photographers.
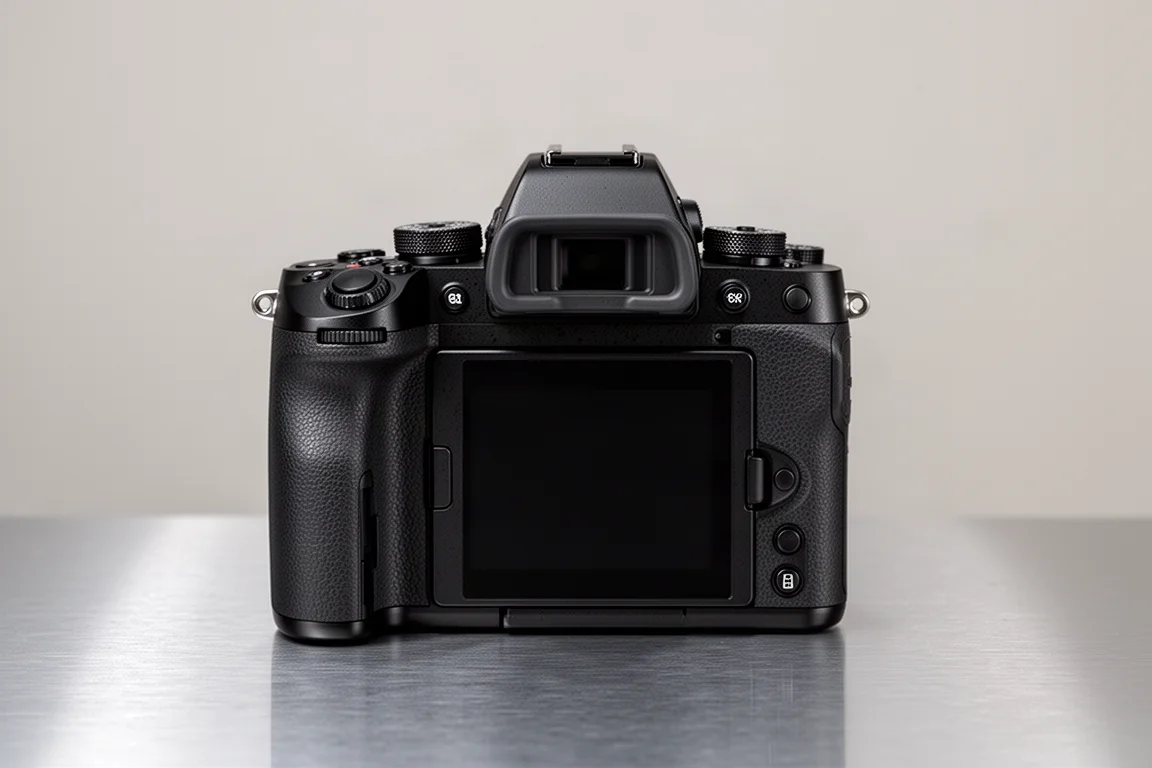
Nikon Z9
The Nikon Z9 is Nikon’s top-tier mirrorless body, built for photographers who want maximum performance and are prepared to pay for it.
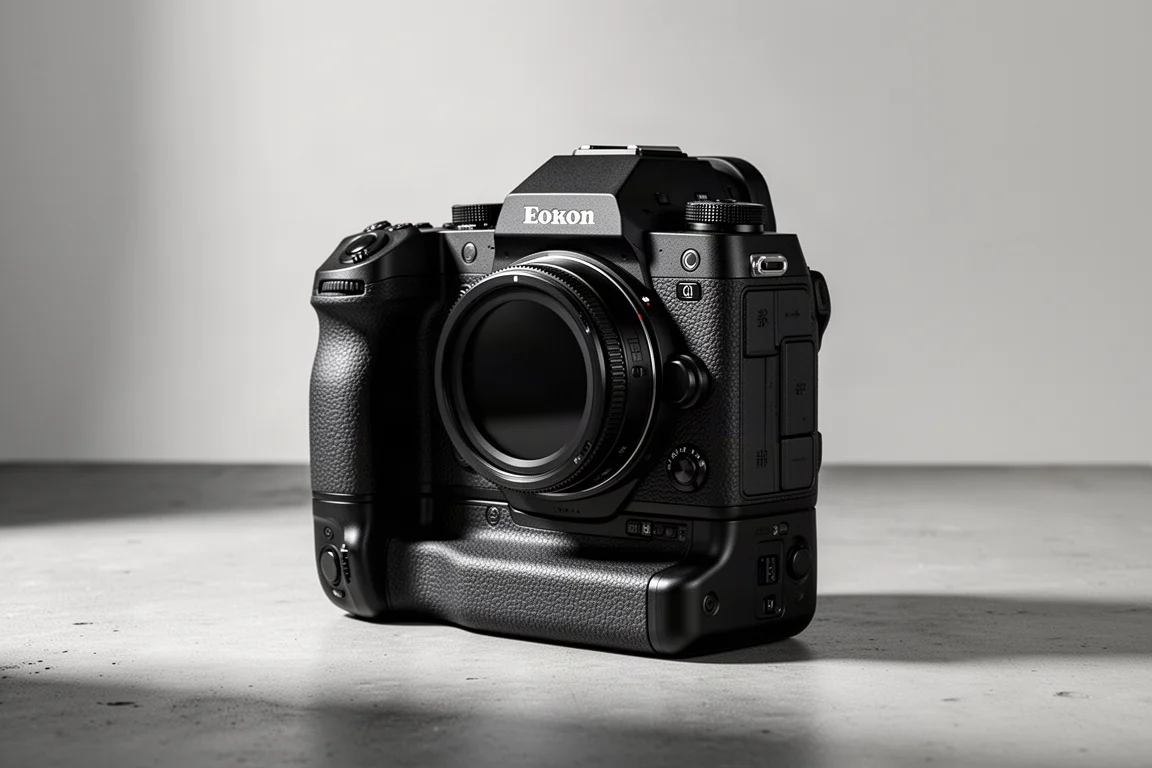
Sony A1
The Sony A1 is Sony’s flagship, a level above the a7 IV. The performance is there, but the price enters another realm. For most birders, a non-flagship body gets you very close for far less money.
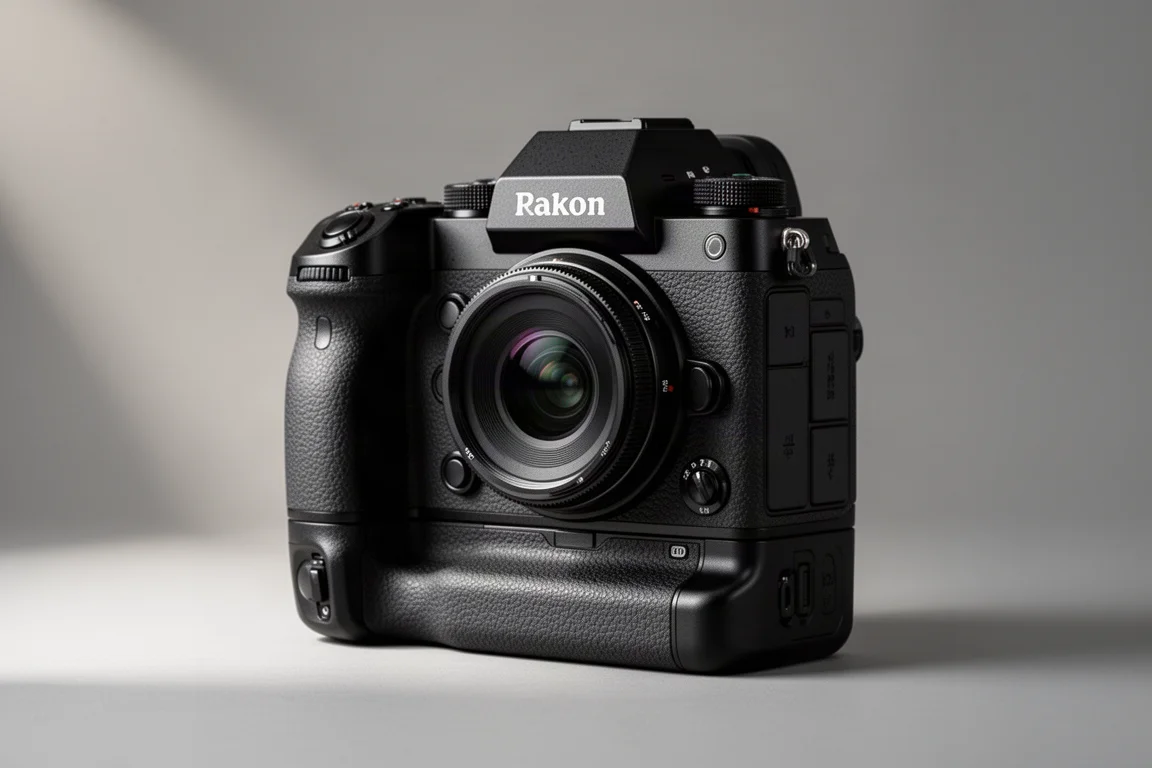
Exposure Basics: The Exposure Triangle
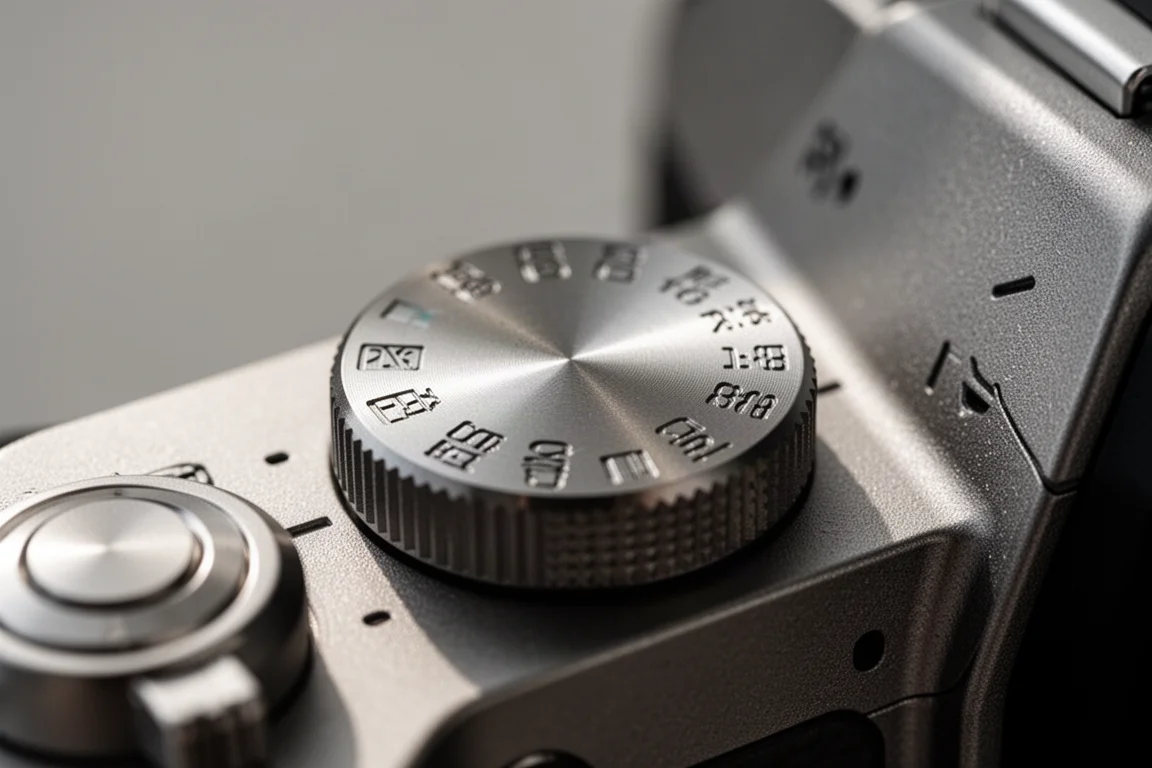
The mode dial letters matter. Manual mode gives you control of everything. Shutter priority lets you set shutter speed while the camera handles the rest. Aperture priority does the same for aperture. Program mode picks aperture and shutter for you. Custom modes let you save settings for birds in flight and recall them instantly.
Aperture
Aperture is how wide the lens opens. More open means more light and more background blur (bokeh); more closed means less light and greater depth of field, keeping more of the frame in focus.
Shutter Speed
Shutter speed is arguably the most important setting for birds. A useful rule: your minimum shutter speed to freeze action should be one over the maximum lens length, including crop factor. On a 1200mm equivalent, that means at least 1/1200, and higher for birds in flight when light allows. Faster speeds let in less light and darken images; slower speeds introduce motion blur.
ISO
ISO is the camera’s sensitivity to light. Higher ISO brightens images but adds digital noise and grain, especially noticeable in fading light. You cannot change one side of the triangle without affecting the others, which is why semi-automatic modes are so practical: set your shutter speed, and the camera balances the rest.
F-Stops and File Formats
An f-stop measures light: moving one stop doubles or halves the light entering. Zoom lenses list variable f-stop values, while fixed focal length prime lenses are sharper but expensive. When shooting, choose JPEG for convenience and smaller files, or RAW for maximum editing latitude in post-processing. Tools like Topaz Photo AI can clean up grain and sharpen images considerably. And remember: most impressive photos you see online have been edited. Go at your own pace and enjoy the process.
Bird Photography Tips That Make a Real Difference
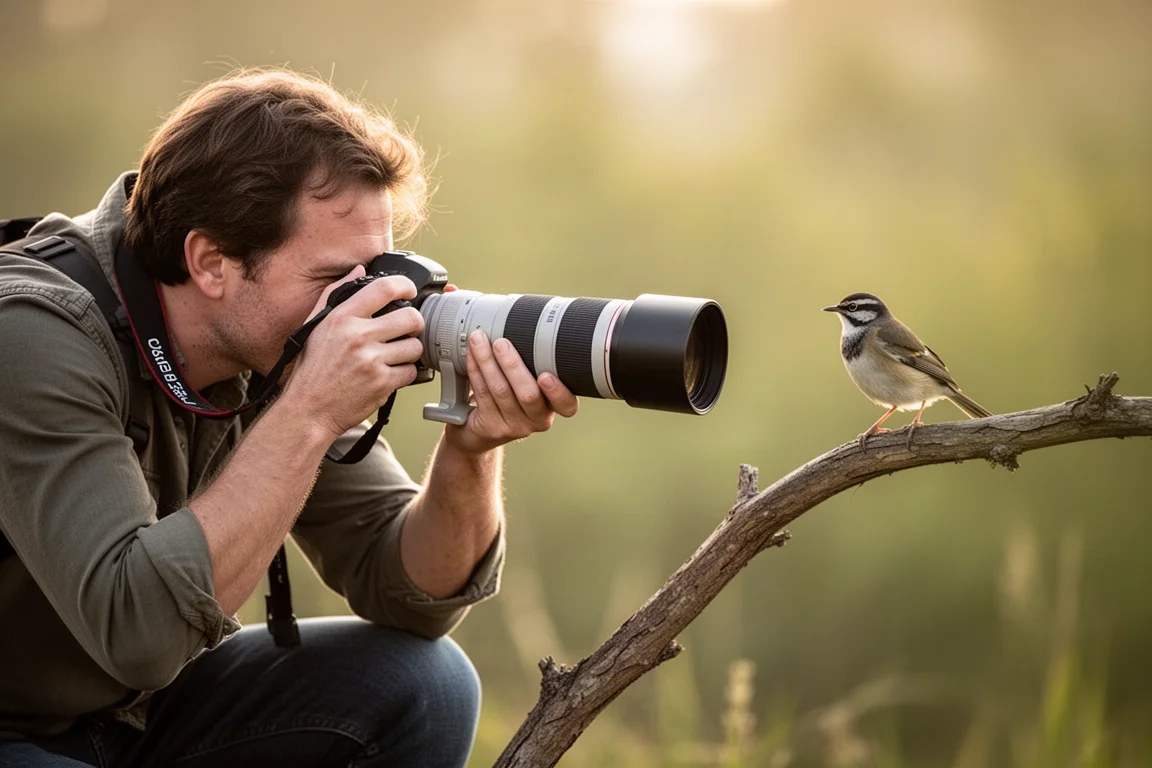
Aim for at least 600mm (or equivalent) reach for small birds; anything less feels too distant. Get down to the bird’s level, even laying on the ground if needed: eye-level shots look like you are in the bird’s world rather than looking down on it.
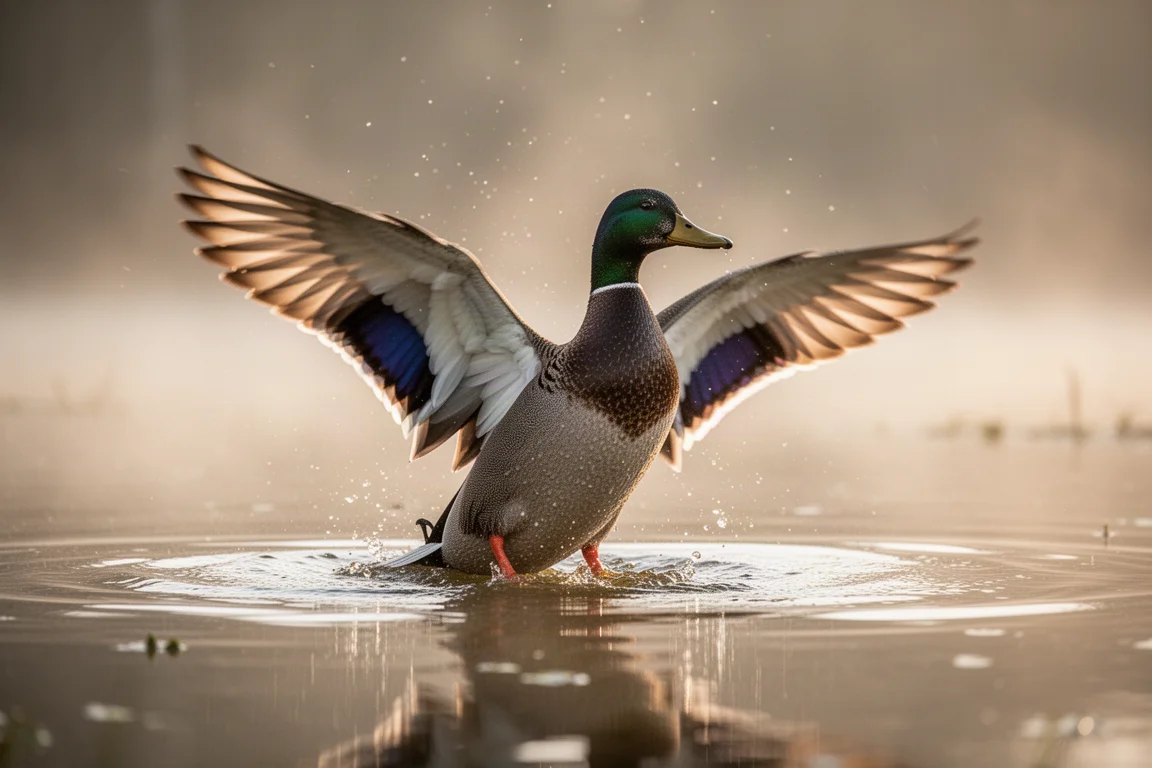
Shoot during golden hour, right after sunrise and before sunset, when light is at its best. Midday is usually the worst light, and some photographers simply skip it. Use high shutter speeds to freeze action, learn bird behavior (a bathing duck will flap and shake, so wait for it), and use burst or pro capture modes for takeoff moments. For composition, apply the rule of thirds: place the bird’s eye near an intersection point and leave room in the direction the bird is looking. Finally, practice on the birds already around you, like chickadees, cardinals, and ducks at the local pond.
Buying Advice: Body Versus Lens
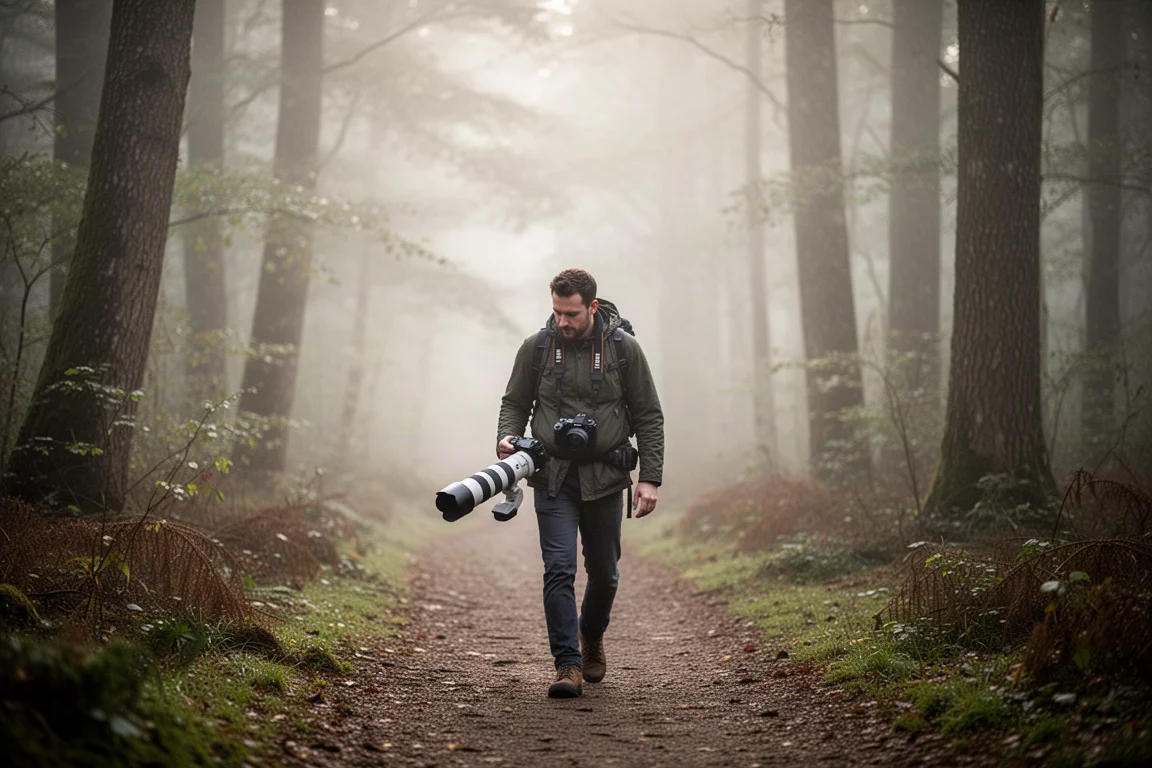
If your budget is limited, prioritize the lens. A high-quality telephoto lens, such as the Sony 200-600mm, stays with you even when you upgrade the body later, and the lens often matters more for image quality. For expensive mirrorless gear, try before you buy. Rental services or a local store let you handle bodies and lenses so you can judge ergonomics and weight before committing. Also note that today’s flagship bodies will come down in price as newer models arrive, so patient shoppers can save.
Conclusion
For most bird photographers, a superzoom bridge camera like the Lumix FZ80 is a friendly, affordable entry point, while the OM System OM-1 Mark II’s bird eye autofocus and 2x crop reach make it a standout for getting close to small birds. Full-frame bodies like the Canon EOS R5 or Sony A1 deliver professional results, but pairing a good body with a great lens and solid technique matters more than chasing the flagship. Pick a setup that feels right in hand, learn the exposure triangle, and start shooting the birds in your own backyard.
Further reading
Related Reviews

Backpacking Gear
Building a 10 lb Base Weight: An Ultralight Backpacking Gear List
A practical walkthrough of the ultralight pieces behind a 10 lb base weight, from a 765 g pack and a roomy one-person tent to a full camp chair and a dependable water filter.
Road Bikes
10 New Road Bikes Worth Watching: Aero, Titanium, Steel and Endurance Standouts
A practical roundup of 10 new road bikes, from aero flagships chasing single-watt gains to titanium, steel and endurance platforms built for real roads.
Bikepacking Gear
11 Bikepacking Essentials for Long-Distance Cycling
Eleven bikepacking essentials for long-distance cycling, from a steel gravel frame and a two-person tent to helmet lights, packable gloves, and a frame bag that puts weight in the right place.