Astrophotography
Best Beginner Deep Sky Astrophotography Kit: A Practical Three-Piece Setup
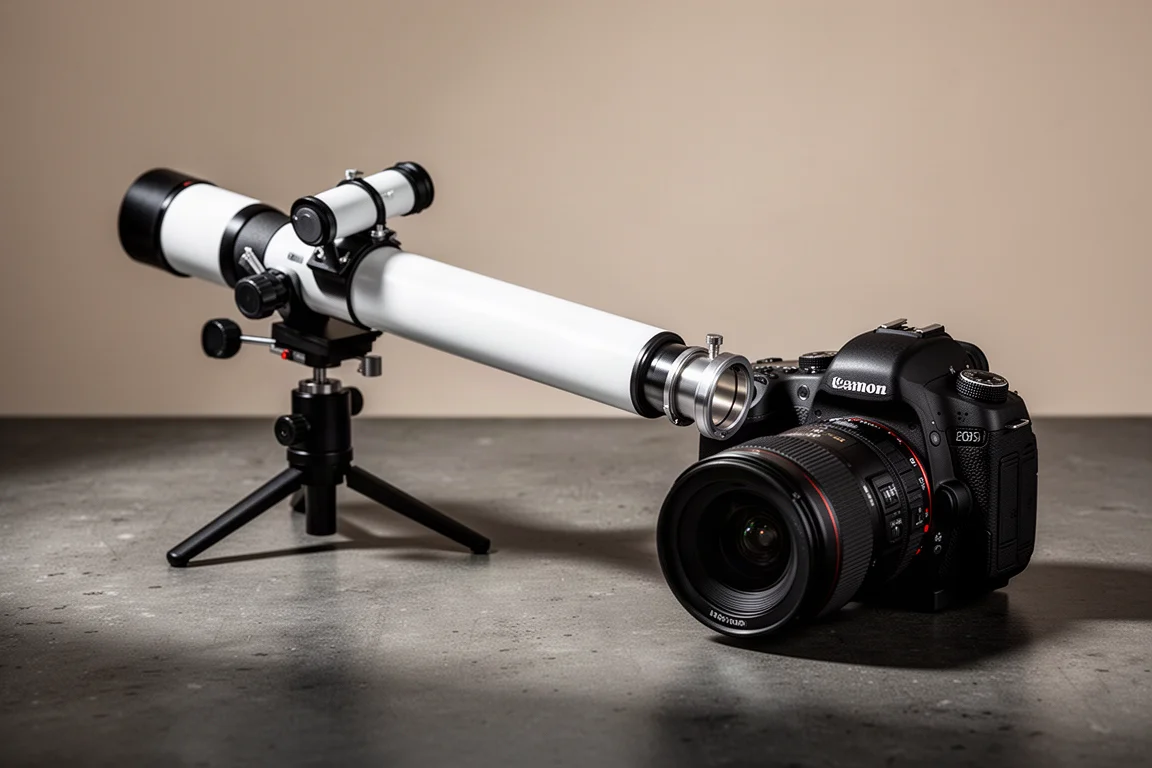
A portable, affordable deep sky rig built around a star tracker, a compact 180mm telescope, and a stock entry-level DSLR.
Introduction
Deep sky astrophotography has a reputation for being complicated, expensive, and frustrating, and plenty of newcomers quit before they ever produce an image they are proud of. It does not have to be that way. A well-chosen portable kit that focuses on the fundamentals can deliver sharp, rewarding results while keeping the learning curve manageable.
This three-piece setup, a star tracker, a compact 180mm telescope, and a stock entry-level DSLR, is about as practical an example as you can find for a first deep sky rig. It is ultraportable, affordable by the standards of the hobby, and painless enough to use that it should not ruin your first astrophotography experience. The target used to demonstrate it, the Pleiades star cluster, is one of the brightest and most beginner-friendly deep sky objects in the night sky.
Why This Kind of Setup Works for Beginners
The star tracker, or equatorial mount, is the most important part of any deep sky setup. With a quality tracker properly polar aligned, you can capture long exposures of several minutes with sharp, round stars. Get the fundamentals right, and everything else falls into place.
A wide-field optical instrument paired with a manual tracker is also more forgiving than a long-focal-length telescope. You only need a rough idea of where your target sits, then a few test exposures using the camera’s long exposure abilities reveal dim objects invisible to the eye, and you fine-tune from there. Sticking to brighter objects like the Pleiades makes this process even easier, while ultra-dim targets often demand more exposure time, specialized filters, and darker skies.
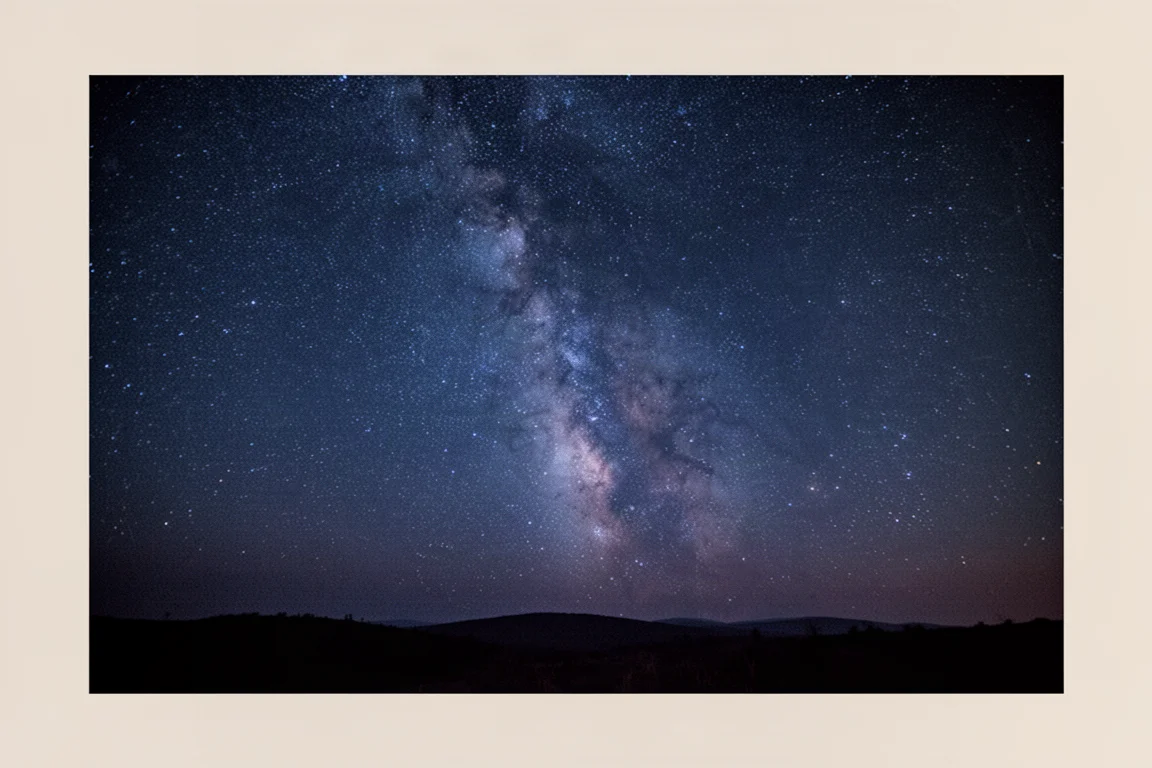
If you are lucky enough to start under a portal-friendly sky or better, you have a massive advantage over most beginners, and you can largely skip the light pollution filter. Everyone else will want one, and the good news is that the rest of this kit stays simple either way.
Sky-Watcher Star Adventurer 2i
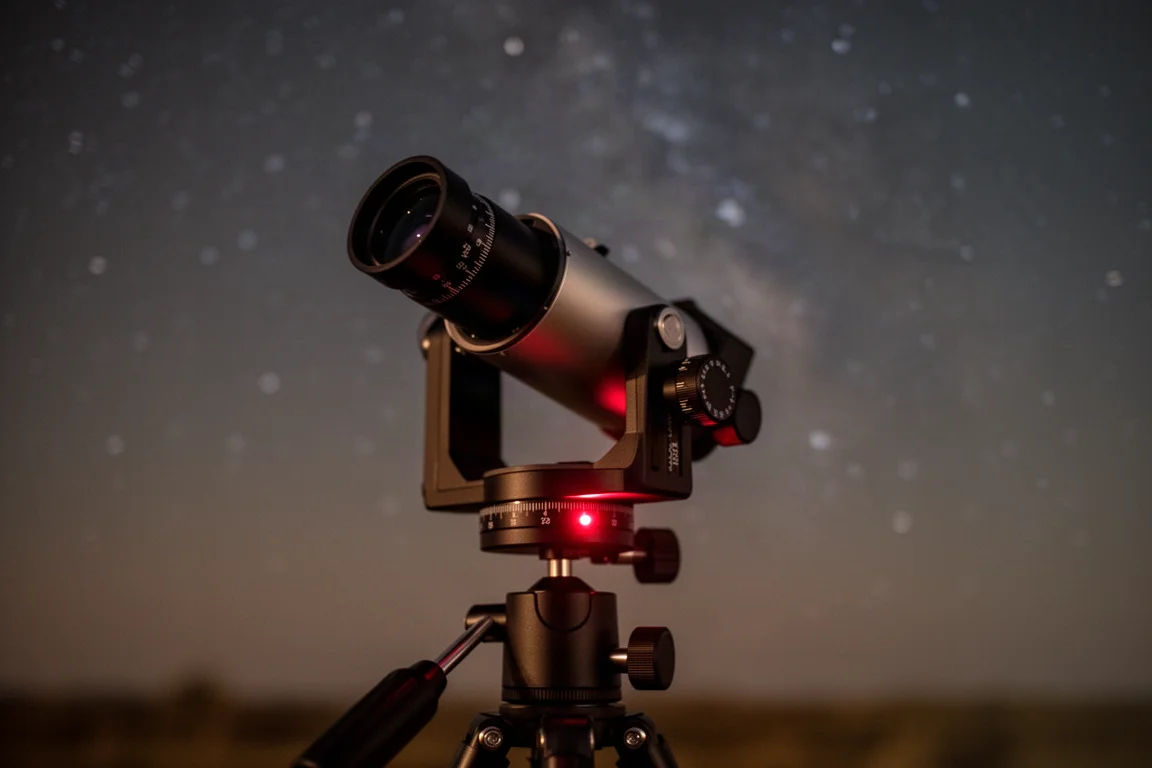
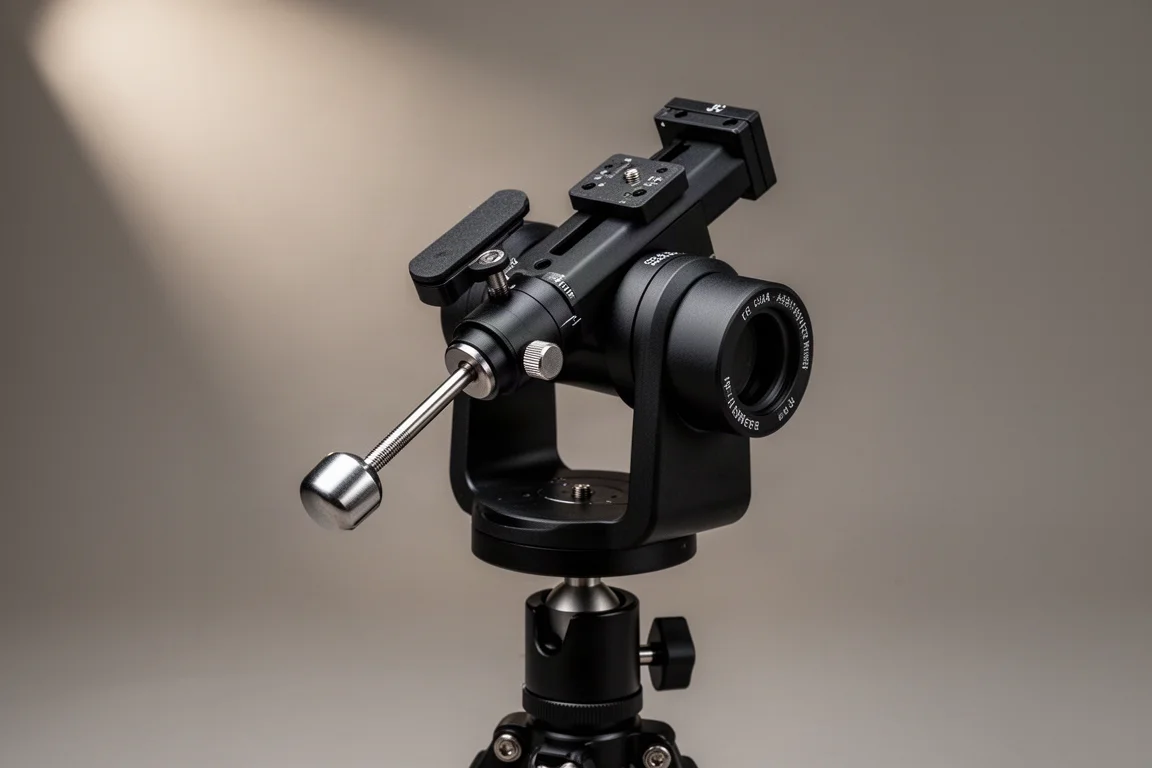
The Sky-Watcher Star Adventurer 2i is the heart of this rig. It consistently delivers sharp stars on three-minute exposures at this focal length, which is exactly what a beginner needs from a tracker. Compared with larger telescope mounts, it is easy to transport, easy to polar align, and easy to operate, though like any mount it has a few quirks.
The main skill to master is polar alignment. There are plenty of phone apps and tutorials to walk you through dialing in the mount against the celestial pole, and once it clicks, the process takes less than a minute each night. Balance matters too: the Star Adventurer has a maximum payload capacity of 11 pounds, so keep your rig light and use the included counterweight to keep everything properly balanced. A stable tripod underneath is essential for the tracker to perform.
TPO 180
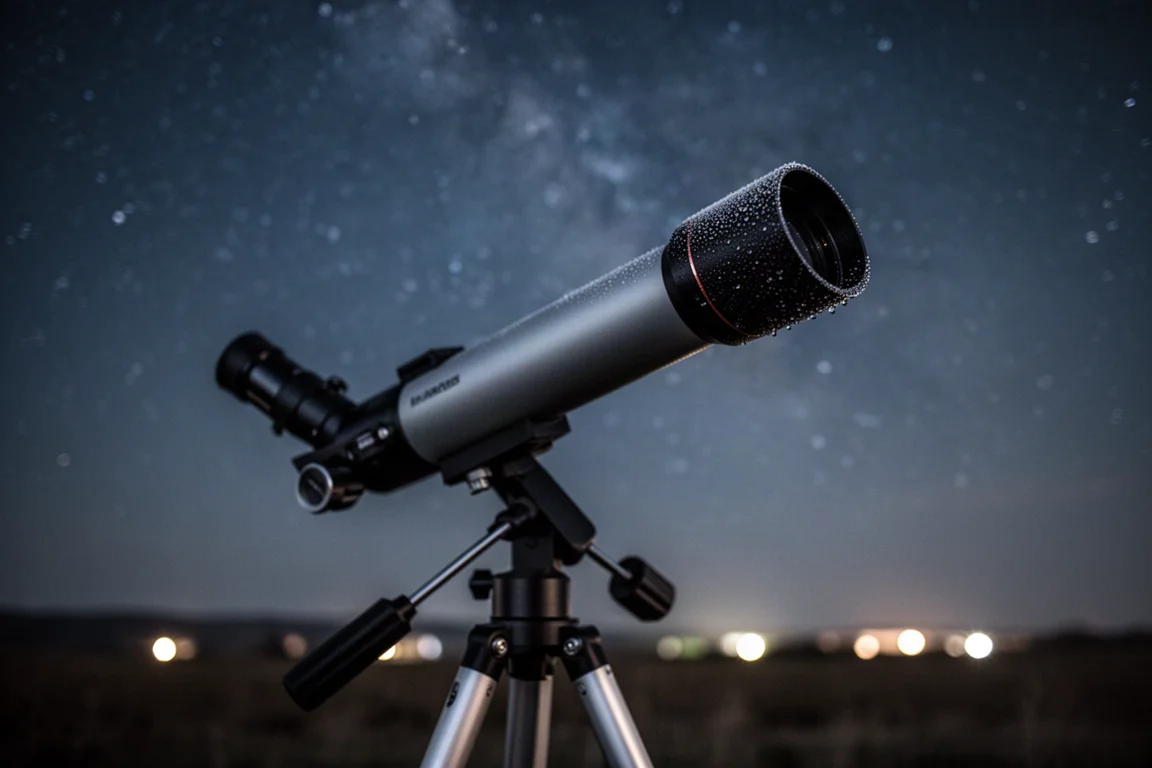
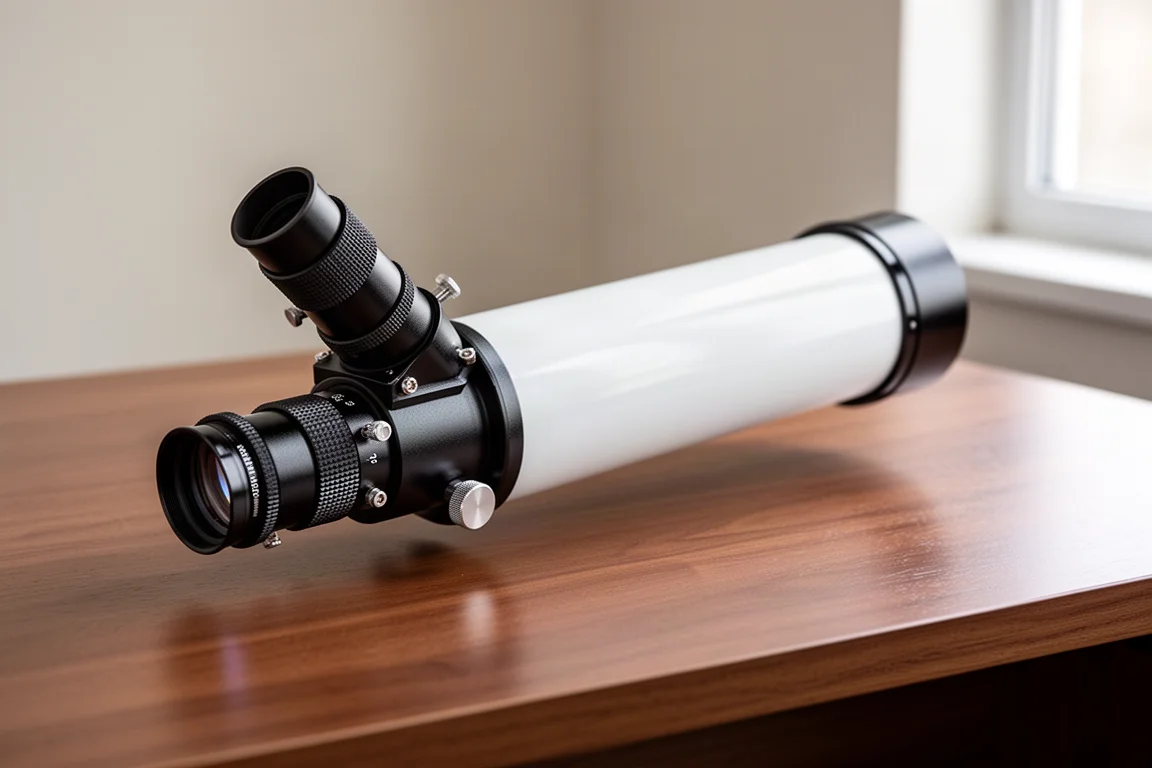
The TPO 180 shoots at a 180mm focal length at f/4.9, and its tiny 50mm aperture does a surprisingly good job of collecting photons. This is an ultra-wide-field instrument, so most galaxies and planets are out of the question, but for rich star fields and sprawling nebulae, it is exactly what you want.
The focuser is genuinely nice to use. There is a sweet spot you need to reach for chromatic aberration-free images, sitting somewhere between purple and green on bright stars, and dialing in precise focus is what gets you there. Backspacing is not an issue with this system: use the included extension tubes and back off the helical focuser until you can achieve focus on a bright star, or even a tree during the daytime. Framing and focusing the Pleiades through this scope is a real treat, since the cluster is bright enough to see in the camera’s live view with the ISO cranked and a 30-second or bulb exposure set.
Canon Rebel T7
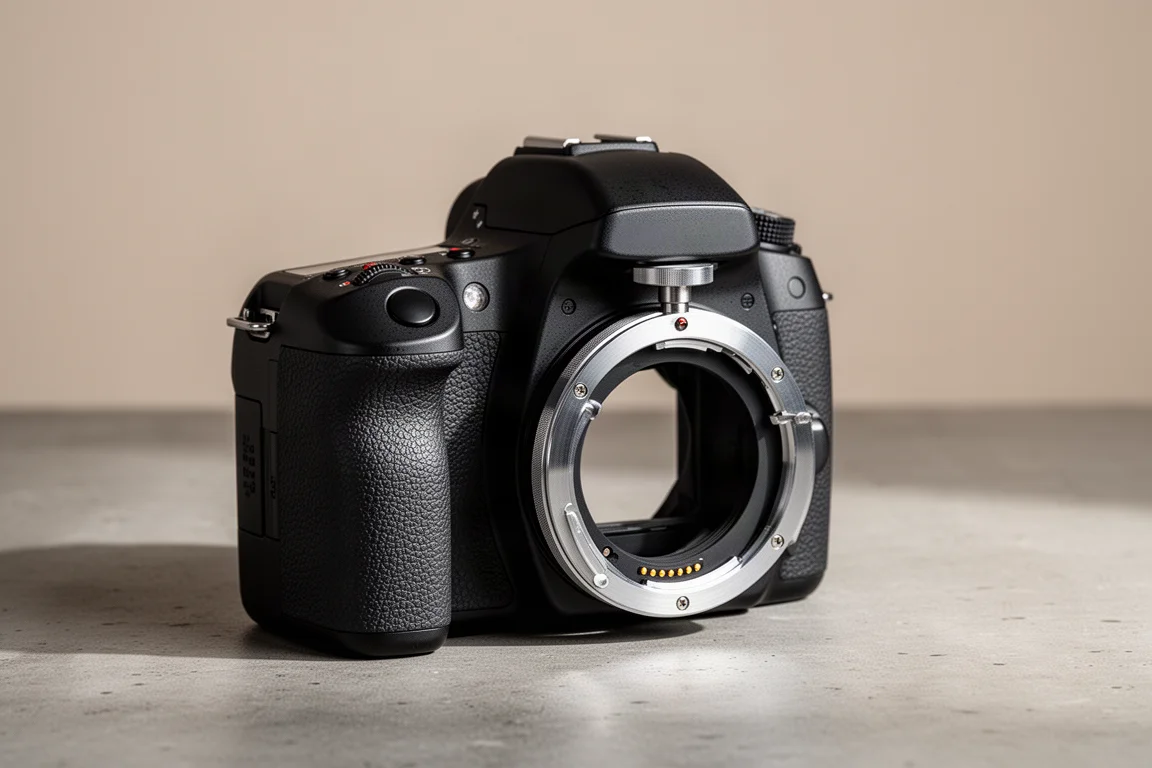
The camera here is a bone-stock, entry-level crop sensor DSLR: the Canon Rebel T7. It is affordable, unmodified for astrophotography, and entirely capable of producing impressive astro images. If you are new to the hobby, you do not need a modified camera right away to enjoy deep sky imaging.
The camera attaches to the telescope with a standard T-ring, and a universal clip-in light pollution filter inside the optical train helps counteract glow from light-polluted backyards. Even if you eventually upgrade to a dedicated astronomy camera, there will always be a reason to keep a DSLR like this in the kit.
Useful Accessories Worth Adding
Two cheap, easy-to-use accessories round out the rig. The first is a simple remote shutter release cable, which lets you set a series of long exposure images without touching the camera. The second is a small USB-powered dew heater band, powered from a compact battery pack, that keeps dew off the optic while everything stays ultraportable and grab-and-go.
A quality travel tripod deserves a mention as well. Cheaper tripods exist, but a stable carbon fiber tripod with a quick-release plate is the kind of purchase that ends the upgrade cycle, and the quick-release plate is a lifesaver during polar alignment. Some versions of the Star Adventurer are even available bundled with one for good reason.
Shooting Strategy and Exposure Habits
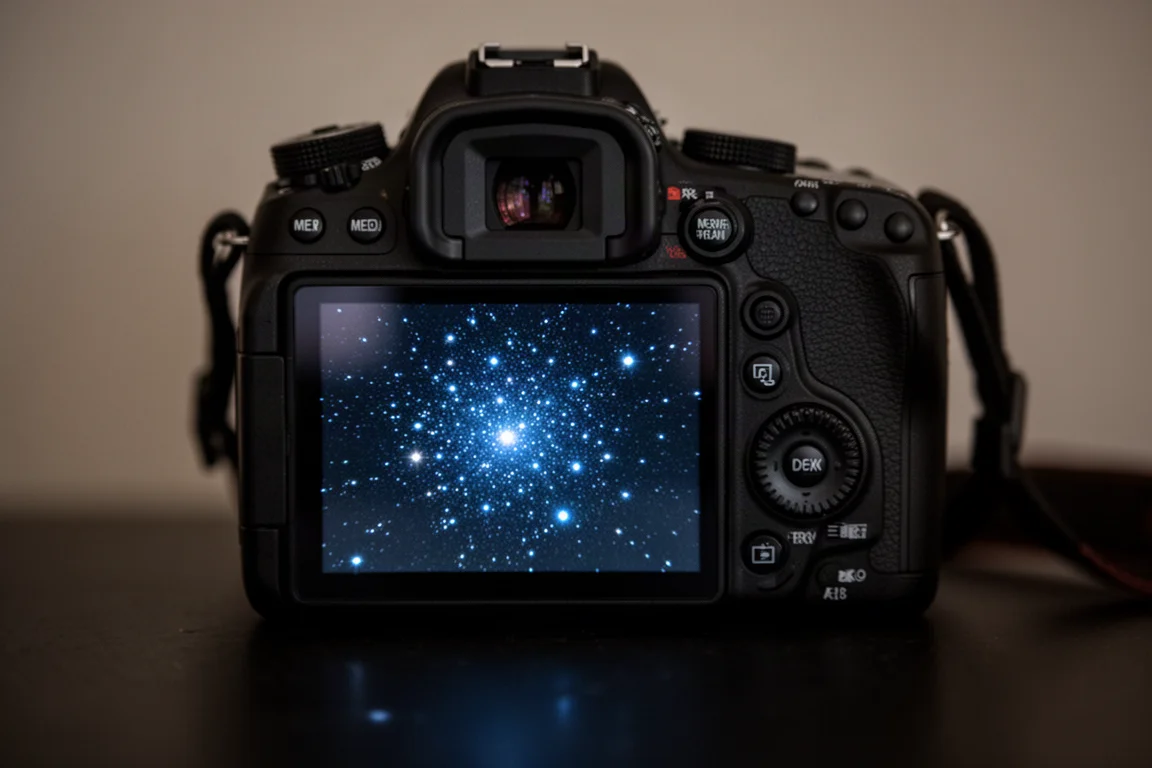
With the Pleiades centered in the frame and focus locked in on its bright stars, the plan is simple: take as many two-minute exposures as the night allows. One thing is constant in this hobby, and it is the only constant: more exposure time always makes your picture better. Do not hop around collecting an hour here and an hour there. Stick to one deep sky object for an entire night, or better yet, multiple nights.
Bright targets like the Pleiades can produce some reflection issues from their brightest stars, but that is manageable with basic image processing. The bigger point is that a beginner kit like this, tracker polar aligned, telescope focused, pointed at that hazy patch of stars in the constellation Taurus, can surprise you with the results.
Conclusion
This is the kind of kit you can learn on and get genuinely impressive results without hitting a wall of frustration. Polar alignment, careful focus, and generous total exposure time are the fundamentals that matter no matter which setup you use, and this combination makes those fundamentals as painless as possible. If you are building your first deep sky rig, this trio is a confident place to start.
Further reading
Related Reviews
Astrophotography
ASKAR FRA400C Review: A Versatile 400mm Refractor for Astrophotography and More
The ASKAR FRA400C is a compact 72mm refractor that balances reach, versatility, and portability for astrophotographers and visual observers.
Astrophotography
Askar SQA106 Review: A Premium 106mm Astrograph With Exceptional Optics
The Askar SQA106 is a premium 106mm quintuplet astrograph with impressive sharpness across full-frame sensors, though its price and weight demand careful consideration.
Astrophotography
Astro Imaging Gear 2026: Eight New Products Worth Watching
A look at the most interesting new astrophotography and astronomy products announced this year, from fast telescopes to smart cameras and wireless accessories.