Backpacking Gear
Best Backpacking Stoves and Trail Meals: A Practical Buying Guide
A practical guide to gas stoves, alcohol burners and trail meals, from premium sealed systems to budget cook sets, and how to match them to the trip you are actually doing.
Introduction
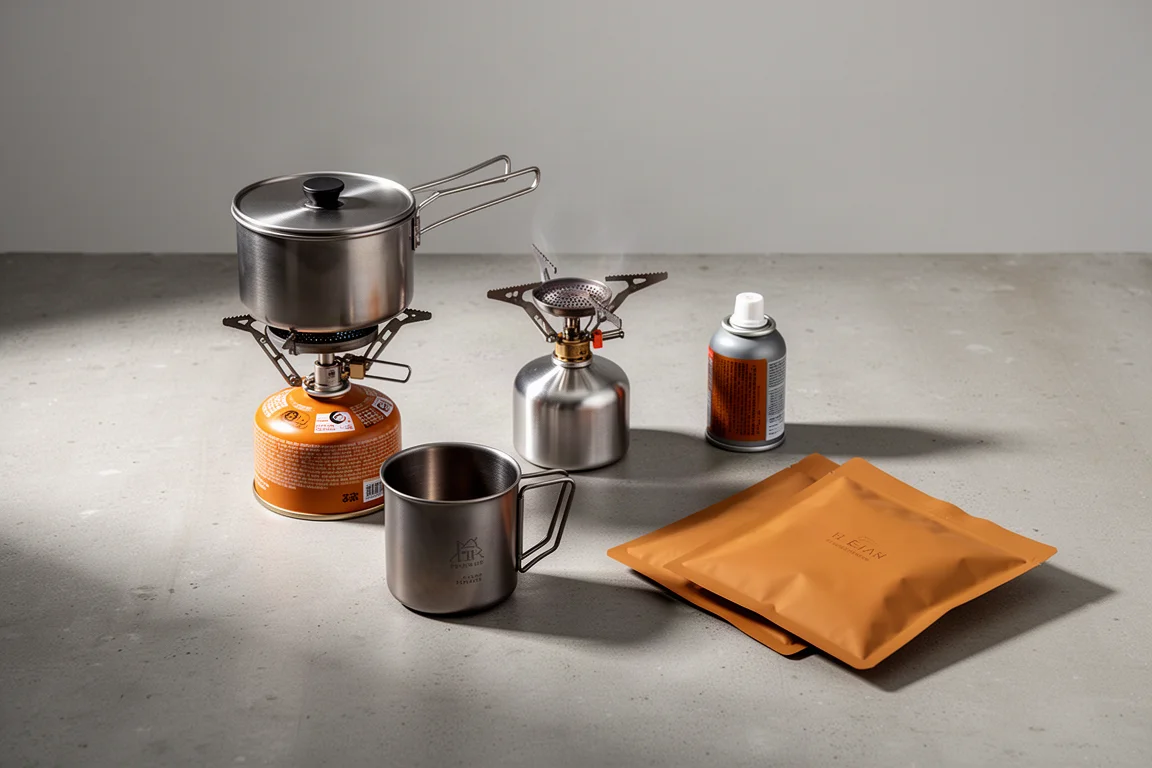
Good food on the trail is one of the real pleasures of backpacking, and it is also one of the easiest places to carry too much weight for too little reward. The classic beginner’s resupply is a garage stop on the way out: pasties, doughnuts, chocolate bars, crackers and cheese, all of it bulky and much of it cold. Most of it travels home uneaten, and a single lunch box can weigh in at around two kilograms.
That early experience tends to push hikers towards two changes. The first is calorie planning, with a rough ceiling of about 4,000 calories per 24 hours rather than grabbing everything on the shelf. The second is a cook system that genuinely earns its place in the pack.
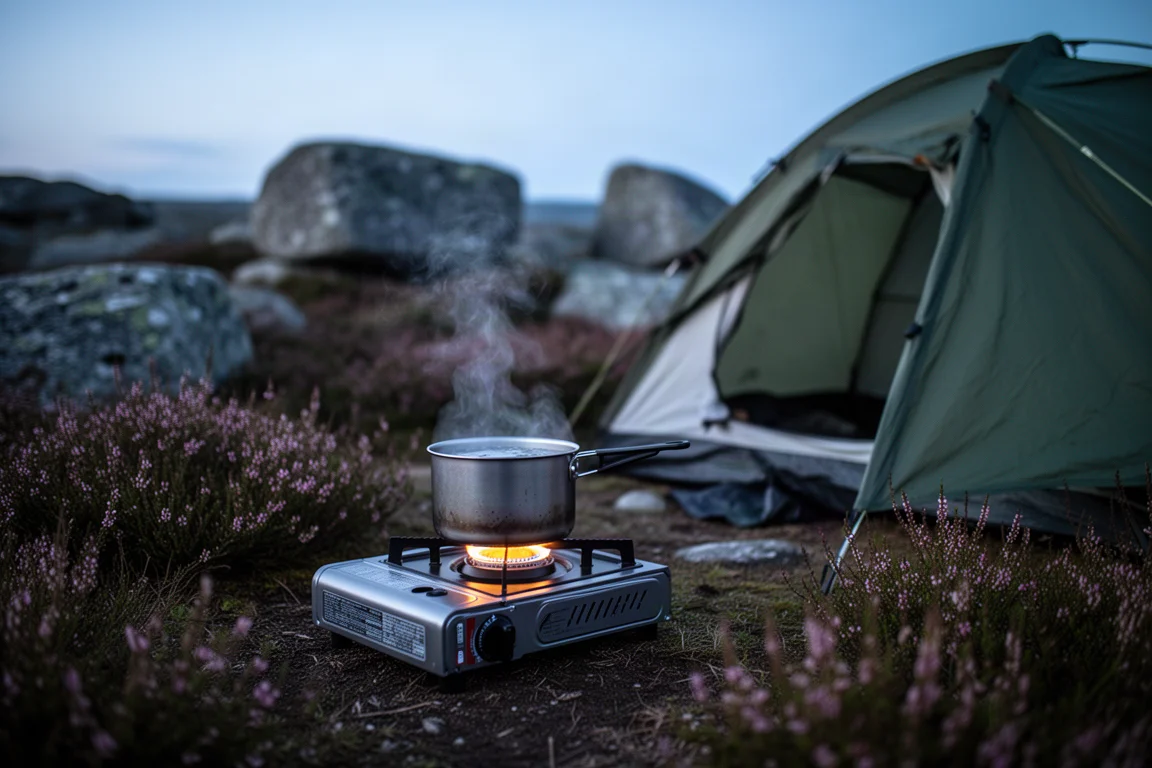
The systems below range from premium gas stoves built for alpine conditions to inexpensive stove heads and tiny ultralight burners, alongside the meals that go with them. Each one solves a different problem, and the right answer depends on how long you are out, how much cooking you actually want to do, and how much you are willing to carry.
What Matters Most When Choosing a Trail Cook System
The most useful filter is the meal, not the stove. If you are only boiling water for dehydrated meals and coffee, a tiny burner and a mug will do the job. If you want to simmer a stew or reheat a home-cooked pouch, you need a stove with a regulator you can actually adjust, and a pot with enough room to work in.
Stability deserves more attention than it usually gets. Tall setups balanced on top of themselves are precarious, and a stove that tips over is more than an inconvenience, particularly inside a tent. A burner that only works on perfectly level ground limits where you can camp.
Check the stove head before you leave. A clogged burner that will not pass fuel properly means no hot drink at all, and it is a common enough failure to be worth a two-minute test at home before a trip.
Wind and weather matter too. A stove that blows out in a breeze is no use even when you are sheltered, and fuel economy varies enough between designs that it becomes a real consideration on multi-day trips.
Gas Stove Options for Backpacking
Gas canister stoves dominate for good reason: they are fast, controllable and easy to light. The spread in price is enormous, and it does not always track the experience.
MSR Reactor
The MSR Reactor is expensive for a camping stove, and it is unapologetic about it. It ticks a lot of boxes: a solid plastic lid, economical fuel use, and the ability to work pretty much anywhere. The instructions are specific, asking you to light it above the logo and to use only its own cookware, and the burner runs very hot once it is going.
For alpine camping, professional hikers and mountaineers it makes sense. For a couple of casual nights out it is overkill, and an extravagant purchase for what most people actually need.
Jetboil Zip
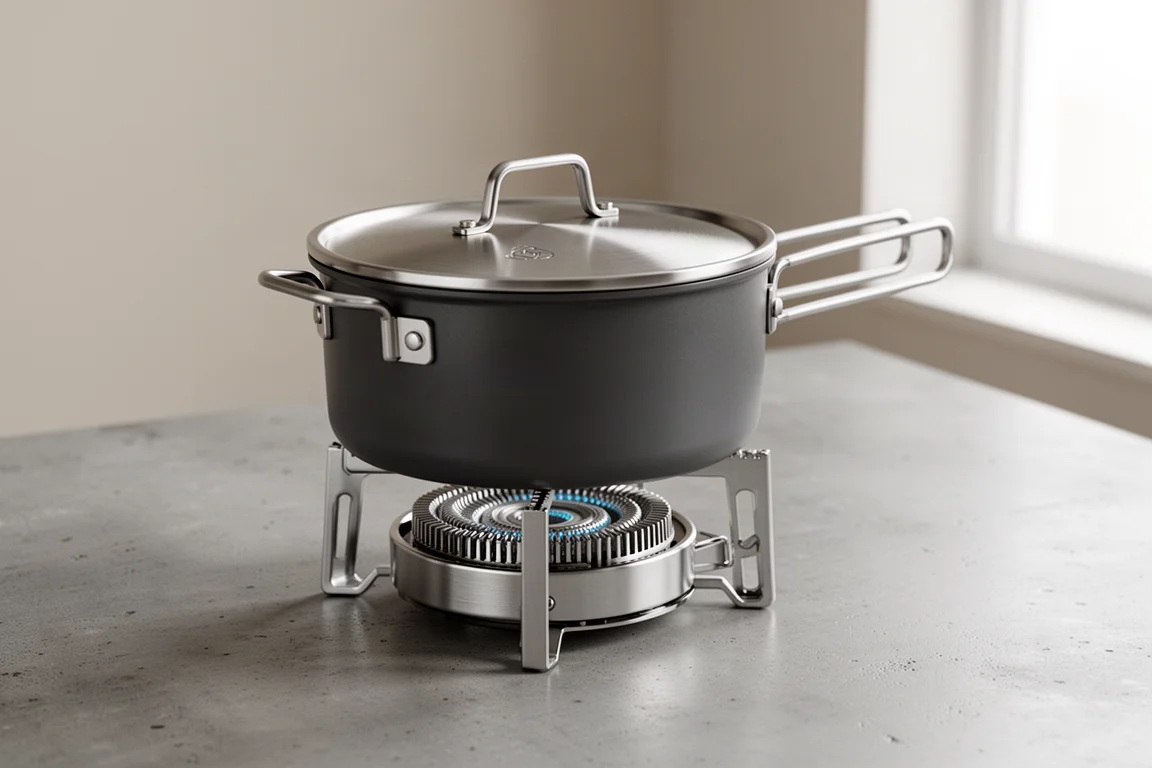
Jetboil systems are popular with hikers for good reason. They are made well, and the whole unit packs away into itself, which keeps the pack tidy. The Zip sits at nearly £100, so it is not the cheapest option, and it has two quirks worth knowing before you buy.
The first is that the pot does not double as a mug. Once it is hot, it is too hot to hold, which is a problem if you have left your mug at home. The second is flame control. The burner tends to sputter out at low settings and boil over with only a small increase, and while a 20-minute simmer is possible, finding and holding that setting takes patience.
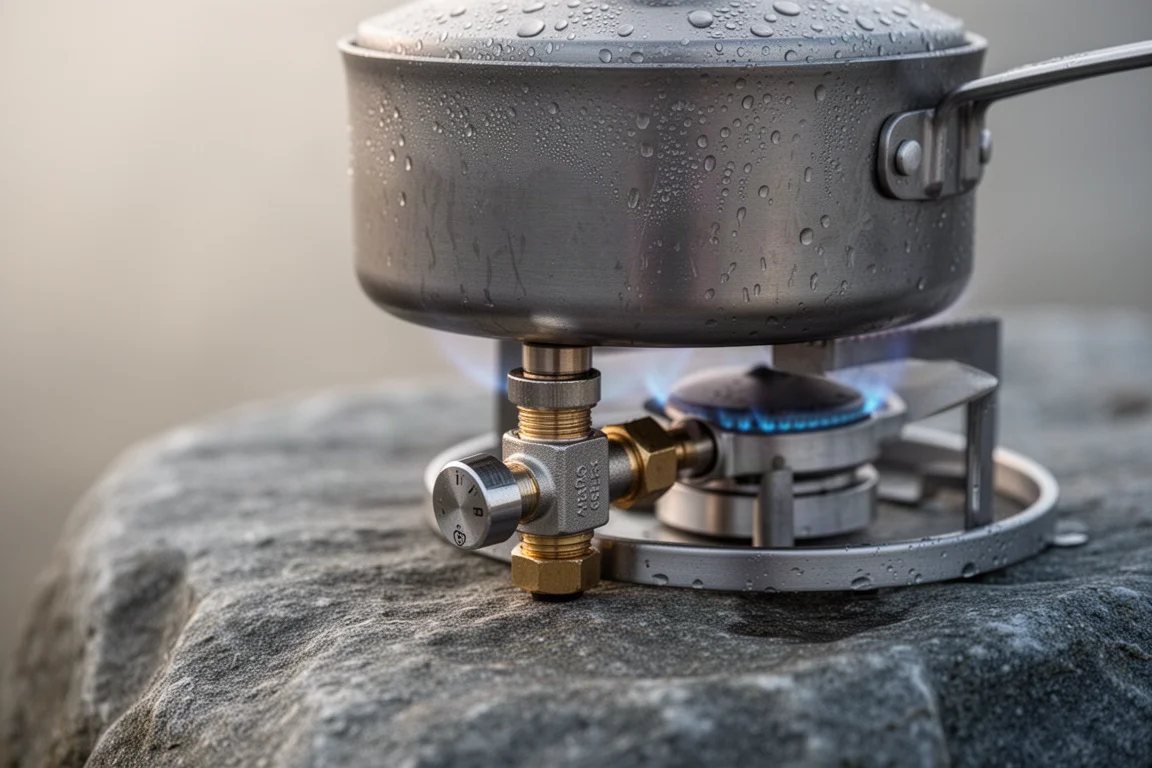
None of that makes it a bad stove. It makes it a fast, well-built water boiler, and for dehydrated meals and hot drinks that is often all you need. If you want a stove that doubles as a cooking pot and a mug, look elsewhere.
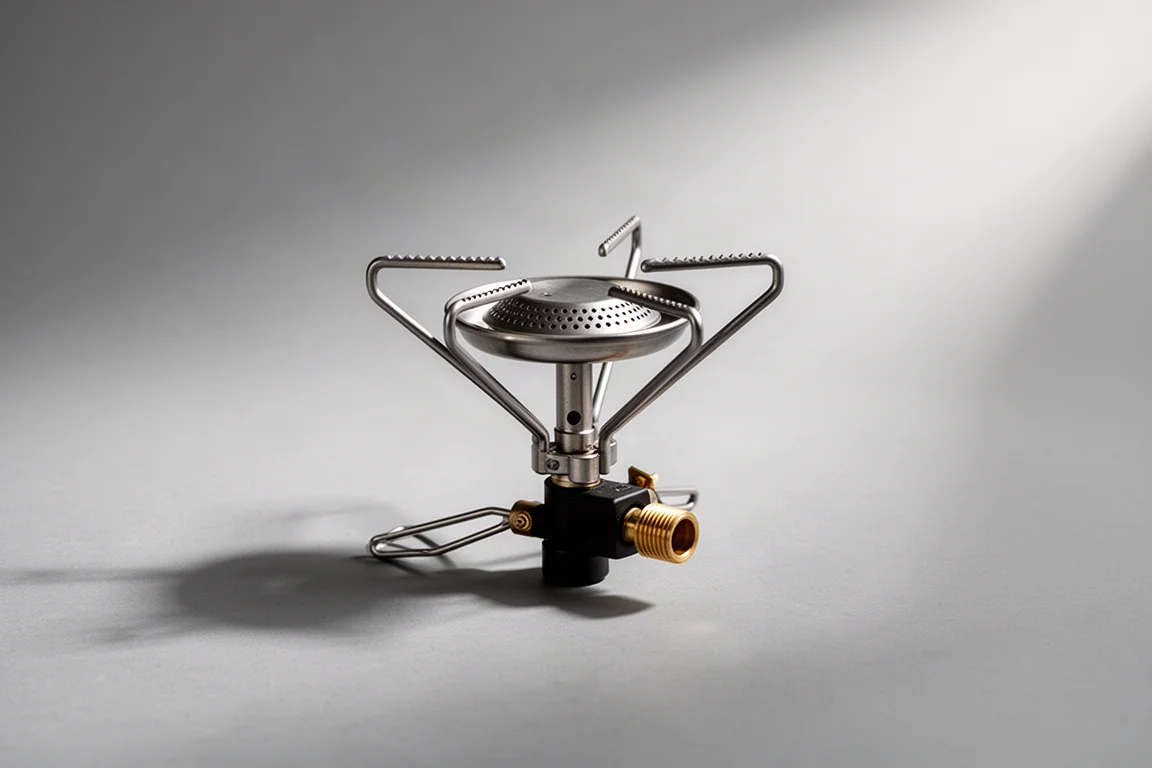
OEX Lightweight Stove Head
A simple stove head paired with a separate pot set can cover more ground than a sealed system. This OEX head cost about £10 at the time, and its main advantage is a regulator that is genuinely easy to adjust. Where a sealed system is close to all or nothing, this one lets you dial the flame up and down and hold a simmer without a fight.
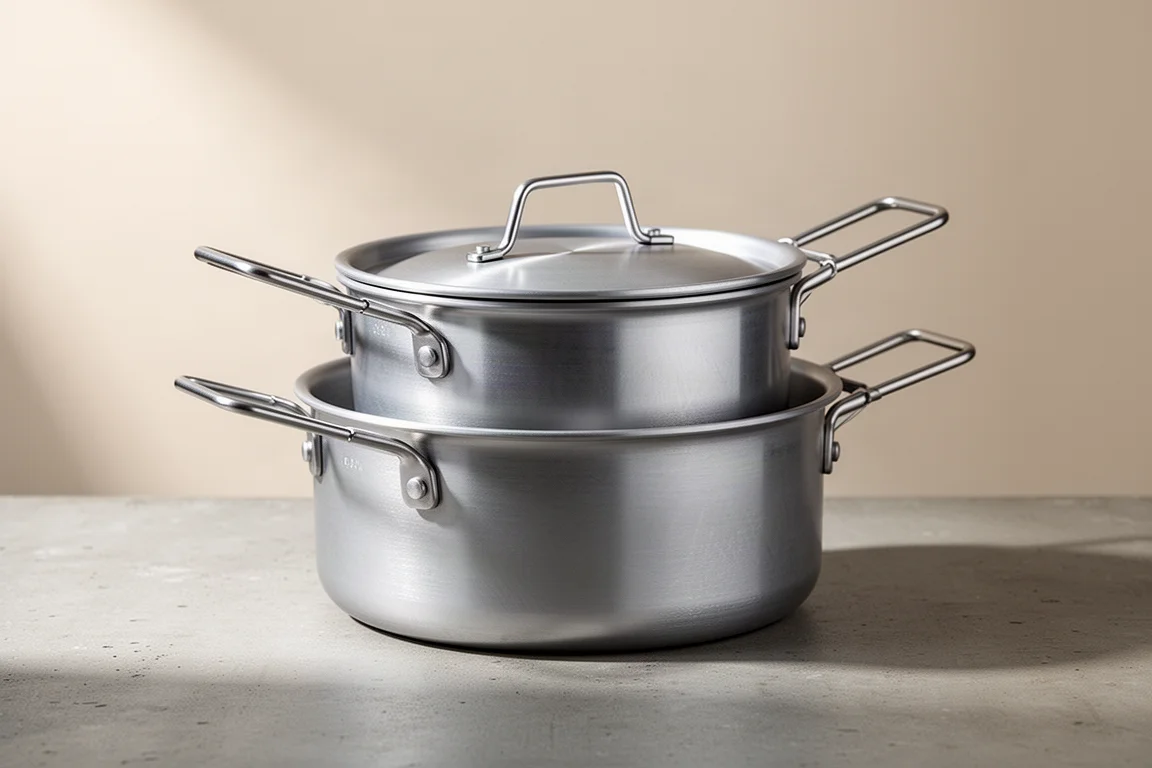
OEX Two Pot Set
The matching two pot set came in at around £20 and was slightly larger than a sealed system’s pot. That extra room makes a real difference: boil-in-the-bag meals fit more comfortably, larger gas canisters can be packed inside the pots, and reheating your own meals is straightforward.
The trade-off is the shape of the setup. It is tall, cumbersome, and somewhat precarious when balanced on top of itself, so it needs a flat pitch and a bit of care.
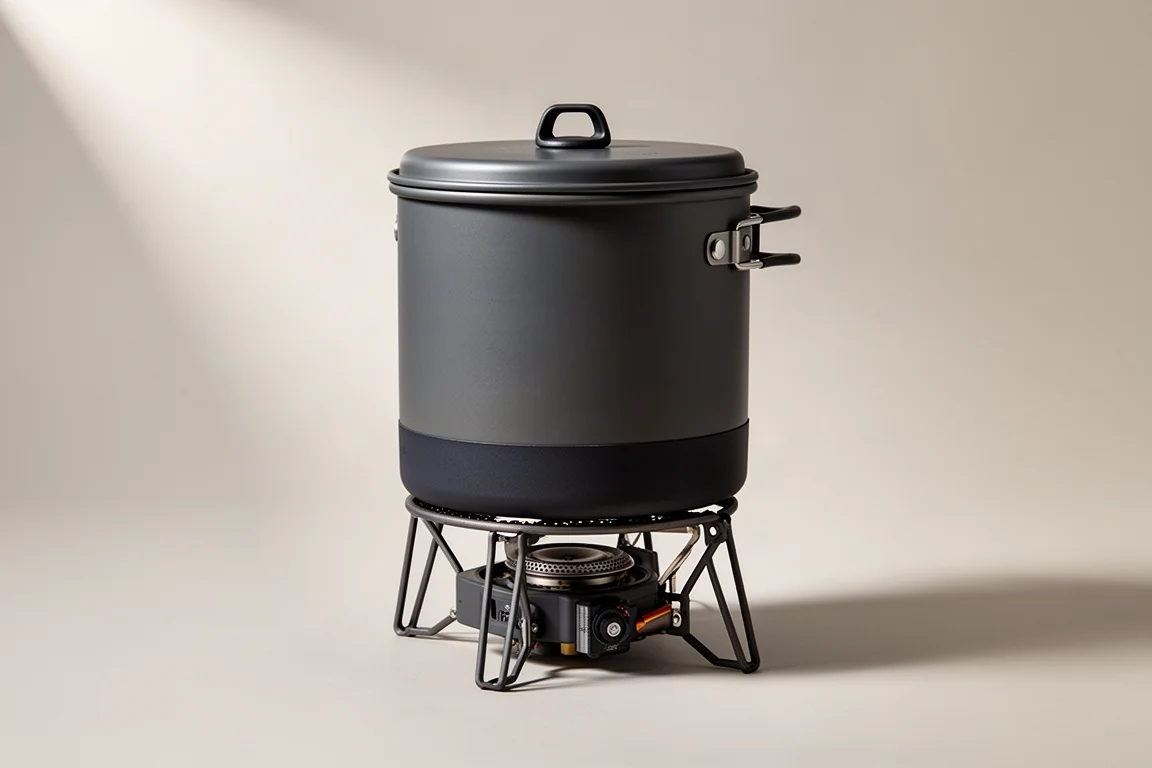
Jobsworth Stove
The Jobsworth is a direct Jetboil alternative that saves roughly £80, and on paper the package is generous. It packs away into itself, it comes with an ignition switch that makes lighting easier, and it includes a cooker hob attachment that Jetboil sells as an optional extra.
Build quality is where the difference shows. It is more rickety than a Jetboil, and the engineering is not as precise. A batch of these stoves was recalled, covering units bought around January 2021 or later, and in one incident a unit toppled over and went up in flames inside a tent.
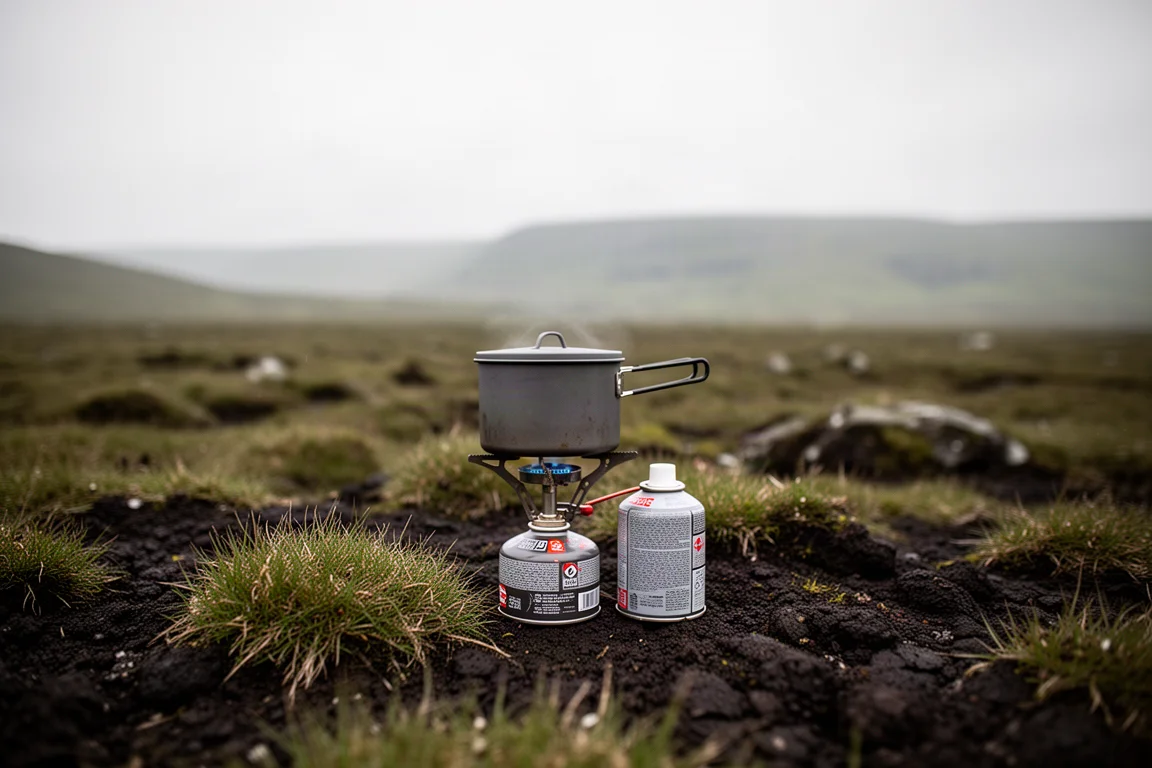
The lesson is not that budget stoves are unusable. It is that the money saved often comes out of tolerances, stability and peace of mind, and that a cheaper stove is only good value if it stays upright and stays lit.
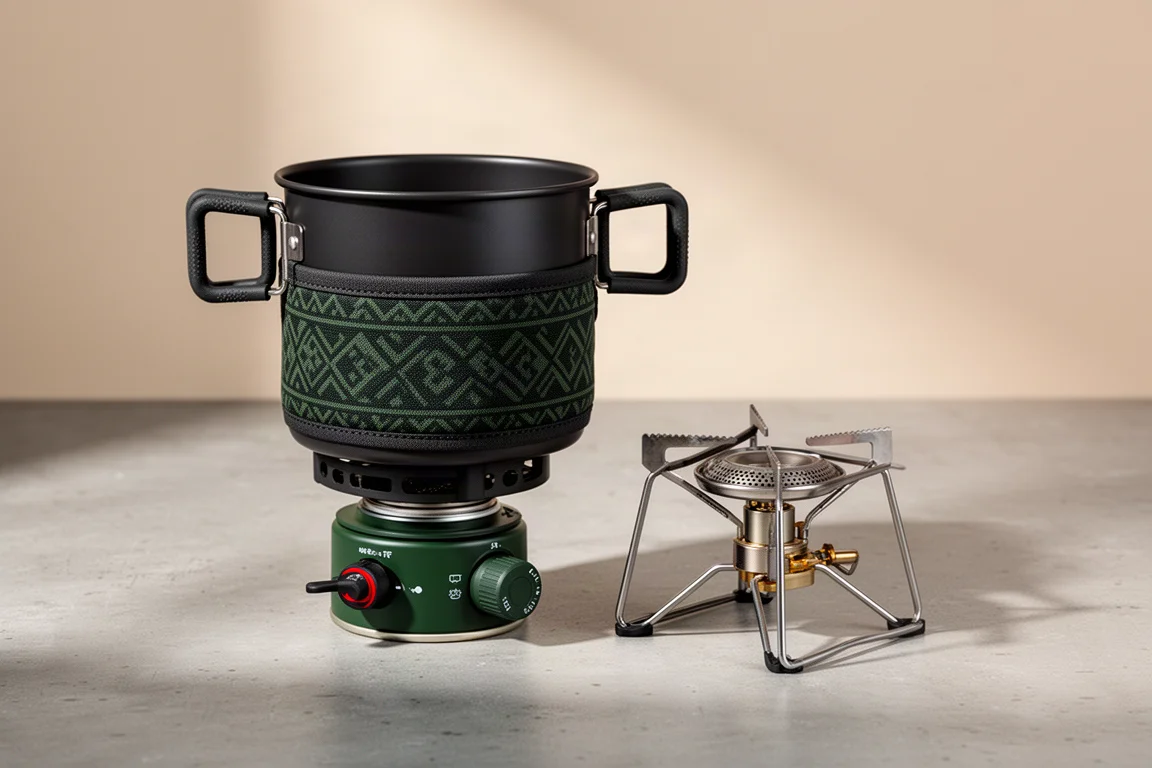
BRS Stove Head
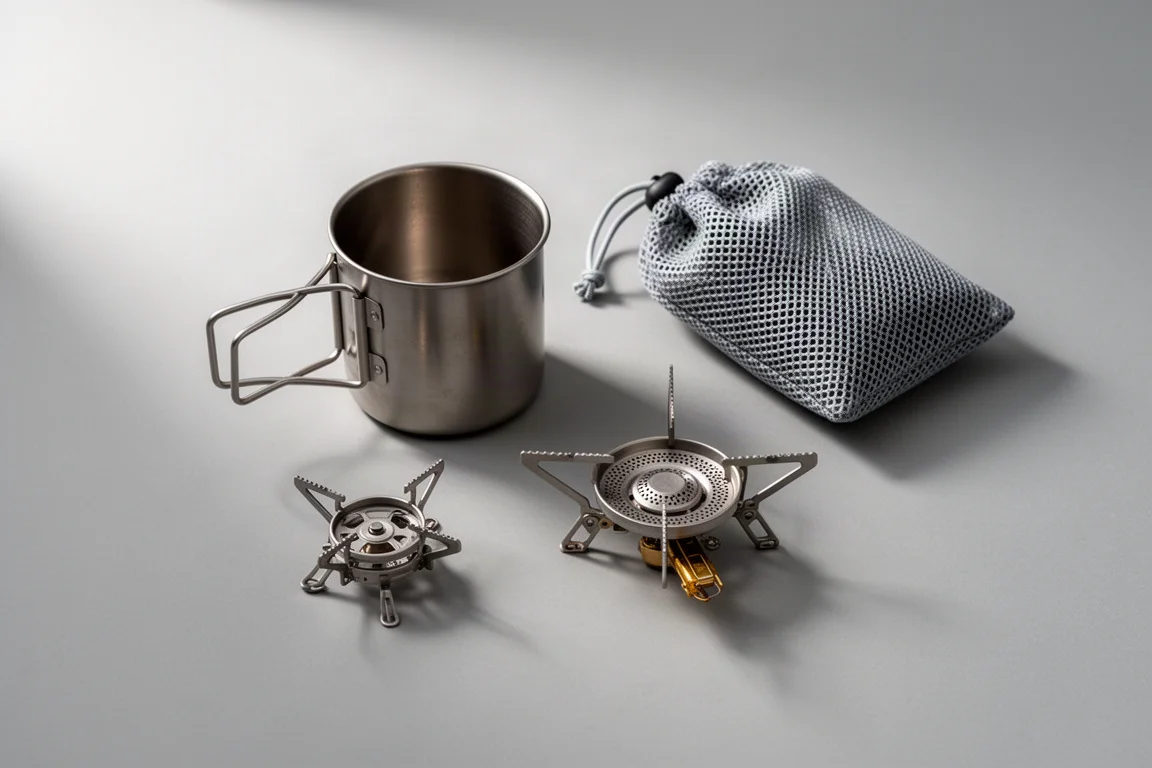
At the other end of the scale is the ultralight approach: a very small stove head paired with a lightweight titanium mug to build a complete cook set that weighs almost nothing. This kind of setup is ideal for boiling water, and it disappears into a pack.
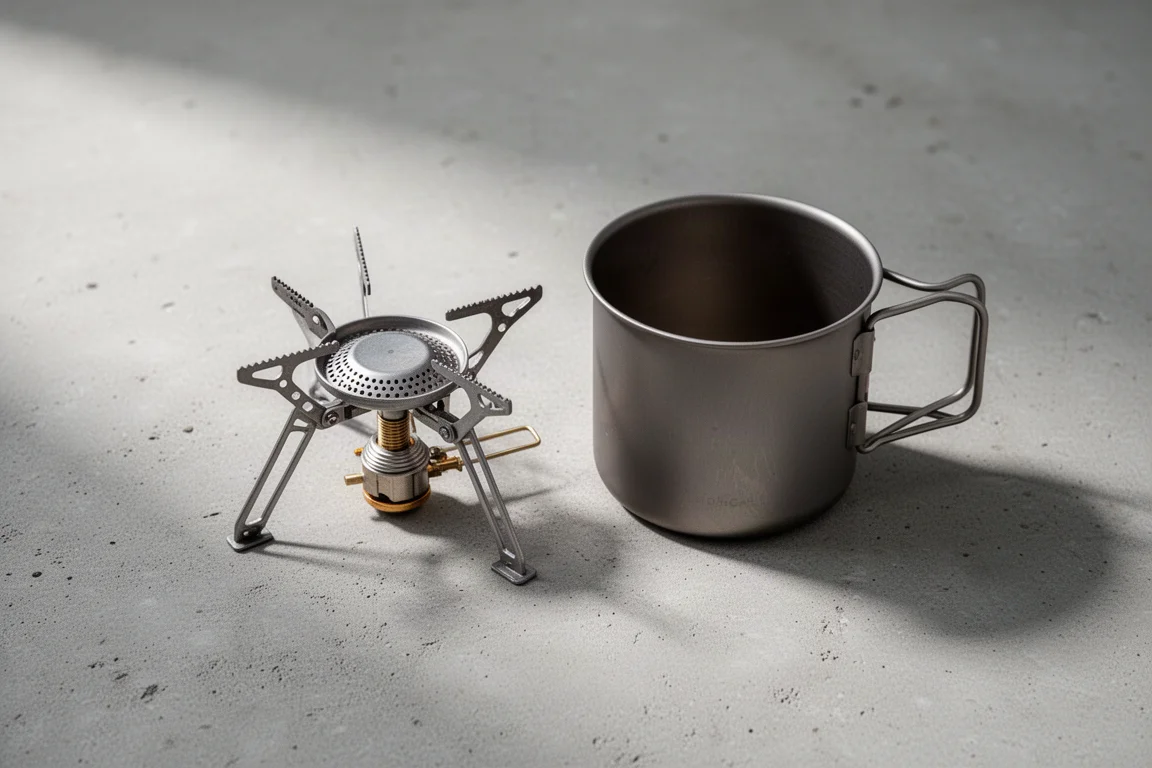
Lixada Cook Set
The Lixada range offers a very similar ultralight setup at a fraction of the price, and it is a great choice for day hikes. The limitations come from the size of the mug. Boiling water for a dehydrated meal or a coffee is one thing, but cooking, or fitting a boil-in-the-bag meal, is cramped.
There is also the question of stability. It is a balancing act, and on ground that is not entirely level it is a bit dodgy. On a windy morning the flame kept blowing out even inside a tent, and the pot would not stand up, which is exactly the moment a sealed system earns its keep.
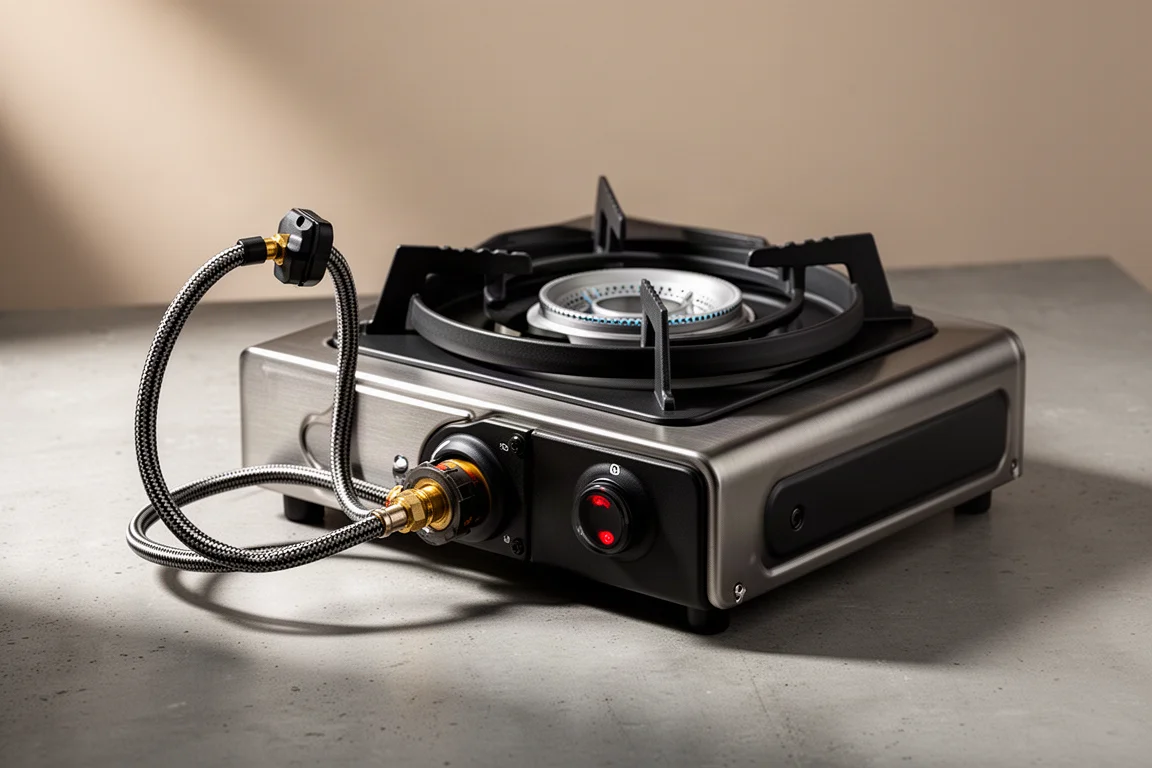
Naturehike Portable Stove
The Naturehike portable stove is the sturdiest option here. It connects to the canister by a hose, which keeps the fuel away from the burner instead of sitting underneath it, and that alone makes it steadier to use. It also has its own igniter built in.
For anyone who wants one stove that handles both water boiling and real cooking without wobbling, this is a sensible default.
Alcohol and Wood Burning Options
Not everyone wants the roar of a gas burner. Alcohol and wood burning stoves trade speed for quiet, character and, in the right hands, surprising versatility.
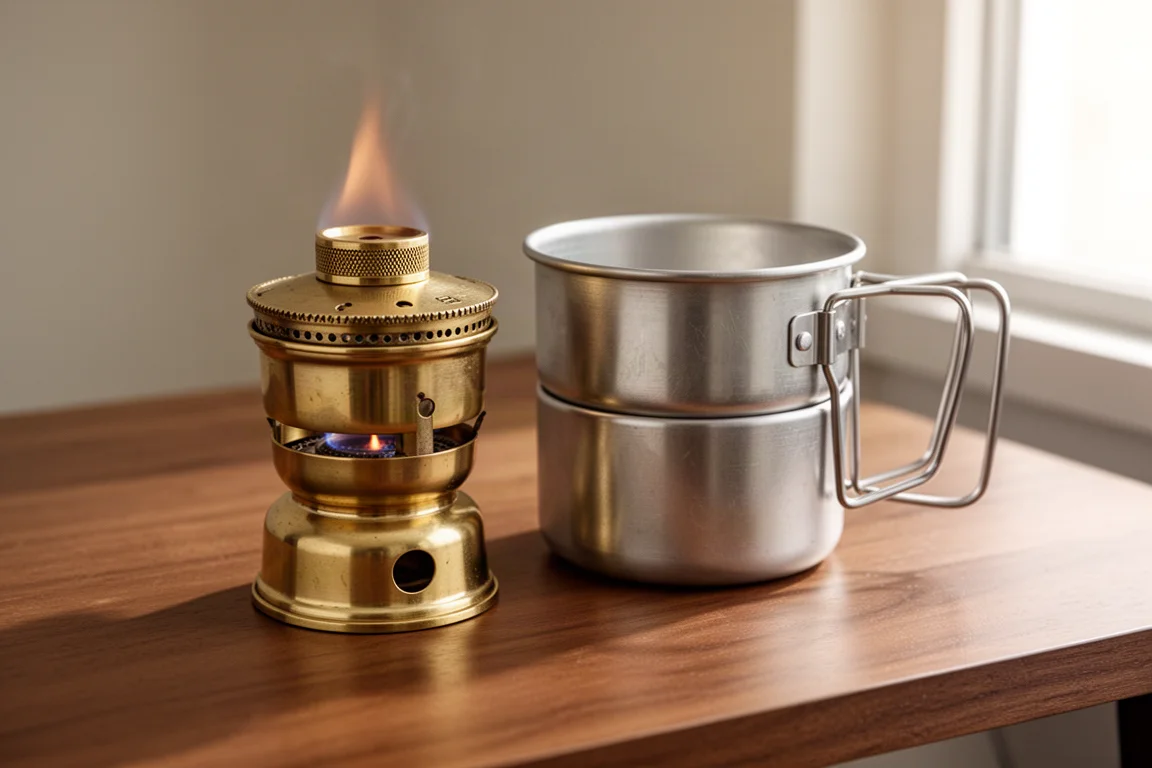
Trangia Stove
The Trangia is an alcohol burning stove that has been dismissed by plenty of hikers and then won them back. It burns silently, which preserves the atmosphere of a quiet camp far better than a roaring gas stove, and it is a classic piece of kit that traditionalists keep coming back to.
Versatility is the real argument. A Trangia can turn out a full roast dinner, a fried croissant with cheese and ham, a spinach and coconut dahl with bread baked on the stove, or a vegan cottage pie built from soya mince, chorizo, dehydrated vegetables and smoked paprika. The one caution is fuel handling: alcohol fuel looks enough like a drink that it pays to keep it clearly separated from anything you might sip.
Wood Burning Stoves
Wood burners are a lot of fun and they suit a proper fry-up, with sausage, cheese and a bit of browning on the pan. They are also the most restricted option here. Many national parks, including Dartmoor, operate a no naked flame rule, so check local rules before you plan a meal around one.
Dehydrated and Boil-in-the-Bag Meals
Boil-in-the-bag meals are the convenient option. The packaging is slim and space saving, and the meals are designed to deliver calories when you are burning them steadily on a long day. They are also expensive for what they are, and a typical example might come in at only around 271 calories, which is not much of a meal. They are rarely gourmet either, and they use a lot of gas, because the bag needs to sit boiling on the stove for around eight to ten minutes.
Dehydrated meals are the lighter and more efficient choice. With the excess moisture removed they weigh less, and they save fuel: you only need to bring water to the boil, pour it into the pouch, and let the hot water do the work instead of the stove. That makes them the better long-term option for a two or three day hike. Preparation is simple and worth reading carefully: open the pouch at the tear notch, remove the oxygen absorber, and do not eat it.
Firepot
Flavour varies a lot between brands, and if you like spice, Firepot is the one that delivers. The chilli has decent meat, genuine heat, and chilli beans through it. If you are going to make a chilli or a curry, it should not be afraid to be a little hot, and Firepot is not.
Adventure Foods
Adventure Foods is a solid option but a milder one. It does not bring the same heat or the same sense of fulfilment as Firepot, which is a reasonable compromise for a brand cooking for a wide range of palates. If you know you want more punch, a couple of small condiment sachets in your food bag will sort it out.
Puddings, Breakfasts and Cheaper Shortcuts
The dessert pouches are available but rarely as good as they sound, and expedition breakfasts are an acquired taste at best, with a texture that puts plenty of people off. A supermarket porridge pot is cheaper and easier. Cheap supermarket noodles are a good alternative too: tasty, quick to prepare, and perfectly fine for a night in the tent, even though they do not carry enough calories to fuel a full day of hiking.
There is also a sameness problem with pre-packaged meals. Eat them for several days and the flavours blur, and some components are more convincing than others. In one rehydrated meal the vegetables and potatoes were fine while the minced beef had the texture of crunchy little meaty croutons.
Making Your Own Trail Meals
Mylar pouches solve most of these problems. You can cook a meal at home, bag it, freeze it, and reheat it on the trail exactly as you would a boil-in-the-bag meal. Chilli, sausage casserole, bolognese and beef stew all work well, and a beef stew is hard to beat after a long day.
Freezing and then reheating gives the flavours time to mature and blend, which is something a rehydrated pouch cannot match. Home-cooked food on the trail is what most people actually want, and it usually costs less than a shop-bought meal.
Snacks deserve the same planning. Nuts and oats are a good place to start for slow release energy, and they form the base of a decent homemade flapjack. A flapjack with a fruity base, a peanut and chocolate topping and a texture that is not overly sweet travels well, even if it arrives a little squashed at the bottom of the pack.
Buying Advice
Match the stove to the cooking you will actually do. If you only boil water, an ultralight stove head and a mug is the lightest and cheapest way to eat well, and a sealed system like the Jetboil Zip adds speed and packability for around £100. If you want to simmer, reheat and cook properly, an adjustable stove head with a larger pot set, or a hose-fed stove such as the Naturehike, gives you far more control for far less money.
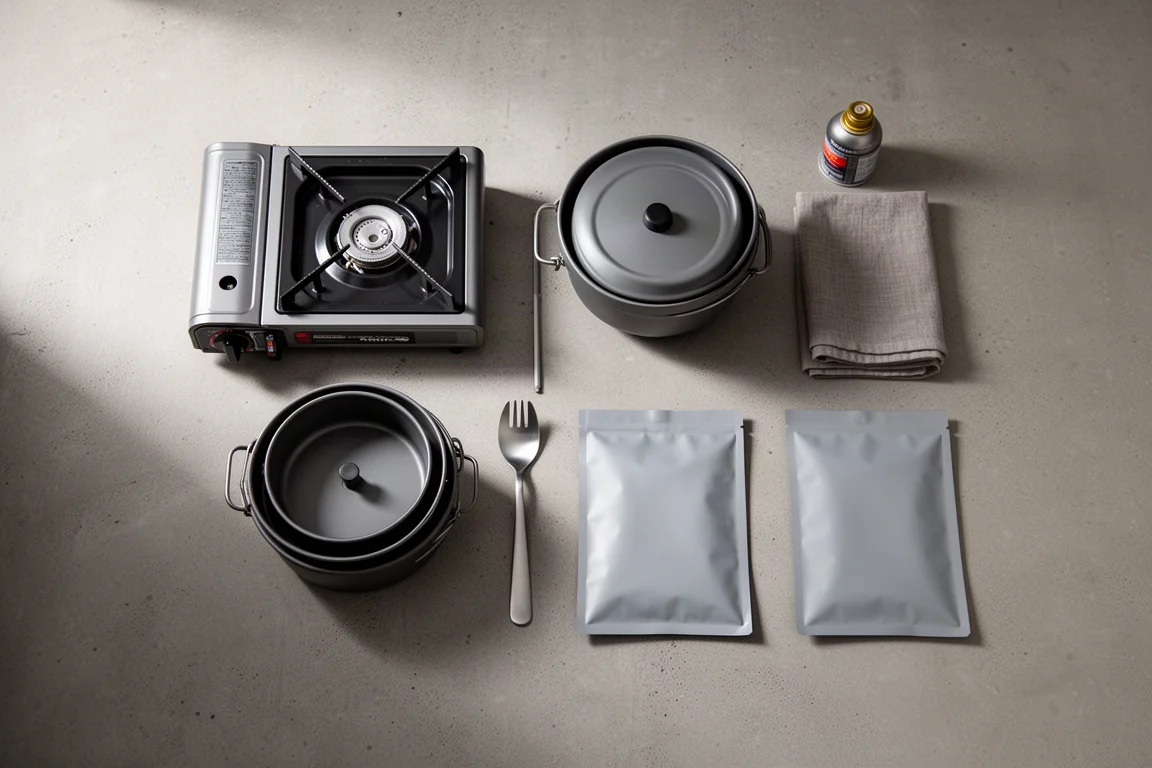
Be deliberate about where you save. The cheapest stoves on the market can be rickety, unstable in wind, and in at least one case subject to a recall, so a small saving is not worth an unreliable flame. Check your stove head before every trip, and treat stability as a specification rather than an afterthought.
On food, dehydrated meals are the lightest and most fuel-efficient choice for multi-day trips, boil-in-the-bag meals are the most convenient, and homemade mylar pouches are the best value and the best tasting. Many hikers end up with all three depending on the trip.
Conclusion
Cooking on the trail is not complicated, but it rewards a little thought. Pick a stove that matches your meals, accept that premium systems charge for engineering and convenience, and be sceptical of very cheap hardware that trades away stability. Then plan your calories, carry food you will actually eat, and the evening meal becomes one of the best parts of the day rather than a chore.
Further reading
Related Reviews

Backpacking Gear
Building a 10 lb Base Weight: An Ultralight Backpacking Gear List
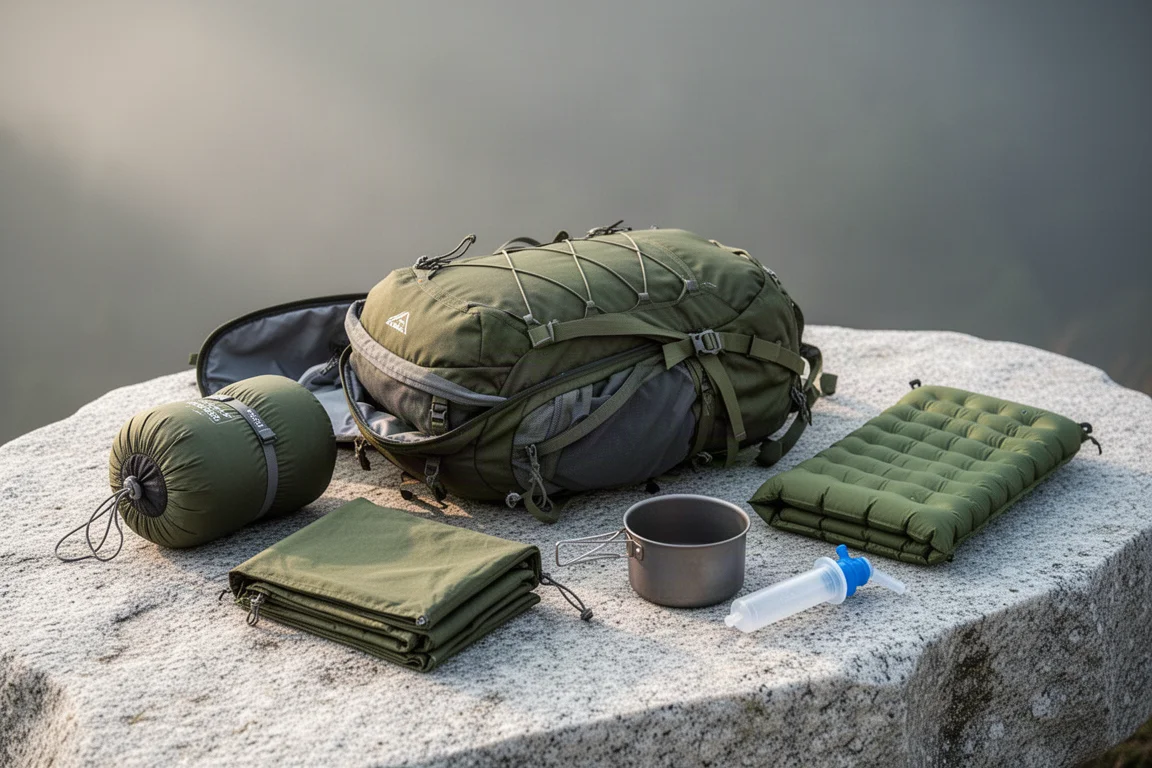
A practical walkthrough of the ultralight pieces behind a 10 lb base weight, from a 765 g pack and a roomy one-person tent to a full camp chair and a dependable water filter.
Backpacking Gear
A 15-Pound Lightweight Backpacking Gear List for Solo Trips
A beginner-friendly 15-pound backpacking setup built from easy-to-find gear, with notes on what each piece does, how it packs, and where to spend your attention.
Backpacking Gear
8 Ultralight Backpacking Gear Upgrades Worth Carrying
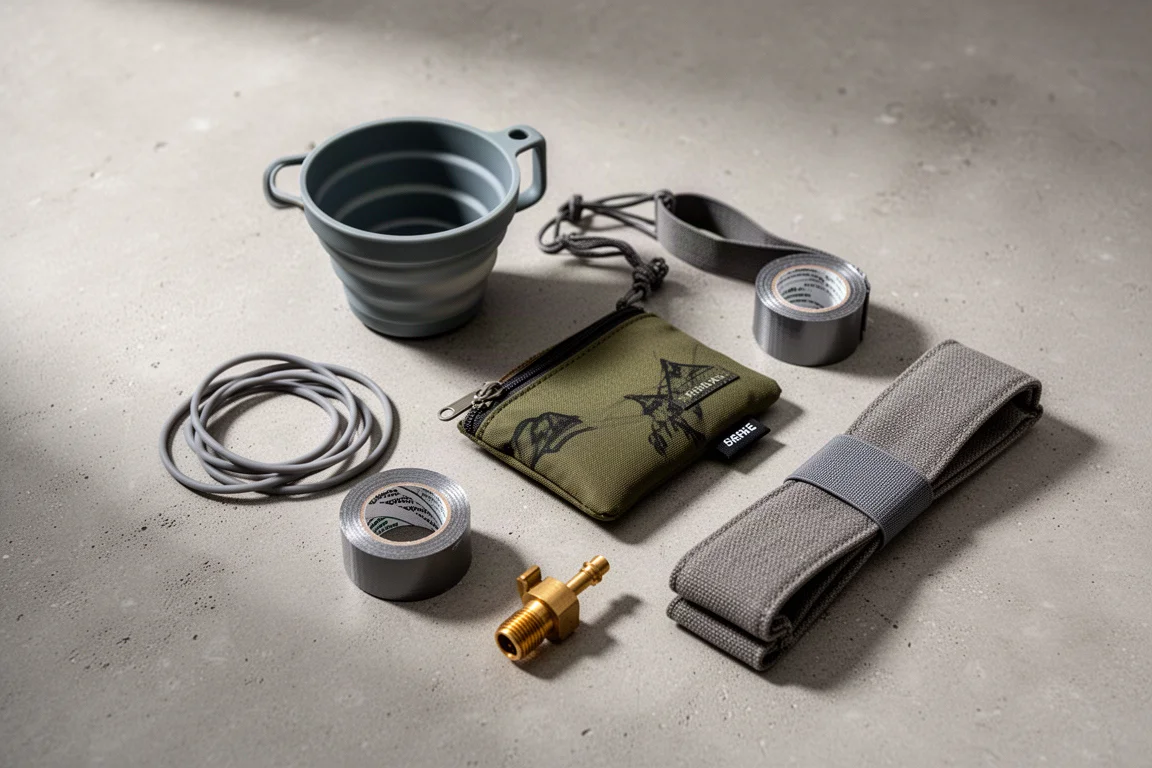
Eight small, affordable backpacking upgrades that solve real trail annoyances, from a pillow that stays put to a fuel valve that rescues leftover canister gas.