Welding
Best Arc MIG Welder Review: A Budget Flux Core Welder for Small Repairs
A hands-on look at the Best Arc MIG welder, a gasless flux core machine that handles tack welds and thin-material repairs for around $100.
Introduction
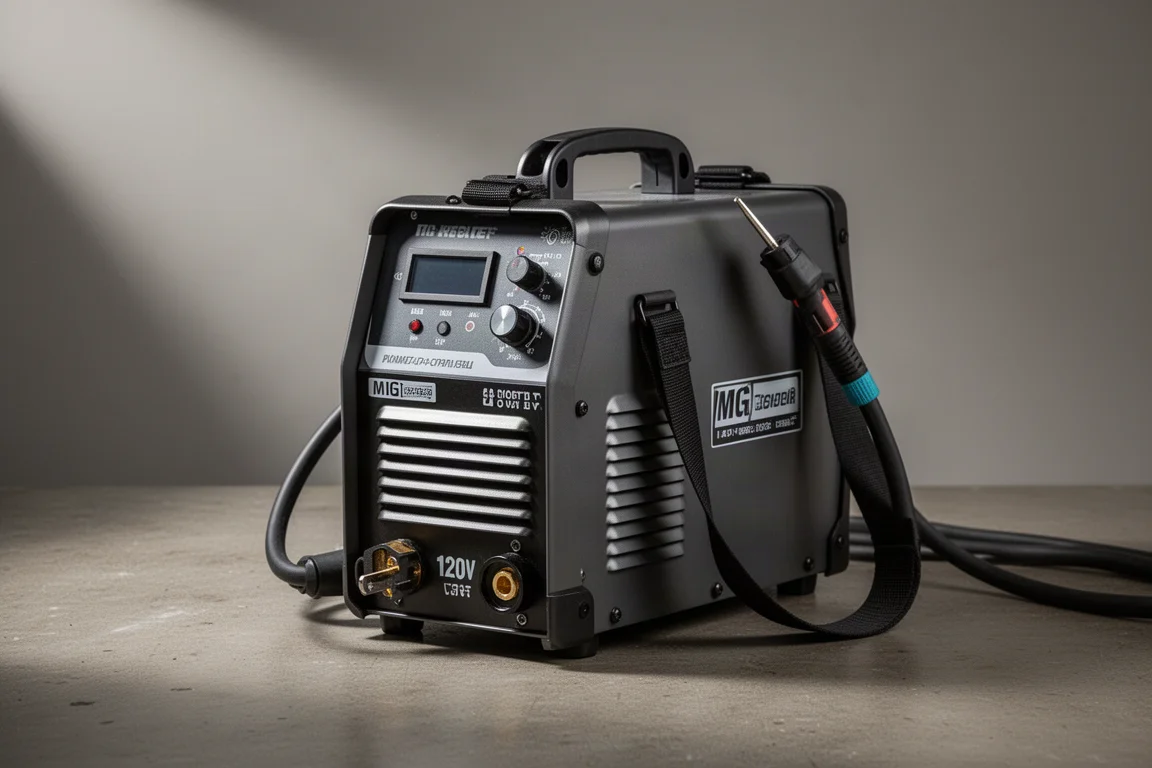
Budget MIG welders have become genuinely useful tools for people who only weld occasionally. The Best Arc MIG welder is a 120 volt, gasless flux core machine that positions itself exactly in that space: small repairs, tack welds, and thin material work rather than heavy fabrication. To see how it performs in practice, it was put to work on real spot welds on a trailer frame, with an experienced professional welder guiding the settings and technique.
The short version: for around $100, this machine covers the kind of jobs that would otherwise cost hundreds of dollars to hire out, as long as you keep your expectations matched to its size.
Who This Product Is For
This welder is aimed at DIY users who need to make small welds now and then rather than weld every day. It works well for thinner material and smaller projects, such as tack welding a trailer, fixing brackets, or patching light-gauge steel. It is not the tool for half-inch plate, heavy equipment repairs, or building structural frames.
If you hire a mobile welder for small jobs, the math is simple. A professional visit for a few tack welds on a trailer can easily run $500 or more. Learning to handle a budget flux core welder on your own projects can pay for itself quickly, provided you buy proper safety equipment and take the time to learn the basics.
Main Strengths
The most striking first impression is how light the machine is compared to what most people expect from a welder. The all-metal construction feels solid, the front readout is clear, and the 120 volt plug means it runs from a standard household outlet, which removes a major barrier for home users.
The standout feature is the automatic adjustment. The machine can automatically match the recommended voltage and wire feed speed for the selected weld type, which is genuinely uncommon at this price. One experienced welder testing it noted never having used a welder that did that before, and it removes a lot of guesswork for beginners who would otherwise be dialing in settings on scrap.
Setup is also refreshingly simple. The whole process, from unboxing to making the first weld, took roughly 30 minutes including explanations and camera setup, and could be done much faster once familiar. Compared to bigger, more complicated machines, the hardware is easy to figure out even if you are not a welder.
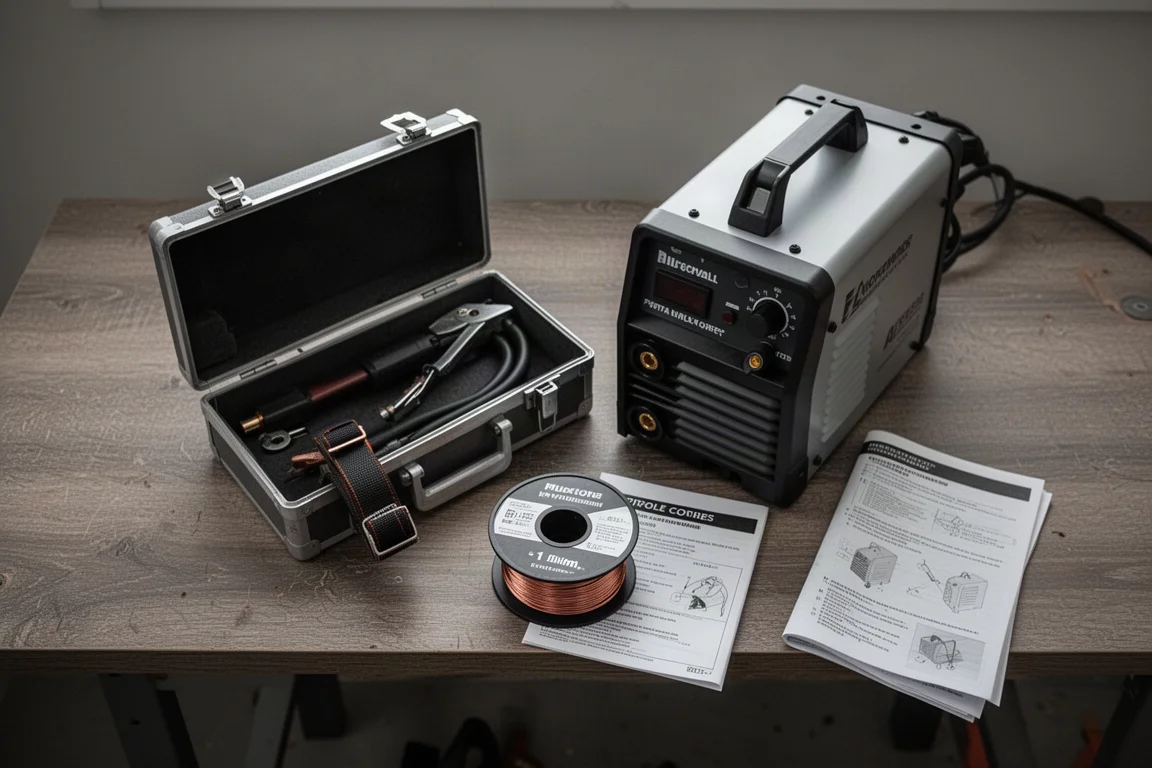
What You Get in the Box
Out of the box, the machine is set up for flux core welding. The package includes the welder itself, a box of accessories, a 1 mm flux core wire spool already installed, and two different sized wire spool adapters (0.8 mm and the one fitted for the flux core wire). There is also a small strap on the side for carrying or securing the unit.
The machine is a multi-process unit in theory: it supports TIG, Arc (stick), MIG, and gasless welding. In practice, it only arrives ready for flux core. The stinger for stick welding is included, but no stick rods are supplied, and TIG or regular MIG welding requires buying additional accessories such as steel core wire and shielding gas equipment. That is worth factoring in if you plan to explore other welding processes later.
First Test: Tack Welds on a Trailer
The real test was fixing a set of spot welds on a utility trailer. After grinding off old paint and welds to expose clean metal, the machine was set up outside and dialed in on scrap metal first, which is always the recommended approach.
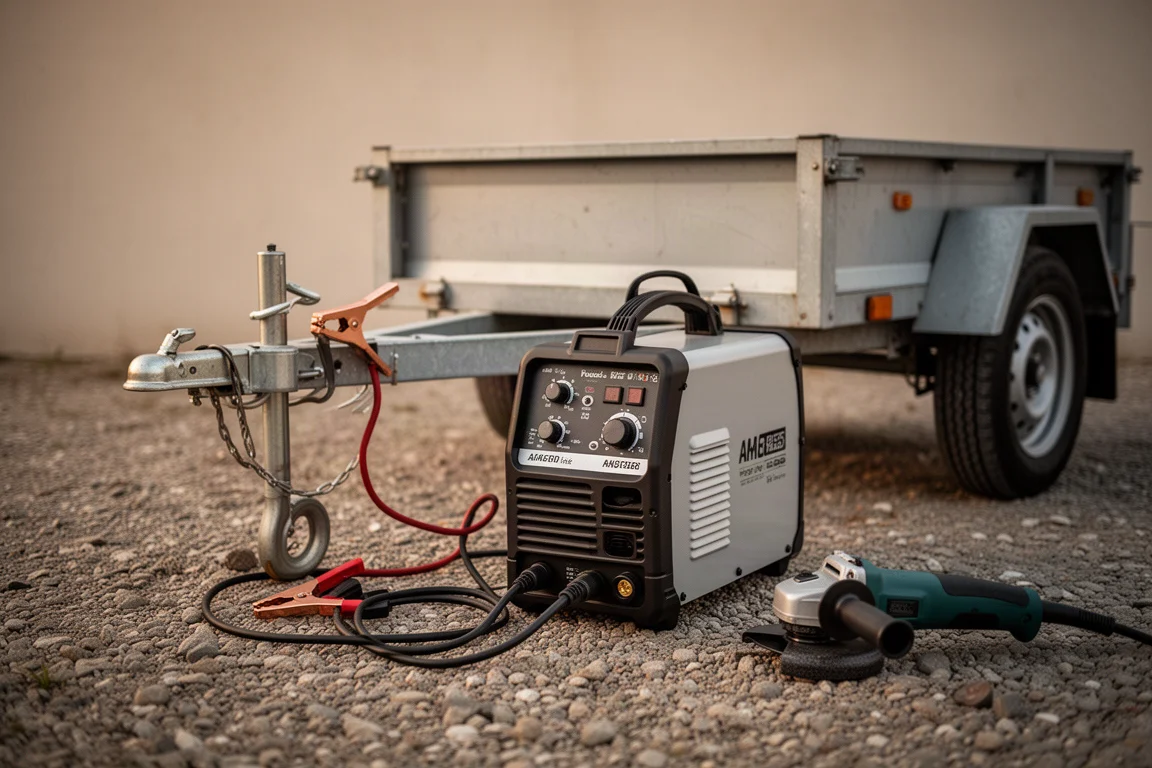
On thin material, voltage control matters a lot. Starting around 20 volts was too hot and began blowing through the sheet metal, so the setting was turned down to around 18 volts, which produced cleaner welds that held without eating away the material. That trial-and-error is normal for flux core welding, and the machine’s digital readout made it easy to track exactly where the settings were.
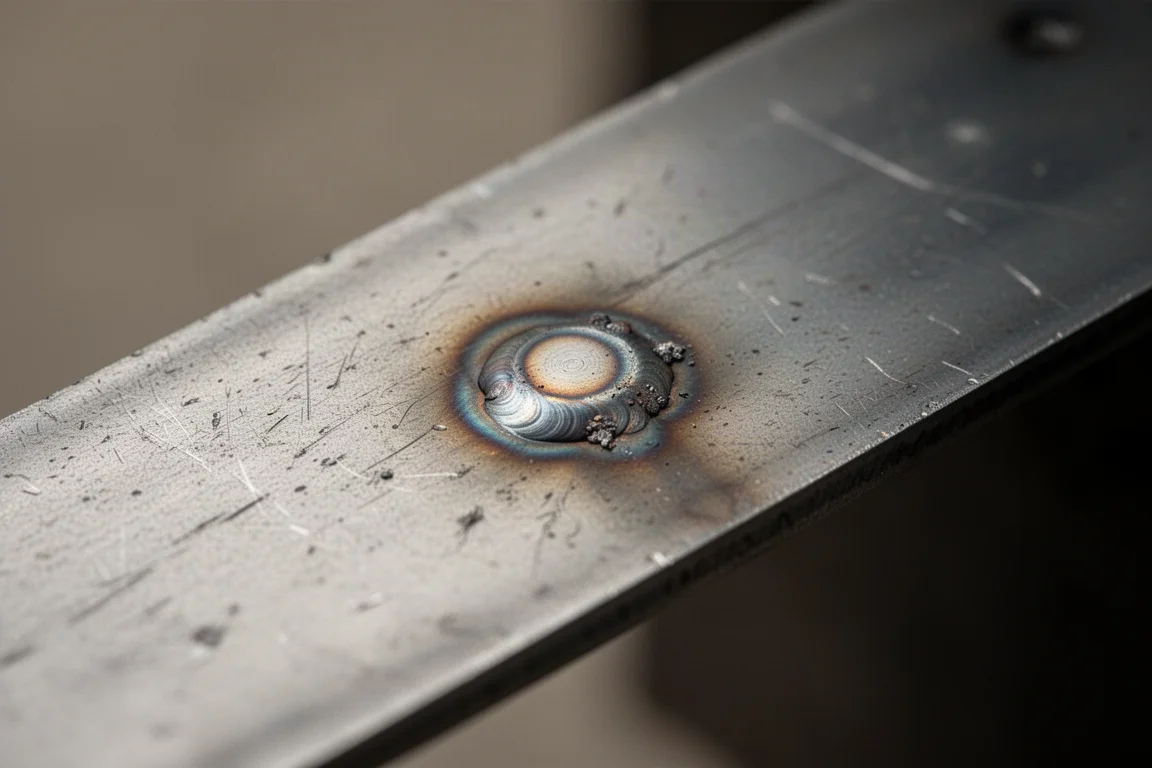
The finished tack welds held well. Flux core welds naturally carry slag and will not look as clean as gas MIG or TIG work, especially over leftover paint, which caused some bubbling. With properly cleaned bare metal, the results would look noticeably better.
Setup and Wire Feeding
Getting the machine ready follows a straightforward sequence, and a few details are worth knowing before your first session.
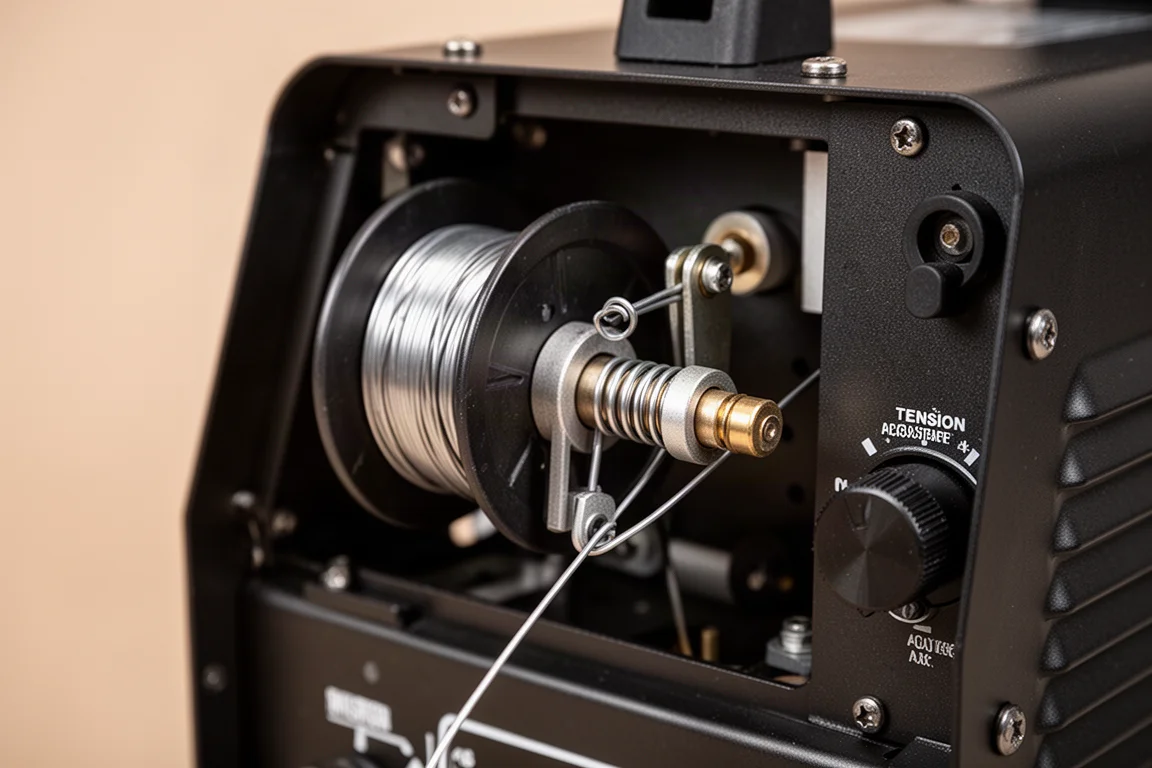
- Install the spool on the bottom mount using the spool spacer, spring, and spool lock, then feed the wire into the feeder.
- Cut the wire end straight with pliers before feeding it through the liner; bends make feeding much harder.
- Use the wire feed button to run the wire through without pulling the trigger, so you do not waste gas when using gas-shielded wire later.
- Check the tip size at the end of the gun; this setup uses a 0.040 (1.1 mm) tip, and the nozzle is a push-on friction fit that can be adjusted. Set the nozzle closer for thin material and farther back for thicker material to avoid melting the tip.
- Attach the ground clamp as close as possible to the weld location. A distant ground causes poor results.
- Check the wire tension: tight enough to push the wire through, but not so tight that it breaks the wire.
Safety matters throughout: gloves, long sleeves, a welding hood, and making sure the machine is unplugged any time you are working inside it.
Things to Consider Before Buying
The honest limitation is scope. This is a welder for smaller welds and thinner material. It will handle tack welding, trailer spot welds, and household repairs, but it is not intended for heavy fabrication, thick plate, or equipment that needs serious structural welds.
Also consider the accessories. Only flux core wire is included, so anyone wanting regular MIG or stick welding should budget for extra wire, rods, and TIG supplies. And since flux core produces slag, a chipping hammer and chisel are a worthwhile small add-on for cleaning up welds.
None of these are deal-breakers for the target user. They are simply the gap between what a $100 machine includes and what a full multi-process setup requires.
Buying Advice
If your projects are small tack welds and thin material repairs, this is a strong value pick. Buy good safety gear first, spend a few minutes practicing on scrap metal to dial in voltage, keep the ground clamp close to your work, and grind to bare metal wherever you want a clean weld. If you later want TIG or gas MIG, the machine accepts additional accessories, so you are not locked out of those processes.
If you regularly weld thick material or need production-quality welds, look at a larger machine instead.
Conclusion
The Best Arc MIG welder delivers exactly what its price suggests: a light, simple, all-metal 120 volt machine that makes small welds entirely manageable for a DIY user. The automatic voltage and wire feed matching is the feature that sets it apart from other budget options, and the quick setup time means it fits neatly into occasional-use workshops. For trailer repairs, brackets, and thin-gauge work around the house, it gets the job done, and it does so at a fraction of the cost of hiring out the same small job.
Product link
View more details for Best Arc MIG Welder
This product is mentioned in the review. Check the specifications, options, and compatibility before buying.
View more details for Best Arc MIG WelderFurther reading
Related Reviews
Welding
Budget Stick Welder vs Flux Core: What Beginners Should Know
A practical look at a sub-$60 drill-style stick welder and why a flux core machine may be the better starting point for home repairs.
Welding
Best MIG Welders Compared: Budget Machines Against Premium Models
Seven MIG welders tested side by side for penetration, weld strength, thin-gauge work, and duty cycle, from a $189 budget unit to a $2,300 premium machine.
Welding
Best Stick Welders Compared: 7 Budget and Pro Machines Put to the Test
Seven stick welders, from a $70 entry-level unit to a $2,300 multi-process machine, tested for current accuracy, penetration, weld strength, and reliability.