3D Scanning Equipment
Best 3D Scanners Under $1000: Four Practical Options for Enthusiasts
A detailed comparison of four sub-$1000 3D scanners for larger scans and detailed parts, tested on real projects with accuracy measurements and usability insights.
Introduction
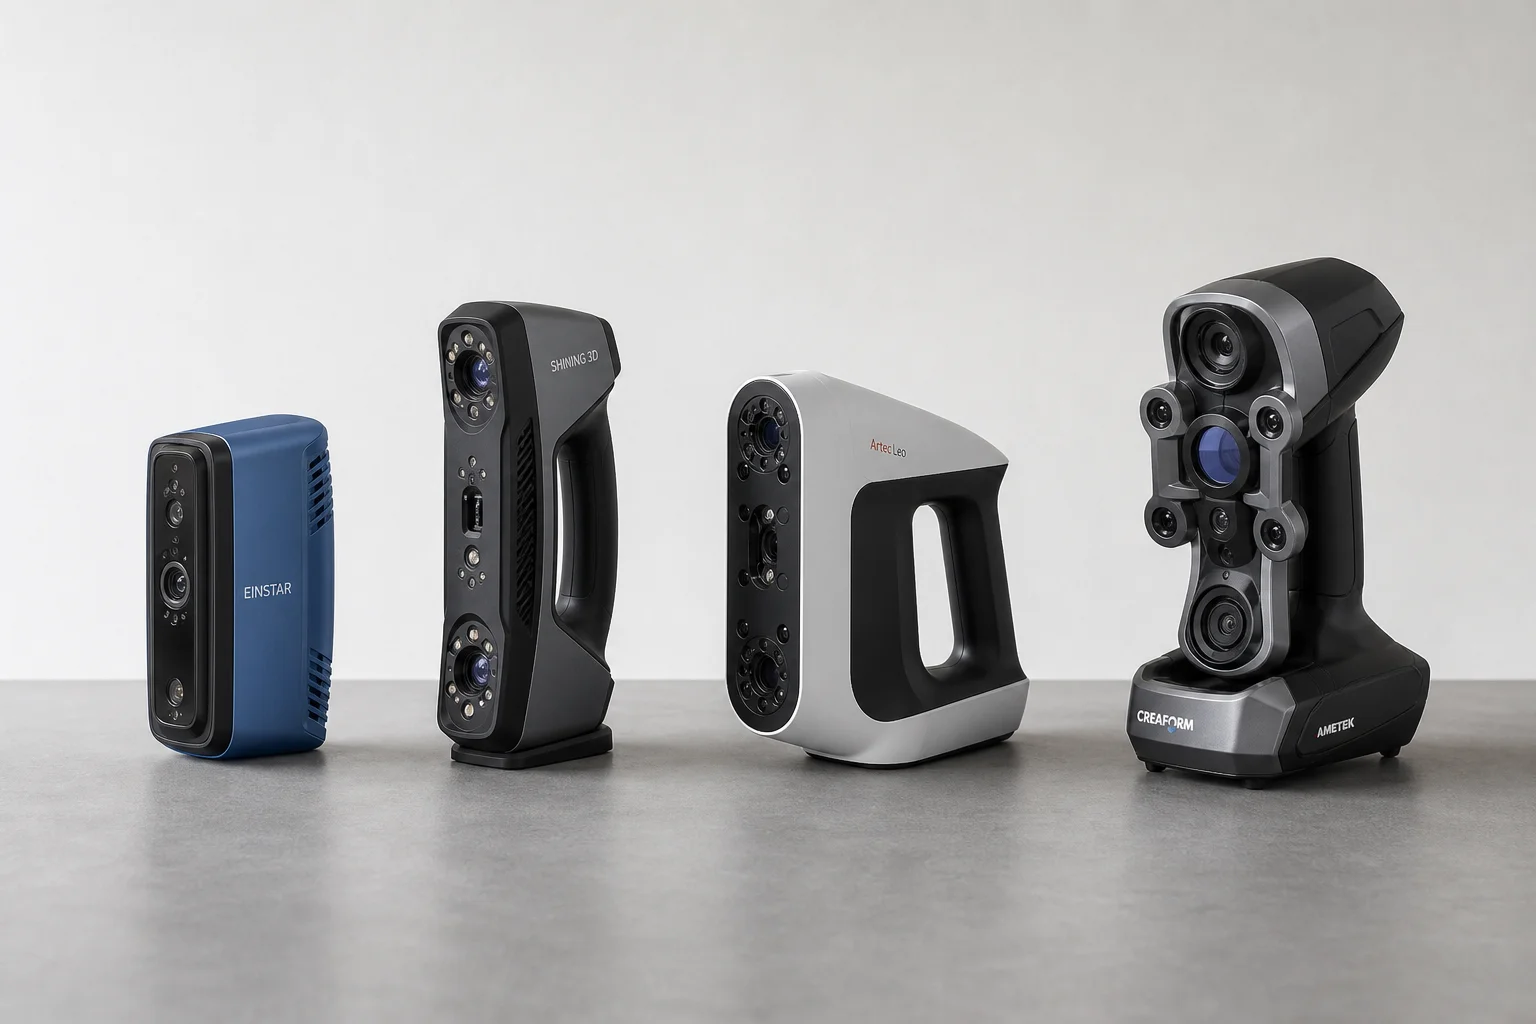
Professional 3D scanning equipment typically costs thousands of dollars, placing it out of reach for most enthusiasts and small workshops. However, a growing range of sub-$1000 scanners now offer practical performance for larger captures like vehicle exteriors and engine bays, while maintaining the versatility to scan smaller detailed parts. This comparison tests four popular options in this price range: the 3DMaker Pro Moose, Revopoint Range 2, Creality CR-Scan Otter, and Shining 3D Einstar. Each brings different strengths and trade-offs worth understanding before committing to a purchase.
3DMaker Pro Moose: Budget Option with Trade-offs
The 3DMaker Pro Moose is the most affordable option at $700, making it attractive for budget-conscious buyers. It uses blue structured light technology and quotes a high accuracy specification of 0.03mm. However, practical limitations emerge quickly in real-world use.
The scanner requires both a power outlet and USB connection to your computer, adding cable clutter to your workspace. More frustratingly, there is no physical start or stop button on the device itself, forcing you to reach across to your computer each time you want to begin or pause scanning. The software lacks intuitive pause-and-resume functionality, meaning multiple scans must be manually merged together. The overall software experience feels less polished than competing options, with unclear tools and a steep learning curve.
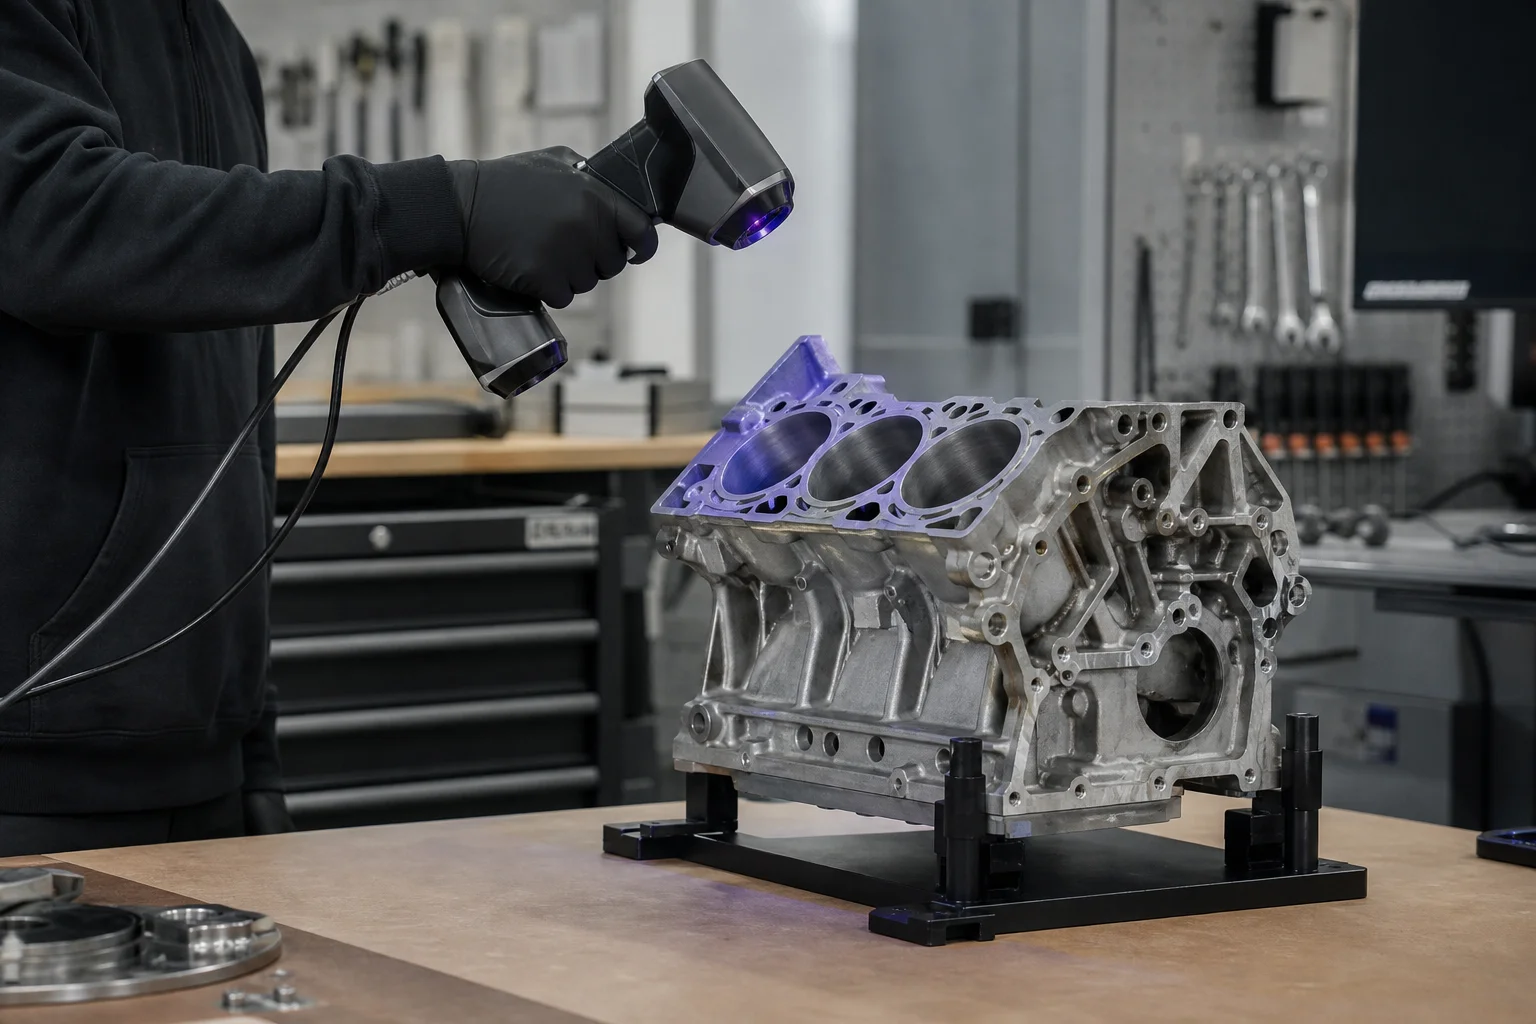
The Moose’s smallest field of view becomes a critical limitation during scanning. When capturing an engine block, the small capture range forces you to move around the object constantly, and alignment errors begin to accumulate as you shift position. While post-processing can correct some misalignment, the initial processing step is noticeably slow. The blue structured light technology also struggles with dark surfaces, failing to capture black components entirely.
For larger scans like a vehicle exterior, the Moose becomes impractical. Its narrow field of view sees repetitive geometry with few distinctive features for tracking, and without support for positioning targets, there is little recourse to improve results. The device arrives in a basic cardboard box rather than a protective case, reflecting its budget positioning.
Revopoint Range 2: Wireless Flexibility
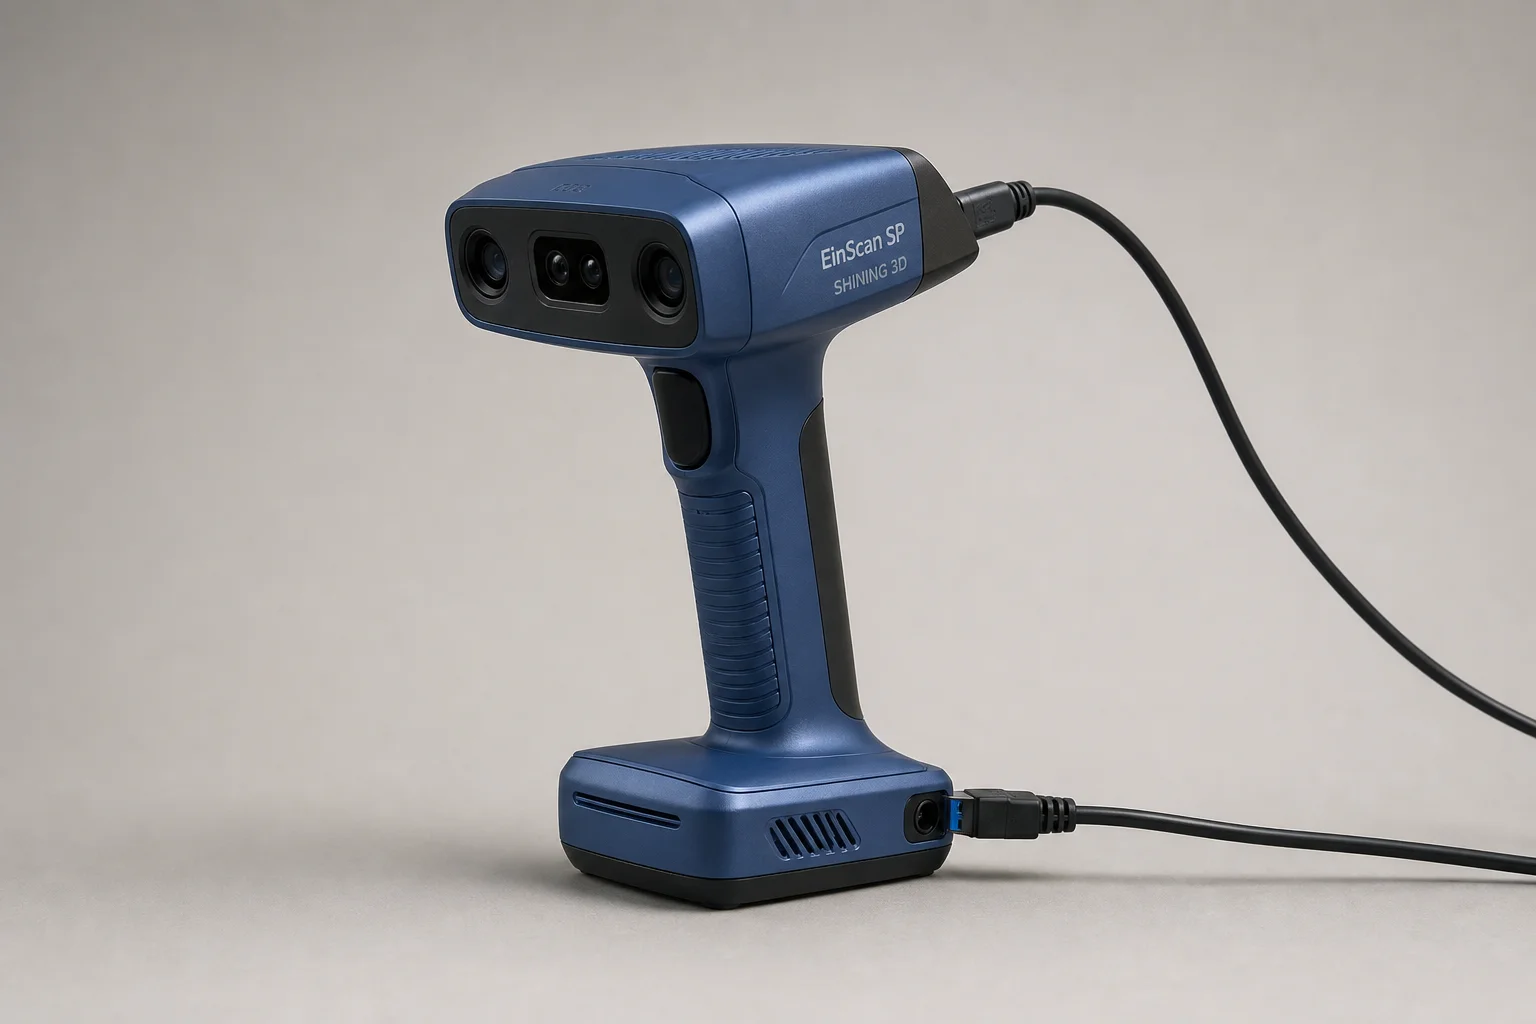
The Revopoint Range 2 costs $800 and uses infrared structured light technology, offering a much larger capture area than the Moose. It quotes the lowest accuracy specification of the group at 0.3mm. A key advantage is that it draws power directly from your computer via USB, eliminating the need for an external power outlet. An optional external battery pack allows wireless scanning via smartphone connection, adding genuine flexibility for field work.
The software is intuitive and feature-rich, with more tools than the Moose and possibly more than the Creality option. Project setup is straightforward and the interface feels polished. However, scanning performance reveals a significant weakness: the capture frame rate is surprisingly low. In high-accuracy mode, the scanner captures fewer than 10 frames per second, rising only to 12-13 fps in normal mode and 16 fps in high-speed mode. This sluggish frame rate creates noticeable lag and jumping during scanning, making the process inefficient and prone to tracking errors.
The software’s processing speed is fast, which seems at odds with the hardware’s scanning struggles. When scanning the engine block, the low frame rate becomes the limiting factor rather than tracking issues. For larger scans like a vehicle exterior, tracking targets become necessary to achieve acceptable results, and even with targets in place, the experience is merely adequate rather than smooth.
Creality CR-Scan Otter: Dual-Camera Flexibility
The Creality CR-Scan Otter is priced at $900 and uses infrared structured light technology. It quotes the highest accuracy specification at 0.02mm. Like the Revopoint, it requires no external power outlet, drawing power directly from your computer. A distinctive feature is its dual-camera system, which provides two different field-of-view settings: a larger mode for scanning big objects and a smaller mode for detailed captures.
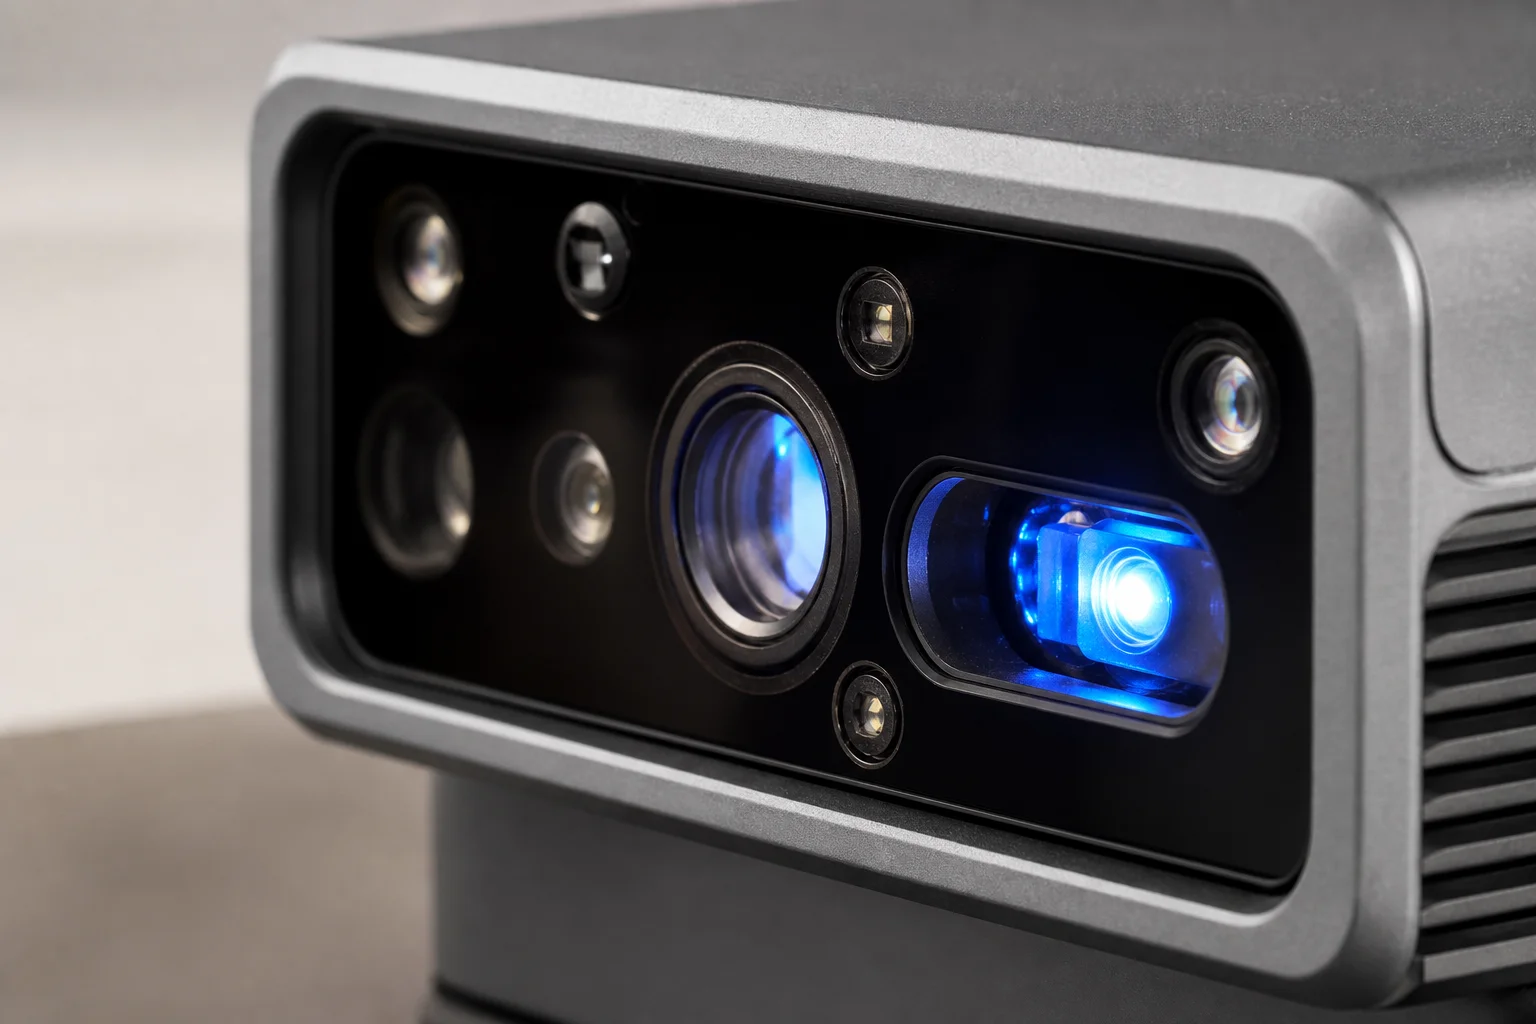
The software is intuitive and easy to navigate, with basic processing tools and straightforward project setup. Starting and stopping scans is simple and responsive. When scanning the engine block in the large field-of-view mode, data capture is efficient and fast, though the resulting resolution is noticeably lower. Switching to the smaller range setting maintains smooth data capture at higher resolution, but processing becomes slower. Errors can creep in more easily with the narrower field of view.
For larger scans like the vehicle exterior, the large setting captures data efficiently without requiring tracking targets. However, processing remains slow and resolution is compromised. The dual-camera flexibility is genuinely useful for projects that require both broad coverage and fine detail, though you must accept trade-offs between speed, resolution, and processing time depending on which mode you choose.
Shining 3D Einstar: Premium Choice Under $1000
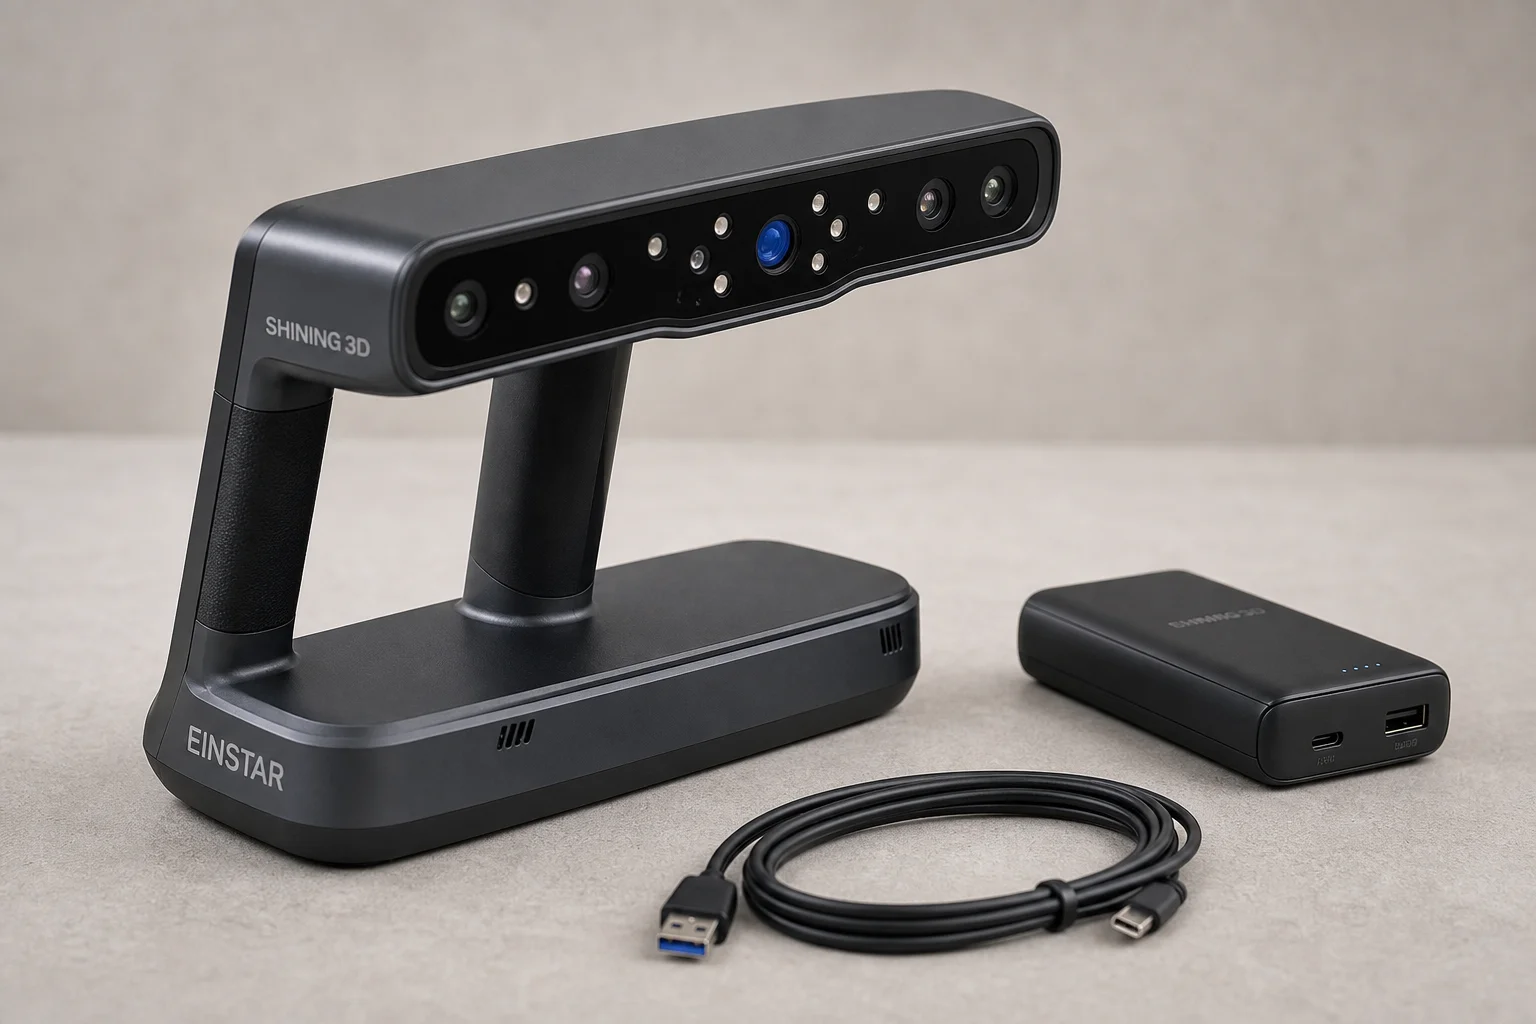
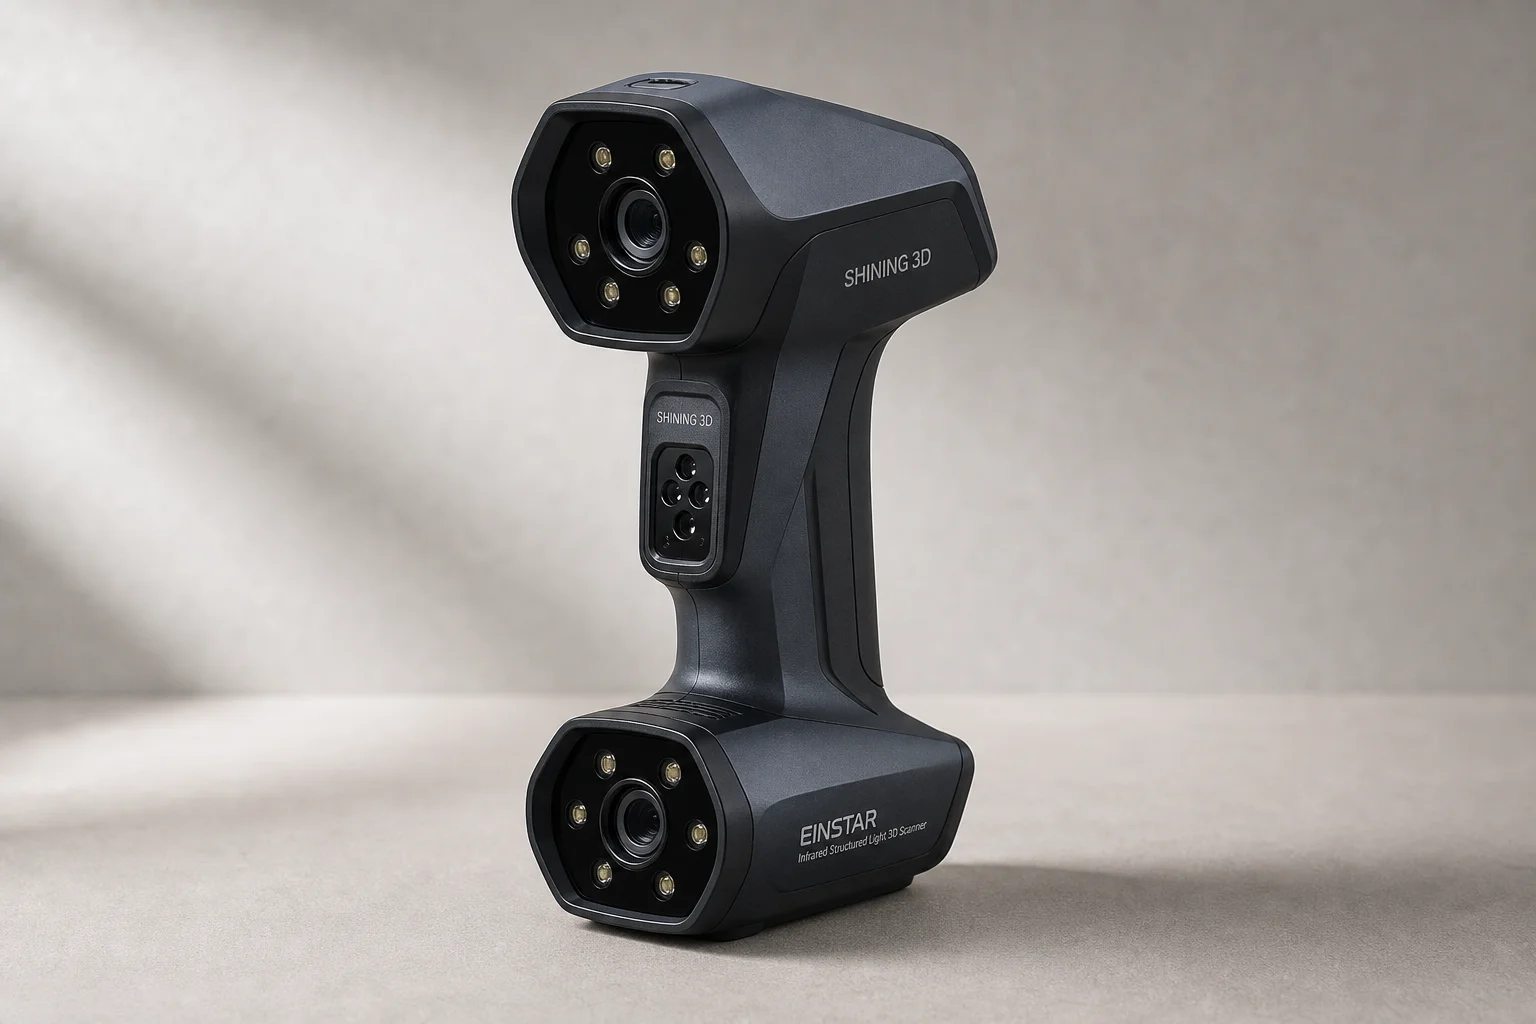
The Shining 3D Einstar is the most expensive option at $1000 and currently receives the most market attention. It uses infrared structured light technology and quotes an accuracy specification of 0.1mm. The scanner requires multiple cables and a reasonably powerful computer to operate, though it functions acceptably even on systems below the stated specifications.
The software is polished and feature-complete, with most tools you need for typical projects. Project setup is intuitive and processing speeds are notably quick. You can pause and resume scans easily, though a minor quirk exists: starting the preview function locks you into scanning mode with no way to exit without beginning a capture.
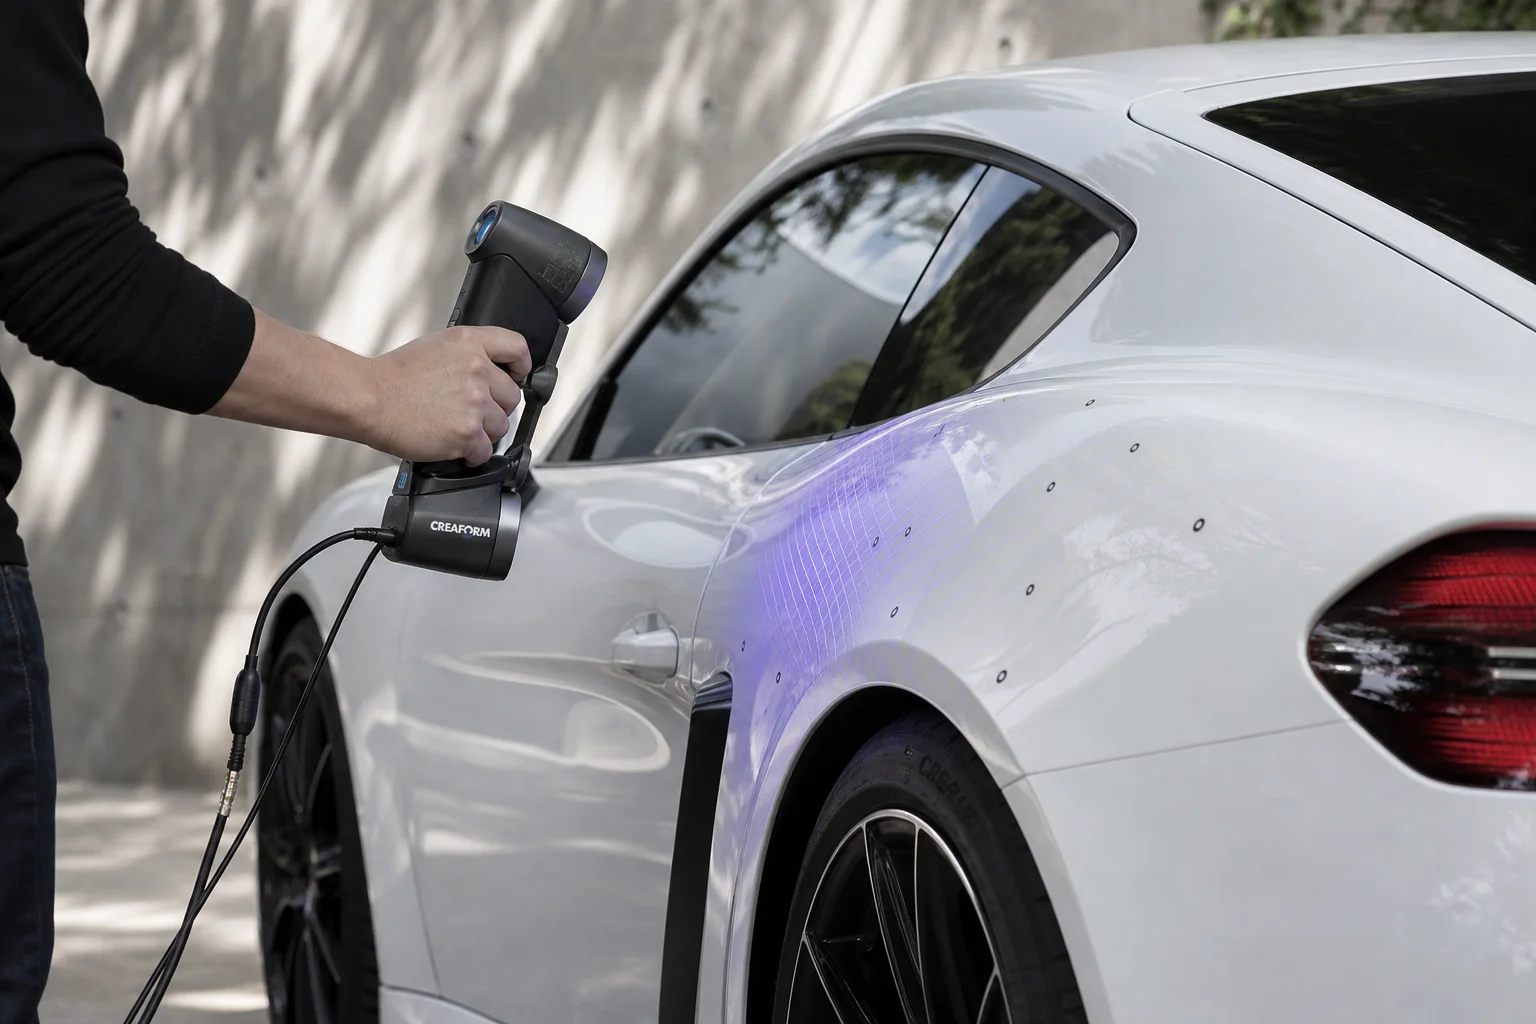
In practical testing, the Einstar delivers noticeably better performance than the other scanners. When scanning the engine block, data capture is fast and smooth, requiring only minor exposure adjustments. For larger scans like the vehicle exterior, the experience is straightforward: no tracking targets are needed, the entire object scans quickly and easily, and processing completes in reasonable time. The final resolution is lower than you might achieve with smaller field-of-view settings, but this is an expected trade-off when scanning large areas while maintaining fast processing.
The Einstar’s performance appears to benefit from Shining 3D’s experience building professional-grade scanners, with design refinements trickling down to this more affordable model. While it is the most expensive option tested, it remains accessible for enthusiasts and small workshops.
Accuracy Testing and Real-World Results
To compare the scanners objectively, each was used to scan a billet engine block with known bore dimensions: 89mm bore size and 97mm spacing between bores. Using specialized software with auto-segmentation and CAD primitive fitting, measurements were taken and compared to physical specifications.
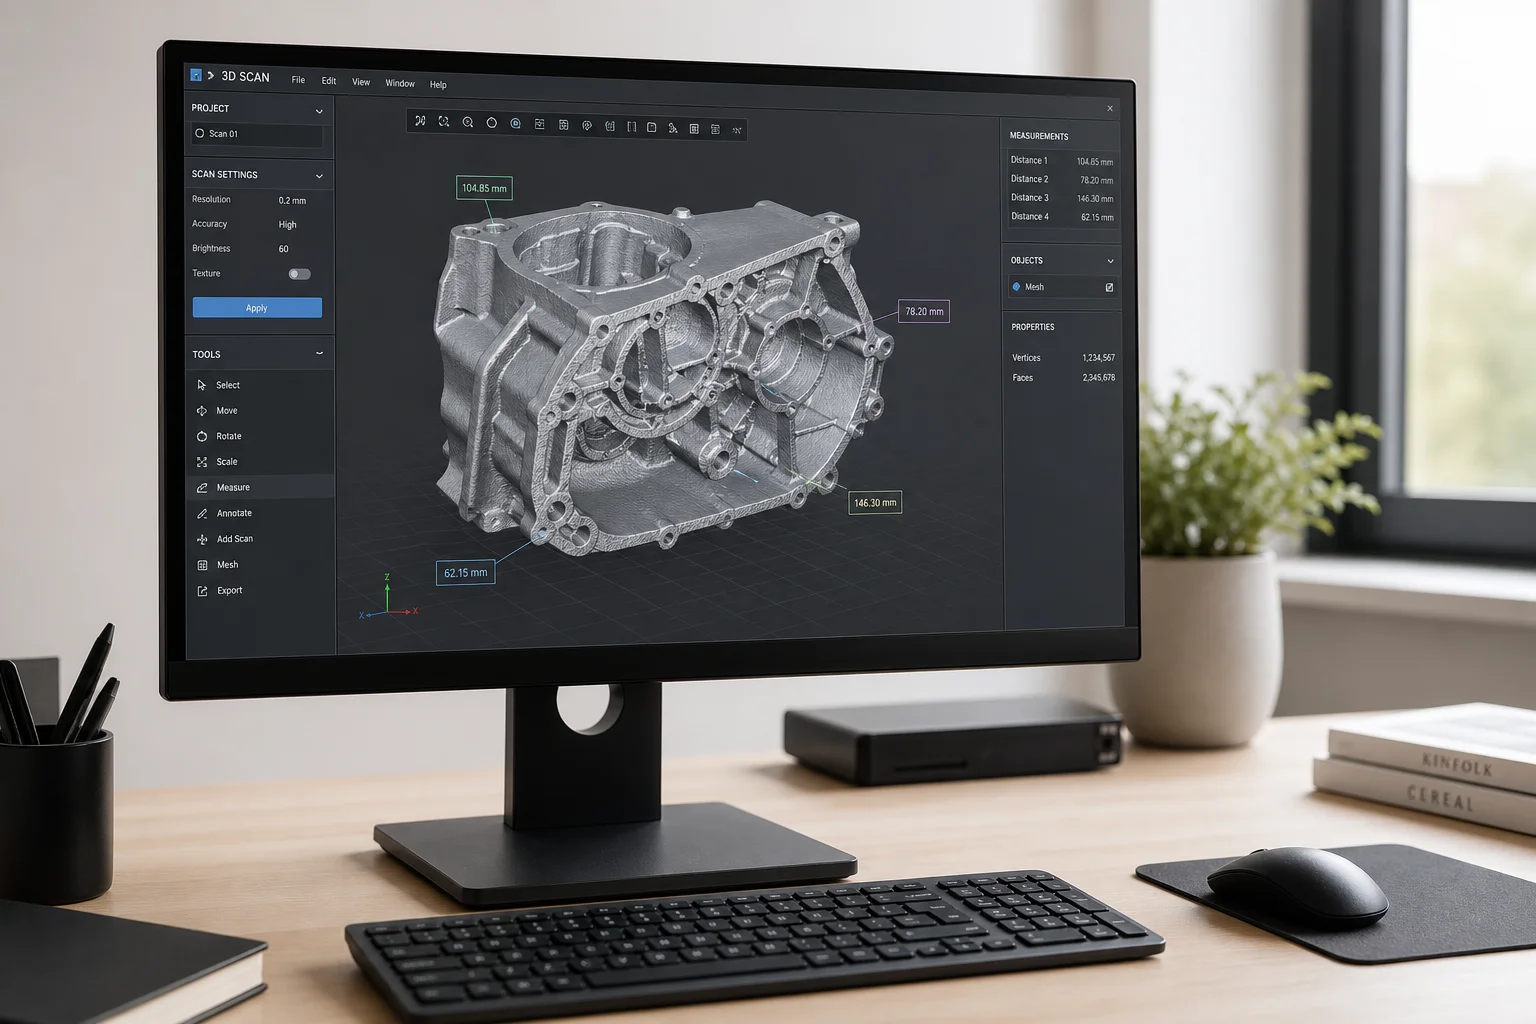
The 3DMaker Pro Moose lacked sufficient data for reliable results, with errors around 2mm, which is poor accuracy. The Revopoint Range 2 produced limited data but achieved results under 1mm, a modest improvement. The Creality CR-Scan Otter delivered much better results, with all measurements within 0.5mm. The Shining 3D Einstar achieved bore spacing accuracy within 0.3mm, though the bores themselves measured about 1mm undersized, making the Creality slightly more accurate overall in this test.
It is important to note that real-world accuracy differs from manufacturer specifications, which are typically achieved in controlled laboratory environments. All four scanners produced usable results for practical projects, though tolerances must be factored into designs. For comparison, a professional-level scanner like the Peel 3 achieved measurements within 0.2mm, illustrating the accuracy step-up at higher price points.
Buying Advice
The 3DMaker Pro Moose is only recommended if budget is the absolute priority and you can accept significant time investment and lower accuracy. For most users, the extra $100-300 spent on one of the other three options delivers substantially better usability and results.
The Revopoint Range 2 offers wireless scanning flexibility and good software, but the low frame rate during capture is a genuine limitation that may frustrate users expecting smooth operation. If wireless capability is essential to your workflow, it is worth considering despite this weakness.
The Creality CR-Scan Otter excels at projects requiring both broad coverage and fine detail, thanks to its dual-camera system. The accuracy is genuinely good, and the flexibility between scanning modes is valuable for diverse project types. Processing speed is the main trade-off.
The Shining 3D Einstar is the most polished and efficient option, with the fastest scanning experience and best software. It is the most expensive, but still affordable relative to professional alternatives. For most users seeking a single scanner that handles both large and small captures well, it is the strongest choice.
Conclusion
Choosing between these four scanners depends on your specific needs and budget constraints. The Moose suits only the most budget-limited users. The Revopoint offers wireless convenience at the cost of scanning speed. The Creality provides excellent flexibility and accuracy for mixed-scale projects. The Einstar delivers the smoothest, most efficient experience and is the recommended choice for most enthusiasts and small workshops seeking a capable sub-$1000 scanner.
Further reading
Related Reviews
3D Scanning Equipment
Budget 3D Scanners Under $1000: Four Practical Options Compared
A detailed comparison of four entry-level 3D scanners under $1000, including real-world scanning tests, accuracy measurements, and practical recommendations for automotive and mechanical projects.
Pickleball Paddles
2025 Paddle Awards: The Best Pickleball Paddles of the Year
A category-by-category breakdown of the best pickleball paddles of 2025, covering value, control, all-court, power, and paddle of the year.
3D Scanning
3D Scanner Comparison Test: Nine Models Scanned an Automotive Part
A detailed comparison of laser, infrared, and structured light 3D scanners tested on a challenging black automotive plastic part with deep pockets and thin walls.