Astrophotography
Best 3D Printed Astro Gear: Six Accessories and Mounts Worth a Look
From cable organizers to a full go-to equatorial mount, six 3D printed astrophotography products that are genuinely useful and easy to buy or print.
Introduction
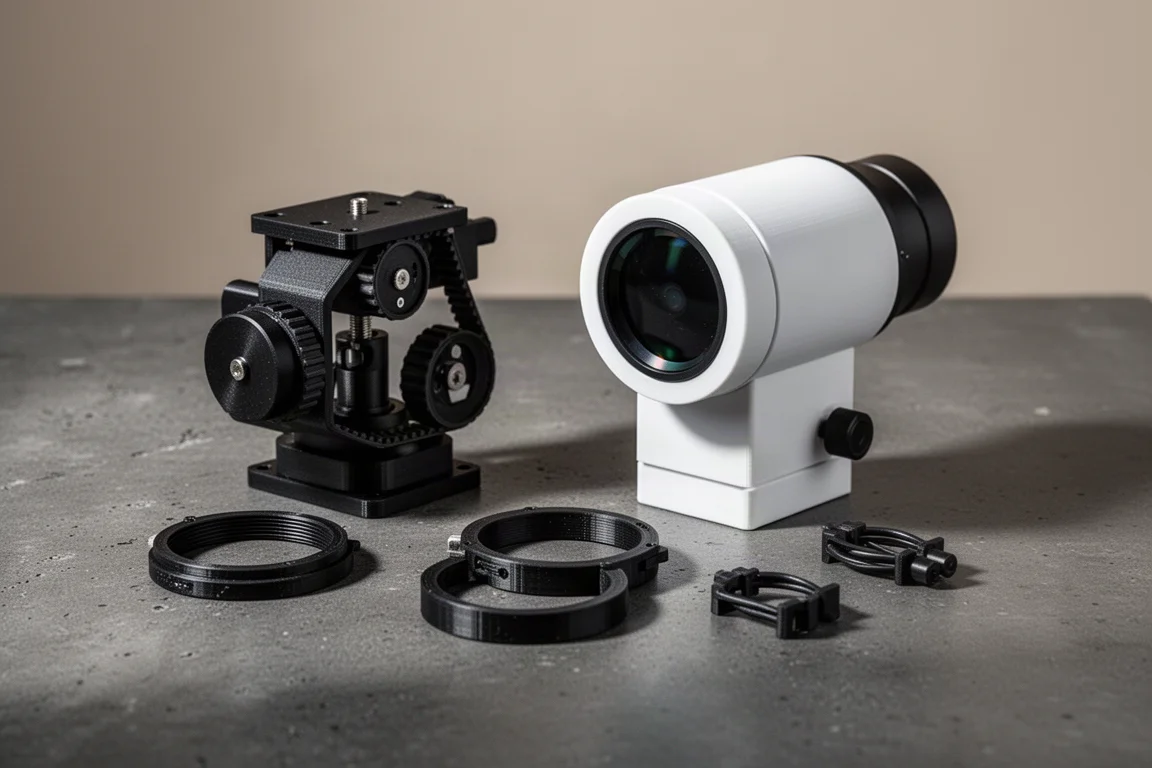
3D printed astrophotography gear has come a long way in a short time. What used to be limited to simple focus masks has grown into complete tracking mounts, guide scopes, and custom mounting systems for camera lenses. Some of these projects are open source, so you can print the parts yourself or modify them, while others are sold as finished parts that fill a specific niche where they are the only or best off-the-shelf option. This guide covers six pieces of 3D printed astro gear worth knowing about, starting small and working up to a full go-to mount.
A Quick Primer on 3D Printing for Astro
3D printing starts with a design made in CAD software. Tinkercad is a good free web-based option for beginners, while Autodesk Fusion is more full-featured and free for personal projects. Slicing software then converts the model into instructions the printer understands, cutting it into many thin layers that the printer builds up one at a time using melted plastic filament.
For something simple like a Bahtinov mask, the whole process is straightforward: design it, slice it, and about 30 minutes later you have a working focus aid. More complex gear such as a tracking mount or guide scope involves several printed parts that all need to fit together precisely.
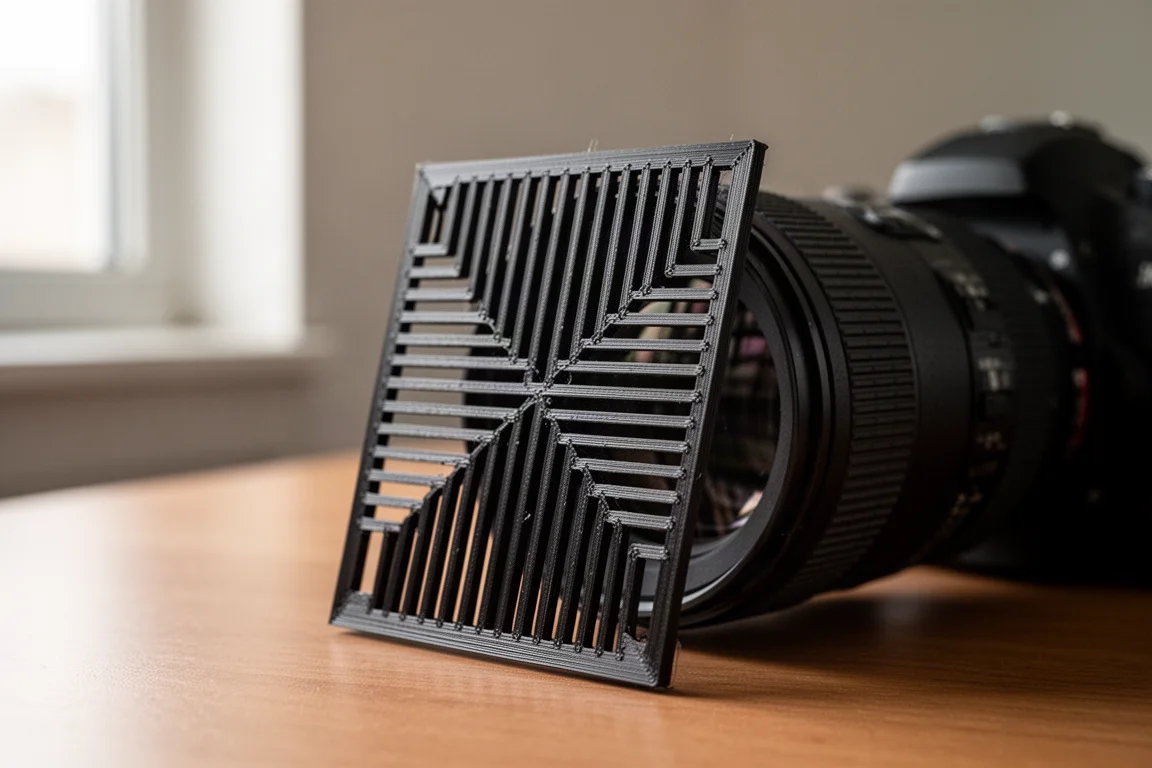
If you want to get started, two tips help a lot. First, begin with simple one- or two-part projects like a Bahtinov mask or a small bracket before attempting a mount. Second, before buying a printer, check whether a public library or community makerspace near you offers access to one, often free or for a nominal cost.
Smart Components Cable Organizers
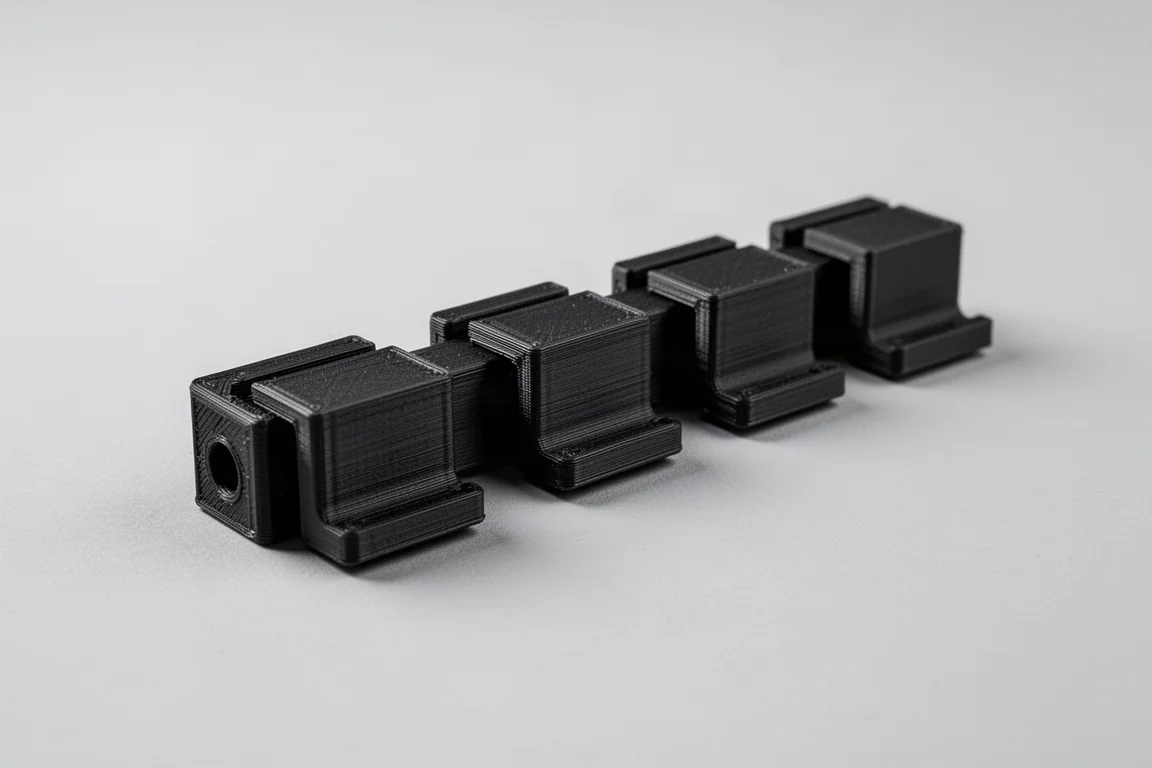
These small 3D printed cable organizers slide right onto your astro camera or ASI Air and do a lot to clean up cable mess. That matters more than it sounds: loose cables that snag on the mount or pull a connector loose mid-session are a classic imaging-session disaster.
The ones used here are from Smart Components on Etsy, sold for all the popular camera brands including QHY, ZWO, and Touptek at very reasonable prices. If cable management on your imaging rig has been bothering you, this is one of the cheapest and easiest fixes available.
Lens Mounting Systems: HyperPod and nrStellar
Camera lenses are popular for deep sky astrophotography, but attaching a Vixen dovetail, a guide scope, or an autofocuser to a lens has never been easy. 3D printed mounting systems change that by handling all of it.
The HyperPod for the Rokinon 135, available from Thinkable Creations on Etsy, works very well and comes in a basic configuration or with an autofocus bracket and gears.
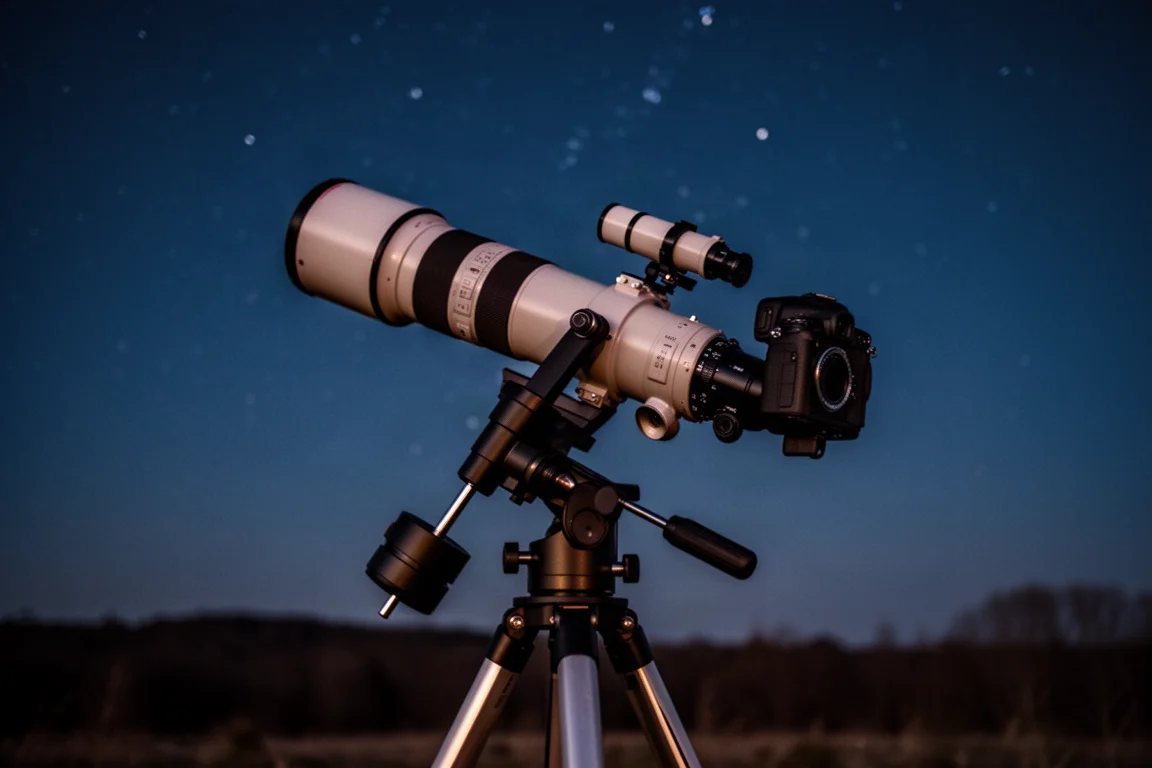
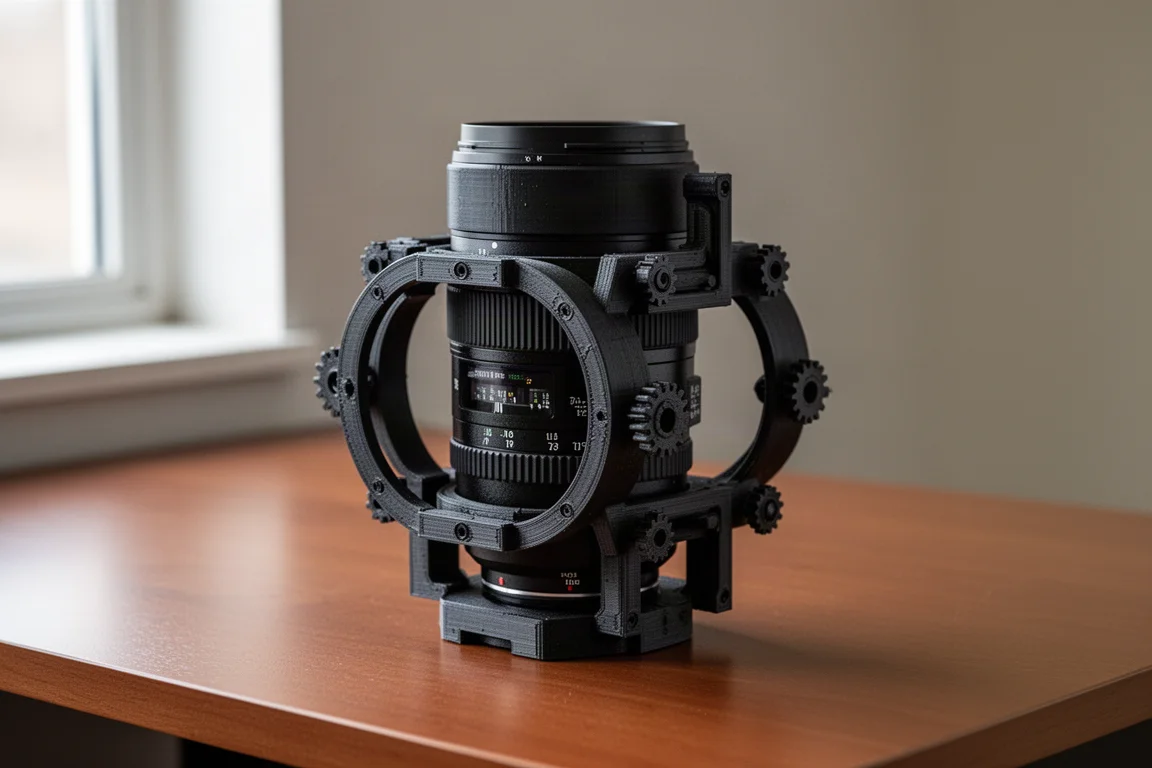
For a more custom route, nrStellar creates rings, accessory rails, risers, and autofocus gears matched to your exact lens based on a few caliper measurements you take yourself. Custom sets have been made for Canon 200mm and 800mm telephoto primes this way, and several nrStellar parts are also available at Agena Astro.
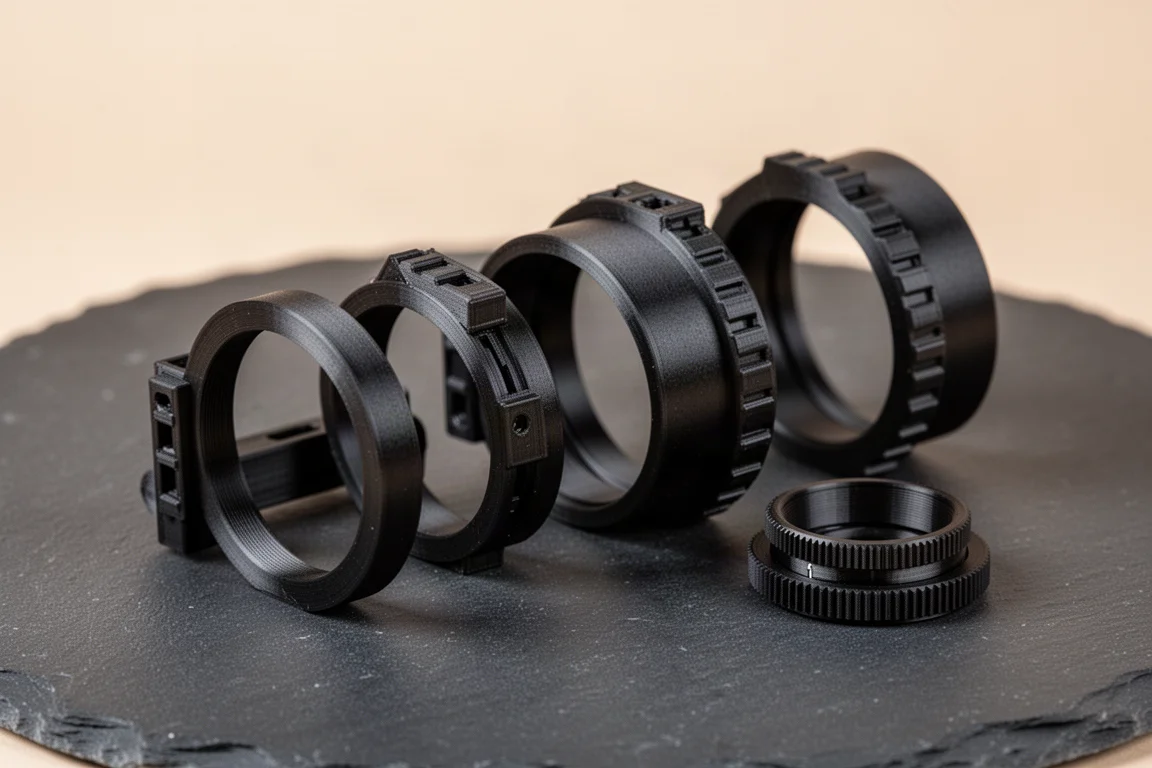
Whichever system you choose, you will also want a metal universal Vixen dovetail as the attachment point that slides into your mount’s saddle. Several makers offer these at modest prices. Etsy and Agena Astro are generally the two best places to look for smaller 3D printed astro parts, and Agena also carries Buckeye Stargazer brackets.
OpenAstroGuider: A Guide Scope With a Built-In Camera
The OpenAstroGuider is an open source guide scope, so you can print it yourself, or buy it fully printed and assembled from the OpenAstroTech website with an optional internal dew heater. Once you hear about the dew heater option, it seems obvious in hindsight: why doesn’t every guide scope have one?
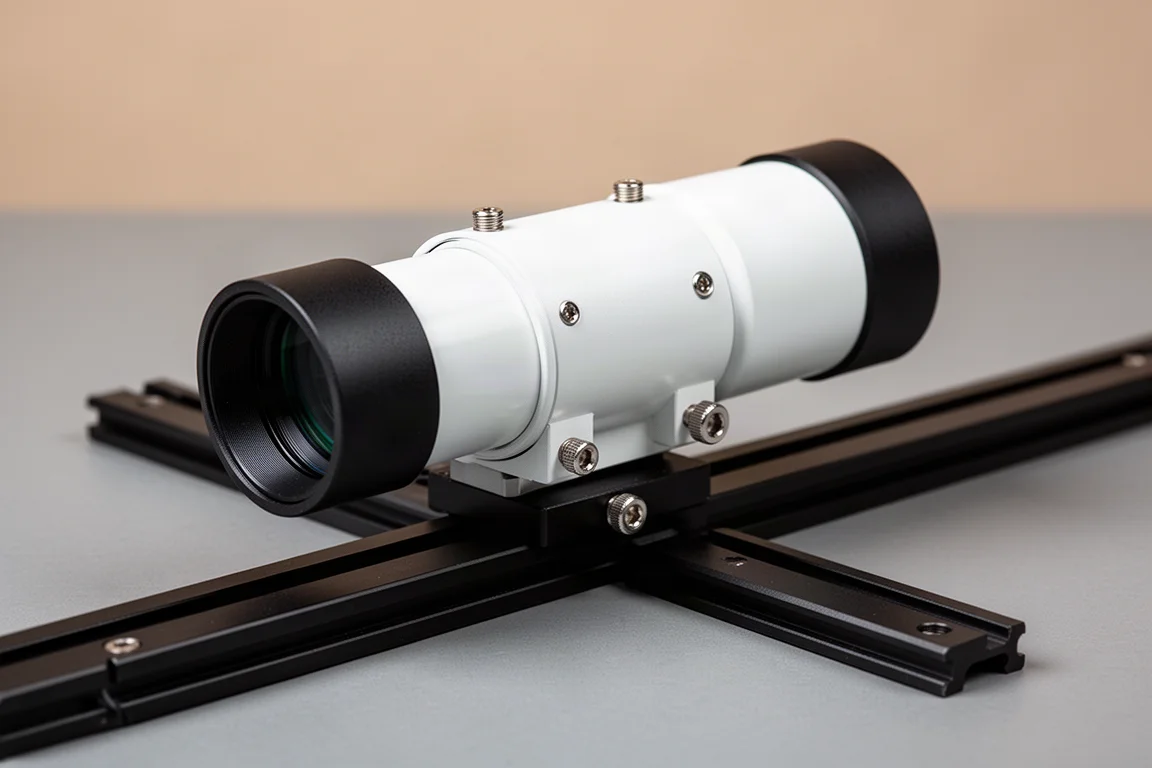
It also has the guide camera sensor built directly into the scope, a mono IMX 290, which is a well-regarded sensor for guiding. Considering you get a 50mm guide scope, a dew heater, and a built-in guide camera in one unit, the price of $98 or about $112 is remarkable. A comparable setup from a big brand, with a mini guide scope, guide camera, and dew heater bought separately, would cost around three times as much.
OG Star Tracker V2: A Portable Belt-Driven Tracker
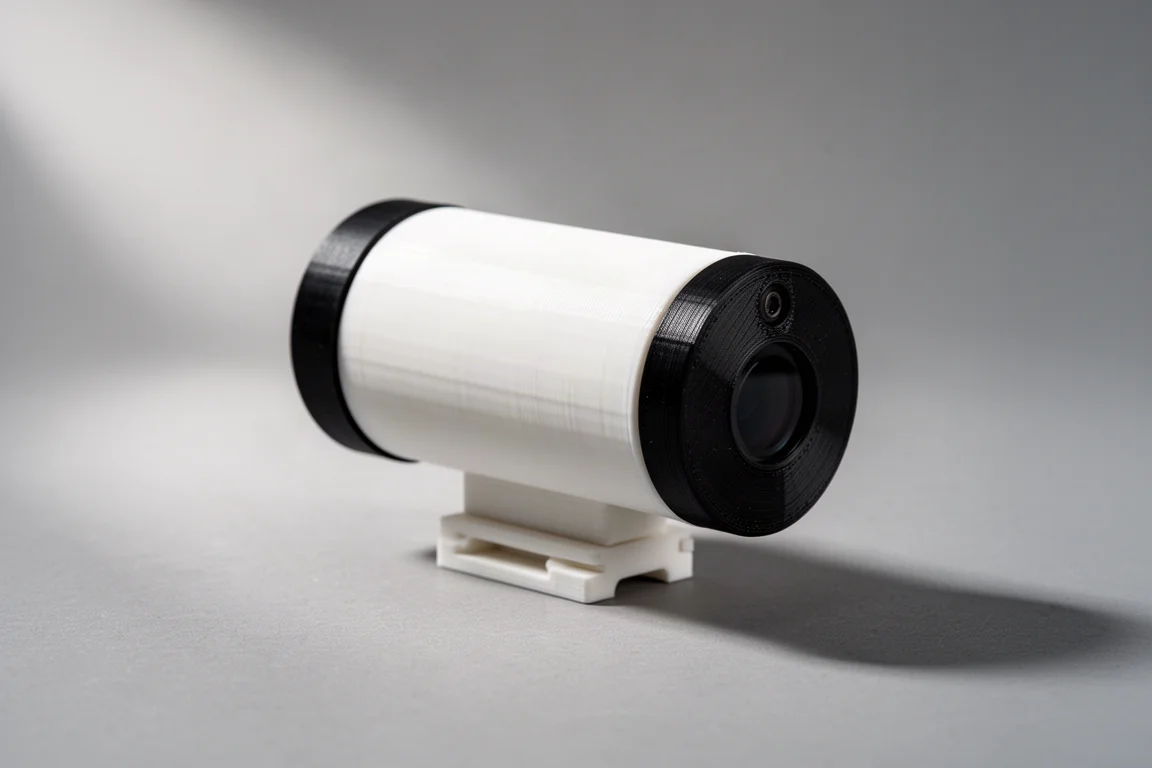
The OG Star Tracker V2 from Ondřej Gejdoš improves on the already impressive first version by being much more portable. It packs down easily with a more compact latitude adjuster base, and the print files are available for free if you want to print it yourself. It is also sold fully assembled.
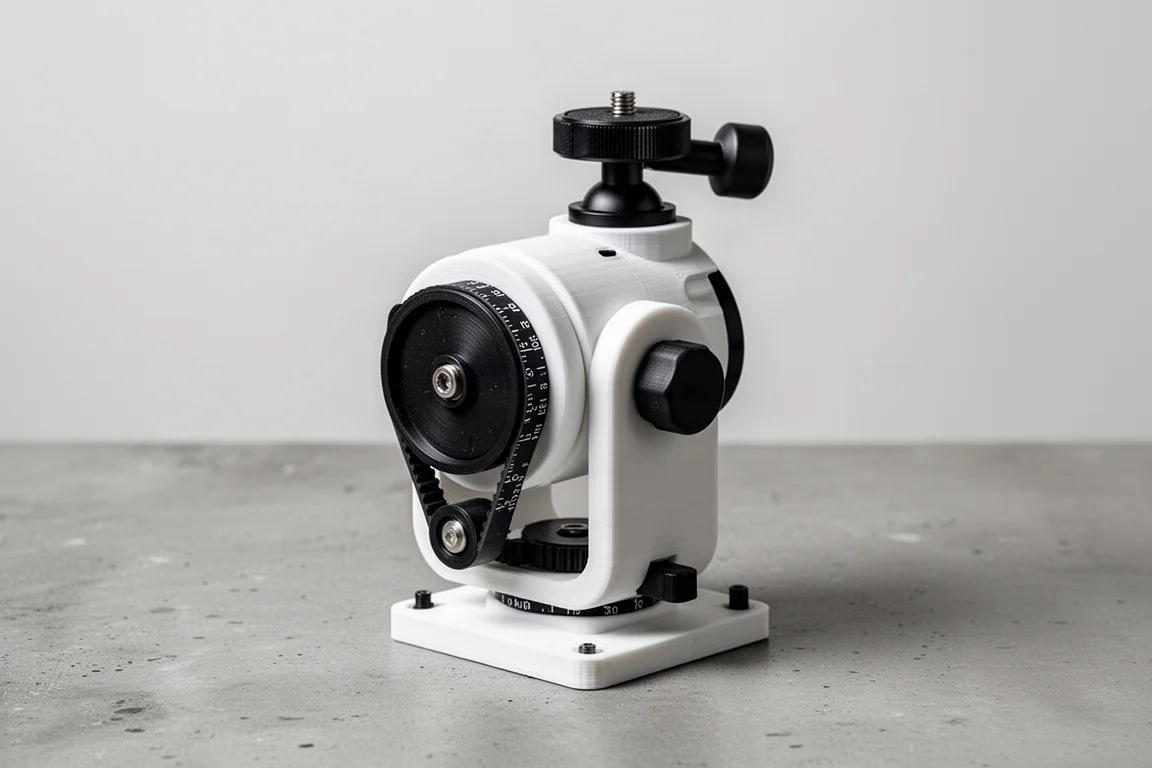
The tracker creates its own Wi-Fi network, and you control it through a web interface in your mobile browser: tracking on and off, manual GOTO, slewing, and more. Attach a DSLR or mirrorless camera with an intervelometer cable and the interface also acts as a camera trigger that supports dithering, which can reduce pattern noise when you stack your images.
Open Astro Explorer: A Full Go-To Mount
The Open Astro Explorer, from the same designer as the OpenAstroGuider, is a full go-to equatorial mount with a motorized base for automated polar alignment. You connect it to a computer, and to get the most out of it you currently need a Windows PC with NINA installed, plus NINA’s three-point polar alignment plugin.
The electronics and hardware sell for about €250, or about €350 as a kit including all the 3D printed parts. A fully assembled version is not currently available, but there is a page to register interest.
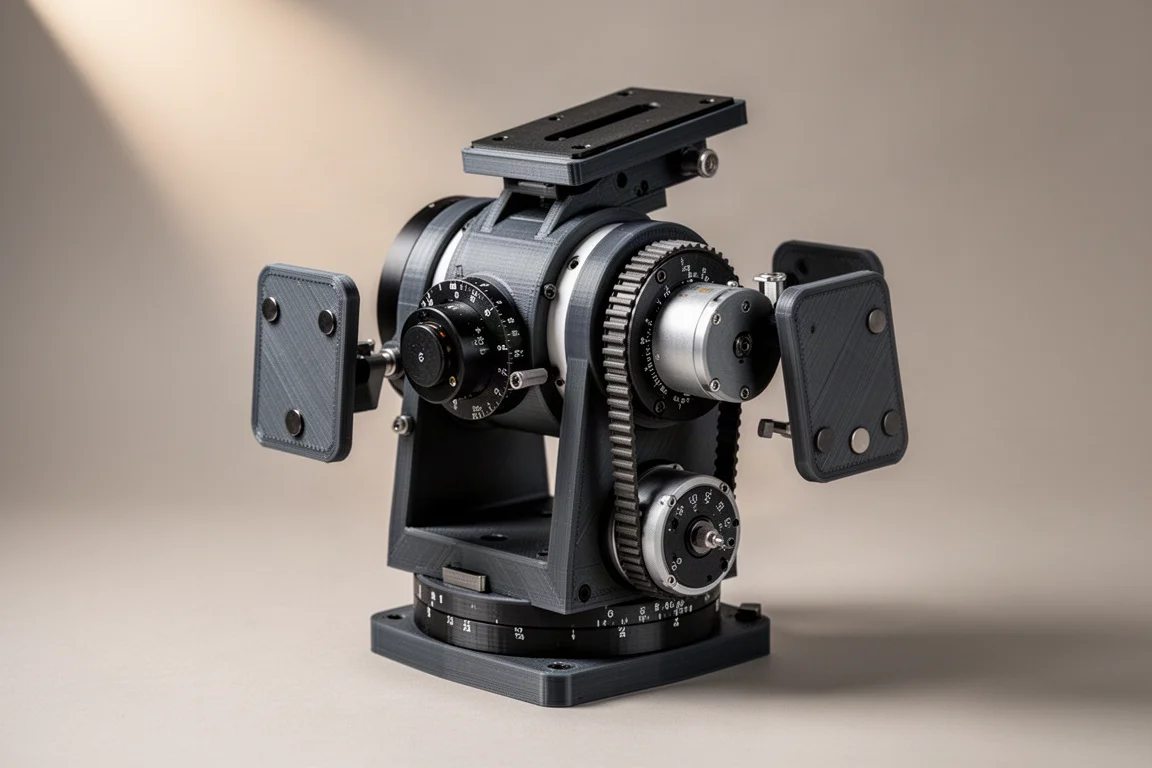
Using the Open Astro Explorer in the Field
Setting up the full Explorer rig takes some software work: ZWO drivers, NINA, the three-point polar alignment plugin, PHD2 for guiding, and OAT Control for the mount itself. OpenAstroTech’s English wiki is very helpful, with illustrated setup instructions, but plan on spending several nights getting everything configured.
A couple of setup gotchas are worth knowing. Find the mount’s COM port in Windows Device Manager first, and note that if the automated polar alignment moves the wrong direction on one axis, you need to invert corrections on that axis in the autoPA settings in OAT Control. After that one-time fix, it should work every time. The automated polar alignment moves the mount, takes pictures, calculates the error, and corrects it with the motors; stopping around 30 arcseconds of total error avoids endless hunting.
On a good night, guiding reached around 0.7 to 0.8 arcseconds total RMS, closer to one arcsecond on most nights. That suits wide-field instruments, telephoto lenses under 400mm focal length, and small 50 to 70mm refractors, broadly the same payloads as a Star Adventure GTi.
One clever touch: instead of counterweights, the mount ships with 3D printed inserts that adapt ordinary barbell weights. The main practical drawback is balancing and transport, since removing the belt and its two printed track wings each session is a bit fiddly. For backyard imaging it is a non-issue; for frequent travel, a mount with less disassembly might suit better.
Overall Buying Advice
Start small. Cable organizers and lens rings are cheap, low-risk, and solve real problems immediately. The OpenAstroGuider is arguably the standout value, bundling a guide scope, dew heater, and camera sensor at a fraction of a big-brand equivalent. The OG Star Tracker V2 is a strong pick for photographers coming to astrophotography, since it pairs with a camera you already know and costs less than any smart scope. The Open Astro Explorer rewards patience and a Windows-based workflow with go-to pointing and automated polar alignment. Whatever you buy, budget for a metal universal Vixen dovetail if you are mounting camera lenses.
Conclusion
3D printing has moved from novelty focus masks to genuinely competitive mounts and accessories. Whether you print the open source designs yourself or buy them ready-made, these six products show that printed astro gear is now a practical part of the hobby, and a space well worth keeping an eye on.
Further reading
Related Reviews
Astrophotography
ASKAR FRA400C Review: A Versatile 400mm Refractor for Astrophotography and More
The ASKAR FRA400C is a compact 72mm refractor that balances reach, versatility, and portability for astrophotographers and visual observers.
Astrophotography
Askar SQA106 Review: A Premium 106mm Astrograph With Exceptional Optics
The Askar SQA106 is a premium 106mm quintuplet astrograph with impressive sharpness across full-frame sensors, though its price and weight demand careful consideration.
Astrophotography
Astro Imaging Gear 2026: Eight New Products Worth Watching
A look at the most interesting new astrophotography and astronomy products announced this year, from fast telescopes to smart cameras and wireless accessories.